
Last Updated on 3 July, 2025
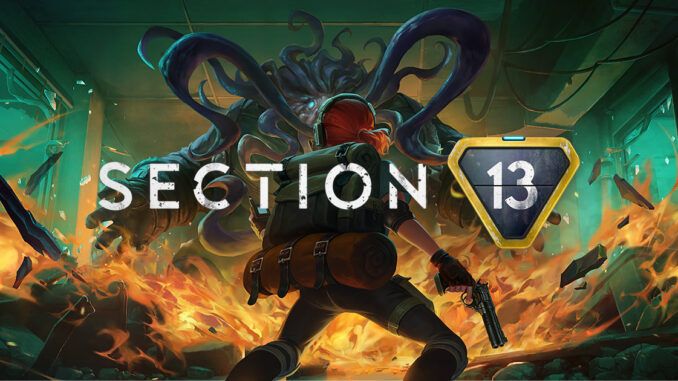
This Section 13 guide helps new and veteran players master Ocean Drive Studio’s roguelite twin-stick shooter. You’ll discover optimal control setups, the best Agent and perk combinations, weapon and tactical-gear loadouts, and how to manage progression currencies. We walk you through each facility zone, solo and online co-op tactics, boss fight breakdowns, environmental hazard avoidance, and essential save-game safety tips. Whether you’re starting your first descent or aiming for speedruns, these floor-by-floor strategies will deepen your understanding and enhance your runs.
Facility Schematic
-
- ► I. Twin-Stick Controls & UI
- ► II. Agents & Perks
- ► III. Weapons, Gear & Tactical Upgrades
- ► IV. Progression & Run Resources
- ► V. Quick-Reference Build Table
- ► VI. Facility Zones & Objectives
- ► VII. Run Strategy & Tips
- ► VIII. Solo vs. Online Co-Op
- ► IX. Boss Tactics
- ► X. Pitfalls & Save-Game Safety
- ► XI. FAQ
- ► XII. Conclusion
I. Twin-Stick Controls & UI
- Movement: WASD (keyboard) or left stick (controller)
- Aim & Shoot: Mouse or right stick; R2/Right Trigger for primary fire.
- Abilities: Face buttons or keys 1–4; dodge-roll on B/Circle or Space.
- Interact: E or X for terminals, doors, and loot.
- Menu: Esc/Start opens Loadout, Options, and Agent Stats.
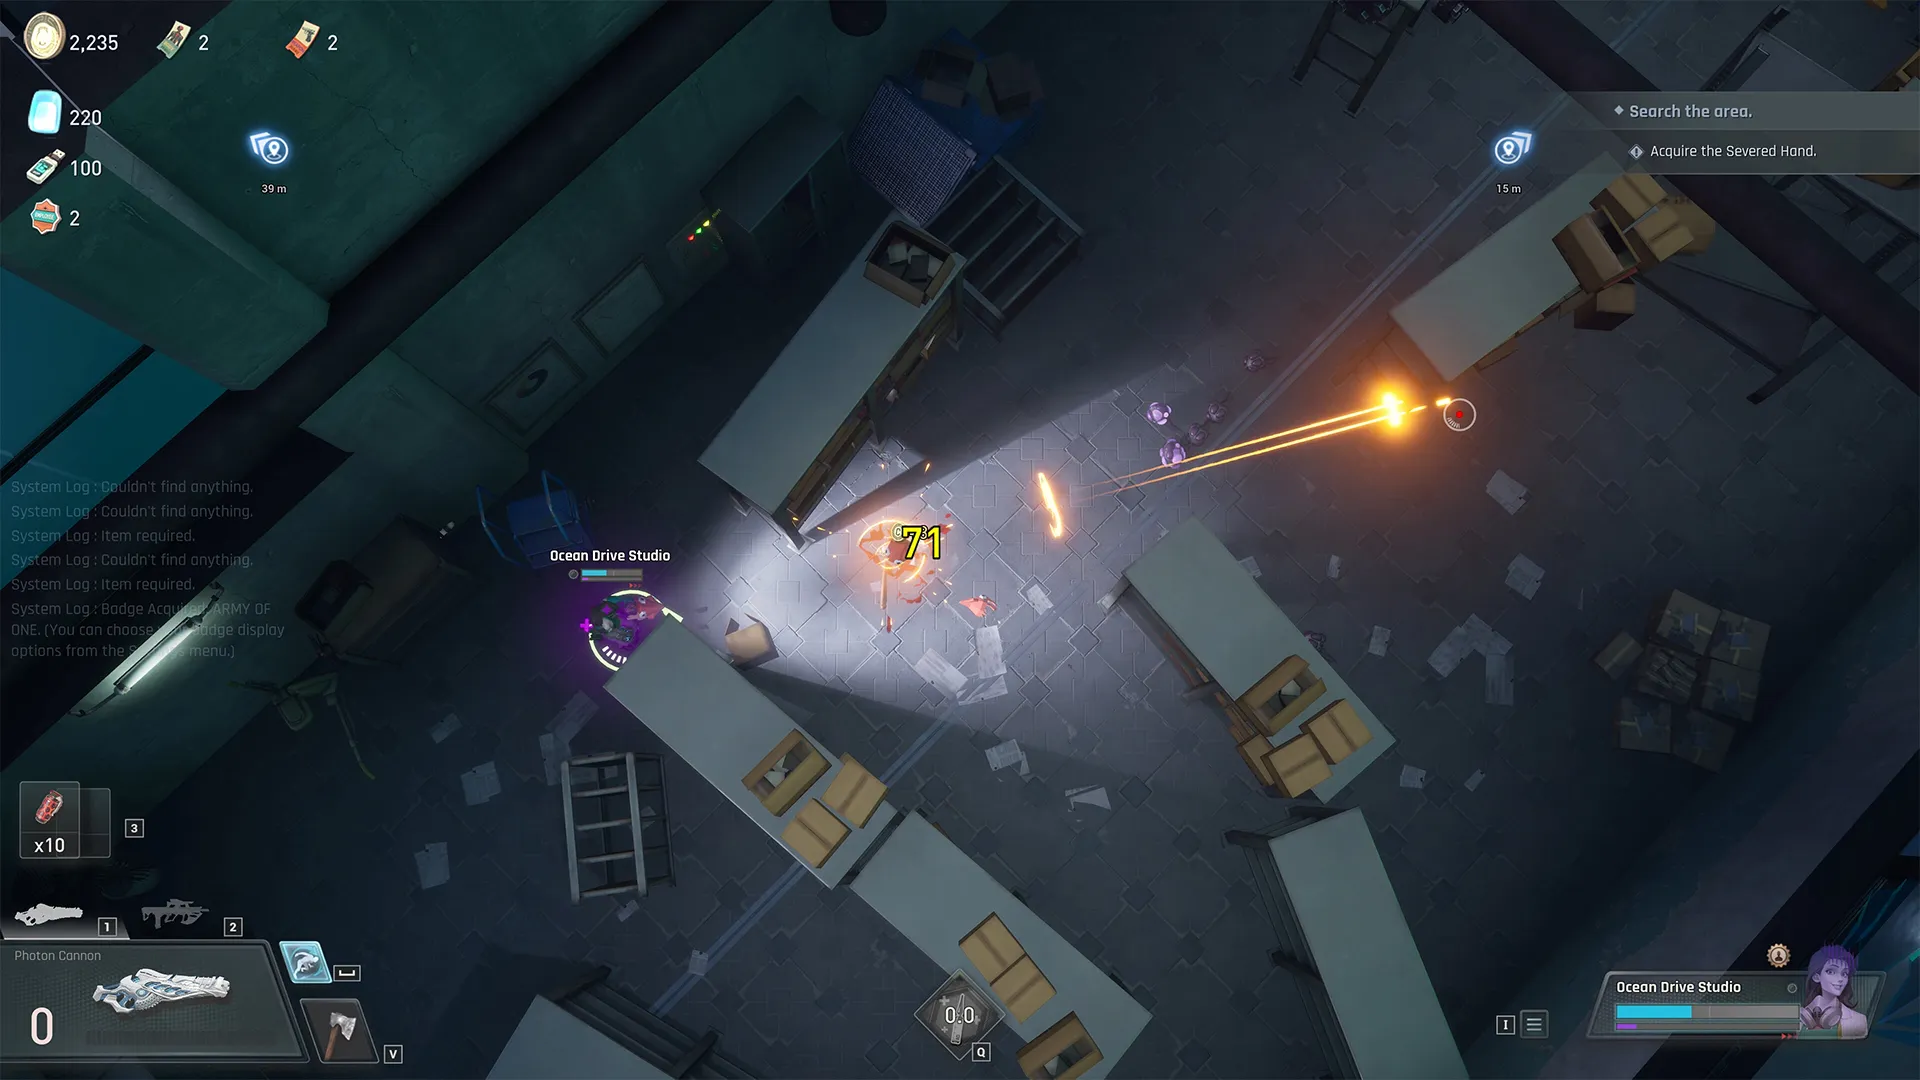
In Settings > Controls, adjust camera sensitivity, crosshair style, and aim assist to your preference. The HUD displays Health, ammo, ability cooldowns, minimap waypoints, and hazard icons for radiation and toxins. Stay alert to avoid environmental damage.
 Mejoress: Section 13
Remap dodge-roll to a dedicated button. Quick rolls can save you in tight encounters.
II. Agents & Perks
Choose one of four Agents, each with a distinct passive perk:
| Agent | Core Perk | Playstyle |
|---|---|---|
| Red | Fury | Temporary damage boost after each kill |
| Boy Scout | Scavenger | Increased ammo drop rate |
| Beaker | Bio-Surge | Health regen on melee kills |
| Scalpel | Phase Shift | Invulnerable frames during dash |
Earn Data Shards between runs to unlock meta-upgrades; extended Fury, extra ammo crates, splash healing, faster dash cooldowns. Early investments in maximum Health and dash cooldown reductions yield the deepest runs.
In co-op, pairing Boy Scout’s Scavenger with Red’s Fury delivers sustained ammo and high burst damage.
III. Weapons, Gear & Tactical Upgrades
Each run grants Supply Crates and Synaptic Enhancements, plus access to unlocked blueprints:
| Category | Count | Example & Pairing |
|---|---|---|
| SMG | 3 | OP-9 Submachine + Turret |
| Assault Rifle | 4 | VX-88 Assault + Flashbang |
| Shotgun | 2 | S-Trench Pump + Bio-Edge Blade |
| Heavy | 2 | XM-410 Railgun + Elemental Rounds |
| Melee | 9 | Bio-Edge Blade (crowd clear) |
| Throwable | 6 | Arc Grenade (stun chain) |
Use an SMG and turret in tight corridors, switch to railgun in open labs, and keep melee blades for ammo-short situations. Tactical devices like flashbangs or proximity mines add crowd-control options.
IV. Progression & Run Resources
- Data Shards: permanent currency; unlock meta-perks, weapons, and gear blueprints.
- Supply Crates: in-run pickups; boost damage, magazine size, fire-rate, or add elemental effects.
- Synaptic Enhancements: temporary buffs; speed, shields, or damage multipliers.
Save Supply Crates for later floors and stack Synaptic Enhancements before boss fights. Early Shard investments in Health and dash cooldown reduce wipe risk and accelerate meta progression.
Survivability upgrades pay off, longer runs yield more Shards and unlock better loadouts.
V. Quick-Reference Build Table
| Zone | Best Agent | Optimal Weapon | Perk | Enhancement |
|---|---|---|---|---|
| Containment Wing | Scalpel | OP-9 SMG | Phase Shift | Speed Boost |
| Research Labs | Beaker | VX-88 Assault | Bio-Surge | Toxin Resistance |
| Power Core | Boy Scout | XM-410 Railgun | Scavenger | Radiation Shield |
| Security Blockade | Red | S-Trench Pump | Fury | Turret Support |
| The Crucible | Red | XM-410 Railgun | Fury | Damage Amp |
VI. Facility Zones & Objectives
- Containment Wing: hack security terminals and clear mutant critters.
- Research Labs: navigate toxin pools and experimental bots.
- Power Core: evade turrets and radiation leaks; use cover and timing.
- Security Blockade: breach reinforced doors and defeat a mid-boss mercenary.
- The Crucible: final boss arena; enter with max ammo and buffs.
Complete primary objectives; reactor stabilization or data retrieval to unlock the next biome; explore side rooms for rare upgrades and lore logs.
VII. Run Strategy & Tips
- Peek around corners to isolate and kite one enemy at a time.
- Use pillars and crates to break line-of-sight against ranged foes.
- Hack every terminal for extra Data Shards and hidden story entries.
- Adapt loadouts to hazards: toxin mods in Labs, radiation shields in Core.
- Use Supply Crates on damage or magazine upgrades just before boss fights.
Blitz the Containment Wing with SMG + turret, then switch to heavy railgun and stack Enhancements for The Crucible.
VIII. Solo vs. Online Co-Op
Solo runs benefit most from sustain and mobility; Beaker’s regen or Scalpel’s dash. In three-player online co-op, assign roles:
- Boy Scout: ammo support and crate control.
- Red: burst DPS with Fury.
- Beaker/Scalpel: front-line sustain and evasion.
Supply Crates are shared; coordinate pickups. Use revive abilities to bring back fallen teammates and avoid permadeath penalties.
IX. Boss Tactics
- Phase 1: clear spawned adds with AoE throwables or a turret.
- Phase 2: dodge sweeping energy beams; flank from cover.
- Phase 3: overdrive bursts; kite around pillars and chip away with railgun.
Always keep one dodge-roll charge for emergency evasion during heavy attacks or sudden charges.
X. Pitfalls & Save-Game Safety
- Avoid idling, high-Threat enemies exploit pauses to close distance.
- Quick Saves only persist between runs; quitting mid-run forfeits buffs.
- Alt-Tab during disk writes can corrupt data, quit via menu or enable Steam Cloud backups.
- Back up
~\Documents\Section13\Savesbefore testing risky builds.
Improper exits can wipe Supply Crates and corrupt save data, always finish runs or quit cleanly.
XI. FAQ
- Fastest way to earn Data Shards? Complete full-run boss fights on higher difficulty and hack all terminals.
- Respec meta-upgrades? No; Shard purchases are permanent, but Synaptic buffs can be respec’d mid-run.
- Runs needed to unlock all perks? About 15–20 successful boss clears.
- Any cheat codes? No official cheats, focus on builds and strategy.
XII. Conclusion
Section 13 combines precise twin-stick action with roguelite depth. By following this guide’s advice on control customization, Agent-perk synergy, weapon loadouts, zone objectives, boss mechanics, and save-game protocols, you’ll conquer deeper floors and uncover every secret. Gear up, choose your Agent, and master the haunted underwater labs. You might also wanna check out the Official Steam Page, just in case.

Leave a Reply