
Last Updated on 25 September, 2026
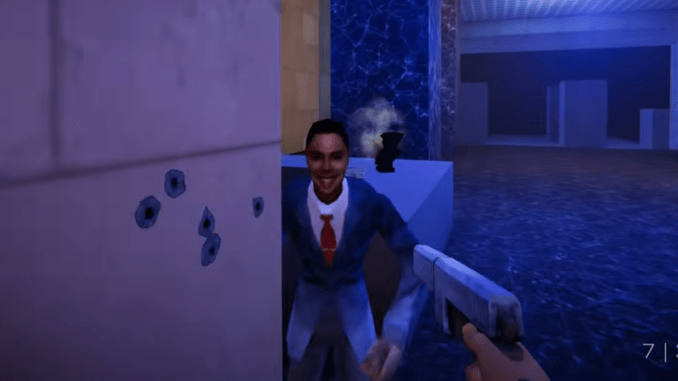
Agent 64: Spies Never Die has plenty to offer after the credits, but some of its most useful extras stay hidden behind speedruns, Contracts, and increasingly demanding arena challenges. Beating a mission gets you through the story, while beating its par time can unlock a Paradox that changes the rules of the game. Challenge Mode takes that idea even further with new Arena maps, characters, bot types, weapons, modes, and gameplay modifiers.This guide brings all of those rewards together, including the story par times, Contract unlocks, five Challenge Leagues, and strategies for tackling the toughest time targets.
How Par Time Unlocks Work
Every story mission in Agent 64: Spies Never Die has a target completion time tied to a hidden Paradox unlock. The game does not present all of that information together on the main menu, which makes keeping track of the requirements harder than it needs to be.
The par time is not simply a personal-best target. Reaching it unlocks a specific gameplay modifier, giving players another reason to revisit completed missions and learn their layouts more efficiently.
The campaign contains 14 missions spread across four acts. Each mission has a designated difficulty, a target time, and a hidden reward. Those rewards can affect movement, health, weapon availability, ammunition, enemy behavior, or other gameplay rules.
There are also two separate progression systems to work through. Contract Mode becomes available after Castle, while Challenge Mode introduces arena battles built around specialized rules and objectives.
Story Mode Par Times and Rewards
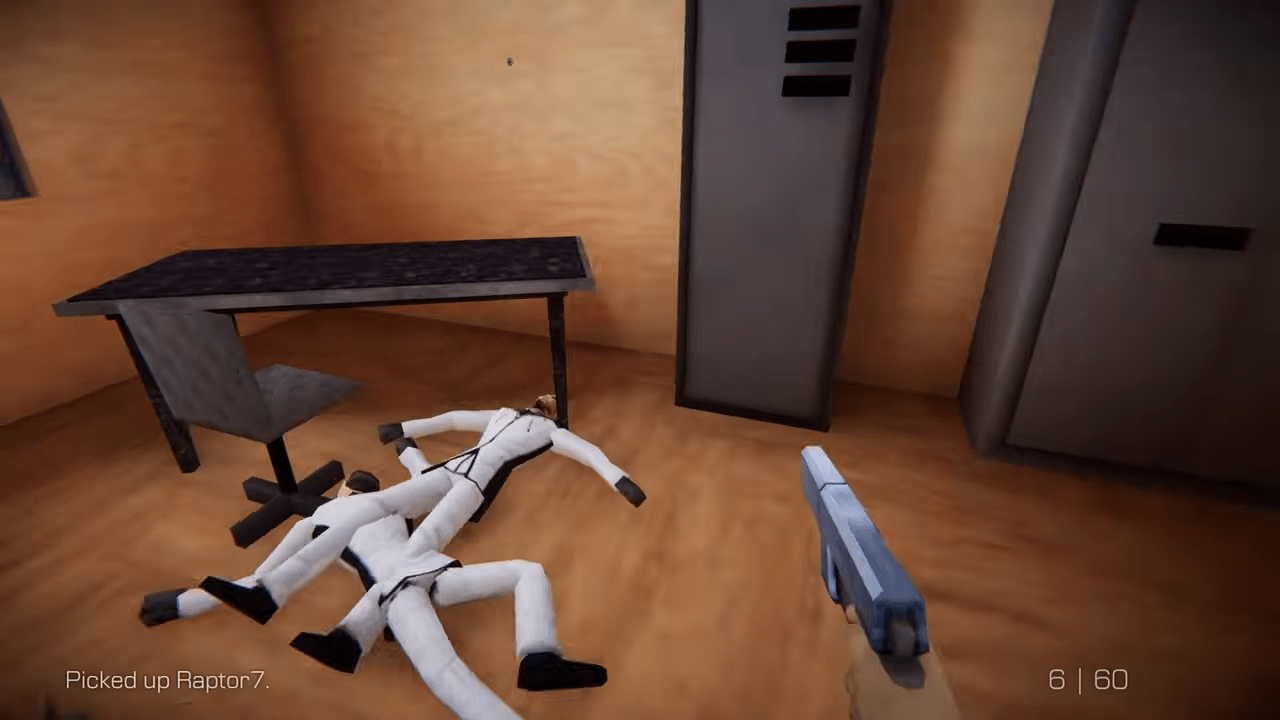
The campaign’s Paradox unlocks cover every mission from Penthouse through Sanctum. Some target times are tight enough to require efficient movement rather than a normal playthrough, so knowing the reward in advance can help you decide which missions deserve another run.
Act 1
| Level | Mission | Difficulty | Par Time | Hidden Reward |
|---|---|---|---|---|
| 1 | Penthouse | Special Agent | 1:40.000 | Big Head Mode |
| 2 | Tower | Agent | 1:20.000 | Permanent Crosshair |
| 3 | Castle | Agent 64 | 2:40.000 | Player Health |
Act 2
| Level | Mission | Difficulty | Par Time | Hidden Reward |
|---|---|---|---|---|
| 4 | Mountain | Agent | 3:25.000 | Get Sniper Rifle |
| 5 | Complex | Agent 64 | 5:10.000 | No Starting Weapon |
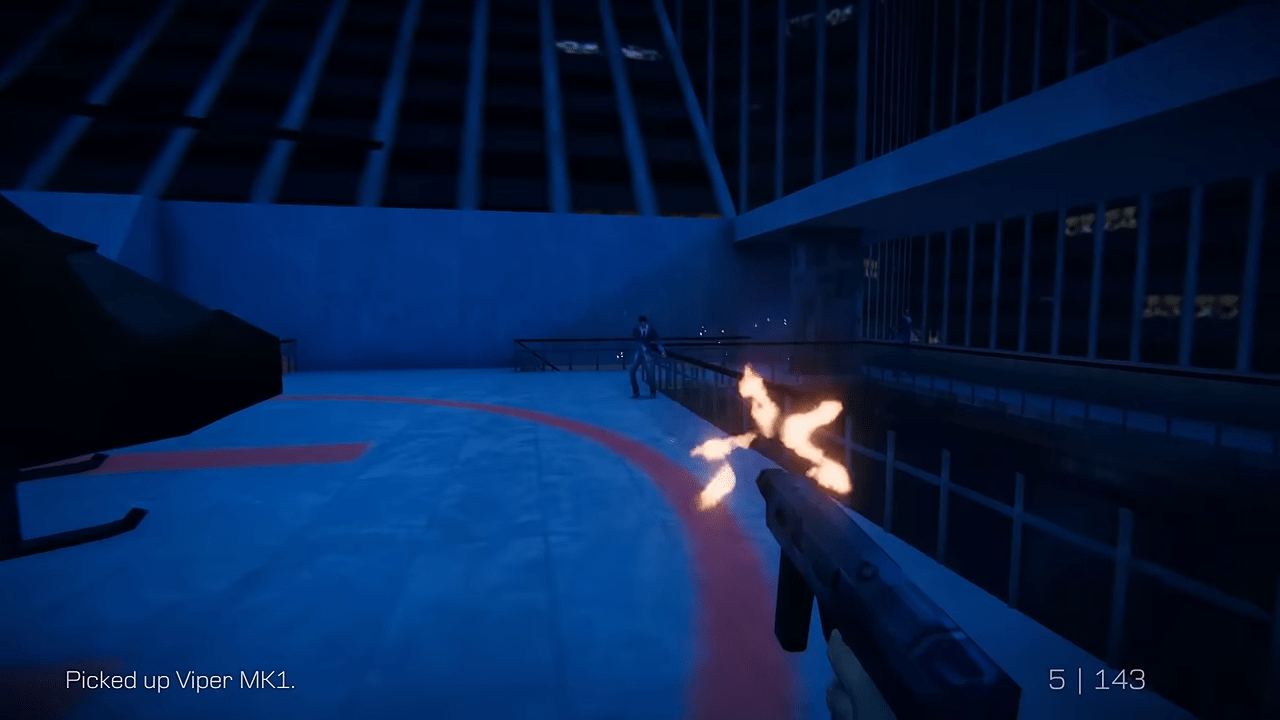
| 6 | Helipad | Agent | 1:10.000 | Player Speed |
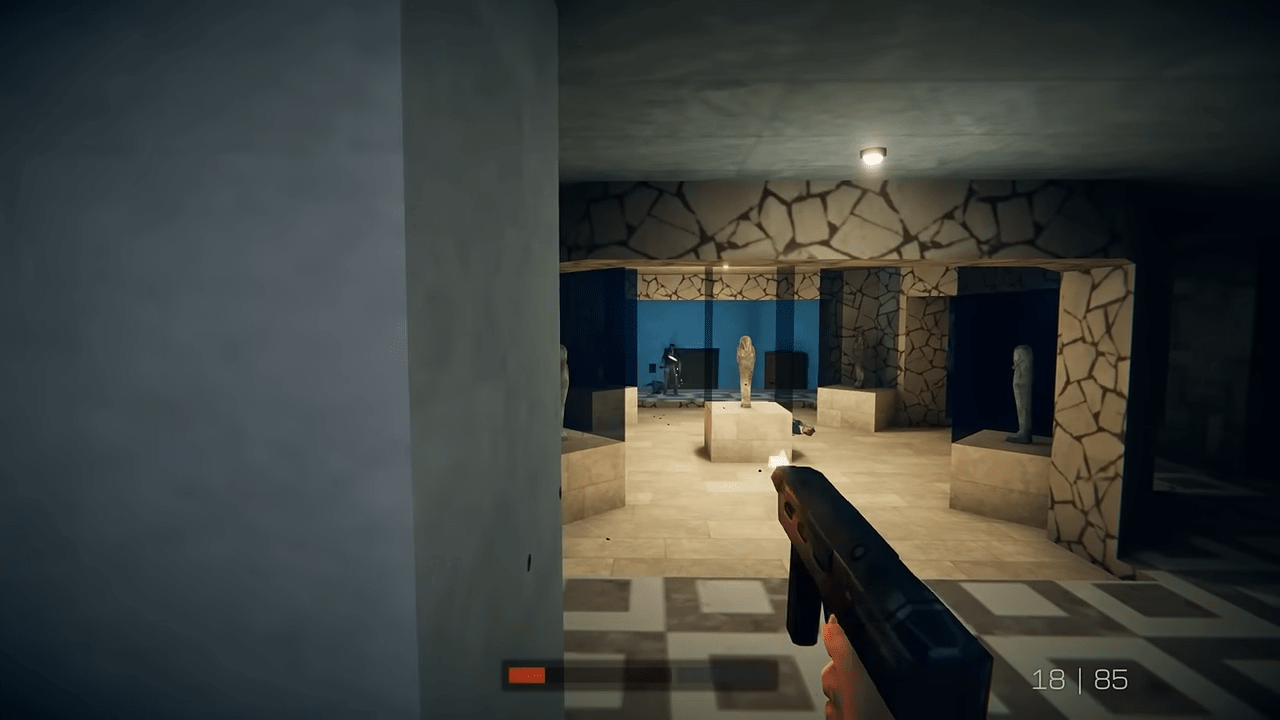
| 7 | Museum | Special Agent | 4:50.000 | Time Acceleration on Frag |
Act 3
| Level | Mission | Difficulty | Par Time | Hidden Reward |
|---|---|---|---|---|
| 8 | Nightclub | Special Agent | 2:20.000 | NPC Health |
| 9 | Catacombs | Agent | 3:55.000 | Slippery Floors |
| 10 | Temple | Agent 64 | 5:00.000 | NPC Rocket Launcher |
| 11 | Vault | Special Agent | 2:20.000 | Get Plasma Rifle |
Act 4
| Level | Mission | Difficulty | Par Time | Hidden Reward |
|---|---|---|---|---|
| 12 | Elevator | Agent 64 | 4:00.000 | Player Size |
| 13 | Moon | Agent | 1:32.000 | Get Rocket Launcher |
| 14 | Sanctum | Special Agent | 1:50.000 | Infinite Ammo |
These rewards make the campaign’s speed challenges more than optional stopwatch runs. They expand the game’s collection of Paradox settings and can open up different ways to play later.
Contract Mode Rewards
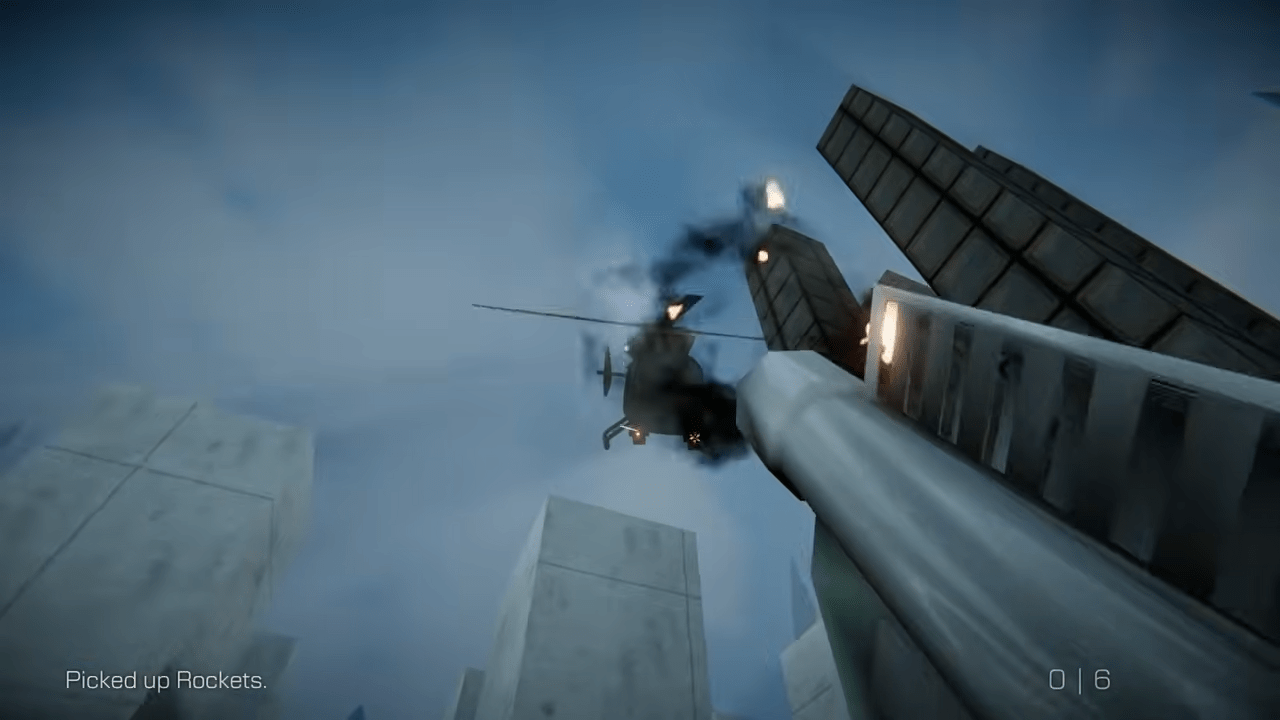
Contract Mode unlocks after completing Act 1, Mission 3, Castle. These missions revisit the single-player levels with several Paradoxes already active, turning familiar spaces into different challenges.
Each Contract requires a hidden purple mask to unlock. Once the mission is available, completing it grants another gameplay modifier.
| Contract | Name | Completion Reward |
|---|---|---|
| A-01 | Arcade Survivor | Nightmare (Respawning Enemies) |
| A-02 | Permit to Die | Small Heads |
| A-03 | Daytime Vampire | Feet Hurts (Damage when Moving) |
| A-04 | Die Once Again | NPC Aim Speed |
| A-05 | One Slap Man | NPC Raptor 7 |
| A-06 | Fast Rockets | Escapist (Changes Objective to Needing Exit Only) |
| A-07 | Slapper Wars | Disguised |
| A-08 | Death Accelerator | NPC Invincible |
| A-09 | Waxed Floors | NPC Viper Mx 1 |
| A-10 | Fast Arcade Survivor | Death Timer & Death Timer Extension |
| A-11 | Head Eliminator | Eliminator |
| A-12 | Versus Club | Alert All Enemies |
| A-13 | Small Arcade Survivor | Survivor |
| A-14 | Perfect Finish | Invincible |
Why Contracts Matter
Contracts provide another way to expand the Paradox collection while forcing players to adapt to rules that differ from standard missions.
Each reward changes a specific part of play. Some affect the player directly, while others alter enemies or impose new conditions. That variety makes Contract Mode useful for players who want more than straightforward story replay.

Challenge Mode Leagues Explained
Challenge Mode shifts Agent 64 toward arena matches against bots, with Paradoxes creating special rules for each scenario. The mode matters even for players who spend most of their time alone because many of its rewards unlock content for Arena across both single-player and multiplayer Deathmatches and other competitive modes.
Each Challenge League level offers two reward tiers. Clearing the challenge provides the standard unlock, while reaching the listed par time grants another reward.
The five leagues follow a story-based progression system. Starter League is available immediately, while later leagues become accessible after specific campaign milestones.
Two Ways to Clear a Challenge
A normal completion can unlock Arena maps, character skins, bot types, difficulty settings, game modes, music, weapons, and Paradox-related content. Meeting the par time adds another layer of rewards, often introducing a new gameplay modifier or additional Arena content.
This means players chasing full completion need to think about both objectives. Clearing a challenge once is only the beginning for anyone trying to collect every listed reward.
Starter League
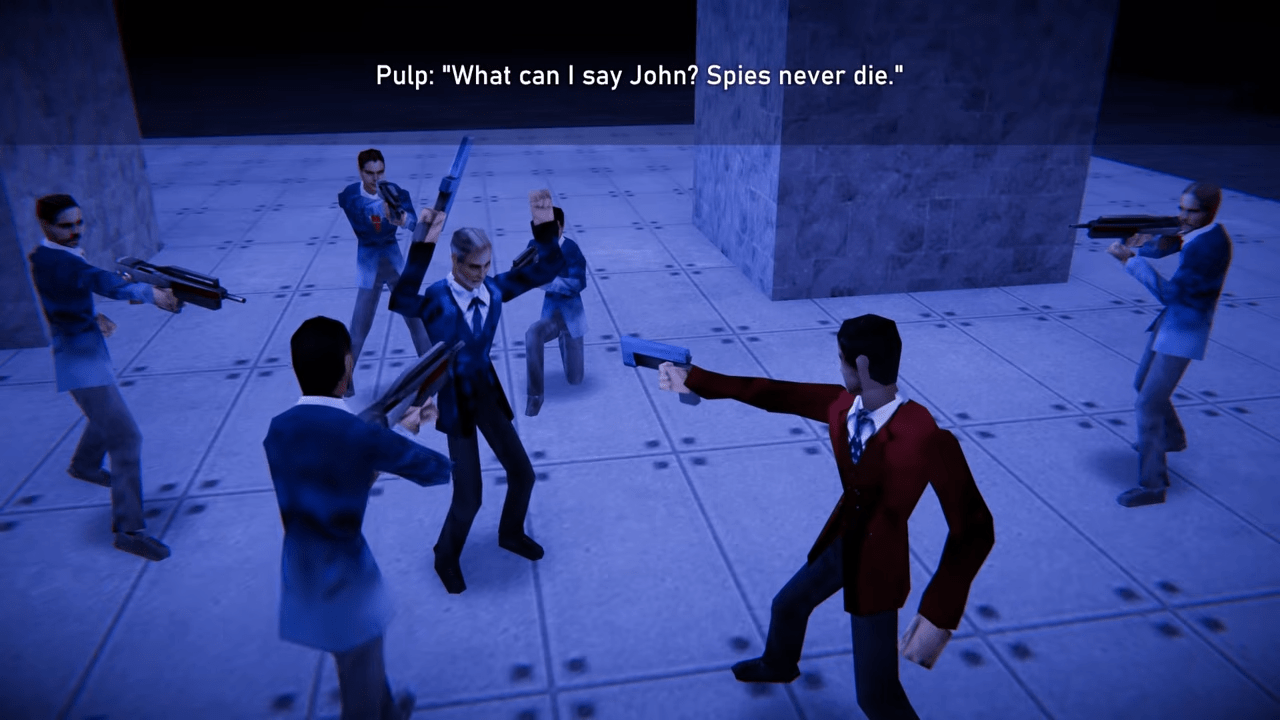
Starter League is available from a new game and serves as the introduction to Challenge Mode’s arena format.
| Challenge | Normal Completion Reward | Par Time | Par Time Reward |
|---|---|---|---|
| Starter 1 | Civilian character skin for Arena | 1:20.000 | No Reload |
| Starter 2 | Gunner Bot Type for Arena | 2:30.000 | Random Weapon on Frag |
| Starter 3 | Zone Game Mode for Arena | 3:30.000 | NPC Bullet Speed |
Starter League Strategies
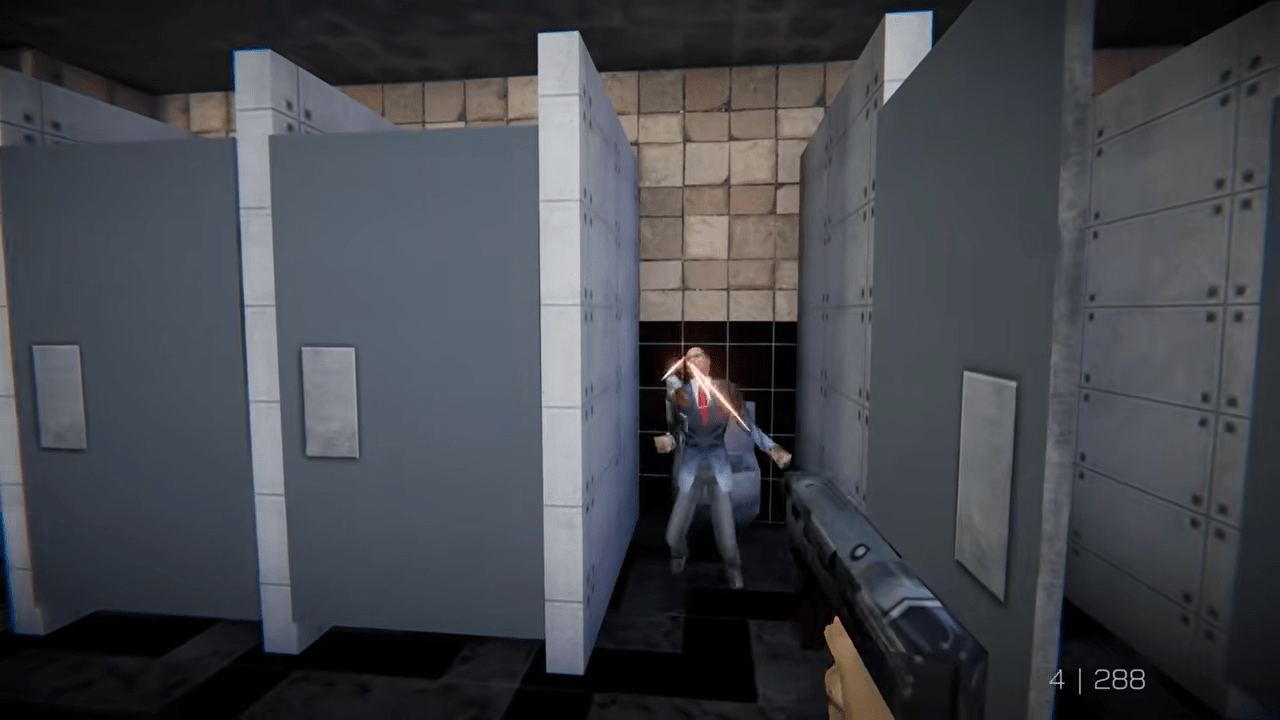
Starter 1: Follow the enemy NPC as soon as it spawns. The radar can help you stay on target when visual contact breaks.
Starter 2: This is the easiest par time in the league, so there is little need for a specialized strategy beyond completing the objective efficiently.
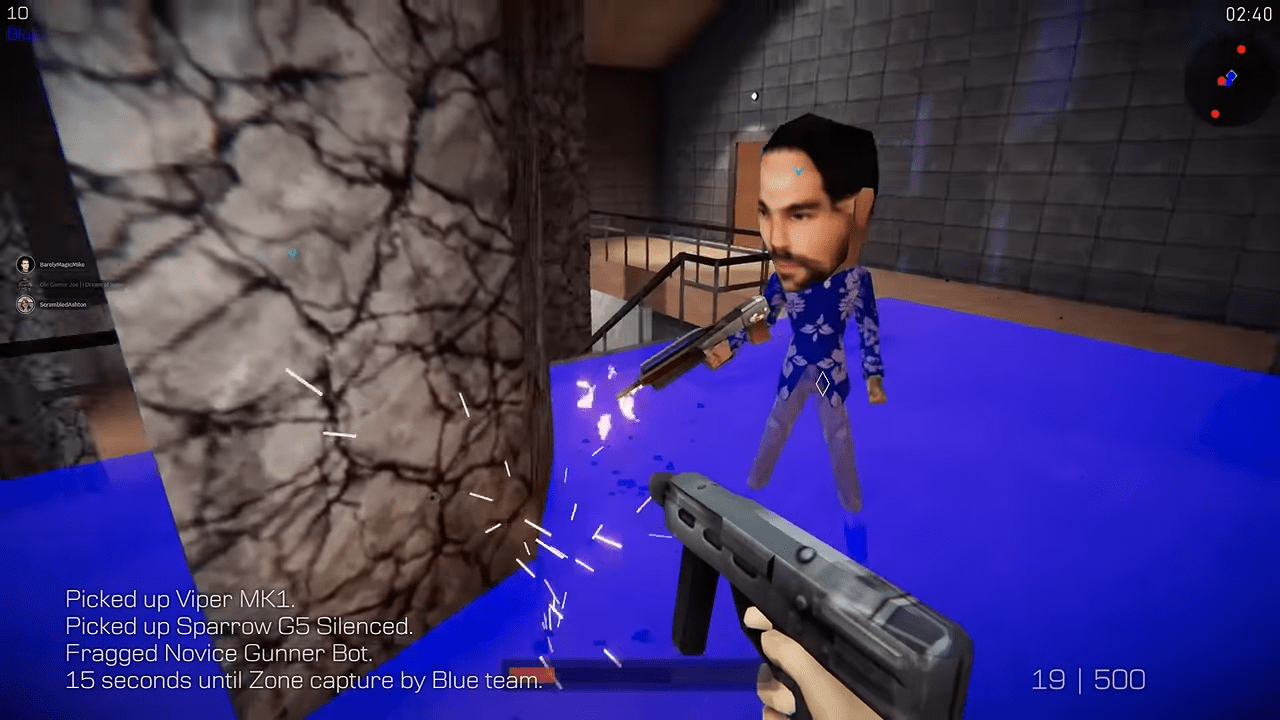
Starter 3: Group several friendly NPCs inside the zone to increase the number of points earned when the capture triggers. Stay near the edge while clearing incoming enemies, then move into position just before the scoring moment. A first score of four or more provides a good indication that the run is keeping pace.
Advanced League
Advanced League unlocks after completing Act 1, Mission 3, Castle. The rewards begin expanding Arena’s maps and modes while also introducing more demanding combat modifiers.
| Challenge | Normal Completion Reward | Par Time | Par Time Reward |
|---|---|---|---|
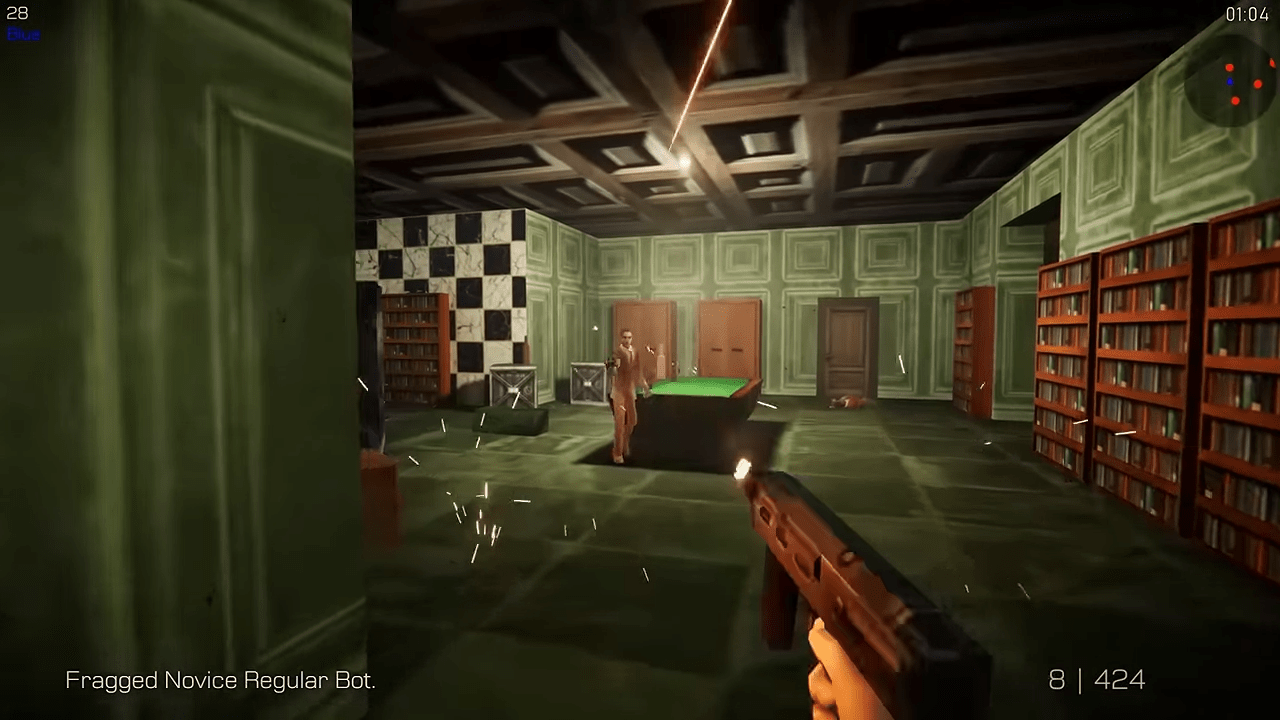
| Advanced 1 | Library Map and Slapper Bot Type for Arena | 2:45.000 | Melee Disarms |
| Advanced 2 | Penthouse Map and Fast Bot Type for Arena | 2:00.000 | Greenman character for Arena, Get Sparrow G5 |
| Advanced 3 | Briefcase Game Mode for Arena | 3:55.000 | Mime character for Arena, Get Magnum Demon |
| Advanced 4 | Advanced Bot Difficulty for Arena | 3:40.000 | NPC Shotgun, NPC Melee Only |
Advanced League Strategies
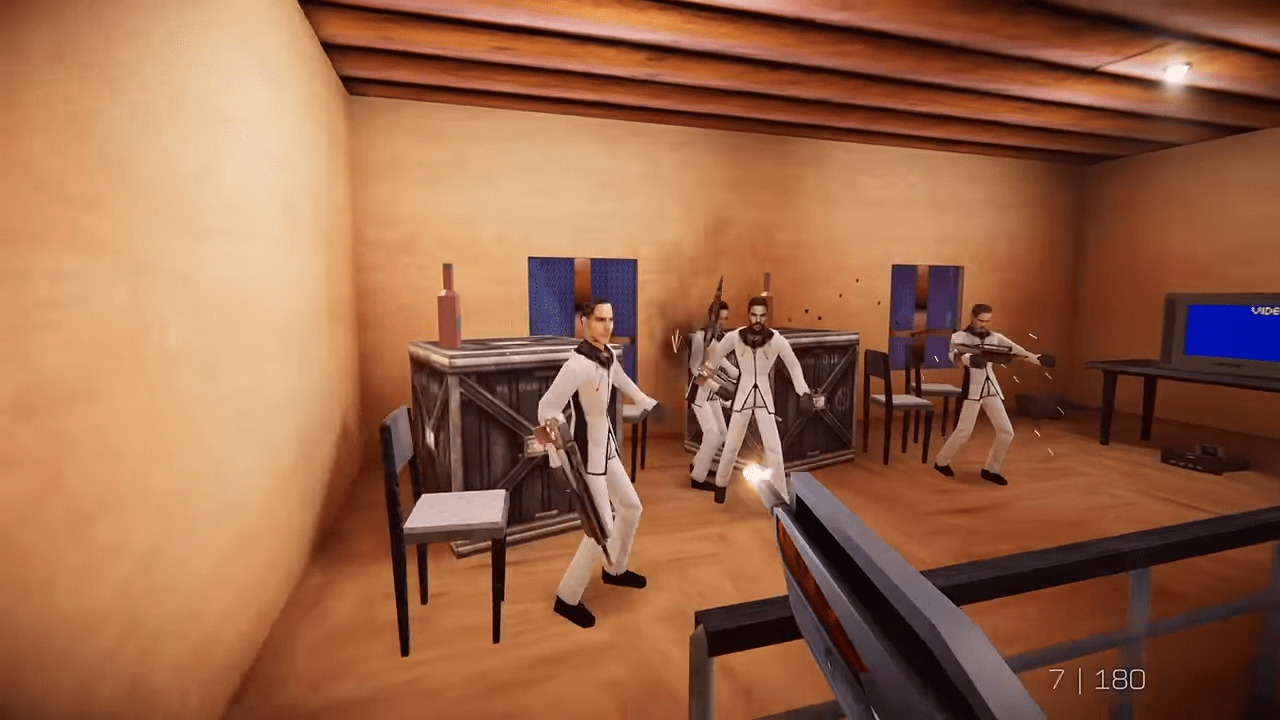
Advanced 1: Start on the ground floor and pick up the Typewriter and Body Armor. Move through the interior in a loop so enemies follow behind you, creating better opportunities for rapid kills. Around 12 kills every 30 seconds keeps the run near the required pace.
Advanced 2: Restart when you fall below seven kills after the first minute. An NPC opening a door gives you a useful attack window because the animation delays its response. Otherwise, rely on the radar and map knowledge to locate enemies.
Advanced 3: When carrying the briefcase, use ground-floor cul-de-sac areas where the objective is easier to defend.
Advanced 4: Friendly NPC survival becomes critical. To reach the par time, maintain four or five consecutive scoring periods with at least one friendly survivor. Keeping two alive can increase the scoring speed.
Pro League
Pro League unlocks after completing Act 2, Mission 7. At this stage, Arena starts gaining more maps, music, bot variants, and equipment alongside increasingly specialized par-time conditions.
| Challenge | Normal Completion Reward | Par Time | Par Time Reward |
|---|---|---|---|
| Pro 1 | Vigilante Bot Type for Arena | 2:10.000 | Headhunter (Headshots Only) |
| Pro 2 | Helipad Map, Complex and ComplexX Music, Predator Bot Type | 4:10.000 | Get Raptor 7 |
| Pro 3 | Museum Map, Museum and MuseumX Music, Marcus character | 3:45.000 | Get Sparrow G5 Silenced, No Weapon Pickup |
| Pro 4 | Snow Map and Avenger Bot Type | 2:35.000 | NPC Speed |
| Pro 5 | Complex Map and Elite character skin | 3:05.000 | NPC TypeW |
Pro League Strategies
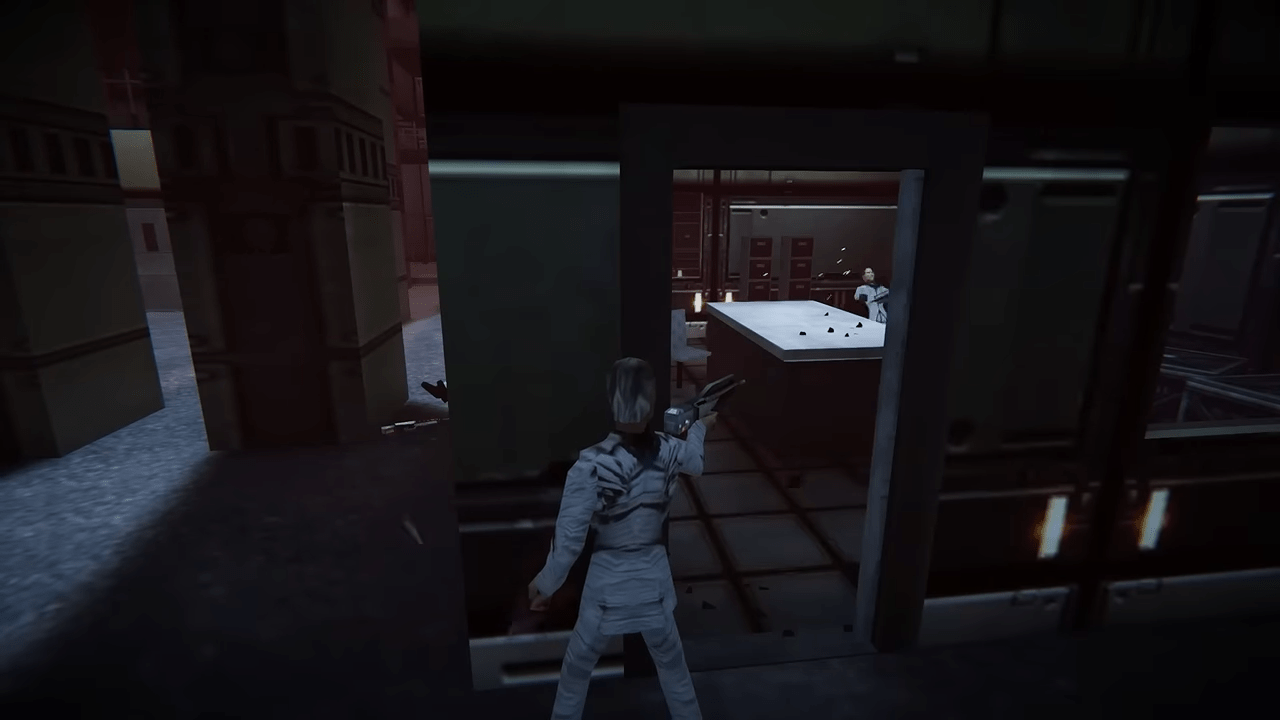
Pro 1: Pick up a sniper rifle and move toward the center of the map near the body armor. Use that position to shoot NPCs as they approach or appear.
Pro 2: Zone placement can determine the run. Sealed rooms are easier to protect, giving you a better chance to maintain control long enough to hit the target.
Pro 3: Strafe from side to side to reduce incoming pistol fire. When carrying the briefcase, move toward armor when practical while keeping the objective as the priority. The silenced G5 is a useful choice for accurate shots at range.
Pro 4: Stay in the upper interior area with the shotgun. Patrol the locker room spawn points instead of swapping weapons repeatedly. Enemy NPCs can become occupied collecting rockets, while allies deal with opponents elsewhere.
Pro 5: The time window is narrow. Starting in a useful position for the first zone is critical because five captures have to fit inside a tight schedule.
Elite League
Elite League unlocks after completing Act 3, Mission 11. The challenges introduce stronger combat restrictions and make defensive play increasingly important.
| Challenge | Normal Completion Reward | Par Time | Par Time Reward |
|---|---|---|---|
| Elite 1 | Catacombs Map and Stalker Bot Type | 6:20.000 | Get Viper Mk1, Player Melee Damage |
| Elite 2 | Professional Bot for Arena | 2:50.000 | NPC Sparrow G5 Silenced |
| Elite 3 | Elite Bot Difficulty | 4:10.000 | Aim and Shoot Only |
| Elite 4 | Stairs Map and Snow Guard character | 4:25.000 | Self Damage on Hit |
| Elite 5 | Nightclub Map, Nightclub and NightclubX Music, Hyperslap Paradox | 4:15.000 | Player Melee Only |
Strategies for Elite Leagues
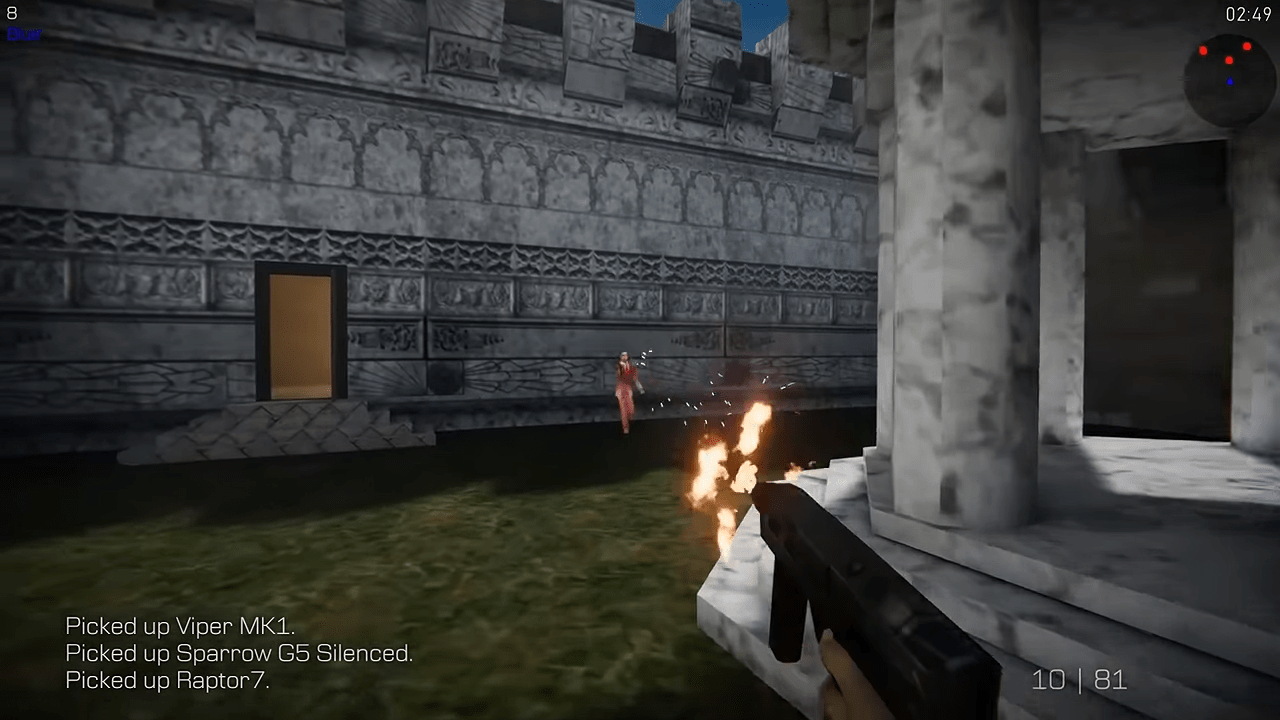
Elite 1: Maintain one capture per minute and keep a Raptor 7 available.
Elite 2: Melee attacks can work against armed enemies when you have enough room to move toward them while strafing. The large room with the bridge is a useful place for repeated kills, although the friendly AI contributes little.
Elite 3: Avoid unnecessary damage from proximity mines and make good use of the shotgun. The room containing the plasma rifle can be useful because AI tends to gravitate toward it. Friendly AI does not deploy proximity mines.
Elite 4: Zone placement plays a major role. When the next zone appears far away vertically, dying and respawning closer to it can sometimes save time. Keep armor available, carry plenty of Raptor 7 ammunition, and strafe during exposed captures.
Elite 5: Take the briefcase yourself whenever possible. Friendly NPCs often prioritize attacking enemies instead of protecting the objective. The first capture should arrive by around 40 seconds, followed by another every 40 to 50 seconds.
Legendary League
Legendary League unlocks after completing Act 4, Mission 14. It contains 11 challenges, making it the largest league and the final major block of Arena progression.
| Challenge | Normal Completion Reward | Par Time | Par Time Reward |
|---|---|---|---|
| Legendary 1 | Parking Map and Heavy Bot Type | 6:50.000 | No Hitstun |
| Legendary 2 | Elevator Map, Elevator and ElevatorX Music, Get Remote Mines | 4:40.000 | Size Change on Death, Size Change on Frag |
| Legendary 3 | Moon Map, Moon and MoonX Music, NPC Sniper Rifle Paradox | 4:50.000 | Move or Die |
| Legendary 4 | Get Proximity Mines | 7:05.000 | Santa character skin for Arena, Vampirism |
| Legendary 5 | Berserker Bot Type | 5:05.000 | Turbo Time |
| Legendary 6 | NPC Plasma Rifle Paradox | 9:45.000 | Trigger Discipline |
| Legendary 7 | Get TypeW | 4:55.000 | Speed Change on Death, Speed Change on Frag |
| Legendary 8 | NPC Magnum Demon Paradox, Spaceman character for Arena | 7:30.000 | Poisoned |
| Legendary 9 | NPC Sparrow G5 Paradox | 3:30.000 | Random Weapon at Intervals |
| Legendary 10 | Get Shotgun | 7:00.000 | NPC Size |
| Legendary 11 | Legendary Bot Difficulty | 3:30.000 | Mirror World |
Legendary League Strategies
Legendary 1: After collecting the briefcase, move to the small office inside the lobby or the distant parking-area spawn near the van. The vans and office furniture provide cover while enemies focus on each other. Maintain a steady scoring rate of about one capture per minute.
Legendary 2: Keep scoring from the opening stages of the match. The large map gives you room to move, while the two opposing team members can sometimes put themselves in danger around the rocket spawns.
Legendary 3: Enemy players tend to gather on one side of the map. Move there with a Raptor 7, clear the group, then rotate through the center and check the opposite interior side.
Legendary 4: The challenge is manageable when you are already winning. Use mines with care and avoid wasting them.
Legendary 5: Do not rely on friendly AI to hold the briefcase. Take control of it yourself and use defensible corners. You can also kill friendly characters and take the case from them.
Legendary 6: Consider keeping the shotgun rather than switching to plasma. Enemy plasma attacks can be avoided with strafing, but crossing back through the stream creates a serious risk.
Legendary 7: The Helipad is the preferred defensive position. Body Armor is needed to survive the group that follows you, and learning routes between briefcase locations and the Helipad is essential.
Legendary 8: Both winning and meeting the par time are relatively easy here.
Legendary 9: Frequent weapon changes make this challenge disruptive. Camp around the armor and hope the weapon rotations work in your favor.
Legendary 10: The NPC shotgun can hit from long distances, while the slapper creates a close-range threat. Taking the briefcase to the Helipad and using wide strafing at long range can reduce the danger from shotgun fire.
Legendary 11: The Legendary bot moves quickly and has strong accuracy. Use cover, look for favorable firing angles, and stay near armor because the bot does not pursue it.
General Challenge Mode Strategy
Challenge Mode demands a different mindset from the story campaign. The clock matters, but rushing without a plan can leave you behind even faster.
Build a Pace Check
Think of a par time as a series of checkpoints. A five-point objective that allows five minutes does not give you five minutes to start scoring. You need to establish a rhythm early enough to leave room for mistakes.
For example, if the target demands five points in five minutes, reaching the first point around the one-minute mark keeps the run on schedule. Falling several points behind means the final minute may not provide enough time to recover.
Restarting early can be more efficient than spending another minute on a run that has already missed its required pace.
Learn Every Useful Spawn
Map knowledge can save more time than raw aim. Remember where weapons, armor, objectives, stairways, rooms, and spawn areas appear. Familiarity allows you to move toward the next useful location without stopping to search.
This matters most in timed objective modes, where a few seconds spent looking for the briefcase or the next zone can break the pace of an otherwise good run.
Take Over the Objective
Briefcase matches place unusual pressure on friendly AI. Friendly characters tend to chase opponents rather than focus on the objective, making them unreliable carriers.
When weapons are available, taking the briefcase yourself can prevent that problem. The same principle applies to Zone matches, where more friendly characters inside the territory increase the score when the capture triggers.
Protecting allies can therefore be as important as eliminating enemies. Friendly fire also creates another risk, since an accidental attack can remove one of the characters needed to increase a zone score.
Accuracy Still Matters
The most basic combat advice remains useful: kill enemies before they get the chance to fire back. Faster eliminations conserve health, reduce interruptions, and keep the clock moving in your favor.
Challenge-Specific Tips
The individual league strategies above cover the main tactics for each stage, but several broader patterns appear throughout Challenge Mode.
Control Objective Matches
Objective modes reward planning before the scoring window opens. Zone matches favor players who position friendly NPCs correctly and reduce the number of enemies reaching the territory. Briefcase matches reward taking direct control rather than trusting allies to carry the objective.
Choose the Right Defensive Position
Combat-focused challenges often revolve around choosing a defensible position and staying there long enough to build a lead. The best locations vary by mission, but armor, narrow spaces, interior rooms, and elevated positions repeatedly appear as useful parts of the strategy.
Use Map Knowledge to Save Time
Map knowledge becomes more valuable as the par times tighten. A player who knows where to move next can spend those seconds fighting instead of searching.
Know When to Restart
Not every failed run needs more practice. Some challenges depend on objective or zone placement, enemy behavior, or weapon availability. When the opening conditions create a poor route, restarting can be the most efficient move.
Early scoring targets provide useful checkpoints. Missing those targets does not always make a run impossible, but repeatedly falling behind leaves too much pressure for the final portion of the match.
Completing Every Challenge Par Time
The complete Challenge Mode progression stretches from Starter League to Legendary League, with story progress controlling access to the later stages.
Players who want every unlock need to separate ordinary clears from par-time clears. Completing a stage may grant a map, character, bot type, mode, or another Arena feature, while the time requirement adds another modifier or piece of content.
The system also encourages players to revisit areas they already know. A story location might return as an Arena map, while a familiar weapon can appear as part of a different challenge. The result is a progression path that connects the campaign to competitive and experimental modes.
Challenge League Unlock Requirements
- Starter League: Available with New Game
- Advanced League: Unlocked on Completion of Act 1, Mission 3
- Pro League: Unlocked on Completion of Act 2, Mission 7
- Elite League: Unlocked on Completion of Act 3, Mission 11
- Legendary League: Unlocked on Completion of Act 4, Mission 14
Once every League Challenge par time has been completed, the final reward is the Chrome character skin for Arena.
That gives completionists a clear endpoint after working through the entire Challenge Mode ladder.
Conclusion
Agent 64: Spies Never Die packs a large part of its long-term progression into optional challenges. Story par times unlock Paradoxes, Contracts add alternate rules to familiar missions, and Challenge Mode opens a steadily expanding selection of Arena content.
The toughest time targets are not always about shooting faster. Learning the maps, protecting useful allies, controlling objectives, choosing defensive positions, and recognizing when a run has fallen behind can matter just as much.

Leave a Reply