
Last Updated on 27 November, 2025
Look Outside tests your survival instincts, but its Challenge Achievements test your discipline. Unlocking badges like Miasma, Loner, and Insomnia requires you to play against your natural urges to clean, socialize, and sleep. This guide provides a verified, step-by-step route to secure every challenge achievement in a single playthrough.
We have designed this path for the Flawed Ritual ending in version 2.0 of the game. You will finish the game within three days, alone, unwashed, and exhausted. Follow these instructions precisely to ensure you do not invalidate a run.
Table of Contents
The Challenge Achievements Explained
You must understand the constraints before you begin. Violating any of these conditions will force a restart.
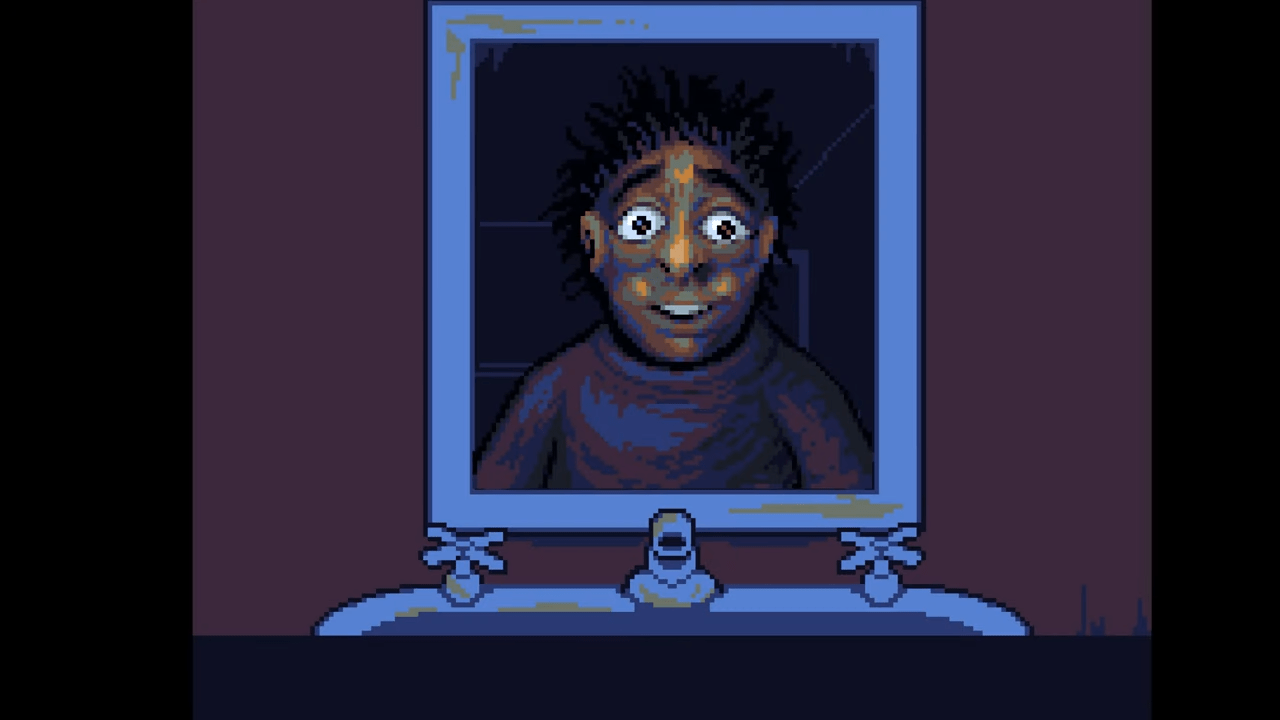
- Miasma: Finish the game without showering. You will accumulate a stench that may affect gameplay, but you must ignore it.
- Loner: Finish the game without recruiting companions. You may speak to NPCs, but you must not let them join your party.
- Insomnia: Finish the game without sleeping in a bed.
- Ascetic: Finish the game without eating cooked meals. You cannot use the oven. Snacks, sodas, and raw items are acceptable.
- Gamer’s Bane: Finish the game without playing video games.
- Long Weekend: Finish the game within 3 in-game days.
- Cold Shoulder: Finish the game after speaking to Sybil only once.

Core Rules for Success
1. Stay Out of Your Apartment at Night
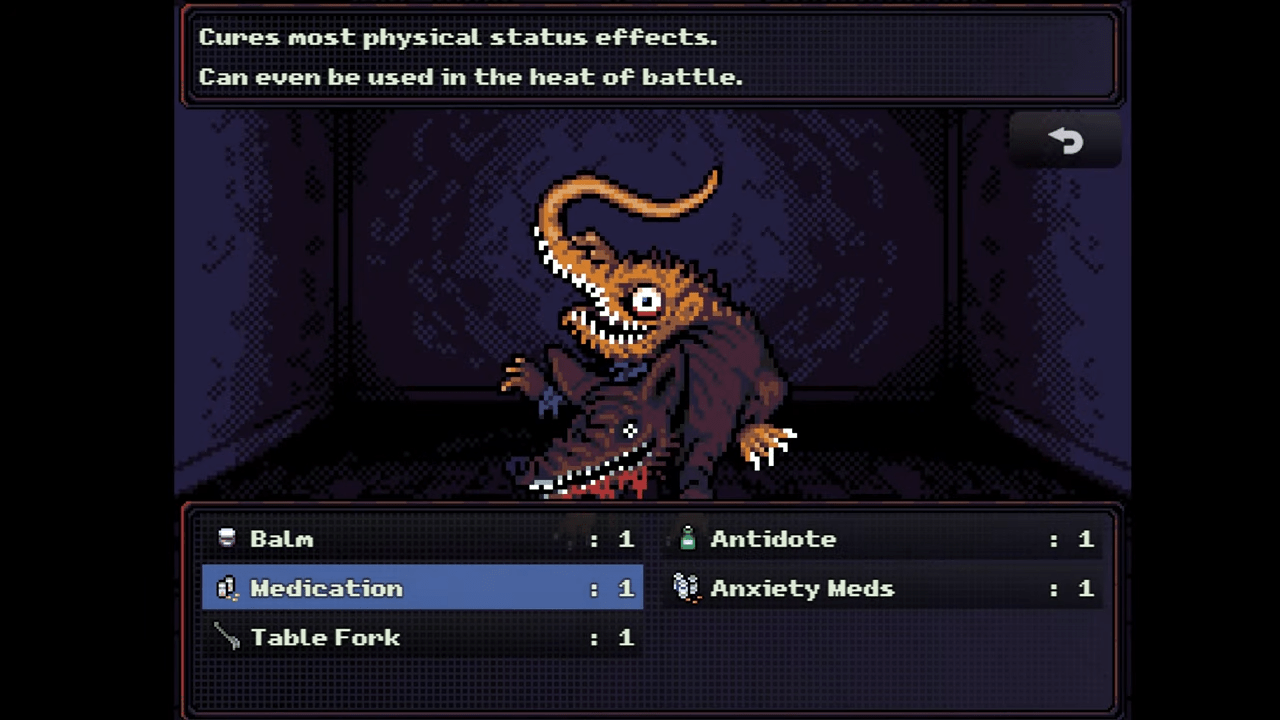
This is the most critical rule. If you enter Apartment 33 at night, the game locks you inside until morning. To pass the time, the game forces you to sleep or play video games. Both actions void your achievements. You must only enter your apartment during the day to save or craft.
2. Aim for the Flawed Ritual Ending
The Failure ending no longer awards these achievements in version 2.0. You must achieve the “Flawed Ritual” ending by providing exactly one correct offering during the finale. This guide sets up Aurelius as your single correct offering.
3. Save Strategically
Players on Explorer mode can usually save via the menu without counting as a visit for the Cold Shoulder achievement. Use this to your advantage. If this gets patched, you must rely on careful play.

Floor 3: Waking Up
Your run begins in your apartment. Wake up and speak to Sybil immediately. Tell her your name. Do not speak to her again for the rest of the game. This counts as your one allowed interaction for the Cold Shoulder achievement.
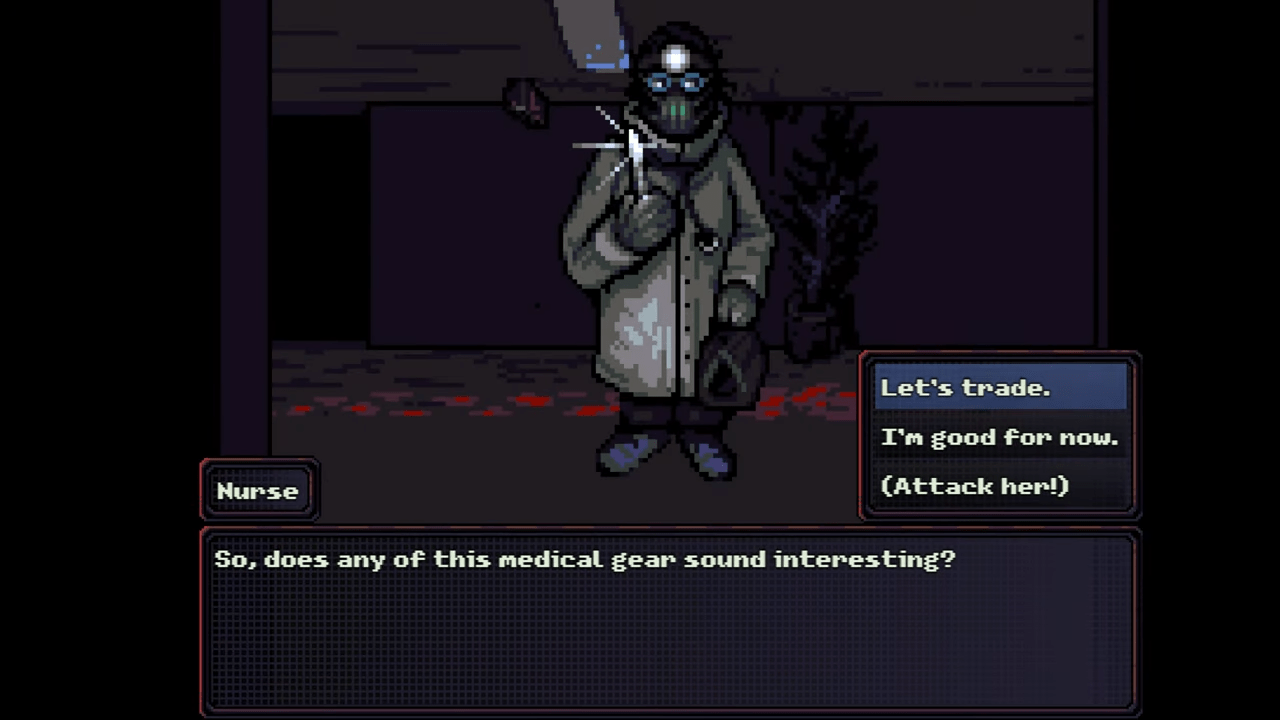
Collect the cash from the table and the medkit from the bathroom. Leave the apartment. Defeat the wounded neighbor in the hallway and loot his room. You will find a Simple Key. Do not use this key on the safe in this room. Keep it in your inventory for a more important lock later.
Clear the hallway of onlookers. These weak enemies serve as free experience points. Enter Vincent’s apartment to loot it and secure the Crafting Kit.
Unlock the staircase. Before you go to Floor 2, run all the way down to the Basement. Pick up the Pool Cue and equip it. This weapon is essential for the next floor.
Floor 2: The Grinning Beast
Enter Floor 2 and loot Apartment 20 (Jeanne’s apartment). Proceed down the hall to find the key for Apartment 21.

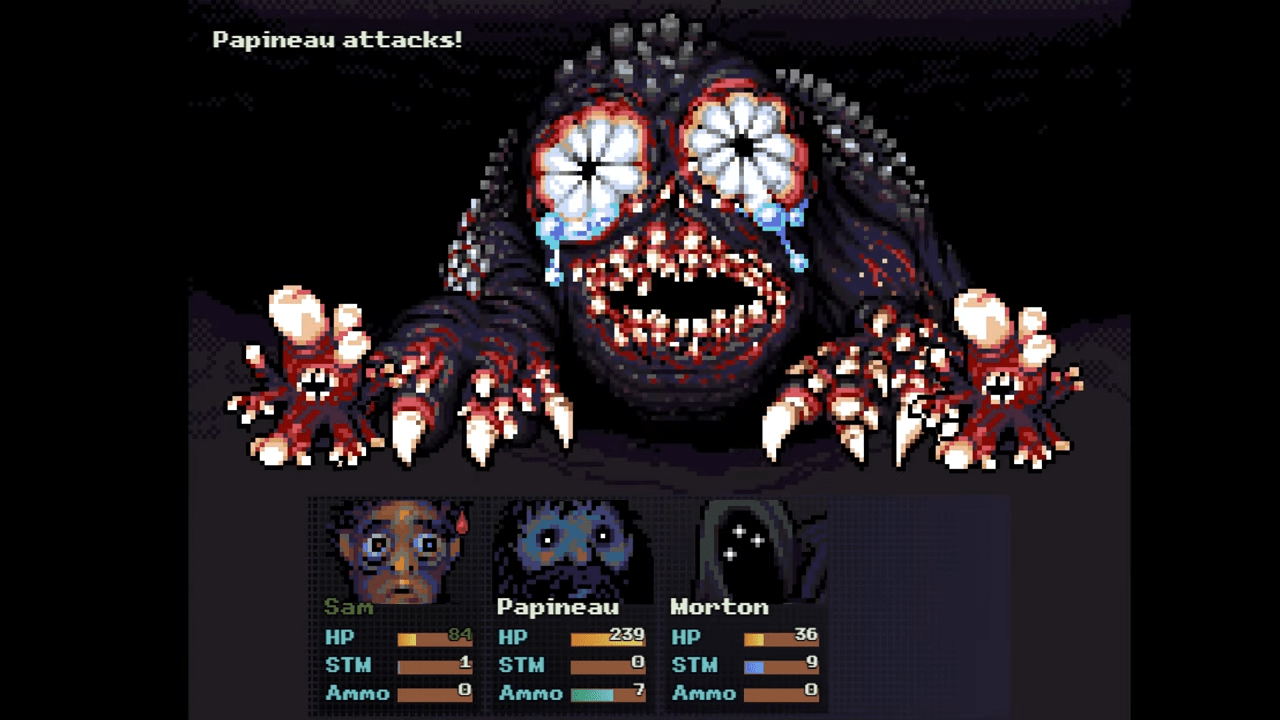
The Grinning Beast blocks your path. Fight it immediately. The beast is weak to piercing damage, so your Pool Cue will destroy it in two hits using the Impale ability.
Use the key to enter Apartment 21. Loot the room and take the Plain Photo Paper from Lyle. Do not recruit Lyle. You should give this Photo Paper to Aster while you are on this floor.
Exit through Lyle’s apartment toward Floor 1. If your danger meter hits maximum, retreat to your apartment (during the day) to cash in the bonus experience and morale.

Floor 1: The Three Freds
Unlock the staircase door to ensure easy movement. Locate the corridor with closed doors and enter the room marked with a large red eye (the third door from the right). Take the Simple Key inside.

Go to Frederick’s apartment. Speak to him to get his keys. Enter the workshop on the right and grab the Turpentine from the table. You need to kill three versions of Fred to get the Canvas Carry Bag.
- Shadow Fred: Use the Turpentine you just found to kill him instantly.
- Return to Frederick to get more Turpentine.
- Wriggly Fred: Located inside the fridge. Use Turpentine to kill him.
- Tumor Fred: Located in the bathroom. He does not attack. Use Turpentine to kill him.
Speak to Frederick again to receive the Canvas Carry Bag. Use the bag to collect the Painting of the Visitor from the workshop wall. Go to Aurelius’s room across the hall and give him the painting. This secures him as your ally for the ending. Loot his room and grab the Gasoline.
Proceed to the Rat-Infested Apartment. Kill the rats and pick up the Rat Baby Thing. Take it to Apartment 13 and feed it to the mouth on the wall. Pick up the Earth Disc.
Use the Earth Disc to open Apartment 11. Evade the Rat Freak inside and grab the Mars Disc. Remember to pick up the Earth Disc again as you leave Apartment 11. Use both discs to unlock the door to the Ground Floor.

Ground Floor: Scavenging
Grab the Herbicide in front of the women’s bathroom but save it for later. Enter the lobby to trigger the bus crash event.
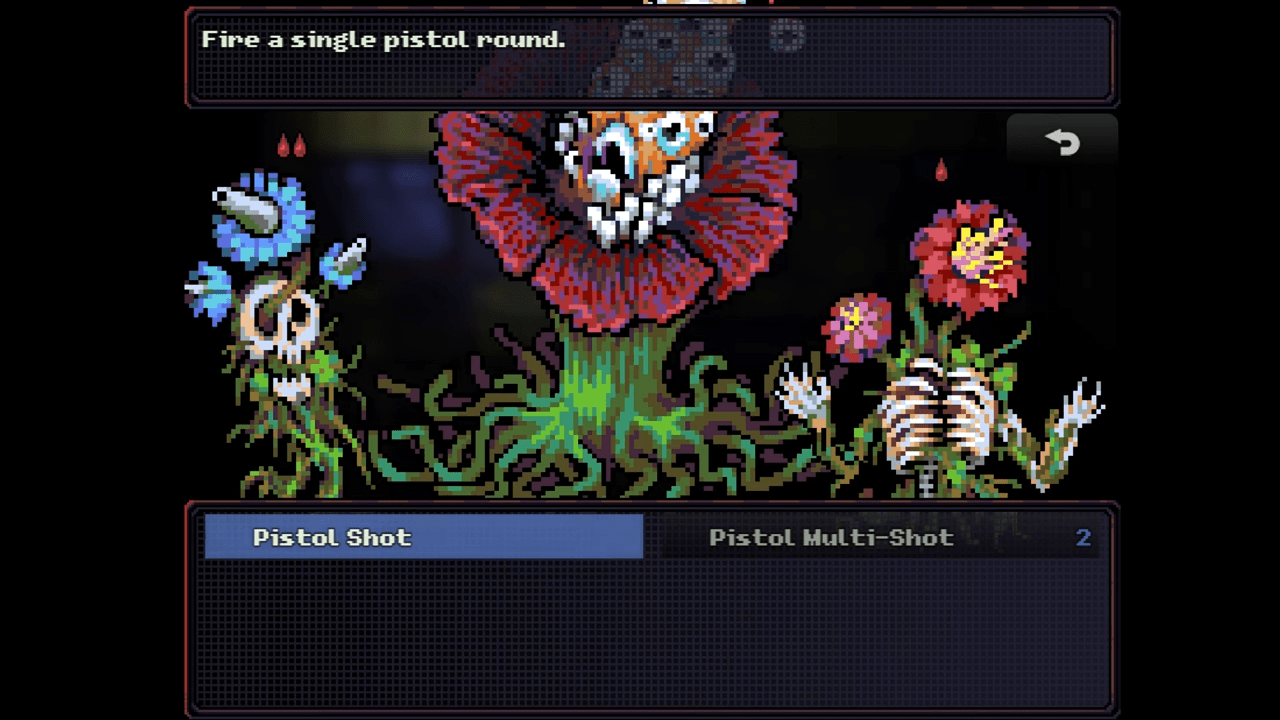
Loot every room. Visit Mutt’s Shop. Sell all your Personal Effects, as well as your soap and toothpaste. You will not shower, so these items are just cash to you. If Mutt sells the Champion’s Belt or Chainsaw, buy them. If not, save your money.
Enter the Landlord’s apartment. Equip a slashing weapon like a Machete or Cleaver here. Search the bedroom safe for $250. Fight your way to the final stage to get the Basement Key. You can grab the key and leave without making the final payment if you are quick.
If it is still daytime, visit your apartment to craft Explosives. You will need them soon.

The Basement: Shortcuts and Chemicals
Enter the Basement and go to the Sewers. Keep to the right to avoid enemies. Activate the lever to progress. This releases the Boiler Beast. Run to the left immediately and follow the Exit signs. Do not fight the beast.

You will reach an area with friendly NPCs. Do not eat Musette’s soup. It might count as a meal, which would void the Ascetic achievement.
Use the Herbicide to unlock the storage room on the left. Inside, loot the crafting materials, including two cans of Gasoline.
Go up to the Parking Garage and unlock the shortcuts. Return downstairs to the Fungal Lair. Defeat the first infected enemy to get the Convenience Store Key.
Go back up to the Ground Floor and open the Convenience Store. Stay near the walls to avoid the centipede enemy in the shelves. Grab the Blank Tape from the room on the left. Return to the Basement and give the tape to Beryl.
Visit Eugene’s shop. Buy Explosives, Gasoline, Cleanerex, and Tonics. If you need to refresh the shop inventory for Day 3, go to your apartment and play crosswords to pass the time safely.

The Elevator Freak Boss Fight
This is the hardest fight of the run. The Elevator Freak has 1200 HP and deals heavy damage.

Preparation:
- Weapon: Cleaver (or any weapon with Deep Cut).
- Items: Molotovs, Tonics, Stimulants.
Go to the Parking Garage elevator. The fight starts with the elevator ascending. Throw a Molotov to burn the boss. On Turn 3, the elevator will fall. You must GUARD on this turn to avoid massive damage and paralysis.
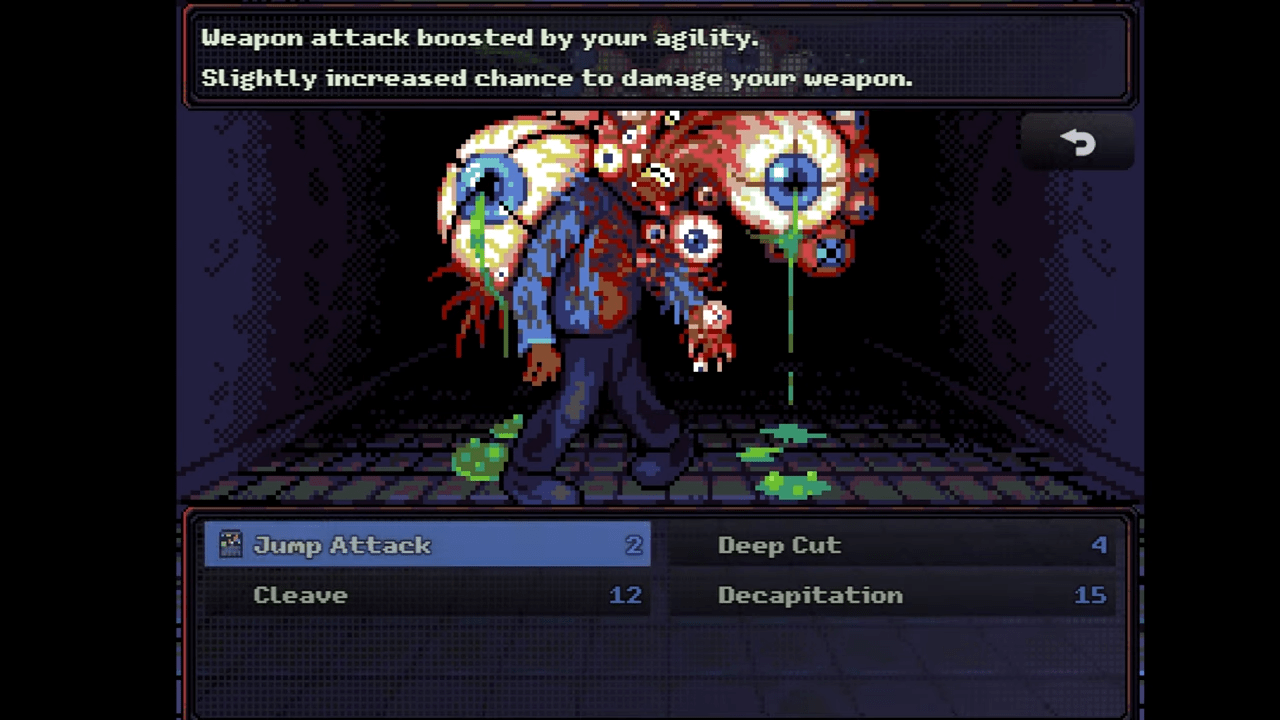
After the crash, use your weapon’s Deep Cut ability to inflict bleeding. The combination of burn and bleed damage will drain the boss’s health. Focus on healing yourself with Tonics while the damage-over-time effects do the work. Kill him once his health is low.
Go to Floor 2 and enter the Writer’s Apartment. Avoid the boss here. Grab the Crumpled Manuscript, Tea Set, and Cash.
Final Preparations
Go to Mutt’s shop on the Ground Floor. Sell everything you do not need for the final battle (ammo, old gear, leftover personal effects). Check if he has gasoline.

Go to Eugene’s shop on Floor 2 (ensure it is Day 3). Buy Grenades, Explosives, and the Tie (if you lack the Champion’s Belt) to help resist status effects. Use your saved Simple Key on a safe if you need extra money.
Return to your apartment. Craft as many Explosives (Gasoline + Cleanerex) and Fire Bombs (Gasoline + Cloth) as you can. Aim for 7 Explosives and 2 Fire Bombs.

The Final Battle
Go to the Ground Floor and give the Crumpled Manuscript to Jasper. Tell him you are ready.

Go to the roof. Speak to all four astronomers. They will mutate into the boss, except for Aurelius, who remains human because you gave him the painting.
Enter the ritual circle to fight the Chorus of One.
Boss Strategy:
- Turn 1: The boss uses Black Hole, which halves your HP. Heal immediately.
- Tactics: Throw Fire Bombs to burn the boss. Throw Explosives for damage. Keep your health high with Tonics.
- Status: Watch out for Joyful Peek, which paralyzes you. The Tie or Champion’s Belt helps here.
Because only one astronomer mutated, this version of the boss is weak. You should defeat it quickly.
Conclusion
Once the boss falls, you will trigger the Flawed Ritual ending. As the credits roll and the score screen appears, you will unlock Miasma, Loner, Insomnia, Ascetic, Gamer’s Bane, Long Weekend, and Cold Shoulder.

You have successfully navigated the horrors of the apartment complex without basic comforts or allies. Congratulations on completing the ultimate test of survival in Look Outside.

Leave a Reply