
Last Updated on 23 October, 2026
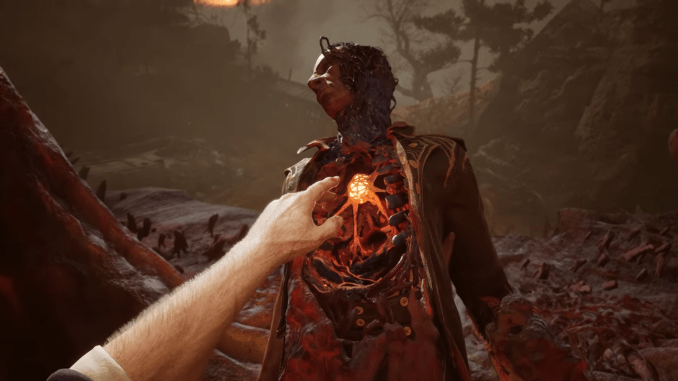
Getting 100% completion in takes more than defeating every boss. You must finish optional quests, hunt down seven hidden Eternal Guardsmen, collect 17 monster sketches, upgrade your equipment, and complete combat challenges that can be easy to overlook during the campaign.
You can return to previous areas after defeating the final boss, so missed objectives do not require another playthrough. Focus on story progression first, handle optional quests as you reach their regions, and use the locations below to clean up the remaining achievements.
Table of Contents
Before You Start
Valor Mortis turns an alternate 19th-century Europe into a first-person Soulslike, casting you as William Dowsett, a soldier of Napoleon’s Grande Armée resurrected into a world ravaged by a supernatural plague. Swords, firearms, parries, dashes, and supernatural abilities all play a role in surviving its battlefields and uncovering its secrets.
The game has 39 Steam achievements. Story milestones account for many of them, but full completion also requires optional quests, upgrades, collectibles, and specific combat feats.
Airborne Aiming is particularly helpful for Aerial Annihilation and Windhover. You will also need all nine weapons and Transmutations for Jack-knife. Collect new Amber types during exploration rather than relying on duplicates to complete your collection.
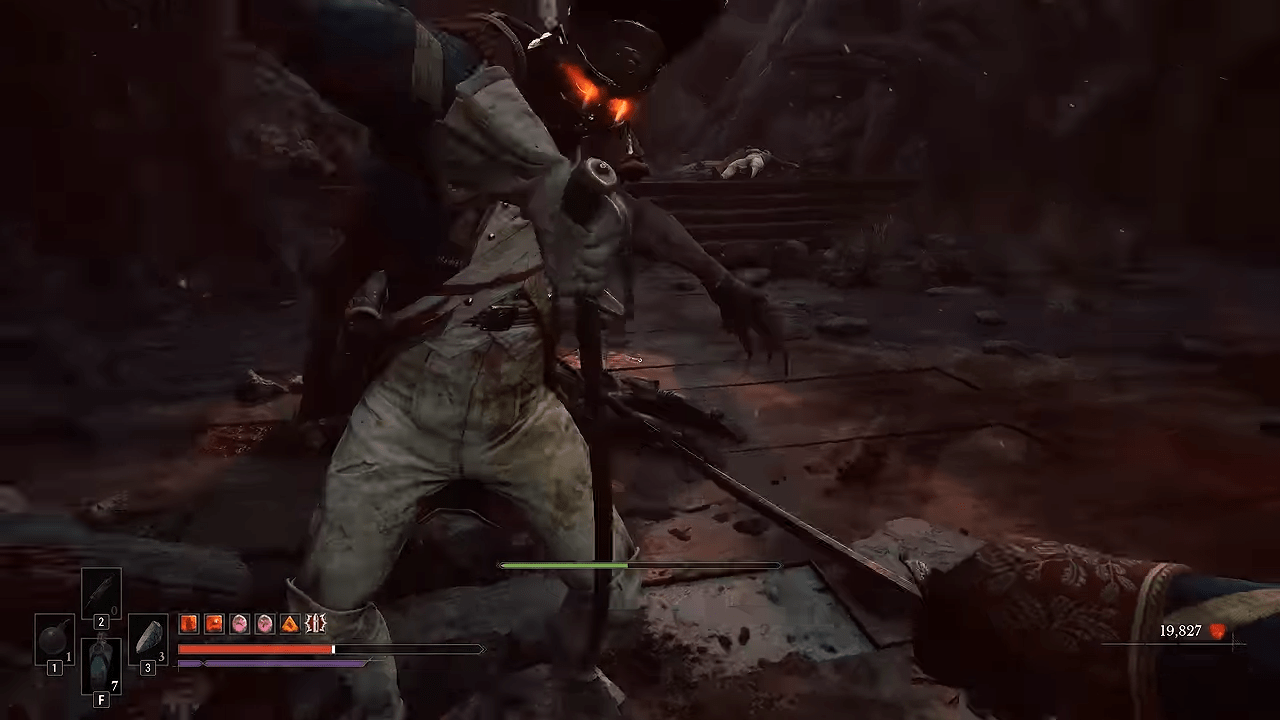
Tip: Save enough upgrade materials to bring one melee weapon, one firearm, and one Transmutation to maximum level. You can revisit previous areas after the final boss to finish missed challenges.
Story Achievements
These achievements are tied to major encounters or story progression. Defeat the listed boss or reach the required milestone during your campaign.
| Achievement | Requirement |
|---|---|
| Torn Banner | Defeat General Lothaire, the Eagle-Bearer. |
| Ultima Ratio Regum | Defeat the Iron Marshall. |
| Not a Cat Person | Defeat the Sphinx. |
| Quixotry | Defeat the Slaughtermill. |
| My Dying Bride | Defeat the Bride. |
| True Oath | Defeat Justicar Aurelius. |
| Lament of the Limbs | Defeat Experiment 83. |
| Birdwatcher | Rendezvous with the Shrike. |
| Coup de Grâce | Defeat the Orphan. |
| Behemoth | Defeat Nephtis Superioris. |
| In His Own Image | Defeat the Entity. |
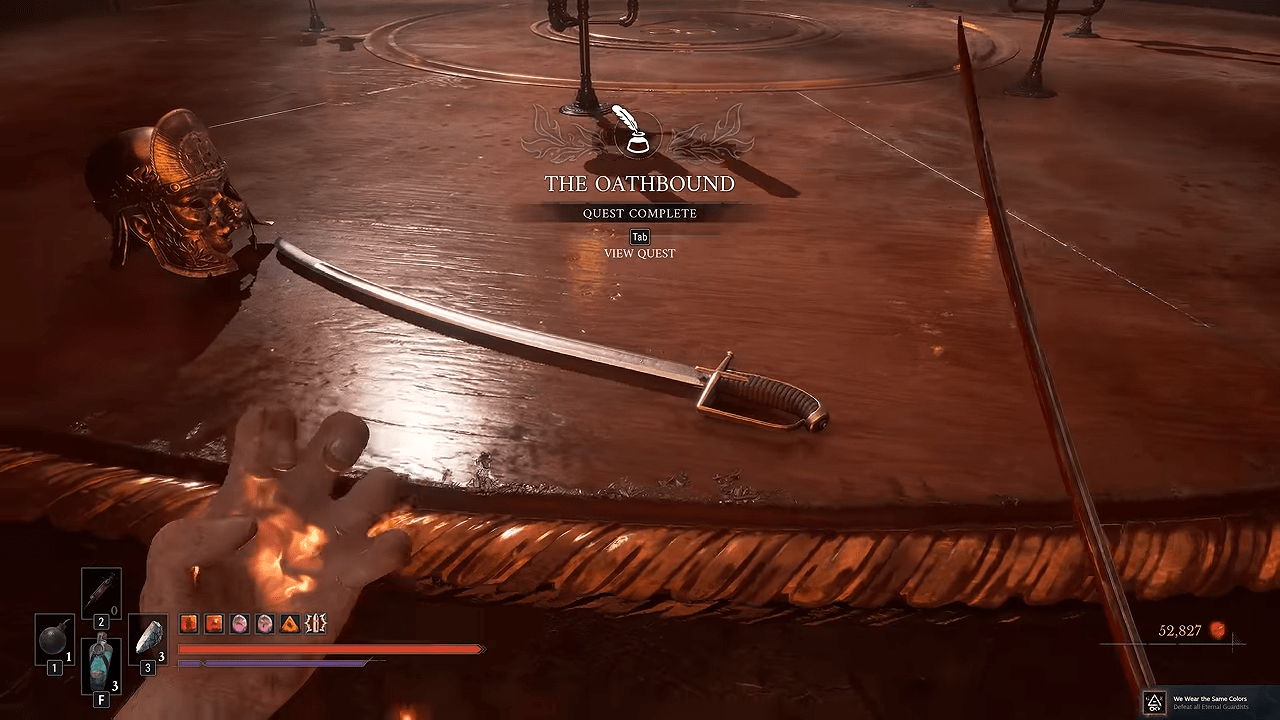
| Nephtis Superioris | Earn every other achievement. |
Most of these unlock as you advance through the story. Note the distinction between Behemoth, which is awarded for defeating Nephtis Superioris, and the achievement named Nephtis Superioris, which requires every other achievement.
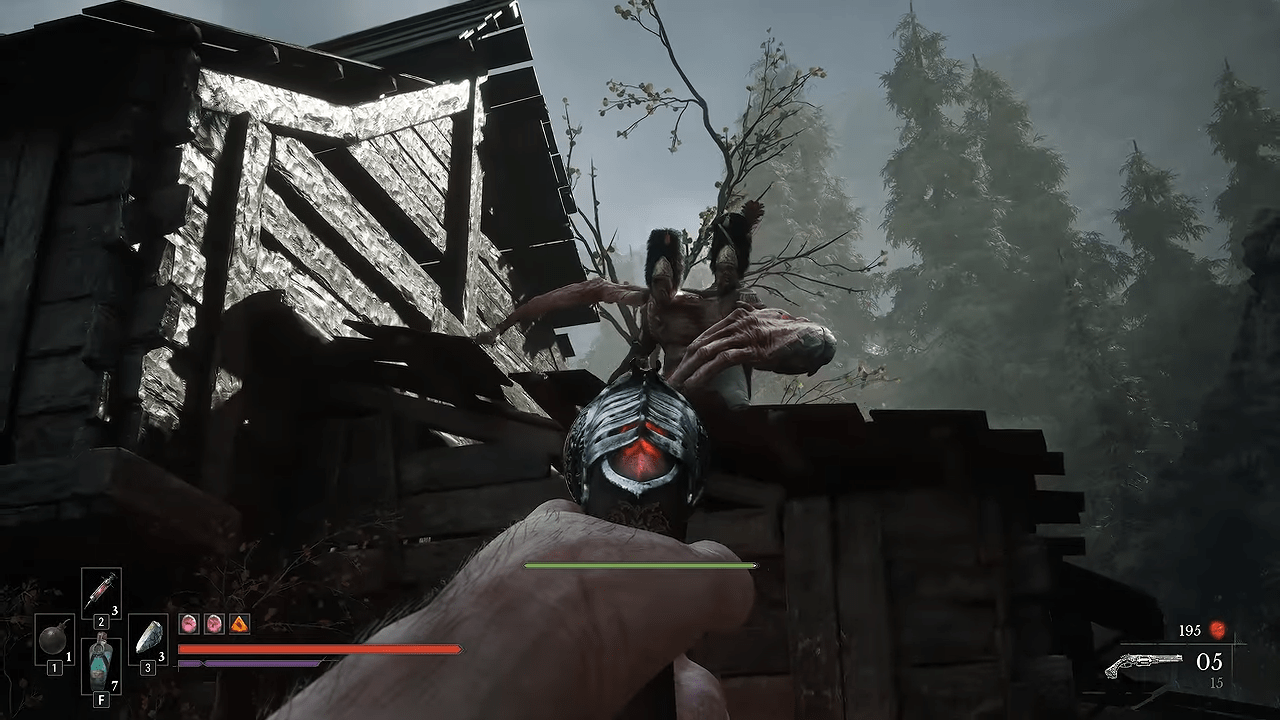
Tip: Concentrate on defeating the required bosses and meeting the Shrike during your campaign. You can use post-game exploration to finish optional objectives and combat challenges.
Side-Quest Achievements
Several optional quests begin beside Lanterns, inside cabins, or in areas just beyond the main path. Follow these routes to start and complete the four quests below.
Aggressive Reconnaissance
Starting point: Valley of Ashes, Demolished Path.
Speak to the man beside the cart behind the Lantern. He asks you to find his missing soldiers.
Travel to the Climb Lantern and ascend about halfway. Jump to the left to find the Scout Commander, then defeat him. Find the remaining soldiers at the top of the lift on the right. Return to the man by the cart and report what happened to finish the quest.
Hand in the Jar
Starting point: Vale of Wrath, Under the Bridge.
Go underneath the bridge and head right toward the bee farm, using the two grapple points to cross. Defeat the Eternal Guard and take the Beekeeper’s Key. Use it to open the nearby hut, then collect the letter inside to start the quest.
Find and interact with three beehives without X marks:
- The first is near the house.
- The second is on the opposite side of the bridge.
- The third is on the right near the village entrance.
Collect the final figurine to complete the quest. If the achievement does not unlock, return to the hives and interact with them again. Some players have reported needing another round of interactions.
Blood and Wine
Starting point: Cursed Waters, Silent Cannons.
From the Lantern, approach the wooden platform beside the water. Use the floating debris to cross toward the right bank, where Seamus Diggory waits in a cabin. Speak to him to begin his experiment quest.
Pass the exploding enemies and continue toward the building that opens the route to the next zone. Search the final cabin for a bottle of wine and a vial of blood near the pig. Return to Seamus with either item. Wine pleases him more, but the choice does not change the achievement outcome.
The Bitter Cure
Starting point: Outskirts, Island of Whispers.
Follow the bridge shortcut toward the house beyond the exploding horse. Speak to the old woman to start the Laudanum quest.
Check the nearby house on the left to find imprisoned children who offer another perspective on the old woman. After making your choice, travel to Market Square and head toward the gas-filled area. Continue until you find the house with a grave for a dog.
Search the second floor for a trapdoor and drop into the room below to collect the Laudanum. If you previously agreed to poison the old woman, William mixes rat poison into the medicine when you pick up the bottle.
Tip: Hand in the Jar is worth double-checking before leaving Vale of Wrath. If collecting all three figurines does not finish the quest, revisit the hives and interact with them again.
We Wear the Same Colors
This achievement requires you to find and defeat seven hidden Eternal Guardsmen. They appear in different regions, and some require specific abilities or a stealth approach to reach them efficiently.
1. Valen Duroc
Location: The Battlefield, Onslaught Arch.
Return toward the beginning of the game. At the fork with two enemies, turn left and use your pistol to open the wall. Valen waits beyond it.
You can attempt a backstab by moving to the left, climbing the rock, and waiting for him to lose interest. Once he turns away, circle behind him and attack.
2. Lucien Lafontaine
Location: Valley of Ashes, Demolished Path.
After dropping down the ladder, climb back up and follow the cliffs ahead. Before entering Lucien’s area, climb along the left side and sneak behind him for a backstab.
3. Etienne Vauclair
Location: Fallen Village, Marketplace.
Backtrack past the wagon and turn left. Cross several jumps to reach the cavern where Etienne is hiding. You need both the Grapple and the Platform Activator to reach him.
4. Jean Pierre Polnaire
Location: Caverns, Old Mine Lantern.
Enter the first cavern, climb to the second floor, and turn left. Jean Pierre cannot be backstabbed, so prepare for a direct fight.
5. Severin Susse
Location: Cursed Hollow, Village Church.
Open the shortcut to the church and continue straight through the swamp. Take the route around the right side of the house, then approach Severin quietly along the wall to get behind him.
6. Adrien Casell
Location: City of Orphans, Shamble Street.
Go through the opened gate and descend to the left, toward the area with two elite enemies. Shield Transmutation is required to pass through the gas.
Once inside, wait behind the cart until Adrien moves away, then sneak up behind him for a backstab.
7. Bastien Beaufort
Location: Fortress, Courtyard.
Take the passage beside the Lantern and prepare for a difficult battle. Bastien’s body lies in the left corner after the fight. Search it, then cross to the opposite side of the hall and examine the Grande Armée symbol.
This opens the hidden entrance to Bastien’s lair. Enter and take the letter from the table to complete the quest.
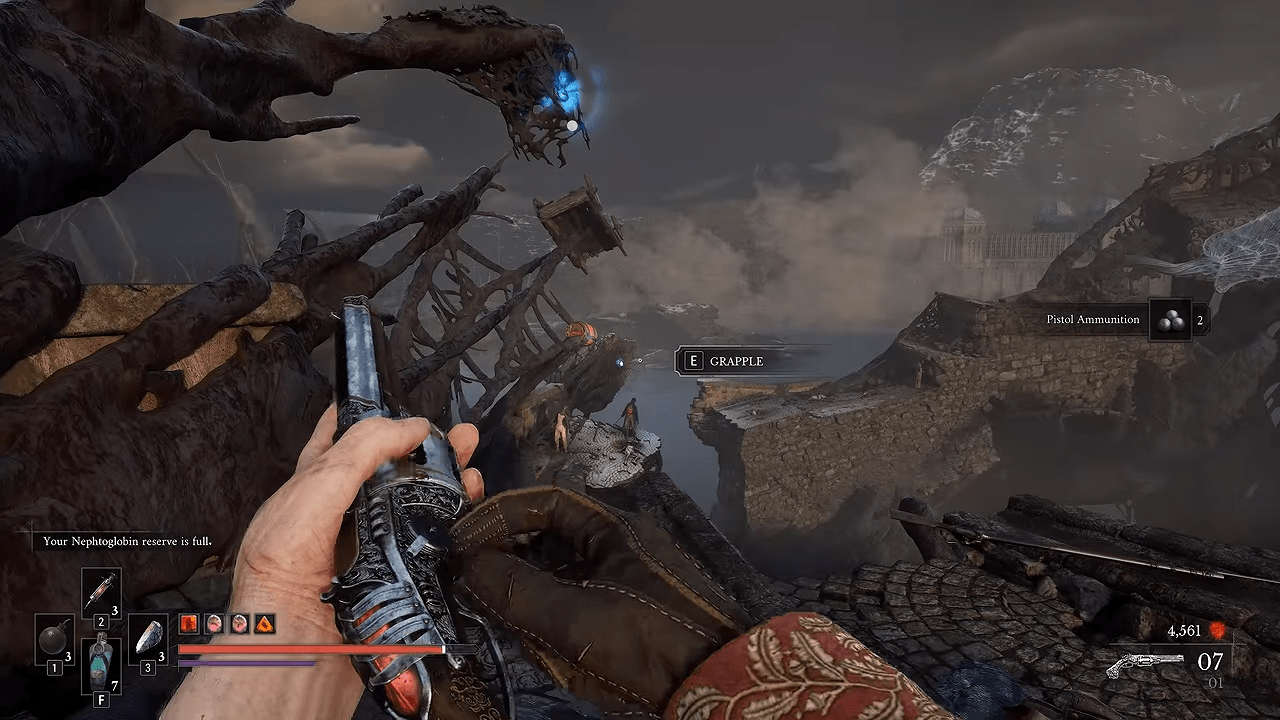
Tip: The guard hunt is not finished when the seventh enemy falls. Search Bastien’s body, examine the Grande Armée symbol, and collect the letter inside the hidden lair.
The Book of Beasts
Collect all 17 sketches in the City of Orphans. Picking up the first drawing starts the collection quest. The sketches are attached to walls, tucked into alcoves, or placed inside side rooms, so inspect each area before moving on.
Tribunal Square: Sketches 1 to 6
- Drawing of a Lancer: Inspect the tree beside the Tribunal Square Lantern.
- Drawing of a Risen Soldier: Find the burrow near the river and walk around its corner. Check the nearby wall.
- Drawing of a Howler: Pass through the tunnel filled with burning wood, turn left, then right. Search the wall in the dead end.
- Drawing of a Volunteer: Enter the building with numerous crates in the first room. Follow the route toward the second-floor stairs and inspect the wall beneath them.
- Drawing of an Eternal Guard: Leave that building and turn left toward the burning area. Take another left and inspect the alcove on the right.
- Drawing of General Lothaire: After passing the enemy with a tentacle arm, go through the burning tunnel and turn left. Near a chest, inspect the crates on the cart to its left.
Shamble Street: Sketches 7 to 12
- Drawing of a Sapeur: Inside the building with opening and closing Neptho-walls, reach the room where two enemies shoot at you. Look right for a drop to the lower level. Use jumps and dodges to cross the poison, then search the wall in the next large room. A shield can help here.
- Drawing of the Slaughtermill: Grapple across the courtyard. Enter the room on the right instead of descending the stairs. Open the cabinet and inspect its contents.
- Drawing of a Swarm Mother: Enter the building near the man tied to a pile of wood. Climb to the top floor, step onto the balcony, and turn right. The drawing is in the corner.
- Drawing of Shambling Civilians: Near the ramp leading to another burning tunnel, look left for a small area with stairs. Check the pillar.
- Drawing of a Remnant of the Iron Regiment: Pass the large open area near the tower with a chest. At the next building, go around the front-right corner and inspect the wall behind the wooden spikes.
- Drawing of a Sphinx: Climb the tower and ride the zipline down. Pass the building leading to the sewers and turn right. The sketch is attached to the wall.
Sewers: Sketches 13 to 17
- Drawing of a Grenadier: Continue through the sewers until you find an open area on the left with a blob-like enemy hanging from the ceiling. Jump across the gap and search the wall on the right.
- Drawing of a Carrion: Return to the junction where you previously went downstairs. Take the right passage, crouch beneath the boards, and use the grapple point. Follow the route toward the shortcut back to the Lantern, then descend the ladder into the poisonous lower sewer. Jump between safe surfaces and collect the drawing from the wall on the right.
- Drawing of an Unknown Monstrosity: In the circular chamber, unlock the door with the Sewer Key. Grapple across the section containing an enemy, then turn right into a dead end. The drawing is on the left wall beside a locked gate.
- Drawing of an Abomination: Continue until the path splits left and right. Inspect the wall to the left of the round sewer tunnel, near the middle of the junction.
- Drawing of an Unknown Figure: Follow the main route outdoors into an area with two elite enemies. Approach the edge near the water, turn right around the corner, and collect the final sketch.
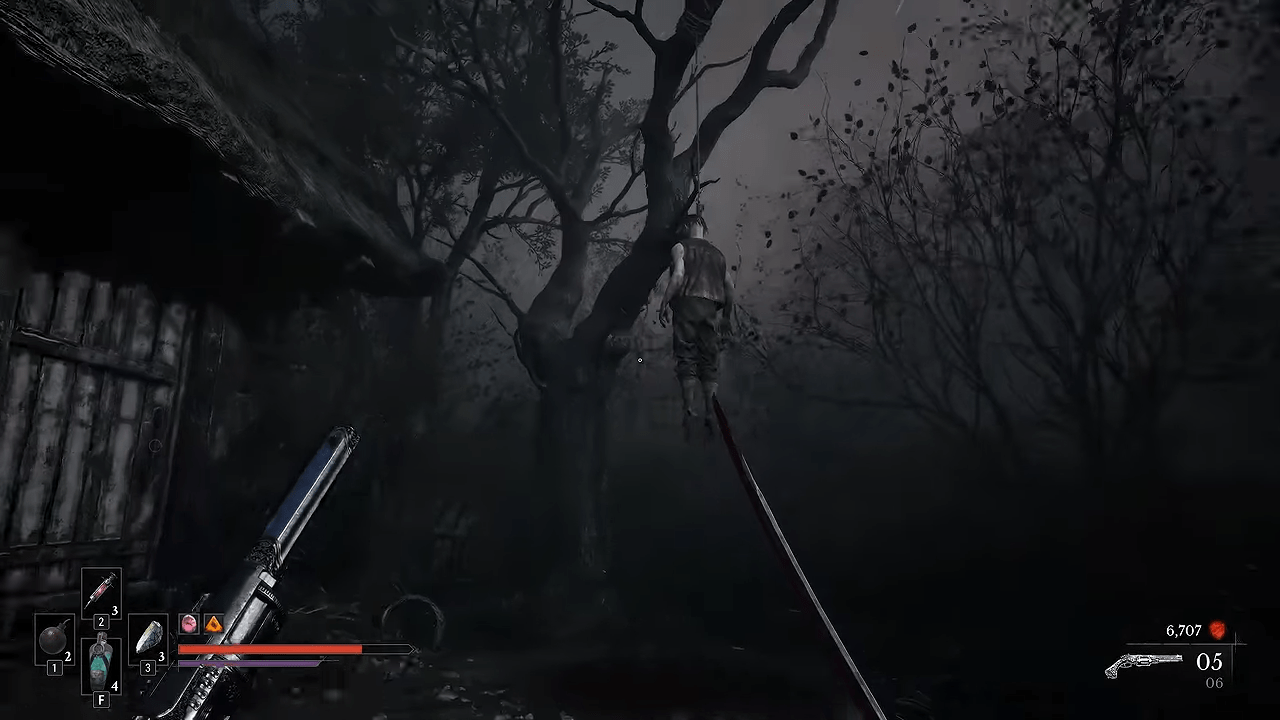
Tip: Check side rooms, cabinets, pillars, and dead ends before leaving each part of the City of Orphans. If the collection quest remains incomplete after the 17th drawing, revisit locations where you may have passed a sketch without interacting with it.
Upgrade Achievements
These achievements reward upgrading weapons and abilities. Concentrate your rare materials instead of spreading them across equipment you rarely use.
| Achievement | Requirement |
|---|---|
| Bladesmith | Upgrade one melee weapon to level 10. |
| Gun of Glory | Upgrade one firearm to level 10. |
| Ambersmith | Gather Amber types. Unlock it after collecting about 28 or 29. |
| Transmutation Artifex | Upgrade one Transmutation to level 5. |
| Arsenal Absolute | Unlock all weapons and Transmutations. |
Prioritize one weapon and one Transmutation
For Bladesmith, choose a melee weapon you enjoy using and upgrade it to level 10. Do the same with one firearm for Gun of Glory. Transmutation Artifex requires level 5 in a single Transmutation, so invest your materials in one ability instead of dividing them between Fire, Stasis, and Shield.
Arsenal Absolute requires all nine weapons and Transmutations. The set comprises the Saber, Rapier, Claymore, Pistol, Blunderbuss, Musket, and the Fire, Stasis, and Shield Transmutations. Collect them as you progress through the story.
Collect unique Ambers
Gather all Ambers, or approximately 28 or 29. Prioritize Amber types you have not collected, and keep searching if the achievement remains locked.
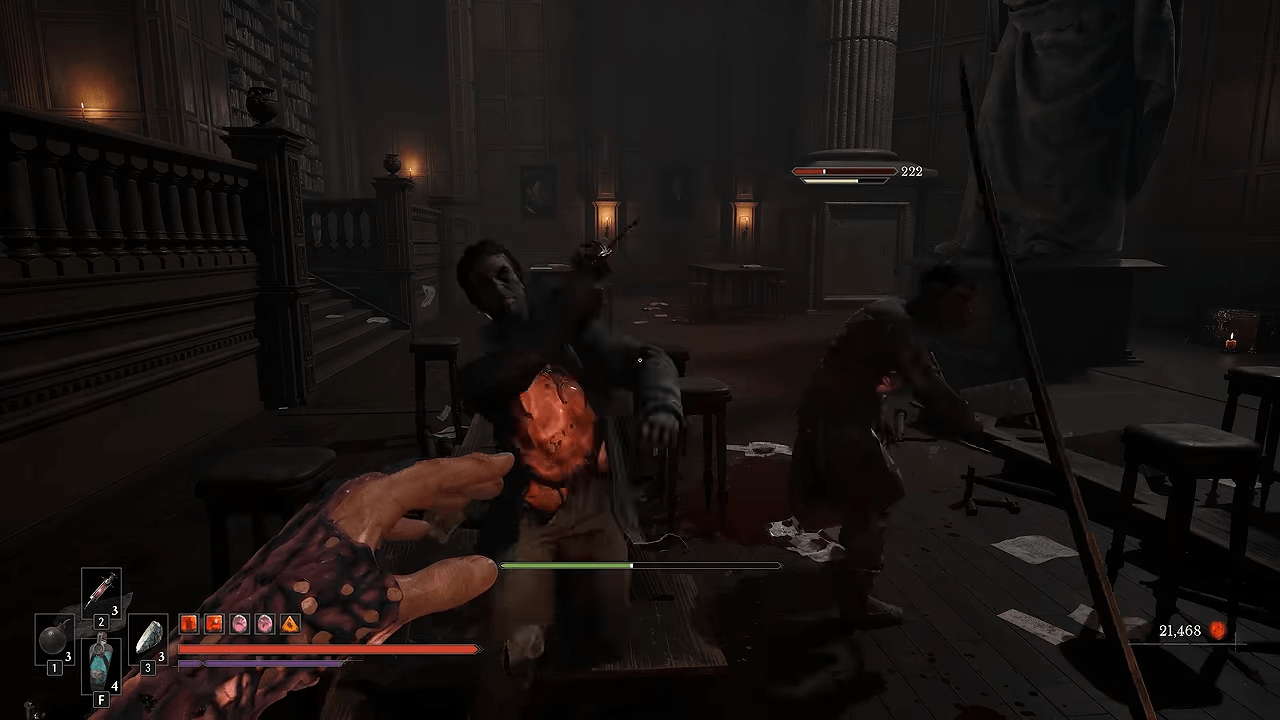
Tip: Upgrade a single weapon and a single Transmutation first. Keep track of unique Amber types.
Combat Achievements
Several combat achievements become easier when you return to a Lantern and prepare an encounter. Weaken enemies if necessary, but make sure the final hit, sequence, or status effect meets the achievement requirement.
Aerial Annihilation
Location: Caverns, Mine Cart Route.
Turn around from the Lantern and move toward the far-right corner on the second floor. Find the rifle enemy near the wall-run route. Unlock Airborne Aiming, weaken the target, then perform a wall jump and land a headshot while airborne. The killing shot has to follow a wall jump.
Hoodsnatcher
Location: The Battlefield, Trenches.
Turn around from the Lantern to find three seated enemies. Position yourself so a charged Claymore attack hits all three in one swing. Weaken them first if necessary, but ensure they survive until the attack. The goal is to decapitate three enemies with a single Claymore attack.
Windhover
Location: The Battlefield, Trenches.
Turn around and move into the previous area to gather enemies near the cage. Unlock Airborne Aiming and kill three enemies with the Pistol while aiming in mid-air. The three kills can be earned across separate jumps; they do not all have to happen during one airborne sequence. Weaken targets beforehand if necessary.
Scattershot
Location: Fallen Village, Marketplace.
Enter the barn to trigger five enemies, then back toward the doorway and let them bunch together in front of you. A level-6 Blunderbuss with the Collateral Damage upgrade can help because its wider spread makes it easier to hit all five.
Kill all five with one ordinary Blunderbuss shot. A grenade charge does not count. If the enemies survive the shot, return to the Lantern to reset the encounter and try again.
Symphony of Steel
Perform ten parries without taking damage. Find a basic enemy with a predictable attack and focus on its timing. Equip the Duellist’s Focus Amber if you struggle with the parry window.
Stay with one enemy and restart the sequence if you are hit. The goal is ten successful parries without taking damage between them.
God’s Trigger
Land ten consecutive headshots or weak-point hits with a ranged weapon without missing. The Pistol or Musket is a good choice. Melee attacks between ranged hits are allowed, but a missed ranged shot breaks the streak.
The Battlefield near Onslaught Arch is a useful place to practice against ordinary enemies. Aim carefully, and avoid firing quickly just to keep the sequence moving.
Single Stroke
Location: Valley of Ashes, Demolished Path.
Turn around from the Lantern and head back toward the Risen Grenadier. Shoot the bucket containing its grenades. Destroying the bucket unlocks the achievement and stops the enemy from continuing to throw grenades from it.
Rookie Mistake
Use all your Ferrofluid Flasks, then attempt to use another when none remain. You can arrange this during an ordinary encounter by taking damage, spending every available healing charge, and trying to heal again after the last flask is gone.
Statue of Insanity
Use Stasis on a Remnant of the Iron Regiment and build the effect until every circle above the enemy’s health bar is filled. The enemy must be fully locked before you kill it.
We recommend the Hex upgrade for Stasis-focused setups. Avoid killing the target with ordinary damage before the effect reaches its full state.
Flame Feast
Location: Fallen Village, Marketplace.
Return to the barn used for Scattershot and draw out the five enemies. Let them bunch up, then use Fire Transmutation to set at least four enemies on fire with a single use. The Ignite effect must apply to four targets.
In the Nick of Time
Interact with a Lantern while below 20% health and with no Ferrofluid Flasks remaining. Bring an enemy toward a Lantern, spend all your healing charges, and let the enemy reduce your health to a critical level. Return to the Lantern and interact with it before dying.
Fight Fire With Fire
Bring an enemy toward environmental fire. Stand in the fire until you are burning, then use Fire Transmutation to ignite the enemy while you are still burning. Watch your health carefully because the burning effect can quickly become dangerous.
Mind the Gap
Die by falling into the abyss. Jump from a ledge into an area where the fall damages you, then repeat until your health reaches zero. The achievement requires dying from the fall.
Abyssal Eviction
Upgrade Shield Transmutation to level 5 to unlock Shield Bash. You must kill an enemy by pushing it into the abyss with this ability. Find a target close to a drop, position yourself to face the edge, and use Shield Bash to send it over. The fall must kill the enemy for the achievement to count.
Frenzied Flame
Location: Fortress, Ramparts.
Drop down from the Ramparts and follow the passage to the left. At the end, enter the room on the left to find a sword embedded in the ground. Use Fire Transmutation to ignite the bonfire and unlock the achievement.
Jack-knife
Deal damage with every melee weapon, firearm, and Transmutation without dying. Wait until you have the complete arsenal, including Shield, then return to an easier area and damage enemies with every item in one life.
- Melee weapons: Saber, Rapier, and Claymore.
- Firearms: Pistol, Blunderbuss, and Musket.
- Transmutations: Fire, Stasis, and Shield.
If the achievement does not unlock after the first rotation, cycle through the weapons and Transmutations again. Make sure you deal damage with each item.
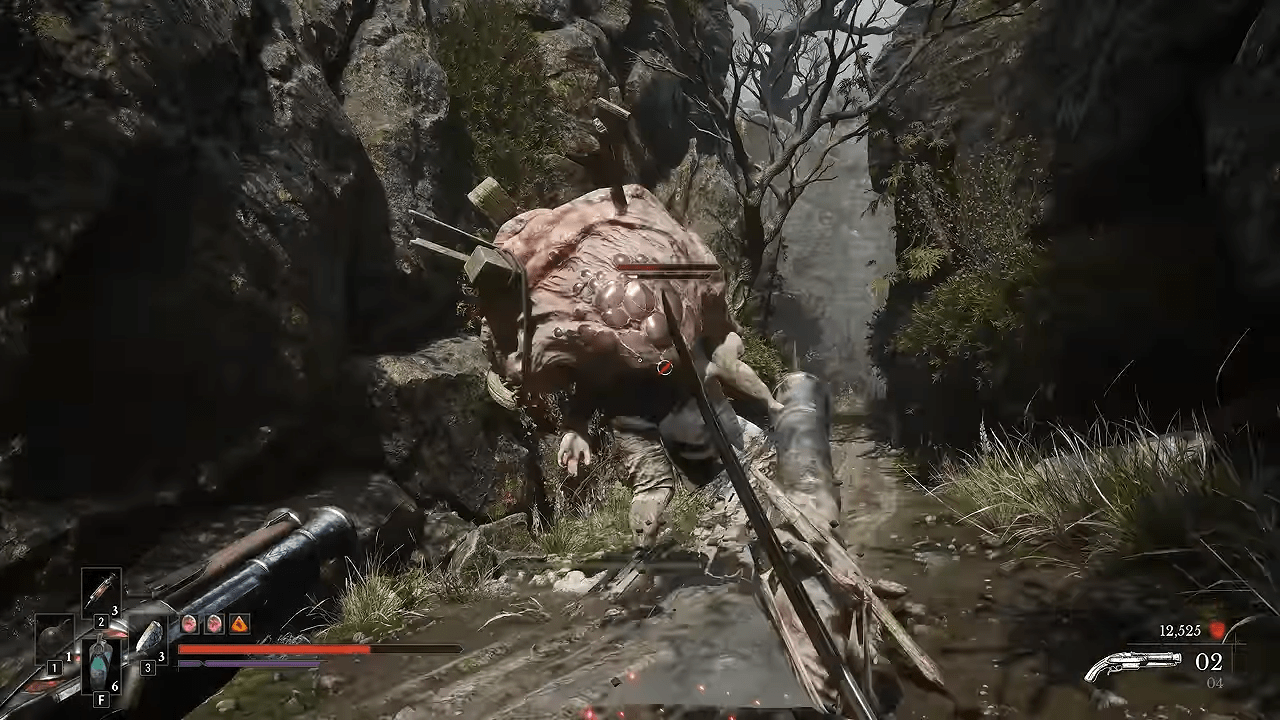
Tip: The Fallen Village barn is useful for Scattershot and Flame Feast, while the Trenches provide the three seated enemies for Hoodsnatcher. Prepare each encounter before attempting the required attack, and return to its Lantern if you need to reset the enemies.
Best Build for Achievement Hunting
A Stasis-focused setup is useful for controlling groups and making difficult encounters more manageable. It also helps with Statue of Insanity, which requires filling every Stasis circle on a Remnant of the Iron Regiment.
Prioritize Stasis and Lunatic’s Grasp III
Invest in Stasis Transmutation and the upgrades that improve its buildup. The recommended Amber setup uses Lunatic’s Grasp III, which increases Ignite and Stasis buildup at the cost of reduced resistance to those effects. Faster buildup helps you apply Stasis more quickly, especially when fighting several enemies at once.
Use Bountiful Harvest III for survivability
If survival is a problem, equip Bountiful Harvest III. It restores health when you collect Nephtoglobin Remnants, giving you another way to recover health while exploring and fighting.
Switch to charged Claymore attacks for the final boss
When magic runs out during the final boss fight, use charged Claymore attacks. Switch to a melee-focused Amber setup if needed, then keep dealing damage while your magic is unavailable. Use Stasis for control when it offers the most value, but do not rely on it as your only damage option.
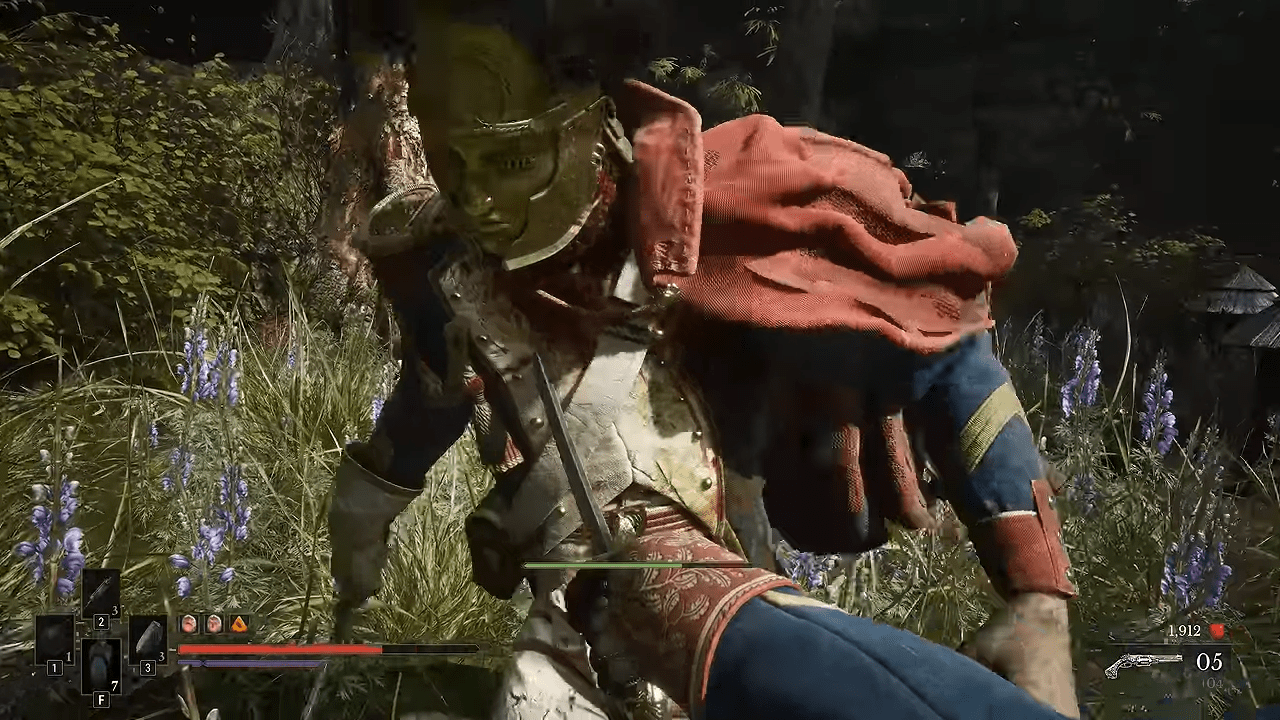
Tip: Keep Lunatic’s Grasp III for faster Ignite and Stasis buildup, use Bountiful Harvest III if you need more health recovery, and keep charged Claymore attacks ready for moments when magic runs dry.
Final Checklist and Conclusion
Before finishing your 100% run, make sure you have completed the following:
- Defeated the required story bosses and met the Shrike.
- Completed Aggressive Reconnaissance, Hand in the Jar, Blood and Wine, and The Bitter Cure.
- Defeated all seven hidden Eternal Guardsmen and collected the letter from Bastien Beaufort’s lair.
- Collected all 17 sketches for The Book of Beasts.
- Unlocked all weapons and Transmutations.
- Reached level 10 with one melee weapon and one firearm, and level 5 with one Transmutation.
- Collected enough Amber types to unlock Ambersmith.
- Completed the combat challenges, including Jack-knife.
- Earned Nephtis Superioris by unlocking every other achievement.
Use the listed locations to repeat difficult combat challenges, keep your upgrades focused, and return to familiar enemy groups when you need to satisfy several achievement conditions. Once the optional quests, collectibles, and combat requirements are complete, you can finish the remaining achievements without starting a new run.

References

Leave a Reply