
Last Updated on 23 October, 2026
Getting through the Hellraiser: Revival story is only part of the challenge if you’re chasing every achievement. Several of the game’s ten Pain and Suffering Pillars are missable, two achievements depend on specific encounters or actions, and the final decision can require a second ending if you don’t preserve a manual save. Some achievements also demand repeated combat, careful crafting, or spending coins at Zora’s shop.
This walkthrough covers the full story progression, collectible locations, keypad codes, all five firearms, all twelve crafting recipes, the ten Pillars, and the achievement cleanup needed for 100% completion. Follow the save plan before progressing through the major sections, especially on Hard difficulty or above.
Table of Contents
- Completion Overview and Save Strategy
- Prologue
- Escape the Cult
- Escape Charlotte
- Free Sunny’s Soul
- Open the Gate to Charlotte
- Give Charlotte’s Heart to Sunny
- Hunt Marlowe
- Hunt Marlowe Part II
- Make Your Choice
- All Pain and Suffering Pillar Locations
- All Firearms and Crafting Recipes
- Missable Achievements
- Combat and Gameplay Achievements
- Zora’s Merchant Achievements
- No Life in the Void, Only Death
- Final 100% Checklist
Completion Overview and Save Strategy
Clive Barker’s Hellraiser: Revival is a single-player first-person action horror survival game in which Aidan must use the Genesis Configuration to save his girlfriend Sunny from the Labyrinth. Released on October 8, 2026, the game combines brutal combat, stealth, puzzles, exploration, and a story shaped by Pinhead and the Cenobites.
The game has 69 achievements, and you can earn them all in one playthrough if you use manual saves to revisit the final choice. The biggest risks are missing a Pillar, failing the graveyard stealth challenge, overlooking an opportunity at the docks, or completing the wrong ending without a save to return to.
Create these six manual saves
There is no chapter select, so preserve your progress at the following points. These saves protect missable achievements and give you places to return for cleanup.
- Save 1: First Zora Shop. Create a manual save when you reach Zora’s first shop. This gives you a backup before spending coins and buying early recipes.
- Save 2: Before the Graveyard. Keep a separate save for A Quiet Place, which requires escaping the graveyard without throwing anything or being seen.
- Save 3: First Labyrinth save point. Preserve your progress before continuing through the Labyrinth and its missable Pillars.
- Save 4: Before the Docks. Make this save after completing the second statue. It is useful for Red Dead Damnation and combat-achievement cleanup.
- Save 5: Before the Sister of Mercy fight. Keep this backup for merchant achievement cleanup.
- Save 6: After being thrown back, before returning to Sunny. Preserve this point so you can revisit the final choice if needed.
Difficulty also affects how safely you can progress. On Hard difficulty and above, enemy health and enemy numbers increase, and autosaves are disabled. Death returns you to your last manual save, making a regular saving habit especially important.
Prologue
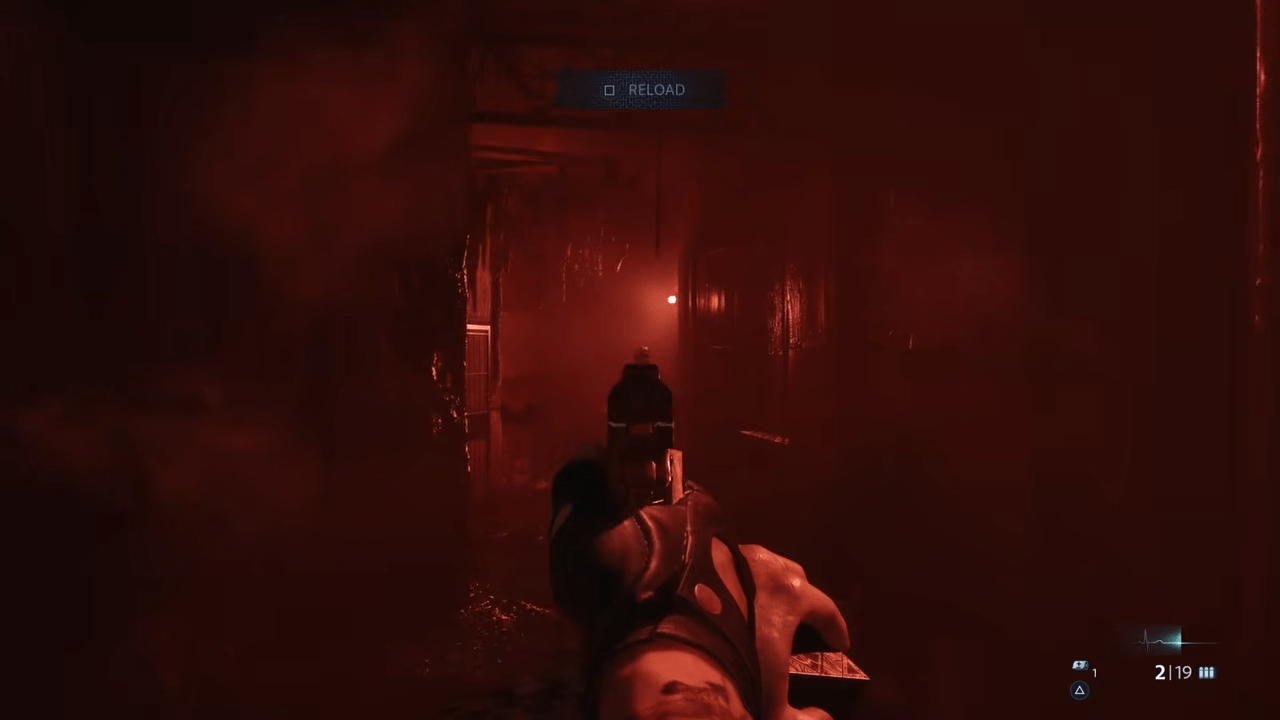
The story begins with Aidan and Sunny opening the mysterious Genesis Configuration during a recreational activity. Their discovery pulls them into the Labyrinth, where shifting corridors and puzzles introduce the world of Hellraiser.
Follow Sunny through the opening sequences, solve the first puzzles, and complete the prologue. There are no collectibles or missable achievements in this section, so you can focus on learning the basic controls and following the story.
Story achievements
- We Have Such Sights To Show You: Enter the Labyrinth.
- What’s in the Box?!: Use the Genesis Configuration.
- Not Leaving Us so Soon, Are You?: Escape the Labyrinth.
- The Box. You Opened It. We Came: Complete the prologue.
Escape the Cult
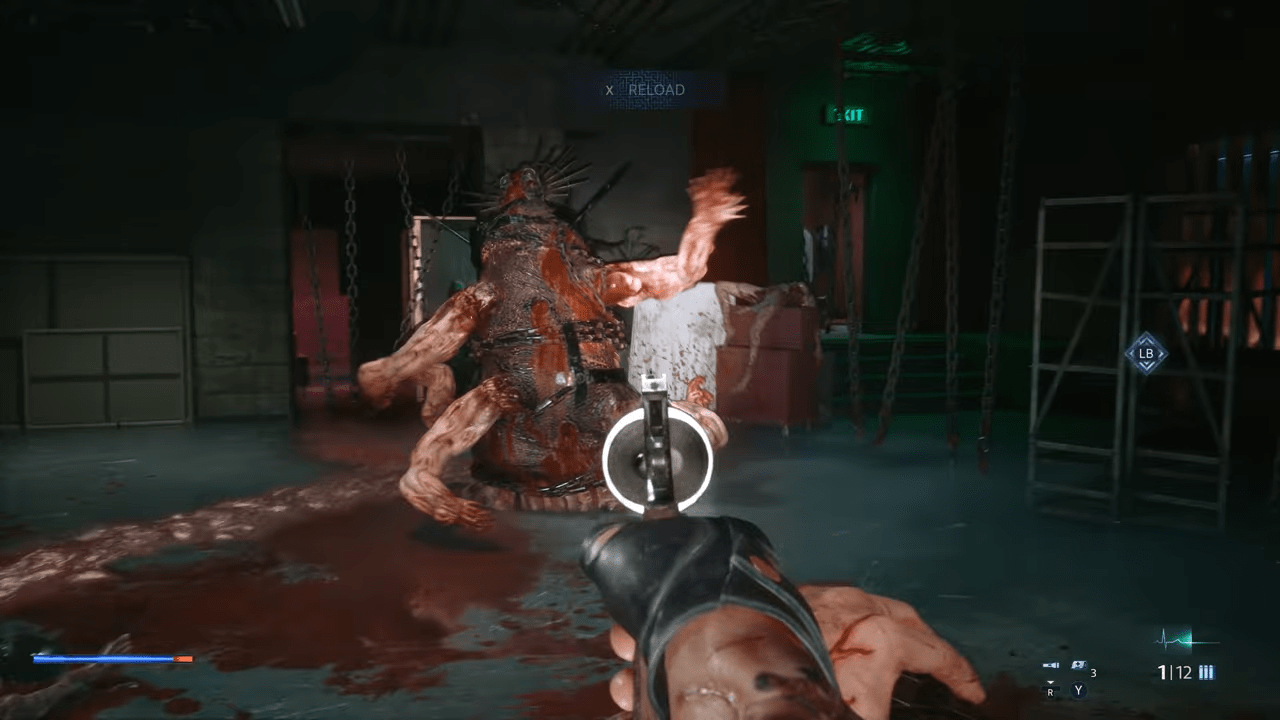
After the prologue, the Cult imprisons Aidan in its hideout. You must escape confinement, find a way through the facility, avoid Bruno, and survive a chase by the Chatterer before reaching the club’s VIP area.
Objective order
- Free Yourself.
- Unlock the Door.
- Sneak Past Bruno or Find the Keycard.
- Outrun the Chatterer.
- Enter the VIP Area or Appease the Girl in White.
- Take Back the Genesis Configuration.
Collectibles and keypad codes
- Recipe 1/12: Bandage Recipe. Available at the start of the game.
- Keypad code 9901. In the hallway after sneaking past Bruno.
- Keypad code 9891. After the bookshelf section, in the medical area.
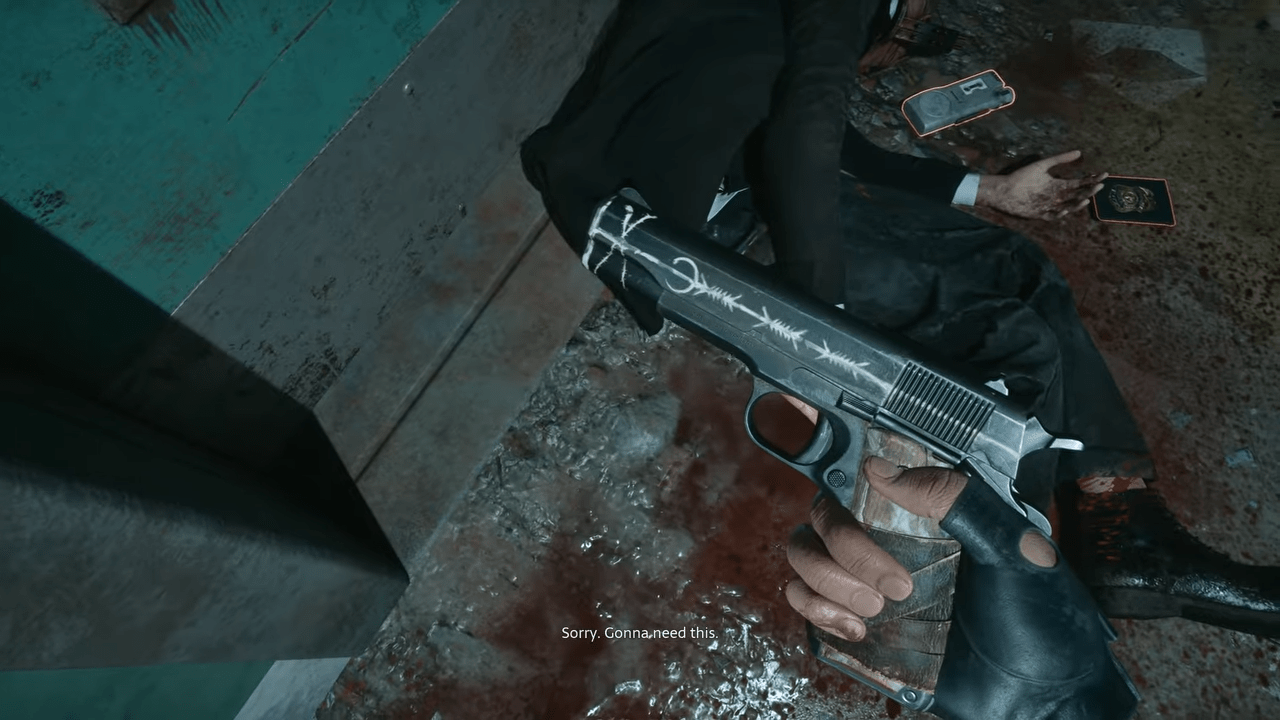
- Firearm 1/5: Pistol. Found on the detective’s body.
- Recipe 2/12: Pistol Ammo Recipe. Found alongside the Pistol.
Story achievements
- A Waste of Good Suffering: Escape confinement.
- No Time for Argument: Escape from the Chatterer.
- Not Even VIP: Get inside the club’s VIP lounge.
Escape Charlotte
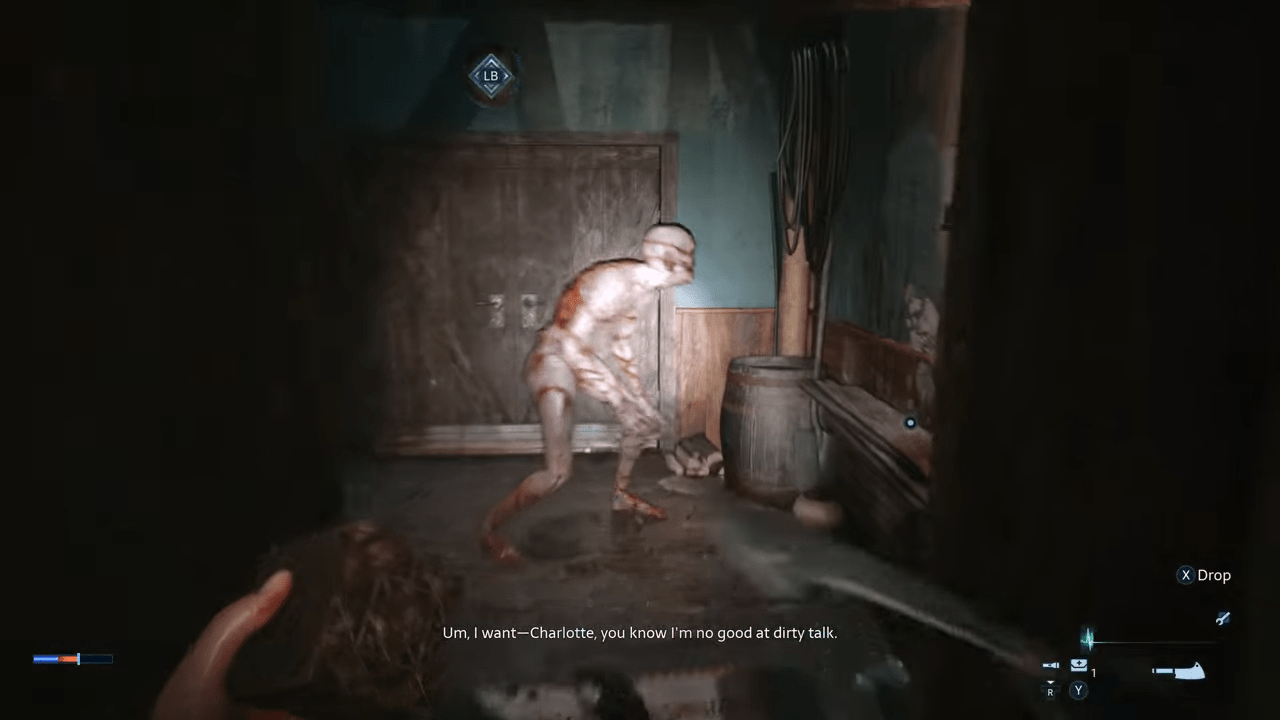
After recovering the Genesis Configuration, Aidan becomes Charlotte’s target. Escape her pursuit, get to safety, and find a way out of the graveyard. This section also introduces Zora, whose shop is central to collecting recipes, buying firearms, and earning merchant achievements.
Objective order
- Escape Charlotte.
- Get to Safety.
- Find a Way Out of the Graveyard.
Make your first two manual saves
Create Save 1 when you reach Zora’s first shop. Before entering the graveyard, create Save 2 as your backup for the stealth achievement A Quiet Place. Do not overwrite this save until you have secured the achievement.
Collectibles
- Recipe 3/12: Medkit Recipe. Purchase from Zora.
- Recipe 4/12: Lockpick Recipe. Purchase from Zora.
- Recipe 5/12: Basic Repair Kit Recipe. Purchase from Zora.
- Firearm 2/5: Shotgun. Found on the corpse beside you when entering the graveyard.
- Keypad code 9606. Opens the safe in the house in the southeast of the graveyard.
Story achievements
- Only Nightmares Last Forever!: Escape from Charlotte.
- With Great Power: Unlock the Telekinesis power.
- Burn? Oh, Such a Limited Imagination!: Set Charlotte on fire.
Free Sunny’s Soul
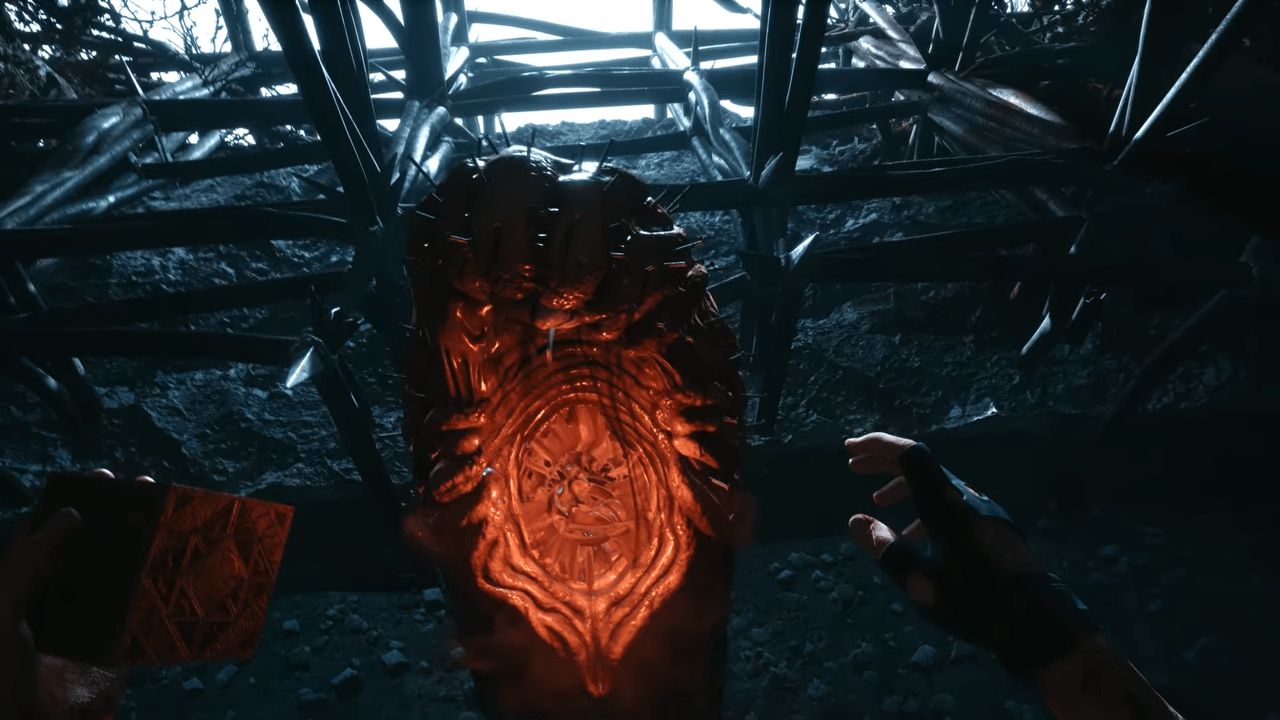
After escaping the graveyard, Aidan meets Pinhead and accepts a deal to save Sunny. Follow him into the Labyrinth, through the shifting corridors and traps, and reach Sunny’s Pillar. There is no combat in this section, but you can miss the required Pain and Suffering Pillars if you move straight to the objective.
Objective order
- Enter the Labyrinth.
- Reach Sunny’s Pillar.
- Free Sunny’s Soul.
- Exit the Labyrinth.
Create Save 3 at the first save point you find in the Labyrinth.
Collectible Pillars
- Pain Pillar 1/5. See the Pillar location guide below.
- Suffering Pillar 1/5. See the Pillar location guide below.
- Suffering Pillar 2/5. See the Pillar location guide below.
Story achievements
- Demons to Some, Angels to Others…: Talk to a Cenobite.
- Puzzle Me This: Complete three Labyrinth puzzles.
- Welcome to Oblivion: Reach the Field of Souls.
- Run, Aidan, Run!: Escape from the Chatterer again.
- Every Drop of Blood You Spill…: Resurrect Sunny.
- Puts More Flesh on My Bones: Begin the hunt for the hearts.
Open the Gate to Charlotte
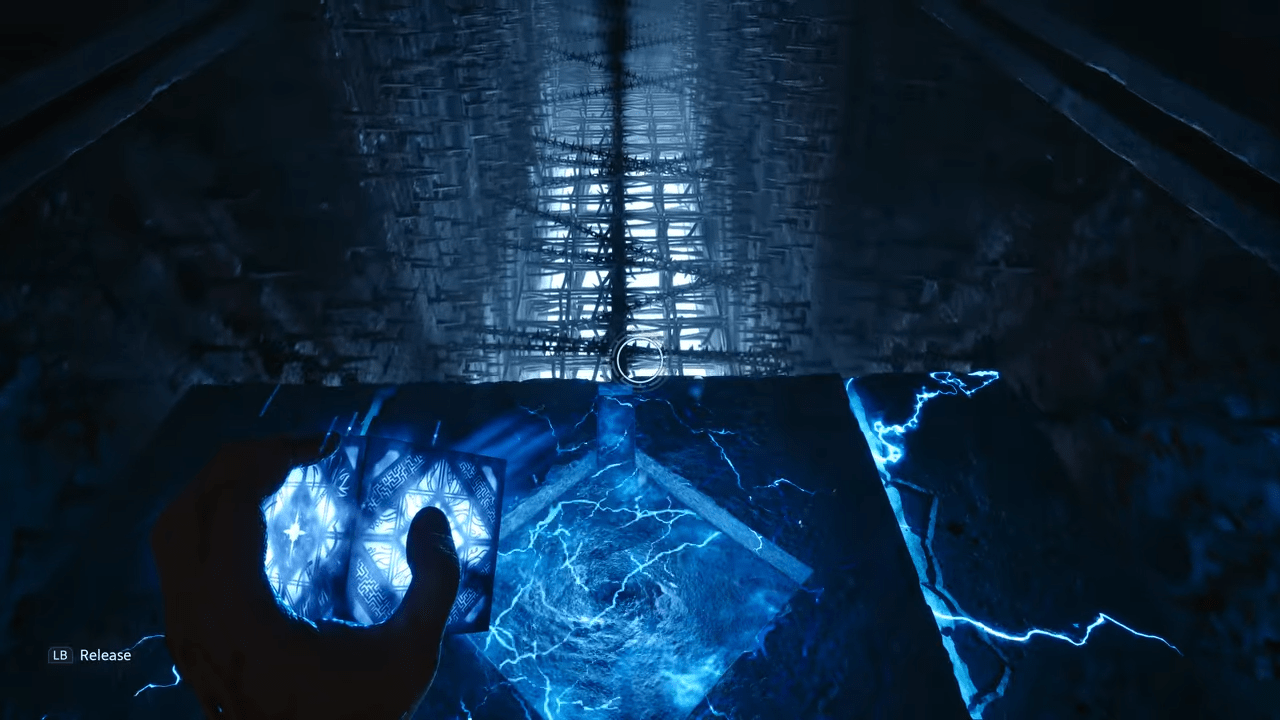
After freeing Sunny’s soul, return toward the graveyard to hunt Charlotte. The way forward is blocked by gates and statues, so you’ll need to find missing statue parts, solve environmental puzzles, and complete three statues before claiming Charlotte’s heart.
Objective order
- Find a Statue’s Missing Part.
- Escape the Sacrifice Room.
- Find a Way to Exit the Mansion.
- Complete the First Statue.
- Find Another Missing Statue Part.
- Complete the Second Statue.
- Find the Statue’s Tongue.
- Complete the Final Statue.
- Claim Charlotte’s Heart.
After completing the second statue, create Save 4 before the Docks. This is a useful backup for the shooting-range achievement and combat cleanup.
Collectibles and purchases
- Recipe 6/12: Advanced Repair Kit. Purchase from Zora.
- Recipe 7/12: Ammo Pack 12-Gauge. Purchase from Zora.
- Firearm 3/5: SMG. Found in the large safe upstairs in Bruno’s mansion.
- Keypad code 1966. Upstairs in the mansion.
- Recipe 8/12: Ammo Pack 9mm. Purchase from Zora after obtaining the Statue’s Hand.
- Firearm 4/5: Revolver. Purchase from Zora after obtaining the Statue’s Head.
- Recipe 9/12: Bear Trap. Purchase from Zora after obtaining the Statue’s Tongue.
- Recipe 10/12: Fuel Can. Purchase from Zora after obtaining the Statue’s Tongue.
Story achievements
- Come to Daddy: Defeat Bruno.
- Pyromaniac: Unlock the Pyrokinesis power.
- Heart on Fire: Defeat Charlotte.
Give Charlotte’s Heart to Sunny
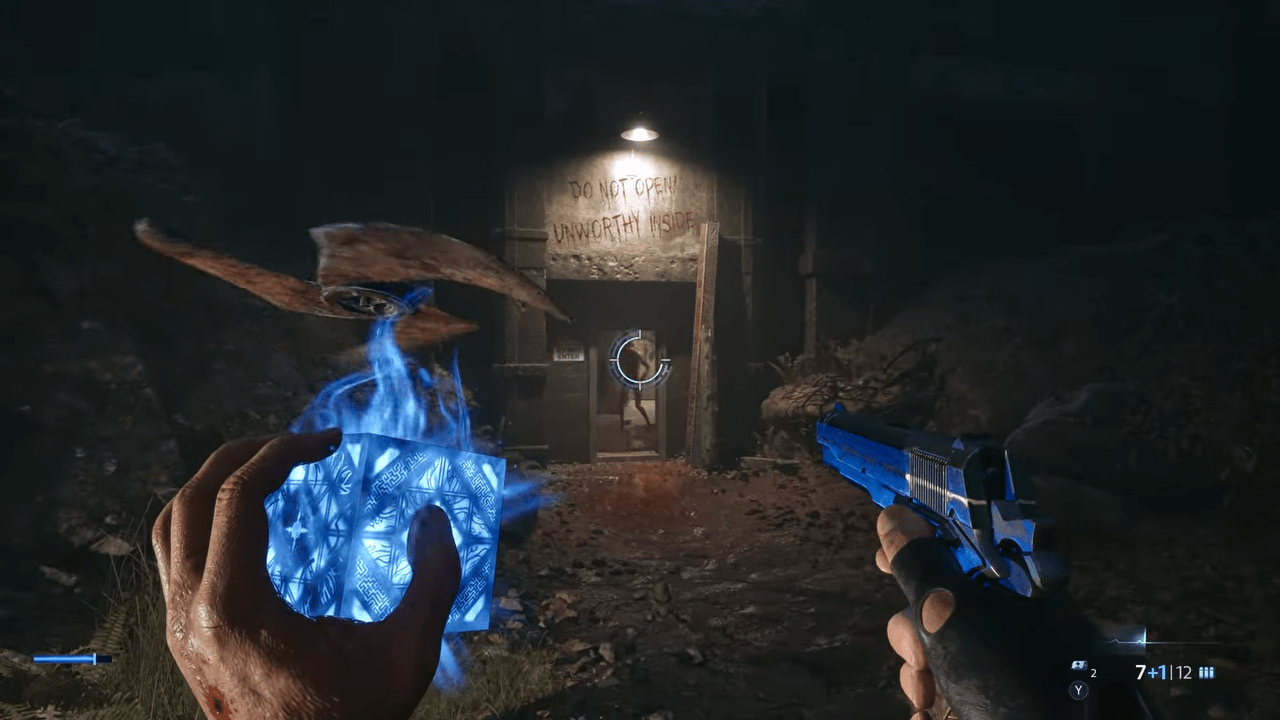
After defeating Charlotte, give her heart to Sunny. The journey then returns to the Labyrinth, where you must continue collecting the Pillars before proceeding with the hunt for the remaining hearts.
Collectible Pillars
- Suffering Pillar 3/5. Find it along the main path through the Labyrinth.
- Pain Pillar 2/5. Backtrack past the stabby wall and follow the path into a small alcove.
Focus on the two Pillars and keep your manual save intact as you prepare to return to the club.
Hunt Marlowe
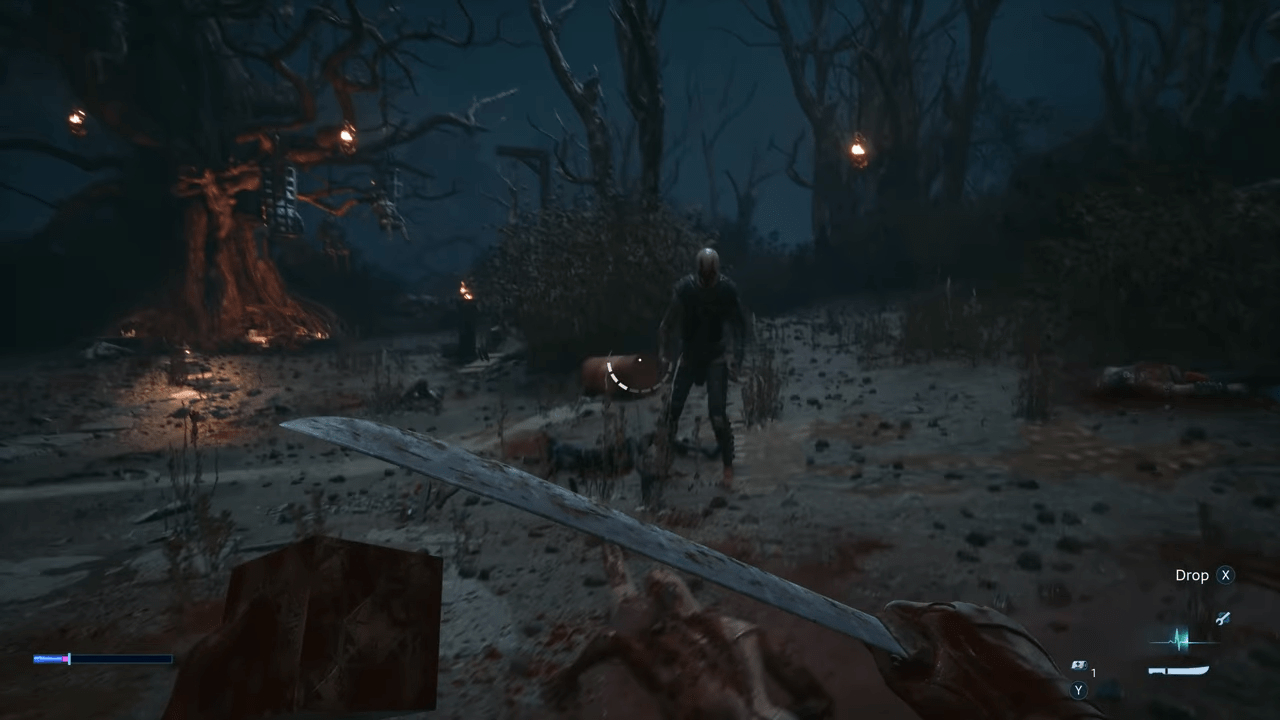
Return to the club to hunt Marlowe, but the Sister of Mercy steals the Genesis Configuration and pulls Aidan back into the Labyrinth. Recover the box, escape, and make your way toward Marlowe before claiming the Sister of Mercy’s heart.
Objective order
- Enter the Voyeur Room.
- Get the Genesis Configuration Back.
- Exit the Labyrinth.
- Get to Marlowe.
- Claim the Sister of Mercy’s Heart.
Create Save 5 before the Sister of Mercy fight. Keep this save for merchant achievement cleanup and any other tasks you need to complete before the encounter.
Collectibles and purchases
- Firearm 5/5: Assault Rifle. Purchase from Zora.
- Recipe 11/12: Ammo Pack .357. Purchase from Zora.
- Keypad code 1952. Near the table with the Voyeur Ticket.
- Recipe 12/12: Ammo Pack 7.62. Purchase from Zora’s third shop after returning from the Labyrinth.
- Additional keypad code 1923. In the room to your right after the puzzle-box door.
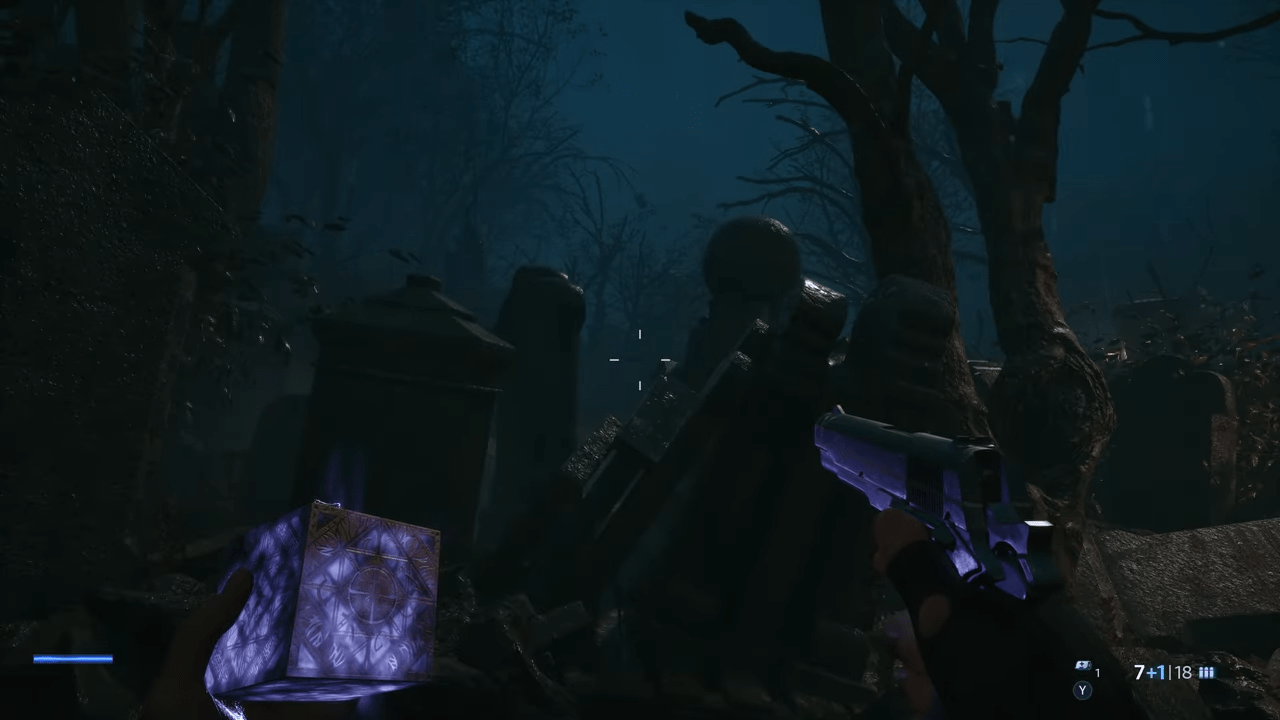
- Suffering Pillar 4/5. On the third rotating octagonal platform after sneaking past the Sister of Mercy.
- Pain Pillar 3/5. In the moving-stair section after climbing a ladder.
Story achievements
- So Much for the Cat and Mouse Shtick: Sneak past the Sister of Mercy.
- I Can Do This All Day: Escape from the Chatterer yet again.
- Unlimited Power!: Unlock the Hellchains power.
- No Mercy: Defeat the Sister of Mercy.
Hunt Marlowe Part II
The final stretch combines more Labyrinth exploration, environmental puzzles, and combat. You’ll need to return the Sister of Mercy’s heart to Sunny, locate the missing bell, use the elevator, reclaim the Genesis Configuration from Bruno, and continue the hunt for Marlowe.
Objective order
- Return to the Labyrinth.
- Give the Sister of Mercy’s Heart to Sunny.
- Enter the Labyrinth.
- Hunt Marlowe.
- Find and Use the Missing Bell.
- Use the Elevator.
- Reclaim the Genesis Configuration from Bruno.
- Hunt Marlowe.
- Claim Marlowe’s Heart.
Collectible Pillars
- Pain Pillar 4/5. After entering the Labyrinth following the Sister of Mercy fight.
- Suffering Pillar 5/5. In the section where you avoid Leviathan’s gaze.
- Pain Pillar 5/5. Shortly after Bruno takes the Genesis Configuration.
Story achievements
- Come Here, Damn You, I Want to Touch You: Defeat Bruno again.
- Go to Hell!: Defeat Marlowe.
Make Your Choice
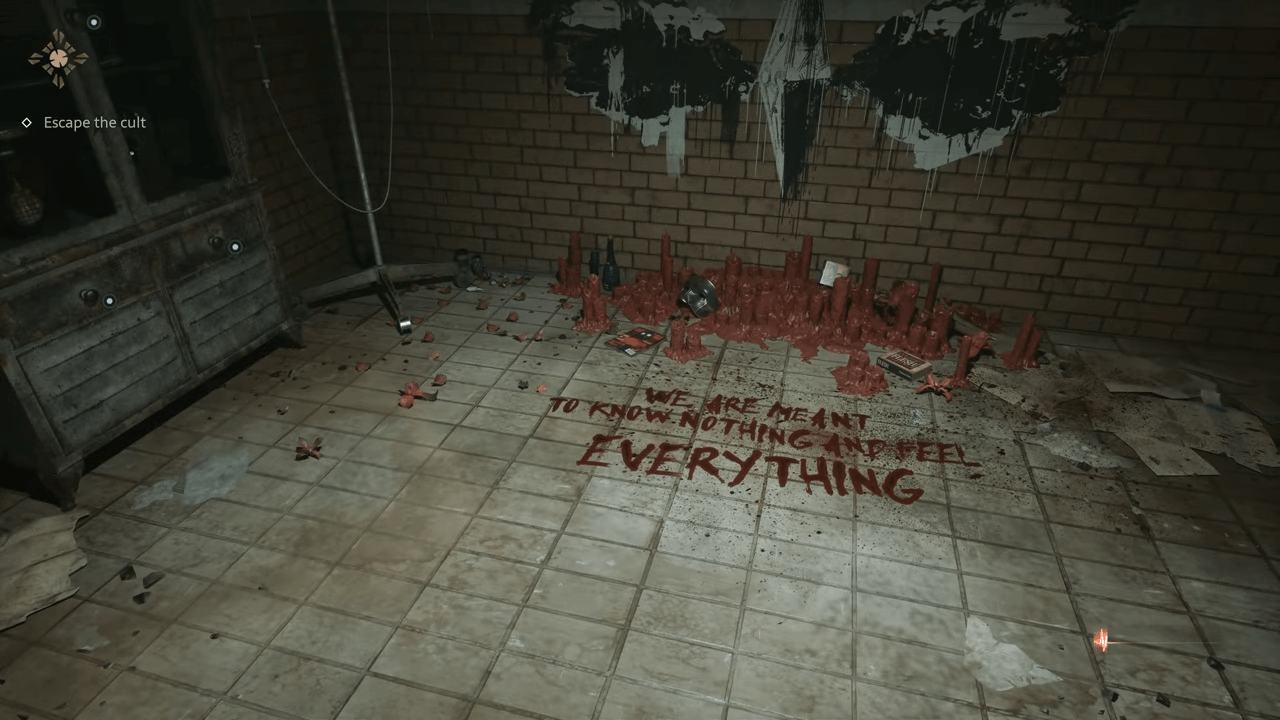
After defeating Marlowe and returning to Sunny, you’ll reach the final decision. The section is short, but the choice determines which ending achievement you earn.
Objective order
- Give Marlowe’s Heart to Sunny.
- Return to Sunny.
- Make Your Choice.
Keep Save 6 from the point after you are thrown back and need to return to Sunny. If you want both ending achievements in one playthrough, preserve a manual save before making the final choice. Complete one ending, reload the save, and make the opposite decision.
Ending achievements
- Tear Your Soul Apart: Complete the Ritual of Rebirth.
- Human After All: Finish the story by denying the Cenobites’ offer.
- Experience Beyond Limits: Finish the story by accepting the Cenobites’ offer.
Both ending achievements can be earned without a second full playthrough if you return to the save before the final decision. Without that reload, you will need another playthrough to see the alternate outcome.
All Pain and Suffering Pillar Locations
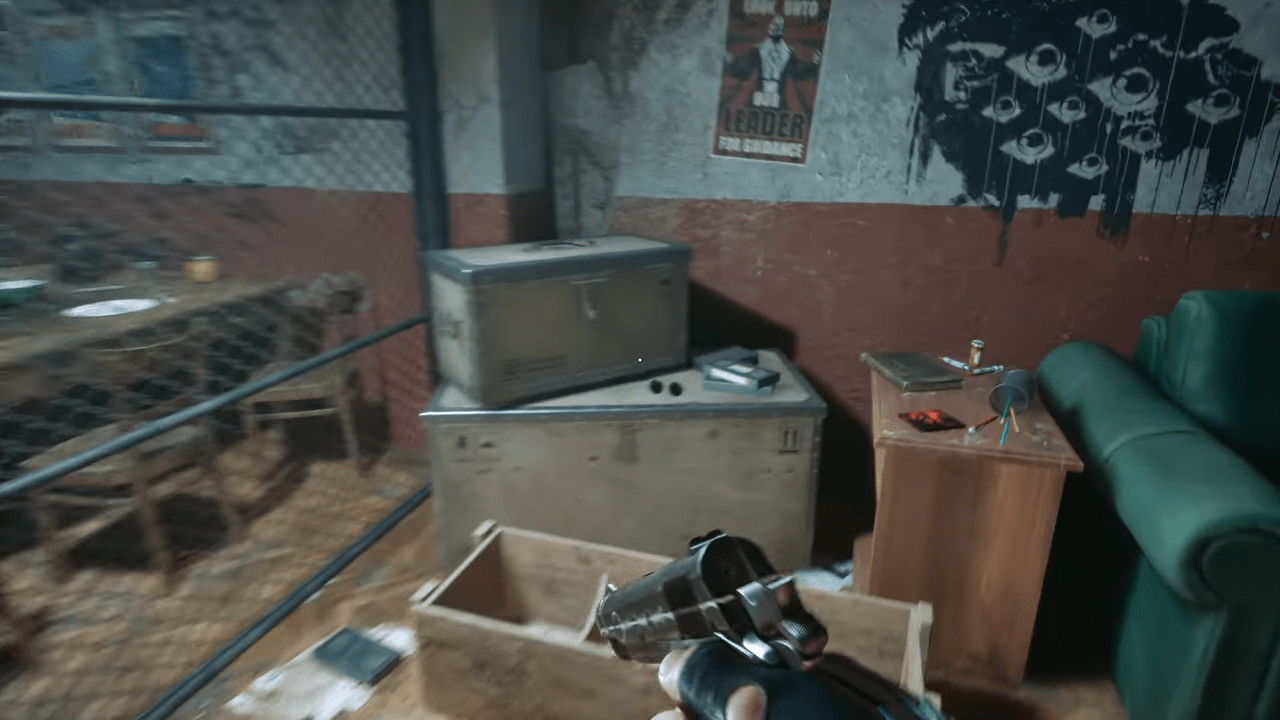
There are five Pain Pillars and five Suffering Pillars. Activating Pain Pillars increases maximum health, while Suffering Pillars increase maximum Suffering. All ten are missable, and two achievements depend on collecting every Pillar of each type.
- Pain Pillar 1/5: After encountering the first spinning diamond of death, turn right at the bloody organic-hole intersection. Enter the room with four death diamonds in a row and look at the far side.
- Suffering Pillar 1/5: Descend the spiral stairwell with the spiked moving walls. Enter the red-lit corridor and turn left at the intersection. The Pillar is visible through a crack.
- Suffering Pillar 2/5: After the spiked hallway leading outside with Leviathan, cross the short maze with the Chatterer. In the smoky area beyond, look beside the blue torch.
- Suffering Pillar 3/5: After entering the Labyrinth, reach a manual save point. Follow the path left, then turn right. The Pillar is ahead.
- Pain Pillar 2/5: Double back past the stabby wall and turn right. Follow the path to a small alcove on your left.
- Suffering Pillar 4/5: After sneaking past the Sister of Mercy, find the third rotating octagonal platform. The Pillar is there.
- Pain Pillar 3/5: In the moving-stair section after climbing a ladder, move two cubes to create a platform. Take the fire, follow the route, and put the fire into a Pillar. Continue through the red-lit corridors to find the collectible.
- Pain Pillar 4/5: Enter the Labyrinth after defeating the Sister of Mercy. The Pillar is near the entrance.
- Suffering Pillar 5/5: During the section where you avoid Leviathan’s gaze, take the blue flame from the Pillar and throw it at the cube on the east side. Raise the cube to reveal the Pillar.
- Pain Pillar 5/5: Shortly after Bruno takes the Genesis Configuration, find the door requiring four sections to be changed to match a mural. The Pillar is behind it.
Pillar achievements
- The Further Regions of Experience: Activate a Labyrinth Pillar Artifact.
- There Are No Limits: Find and activate every Pain Pillar Artifact.
- Pain and Pleasure, Indivisible: Find and activate every Suffering Pillar Artifact.
All Firearms and Crafting Recipes
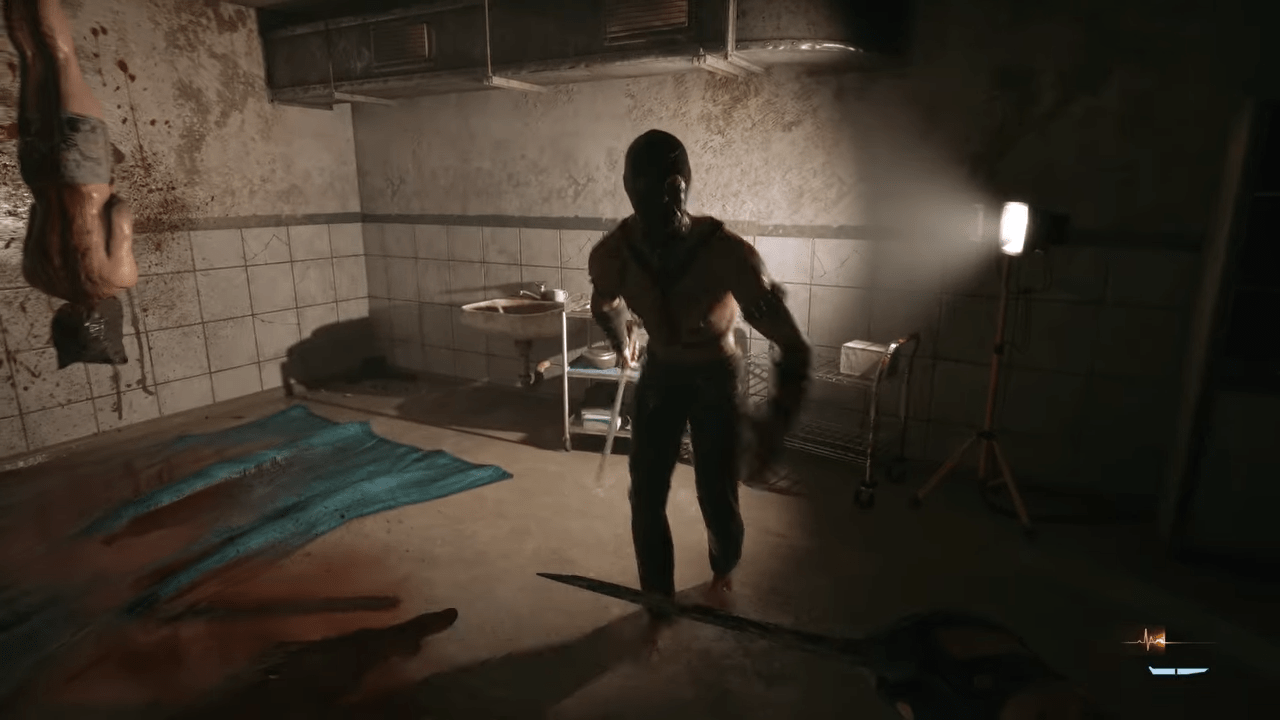
There are five firearms and twelve crafting recipes to collect. Finding every firearm unlocks one achievement, while crafting recipes contribute to another. Several firearms and recipes are purchased from Zora, so revisit her shop as new items become available.
All five firearms
| Firearm | Where to find it |
|---|---|
| 1. Pistol | Found on the detective’s body during Escape the Cult. |
| 2. Shotgun | Found on the corpse beside you when entering the graveyard. |
| 3. SMG | Inside the large safe upstairs in Bruno’s mansion. |
| 4. Revolver | Purchase from Zora after obtaining the Statue’s Head. |
| 5. Assault Rifle | Purchase from Zora during the hunt for Marlowe. |
All twelve crafting recipes
| Recipe | Where to obtain it |
|---|---|
| 1. Bandage | Available from the start. |
| 2. Pistol Ammo | Obtained when you find the Pistol. |
| 3. Medkit | Purchase from Zora at her first shop. |
| 4. Lockpick | Purchase from Zora at her first shop. |
| 5. Basic Repair Kit | Purchase from Zora at her first shop. |
| 6. Advanced Repair Kit | Purchase from Zora at her second shop. |
| 7. 12-Gauge Ammo | Purchase from Zora at her second shop. |
| 8. 9mm Ammo | Purchase from Zora after obtaining the Statue’s Hand. |
| 9. Bear Trap | Purchase from Zora after obtaining the Statue’s Tongue. |
| 10. Fuel Can | Purchase from Zora after obtaining the Statue’s Tongue. |
| 11. .357 Ammo | Purchase from Zora at her third shop. |
| 12. 7.62 Ammo | Purchase from Zora at her third shop after returning from the Labyrinth. |
Firearm achievements
- Bullet Time: Use a firearm to kill an enemy.
- Power to the People: Upgrade a firearm.
- Armed and Dangerous: Equip a firearm in every firearm equipment slot.
- Guns, Lots of Guns: Acquire all five firearms.
- Lord of War: Fully upgrade a firearm.
- Trickshot: Kill two or more enemies with a single shot. Purchase AP Rounds for the Assault Rifle and try the achievement against unarmored enemies.
- I Spy With My Little…: Kill six or more enemies while looking through the Revolver scope.
- Deadeye: Kill an enemy with a headshot from at least 30 metres away. The large sewer section near the end of the game is a good place to attempt it.
Crafting achievements
- WITH MY OWN TWO HANDS: Craft an item in the Crafting menu.
- LIBRARIAN: Collect every crafting recipe.
- ARTIFICER: Craft every craftable item. Make a manual save before working on this achievement, craft the required items, and reload the save afterward to restore your pre-cleanup state.
Missable Achievements
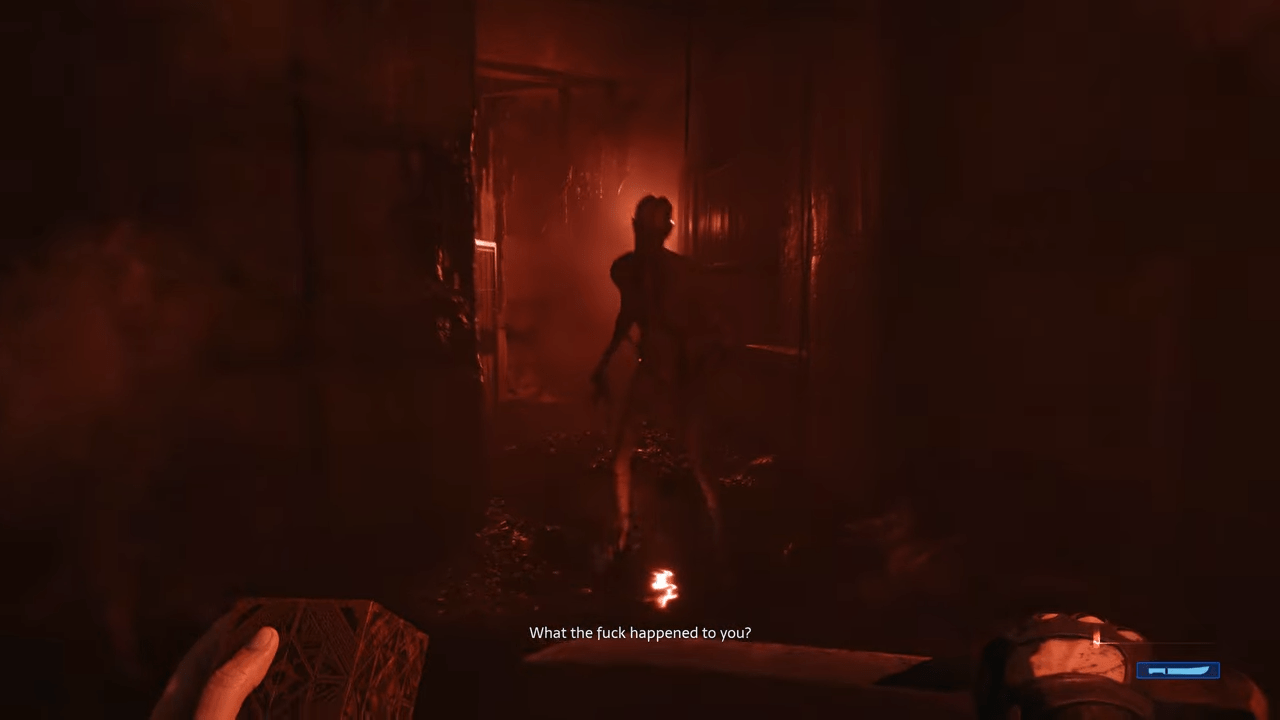
Two achievements deserve particular attention because they depend on actions in specific sections. A Quiet Place requires a clean stealth escape through the graveyard, while Red Dead Damnation must be completed at the docks during the statue objective.
A QUIET PLACE
Objective: Escape the graveyard without throwing anything or being seen.
Do not pick up stones or bottles. Throwing an object or being spotted can invalidate the achievement, so avoid optional distractions and focus on moving between cover while patrols are out of the way.
- When outside with the cultists, head to your right.
- Follow the eastern wall and use bushes for cover.
- Wait for patrols to move before advancing.
- Pass through the low opening while avoiding glass.
- Continue to the house.
- When Charlotte appears, follow her through the bushes and wait for her patrol to move south.
- Follow her movement, loop back toward the northwest, and crawl under the fallen tree.
- Return to the church building and use the gate.
Use the manual save before the graveyard if the stealth attempt fails. Reload and try again without throwing anything or being seen.
RED DEAD DAMNATION
Objective: Shoot every bottle at the Docks shooting range.
During the final statue objective, pull in a boat to obtain a puzzle block. Look to the right of the boat and locate the nine bottles set up for the shooting range. Shoot all nine to unlock the achievement.
Save 4, made before the Docks after completing the second statue, is the ideal backup for retrying this achievement.
Combat and Gameplay Achievements
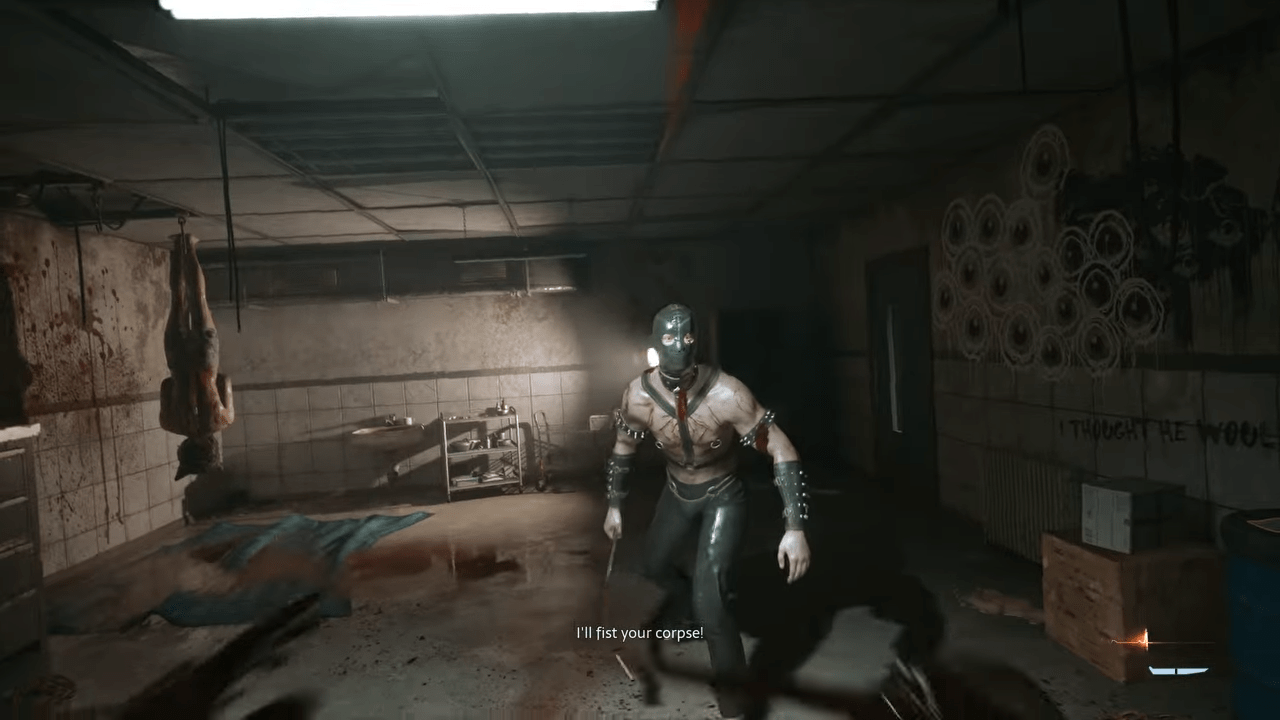
Several achievements require specific weapon kills, combat interactions, crafting actions, or deliberate deaths. Work on these as opportunities arise. The later combat sections provide better opportunities for certain multi-kill achievements, while early enemies can be useful for simpler weapon challenges.
- Knives Out: Use a knife to kill an enemy.
- Excessive Use of Force: Break a melee weapon in a fight.
- Silent, but Deadly: Kill an enemy with a stealth takedown.
- Just a Flesh Wound: Heal up to full health.
- Breacher: Kill a fully armored enemy without destroying any armor parts. Try cooking a fully armored enemy after unlocking the fire ability.
- Twisted Firestarter: Kill ten or more enemies by burning them to death.
- I Banish Thee!: Banish three Unworthy in succession. Bash until three Unworthy are stunned, then chain them.
- Portable Guillotine: Behead three or more enemies with the same melee weapon. Stun three Unworthy and aim for their heads using the same weapon.
- Wetwork: Stealth-kill ten Cultists without alerting anyone.
- Headtaker: Kill three or more enemies with a single telekinetic throw.
- Trapper: Damage ten or more enemies with bear traps.
- Sticks and Stones: Use a stone to kill an enemy.
- In the Land of the Pig, the Butcher Is King: Rip apart 69 enemies using Hellchains. Kill enemies, reload the autosave, and repeat to work toward the requirement.
- Handyman: Repair a melee weapon.
- A Bigger Stick!: Reinforce a melee weapon.
- A Little to the Left, a Little to the Right: Open a basic lock with a lockpick.
- Oh Snap: Break a lockpick.
- Codebreaker: Unlock five numpad locks.
- Electro-Shock Therapy: Die from electric shock. Run into electricity on the ground, then reload if needed.
Practical cleanup order
Use ordinary encounters for the knife kill, stealth takedown, melee weapon break, and firearm kill. Save the more specific tasks for situations where the required enemies or environmental hazards are available. After unlocking Pyrokinesis, look for opportunities to burn armored enemies and work toward the burning-kill requirement.
For the multi-enemy achievements, wait until you can gather several targets together. Stun three Unworthy for I BANISH THEE! and PORTABLE GUILLOTINE, and line up enemies for HEADTAKER or TRICKSHOT. The large sewer section near the end is useful for the 30-metre Revolver headshot.
Zora’s Merchant Achievements
Zora’s shops are important for both collection progress and achievements. Buying recipes and firearms contributes to your inventory checklist, while spending and selling enough coins unlocks several merchant achievements. Create Save 5 before the Sister of Mercy fight to preserve a backup for cleaning up these tasks.
- Finders, Keepers: Collect some coins.
- What’s Your Pleasure, Sir?: Purchase something from a mysterious vendor.
- What’re Ya Buyin?: Spend 666 or more coins in the shop.
- What’re Ya Sellin?: Earn 999 or more coins from sales.
- Financial Elite: Spend 1,337 or more coins in the shop.
Buy the required recipes and firearms whenever they become available, but keep enough coins to make purchases toward the spending achievements. Sell unwanted items when necessary and track your progress instead of waiting until the final encounter to start working on the merchant milestones.
No Life in the Void, Only Death
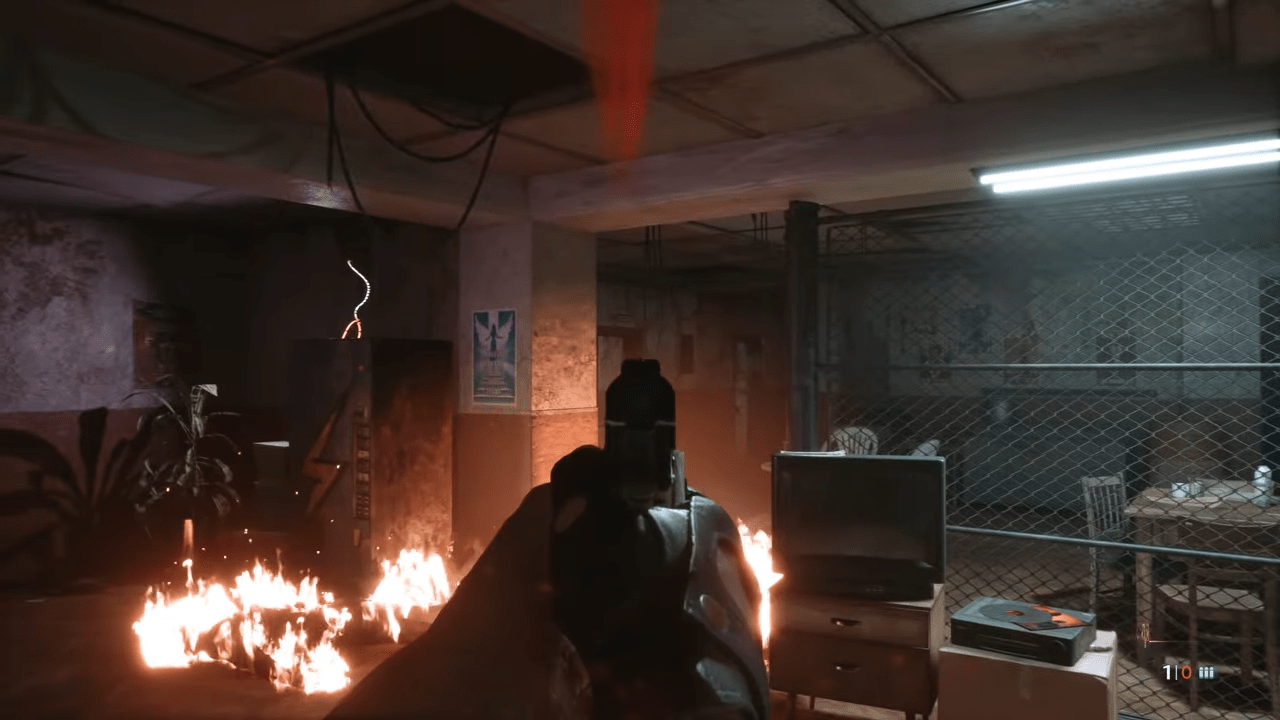
NO LIFE IN THE VOID, ONLY DEATH can fail to unlock when Aidan is at full health. The final Pillar can restore you to full health, which creates a problem if you are attempting the achievement afterward.
There is a workaround involving fire damage and Leviathan’s gaze:
- Reach the room with Sunny before entering the Leviathan room.
- Craft a Fuel Can.
- Pour the fuel onto the floor.
- Shoot the fuel enough to ignite it.
- Stand in the flames until you are at low health.
- Enter the room and allow Leviathan’s gaze to kill you.
The achievement should unlock through this sequence. If it still fails, preserve a manual save so you can attempt it again after a game update. Do not let the final Pillar’s health restoration interfere with the low-health attempt.
Final 100% Checklist and Conclusion
Before finishing your completion run, make sure you have collected all five firearms and all twelve recipes, activated every Pain and Suffering Pillar, completed both missable challenges, earned the combat and merchant achievements, and unlocked both endings.
- All 69 achievements accounted for.
- All 5 firearms collected and upgraded as required.
- All 12 crafting recipes collected.
- All 5 Pain Pillars activated.
- All 5 Suffering Pillars activated.
- A Quiet Place completed during the graveyard escape.
- Red Dead Damnation completed at the Docks shooting range.
- All crafting, combat, merchant, and firearm achievements completed.
- Both final-choice achievements unlocked by reloading the manual save or completing a second playthrough.
- No Life in the Void, Only Death unlocked, using the low-health workaround if necessary.
The safest path to 100% is to create manual saves at each major milestone, check every Labyrinth side path for Pillars, and use each return to Zora to handle required purchases. Keep the final-choice save until both endings are complete, and use the cleanup sections for any combat achievements that remain.

Leave a Reply