
Last Updated on 4 December, 2025
Welcome to the evolving battlefield of Phantom Brigade. As the game transitions through major updates like 1.1 and 2.0, the meta shifts and your strategies must adapt. This guide provides a deep dive into the arsenal available to your mech squad. We analyze everything from standard assault rifles to experimental plasma weaponry. We also cover the vital changes regarding damage types and salvage economy.
Whether you need to know which heavy gun shreds armor best or how to stunlock enemies with plasma, this guide covers it.
Table of Contents
The 2.0 Meta Shift
The transition to version 2.0 brought significant changes to the game. If you played previous versions, you will notice that the terminology and mechanics function differently.
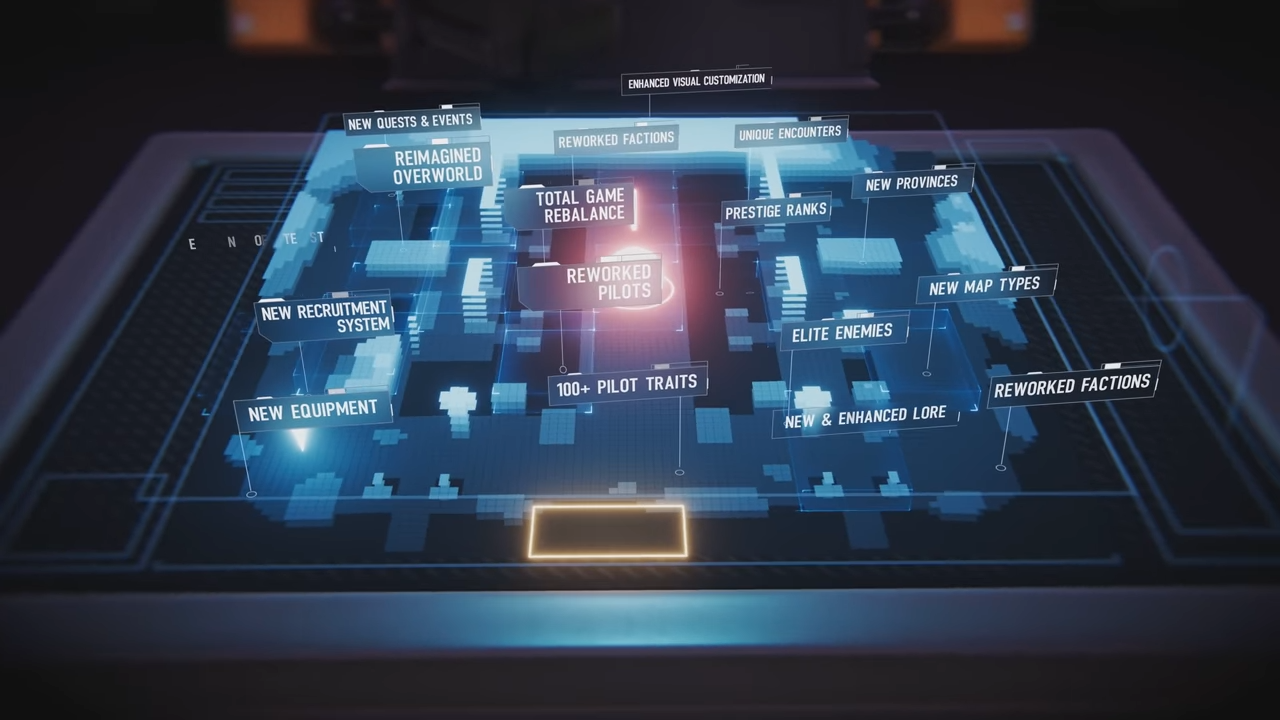
Some Key Terminology Updates:
- Thermal Damage transforms into the Burning condition.
- Kinetic Damage becomes Unit Damage.
- Concussion Damage becomes Pilot Damage.
- Stagger Damage transforms into the Unstable condition.
- Impact Damage becomes Structure Damage.
The Economy of Salvage
The developers altered how you acquire recipes and parts. Previously, knocking out a pilot without destroying the mech yielded cheaper salvage. Now, the salvage cost to scrap enemy parts is consistently 5. This applies whether you destroy the part or leave it pristine. Consequently, Pilot Damage offers less financial dominance than before. It remains an excellent tactic for removing enemies from the fight, but it no longer serves as the sole method for economic efficiency.
Understanding Damage Types
Mastering Phantom Brigade requires you to understand how to disassemble your enemy. You have three primary methods to eliminate a target:
- Destroy the Upper Body: This destroys every other part of the mech. It often results in a quick kill but yields lackluster salvage.
- Knock Out the Pilot: This relies on Pilot (Concussion) damage. It leaves the mech undamaged.
- Force Ejection: You achieve this by destroying the mech’s weapons. Destroy the right arm for primary weapons and the left arm for secondary weapons (excluding shields). If you destroy all weapons, the pilot ejects.
Damage Breakdown:
- Unit Damage (Kinetic): This represents the base damage of the weapon. It destroys enemy vehicle parts.
- Pilot Damage (Concussion): This hurts the pilot inside. It ignores the mech’s armor health.
- Structure Damage (Impact): This strips cover and destroys manmade objects like alarm towers. It does not destroy terrain like hills.
- Unstable (Stagger): This allows you to crash enemies from a distance and serves as excellent crowd control.
- Burning (Thermal): This raises enemy heat levels.
Ballistic Weapons
Ballistics form the backbone of most squads. They range from rapid-fire machine guns to precise marksman rifles.
Assault Rifles (AR)
Assault rifles act as the standard by which you measure other weapons. The 2.0 update essentially removed the minimum range for this class (lowering it to 2 meters). This change grants them a massive sweet spot and makes them incredibly user-friendly.
- AR1 Astra: This model features a longer activation sequence and range. It deals no Pilot damage but offers high Structure damage. In the current meta, it serves as the superior option for raw damage.
- AR2 Burst: This weapon specializes in Pilot damage (17 points). It boasts a sub-one-second activation time and generates little heat. It sacrifices some stats compared to the AR1 but excels if you prioritize knocking out pilots.
- AR-X4 (Experimental): Look for this as an end-of-region reward. It combines the best traits of both standard rifles and stands as the superior choice.
Machine Guns (MG)
Machine guns demand a specific playstyle. They suffer from high scatter, short range, and long activation durations.
- MG1 Typhoon: The Pilot damage variant. It has a 2.5-second activation and comparable Unit damage to an AR1.
- MG2: Features the longest activation (3 seconds) and the worst scatter, but matches the AR1 in Structure damage.
- MG3: Focuses solely on Unit damage with the shortest activation (1.9 seconds).
Marksman Rifles (MR)
These weapons serve as the middle ground between assault rifles and snipers. They function as the most reliable long-range ballistic options.
- MR1 Baseline: Similar to the AR1 but with better Unit and Structure damage. It requires you to remain idle to maintain accuracy.
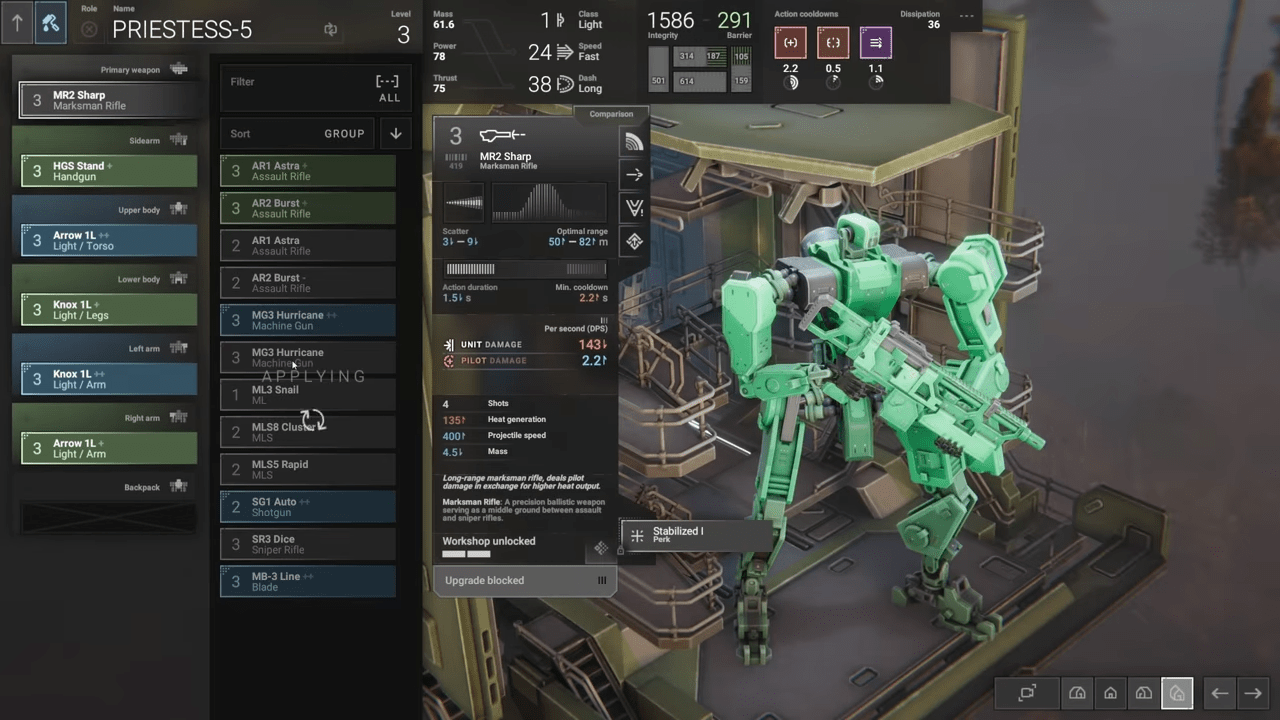
- MR2 Sharp: Deals significantly less Unit damage and zero Structure damage. However, it deals Pilot damage. Its 1.7-second activation is long, but the ability to concuss pilots at range offers a significant tactical advantage.
Sniper Rifles (SR)
Sniper rifles often function as a trap due to their restrictive minimum range (often around 100 meters). Enemies frequently run under your guard, forcing you to retreat.
- SR1 Midway: Features a short 0.7-second activation and fires two shots. It suffers from heat issues. Look for Adjustable or Dispersing variants.
- SR2 Lock: Fires five shots at huge range with a long activation. It deals Structure damage.
- SR3 Dice: Fires a single shot. It generally feels outclassed by the SR1, which delivers more total damage in the same timeframe.
Heavy Weapons
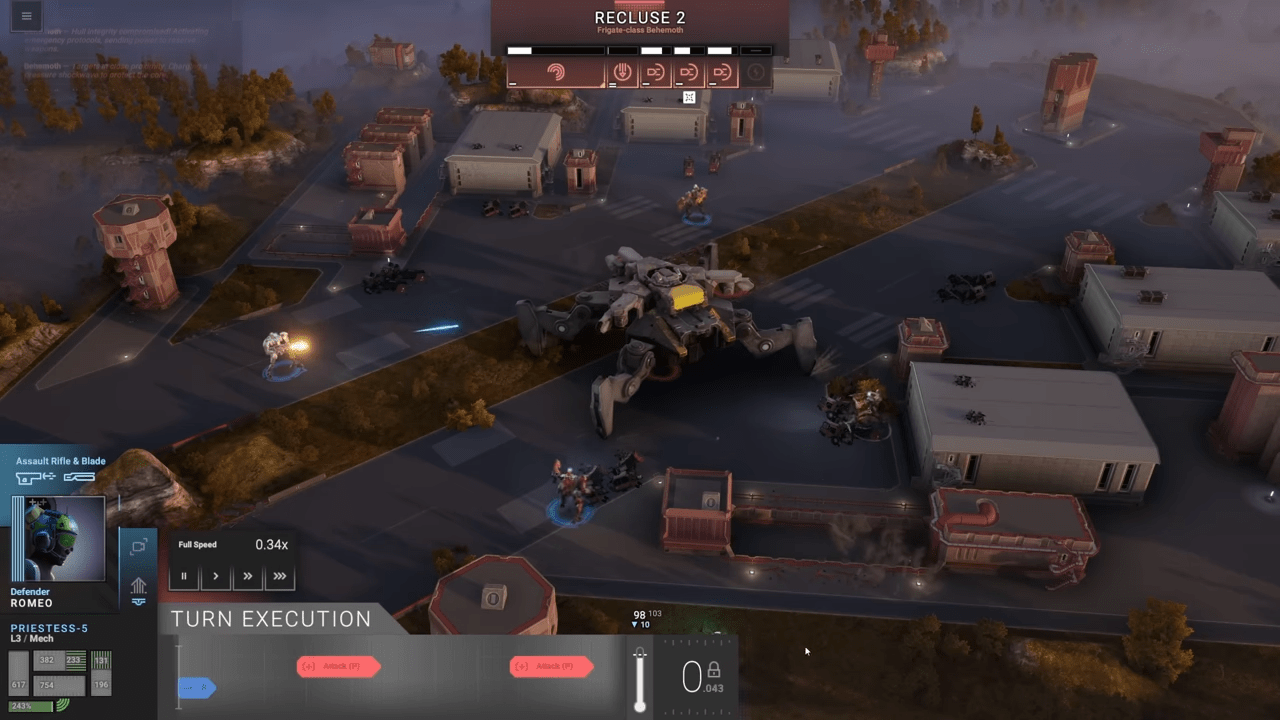
Heavy weapons require both arms to operate and typically have long activation times (around 4 seconds). They define raw power.

UHMG Vulcan
This heavy machine gun punches through structures and obliterates level-appropriate mechs. The Vulcan M variant excels at concussing pilots.
Cannons (DC1 Impact)
You cannot craft the DC1 Impact, so you must salvage it. It fires explosive rounds with high scatter.
- Strategy: Position yourself so a building stands directly behind your target. If you miss the mech, you still hit the building and deal damage.
- The Stabilized Perk: If you find a rare DC1 with this perk, it reduces scatter to Marksman Rifle levels. This turns the weapon into a powerhouse that can knock out pilots instantly.
Missiles and Launchers
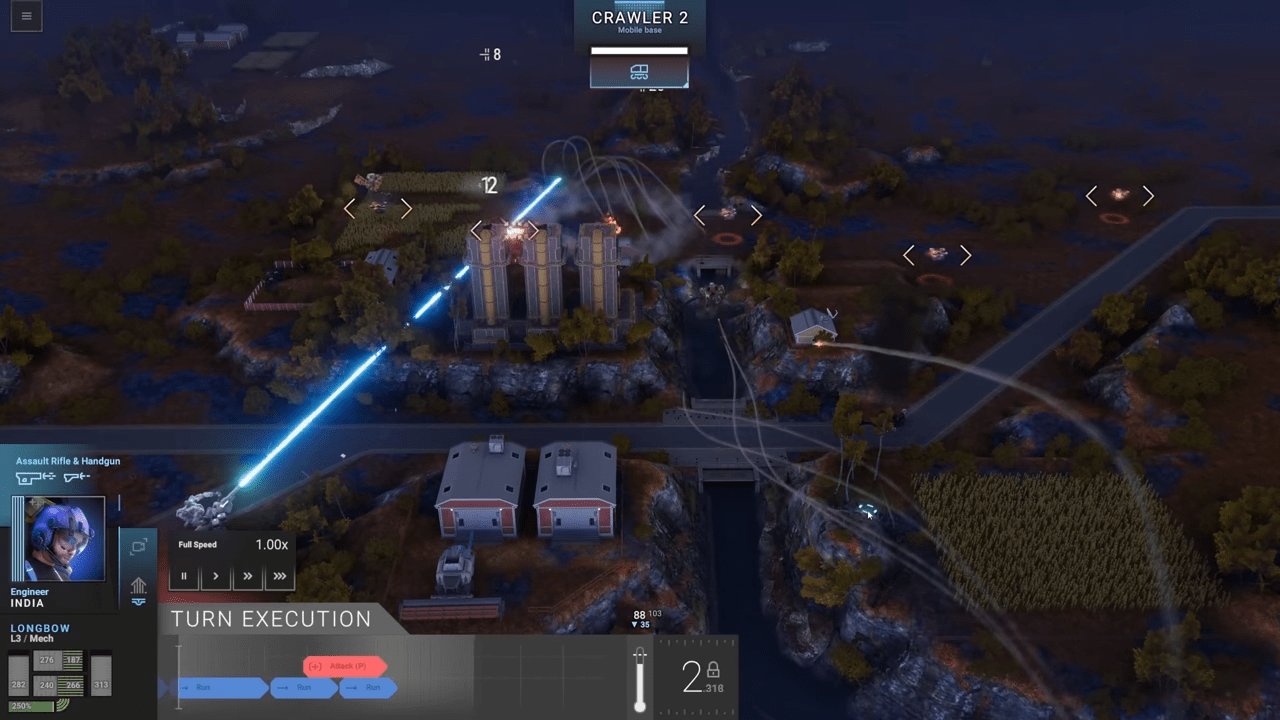
Missiles provide variety but behave unpredictably. Flight times are long, which messes with turn prediction. In the 2.0 update, spamming heat vents makes missiles less aggravating to use.
Standard Launchers (ML)
- ML1 Slug: Specialized for Pilot damage. It suffers from terrible spread, speed, and range constraints (100m minimum).
- ML3 Snail: Features a low arc and good speed.
- ML6 Hornet: Offers the best theoretical Unit damage.
- ML10: This is the only truly guided missile in the class. It has a 140m max range, which is usually sufficient.
Small Launchers (MLS)
These handgun-sized launchers fit in secondary slots. They offer 200+ range (except the MLS1) and deal Unit, Structure, and Pilot damage.
- MLS1 Oneshot: High arc, short range.
- MLS3 Direct: Features the flattest trajectory and a short activation. This is generally the preferred sidearm launcher.
- MLS6 Rapid: Fires 6 missiles but has a long activation and slow projectile speed.
- MLS8 Cluster: Generates the least heat.

Energy and Experimental Weapons
Plasma Weaponry
Plasma weapons now inflict the Charged condition. They suffer from steep damage drop-off outside their sweet spot.
- PLA Charge (Launcher): Fires slow-moving orbs that explode. It works best against enemies moving directly toward you or those you have immobilized. It deals massive Pilot damage.
- PLR Pulse (Repeater): Shoots like a ballistic weapon. It inflicts the Unstable condition (stagger). Two actions with this weapon usually crash any enemy.
- The Stunlock Combo: Use two mechs with PLR Pulses to crash a target. Follow up with a PLA Charge from a third mech. This knocks out the pilot while preserving the chassis for salvage.
Railguns
Reworked in recent updates, railguns no longer use penetration charges. Instead, they simply punch through everything.
- RA2 Lancer: Functions as a high-tech sniper. It has weak Unit damage but shoots quickly and penetrates cover.
- RS Barrage: A machine railgun with high damage.
- RF Flux: A railgun shotgun that penetrates walls but deals no Structure damage.
Beam Weapons
These weapons introduce a turn rate limit mechanic. Except for the BM3 Alpenglow, they generate heavy heat. Generally, other weapons offer better performance unless you find specific high-tier variants like a Dispersing III Solarburst.

Close Quarters: Shotguns and Melee
Shotguns (SG)
Shotguns are now split by damage type.

- Unstable/Crash Focus: Use the S1 and S4. These are ideal for breaking enemy lines and crashing targets.
- Pilot Damage Focus: Use the S2 and S3. These knock people out from behind.
- SGC Blast: A secondary weapon (mini-shotgun). Good Unit damage for its weight.
- SG3 Heavy: Extremely heavy, high heat, and massive scatter. It requires Rare variants to be viable.
Melee Weapons
Melee combat requires a dedicated build. Your mech needs a weight of 82+ to qualify as Heavy, which drastically improves collision outcomes.
Weapon Types:
- Axes: Unit + Pilot damage.
- Sabers: Unit + Burning damage (hits multiple parts but generates high heat).
- Blades: Unit damage (single part focus).
- Cutters: Stagger (Unstable) damage.

Shields and Defense
Shield selection relies on balancing mass against integrity.

- S1 Svalinn: Good for heavy mechs that already suffer from low mobility.
- S4 Tower: High integrity but cannot sustain pressure from multiple enemies for long.
If your build struggles to dissipate heat (common with SG3 shotguns), equip a shield. Use shield actions while your weapon cools down.
Tactical Field Guide

1. Crashing is King
Running into enemies is a valid and powerful strategy. It deals damage and interrupts their turn. You can kick a tank down the street to clear a path.
2. Target Priority
- Enemy UHMGs: These tear through your armor. Eliminate them first.
- Missile Launchers: These knock out your pilots with ease.
- Tanks: Reserves often spam tanks. Use weapons like the DC1 Impact or crashing tactics to clear them quickly.
3. Range Management
Short range generally beats long range in Phantom Brigade. Maps feature extensive cover that blocks long-range angles. However, never over-invest in one range type. Keep at least one Marksman Rifle or Railgun to handle threats that camp in the backline.
4. Action Economy
Do not waste actions shooting enemies outside your optimal range. You lose damage and accuracy while generating unnecessary heat. If an enemy sits at 40% hit chance, wait. Reposition for a better shot in the next turn.
Top Weapon Picks
Based on the current state of the game, here are the standout performers (not necessarily in any order):

- The Reliable Workhorse: AR2 Burst
Simple and effective. It allows you to unleash two to three bursts in a single round due to low heat and short activation. It melts enemies on standard maps where speed matters. - The Sniper Replacement: RA2 Lancer
Perfect for hunting backline mechs and destroying alarm towers. It offers laser accuracy and pierces cover. It complements light mechs perfectly. - The Structure Destroyer: UHMG Vulcan
Once you manage the heat, this weapon bores holes through everything. It delivers the full package of Unit, Pilot, and Structure damage. - The Crowd Control King: PLR Pulse
While finicky regarding range, a squad of PLR mechs can keep an entire enemy team stunlocking in a crash loop. This tactical safety allows you to dissect enemies at your own pace. - The Building Clearer: IS Dragon (Incendiary Splitter)
Essentially a long-range shotgun. Use it to blast away cover. Aim at the building shielding your enemy; any damage to the mech behind it serves as a bonus.

Conclusion

Success in Phantom Brigade relies on adapting your loadout to the mission. While the AR2 and UHMG provide raw power, specialized tools like the PLR Pulse or the DC1 Impact offer tactical solutions to specific threats. Remember to watch your heat, manage your crash predictions, and always aim for the pilot when possible. Good luck on the battlefield.

Leave a Reply