

Last Updated on 26 January, 2026
Your relaxing getaway has exploded into a high-octane nightmare in Captain Wayne: Vacation Desperation, but you do not have to face the hordes alone. This comprehensive guide solves your biggest challenges by revealing the secret Wave 15 triggers for every map and providing the exact strategy to secure the elusive Captain Rank. We also provide a complete walkthrough for the hilarious EARLy achievement and a technical fix to get the uzdoom engine running smoothly on Steam. Prepare to master the chaos and impress Barbra with your absolute perfection.
🧠 Did You Know? Despite its modern release, the game is built using the GZDoom engine, a popular modern port of the original Doom engine. This allows the game to maintain the authentic movement and feel of classic 90s shooters while supporting its distinct hand-drawn animations.
Table of Contents
General Survival Tips and Weapon Strategy
Before we jump into the specific maps, you need to master the core mechanics. Achieving the highest ranks requires more than just navigation skills. You must fight efficiently and utilize your tools correctly. The game rewards aggression and precision, so pay close attention to how you manage your inventory.
Understanding Your Arsenal
Your choice of weapon defines your success in every encounter. Based on expert strategies from the community, here is exactly how you should handle your armory to maximize your score and survival rate:
- The Cell Shocker: This weapon is your absolute best friend for crowd control and heavy damage. The guide emphasizes one rule above all else: USE THE CELL SHOCKER. It is essential for melting high-health enemies like EARL and Smasher. Furthermore, it is an excellent tool for maximizing your combo gain. Do not neglect this weapon.
- The Shotgun: Do not underestimate this basic weapon. It serves a vital purpose in the early game. You receive a massive 2000-point bonus if you use only the shotgun for a wave. This strategy works wonders for the very first waves. It is also perfect for taking out stragglers. A pro tip is to save Boxers for last and finish them off with the shotgun.
- The Cannon: This weapon shines in narrow spots where enemies tend to pool up. A prime example of this is the bridge area in the Emivita map. If you find yourself in a pinch without the Cell Shocker, the Cannon serves as a reliable substitute to clear the path.
- The Chaingun: Like the Cell Shocker, the Chaingun is a top-tier choice for maximizing combo gains. Keep it loaded and ready for sustained fire when you need to keep your score multiplier active.
Combat Tactics
Survival involves more than just shooting. You must identify threats and use the game mechanics to your advantage.
- Prioritize Explosive Enemies: Enemies that use explosions as their primary attack are your biggest threat on the field. You must identify them immediately and kill them first. If you ignore them, they will drain your health rapidly.
- The Quicksave Feature: Never forget that you can quicksave. This is a vital tool. If you mess up a wave or miss a timing window, a quick load can save your run. Use this frequently.
- Rank Requirements: You will know you have achieved the coveted Captain Rank when Barbra appears on your screen and exclaims, “Absolutely Wonderful!” Pay attention to the reward at the end of the level. If the Liquor is not pink or gold, you have not hit the mark. You must replay the map and perform better to secure the rank.
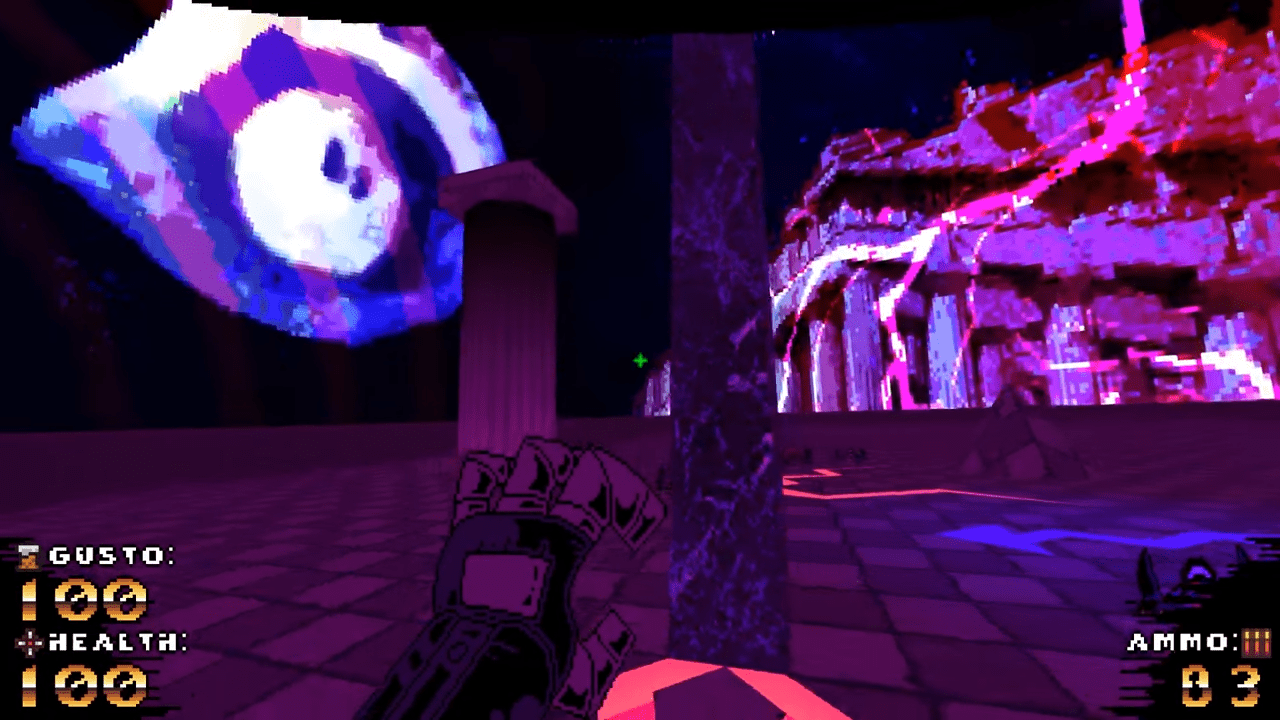
💡Pro Tip: Capitalize on the scoring system early. There is a 2000-point bonus available for using only the shotgun. Use this to your advantage during the very first waves to pad your score before the difficulty ramps up.
Mastering the Waves
Timing is everything in Captain Wayne. Special enemies and events trigger on specific waves. Knowing what is coming allows you to prepare the right countermeasures and save your heavy ammo for the bosses.
The Wave Schedule
Memorize this timeline to stay alive:
- Wave 3 (Grab the Crabs): This is your first hurdle. Be ready for the crabs to swarm you.
- Wave 6 (Sunken Smasher): The difficulty ramps up here with the arrival of the Sunken Smasher event.
- Wave 9 (Squires Attack): Prepare your defenses for an influx of Squires.
- Wave 12 (EARL): The formidable EARL makes his appearance here. Have your heavy weapons ready.
- Wave 15 (The Magic Number): This is the most critical wave for progression. Almost every secret exit or key mechanic in the game triggers specifically on Wave 15. Keep your eyes peeled for environmental changes during this wave.
- Wave 16 (Seagulls): Watch the skies and high angles for Seagulls.
- Wave 19 (Smasher and Earl): This is a heavy hitter round. You will face both Smasher and Earl simultaneously.
Handling Heavy Hitters
The bosses in this game are tanky, but they are not invincible. Remember that while Earl and Smasher have large health pools, they melt easily if you utilize the Cell Shocker. Do not waste time chipping away at their health with weaker weapons. Commit to the heavy firepower and take them down fast.
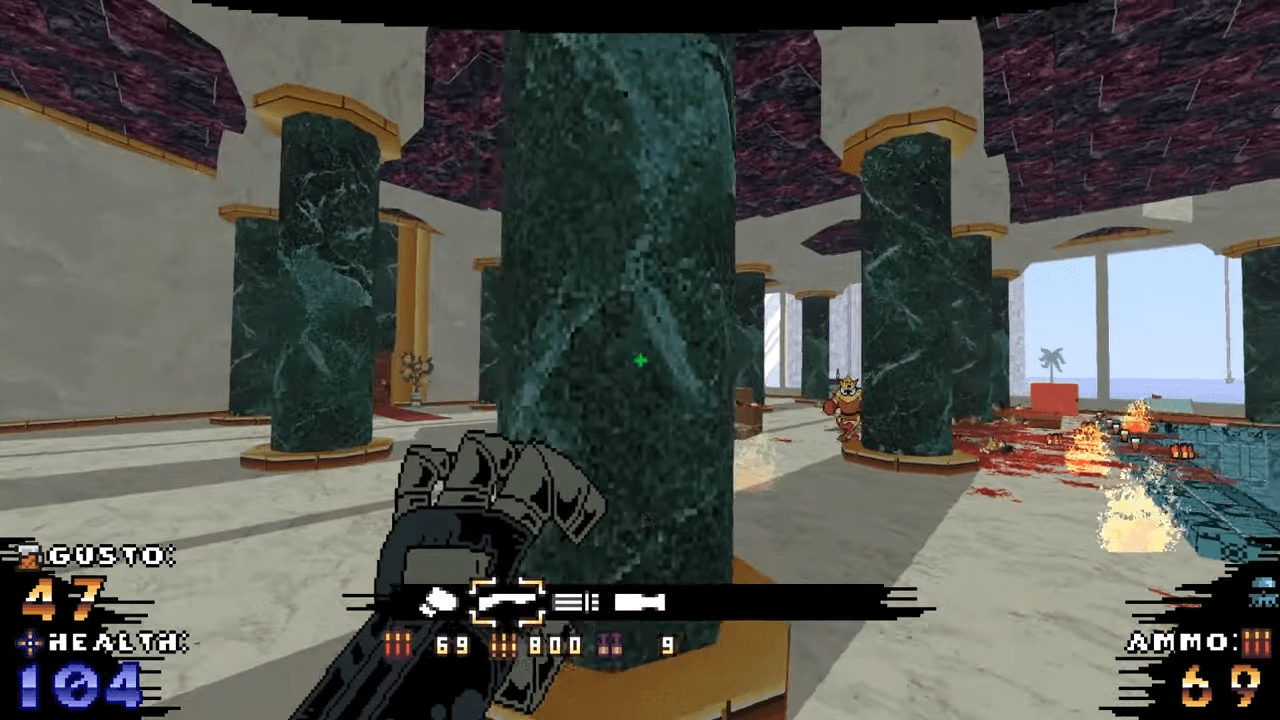
💡Pro Tip: Threat assessment is key to survival. Always remember that enemies who have explosions as their attack are the most dangerous ones. Make it your priority to kill them first before dealing with the tankier bosses.
Complete Captain Rank Walkthrough (Maps 1–9)
To get all Captains Rank Liquor, you must perform specific actions on Wave 15 for each map. Simply surviving is not enough. You must follow these instructions precisely to unlock the hidden paths and secure your victory.
Map 1: Emivita
Survival on Emivita comes down to returning to your roots. Follow these steps:
- Play until you reach Wave 15.
- Return to the exact spot where you started the map.
- Look for a red button. Press it immediately.
- This action opens a door that reveals a hidden passage.
- Go through the hidden door.
- Locate the TV inside this secret room and shoot it.
Map 2: Swim Team Tryouts
The locker room holds the secret to success here.
- Survive until Wave 15.
- Head directly to the locker room area.
- A hatch will open up automatically.
- Go through the open hatch.
- That is it. You are done with the objective.
Map 3: Duogong D. Stadium
This one is straightforward but requires timing.
- Wait for Wave 15.
- A specific door in the stadium will open.
- Walk through the door.
- You have completed the requirement.
Map 4: Bonsai La Bomba
Destruction is the key on this map.
- Reach Wave 15.
- Watch for the door that opens automatically on this wave.
- Go through the doorway.
- Find the TV inside the room and smash it.
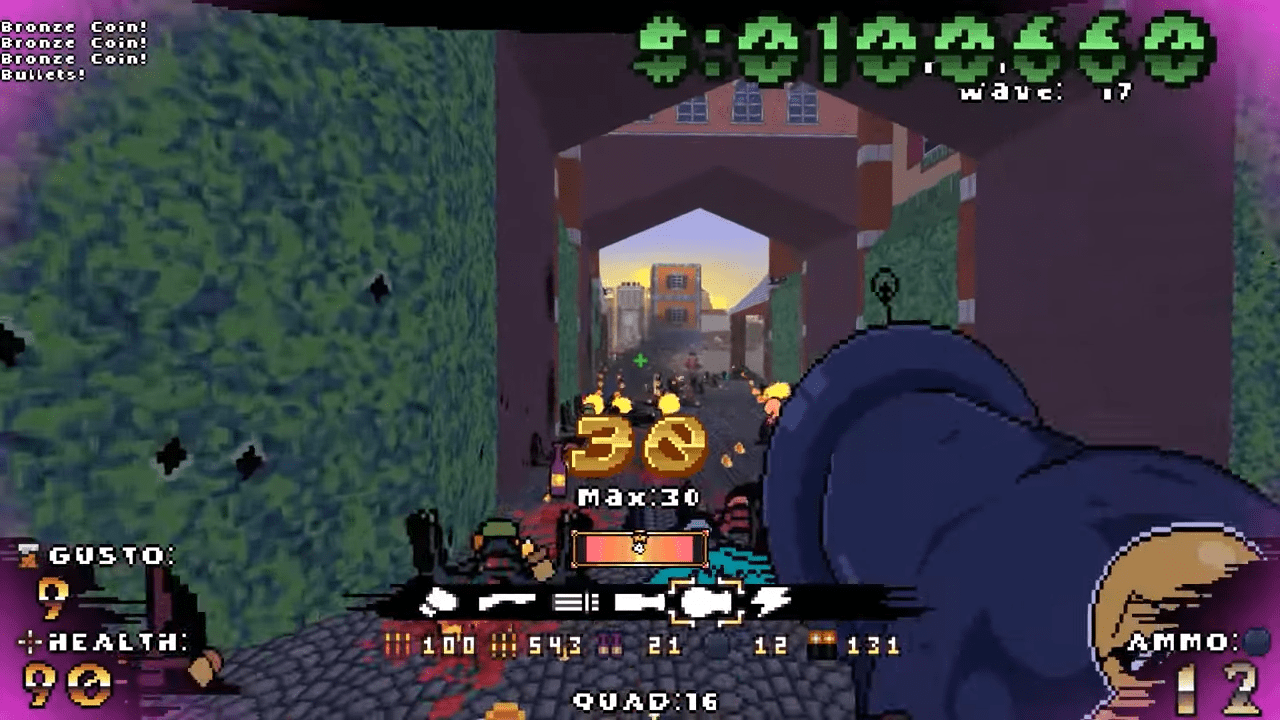
Map 5: NYR
This map involves a bit more navigation in the underground section.
- Head to the underground section and locate the switch.
- Wait for Wave 15.
- On this wave, the key required to activate the switch will spawn directly above it.
- Grab the key.
- Activate the switch.
- Get out of there immediately!
Map 6: Rigged to Blow
As the name suggests, you need to trigger a mechanism.
- Play to Wave 15.
- Look for a hatch that opens up.
- Enter the hatch.
- Press the button inside to finish the task.
Map 7: Burning Barnacle Brush (Welcome to Hell)
This map is intense, but the exit strategy is clear.
- Locate the room where you usually acquire the Quad damage power-up.
- Survive until Wave 15.
- An exit will appear in this room.
- Take the exit to complete the map.
Map 8: Wishing Hell
The center of the map holds the secret.
- Go to the house located in the middle of the map.
- Wait for Wave 15.
- The chimney of the house will start to glow red.
- Jump directly into the glowing chimney.
- You are done.
Map 9: Thunder Dave Mountain
This final map requires a fetch quest on the mountain.
- Look at the church perched on top of the mountain.
- On Wave 15, a blue key will appear at the church.
- Grab the blue key.
- Travel to the switch located on the outskirts of the map.
- Activate it to finish the map.
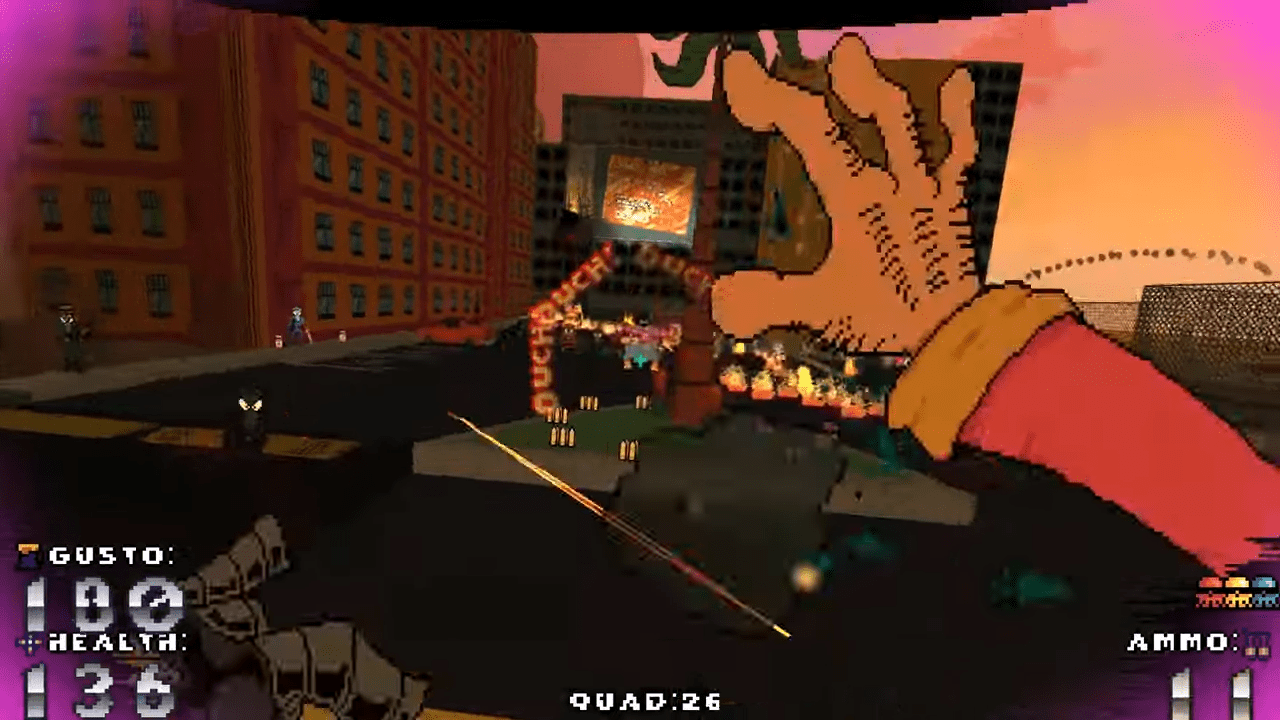
💡Pro Tip: Map 9 is unique because it offers infinite resources. This map has an infinitely respawning Thunder Dave Token located at the outskirts. Use this item to your advantage to secure your victory.
How to Unlock the EARLy Achievement
Obtaining the EARLy achievement is far less difficult than it appears. The entire premise revolves around disrespecting the boss. EARL spent millions on his fancy dance floor and the game rewards you for killing him without ever setting foot on it.
The “Safe Spot” Strategy
You can secure this achievement easily by exploiting a specific position on the map. Follow these steps to take him down safely:
- Select the Level: Load Map 4, known as “Beached Beluga Blues.”
- Reach the Boss: Progress through the map normally until you unlock and pass through the yellow key door.
- Hold Your Ground: Walk down the hallway toward EARL but stop immediately at the top of the stairs. Do not descend the steps to the main floor. Instead, hide around the corner at the top.
- Check Your Ammo: This boss has a massive health pool. Ensure your machine gun or chaingun is at full capacity (800 rounds) before you start the engagement. Boom Brews are also effective here.
- Fire and Cover: Lean out from your safe spot behind the wall to unload on EARL. He will return fire with high damage attacks, so immediately retreat behind the wall for cover between volleys.
- The Reward: Continue this pattern until he falls. Because you refused to dance on his expensive floor, the EARLy achievement will unlock alongside the standard kill achievement.
Note that you should also get the standard EARL achievement for just killing EARL if you are going for this achievement on your first time killing him.
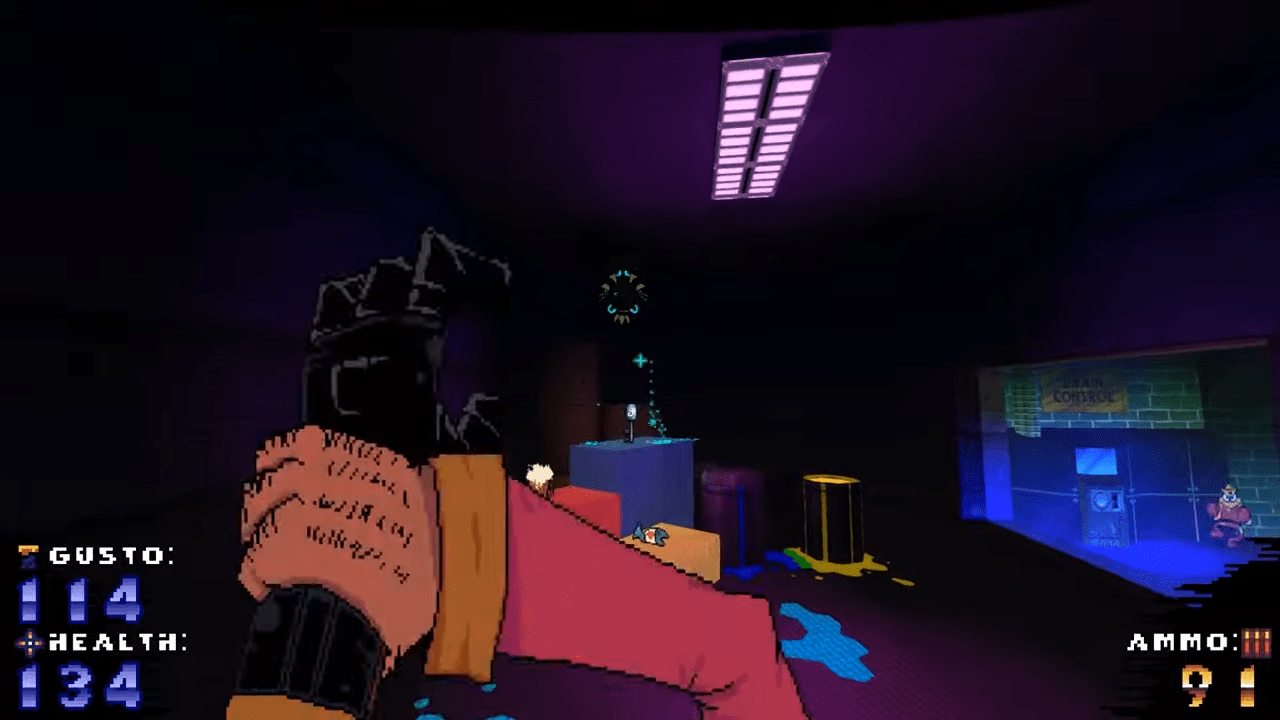
💡Pro Tip: Movement is an option if you dislike camping. This achievement pops as long as you do not step on the dance floor before EARL is killed. You can get it by kiting EARL in circles around the dance floor. This is trickier, but the game’s superb movement tech makes it manageable.
Technical Guide: Running uzdoom on Steam
Players who wish to upgrade their engine to the newer uzdoom version (4.14.3) often want to retain the convenience of Steam launching. You can replace the default engine with the updated version without losing your Steam overlay or hour tracking by following this simple workaround.
Installation Steps
- Acquire the Engine
First, you must download the uzdoom archive from the official GitHub repository. Extract these files to a temporary folder on your desktop. - Rename the Executable
Locate theuzdoom.exefile inside your extracted folder. You must rename this file toCaptainWayne.exeso Steam recognizes it. - Safety Backup
Navigate to your actual Captain Wayne game installation folder. Find the originalCaptainWayne.exeandgzdoom.pk3files. Move them to a safe backup location outside the game folder. You will not need these specific files for the mod to work. - Transfer Files
Move your uzdoomedCaptainWayne.exeand copysoft_oal.dllanduzdoom.pk3from your uzdoom folder to the game folder.
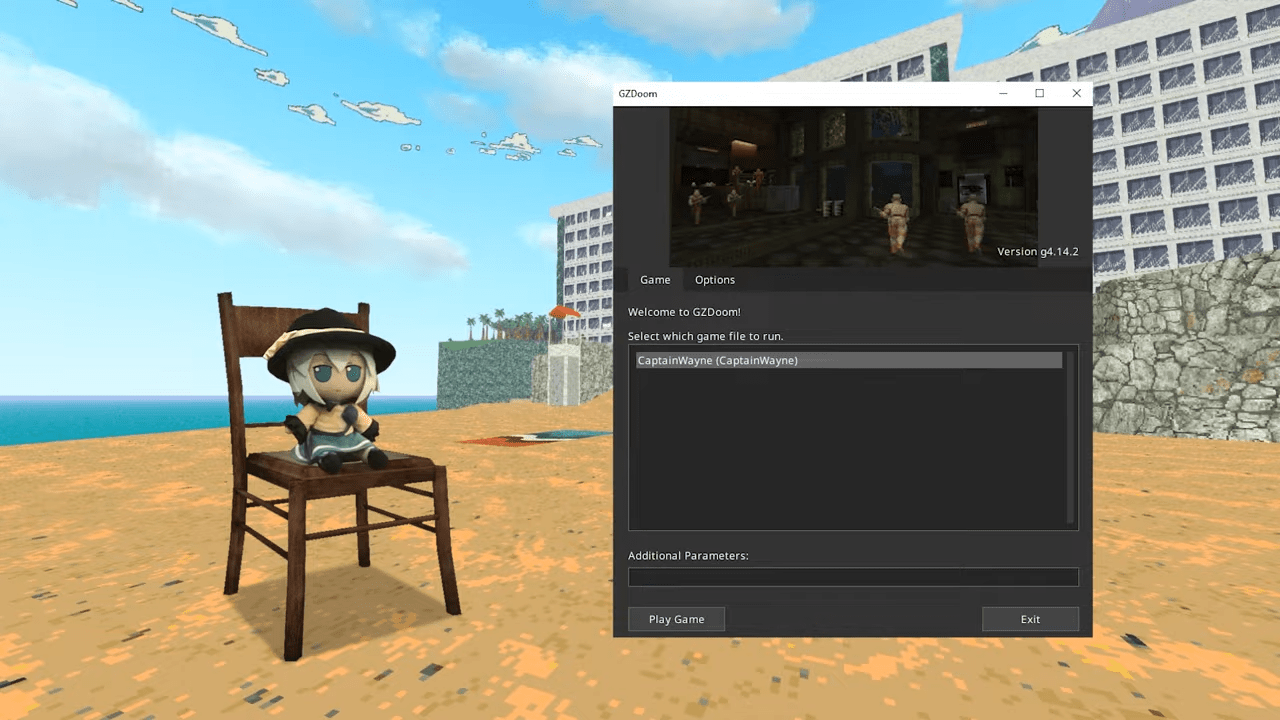
💡Pro Tip: Do not worry about breaking your game. If you did not back up the files, you can revert by reinstalling or going to the game’s properties in Steam, selecting “Installed Files,” and clicking “Verify integrity of game files.”
Conclusion
You now possess the ultimate roadmap to turn this desperate vacation into a glorious victory. By following these strategies, you will effortlessly unlock every hidden door and secure the prestigious pink and gold liquor on all nine maps. Take these tips into the arena to dominate EARL and optimize your engine for the best possible experience. Good luck out there and enjoy your hard-earned status as a true Captain.
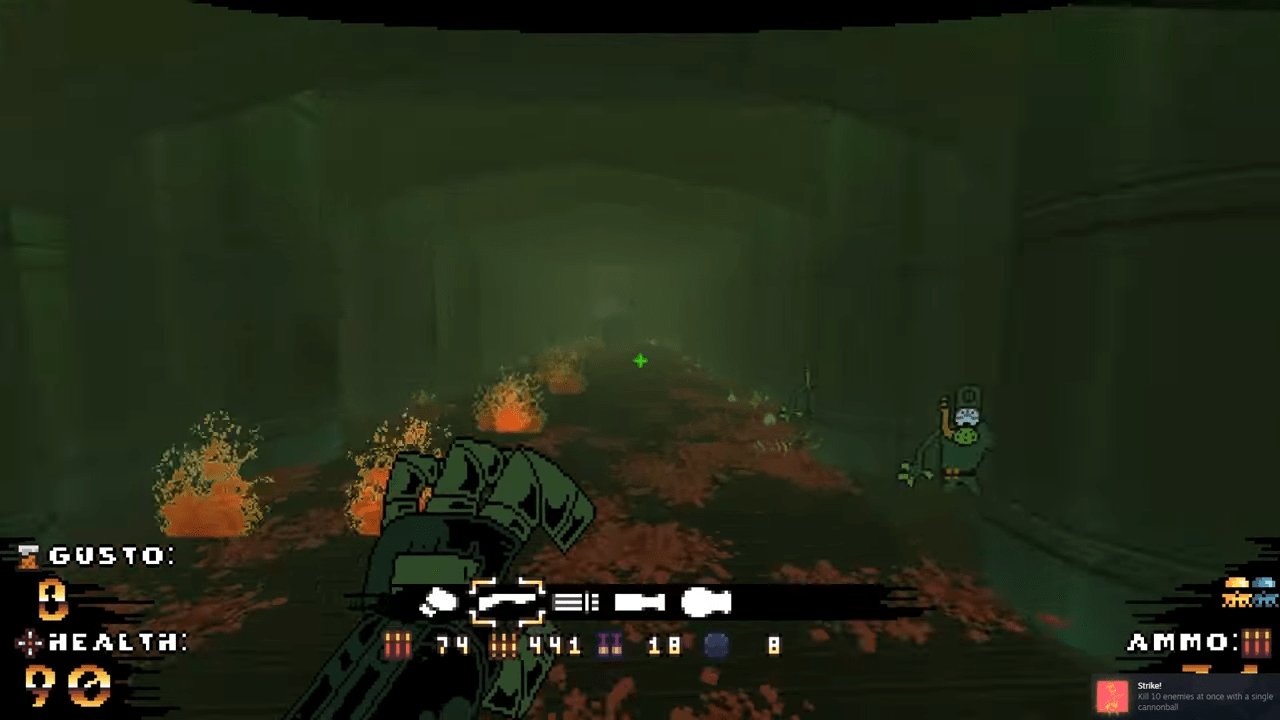
🎉 Fun Fact: In addition to his shotgun arm, Captain Wayne has a unique animation for his chain-gun weapon. In developer interviews, it was revealed that he feeds a belt of ammunition into his hand, twists it, and fires bullets directly out of his fingers.

Leave a Reply