

Last Updated on 12 February, 2026
Step into the virtual forge of Bladesong and transform from a novice apprentice into a master smith with our definitive handbook. We eliminate the frustration of obscure mechanics by revealing essential keyboard shortcuts and the precise steps to unlock every hidden achievement. Whether you are struggling to trigger the elusive Fetch Quest or need the secret codes for Creative Mode, this guide provides the blueprint for 100% completion.
Table of Contents
- Mastering the Tools: Essential Keyboard Shortcuts
- Advanced Smithing Techniques
- The Narrative Path: Unmissable Story Achievements
- Location Mastery: Side Quest Achievements
- The Art of the Reload: Save Scumming Strategy
- The Long Grind: Hard and Time-Consuming Tasks
- Creative Mode Secrets and Easter Eggs
- Conclusion
Mastering the Tools: Essential Keyboard Shortcuts
Before you can become a master smith, you must understand your tools. Bladesong utilizes a robust set of controls that allow for intricate design work. Knowing these shortcuts will save you hours of frustration and let you focus on the artistry of the blade rather than fighting the interface.
Navigation and Camera Control
You need to see your creation from every angle to ensure perfection.
- Orbiting: Right-click and drag your mouse to orbit the camera around the sword. This allows you to inspect the blade from all sides.
- Panning: To move the camera along the length of the sword, hold Alt + Right Click. You can also achieve this by holding the middle mouse button. This is essential for working on long blades.
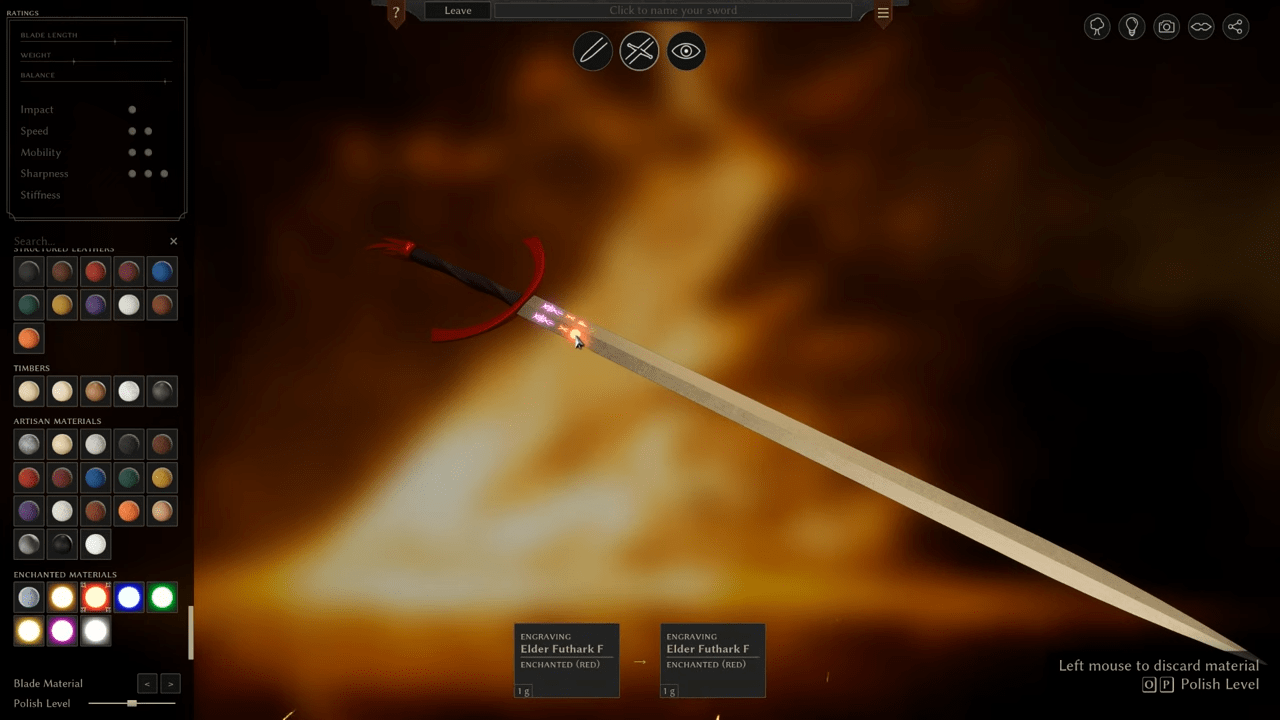
- Lighting: Proper lighting is essential for spotting imperfections in your metalwork. Press L to move the current lighting around the sword. For precision, hold Shift + L. If you need even finer control to catch the light just right, hold Ctrl + L.
Object Manipulation
Once you have a part selected in the hilt menu, these controls dictate its form and placement.
- Cycling Parts: Use Q and E to cycle through the available parts in the hilt menu without clicking manually. This speeds up your workflow significantly.
- Rotation: Use A and D to rotate an object. Holding Shift allows for fine rotation, while holding Alt resizes the selected object specifically, rather than others attached to it.
- Sizing: W and S resize an object. Always remember that Shift + W or S grants you fine resizing capabilities for subtle adjustments.
- Depth Placement: To sink or raise an object, use the comma (,) and period (.) keys. The period moves it forward, and the comma moves it backward. Combine these with Shift for slower movement or Ctrl for faster placement.
- Flipping: Press F to flip an object. Note for now that this function only operates within Creative Mode.
- Inverting Bends: Press G to invert the bend of your selected object.
- Deletion: Made a mistake? Press X to delete the selected object entirely.
Advanced Editing
- Duplication: Shift + Left Click creates an exact replica of the object you currently have selected.
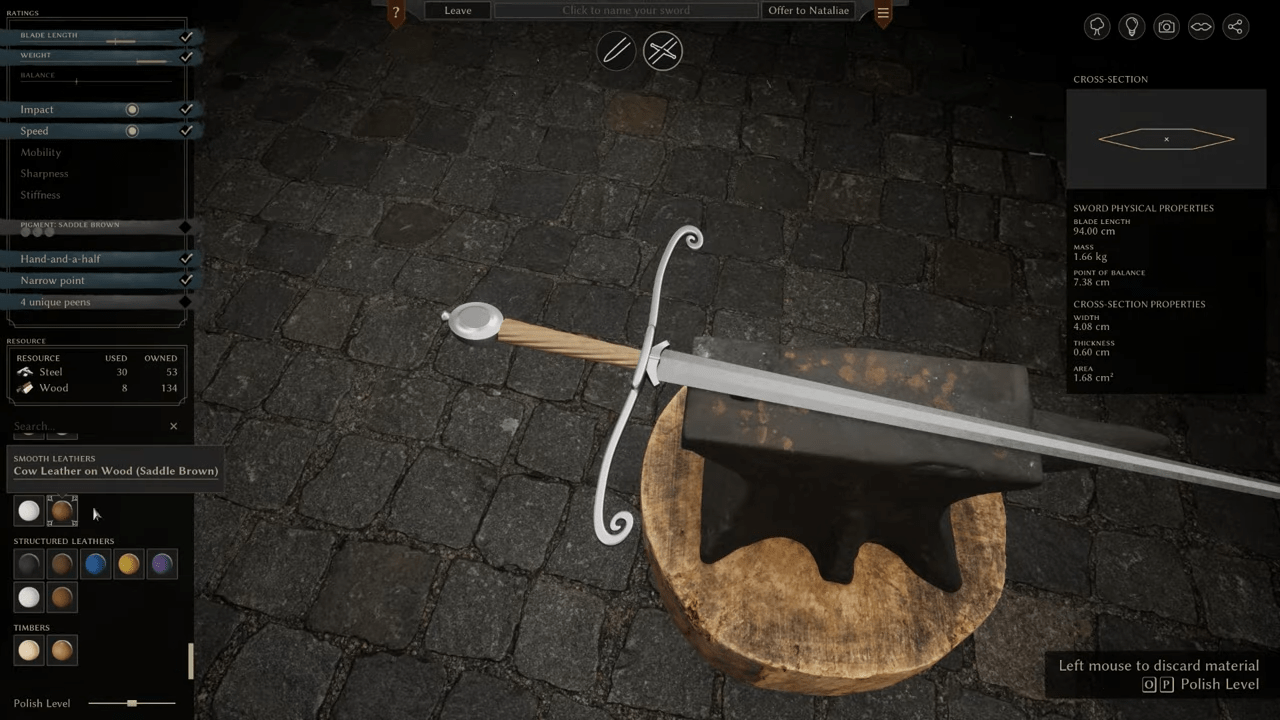
- Material Copying: Ctrl + Left Click copies the object’s material and polish. If you click a steel object, your current selection becomes steel. If you click gold, it becomes gold. This saves you from navigating the material menus constantly.
- Ability Sorting: In Creative Mode, use Ctrl + Up or Down to move blade abilities up or down in the menu order.
Advanced Smithing Techniques
Knowing the buttons is step one. Understanding the workflow is step two. Here are the specific mechanical nuances that separate a novice from a master smith.
Smart Part Swapping
The game offers a subtle feature that aids in rapid prototyping. If you have an object selected and you click on a different piece in the hilt menu, the game does more than just switch the part. The new part will inherit the original’s scale, bend, polish, and material. This allows you to test different looks without having to re-apply all your customizations every time you switch components.
Blending and Bending
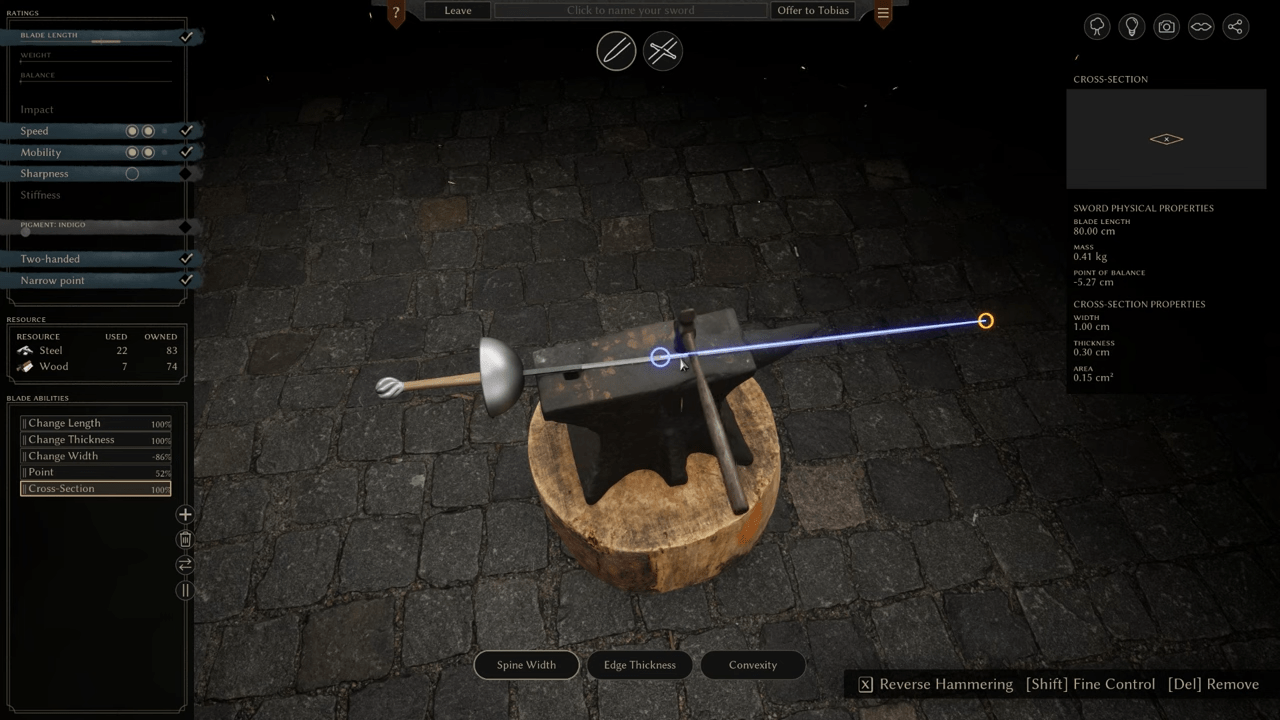
- Blends: Right-clicking the orange circles on the blade creates blends. If you right-click the white circles on those blends, you cycle through the types. To undo a blend, simply drag the circle back to its home position.
- Constraint: When bending an object in hilt mode, holding the Shift key constrains the part to a straight line. For example, if you right-click and drag the orange circle on a quillion while holding Shift, it draws the ends outwards as if on a straight line rather than curving them. This is vital for straight crossguards.
- Ignoring Hardpoints: Sometimes the game’s snapping logic gets in the way of your vision. Holding Alt while an object is selected forces the game to ignore hardpoints, bend handles, and engravings for placement. This works in both Story and Creative Modes and gives you total freedom.
The Narrative Path: Unmissable Story Achievements
For those worried about missing key plot points, you can relax. The main story achievements in Bladesong are earned naturally. The game is designed so that the story is impossible to not finish unless you die. Even if you do meet an untimely end, you simply reload your save and continue.
To progress the main narrative, your strategy is simple and direct: continue going to locations until there is nothing left to do at that location.
The Automatic Unlocks
- Earning Your Keep
- Rough Justice
Simply play the game, stay alive, and these will belong to you.
Location Mastery: Side Quest Achievements
Beyond the main plot, various locations in the game hold specific storylines. To unlock these achievements, you must finish the story associated with that specific location. The general rule of thumb is to visit the location at night repeatedly until there is nothing new to see.
The Apprentice
- Location: The Tannery.
- Details: This storyline revolves around the Tannery location. Keep visiting until the achievement pops.
The Hound
- Location: The Camp.
- Crucial Note: You must continue to finish The Camp storyline after you enter the city. This is where you obtain the dog, which is essential for a later achievement. There used to be an issue where the camp quest line would lock up, but that is supposed to be fixed now.
The Black Stone
- Location: The Lost City.
- Strategy: Visit the Lost City repeatedly at night.
The Visionary
- Location: The Steady Stay.
- Trigger: This quest typically begins after it appears you have done everything at The Steady Stay. You will be called back just as you are leaving for the night.
Worth the Price I Paid
- Location: The Den.
- Strategy: Exhaust all narrative options at The Den.
The Mysterious Fire
- Location: St. Meregor’s College.
- Details: This quest line will take you all around the city, but the primary interactions occur at the college.
The Art of the Reload: Save Scumming Strategy
Some achievements in Bladesong require you to produce specific types of swords or outcomes multiple times. While you could play for hundreds of hours to get these naturally, there is a faster way. This involves saving your game state before a critical action and reloading it repeatedly.
The Method
- Craft a sword that fits the achievement’s requirements and the requirements of a current buyer.
- Save the game.
- Turn in the sword.
- Reload the game from that save.
- Turn it in again.
- Repeat until the achievement pops.
Achievements to Cheese
Use the method above for the following achievements, as they are self-explanatory but tedious to do naturally:
- Precision Instruments
- Symmetry Is for Cowards
- Curved. Swords.
- Etch a Sketch
Feature Creep
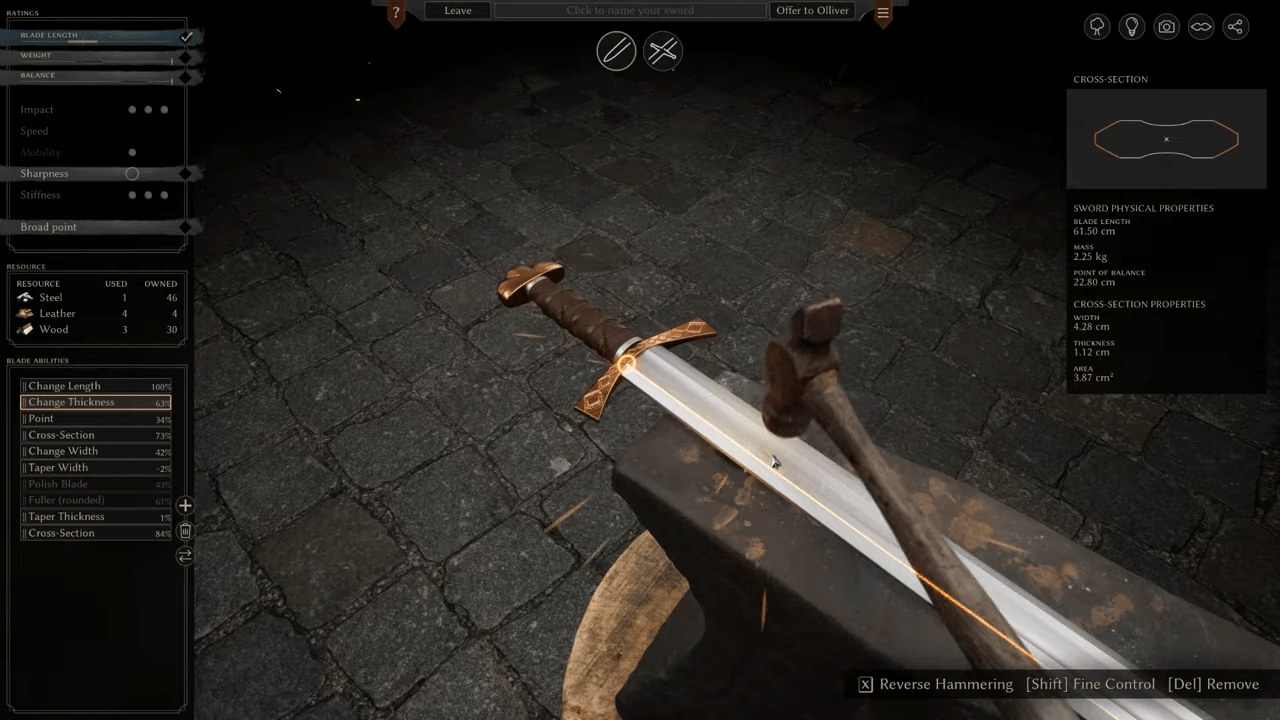
For this achievement, you need to add features to your blade. A feature is basically anything your hammer can do to the blade, such as changing thickness, changing width, tapering thickness, adding a fuller, or polishing the bevel.
- The Trick: You cannot achieve this by adding 0% features. However, you can do it by adding 1% features.
As All Things Should Be
This achievement is notoriously rare. In 10 hours of playing, it may only appear once naturally via a scripted doctor working for the Arena. Because of its rarity, it is highly recommended that you save-scum this specific interaction to ensure you unlock it.
The Long Grind: Hard and Time-Consuming Tasks
Some achievements require patience, specific actions, or a significant time investment. These are the hardest to earn.
Fetch Quest
This is arguably the most difficult achievement to earn. You need your dog to retrieve loot for you.
- Getting the Dog: You get the dog from The Camp storyline (see “The Hound” above).
- The Grind: The Hunter is your dog, and he has a chance to retrieve loot every day. However, the chance is not high.
- Strategy: You can try the save/load method here. Wait for a day where you receive something from the dog, then load that save over and over again. It feels faster than skipping days, even if it might be a placebo effect.
To Dye For
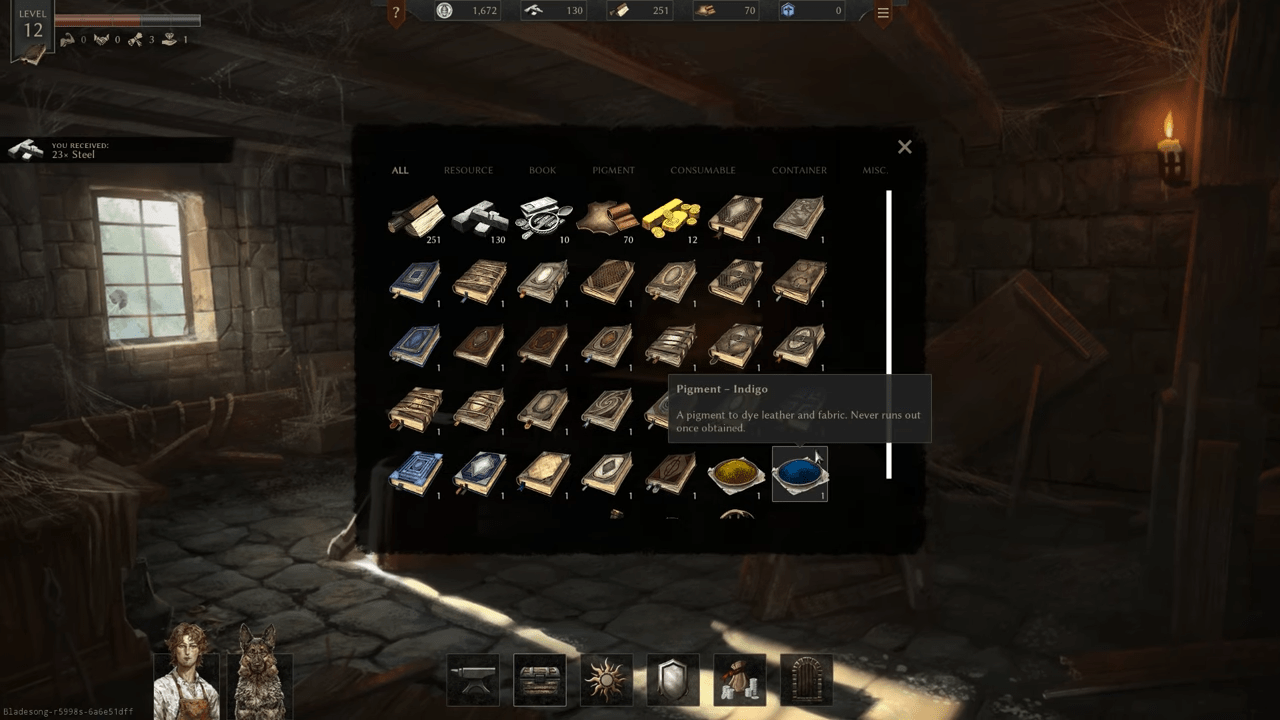
During the days, the Huntress will sell Dyes. Her stock seems random, so you must return often to check her inventory and purchase them.
Master of Manuscripts
You must work at the college writing manuscripts. This requires you to end your night at the college working.
- Requirement: You need to do this for a certain number of nights (approximately five).
- Failure is an Option: The game checks that you click the button. If you fail the check (even a 60% check), the night does not end. You can go back in and try again immediately. It is possible to get all five successful checks in one night by failing repeatedly first.
Call of the Dark
In the Lost City, you must choose the loot option until you get loot 5 times. Note that entering the city does not lock you out of this node, so you can keep trying.
Salvage Master
You likely won’t get this naturally before finishing the story unless you spend complete days dismantling items. This is fine and expected.
The Silver Lining
Another achievement you will get simply by playing, likely alongside “It Will Skill.”
Creative Mode Secrets and Easter Eggs
The developers have hidden several achievements behind specific, obscure actions in Creative Mode. These cannot be found in the normal story mode.
The Conjurer
If you only play story mode, you will never find this.
- Go to Creative Mode.
- Paste the magic words
wereaeiate-persyure-ithiaaesisinto the bottom right text field. - Click “Conjure.”
This feature is technically for sword sharing, and the code provided is blank, but it triggers the achievement.
Gnometech
- Enter Creative Mode.
- Go to Hilt Mode.
- Search for “Cube.”
- Select the Cube and hold the S key for approximately 20 seconds.
- Wait until the cube is hardly visible. Do not stop holding the key until the achievement unlocks.
Flatcat
- Enter Creative Mode.
- Search for and place the “Lion Pommel” onto the sword.
- Use the circle that resizes the pommel.
- Click and hold, and hold Shift as well.
- Move your mouse until the pommel is completely flat.
Conclusion
You now possess the comprehensive knowledge required to conquer every challenge Bladesong throws your way, from the tedious grind for dyes to the hidden tricks of Creative Mode. Use these advanced smithing techniques to streamline your workflow and turn the arduous task of achievement hunting into a satisfying creative endeavor. The anvil awaits your command, so strike the iron while it is hot and claim your place as a legendary swordsmith.
.STL files. This allows players with 3D printers to print physical models of the swords they design in the game.
Leave a Reply