
Last Updated on 9 April, 2026
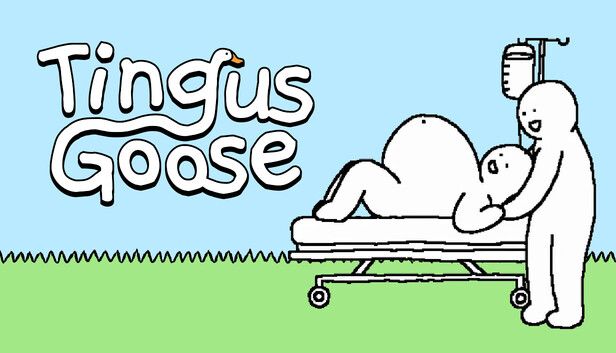
Welcome to the weirdly wonderful world of Tingus Goose, a game where you build surreal Rube Goldberg machines along a gigantic avian neck to harvest falling babies for cash. Navigating this absurd ecosystem and maximizing your economy can quickly overwhelm even the most seasoned puzzle enthusiasts. This complete walkthrough solves that confusion by offering a complete roadmap to perfectly optimize your tower setups and conquer the chaotic late game requirements. You will find exact strategies to bypass the worst randomized shop hurdles and secure every single achievement in a single playthrough.
To ensure smooth narration, all trophies and achievements will be denoted by the [🏆] icon and bolded, throughout this guide.
Table of Contents
The Blueprint to Success
Before you lay down your first blossom, you should understand the baseline expectations for a completionist run. The game requires dedication, but it avoids frustrating mechanics like missable content.
Anticipated Challenge Level
You can expect a difficulty rating of about 4 out of 10. The main campaign features a single, unified difficulty setting. You will not find any sliders that make the enemies harder or the economy less forgiving.
Expected Time Investment
You will likely spend between 20 and 30 hours to secure total completion. This timeframe depends slightly on your luck with the in game shop.
Trophy Breakdown
You must collect 28 offline achievements. The game features zero online requirements, zero missable tasks, and zero glitched trophies. You only need a single playthrough to finish the core story, and you will mop up any remaining tasks in the epilogue. The hardest hurdles you will face include the YOLO and Nothing scares me anymore tasks, simply because they rely heavily on shop randomness.
Mastering the Goose Vocabulary
To engineer the perfect money making machine, you must speak the language of the game fluently. Familiarize yourself with these crucial terms and mechanics.
Core Entities and Structures
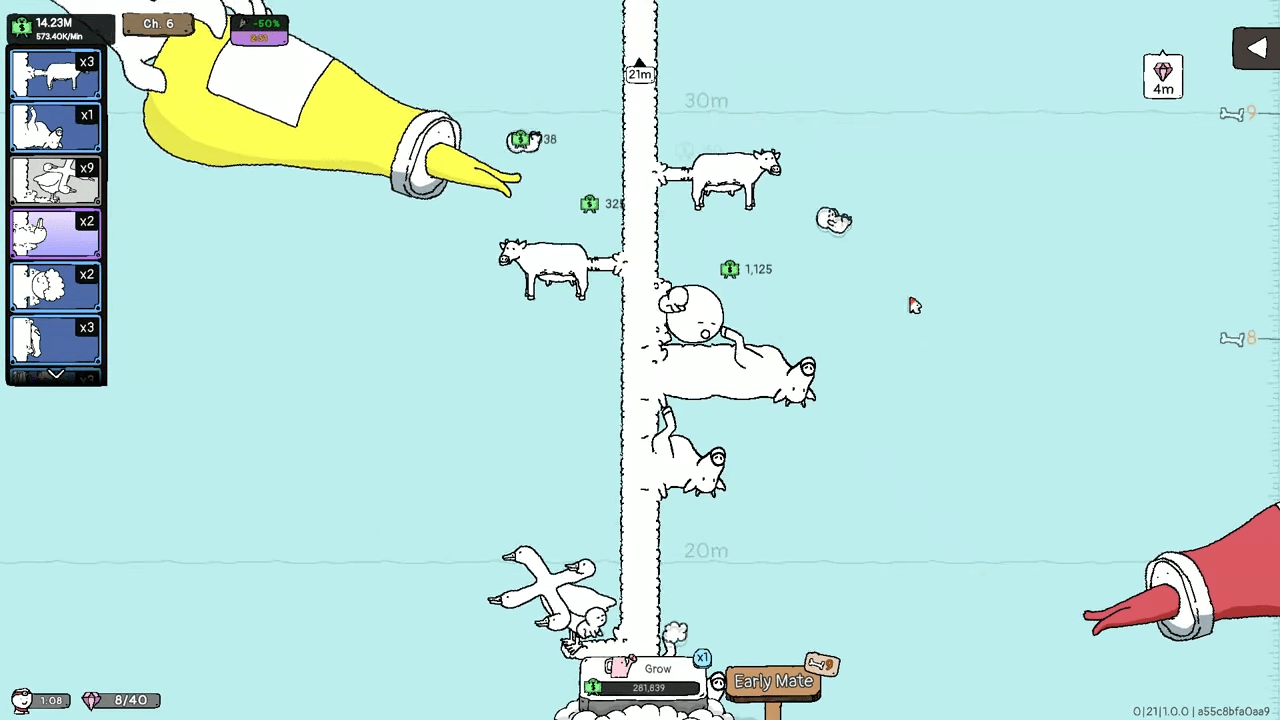
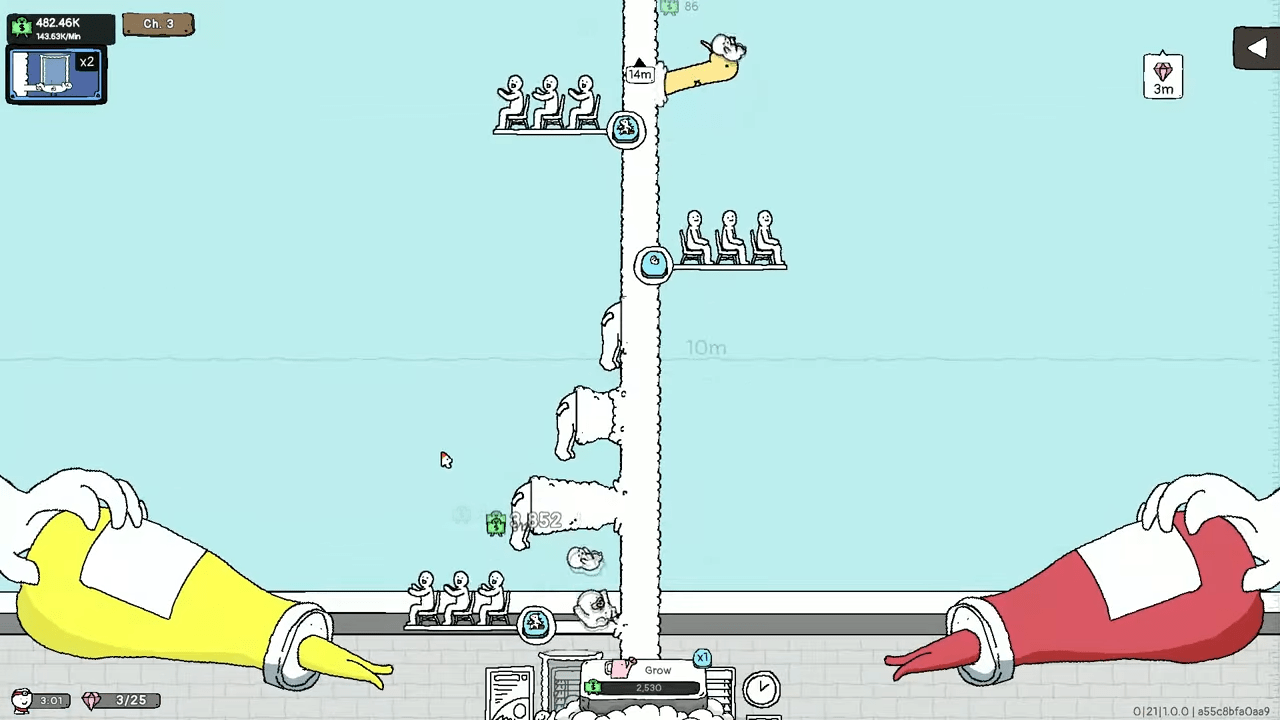
Your primary focus is the Goose, sometimes referred to as the Goose Tower. Your goose grows upward, and this vertical growth allows you to place objects along its elongated neck. The babies the game produces at the very top are called Tingis. These Tingis fall downward and interact with your placed objects.
Building Blocks
You use Blossoms as your primary building bricks. Each blossom provides a specific utility. Some blossoms launch a Tingi in a precise direction, some clone the babies, and others drastically slow their descent. You earn income every single time a Tingi touches or interacts with these blossoms.
Currencies and Upgrades
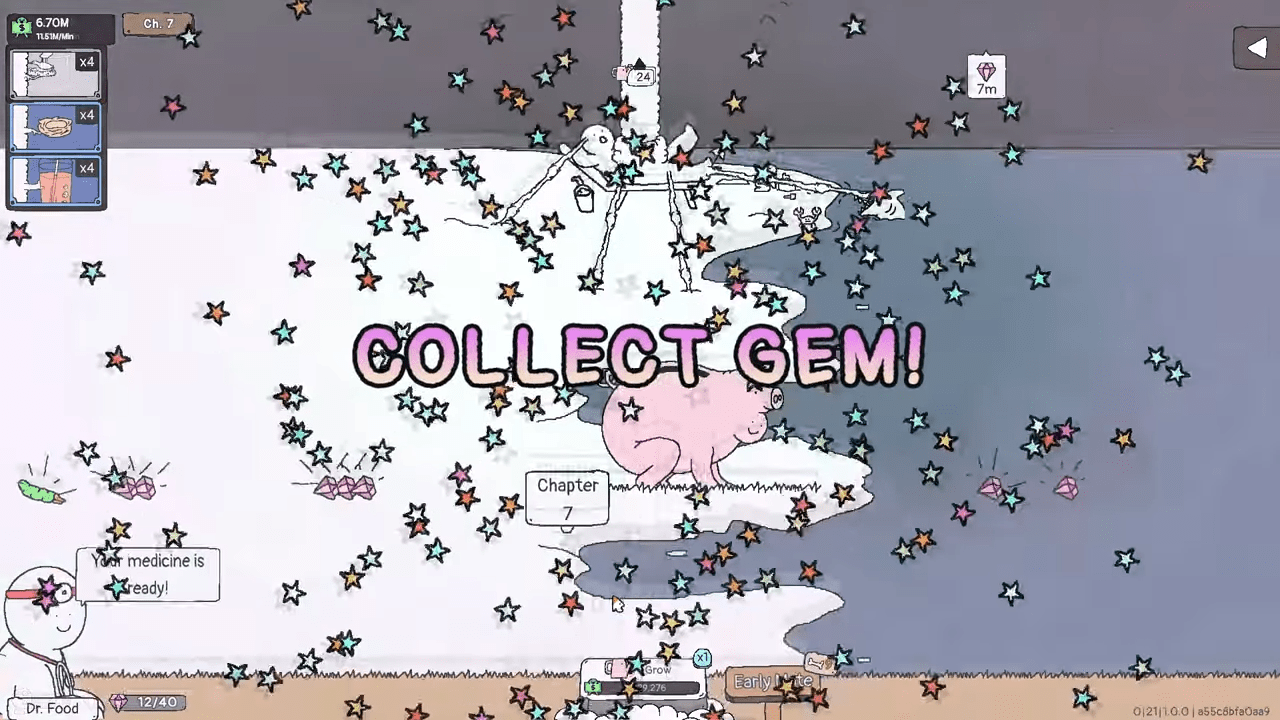
You earn Cash constantly, and you trade this cash directly for water to increase your tower height. You also collect Gems, which you spend exclusively at the Medical Center. The Medical Center acts as a randomized shop where you trade gems for previously unlocked blossoms or DNA. DNA acts as a passive buff that grants you powerful bonuses for the duration of your current chapter. Finally, you earn Calcium by pushing your goose to certain milestone heights. You spend Calcium in the underground Roots section, which functions as your permanent talent tree.
Fundamental Tower Tactics
You need a concrete strategy to generate endless wealth and navigate the trickiest levels. Implement these tactics to streamline your journey.
Engineering the Perfect Evolution Trap
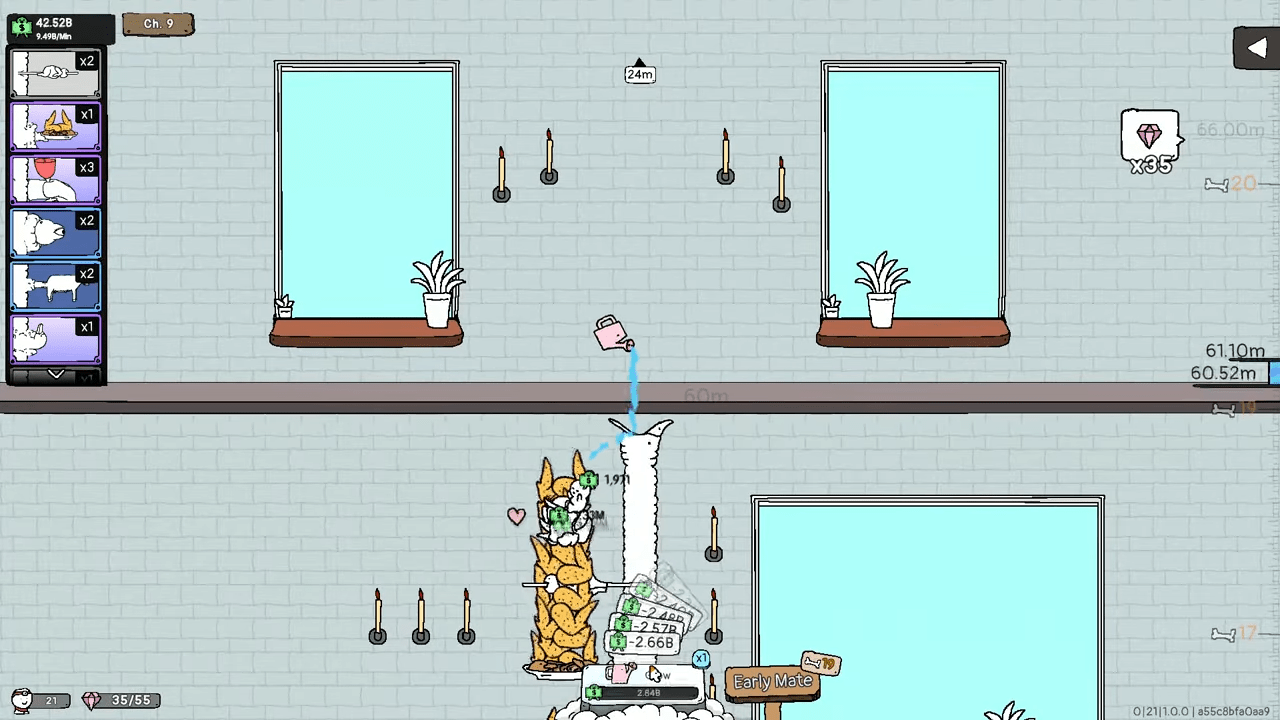
As you advance, you unlock the power to evolve your Tingis. When you force three identical Tingis to smash into each other, they merge into a higher tier form that generates vastly superior income. Since the top of the tower drops them one by one, you must build a specific containment path right at the spawn point. Design this top section to trap them in one place or bounce them back and forth. You must continually rebuild this trap higher up the neck every time your Goose grows.
Adapting to Chapter Obstacles
Every new chapter throws new items and obstacles your way. You unlock most new items simply by beating a chapter or by using the specific tools the level provides. Do not stubbornly stick to one layout. You must actively weave the new tools into your designs. Furthermore, you should exploit environmental obstacles. For example, prison levels cap your building height, but any Tingis that crawl behind the prison bars generate passive income. You must weaponize these quirks.
Dismantling Chapter 17
Countless players hit a massive wall at Chapter 17, but you can dismantle it with a strict strategy. At the start, you must use only the drum set and guitar blossoms. You must sell absolutely everything else. Use the guitars to steer your Tingis, and let them bounce wildly off the drums. Place your guitar blossoms precisely where the Tingis exit the drums to eliminate any idle time. If you need to move a Tingi across the screen, place your guitars back to back to create a continuous chain.
Deciphering the Compendium
The game records your overall progress in a detailed book. You earn a series of trophies as you reveal the contents of this compendium.
The Milestones of Grief
The book unlock trophies follow the five stages of grief. You unlock 🏆The First Stage of Goose (Denial) at 20 percent, 🏆The Second Stage of Goose (Anger) at 40 percent, 🏆The Third Stage of Goose (Bargaining) at 60 percent, 🏆The Fourth Stage of Goose (Depression) at 80 percent, and 🏆The Fifth Stage of Goose (Acceptance) upon reaching 100 percent completion.
Categorizing Your Unlocks
The compendium splits into four distinct tabs. You will find the Story, Lovers, Blossom, and DNA sections. You populate the Story and Lovers tabs automatically as you beat the campaign levels. The Blossom and DNA tabs require specific gameplay actions. You satisfy these actions by interacting with new blossoms, clicking specific entities, spawning enough babies, or placing a target number of blossoms on your tower. Try to use every single blossom the game hands you in a chapter to secure these unlocks organically.
Reaching Astronomical Wealth
You must master the economy to fund your massive tower expansions. The game rewards you for hitting staggering financial milestones.
The Income Tiers
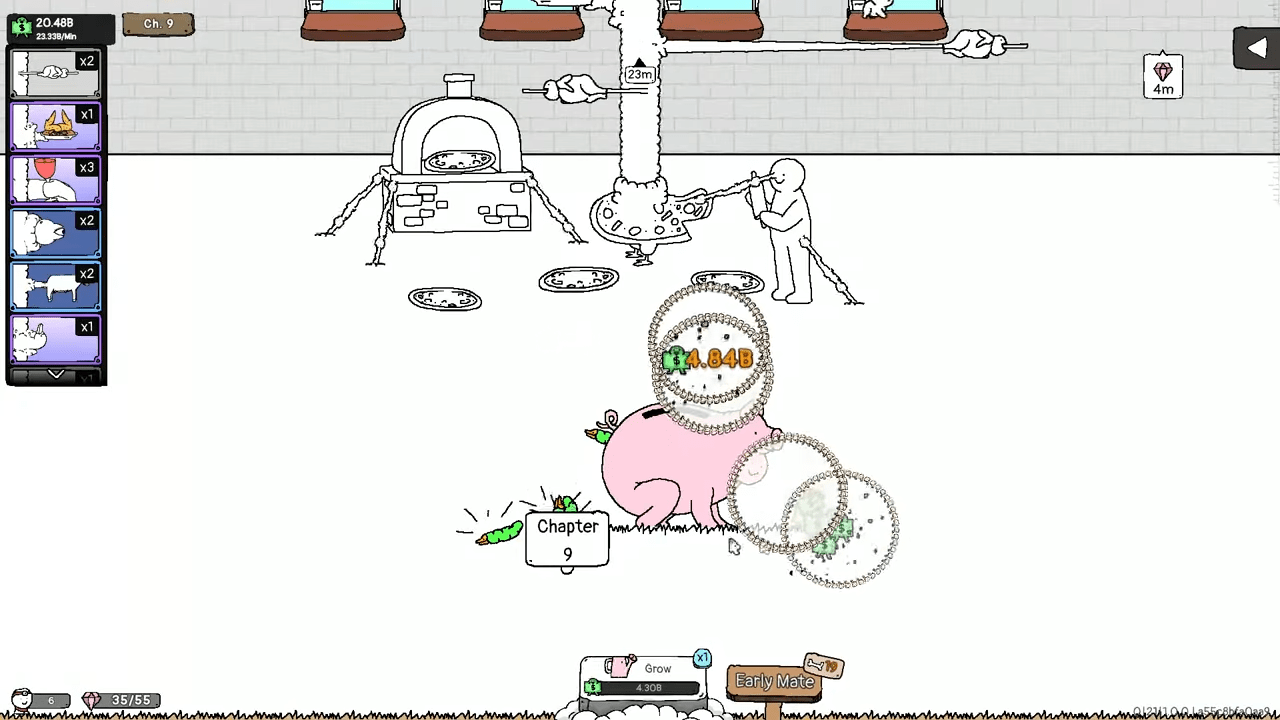
You start your journey to wealth by earning the 🏆Middle-class achievement, which asks you to hit 1 Million income per minute. Next, you secure 🏆Rich papa and mama by reaching 1 Billion per minute. You follow this up with 🏆Don’t worry about money, kids by hitting 1 Trillion per minute. Finally, you unlock 🏆Family business when your machine pumps out 1 Quadrillion income per minute.
Structuring for Maximum Profit
A quadrillion sounds impossible initially, but your late game income will easily hit the undecillions. To spike your numbers this high, you must focus entirely on early evolution. You want your Tingis to hit their maximum evolution tier at the very top of the screen. Once they evolve fully, you must force them to scrape against as many blossoms as possible during their long fall to the ground.
Campaign and Companion Milestones
The core narrative ties directly to the various lovers you meet along your upward climb.
Initial Encounters
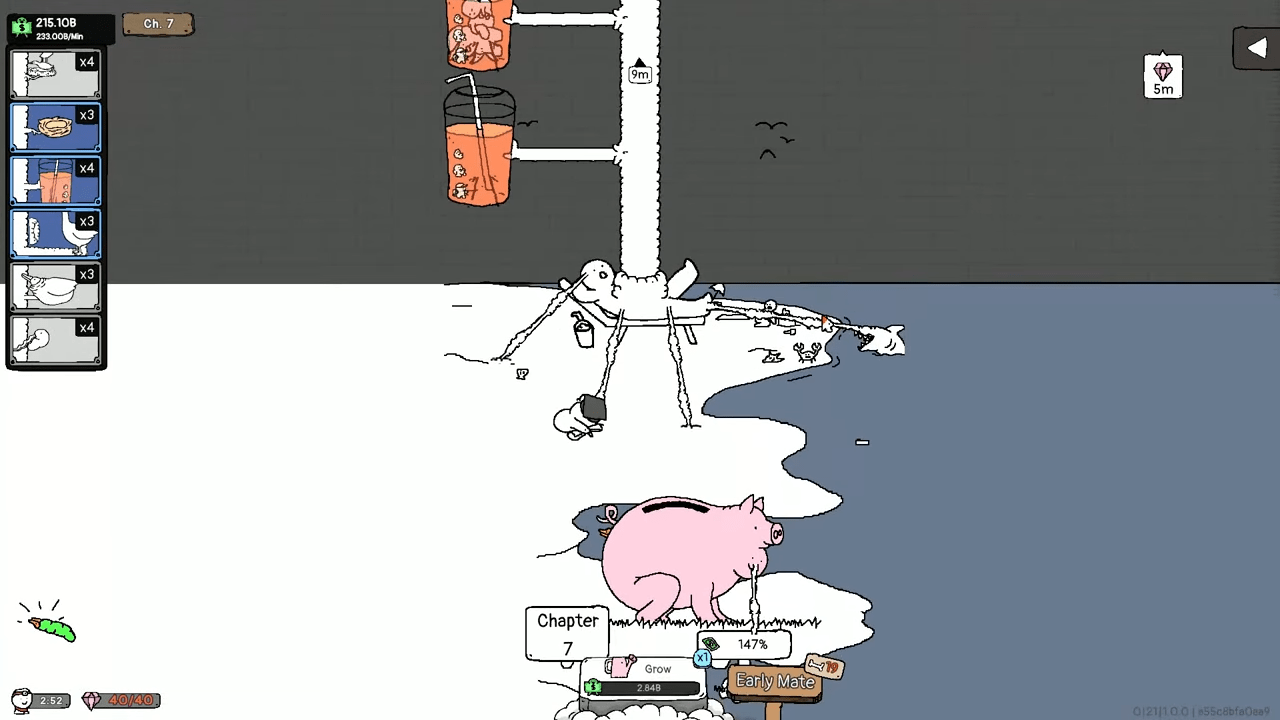
You earn the 🏆First Love trophy immediately after you mate for the very first time, which happens upon completing the tutorial level. Soon after, you earn 🏆Grass on the other side. You unlock this second milestone when you mate with a new lover who actively changes the gameplay rules. The first lover offers no obstacles, but subsequent lovers introduce new mechanical twists you must navigate.
Concluding the Story
You unlock the 🏆Heartbreaker trophy after you successfully mate with every single lover in the game. You earn this right alongside the 🏆Reveal trophy, which pops when you witness the standard ending of the game after you conquer Chapter 17.
Unearthed Enhancements
The underground Roots system acts as your permanent progression tree. You spend your hard earned Calcium here to permanently alter your capabilities.
Early Root Investments
You kickstart your progression by purchasing the Medical Center node, which grants you the 🏆Consumer achievement and allows the shop to appear on your screen. Shortly after, you unlock the 🏆Mr. Bell Boy node to earn the corresponding trophy. As you dig deeper, you purchase the enhancement that allows your piggy bank to poop, securing the 🏆Part of the cycle trophy.
Advanced Mutations and Final Upgrades
Further down the tree, you purchase 🏆The Second Coming, which allows your Tingis to achieve higher evolution tiers. You also grab the 🏆Moootation blossom upgrade, allowing your tools to mutate. To see the true ending of the game and pop 🏆The true reveal achievement, you must purchase the final node at the absolute bottom of the tree. The game makes you spend 50 calcium on the second to last node and a hefty 150 calcium on the final one.
Bizarre Engineering Feats
The game demands you perform several highly specific engineering tasks to prove your mastery of the mechanics.
Forcing Merges and Summoning Archangels
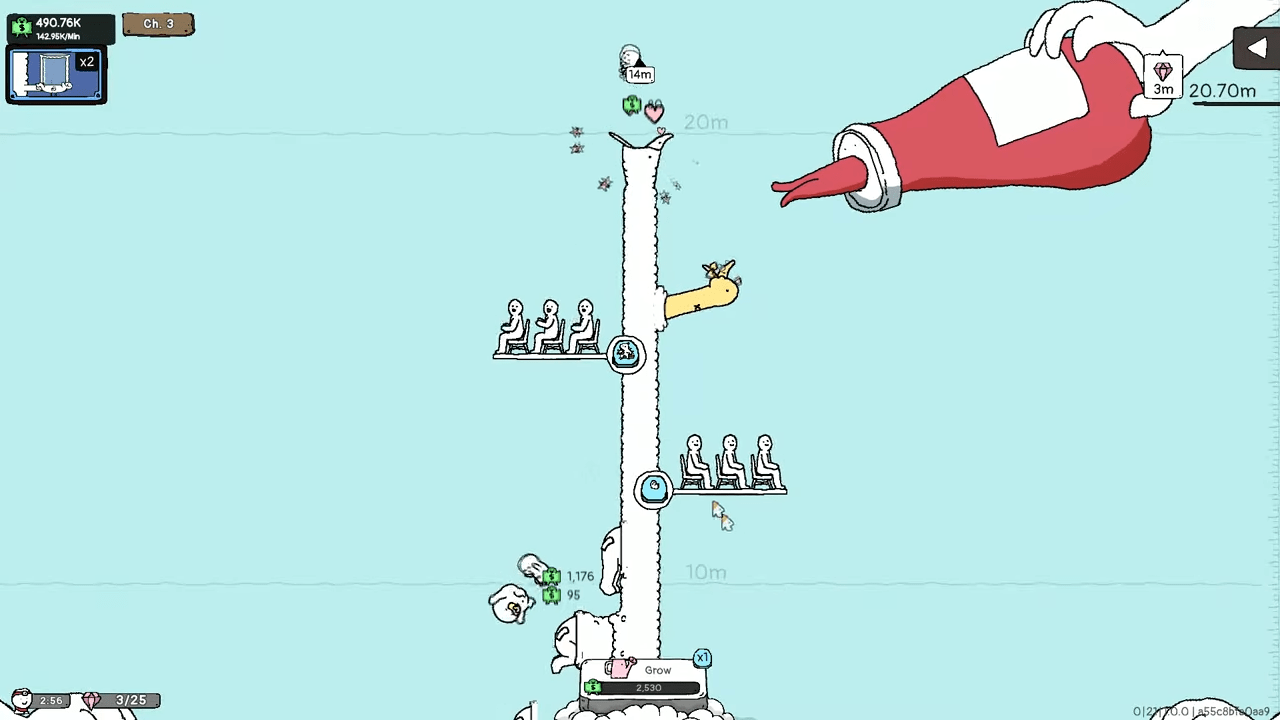
You unlock the 🏆Tingi Evolution achievement the first time three identical Tingis collide and merge. You must use items like the Test Tube blossom to freeze them in place and force this collision. Later, you must witness an Archangel Tingi to earn the 🏆Final form achievement. The Archangel serves as the ultimate evolution tier.
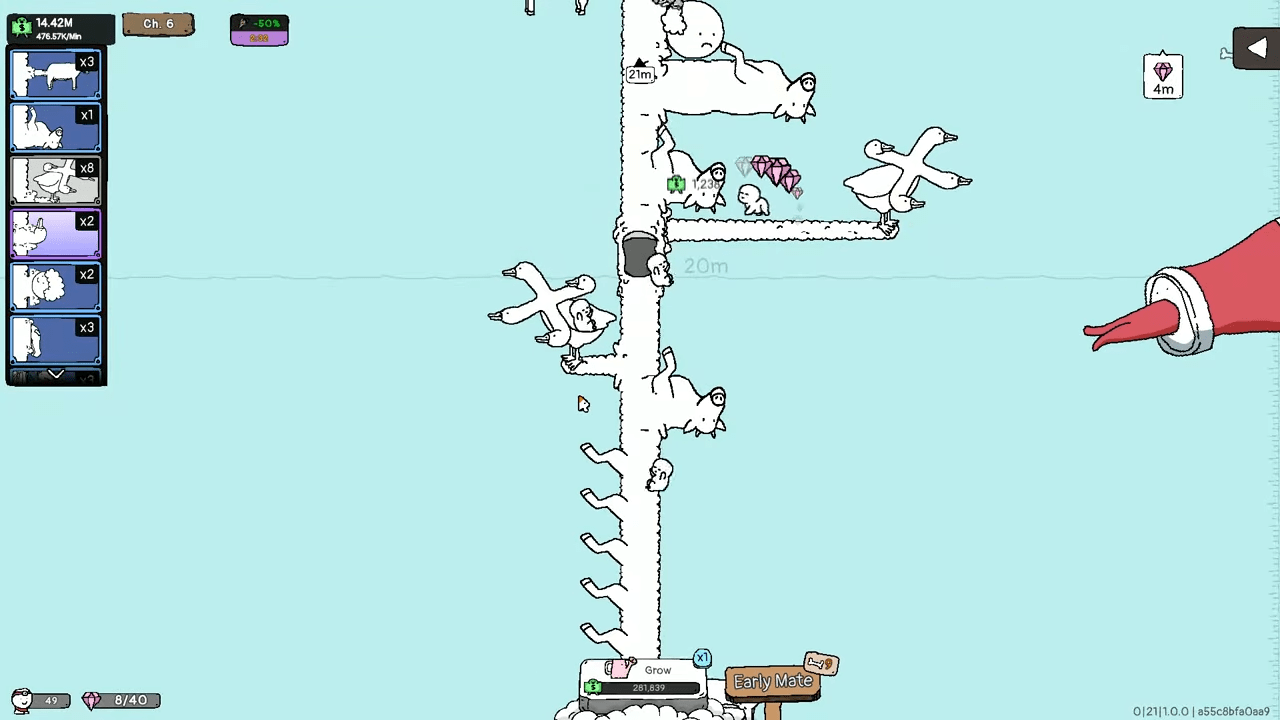
You can easily farm Archangels once you unlock the Frog Goose in Chapter 12, the Cow Leg Wheels in Chapter 11, and the Horse Legs in Chapter 13. Build a cluster of eight to ten Frog Geese. Place five or six Cow Leg Wheels and Horse Legs below them. Angle the legs to throw the cloned Tingis right back into the mouths of the Frog Geese. This creates an infinite loop of cloning and merging that quickly spits out Level 10 Archangels.
Maxing Out Your Real Estate and Enhancements
You must cram 50 blossoms onto a single goose to earn 🏆Plump body, and you must pack 200 blossoms onto a single goose to unlock 🏆Blossom overload. Additionally, you must inject 15 DNA into one goose to secure the 🏆IV drip enjoyer achievement.
Conquering the Ultimate Tests
Your final steps toward total completion require patience, specific mechanical knowledge, and a lot of shop rerolling.
The Completionist Grind
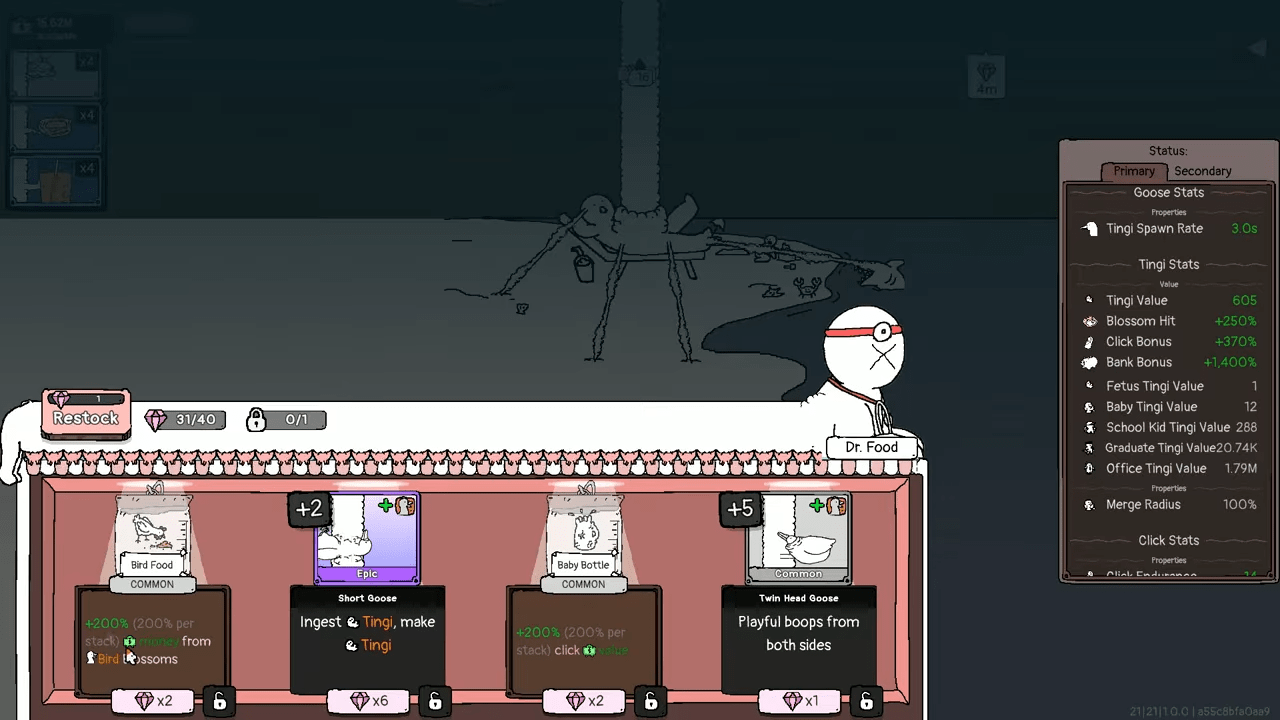
You earn 🏆Come on, just one jab by unlocking all DNA, and 🏆Gotta plant ’em all by unlocking all blossoms. To unlock items tied to clicking, you must first visit the roots and buy upgrades that boost click endurance. Once you boost a Tingi’s endurance to 100, you must click that exact same Tingi repeatedly.
You pop 🏆YOLO by injecting every piece of DNA at least once, and 🏆Nothing scares me anymore by planting every blossom at least once. You do not need to do this all on one goose. You’ll struggle to find the final legendary items because the game locks them until you purchase the final root upgrade. Build a goose in the epilogue that generates passive gems, wait four minutes for the shop, and reroll the inventory endlessly until you find the items you lack. As noted by the Steam Community, terrible RNG can force you to spend thousands of gems before the final items appear.
Fixing the 100 Limit Setting
You must unlock a specific DNA that requires you to have 100 Tingis on screen simultaneously. Countless players, spend 99 percent of their playtime failing this because of a misleading menu option. You must navigate to your options menu and find the numerical slider.
Surviving the 240 Meter Drop
To unlock the legendary portal card, you must force a Tingi to freefall 240 meters. The first goose only grows to about 90 meters, and the Ovagelion goose destroys any baby that freefalls for more than 5 seconds. You must use the Handy goose, the airplane goose, or the first epilogue goose. Play until you reach the maximum mating height of 198 meters. Clear every single blossom off one side of the neck. Build a ladder starting from the ground using horse legs, cow wheels, and guitars. Shoot a baby off the cleared side so it falls the massive distance and lands safely in your ladder.
Conclusion
You now possess the exact blueprints needed to tame the chaotic physics of Tingus Goose and claim your well earned completionist milestone. By applying these specific evolution loops and shop manipulation tricks, you instantly solve the most frustrating progression bottlenecks the game throws your way. This guide guarantees you will unlock the final elusive legendary items and master the most absurd engineering challenges without wasting countless hours on trial and error. Share your most ridiculous tower layouts in the comments below, and enjoy your fully maximized golden goose.

Leave a Reply