
Last Updated on 15 May, 2026
The chaotic 200 player multiplayer battles of Over The Top WWI transform the Western Front into a fully destructible sandbox of absolute carnage. Colossal artillery bombardments and collapsing trenches constantly obliterate the carefully laid plans of fresh recruits during their first frantic moments on the battlefield. This walkthrough provides the essential mechanical knowledge needed to navigate the explosive chaos and coordinate effectively with your massive team. By detailing specific class roles and the vital principles of armored warfare, this guide solves the problem of aimless wandering and gives you a clear blueprint for survival.
Table of Contents
- 1. Dominating the Vanguard: Frontline Infantry Protocols
- 2. Mastery of the Arsenal: Maximizing Weapon Potential
- 3. The Battlefield Architect: Engineer Strategies
- 4. Leading the Vanguard: Officer Command Tactics
- 5. Skyward Surveillance: Identifying Aircraft
- 6. Mechanized Behemoths: Advanced Armored Warfare
- 7. Conclusion
1. Dominating the Vanguard: Frontline Infantry Protocols
Playing as a Rifleman, Stormtrooper, Specialist, or Armored class grants you incredible tactical flexibility. You can absolutely focus your efforts entirely on teamplay and trench excavation, but these specific classes also excel in independent combat scenarios. They rely far less on strict team coordination compared to the Officer and Engineer roles. However, fighting independently does not give you an excuse to play blindly. You must develop the ability to read the overall flow of the match so you can determine exactly where your team requires your presence the most.
Analyzing the Theater of War
The most common mistake novice players make involves piling into a single, highly congested location. Clustering together with a massive group of your teammates only transforms you into an extremely vulnerable target for the enemy. You must develop a habit of frequently opening your map to identify which control points lack adequate defense. If you find yourself stationed on a poorly defended objective facing a massive, coordinated enemy push, you must immediately warn your team to deploy reinforcements.
Executing the Assault
When your team transitions to the offensive, you will generally encounter two very distinct scenarios. In the first scenario, overwhelming enemy firepower forces you to focus your entire attention purely on immediate combat and survival. In the second scenario, the incoming enemy fire feels light enough to permit freedom of movement. During this second situation, you must actively resist the temptation to join a massive cluster of friendly soldiers. Adding your body to the pile accomplishes nothing. You should instead reposition yourself to flank the enemy defenses or locate a smaller, isolated group of allies who desperately require your firepower to shatter the enemy lines.
2. Mastery of the Arsenal: Maximizing Weapon Potential
Comprehending the true capabilities of your weapons provides a massive advantage over opponents who simply point and shoot without thought. Many newcomers severely misunderstand the functional realities of the game’s diverse arsenal.
Pushing the Limits of Range
Standard rifles and static machine guns project their lethal force over far greater distances than most players initially realize. If you acquire a clear line of sight on a stationary target in the distance, you should absolutely expend your ammunition taking shots at it. Eliminating a faraway heavy machine gunner creates a crucial opening for your team to advance without taking casualties.
Rethinking Artillery Fire
Heavy gunners frequently select the mortar because it looks like an incredible tool for farming an impressive kill count. However, you must understand that mortars lose a severe amount of accuracy over long distances. If you need to reliably destroy distant targets, you will achieve far better results utilizing a heavy machine gun or a cannon. Furthermore, you must never fear dying during combat. You do not lose any points upon death, and the game features incredibly fast respawn timers.
The Universal Excavation Tool
You do not need to play the Engineer class to gain the benefits of digging. Most classes allow you to equip a basic digging tool in your inventory. You do not have to excavate a massive, sprawling trench network to create an advantage. Simply digging a small, personalized fighting hole provides excellent cover and dramatically improves your combat effectiveness.
Confronting the Flames
Flamethrowers terrorize inexperienced players, but they lack the overwhelming power they appear to possess. A large portion of the damage they inflict remains purely psychological. The actual flames travel through the air at a surprisingly sluggish pace. If you spot a flamethrower troop advancing toward you, you often possess plenty of time to simply turn around and sprint away completely unharmed. You must also remember that flamethrowers feature a shorter effective range than standard hand grenades.
Tactical Close Quarters Combat
Melee combat provides incredible utility in highly specific, situational encounters. Charging head-on with a bayonet carries extreme risk when your opponent holds a rifle capable of eliminating you in one single shot. However, melee attacks excel when you utilize the element of surprise. When a physical obstacle separates you from an unaware enemy, leaping directly over that barrier and stabbing them catches them completely off guard.
3. The Battlefield Architect: Engineer Strategies
The Engineer fundamentally dictates the structural flow of the entire match. Your ability to construct defenses, manage reinforcement points, and support advances determines whether your team holds the line or crumbles under enemy pressure.
Geometry of the Trench
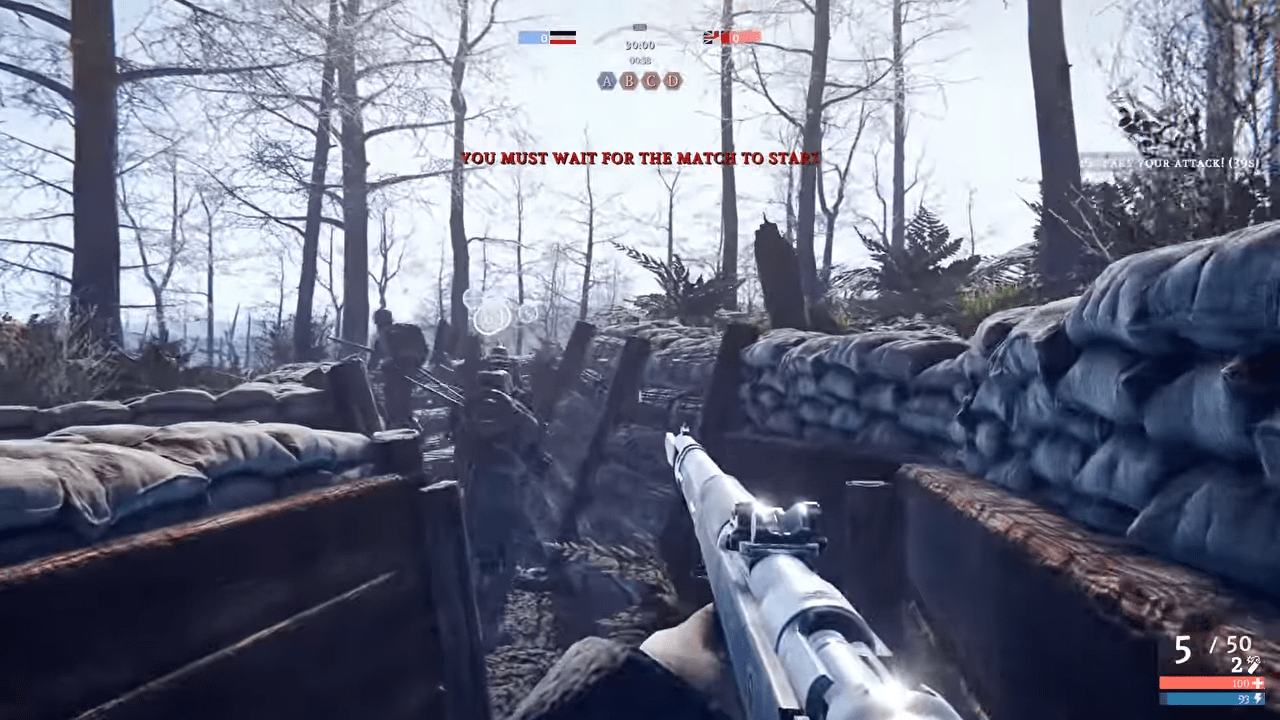
You must never dig your trenches in a perfectly straight line. A trench completely lacking turns or corners functions as a devastating death trap. A single enemy weapon can sweep the entire length of a straight trench and wipe out your entire squad. If you encounter an existing straight trench, you can easily mitigate the danger by adding angles. You can even rework the entire pattern completely. However, you must exercise extreme caution when performing complex renovations near the active front line. You risk losing your own life and temporarily blocking the movement of allied troops trying to push forward through the worksite.
You must design every single trench with the assumption that the enemy might eventually capture it. Plan your placements and utilize physical props to make the trench exceedingly difficult for the enemy to turn against your own team. You should actively aim to provide your team with elevated firing positions that directly overlook other nearby trenches. Giving your allies a clear sightline into a trench that you know the enemy will occupy ranks among the absolute most impactful actions an Engineer can perform.
Orchestrating the Defense
Holding a captured point requires immediate preparation. The most critical aspect of defense involves establishing a secure position for your team to launch a swift counterattack. A control point remains at its most vulnerable state immediately after it falls to the enemy. Your team often only needs a single forward spawn point situated in a close, safe location to immediately recapture the objective.
You must prioritize hiding your spawn zones from the enemy or placing them in areas that offer dominant sightlines. You should always dig a wide hole to protect your forward spawns. Players materialize up to two meters away from the actual spawn object, so a wider hole ensures they do not spawn directly into incoming fire. You must always expect the battle to move back and forth continuously. Prepare your defensive networks to support combat happening around the perimeter of the point just as much as on the point itself.
Managing Forward Deployments
Managing spawn locations becomes crucial, especially for the attacking team operating on linear maps. Your team shares a strict global cap of only three active spawns. If your team reaches this cap, leaving an outdated spawn active severely hinders your momentum.
As an Engineer, you carry the responsibility of removing useless spawns. You simply spawn on the outdated point, equip your hammer, press your melee button to switch into destroy mode, and strike the object a few times to dismantle it.
However, you must not overdo this removal process. The frontline shifts constantly. A spawn that feels slightly too far back right now might become the perfect fallback point in just one minute. A heavily fortified spawn in a slightly suboptimal location provides far more value than a perfectly placed spawn sitting completely exposed to enemy fire. You must also remember that competent enemies will try to infiltrate your flanks. Control points do not represent the only relevant areas on the map. If your team currently maintains fewer than three active spawns, you have absolutely zero reason to rush around destroying anything. Finally, practice common courtesy. You should always prioritize dismantling your own outdated spawns before touching the structures built by other allied Engineers. You should only remove allied spawns when you remain completely certain that the location holds no tactical value. Spawning teammates grants you a steady stream of free points. Removing a friendly spawn just to place your own in the exact same spot wastes valuable time and ultimately earns you fewer points than if you had simply spent that time digging new trenches.
Constructing Offensive Networks
Sometimes your team must dig forward aggressively to approach a heavily defended enemy stronghold. All general trench principles apply here. You still must never dig a straight line. When digging offensive trenches, you should frequently branch off with perpendicular paths. These branches allow your teammates to spread out laterally and lay down a wide wall of suppressing fire against the enemy.
These offensive branches will require additional cover. Building concrete walls, even if you only construct them halfway, protects your shooters from dangerous incoming angles. You can strategically place physical props to block specific enemy sightlines that threaten a dangerous portion of your trench network. If you find yourself fighting against a well-constructed offensive trench, you should equip rifle grenades to clear out the defenders efficiently.
4. Leading the Vanguard: Officer Command Tactics
The Officer class demands supreme situational awareness and tactical foresight. You juggle several distinct roles to maintain a cohesive frontline and shatter enemy stalemates.
The Mobile Reinforcement Hub
You function as a highly mobile spawn point. You provide the most value when you operate away from the static Engineer spawns. On the offensive, you must locate a weak point in the enemy line and establish a foothold. On the defensive, you must position yourself close to a threatened allied point to funnel reinforcements exactly where they matter most.
Commanding Artillery Strikes
You control devastating fire support assets. You must drop your explosive payloads directly onto the most dangerous enemy strongpoints and heavily dug-in attackers to break their line.
Illuminating the Shadows
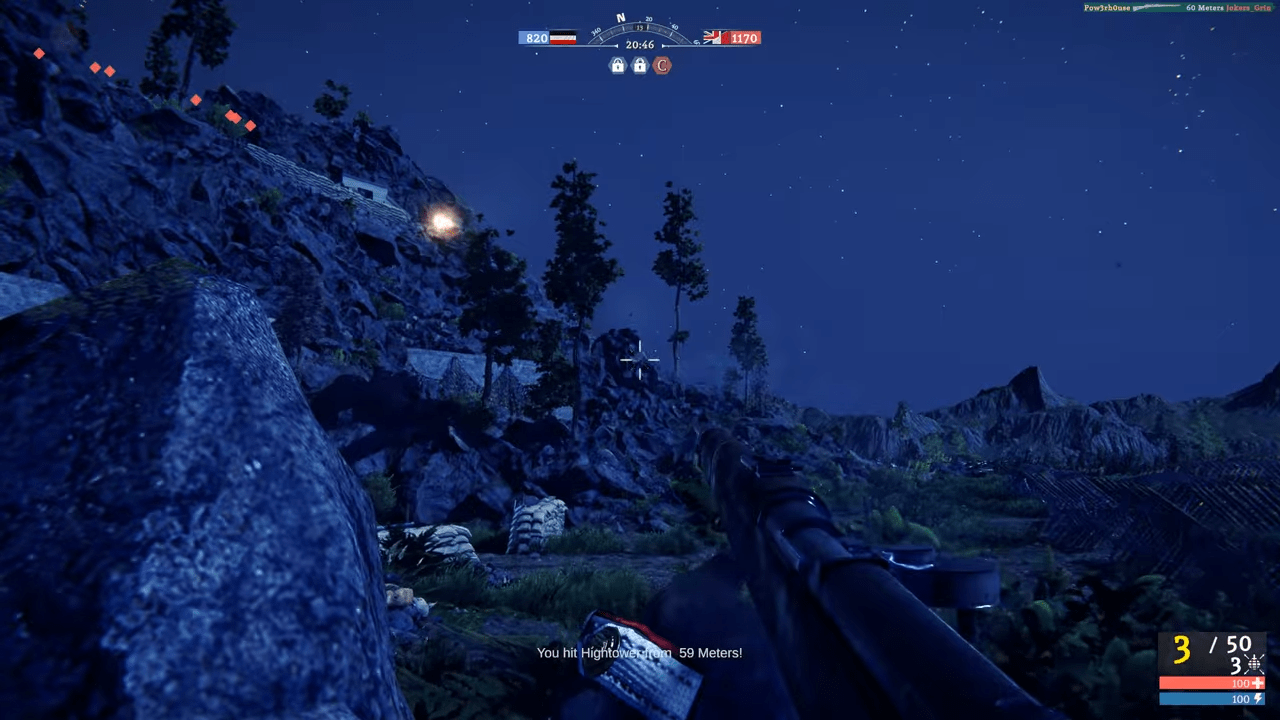
You serve as a vital reconnaissance asset. Your spotting flares illuminate the battlefield and reveal hidden enemy movements. Using flares earns you a massive amount of points while simultaneously providing your entire team with critical intelligence during chaotic firefights when the enemy positions remain unclear.
Neutralizing Enemy Command
You directly counter the actions of enemy Officers. Deploying your observation balloon prevents the enemy from calling in their own fire support within a large radius. You should use balloons frequently to protect points under heavy siege, especially during matches played on linear maps.
Ultimately, you help your team form a united, coherent front line rather than letting them pile up pointlessly in one single position. Sometimes your duties require you to sit back safely away from the direct firefight. Staying alive allows your teammates to continuously spawn on your location and push the objective. During these moments of strategic retreat, you can equip a digging tool. While the Officer’s tool lacks the speed of a proper shovel, you can still construct a small firing position to keep yourself occupied and protected while managing your call-ins. If you secure a highly advantageous position, an allied Engineer might eventually arrive to place a permanent forward spawn. This frees you up to charge right back into the bloody melee.
5. Skyward Surveillance: Identifying Aircraft
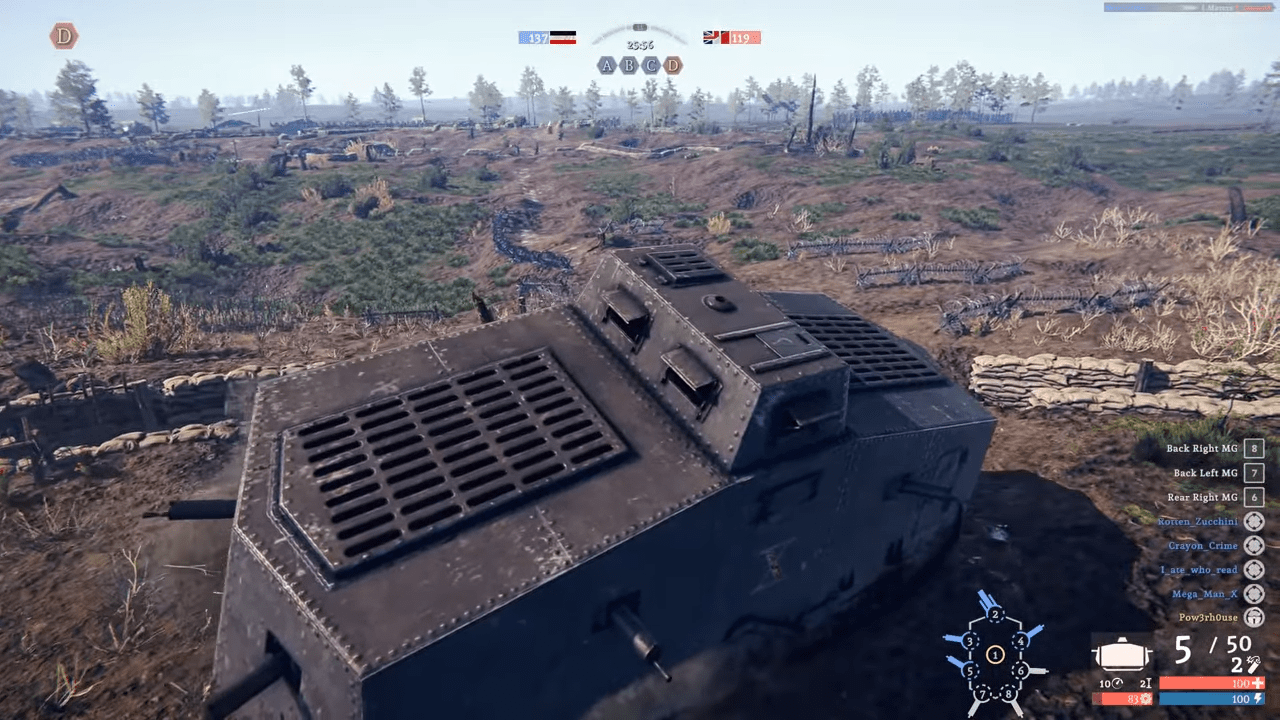
Differentiating between friendly and hostile aircraft requires only a quick glance at the sky. You only need to count the wings on the plane.
Faction Allegiances and Wing Counts
If you play for the Triple Entente factions, which includes the French and the British, triplanes represent your enemy. If an aircraft possesses three wings, it poses a severe threat, and you must shoot it down immediately. Airplanes with two wings belong to your allies.
If you play for the Central Powers, such as Germany, the rules reverse entirely. Triplanes fly for your team, so you must hold your fire. You must actively target and destroy all aircraft sporting only two wings.
6. Mechanized Behemoths: Advanced Armored Warfare
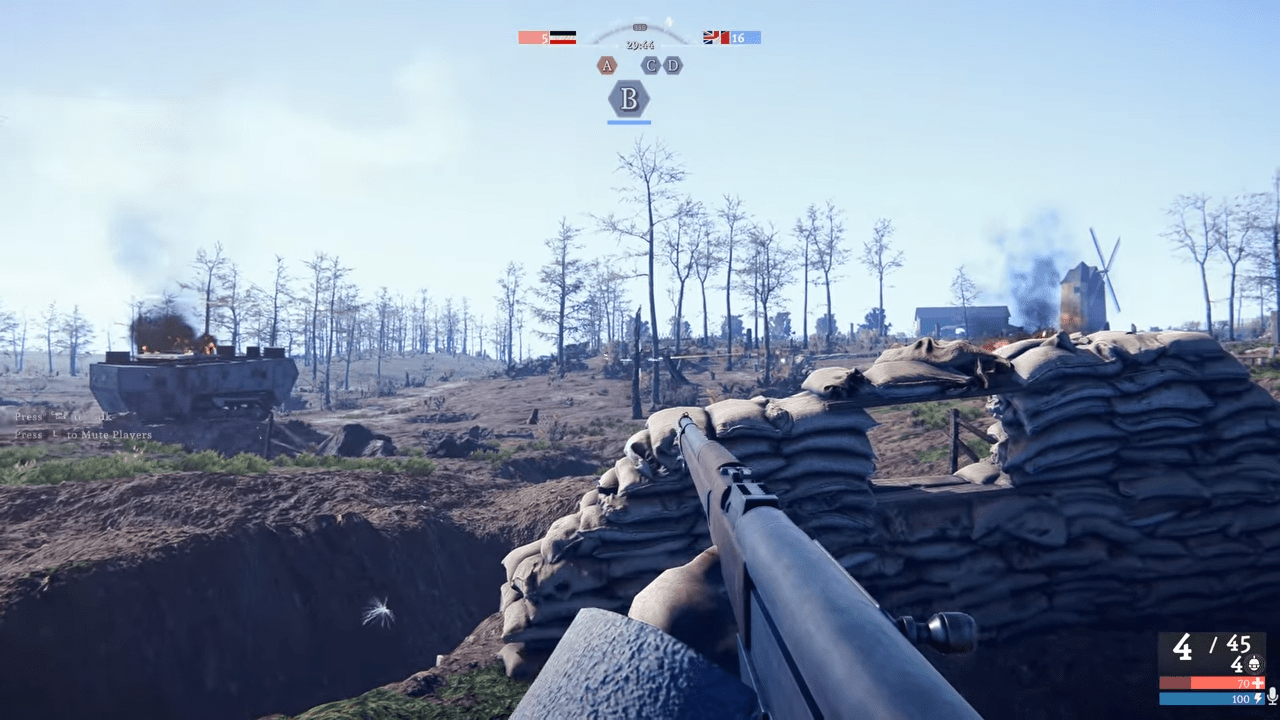
Tanks stand as absolute game changers on the battlefield. However, they demand intense communication and specialized knowledge to survive longer than a single minute.
Basic Armor Principles
A standard Rifleman can equip a wrench utility item to repair tanks, which greatly increases your vehicle’s survivability. If you spot a friendly tank stuck helplessly in a deep trench, you can use your basic digging tool to flatten the steep incline and help the machine escape. You must also understand that absolutely everything damages tanks. The most significant threats include explosives, flamethrowers, and incredibly bold machine gunners. Tanks possess heavy weaponry for a reason. You do not defeat the enemy by ramming into them. Keep your distance from the infantry to a reasonable extent.
The Survival Mandate
Tanks die rapidly in public servers because overconfident drivers blindly charge straight into the enemy lines without any infantry support. This suicidal tactic always ends in disaster. Every enemy soldier carries grenades capable of destroying your armor. More importantly, enemy troops carry bundles of TNT dynamite. TNT causes catastrophic damage and easily destroys a tank in just two or three hits depending on the enemy’s selected perks.
Historically, World War I tanks were not invincible, and infantry destroyed them rapidly if the troops remained calm and studied the vehicle’s weaknesses. In this game, players will gleefully sacrifice their own lives just to sprint close enough to throw TNT onto your hull. Driving an unsupported tank near an active trench line guarantees your immediate destruction. You must absolutely never charge your tank right into the middle of the enemy formation.
The Commander’s Directives
Assuming Supreme Command
As the Driver, you act as the supreme commander of the vehicle. You hold the ultimate responsibility to communicate with your crew using a microphone. You must call out targets, identify threats, and constantly read the map to know exactly when to advance or retreat. Without a communicative Driver, the entire crew will perish.
Your primary goal involves staying back at a safe distance from the enemy to provide your gunners with the time and space they need to operate. You must find optimal angles that allow the maximum number of your tank’s weapons to engage the enemy simultaneously.
Coordinating Infantry Breaches
You should only attempt to breach the enemy lines when you possess massive, coordinated infantry support. However, the moment your friendly infantry breaches the enemy trench, you must halt your advance. You should pull back slightly to provide suppressing fire while scanning the perimeter for any enemies attempting to flank your position with TNT. You serve as the only crew member with access to a third-person camera view. Your gunners suffer from restricted first-person vision. Therefore, you alone must keep your head on a swivel to maintain complete situational awareness. Avoid tunnel vision at all costs.
Maximizing Weapon Accuracy
You must realize that moving the tank severely degrades the accuracy of every single weapon on board. Your machine guns will spray wildly, and even small dips in the terrain will ruin the main cannon’s trajectory. You must utilize the method of shooting, scooting, shooting, and scooting again. When you spot a large group of infantry, you must provide your gunners with clear firing angles and immediately hold completely still. Let your weapons slaughter the targets, and then relocate. This rule applies to heavy tanks, lightly armored tanks, and armored cars alike. Take a position and hold still to allow your gunners to maximize their lethal accuracy.
Demolishing Enemy Fortifications
Do not fear charging a well-defended hardpoint if the situation demands extreme action. Your heavy tracks will grind their fortifications into dust. You can park directly over an enemy trench and let your sponson guns clean out the survivors before moving onward. Driving straight through a fortified point in rampage mode crushes men under your treads, shatters sandbags, and creates massive openings for your allied infantry to swarm the objective.
Evading Anti-Tank Threats
If you see an enemy winding up a grenade throw, you should either rapidly reverse the tank or simply run them over. Always respect the danger of TNT bundles. If you start taking sustained anti-tank fire, you must quickly determine the source, ping the location for your gunners, and hold completely still so your crew can return accurate fire to neutralize the threat. If you cannot locate the anti-tank weapons, you must immediately retreat and hide behind a hill, a train, or a house.
Managing Vehicle Integrity
Knowing when to pull back for repairs ensures your longevity. When your tank drops below sixty percent health, you must retreat to a safe location. The crew member repairing the tank remains completely exposed and squishy, so you must find a secure spot away from the frontline. During the repair process, you must never move the tank until the repairmen climb back inside or your health bar fills completely.
Securing the Cockpit
Finally, if you drive a tank in a public lobby, you must never exit the vehicle or switch to a different seat. You cannot act as the repairman. If you abandon the driver’s seat, a random teammate will inevitably steal your position and immediately drive the tank straight into an ambush. If you encounter an allied tank sitting seemingly abandoned on a hill while defending a point, leave it alone. The solo operator likely positioned themselves perfectly to maximize damage and simply switched seats to man the guns. Let them do their job. You must abuse your range, shell a spot to soften it up, and swap to canister shot to shotgun soft targets.
Operating the Heavy Ordnance
If you man the main cannons, you must prioritize firing High Explosive shells at constructed fortifications and dense clusters of enemy infantry. Destroying the defensive structures built by enemy Engineers breaks the enemy’s spirit and opens the map.
However, your absolute top priority target remains enemy armor. If you spot a hostile tank, or if your Driver calls one out, you must focus all your efforts on destroying it. Nothing else matters until that enemy armor burns to the ground or retreats out of sight.
You must communicate continuously with your Driver. If you lack the required angle or gun depression to hit a critical target, tell your Driver to reposition the vehicle slightly. You should also frequently target enemy aircraft. The game’s flight mechanics make it surprisingly easy to line up an airplane and shoot it out of the sky with a single cannon blast. Work with your Driver to find an angle aiming upward. Most pilots fly highly predictable paths and never expect a tank cannon to target them. If your tank lacks a full crew, prepare to quickly swap seats to man a side machine gun if the Driver calls out a flanking threat.
Sweeping the Infantry
The machine gun stations stand as the second or third most critical positions inside the tank. A highly competent machine gunner will consistently secure more kills than the main cannon operator. More importantly, you serve as the final line of defense against enemy infantry trying to flank the tank with deadly TNT.
Your weapons only hit targets reliably when the tank stops moving. If you spot an enemy squad and possess a good firing angle, you must explicitly tell your Driver to halt. You must always fire your weapon in controlled bursts. If you hold down the trigger and overheat the barrel, the cooldown penalty takes far longer than simply allowing the gun to cool down naturally between short bursts.
You must memorize your target priorities. You must shoot enemy Officers first because they stand out visually and provide massive utility to their team. Next, you must hunt down enemy Engineers. While slightly harder to identify, they carry the lethal TNT charges. Finally, you must immediately eliminate enemies manning static machine guns or light anti-tank artillery. Eradicating the Officer denies enemy artillery strikes, while killing the Engineer saves you from TNT. Do not underestimate static gunners, as they can rapidly chip away your tank’s armor.
The Critical Mechanic
The repair role serves as the secret ingredient for keeping a tank alive for an entire match. The repairman does not belong to a unique class. They operate simply as a Rifleman equipped with a wrench utility item. The Driver and the repairman must maintain constant communication to avoid disaster.
During combat, the repairman typically mans one of the machine gun stations. However, they remain the designated volunteer who leaps out of the armored shell to fix the damage. You must only exit the tank when the Driver explicitly gives the order and confirms that the area remains safe and adequately distanced from the enemy lines.
When you begin repairing, you must position yourself behind the tank. Using the massive metal hull as physical cover keeps you alive. Standing completely exposed in the open guarantees your immediate death. You must focus entirely on repairing the vehicle and ignore the surrounding battle. Trust that your Driver will actively scan the perimeter for approaching threats. Once the tank returns to full operational health, you must immediately climb back inside and resume your duties on the machine gun.
7. Conclusion
Rising above the mud and blood of these massive battlefields requires a calculated blend of combat engineering and aggressive leadership. You now possess the blueprint to navigate every distinct class role and exploit the fully destructible environments to your team’s tactical advantage. This tactical knowledge ends the frustrating cycle of instant deaths and replaces it with a coordinated approach to dominating the front line. Step out of your newly dug trenches with the confidence of a veteran who knows exactly how to break the most stubborn stalemates and secure total victory.

Leave a Reply