

Last Updated on 4 September, 2026
Step into a dark fantasy version of Edo-period Kyoto as Miyamoto Musashi and prepare to cut down the supernatural Genma threat. Capcom’s revival of this classic action-adventure franchise delivers intense, deliberate swordplay alongside a myriad of challenging achievements. This guide offers detailed boss strategies, precise collectible locations, and combat tips to help you overcome every obstacle in your path. By following these tailored tactics, you will solve the daunting puzzle of resource management and easily claim the highly coveted Platinum trophy in Onimusha: Way of the Sword.
Table of Contents
Platinum Roadmap and Overview
Onimusha: Way of the Sword contains 52 trophies in total. You will tackle 13 formidable story bosses, unravel local mysteries, rescue innocent bystanders, and master complex combat maneuvers. Players do not need to purchase any downloadable content to claim the Platinum trophy.
You can play safely knowing the game features no permanently missable achievements. “The Clash At Rendaino” serves as your point of no return for the main narrative. However, the game allows you to load a previous state from the main menu after finishing the story to clean up remaining tasks. You have to complete the game on the punishing Carnage difficulty to unlock the True Onimusha achievement. Because Carnage removes all action prompts, you should complete your initial playthrough on Action difficulty to memorize enemy attack timings naturally. Carnage unlocks via New Game Plus.
Campaign Boss Strategies
Story achievements unlock naturally as you progress, but each encounter presents unique hurdles. Bosses regenerate their stamina and armor if you keep your distance, so you must maintain an aggressive offensive pace.
Early Game Encounters
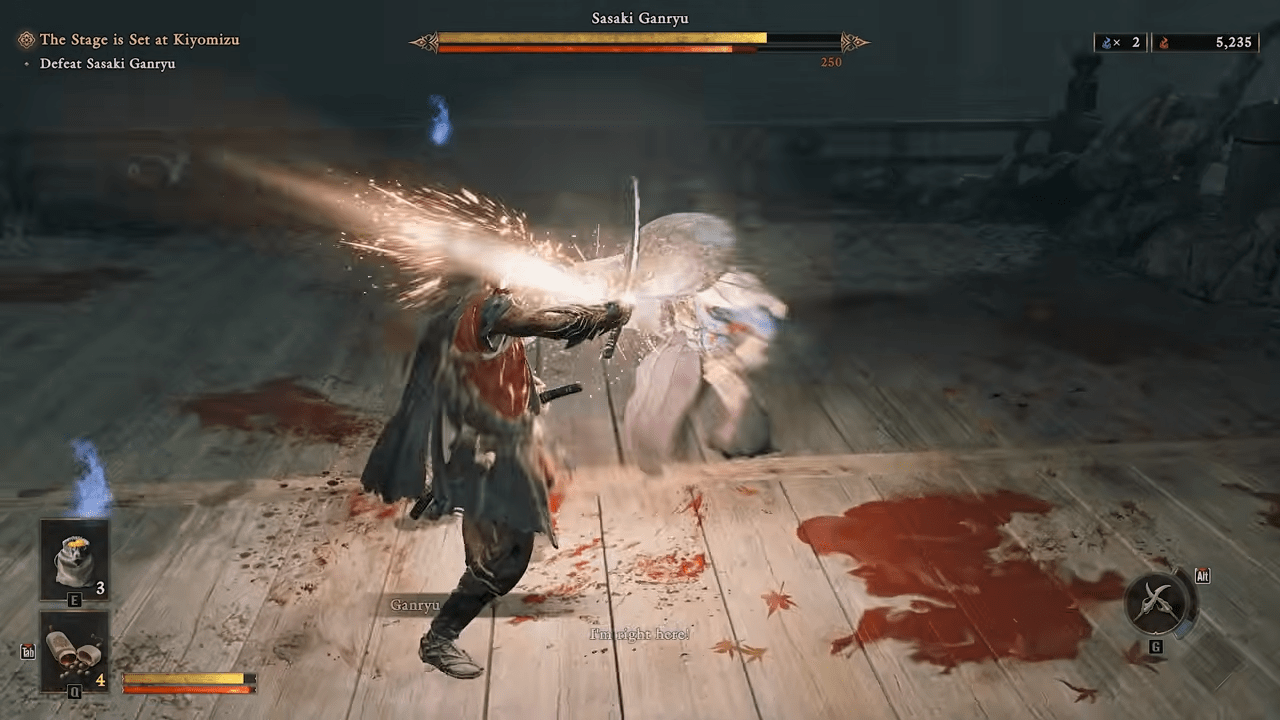
- Sasaki Ganryu (Showdown): You will battle Ganryu at Kiyomizu-dera Temple. Parry his initial sword strikes and retaliate with light attacks to deplete his stamina. Once he loses his hat, evade his jump kicks and reverse his grabs. Strike with a finishing Issen when his stamina breaks a second time.
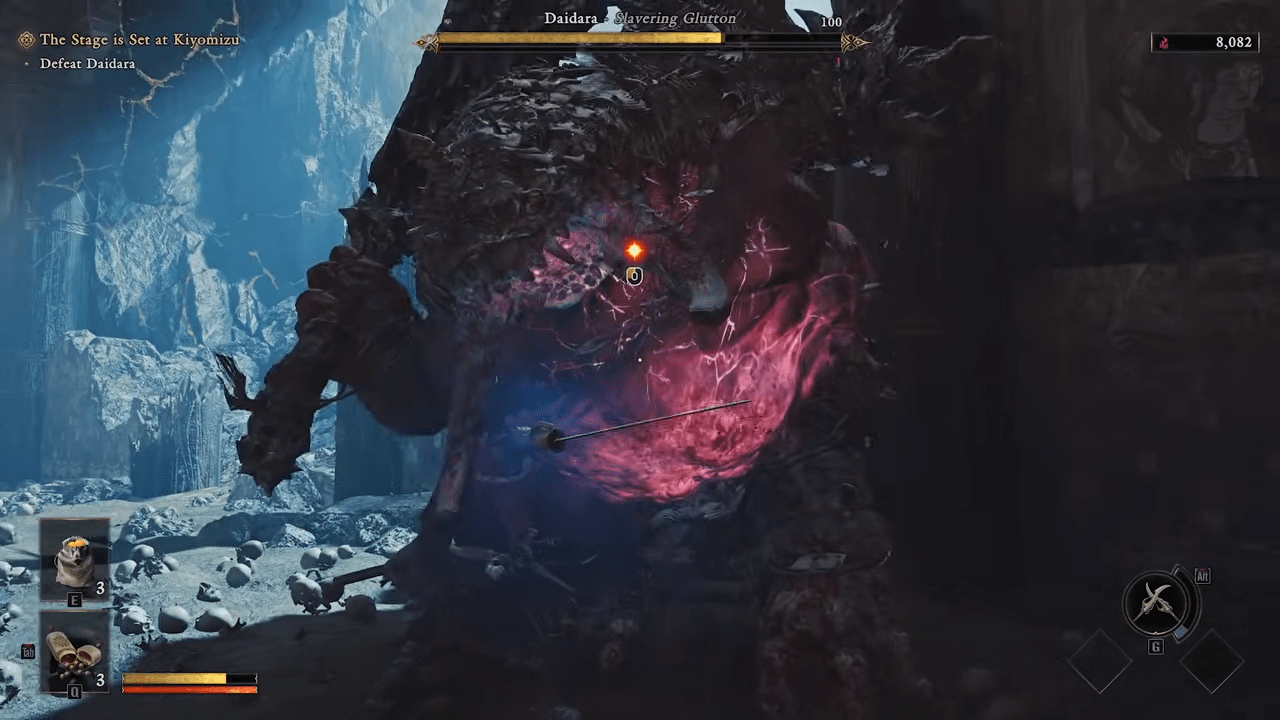
- Daidara (Get Stuffed): You will find Daidara dwelling within the Oni Refuge. He attacks with a much slower rhythm compared to previous enemies. Dodge his kicks and overhead slams, but parry his circular swings to expose his legs and strip his armor. Gather the floating orbs quickly before he absorbs them to trigger his dangerous Blazing State.
- Rasho-gan (Twisted Fates): This foe awaits at the conclusion of “Be Careful What You Wish For”. Deflect his blood bubbles and dodge directly into his grab attack to punish him. During phase two, he enters a permanent Blazing State and throws environmental objects. Stay extremely close to prevent his stamina from recharging.
Mid Game Encounters
- Ifuu (Howling Wind): Located after “Windswept Kennin-ji”, Ifuu utilizes heavy cleaver attacks. Deflect his breath attack right back at him. When he inhales to swell the sack behind his head, shoot it with an arrow to inflict a massive stun.
- Greater Nue (Dokyo’s Fixation): This beast stalks the Oikeniwa Pond Garden. Evade the charge attacks and utilize your Oni Power to shatter its tail guard. You must target the tail during visceral openings to sever it completely. The severed appendage then functions as a powerful throwable weapon.
- Benkei (Out, but Not Down): Standard blocking will not chip away Benkei’s stamina. You must execute Break Issen, regular Issen, or Reflex Dodges to damage his posture. Bait his attacks to keep his stamina gauge from refilling. Aim directly for his head during the Issen Break for maximum damage.
- Burai (Crashing Lightning): Confront Burai during “A Tempest at the Temple”. Step completely out of the path of his purple telegraph beams. You must execute Focus Evades to dodge his X-pattern lightning drops. Pause your assault completely when he strikes his teleport-punish pose.
Late Game and Duo Encounters
- Shuten Doji (Wide Awake): Found at the end of “The Demon on the Mount”. Dodge his kicks and falling grabs to initiate an interrupting Focus Combo. When he drinks his booze, shoot him with an arrow to prevent a massive fire attack. Conserve your healing items in phase one because a cinematic interrupts the fight regardless of your remaining health. Transform into your Oni form for phase two and shoot his swollen head to stop the fire breath while monitoring his body slams.
- Ifuu and Burai (The Perfect Storm): You must empty both of their health bars twice during “Storm Chaser”. Deflect their lunging strikes to turn them against one another. Shoot down Ifuu’s swollen sack immediately when he hovers in the sky above Burai.
- Sasaki Ganryu Rematch (We Done Here?): This Arashiyama encounter demands strong defense. Perform Focus Evades on his demon head slam. His demon eventually consumes his sword, giving him new ground-wave attacks that require precise parries rather than simple blocks.
- Dokyo (End This Madness): This Arashiyama battle involves heavy projectiles. Deflect the spinning top and shoot down the circling mask to force Dokyo to the ground. Activate Oni Vision to identify the genuine target hidden among clones. Hide behind intact arena rocks to survive the deadly reality-tear attack.
- Benkei Rematch (Baited by Benkei): Found during “The Clash at Rendaino”. Deflect his thrown axes and interrupt his shoulder cannon with well-placed arrows. Use bow headshots to maintain aggression when hazardous electrified ground prevents you from moving close.
The Final Showdown
- Minamoto no Yoshitsune (Truly, Thank You): Prepare extensively by purchasing an Amulet of Introspection, Stimulant, Sun-Dried Hozuki, and Greater Talismans. Parry his dash-thrust the exact moment he taps his shoulder. Dodge the delayed grab to prevent him from entering a Malice-infused state. Sprint away instantly at the start of phase two to avoid a lethal ground slam. During phase three, he becomes completely immune to standard damage. You must transform into your Oni Awakening state to bypass this immunity and defeat him.
Quick Tip: Passive play will punish you. Keep your pressure high to prevent bosses from regenerating their stamina, and always conserve your best healing items and talismans specifically for the grueling final encounter with Minamoto no Yoshitsune.
Kyoto Exploration and Rescues
Kyoto offers bustling side activities that you can tackle at your own pace.
- Mysteries and Encounters: The game scatters optional Mysteries of Kyoto and Chance Encounters across the map. You earn trophies for completing your first of each, and two additional trophies for finishing the entire set.
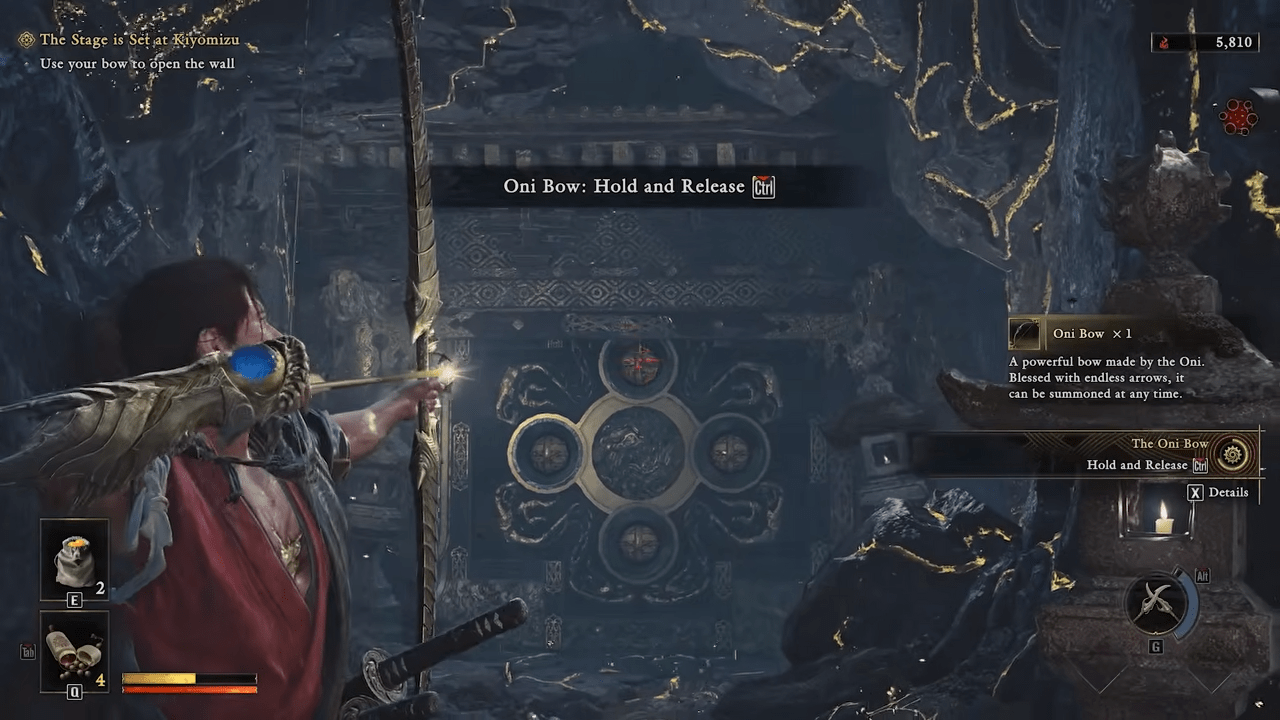
- Byakue Threat: Discover the “Ace Archer: Kiyomizu-dera Temple” Chance Encounter behind the Oni Wall near the Nio-mon Gate Spirit Mirror. Defeat the Byakue here by evading its charges and landing two solid Issen Breaks.
- Saving the Populace: Genma forces routinely attack innocent bystanders. You must clear the enemies and speak directly to the rescued individuals to receive credit. Save 30 general citizens and one merchant to secure the Citizen Savior and Selfish Selflessness trophies.
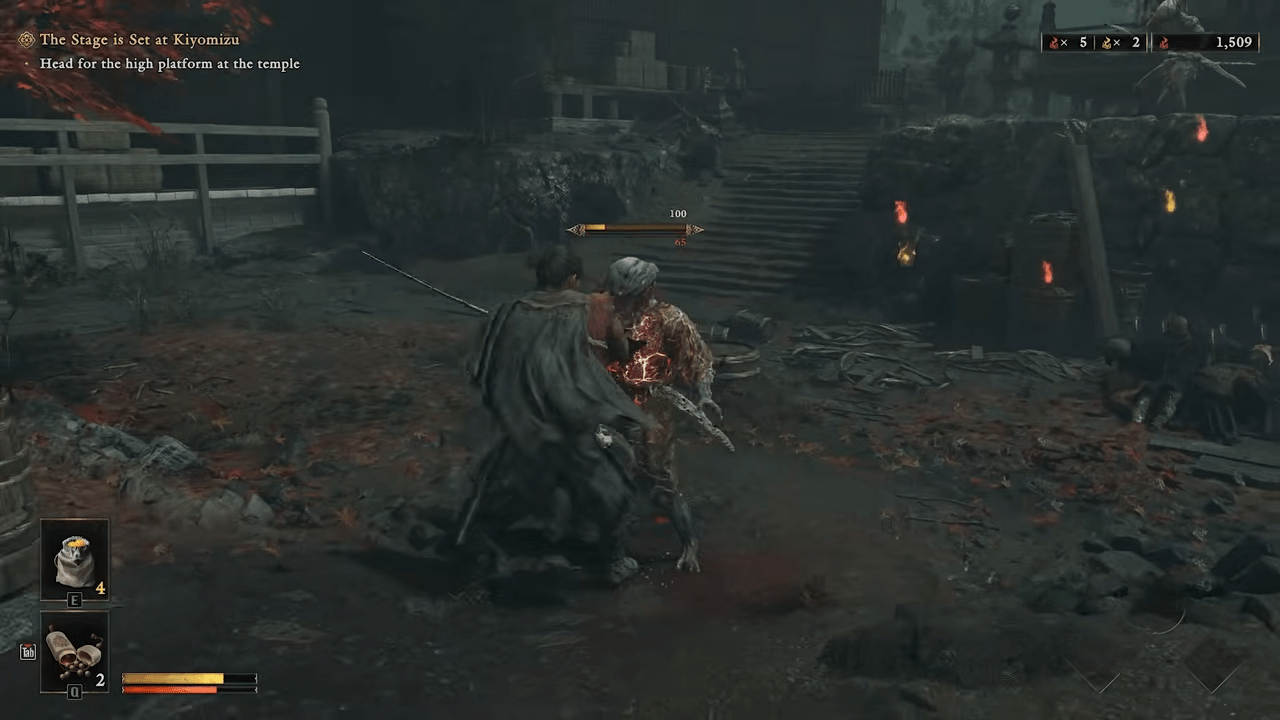
Quick Tip: You must actively converse with rescued citizens after defeating their Genma attackers. Simply winning the fight and walking away will not add to your total rescue count.
Collectibles Hunting
The developers placed numerous static collectibles around Kyoto. Since the game enforces no time limits on these items, you can easily gather them during a post-game cleanup session.
- Lion Dogs: Rescue these specific canine statues hidden across the environment to earn the “No Dog Left Behind” and “For the Love of Dog” achievements.
- Genma Notes: Gather every piece of lore documentation scattered throughout the districts to unlock the Genma-ologist trophy.
Quick Tip: Because none of the game’s collectibles expire or disappear, you can safely ignore them during your main playthrough and gather everything during a single, efficient cleanup run right before you initiate “The Clash At Rendaino”.
Progression and Equipment Enhancements
Upgrading your arsenal represents a crucial step toward victory and unlocking several progression-based trophies.
Skill Trees and Rematches
Access the Spirit Mirror to spend Power Stones, Oni Stones, and Red Souls on your character. Maximize both the Basic Skills tree and the Special Skills tree to unlock the Well-Rounded achievement.
Visit Emma’s Hall in the Practice Grounds to undertake Boss Rematches. Select the highest available difficulty for a specific boss. Winning on the hardest tier automatically unlocks the completion credit for all lower difficulties associated with that same enemy.
Upgrading Gear
Equipment enhancement unlocks organically during “The Oni’s Apprentice”. You must level your Clothing, Sword, and Gauntlets through five distinct tiers to claim the Dressed to Kill trophy.
Essential Upgrade Materials Table:
| Equipment Type | Required Enhancement Materials |
|---|---|
| Clothing | Hempen Cloth, Cotton Cloth, Leather, Fine Silk Cloth |
| Sword | Whetstone, Iron, Tempered Iron, Tamahagane |
| Gauntlet | Malicite, Byakue’s Talismans, Dohatsu-ten’s Horns, Malicite Mass |
Additionally, you need to maximize your health capacity by upgrading all Hozuki Pouches. Speak to Okuni to begin this questline and secure Skeleton Hozuki items for the final pouch levels. Maximize all Charms by making offerings of Red Souls and Favor at the Emma’s Hall shrine. Finally, you must locate all seven finite Oni Armaments, including the story-granted Oni Bow and Wind-Whipper, to complete your Oni Armory.
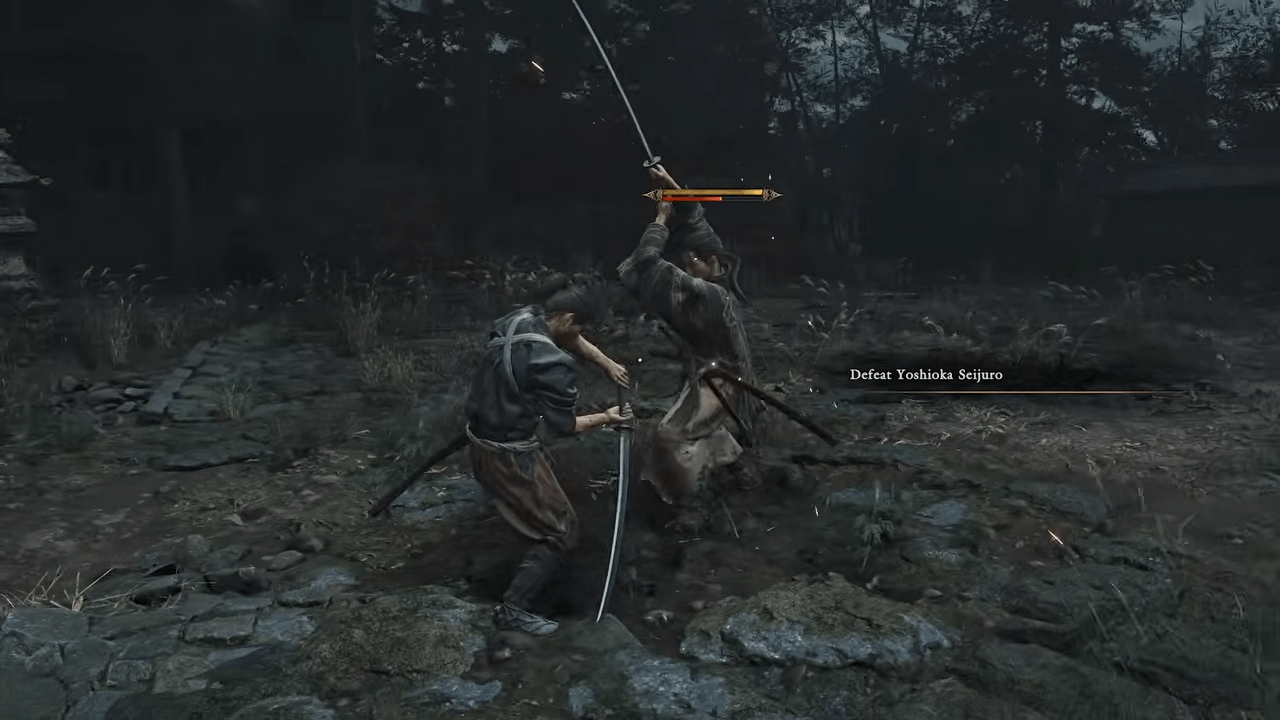
Quick Tip: Save yourself significant time in the Boss Rematch mode by immediately selecting a boss on its highest available difficulty. Winning that single fight grants you automatic credit for all lower difficulty tiers linked to that specific boss.
Combat Mastery Challenges
The Practice Grounds inside Emma’s Hall provides specialized drills perfect for finishing your combat trophy requirements. Treat these drills as cleanup tools rather than primary grinding methods.
- Precision Timing: You must perform 50 Reflex Combos, land 50 standard Issen counters, and chain 50 consecutive Chain Issen strikes. You also need to execute 50 successful Grab Reversals by evading directly into flashing grab prompts.
- Aggressive Tactics: Secure 50 kills while in the Blazing State and another 50 while transformed via Oni Awakening. Eliminate 100 adversaries utilizing your Oni Armaments. Drain enemy stamina gauges 50 times to trigger guard breaks, and use Oni Power to shatter 100 shields or armor pieces on foes like Kogashira.
- Ranged and Tactical: Deflect 50 incoming projectiles back at attackers. Score 100 bow headshots by aiming slightly above Genma heads. Land 50 environmental attacks using items like kegs and planks. Sneak behind enemies to assassinate 20 targets silently.
- Advanced Showboating: Absorb 30 soul orbs simultaneously by destroying a large group of enemies rapidly. Unleash a continuous Break Issen across three different weakened foes without dropping the combo. Finally, utilize the Firebird Flute Charged Shot to set three clustered enemies ablaze at the exact same time.
Quick Tip: When farming for your 100 Oni Armament kills, equip the Wind-Whipper. Its wide attack spread makes it the absolute fastest option for racking up numbers quickly in the Practice Grounds.
Conclusion
Your grueling journey through these bloodstained battlefields will inevitably test your reflexes against terrifying underworld monstrosities. Fortunately, the strategies and checklists provided here offer exactly what you need to streamline your completion run and conquer the punishing Carnage difficulty. We have solved the frustrating confusion surrounding the game’s point of no return, ensuring you never permanently miss a crucial objective. Draw your sentient Oni Gauntlet with confidence and claim your rightful place as the ultimate samurai legend.


Leave a Reply