

Last Updated on 30 October, 2026
Getting every campaign achievement in Call of Duty: Modern Warfare 4 means completing the story twice, mastering a few demanding combat challenges, and searching one open-world mission for supply crates, notes, and hidden bunkers. Several objectives are easy to miss if you focus only on finishing each mission.
This guide covers all 18 campaign achievements, with instructions for each mission and a practical route through the difficulty requirements. It also includes the eight keypad codes in Stranded, the locations of the key collectibles, and strategies for surviving the Realism campaign.
Table of Contents
- Completion Plan
- General Realism Tips
- Mission 1: Mayhem
- Mission 2: Out in the Cold
- Mission 3: Following Orders
- Mission 4: Hired Gun
- Mission 5: Losing Ground
- Mission 6: Traffic
- Mission 7: Gone Dark
- Mission 8: Assassins
- Mission 9: Survivors
- Mission 10: Stranded and All Bunker Codes
- Mission 11: Defection
- Mission 12: Counter Attack
- Mission 13: Escape
- Mission 14: Entrenched
- Mission 15: Decapitation
- Mission 16: Greater Good
- Final Achievement Checklist
Completion Plan
There are 18 campaign achievements. Two require completing the campaign at different difficulty levels, and Realism is locked until you finish the story once. Plan for two full campaign runs, then use mission replay or retained progress to clean up anything you missed.
Playthrough 1: Recruit, with difficulty changes for challenges
Start on Recruit to make most of the mission-specific requirements easier. Raise the difficulty only when you need the achievements that demand it:
- Safety’s On: Complete the kitchen encounter in Out in the Cold on Hardened or higher without firing your gun.
- Can’t Touch This: Defeat Makarov without taking a hit on Veteran or higher.
- Revenge: After Shin dies in Assassins, eliminate every enemy on Hardened or higher.
You can earn Pacifist during a separate attempt at Assassins, so do not try to combine it with Revenge. Complete the campaign on any difficulty to unlock Hold the Line and access Realism.
Playthrough 2: Realism
For the second run, concentrate on finishing the campaign in order. You no longer need to repeat the collectible and combat challenges if you earned them on your first playthrough. The remaining objective is Was it Worth it?, which requires completing the game on Realism.
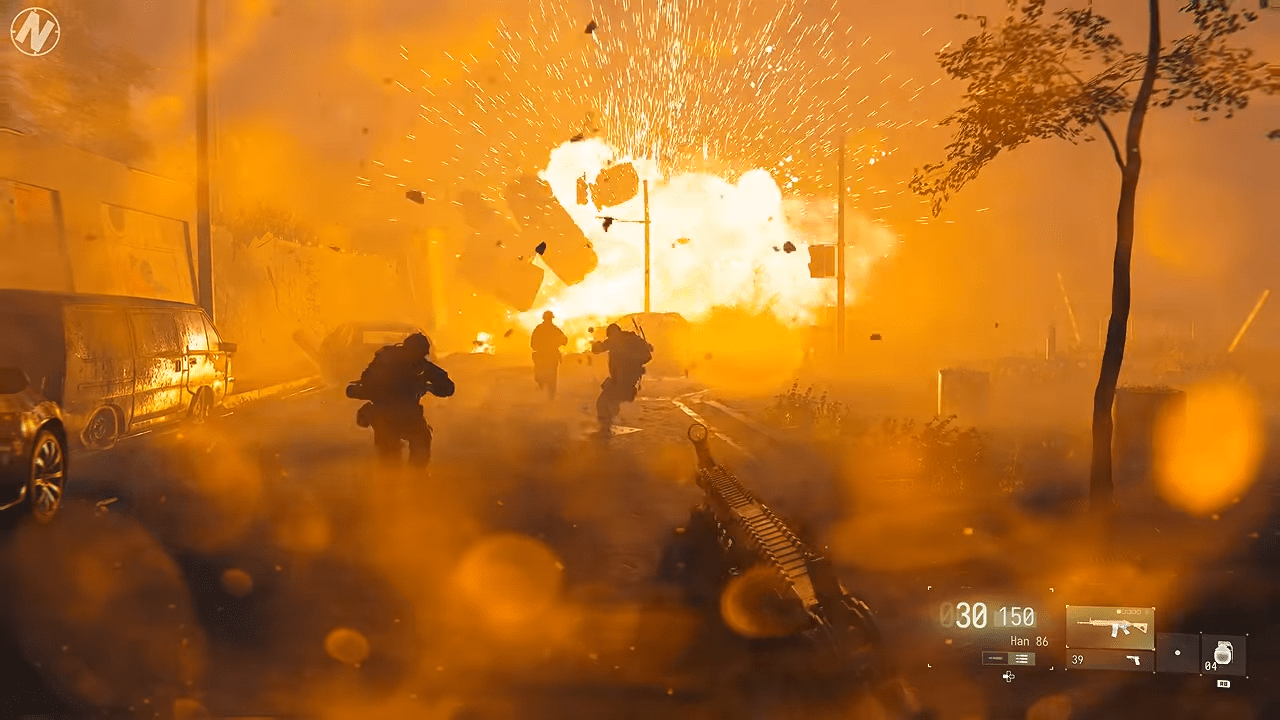
Tip: Do not finish Greater Good on Realism and then replay earlier missions out of order expecting the achievement to unlock. Complete the missions sequentially, and replay the final mission in order if you previously completed it through mission selection.
General Realism Tips
Realism makes mistakes more punishing, so use cover and resources deliberately instead of relying on aggressive pushes. Apply these habits throughout the second playthrough:
- Keep armor equipped and replenished. Pick up armor plates whenever you find them, and do not enter a prolonged firefight with depleted protection.
- Collect ammunition. Search ammo boxes as you progress. Weapons with larger magazines can reduce the number of exposed reloads during extended engagements.
- Maintain distance. When the encounter permits it, engage enemies from range instead of letting several opponents close in at once.
- Use cover and weapon mounting. Peek around cover and mount your weapon when the position allows it. Avoid exposing yourself to several firing angles at once.
- Use mission-specific equipment. Explosive drones, riot shields, thermites, targeting devices and other tools can make particular encounters far easier.
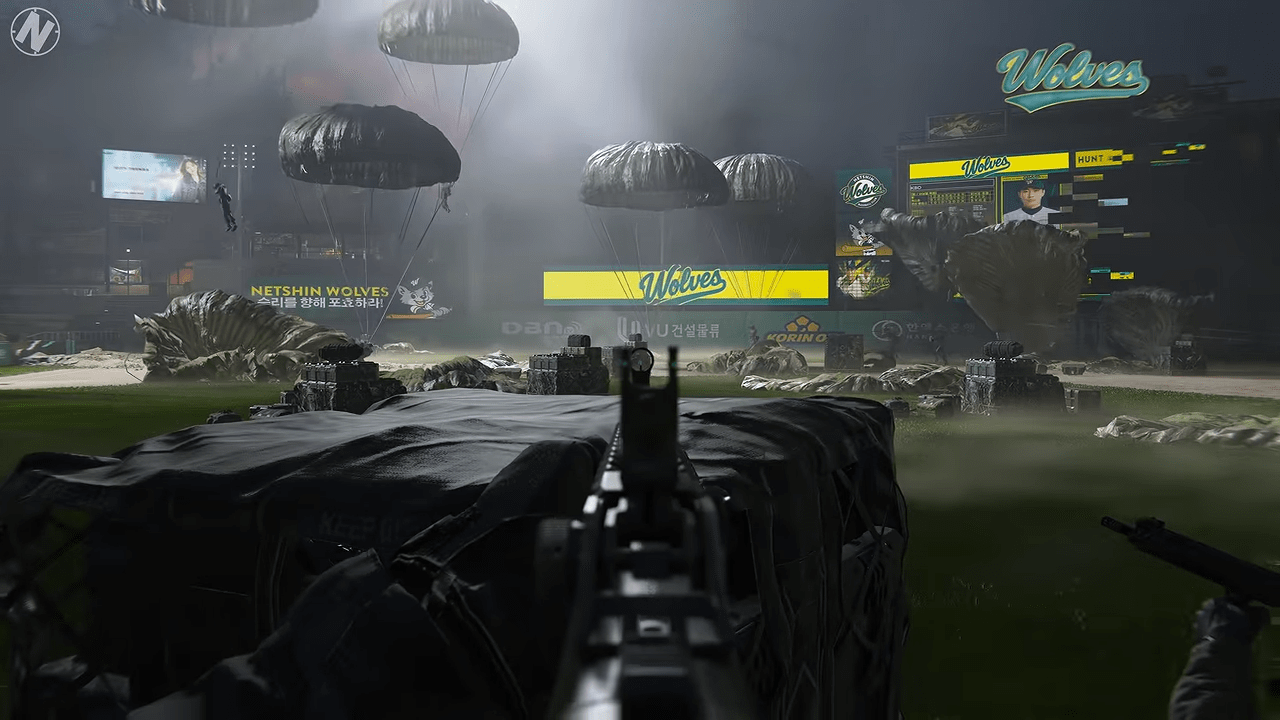
Tip: On Realism, a safe position and a slow advance are usually more valuable than clearing an area quickly. Restock before entering known choke points, and do not leave cover to chase an enemy unless the objective requires it.
Mission 1: Mayhem
Skeet Shooting
Requirement: Kill 10 paratroopers before they hit the ground.
Reach the stadium field with your squad. Look above you when the first wave of paratroopers arrives and shoot them while they are still descending. Ignore enemies that have already landed, then target the next airborne wave. Keep counting until you reach 10 kills.
The achievement unlocks when the tenth airborne kill registers, so you do not need to finish the mission. Lowering your field of view to 60 can make the falling targets easier to track.
Realism route
When you reach the section where you push the fuel truck, do not rush into the enemy group. Stay back and clear the area from cover. Once the threats are gone, move to the crate containing the RPG and fire at the truck to continue.
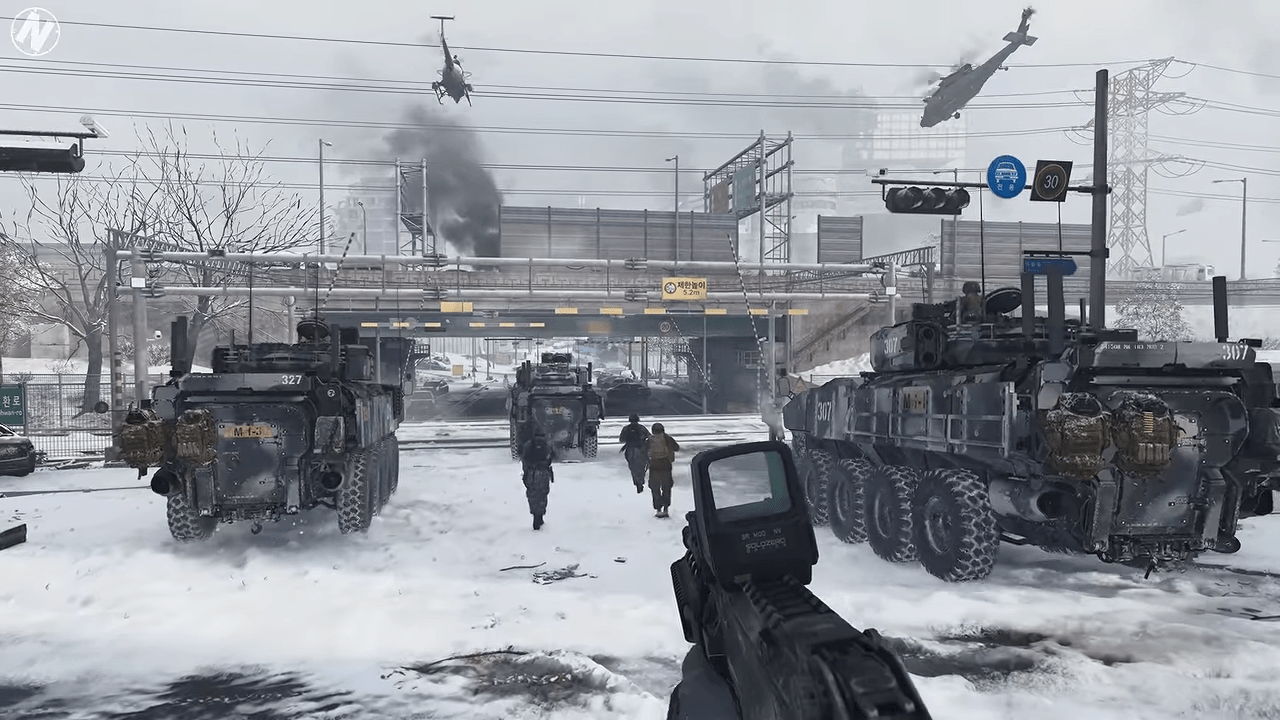
Tip: If Skeet Shooting does not unlock, restart the checkpoint and focus on the airborne targets.
Mission 2: Out in the Cold
Safety’s On
Requirement: Defeat all five enemies in the kitchen without firing your gun on Hardened or higher.
- Set the difficulty to Hardened or Veteran before entering the mission section.
- After the elevator, pick up the bottles on the bar tables before reaching the kitchen.
- Break through the door behind the kitchen. Rush the enemy on your right, hit him with a bottle, and perform a takedown.
- Use the same bottle-and-takedown approach against the two nearby enemies.
- Deal with the remaining two enemies behind the counter using melee attacks.
Switch to your fists before performing takedowns. If you are holding a weapon, the takedown may use that weapon and fail the no-gun requirement. If you fire a shot, restart the checkpoint.
Can’t Touch This
Requirement: Defeat Makarov without taking a hit on Veteran or higher.
Raise the difficulty to Veteran before the Makarov fistfight. The encounter has two phases. In the first, hold guard or parry while attacking. In the second, Makarov becomes faster, so do not hold guard continuously: a prolonged guard can leave you stunned. Counter between his attacks, and avoid striking while his guard is up.
Watch your HUD for the red damage indicator. If it appears, restart the checkpoint.
Realism route
At the kitchen, open the door and peek through before committing to the room. The Makarov fight uses the same basic guard-and-counter rhythm, but the reduced HUD makes it harder to judge mistakes.
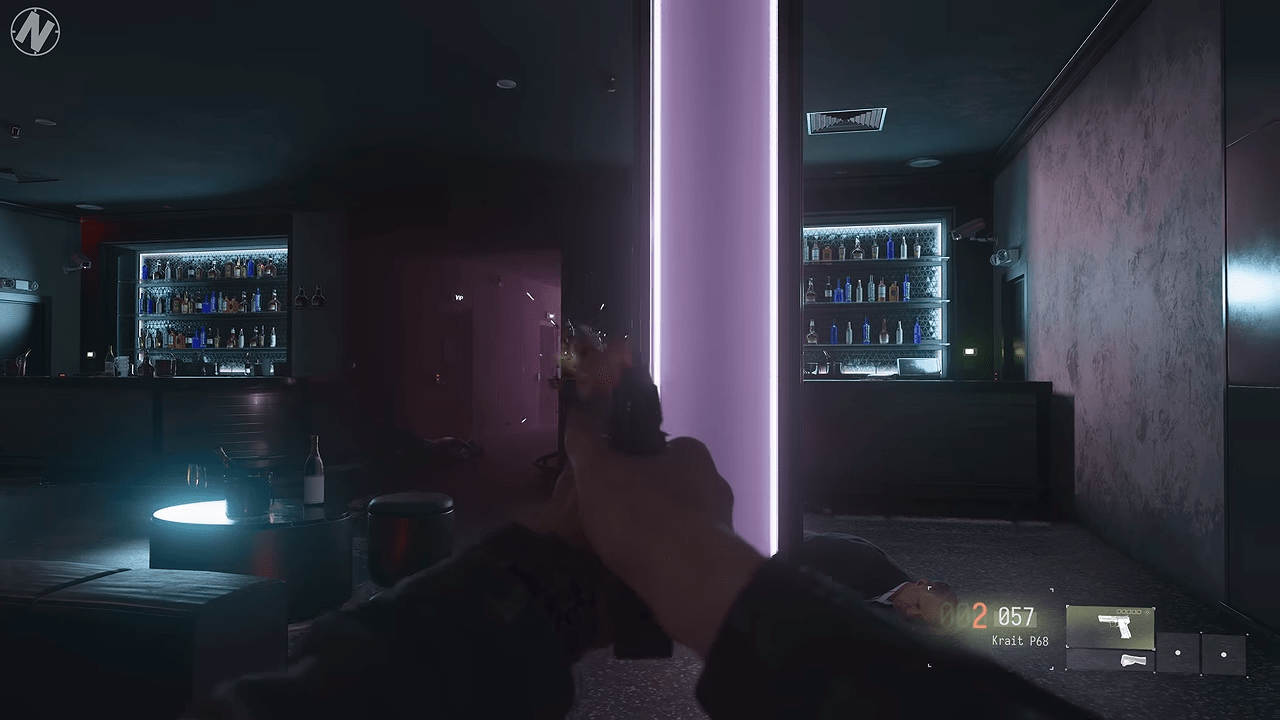
Tip: Complete Safety’s On and Can’t Touch This before leaving this mission if possible. The kitchen achievement fails if you fire a gun, while the Makarov challenge requires a clean fight.
Mission 3: Following Orders
Two achievements are available here: No Harm Done and No Stone Unturned. You can earn both in the same run by collecting all four pieces of contraband, reading all four notes, and getting the defector’s location without hurting any civilians.
Collect everything in the first house
Search the first house before finishing the interrogation. There are six of the eight required items in this house.
| Item | Type | Location |
|---|---|---|
| Note From Your Friend | Note | Inside the locked red toolbox. |
| Heart Medicine | Contraband | Inside the same red toolbox. |
| MP3 Player | Contraband | Bathroom cabinet, through the first door on the left. |
| Western Novel | Contraband | Cabinet through the second door on the left. |
| Baekseolgi-Tteok Recipe | Note | Left cupboard in the kitchen. |
| Rations | Contraband | Kitchen cabinet beside the recipe. |
The red toolbox uses the code 214. You can also shoot its lock off. If you want to solve the code from the recipe, use the listed quantities for flour, water and raisins in that order, excluding salt: 2, 1, 4.
Question the civilians without hurting them
During the conversation with the woman, choose the dialogue option that sends her to join her husband in the hallway. After collecting the items, question the man about the contraband one item at a time. Do not hit or kill either civilian.
Obtaining the defector’s location without harming a civilian unlocks No Harm Done.
Collect the final two notes in the third house
- Note From Your Neighbor: Enter through the first door on the left, then use the second door on the right to reach the bedroom. Search the cabinet beside the bed.
- Note From Mom: Go through the sliding doors beyond the bedrooms and enter the first room on the right. You can take the key from the cupboard beside the window, then return to the kitchen and open the floor hatch. Call the civilian out by talking to her, capturing her twice or threatening her, then collect the note from the hideout shelf.
The second house has no required notes or contraband. Before leaving the mission, check that the note counter has reached four and that you have confiscated all four contraband items.
Realism route
No combat challenge is required here. Proceed through the investigation, collect the items, and avoid unnecessary confrontation.
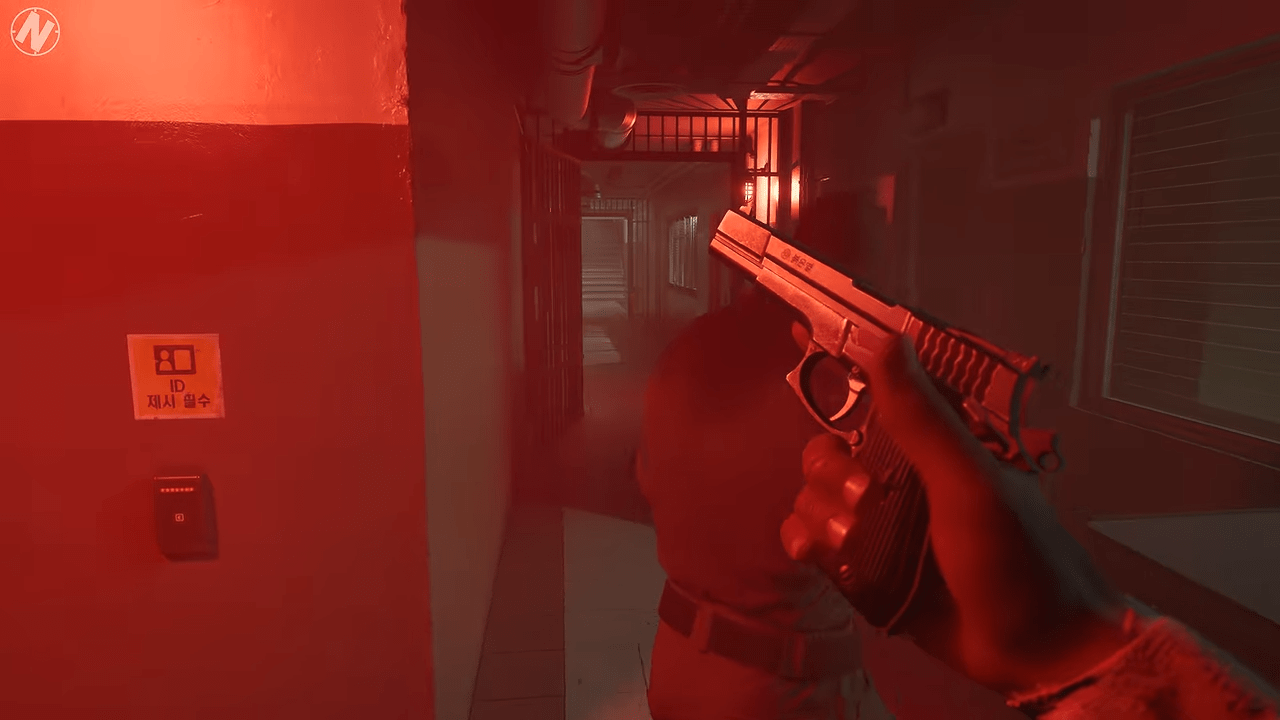
Tip: Do not finish questioning the husband before searching the first house. The toolbox contains both a note and contraband, while the kitchen holds the recipe and the final piece of contraband from that house.
Mission 4: Hired Gun
Bullet Train
Requirement: Kill 50 enemies while standing on train cars.
Train-car kills count from the beginning of the mission through the final encounter with Graves. The requirement is your position when the enemy dies: you must be standing on a train car.
Flatbed cars, open boxcars and coal or aggregate hopper cars all qualify. Both moving and stationary cars work, so you can use the train itself as cover while fighting.
Recruit is the easiest difficulty for this challenge because enemy behavior is more predictable. Keep killing enemies from the cars as you advance. If you finish the mission short of 50, replay it or reload a checkpoint to continue the attempt.
Realism route
Before engaging the helicopter, stay in cover and eliminate nearby enemies. Use the grenade launcher to destroy incoming vehicles and collect additional grenade-launcher ammunition from Valeria when needed.
Once the helicopter is down, advance toward Graves and aim for headshots. Watch for Semtex grenades, which can make this encounter dangerous.
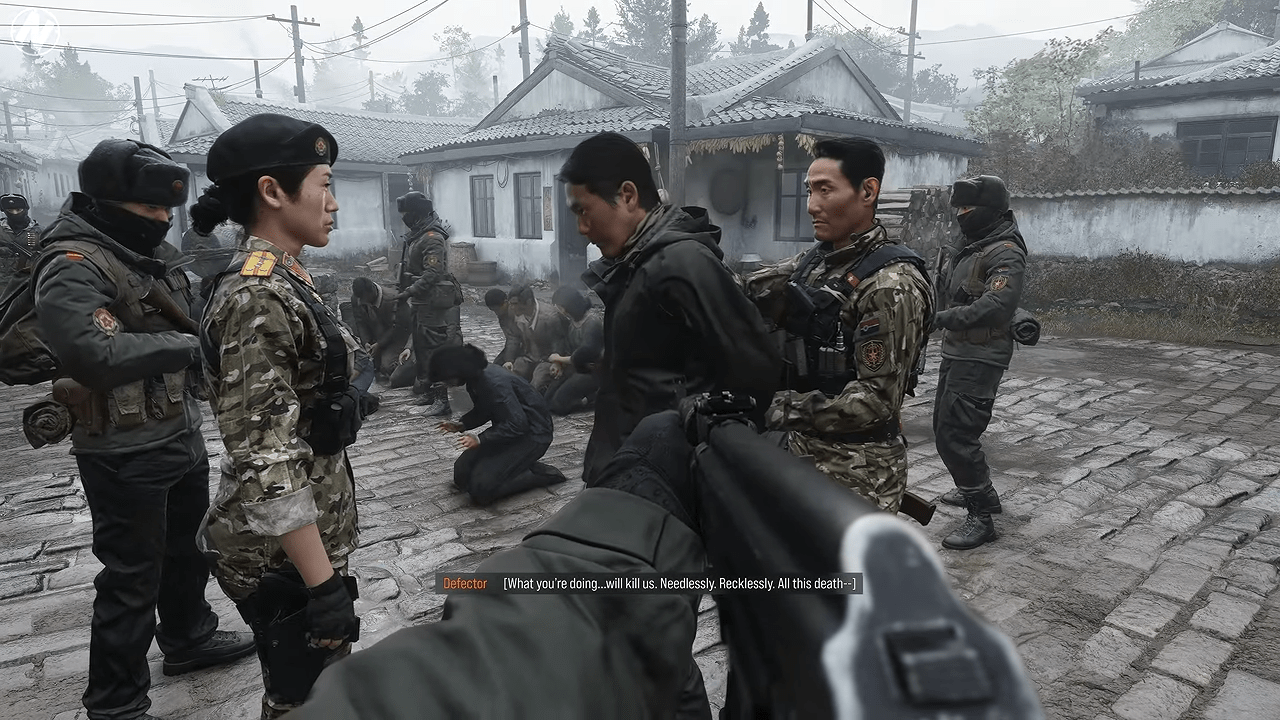
Tip: For Bullet Train, watch your position as enemies fall. A kill earned while standing beside the train does not count, even if you used the train as cover.
Mission 5: Losing Ground
Raining Thunder
Requirement: Kill 15 enemies with three mortar rounds in a row.
When you reach the mortar, wait for the large wave approaching from the right. Aim at dense groups and try to get about five kills with each shot.
The requirement concerns the combined kills from three consecutive mortar rounds. If a sequence falls short of 15 kills, use another three-round sequence or reload the checkpoint to try again.
Realism route
When you reach the mortar position, use the available strikes to clear enemy groups before advancing. Pay attention to civilians moving through the area so you do not put them in danger.
Tip: Do not waste a mortar round on an area with only one or two enemies. Wait until the next wave is concentrated enough to give each shot a chance at a five-kill result.
Mission 6: Traffic
Encounters become more manageable if you preserve armor and use the equipment available along the route.
Realism route
During the first car chase, armor is limited, so avoid wasting protection on unnecessary fights. After the second chase, when you are back on foot, take a Riot Shield from an enemy. It provides useful protection during the following sections.
Blue vans contain armor and ammunition, making them worthwhile stops when you need supplies. In the final stretch, combine C4 with the Riot Shield to deal with enemies more safely, particularly around armored trucks. Watch civilian vehicles during the road engagements.
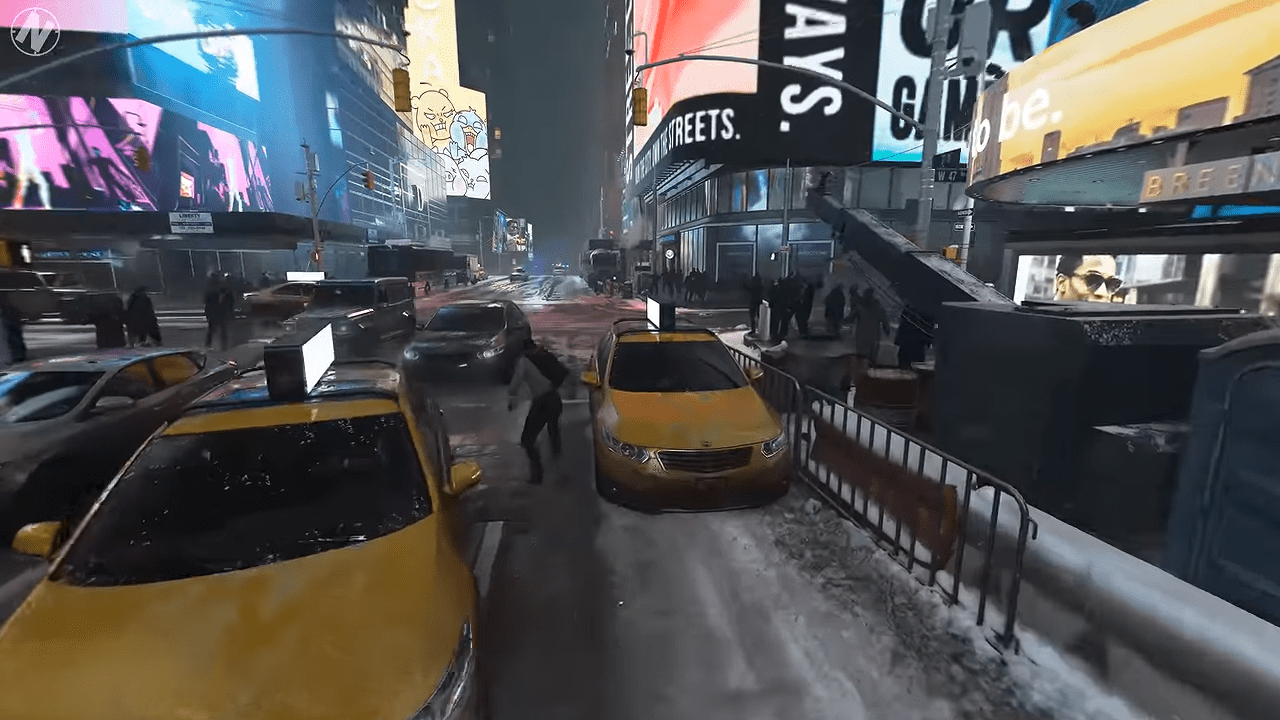
Tip: Take a Riot Shield when the opportunity appears and remember where the blue vans are. The extra protection and resupply can make the later sections less punishing on Realism.
Mission 7: Gone Dark
Focus on progressing through the mission and conserving health and ammunition for the close-range encounters.
Realism route
During the fistfight with Ghost, use the same basic guard-and-counter approach as the Makarov fight in Out in the Cold. Block or parry his attacks, then counter between his strikes.
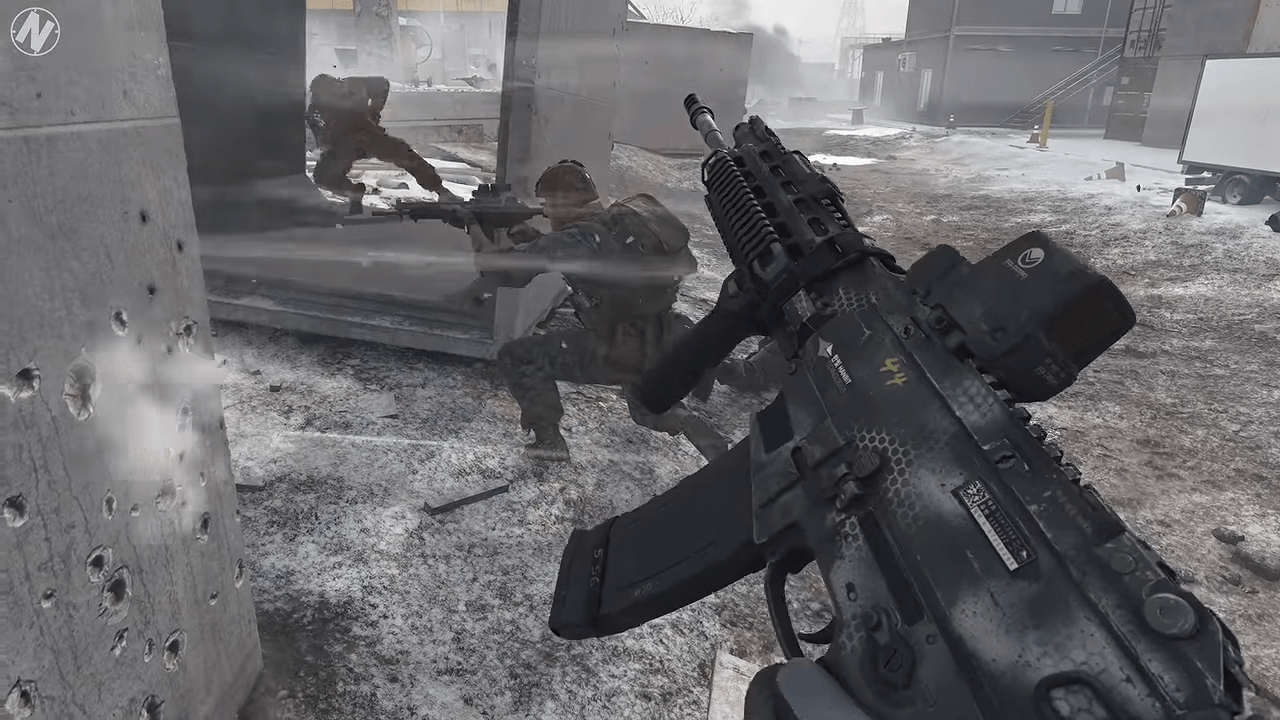
Tip: Treat the Ghost fight as a timing challenge. Wait for openings, keep your guard under control, and counter when his attack leaves him exposed.
Mission 8: Assassins
Revenge and Pacifist have conflicting requirements, so complete them in separate attempts.
Revenge
Requirement: Kill every enemy after Shin dies on Hardened or higher.
Set Hardened or a higher difficulty before starting the mission. Once Shin dies, clear each area before advancing. The achievement unlocks as soon as the last required enemy is eliminated.
- Clear the 13 enemies in the library and kitchen before reaching the garden.
- As you enter the garden, check the stairs on your left for additional enemies.
- When you open the bunker door, turn around and check for enemies that spawn behind you.
- Before moving past any area or checkpoint, make sure you have cleared every enemy in it.
Use your knife and throwing knives when possible. You have no armor, so standing in the open while fighting multiple enemies can end the attempt quickly.
Pacifist
Requirement: Finish the mission with only one kill.
The game forces one kill during a cutscene, and that counts toward the total. In the kitchen, throw bottles to distract opponents and use the storage spaces to hide when you need to move past them.
Realism route
Avoid prolonged firefights and use throwing knives to get through the kitchen. The garden presents a sniper threat, so handle that section carefully during the Realism run. Keep it separate from the Pacifist attempt.
Tip: Do not combine Revenge and Pacifist in one run. For Revenge, clear every enemy after Shin dies. For Pacifist, prioritize distractions and hiding, and avoid kills beyond the one the game forces during the cutscene.
Mission 9: Survivors
Follow the mission objectives and avoid spending time on optional combat or detours.
Realism route
Proceed through the mission normally. Focus on moving between objectives and do not take unnecessary fights that could drain your resources before later missions.
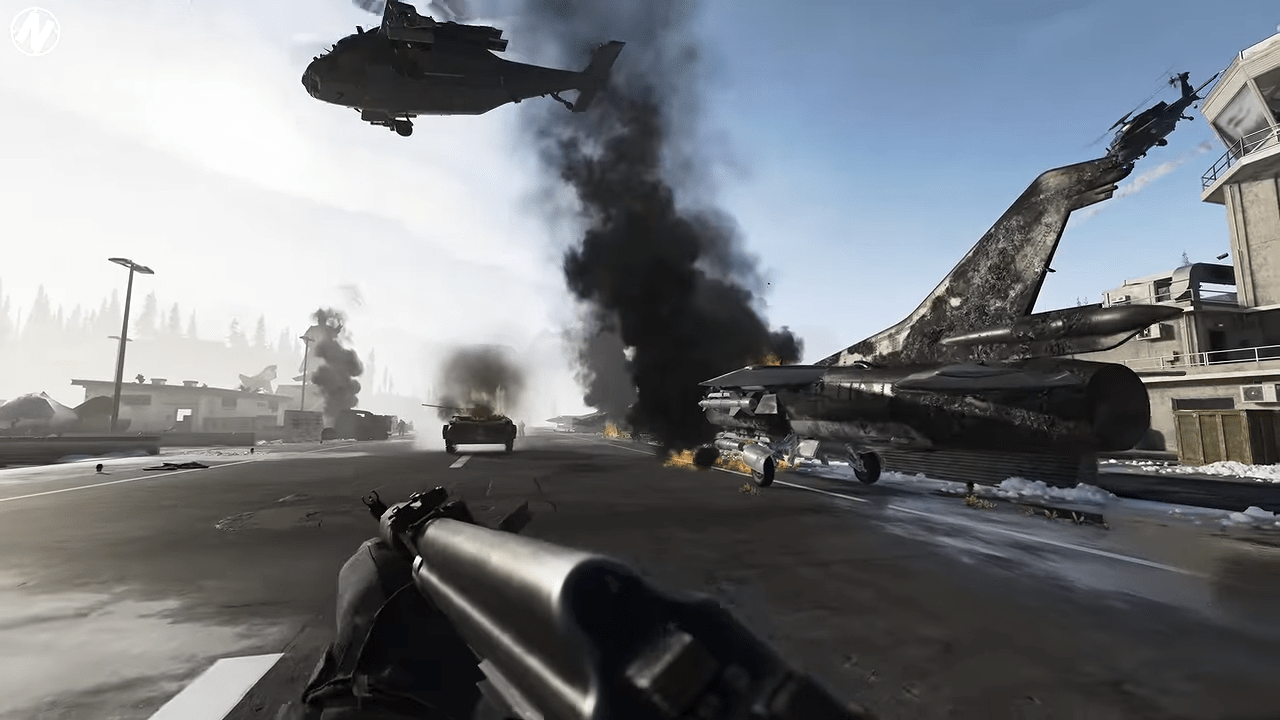
Tip: Preserve your supplies and focus on the objectives.
Mission 10: Stranded and All Bunker Codes
Stranded contains four achievements: Incoming!, Time to Crate, Scavenger and Noteworthy. It is also the campaign’s open-world mission, with outposts, hidden supply locations and eight keypad-protected containers or bunkers.
Incoming!
Requirement: Destroy every vehicle reinforcement at the SAM Site before the soldiers unload.
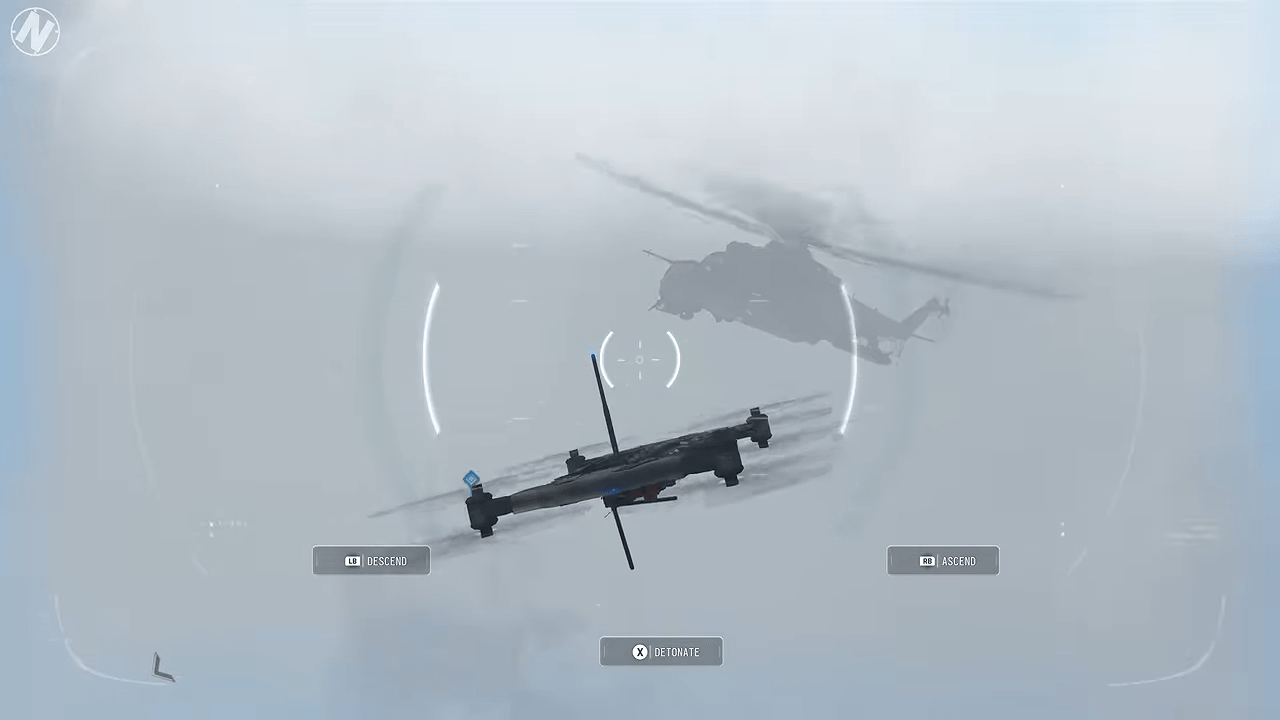
Explosive drones are the most reliable tool for this challenge. Clear the Jamming Station objective first to unlock them, then collect around ten drones to give yourself some margin for missed shots. Additional drones can be found in boxes near the statue.
- As you enter the area, watch for a group of enemies exercising and a vehicle moving nearby. Use an explosive drone on the vehicle and nearby group if needed.
- Travel to the SAM Site and look north along the main road.
- As each reinforcement vehicle approaches, fly a drone into it before the soldiers get out.
- Destroy every required vehicle and the BMP. The achievement should unlock once the full reinforcement group has been eliminated.
Try to complete the sequence without restarting from a checkpoint, as a restart could interfere with the achievement. Do not rely on the craftable anti-materiel sniper rifle for this objective: hitting a vehicle with it can cause the soldiers to dismount before it is destroyed.
Time to Crate
Requirement: Open every Yellow Supply Crate in Stranded.
There are 26 Yellow Supply Crates in the mission: 24 at fixed locations and two attached to moving vehicles. Check every cleared outpost and point of interest. Most crates are marked on the map, but some require climbing, following hidden routes, disarming traps or using the Supply Tracker tactical item.
Two moving crates are easy to miss: one on the looping freight train and another on a patrolling truck. If the counter remains incomplete after clearing the fixed locations, search these vehicles rather than repeating every outpost.
All eight Stranded keypad codes
The Base Camp container is a useful first stop because its code-locked container holds an intel map that marks other locked containers on the tactical map. The codes below are fixed; enter all four digits, including leading zeros.
| Location | Approximate coordinates | Code | What to know |
|---|---|---|---|
| Base Camp container by radio tower | 644, 158 | 0024 | Contains an intel map that reveals other locked containers. |
| Container south of Jamming Station | 667, 125 | 8609 | Yellow Supply Crate. |
| Southeast village container | 652, 187 | 0078 | Yellow Supply Crate. |
| Cliff container north of Base Camp | North of Base Camp | 0600 | Yellow Supply Crate. |
| Container by the large roadside sign | 634, 136 | 1234 | Yellow Supply Crate. |
| Small river-island container | 618, 132 | 6789 | Yellow Supply Crate. |
| Farm Field Hidden Bunker | About 631, 127 | 0330 | Supplies and a note, but no Yellow Supply Crate. |
| Northwest Island Hidden Bunker | 615, 169 | 0008 | Contains a Yellow Supply Crate; enter through the hidden bunker access. |
The keypad notes give number patterns that lead to the codes. The Farm Field bunker code comes from the four Logistics Station numbers, 10, 20, 100 and 200, which total 330. Enter it as 0330. The northwest island bunker uses 0008.
Noteworthy
Requirement: Read 50 different notes.
Stranded contains 58 notes, so you do not need to find every one. Read notes as you explore outposts and points of interest. The Supply Tracker helps locate certain hidden items, but it is worth checking desks, offices and small structures after clearing an area.
Scavenger
Requirement: Repair everything in Base Camp.
Collect supply crates and materials throughout Stranded, then return to Base Camp and repair every available item. Some repair or craft options only appear after you find related equipment in the world, which can make the achievement seem incomplete even when the visible list looks finished.
Two frequently overlooked items are:
- Semtex: If you already collected another lethal item that can be crafted at Base Camp, the Semtex option may not appear. Throw away your current lethal equipment and check the crafting table again.
- Vulcan sniper rifle suppressor: At the SAM Site in the upper-left part of the map, pick up the Vulcan sniper rifle in front of the statue. This unlocks a suppressor craft option on the table beneath the ammunition bag.
You can return to Base Camp after completing the campaign. If the achievement is still locked, revisit the station and check for craftable equipment that has become available after new pickups.
Realism route
Explore the area and collect supplies before pushing deeper into the objectives. Craft a Silenced Assault Rifle and acquire or craft a Silenced Sniper Rifle. Leave the SAM Site until you have unlocked explosive drones, then use them to handle its vehicles from a safer position.
Avoid frontal assaults wherever possible. Without an armor plate carrier, direct firefights are punishing, so stealth and careful positioning are more reliable than rushing from outpost to outpost.
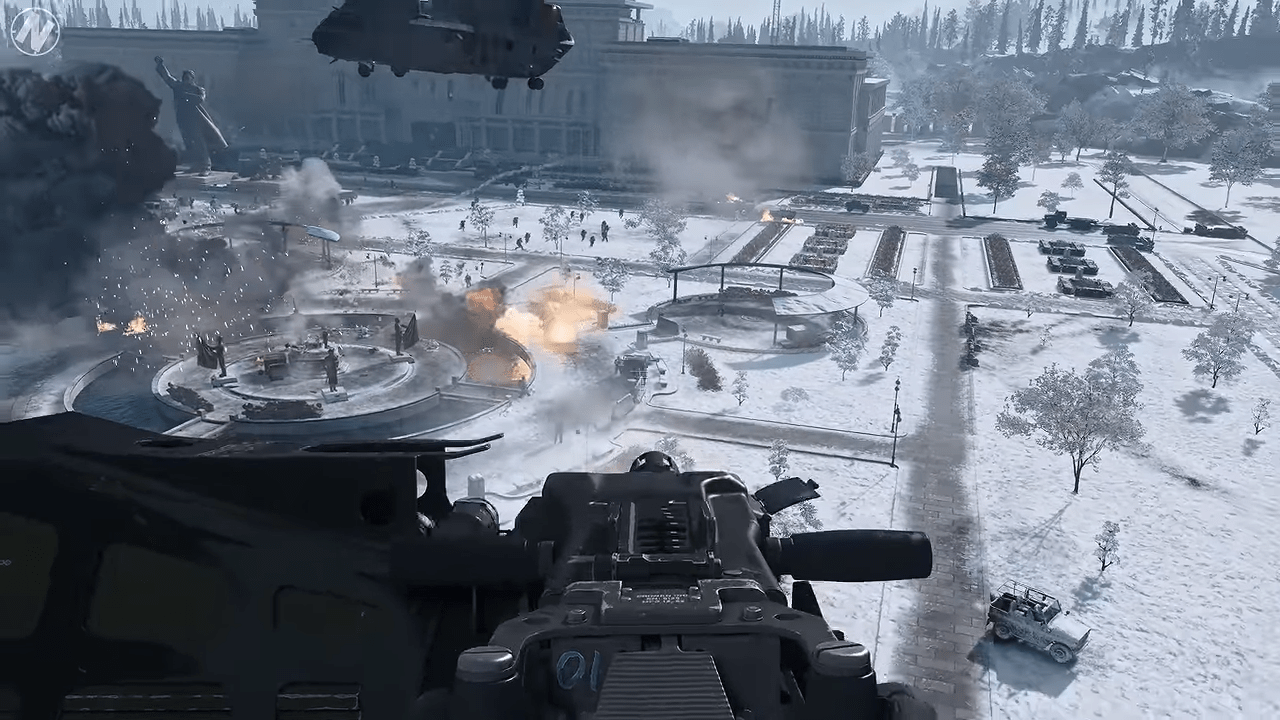
Tip: Open the Base Camp container with code 0024 first to reveal other locked locations. For Time to Crate, remember the two moving-vehicle crates. For Scavenger, check for the Semtex and Vulcan suppressor if everything else appears repaired.
Mission 11: Defection
No separate campaign achievement is listed for Defection. The mission’s Realism route benefits from using explosive drones early and taking advantage of the forced character switches.
Realism route
- Proceed through the first section.
- After leaving the hangar, collect the explosive drones from the two nearby crates.
- Use the drones to eliminate dense enemy groups before advancing.
- After Dunn takes out the mortars, switch back to Jae and continue fighting until the mission forces you to use Park.
- Use the character switches when available to manage damage and keep progressing.
- When the extraction helicopter arrives, avoid rushing to the extraction point. Clear enemies along the way and advance carefully.
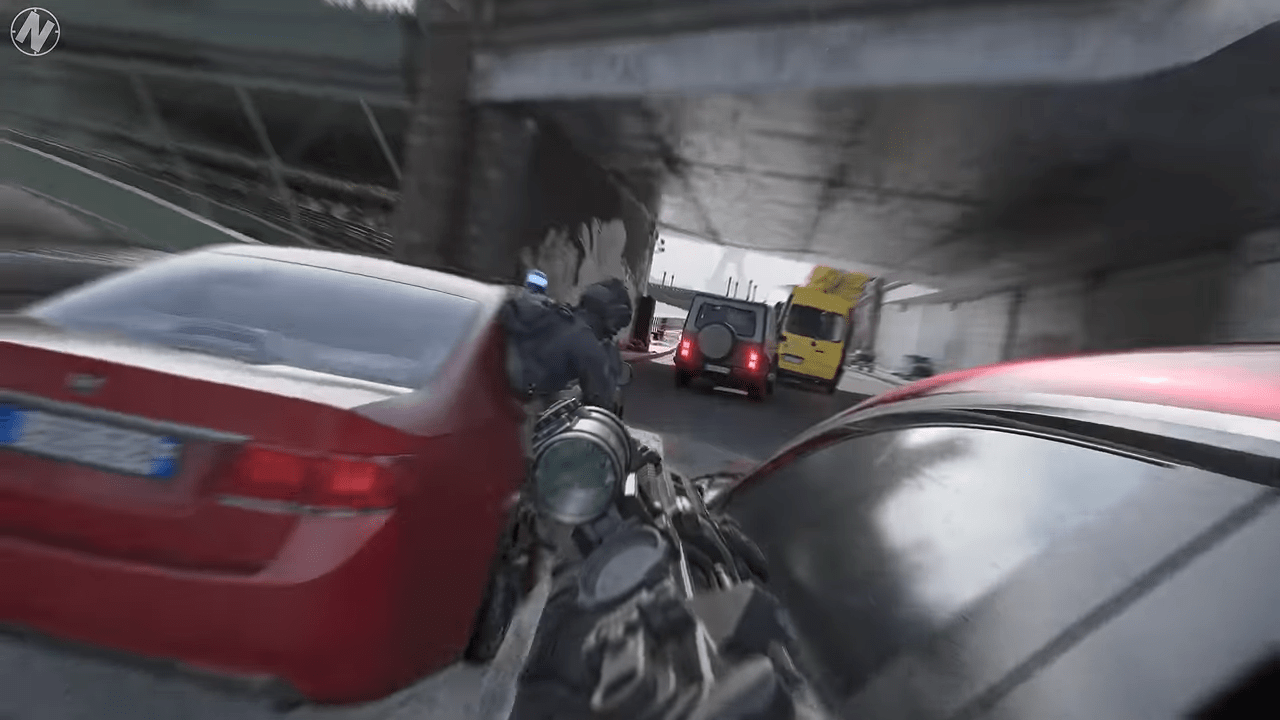
Tip: Use the explosive drones immediately after collecting them. They can thin out large groups before you have to move through exposed areas during the later sections.
Mission 12: Counter Attack
Long Shot
Requirement: Snipe all four enemies operating mortars during Counter Attack.
Progress through the mission until you reach the hotel rooftop. Two mortar teams appear as you advance, with two soldiers at each position:
- First team: On the left side of City Hall.
- Second team: Farther left, on the roof of the garage.
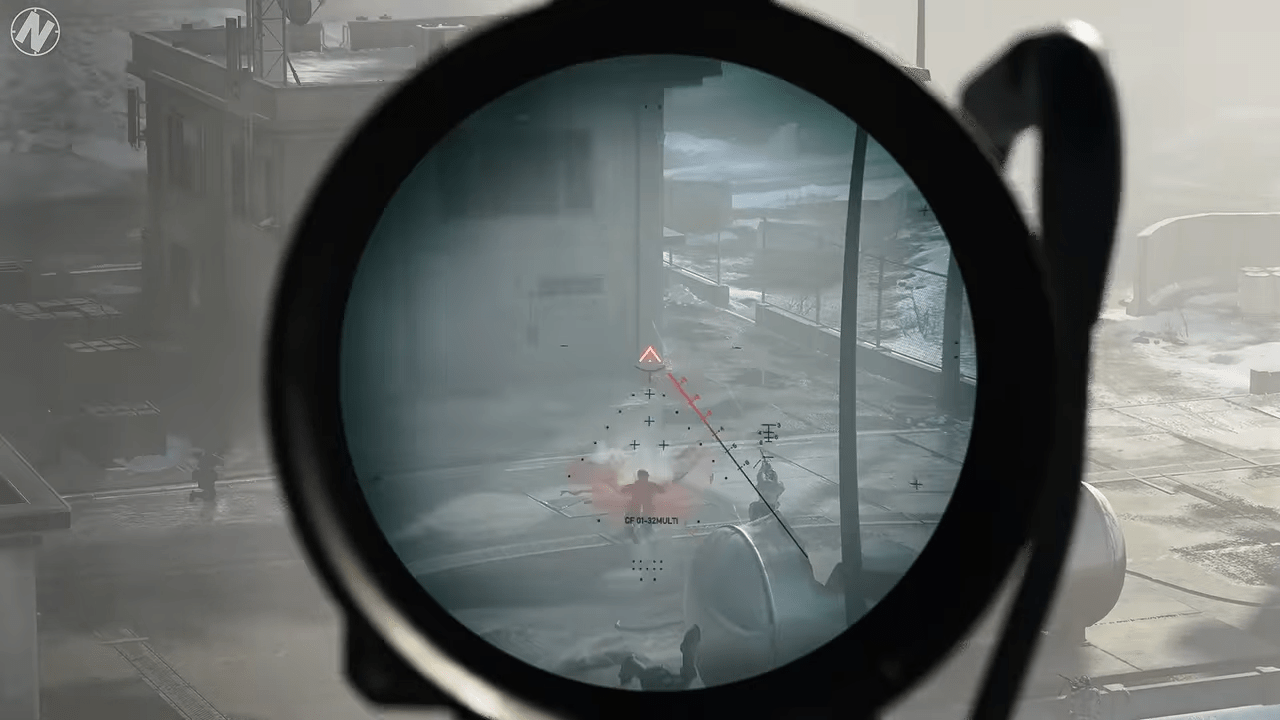
Use the sniper rifle to eliminate all four soldiers. Once you kill one member of a mortar team, the other may run away, so fire quickly and try to kill both before either escapes. If one gets away, restart the checkpoint and repeat.
Realism route
Friendly APCs have armor and ammunition behind them, so use these resupply points when needed. Make regular use of your targeting device to eliminate groups efficiently, and use the missile launcher whenever it becomes available on the hotel rooftop.
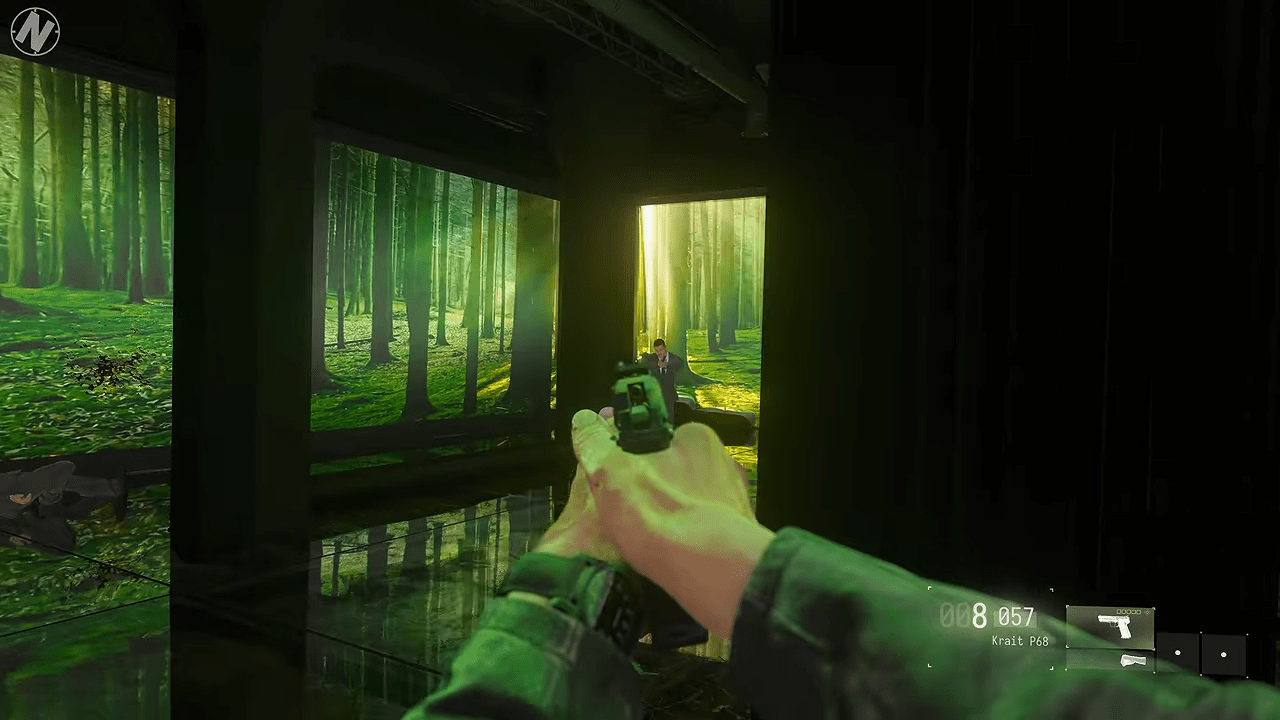
Tip: Do not wait too long after spotting a mortar team. Kill both operators quickly, because the remaining soldier may flee once their partner falls.
Mission 13: Escape
Never Forgotten
Requirement: Recover Gaz’s Dog Tags.
The tags are inside a wall safe. You must find the updated combination before opening it.
- At the start of the mission, find the Confiscation Protocol Reminder note on the desk in the office across from Cell 41.
- Continue past the guard checkpoint into the security office and find the note with the updated code: 8410.
- Proceed through the mission, rescue Ghost, and continue with him.
- Clear the barracks. Afterward, Ghost will insist that you cannot leave without Gaz.
- Search the nearby room for the wall safe and enter 8410.
- Take Gaz’s Dog Tags to unlock the achievement.
Realism route
Keep track of your ammunition, and take your time clearing enemies. The barracks are a dangerous choke point. Before entering the garage section, collect a shotgun if you can; it is effective against the armored enemies in the control room.
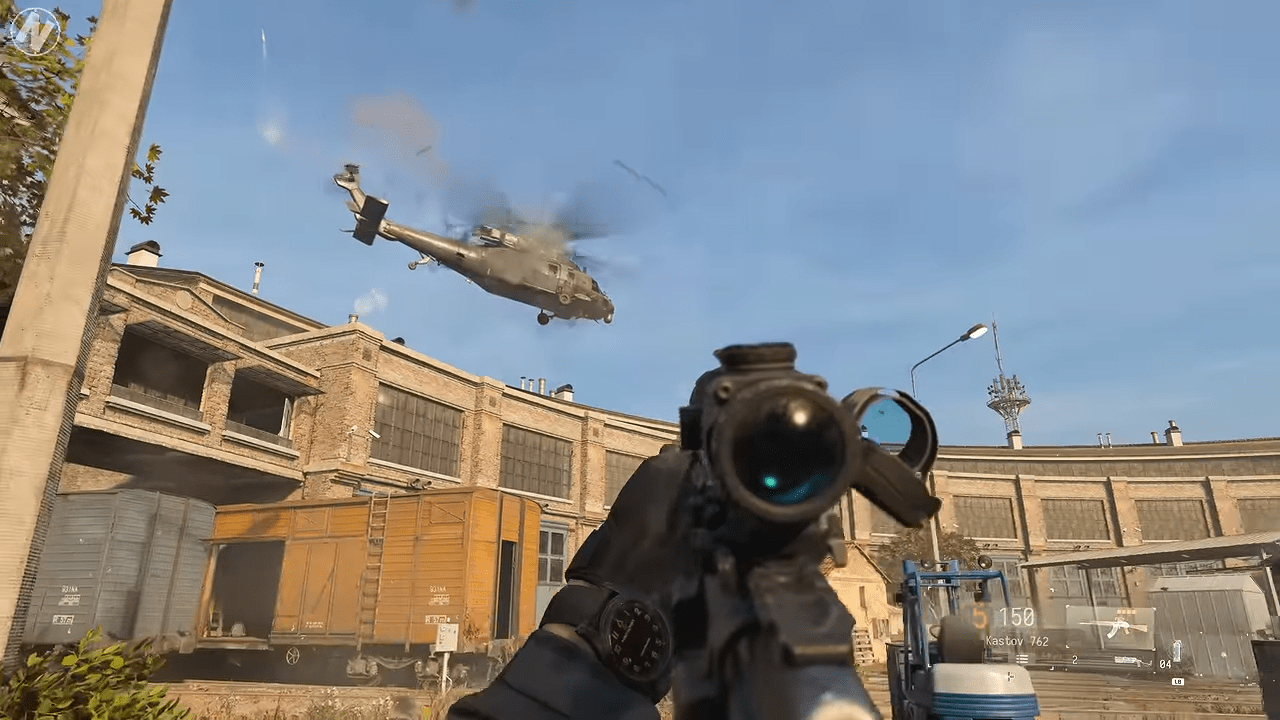
Tip: Remember the safe code 8410 after reading the security-office note. Restock ammunition before the barracks and pick up a shotgun before the armored enemies in the garage control room.
Mission 14: Entrenched
Trench Broom
Requirement: Kill 15 enemies with a shotgun before securing the Target Building.
Equip a shotgun before starting or pick one up during the mission. There are two sets of trenches before the main building, giving you enough enemies to reach 15 kills if you use the shotgun consistently.
Do not secure the Target Building until the achievement unlocks. Around halfway through the trench section, an enemy carries a long-barrel shotgun that can help if you need one.
Realism route
Clear the first trenches without rushing. Once your APC is hit and you are forced to continue on foot, collect the Thermites and the LMG with thermal sights. Clear enemies along the left side first, then use the Thermites to destroy the enemy BMP before dealing with the remaining opposition.
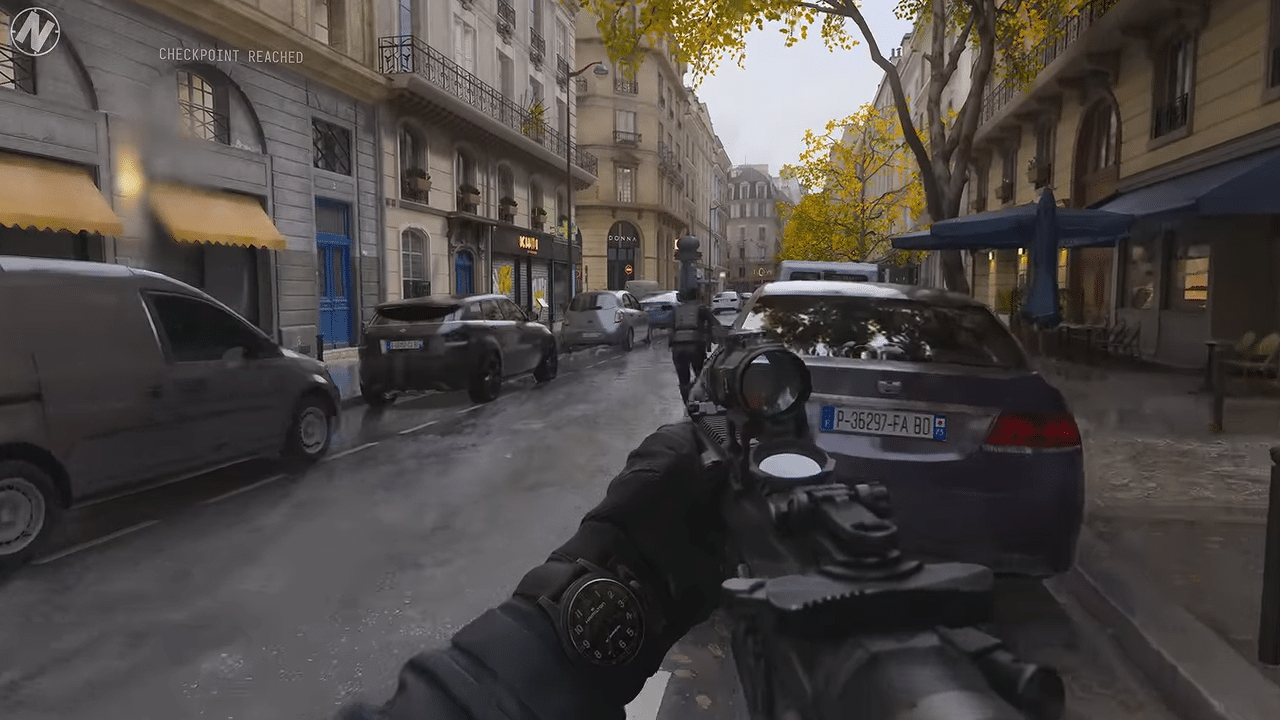
Tip: Count your shotgun kills before approaching the Target Building. Securing it too early can end the opportunity, even if you have not reached the required 15 kills.
Mission 15: Decapitation
The challenge on Realism is to preserve supplies and survive the heavily defended palace interiors.
Realism route
Once inside the palace, restock ammunition from Kal’s backpack. Keep a shotgun handy for the armored enemies in the cell area, where the narrow layout makes it easy to be caught by several opponents at once. Advance through the cells and use available cover.
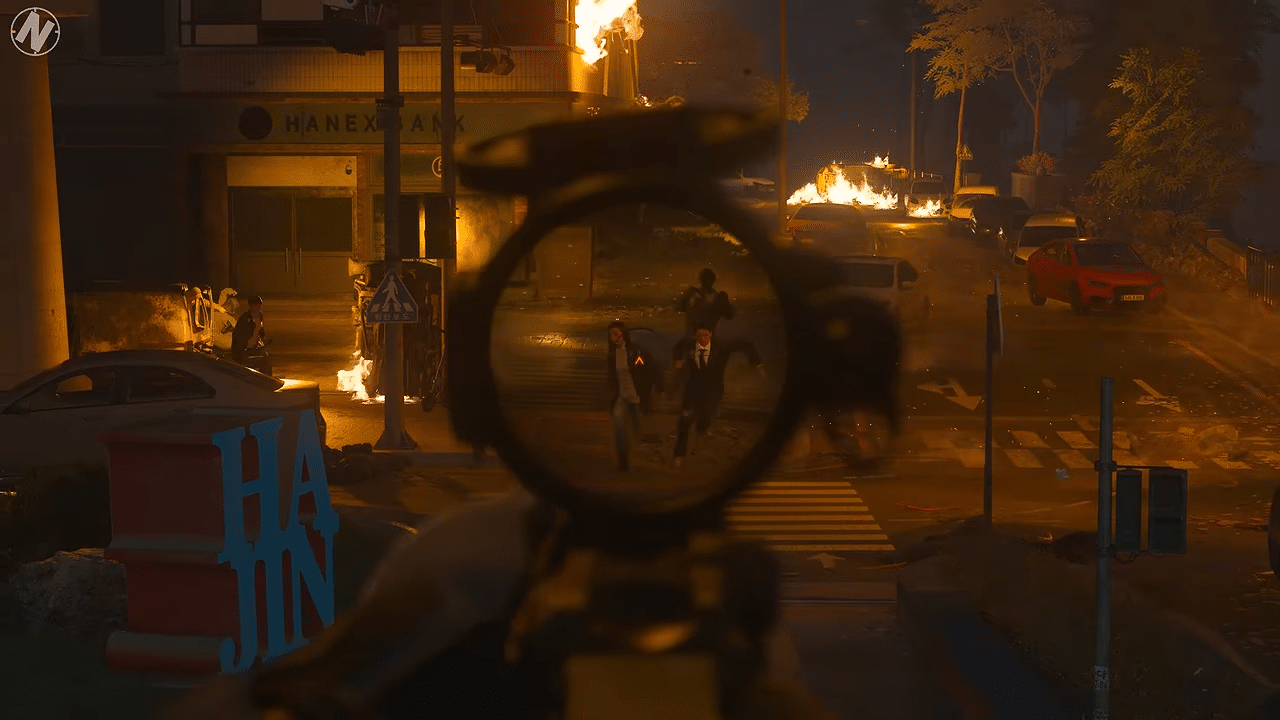
Tip: Restock from Kal’s backpack before pushing into the cells. The confined layout is dangerous if you run out of ammunition or let armored enemies close in.
Mission 16: Greater Good
Hold the Line
Requirement: Complete the campaign on any difficulty.
Finish Greater Good and complete the story. This unlocks Hold the Line and, if you have not completed it already, marks your first full campaign clear.
Was it Worth it?
Requirement: Complete the campaign on Realism.
After the first campaign completion unlocks Realism, finish all missions on that difficulty in the proper order. If you completed Greater Good first and then returned to earlier missions through mission selection, replay Greater Good after completing those earlier missions.
Realism route
You are wounded during this mission, which makes your accuracy poor. Use trees and other available cover to mount your weapon and engage enemies from a protected position. Avoid unnecessary movement across exposed ground.
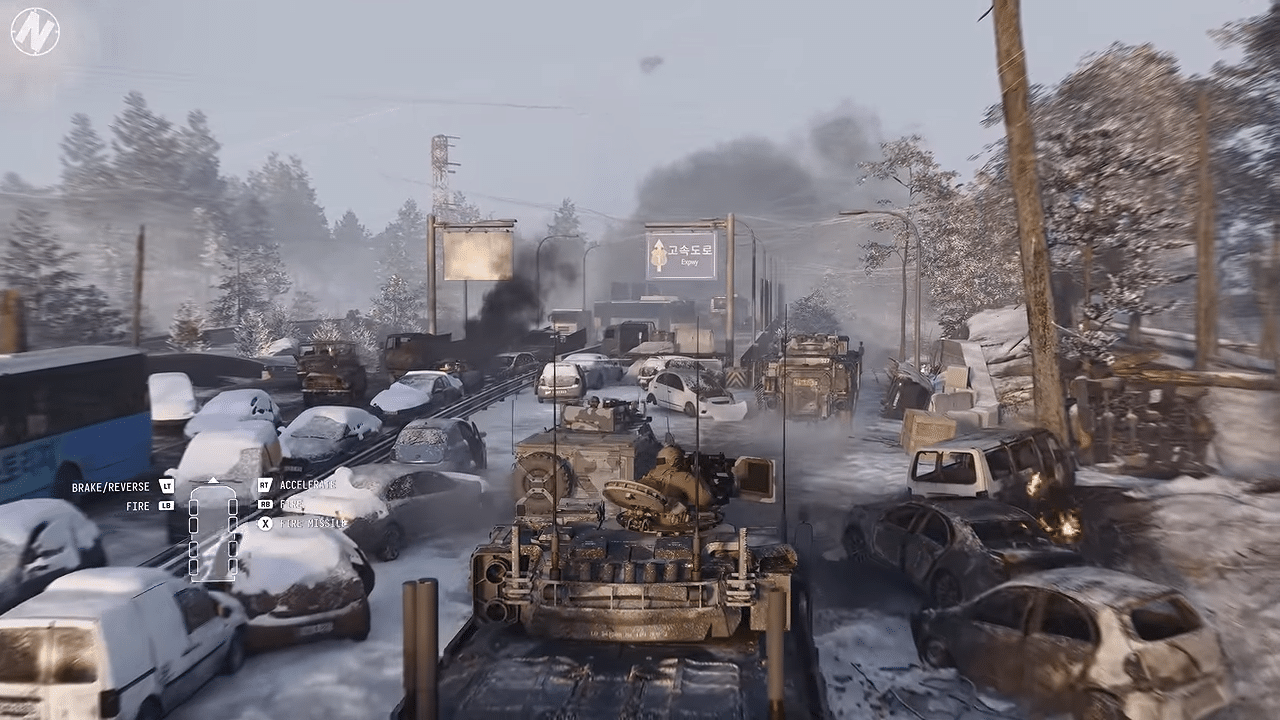
Tip: Keep the Realism campaign in mission order from start to finish. If the completion achievement fails to unlock after Greater Good, check your mission history and replay the finale after progressing through the earlier missions.
Final Achievement Checklist
Before calling the campaign complete, check each of these tasks against your achievement list:
- Complete the campaign on any difficulty for Hold the Line.
- Finish the campaign on Realism for Was it Worth it?.
- Earn Skeet Shooting, Safety’s On, and Can’t Touch This.
- Earn No Harm Done and No Stone Unturned in Following Orders.
- Earn Bullet Train and Raining Thunder.
- Earn both Revenge and Pacifist in separate Assassins attempts.
- Earn Incoming!, Time to Crate, Scavenger and Noteworthy in Stranded.
- Earn Long Shot, Never Forgotten and Trench Broom.
Most of the campaign achievements are tied to specific mission opportunities, so completing the right challenge at the right time matters more than simply finishing every level. Use Recruit for the bulk of the first run, make the required difficulty changes when needed, and reserve the second playthrough for a careful Realism clear.

Leave a Reply