

Last Updated on 20 April, 2026
You’ve seen the adorable memes and now you also want to plunge into the breathtaking lunar world of Capcom’s PRAGMATA. This comprehensive roadmap eliminates the sheer frustration of missed collectibles and permanently locked progression by revealing the exact path to a flawless completion. You will uncover a highly optimized two-playthrough strategy designed to perfectly manage your bond with Diana while simultaneously preparing your arsenal for the brutal Lunatic difficulty. Prepare to dismantle every hidden puzzle and combat hurdle standing between you and that coveted final achievement.
Table of Contents
- The Core Statistics and Time Investment
- Automatic Campaign Milestones
- Forging a Vital Connection with Diana
- Scouring the Cradle for Rare Artifacts
- Conquering the Environment and Simulations
- Printing and Perfecting Your Arsenal
- Executing Advanced Combat Techniques
- The Post-Game and Ultimate Challenge
- The Two-Part Master Strategy
- Conclusion
The Core Statistics and Time Investment
Before you step foot into the Cradle, you need to understand exactly what you face. PRAGMATA features a tightly designed list of 35 distinct achievements available on both Steam and Xbox platforms. PlayStation 5 players receive exactly 36 trophies because Sony includes their traditional Platinum trophy as the final completion reward. The PC and Xbox ecosystems lack a Platinum equivalent, making this the only structural difference between the platforms.
You should expect to invest roughly 30 hours to earn full completion across the entire game. The main narrative campaign requires about 10 to 17 hours depending heavily on how thoroughly you explore the environments. The achievement list brilliantly rewards thorough exploration rather than mindless grinding. You will tackle nine story-based unlocks, a specific cluster of easily missable relationship goals, intense combat challenges, and one major difficulty hurdle at the very end of your journey. You will definitely need two full playthroughs to achieve your ultimate goal.

Automatic Campaign Milestones
The developers gracefully grant you nine specific achievements that require absolutely no detours or special tactics. You unlock these automatically just by surviving and reaching specific story milestones. You can simply enjoy the narrative and collect these as you progress through the main campaign.
The Opening Act
- Rendezvous: You earn this by making it to the Shelter. This serves as your very first major landmark and unlocks very early in the adventure.
- Power Trip: You must restore power to the facility to trigger this mid-story milestone.
- The Purr-fect Guide: You unlock this reward simply by reaching the Comms Tower successfully.
Mid-Game Discoveries
- Another Pragmata: You earn this when you finally meet the trapped girl during the campaign.
- Entrusted Memory: You must acquire the essential stop code to progress the story and claim this achievement.
- Mission Unveiled: You unlock this by making it safely to the Nexus Tower.
The Final Encounters
- Awakening: You receive this milestone when you successfully fix up Diana.
- Sentinel Breach: You must take down the massive Sentinel enemy to claim this reward.
- Our Promise: You unlock this final story milestone exactly when the credits roll after you complete the game on any difficulty setting.

Forging a Vital Connection with Diana
Diana acts as the android Hugh discovers wandering the Cradle. Your complex relationship with her develops significantly inside the safety of the Shelter through quiet conversations, playful games of hide-and-seek, special gifts, and the rare collectibles you bring back to her. You absolutely must engage with this bonding system. If you choose to skip these interactions, you will force yourself to replay massive sections of the game.
Essential Bonding Activities
- Small Talk: You must talk to Diana in the Shelter the very moment the option first appears. Do not head straight to your next objective. This specific achievement remains the absolute easiest to miss because the game never announces its availability to the player.
- Thanks for Everything!: You receive a hand-drawn picture as a present from Diana as your bond deepens over time. You must keep your conversations going and consistently give her REMs to trigger this special event.
- Peekaboo: You win at hide-and-seek to claim this reward. The game unlocks this activity after you spend enough time talking to Diana in the Shelter.
Field Actions and Gifts
- For Me?: You must give an REM as a present. REMs stand for Read Earth Memories. Once you find one of these collectibles in the field, you must travel back to the Shelter and give it directly to Diana.
- Courage in Desperation: You must repel the terrifying LunaDigger while progressing through the Linum Mines. While this occurs during a standard story encounter, the achievement strictly requires you to actually succeed at the repel action. You must stand your ground and not let the LunaDigger push you out of the area.
Scouring the Cradle for Rare Artifacts
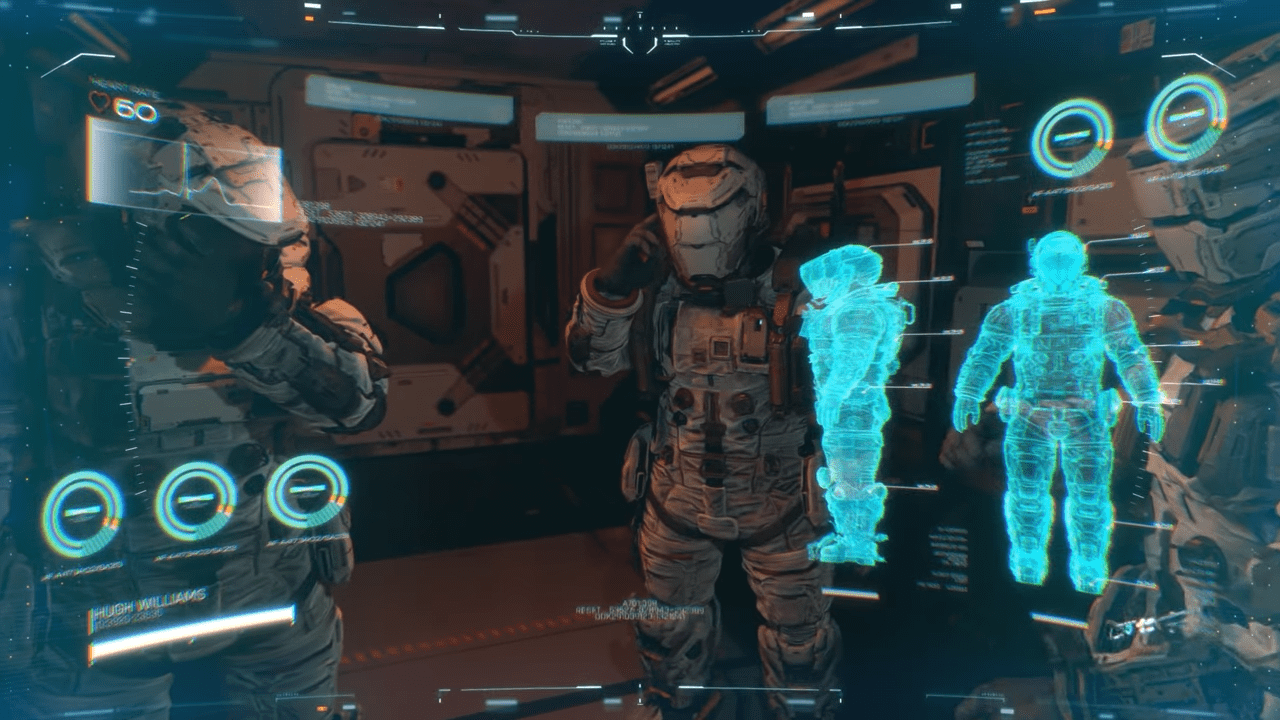
PRAGMATA features several overlapping collectible systems running simultaneously in the background. You must never assume you can simply backfill your collection at the end of the game. While the game does allow you to revisit some locations, carefully tracking your collectibles during your very first run remains the fastest and most painless strategy.
Gathering Memories and Stamps
- Replicating Extraordinaire!: You complete an entire REM series to earn this. REMs arrive in specific sets. You must physically install enough memories from the exact same series inside the Shelter to finish a full set.
- Blackout!: You must complete a Cabin Stamp Board. These digital boards act as rigid checklists tied directly to specific shelter locations. You need to monitor them constantly as you explore each new zone.
Finding the Hidden Cabins and Secrets
- Well Spotted!: You shoot a single Mini Cabin to unlock this. Mini Cabins exist as tiny objects hidden throughout the various levels. You earn this achievement immediately after you destroy the very first one you discover.
- Mini-Hunter Supreme: You must shoot every single Mini Cabin hidden in the entire game. This strict requirement tracks cumulatively across your whole playthrough. If you overlook even one, you will need to hunt it down later or replay that entire section.
- Wall? What Wall?: You must locate a hidden Holo-Wall. These elusive environmental objects sit scattered throughout the Cradle. You must explore thoroughly and look closely for walls that behave completely differently from the rest of the surrounding architecture.
- Escape Artist: You must unlock every single escape hatch. Escape hatches provide your primary method to return to the Shelter between major combat encounters.

Conquering the Environment and Simulations
The Cradle hides many punishing secrets and optional challenges. You need to push your exploration and combat limits to earn these specific location-based achievements.
Mastering the Zones
- Cradle Surveyor: You must reach 100% sector progress in a single sector. You do not need to max out every single sector in the entire game. You only need to clear all enemies, locate all collectibles, and finish all objectives in one specific map area.
- Red-Zones and Loving It: You must successfully secure a Red Zone. Red Zones operate as high-risk optional arenas. You must enter one of these dangerous zones and clear out every threat to secure the area.
- A Lunar Challenge: You must complete a mission inside a special sector. Special sectors feature highly specific and restrictive mission parameters. You must look for sectors marked differently on your map and conquer at least one of them.
Dominating the Virtual Arena
- Mister Simulator: You complete the main objective in a Training Sim. Training Simulations act as completely optional combat challenges. You just need to conquer the main objective in one simulation.
- Master of the Simulator: You complete the main objective in every single Training Sim. You must run every Training Sim you discover out in the world and successfully finish the main objective in each one of them.
Printing and Perfecting Your Arsenal
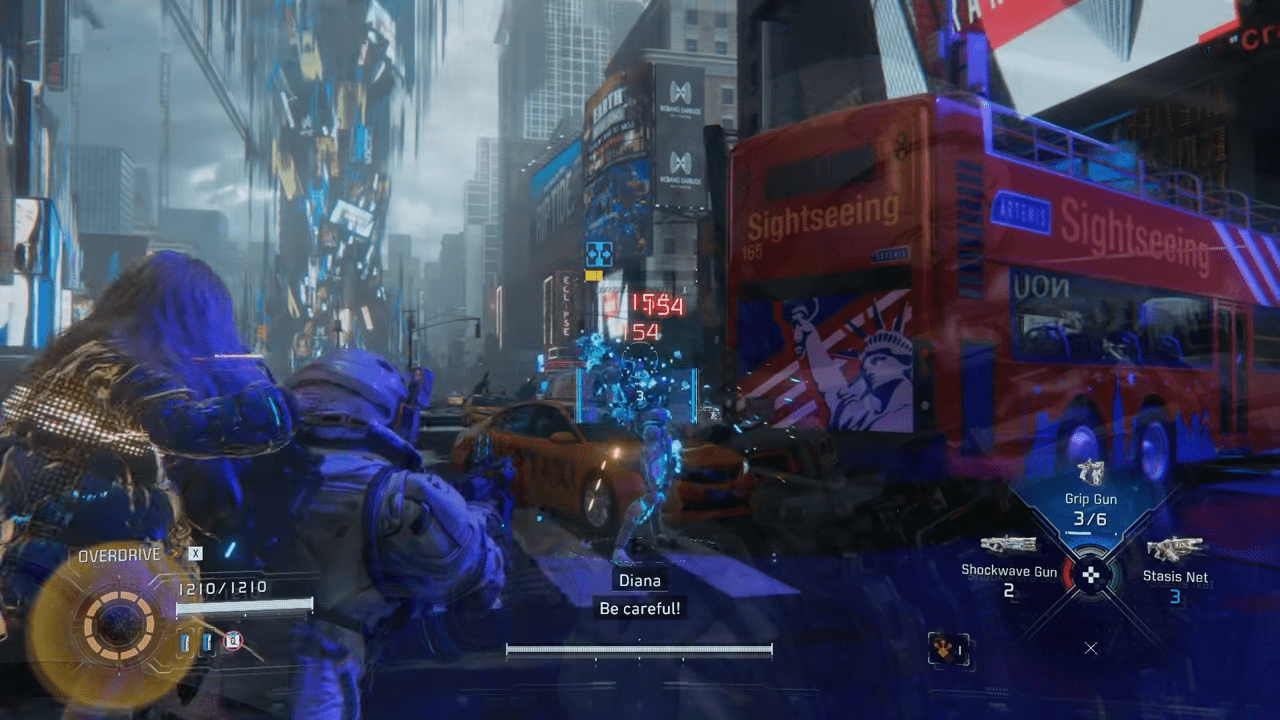
Your crafted weapons strictly determine your overall survival rate in the Cradle. Managing your resources carefully ensures you unlock the crafting achievements without needing a frustrating replay.
- Top-Shelf Item: You upgrade a weapon using Pure Lunum. Pure Lunum functions as a significantly higher-tier material than your standard Lunafilament. You will locate this rare material much later in the game. You simply need to apply it to any weapon at the Unit Printer to unlock this achievement.
- Can’t Stop, Won’t Stop: You must print all obtainable weapons, hacking nodes, and abilities during the main story. This achievement ranks as highly missable. If you rush past terminals or fail to craft items when you have the chance, you might not be able to get those options back without replaying the entire game. You must check every single Unit Printer as you progress and craft everything available in the current menu.
Executing Advanced Combat Techniques
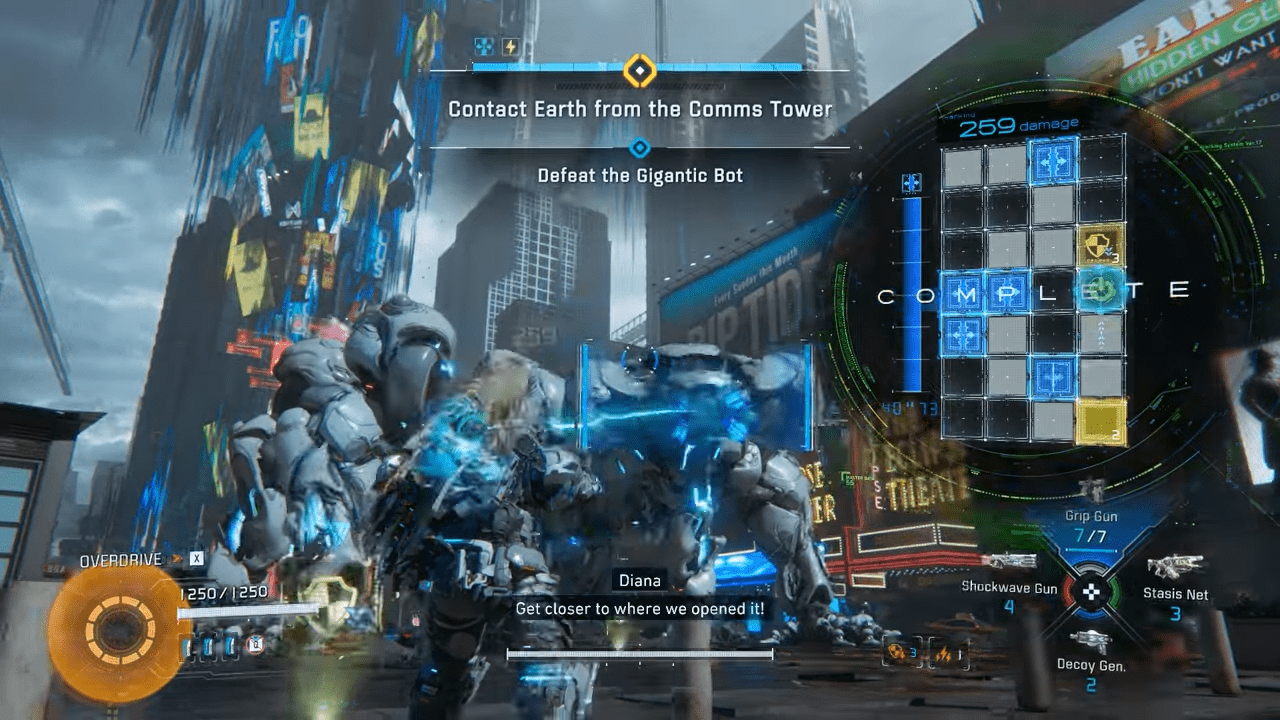
These specific achievements require you to execute highly particular combat techniques. You can achieve most of these feats on any difficulty setting, though bringing fully upgraded gear makes the burst damage requirements significantly easier to reach.
Strategic Takedowns
- You’re Not Getting Away That Easy: You must defeat a Sweeper bot. This represents a very specific enemy archetype found in the Cradle. You simply need to destroy one to unlock the achievement.
- Round ‘Em Up: You must defeat exactly three enemies at the exact same time using the Lim Recycler. You must wait patiently for three enemies to cluster tightly before pulling the trigger. Do not waste your valuable shot on isolated targets.
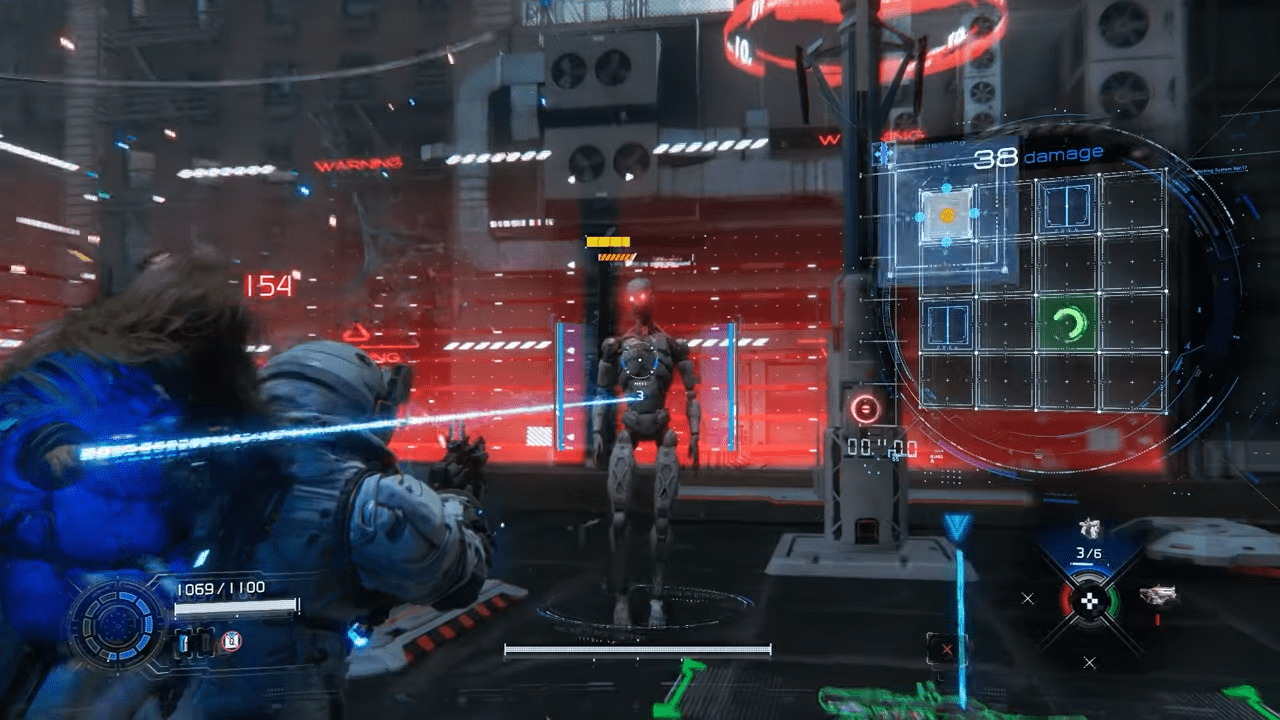
- Can I Borrow That?: You must confuse a specific enemy and borrow its shield. You need to utilize Diana’s hacking abilities to trigger the confusion state on a shielded enemy type. Once confused, you step in and physically take the shield.
- Clean Up on Aisle Three: You must cleanse three or more enemies at the exact same time. You must equip hacking nodes that apply the cleanse effect and wait patiently until enemies group together before triggering the ability.
Pure Damage Checks
- IT’S OVER 6000!: You must deal 6000 gunshot damage in exactly one second. This acts as a pure burst damage challenge. You absolutely need a fully upgraded weapon for this attempt. You should save this for your second playthrough or very late in your first run after you apply Pure Lunum. You must fire everything you have at once into a heavily armored enemy or during a boss vulnerability phase.
- Who Needs Guns?!: You must deal 2000 hacking damage in a single hack. You need to activate as many damage-boosting nodes as possible during a single hacking sequence and successfully complete the hack on a remarkably tough enemy.

The Post-Game and Ultimate Challenge
The final hurdle requires absolute mastery of the game mechanics and a willingness to face the ultimate survival challenge.
- The Right Man for the Job: You complete Unknown Signal. This bonus mission unlocks immediately after you finish the main story. It adds a completely new area packed with exclusive outfits and highly powerful weapons.
- Lunar Supremacy: You must complete the entire game on Lunatic difficulty. Lunatic unlocks only after your first successful completion. You must go in through New Game+ so all your weapons and upgrades carry over to the new file. This stands as the absolute hardest achievement on the entire list.
The Two-Part Master Strategy
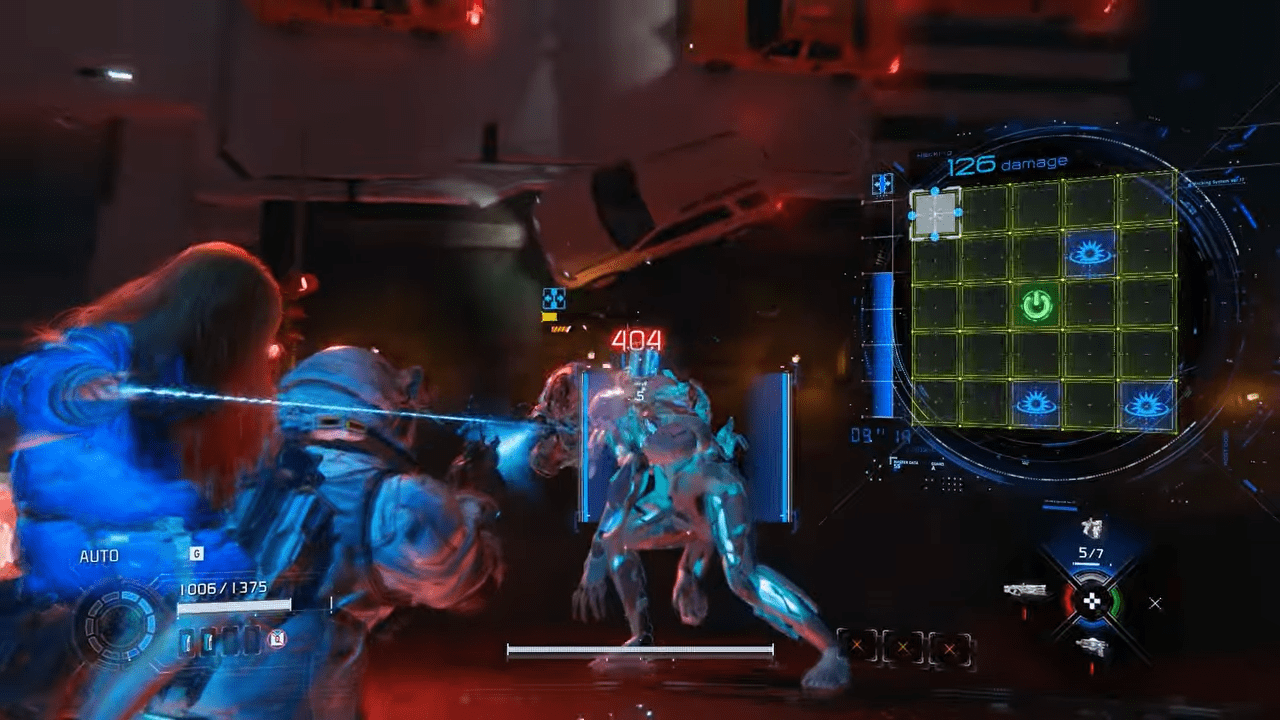
Achieving 100% requires exactly two distinct playthroughs. Following this strict order guarantees you will not miss any elusive requirements along the way.
First Expedition Focus (Standard Difficulty)
During your first run, you must focus entirely on exploration, gathering collectibles, and nurturing your bond with Diana.
- Talk to Diana before heading to your next objective the moment you reach the Shelter for the first time.
- Craft everything you see in the menu every single time a Unit Printer becomes available.
- Shoot every Mini Cabin on sight and do not ever leave them for later.
- Give REMs to Diana at the Shelter as soon as you find them in the field.
- Complete every Training Sim you encounter out in the world.
- Check every suspicious wall for Holo-Walls as you move through new environments.
- Unlock every escape hatch you manage to locate.
- Push a sector to exactly 100% progress before you move on at least once.
- Enter and fully clear at least one Red Zone and one special sector.
- Run the Unknown Signal mission after the credits finally roll.
The Final Ascent via New Game Plus (Lunatic Difficulty)
Your second run focuses entirely on combat efficiency and surviving the brutal Lunatic difficulty using your overpowered, carried-over arsenal.
- Start your New Game+ file to carry over your weapons and upgrades.
- Upgrade Diana’s Node Speed at the Shelter before doing anything else.
- Group enemies together carefully before using the Lim Recycler for simultaneous kills.
- Load your system up with damage-boosting hacking nodes to conquer the massive damage achievements.
- Use Diana’s confusion hacking on the relevant shielded enemy types to easily secure their shields.

Conclusion
Securing the absolute highest completion tier in PRAGMATA ultimately boils down to calculated planning and a profound understanding of the hidden mechanics we have outlined above. This manual has fully equipped you with the necessary foresight to bypass devastating completion traps and effortlessly dominate the endgame challenges without wasting hours on pointless backtracking. Keep your focus razor-sharp during those critical early interactions at the Shelter, and your eventual Lunatic run will transform from a punishing nightmare into a flawlessly choreographed victory lap. The mysterious depths of the Cradle are now entirely yours to conquer.

Leave a Reply