
Last Updated on 17 April, 2026
Deep beneath the surface lies an industrial playground where physics dictates your fortune and chaotic conveyor belts test your sanity. In MineMogul, developer NoodleForge has crafted a brilliantly messy automation sandbox that forces you to build sprawling subterranean factories while battling gravitational disasters. This playbook delivers battle-tested blueprints and optimization tricks to help you eliminate physics engine lag, conquer tight spatial constraints, and construct a flawlessly automated steel monopoly.
Table of Contents
- The Dawn of Your Digging Empire
- Defeating the Physics Engine
- Architecting the Ultimate Factory
- The Path to Industrial Enlightenment
- Requisitioning Your Hardware
- Veins of the Factory: Movement Mechanics
- Dividing and Conquering the Flow
- The Sorter Supreme
- From Dirt to Fortune: Smelting Strategies
- The Apex Manufacturing Zone
- The Tycoon’s Ledger: Wealth and Verticality
- Conclusion
The Dawn of Your Digging Empire
First Steps and Explosive Expansions
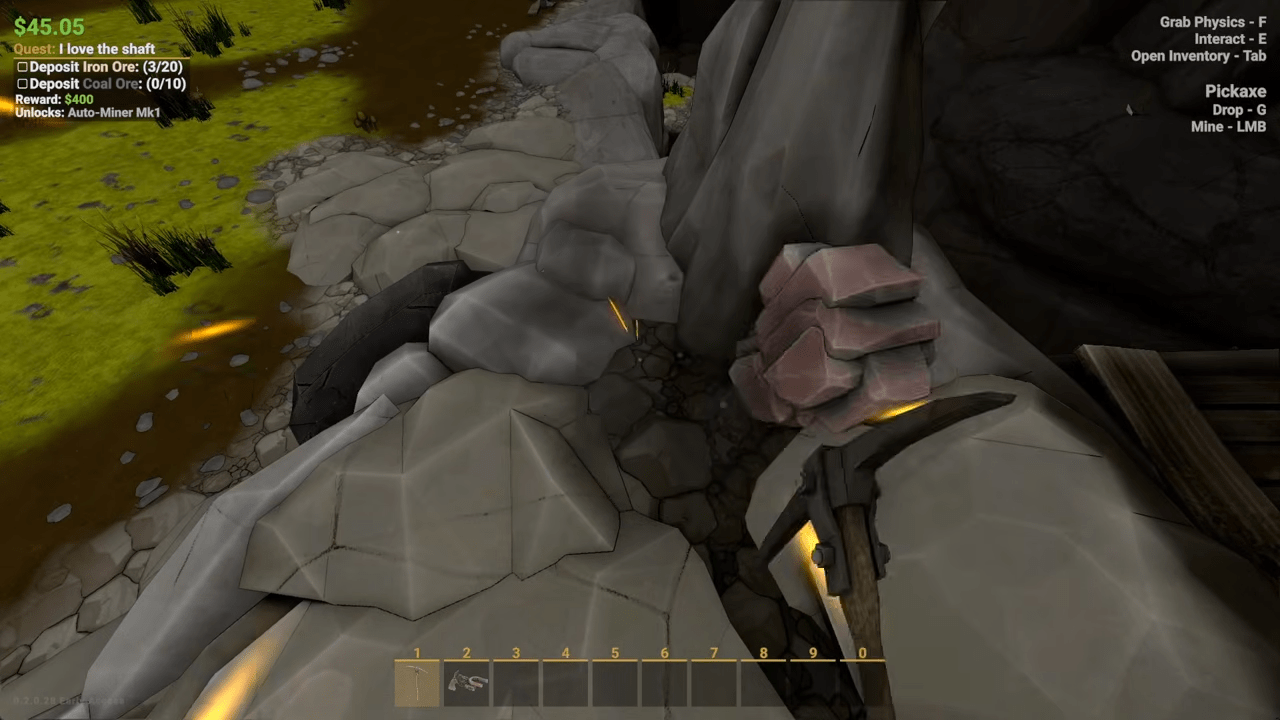
When you first spawn into the dirt, focus entirely on the provided objectives. Grab your trusty pick and your lamp. Start swinging at the ore nodes scattered around the starting area. Your immediate goal is to acquire Auto Miners to automate your raw production and begin generating real capital. Once your basic drills run automatically, you can begin exploring the cavern. The starting zone is merely a cramped closet compared to the rest of the map. You will quickly find hidden passages leading to massive new territories. Keep an eye out for plungers wired directly to explosive charges. Interact with these plungers to blow the cave walls wide open and conquer entirely new areas.
The Illusion of Danger
Do not worry about survival mechanics. The developers included absolutely zero monsters, and you cannot die from anything in the environment. If you wedge yourself into a dark hole, simply use the menu option to respawn right back at the safety of the elevator. You will eventually want to obliterate every single ore node you see to reveal all the secret areas. You will also uncover fun Easter Eggs, valuable gems to sell, and broken drills that you must save for future quests.

Defeating the Physics Engine
The Real Enemy is Lag
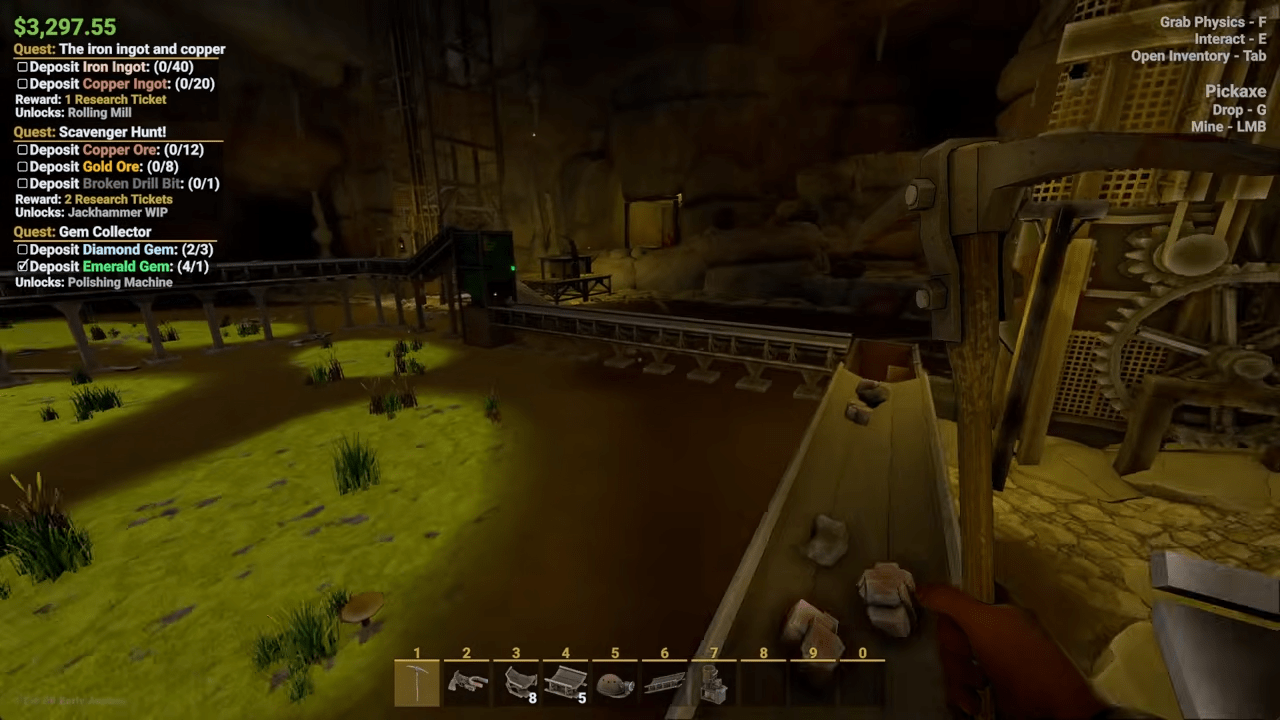
MineMogul tests your factory planning skills and your computer hardware simultaneously. Your biggest challenges include limited space, physics engine constraints, and keeping raw garbage out of your pristine machinery. Limited space forces you to hunt for larger production areas later in the game. Building sprawling factories creates extremely long conveyor lines, which drastically increases the number of active objects moving through the world. High active object counts will aggressively tank your frame rate. You must monitor your active object count in the ESC menu constantly. If you see that number skyrocketing for no apparent reason, you have a massive clog in your factory.
Defending the Assembly Line
You absolutely must use sorters to keep unwanted materials out of your delicate machines. If you mix different ore types in a Blast Furnace, it spits out useless slag. If you let coal, raw ore, or broken drill bits enter your Polisher, they will foul the machine and completely halt your operation until it cleans itself. Most tragically, if you feed precious gems into Ore Crushers, Rolling Mills, or Rod Extruders, the machines will instantly destroy them. Route those gems safely to a Polisher and sell them for pure profit.
Architecting the Ultimate Factory
The Proximity Principle
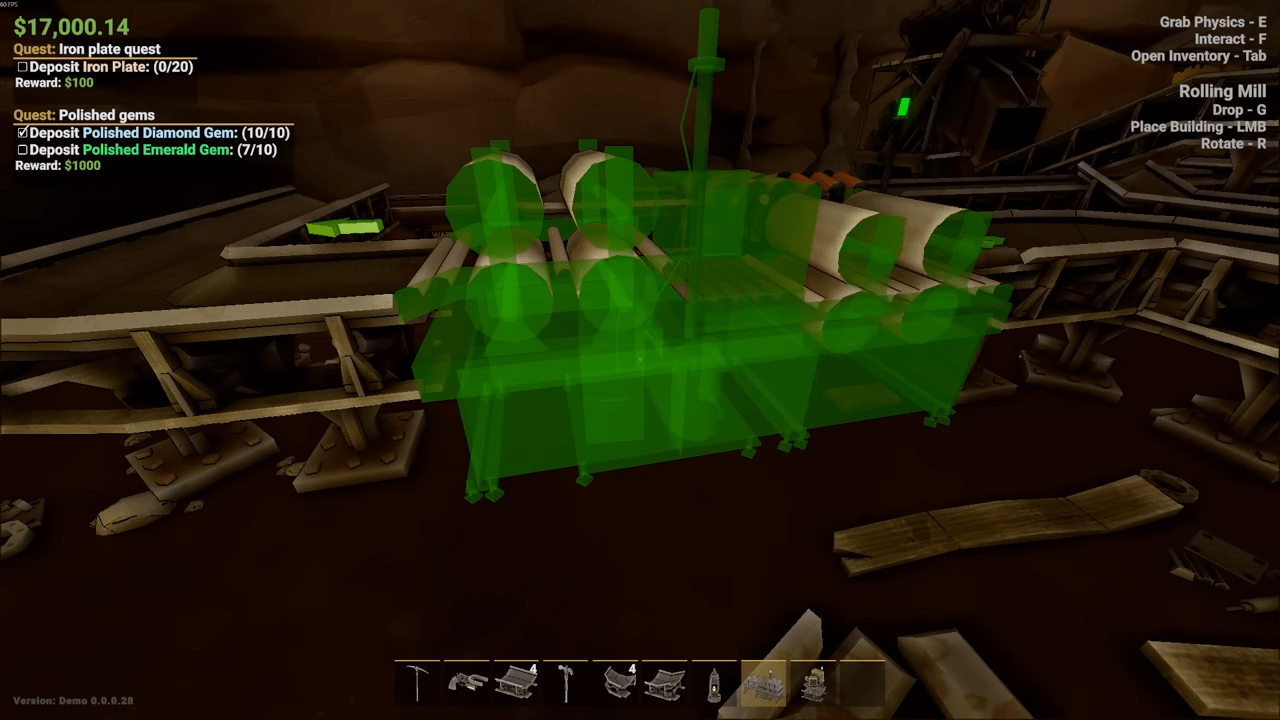
Memorize these golden rules to keep your empire running smoothly. Keep your conveyor runs incredibly short. Short lines process materials faster and drastically reduce your active object count. Smelt your ore into ingots right next to the extraction point. A Blast Furnace requires six crushed ores to forge a single ingot. By creating ingots at the mining site, you eliminate a massive volume of individual rocks from your belts.
Coal Alchemy and Migration Strategies
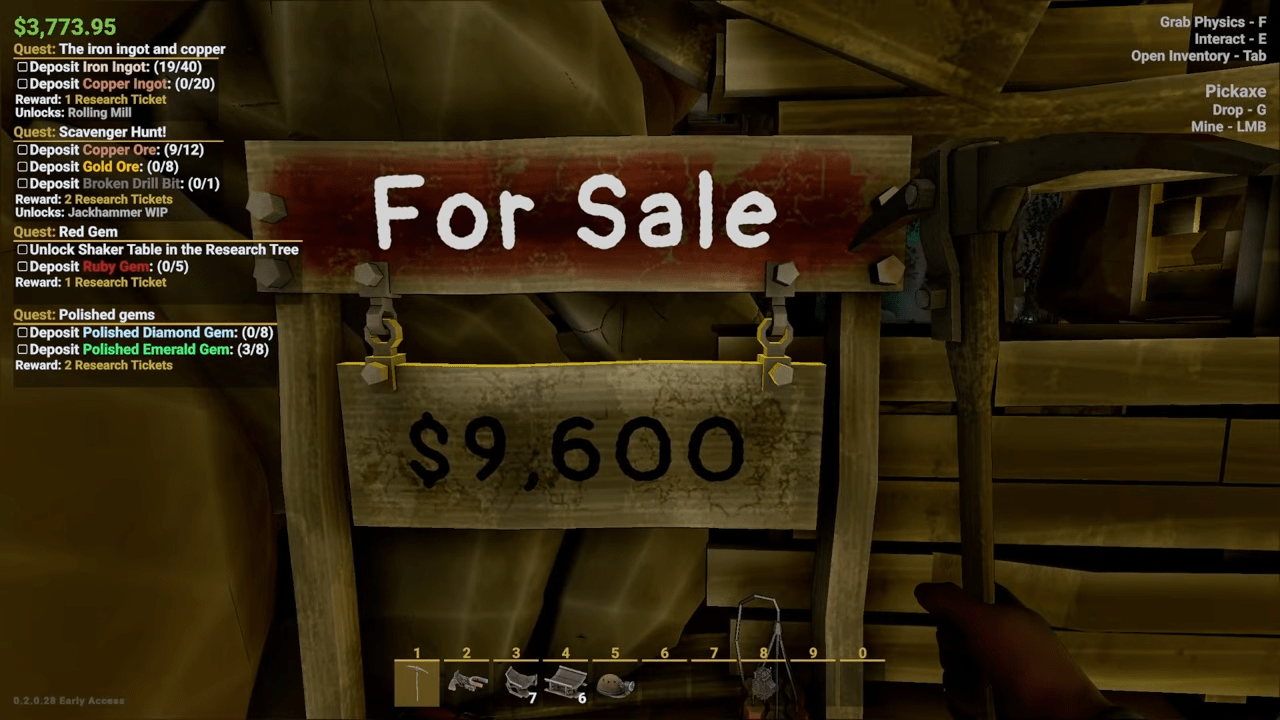
Process your coal locally on Shaker Tables right at the mining source. Coal holds almost zero monetary value. You only sell raw coal to complete specific quests. However, the Shaker Table carries a beautiful chance to magically convert worthless coal into highly valuable Rubies, and crushed coal into Diamonds. Move your main production out of the starting zone as soon as possible. Just remember that the only working sales bin lives in the starting area, meaning you must eventually route all your finished products back to the beginning to cash out.

The Path to Industrial Enlightenment
Unlocking the Arsenal
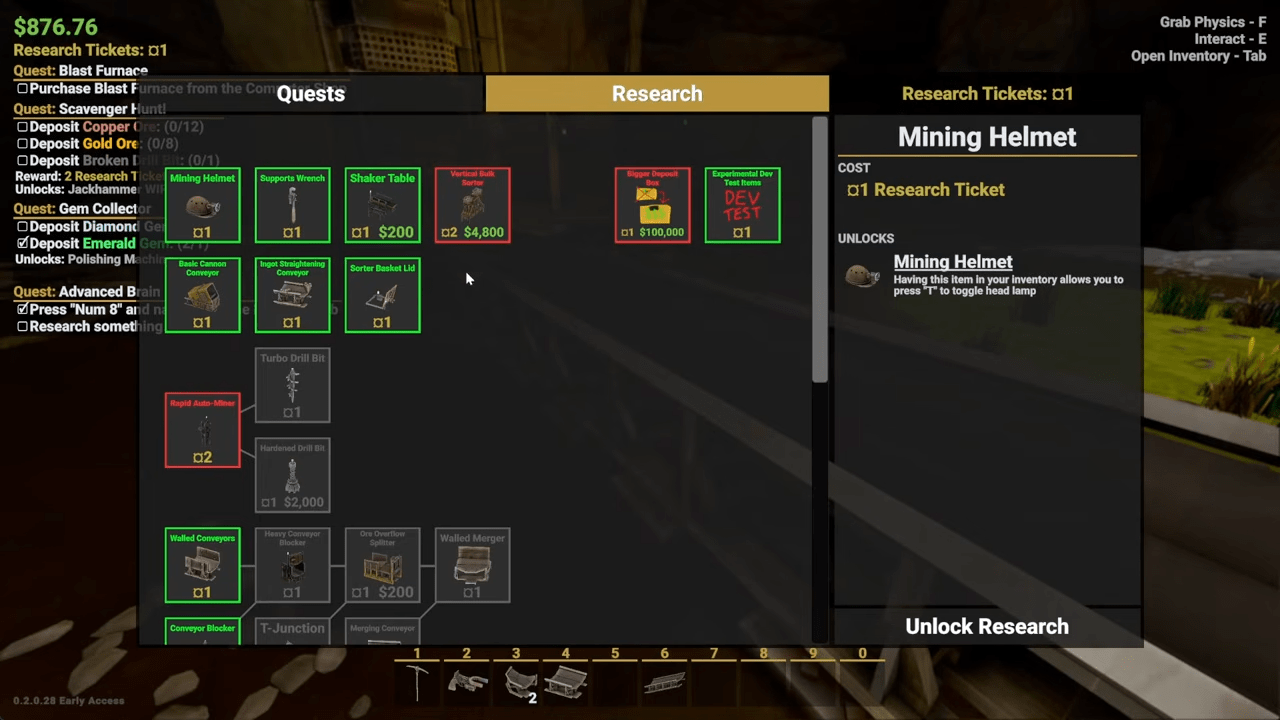
Press the T key to access your Quest and Research screen. Quests serve as your primary tutorial and your sole source of Research Tickets. The upper left corner of your HUD tracks your active progress. Once you hit the Mogul tier of quests, you unlock almost everything you need to begin serious factory optimization. The Quest Tree provides precise details on objectives and rewards. If you pay attention, the game offers clever hints. For example, you craft Junk Pipe by combining different types of plates. You forge Slag Ingots by mixing ore types, and running those through a Rod Extruder creates Slag Rods.
Tactical Ticket Spending
Spend your Research Tickets freely. The game awards you more tickets than you can possibly spend. Prioritize unlocking Smart Splitters, Walled Belts, and the Shaker Table immediately. You can also unlock a Cannon for sheer entertainment. The Cannon remains horribly inconsistent and wildly bounces objects around a 20 block radius, but it provides excellent chaotic fun.
Requisitioning Your Hardware
The Computer Store Deliveries
You purchase all equipment from the Computer Store located on the Scaffolding Platform next to the starting elevator. Walk up and press F to interact with the terminal. Hold the shift key to buy items in convenient stacks of ten. Click purchase, and fresh cardboard boxes will arrive via the elevator. Interact with the boxes to place the items directly into your inventory.
Construction and Demolition Mechanics
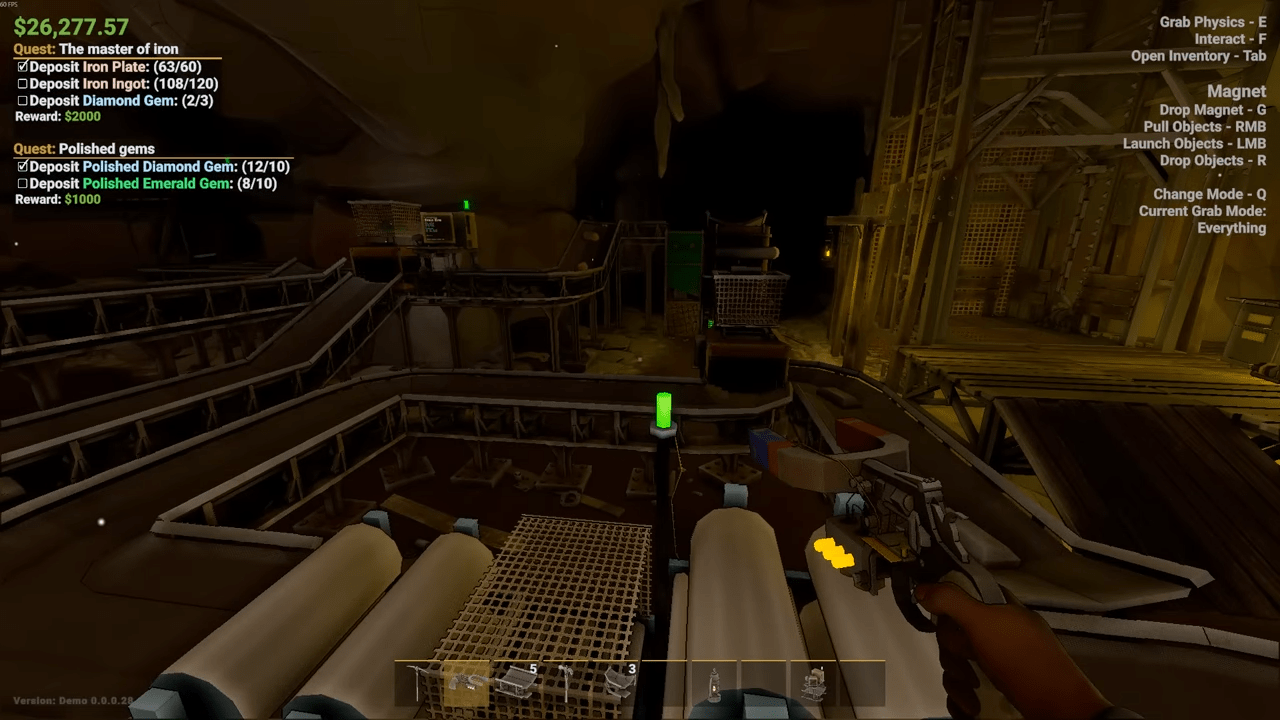
Press the Tab key to open your inventory and manage your hot bar. Press the corresponding number on your hot bar to place an item. Pay close attention to the visual cues. A green highlight means the placement is perfectly valid. A red highlight means an obstruction blocks your path. A yellow highlight indicates you need a surface, like a Scaffolding Platform, to place the item at that specific height. To remove misplaced items, hit them with a purchased hammer or interact with them directly to return them to your inventory. If your pockets are full, the game packages the item into a box on the floor.
Veins of the Factory: Movement Mechanics
Elevating Your Logistics
Your logistical network relies entirely on Belts, Roller Conveyors, and Chutes. Always match your inputs and outputs correctly. The Rod Extruder requires a belt input, while the output of a Roller Mill strictly demands a Rolling Conveyor. Use basic unwalled Belts in the early game. Upgrade to Walled Belts for almost everything else. The walls prevent disastrous spills, though very large items like plates and boxes can occasionally snag on the edges.
The Art of the Drop
Reserve Roller Conveyors specifically for moving flat plates from Rolling Mills into Pipe Rollers. Roller Conveyor corners consume a massive amount of physical space. You can bypass corner pieces entirely by using a ledge to drop items directly onto another conveyor moving the opposite direction. Use Chutes to drop materials through floor openings to levels below. Equip a Top Chute at the entrance to catch items securely from your belts. Cap the bottom with a Bottom Chute. The Bottom Chute features a high lip that prevents leakage when dropping materials directly onto a Walled Belt. Avoid Hoppers unless you specifically want to create a colossal mess. They consume too much space and frequently cause uneven feed rates.
Dividing and Conquering the Flow
The Science of Splitting
Splitters divide your conveyor traffic to prevent catastrophic machine overloads. They work beautifully on small items like ore and ingots, but larger production items will get hopelessly jammed inside them. Smart Splitters handle ore correctly thanks to a recent sensor update, but they do leak slightly. Ensure you place Walled Belts at every exit of a Smart Splitter to contain the spillage. Chute Splitters perform great under heavy volume but require perfect alignment. You must feed the chute completely perpendicular to the split, or the internal knife edge will heavily favor one side. Roller Splitters provide a flawless even split for Roller Conveyors.
Flawless Convergence
To merge two lines together, abandon drop ledges and use the Walled Merging Conveyor. Recent updates made these flawless. You can cycle the input and output directions freely to consolidate your lines without relying on messy collision physics. The Merging Conveyor non walled variant converges up to three separate lines into one smoothly.
The Sorter Supreme
Filtering the Chaos
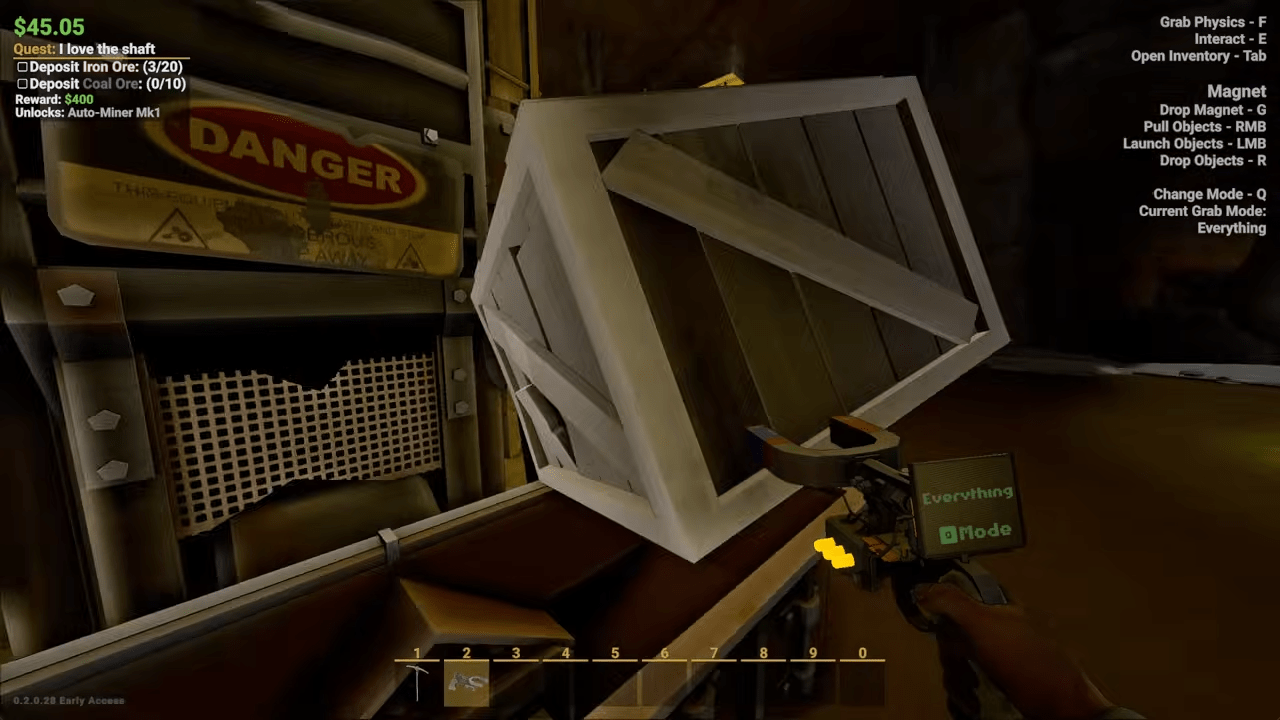
Sorters remain your greatest asset for filtering out raw garbage. The standard Belt Sorter features a single basket. Place a sample item inside the basket, and the machine perfectly routes all matching items out the side. Press R to change the output direction. Roller Sorters connect to Roller Conveyors and sort plates with zero issues if you manage the input volume.
Vertical Superiority
Vertical Sorters are absolute technological magic. They require immense vertical space but refuse to overload. They feature a top input, two filter baskets, and three bottom outputs. Use these heavily at the entrance to your main production area to cleanly separate your gold, iron, and copper ingots. Sorter Lids protect your baskets. They prevent objects from randomly falling into the sorter mechanisms and keep your filter items locked in place if you accidentally activate a magnet nearby.
From Dirt to Fortune: Smelting Strategies
The Type 1 Advantage and Crushing the Competition
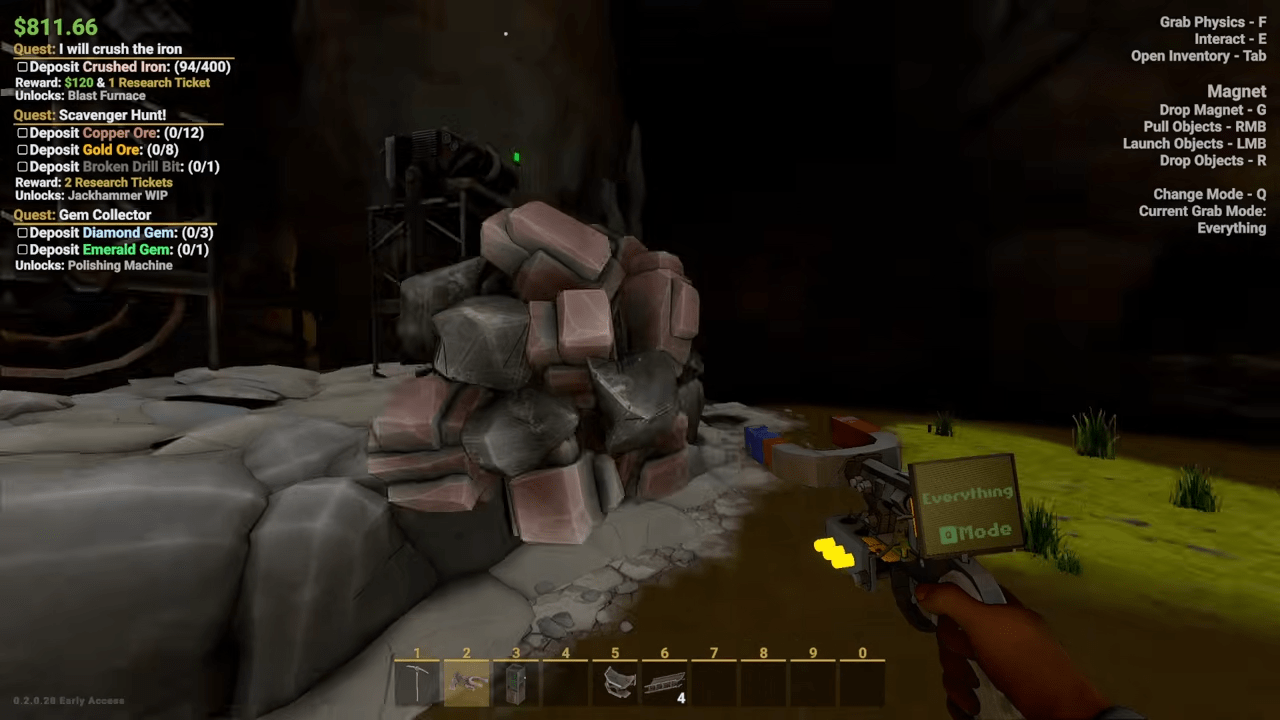
Deploy Type 1 Miners exclusively. They generate plenty of ore alongside highly valuable gems, and you never have to waste time replacing broken drill bits. Route your heavy auto miner output strictly into a Cluster Breaker. This massive machine shatters ore clusters and geodes directly into standard ore. Never feed two separate lines into the top of a single Cluster Breaker, or you will trigger a massive clog. Filter your raw output and send identical ore types to a dedicated Ore Crusher. The Ore Crusher destroys gems, so guard the entrance heavily.
Forging the Future
Route your crushed ore directly into your furnaces. Blast Furnaces process materials slowly and overload almost instantly, spilling ore everywhere. Upgrade to Casting Furnaces as quickly as humanly possible. Casting Furnaces devour massive amounts of ore and simply refuse to overload. They require three internal molds to function. A Single Ingot mold requires six crushed ores, while a Double Ingot mold requires twelve. The Casting Furnace also unlocks Steel production. Feed crushed Iron Ore into the top and raw Coal into the side. The machine mathematically balances the mix, consuming one piece of coal for every three pieces of iron to forge highly lucrative Steel Ingots.
The Apex Manufacturing Zone
The Polishing Protocol
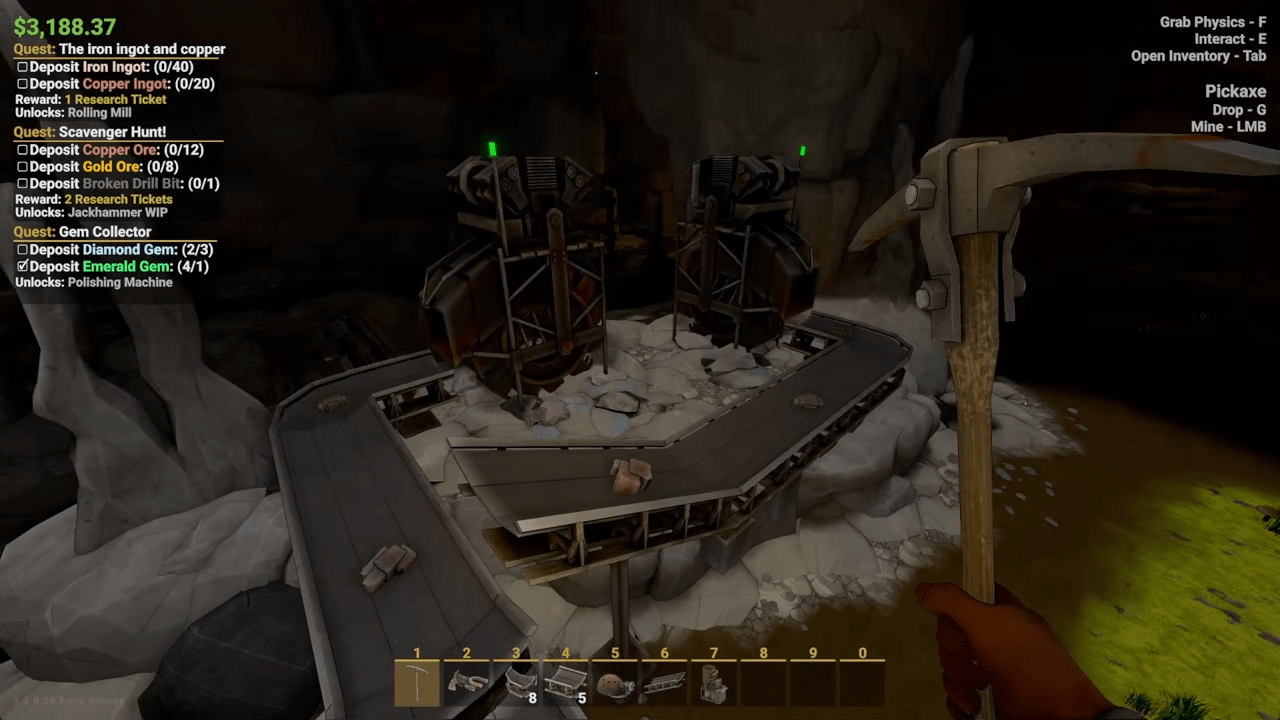
Route all your freshly smelted ingots into one centralized mega factory. Your very first step in the facility is polishing. Route every single ingot and gem through a Polisher. The machine features zero walls, so place Walled Belts around the exits to catch rogue items. Polished items shine brilliantly and sell for significantly more money. Creating Pipe remains the toughest challenge in the game. You must forge two plates just to craft one single pipe. The Pipe Roller runs incredibly slow. You must heavily throttle the incoming plates using a Roller Conveyor to avoid catastrophic clogs.
Threading the Needle and The Helium Box Dilemma
Rods process extremely fast in the Rod Extruder. If ingots turn sideways and clog the entrance, install a straightener on the belt immediately. Threaded Lathes transform your basic rods into Threaded Rods. The machine looks gorgeous in motion but operates at a glacial pace. You will need at least four Threaded Lathes to handle the output of a single Rod Extruder. If you desperately need to optimize your frame rate, utilize the experimental Packager. This machine boxes up your loose items before sending them to the sales bin. Packing items drops your active object count drastically, but beware the bouncy physics. Helium filled boxes ricochet wildly off Roller Conveyors, so keep them strictly on unwalled belts.
The Tycoon’s Ledger: Wealth and Verticality
Blueprint for Wealth
If you have finished your quests and simply want to print money, ignore everything else and focus exclusively on manufacturing specific high value items. Polished Gems, Polished Geodes, Polished Gold Rods, Polished Copper Pipes, and Polished Steel Threaded Rods reign supreme. Never waste your time crafting Iron Pipe. The profit margin over basic Iron Rods makes it entirely worthless. Gold Pipe possesses zero inherent value outside of specific quests.
Defying Gravity and Tinkering Under the Hood
Take full advantage of Scaffolding to build multi level factories. The game provides 1×1 and 1×2 sizes perfect for catwalks. You can place scaffolding, drop your heavy machinery on top, and then simply delete the scaffolding legs. The machines will float perfectly in mid air. Do not fear the teardown. You will rebuild your factory dozens of times. Stop all the miners, let the belts clear completely, rip everything up, and start fresh. For the PC enthusiasts, a modding community already exists on Nexus Mods. You will need to manually install BepInEx. If you only install one mod, grab The Observatory by Lone Wolf Productions. It tracks stuck items flawlessly without altering the core gameplay loop.
Conclusion
Mastering the unpredictable physics engine in MineMogul requires immense patience, boundless creativity, and a willingness to embrace the absolute madness of automated mining. Your initial underground facility will inevitably crumble under the weight of its own inefficiency before you finally discover the perfect assembly line layout. Armed with the precise sorting techniques and advanced steel production methods detailed above, you are now fully equipped to conquer the subterranean depths. Fire up those heavy machines and watch your glorious industrial tycoon vision come to life in spectacular fashion.

Leave a Reply