
Last Updated on 13 November, 2026
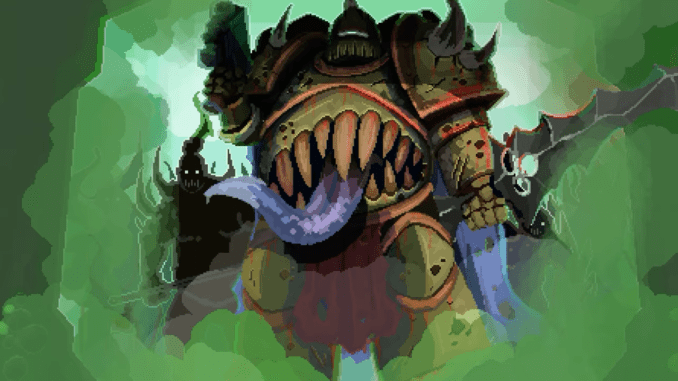
WS Tools adds cheats and quality-of-life options to Warhammer Survivors, allowing you to unlock characters, weapons, stages, relics, and arcanas, adjust gameplay speed, restore health, and speed up chest openings. It also adds teleportation and a dedicated MODS menu without requiring console commands.
Installing it requires BepInEx 6, the mod-loading framework used by WS Tools. Once installed, you can access its options from the main menu, pause menu, and keyboard shortcuts. This guide covers the installation process, available features, controls, save backups, and removal.
Table of Contents
How to Install WS Tools
WS Tools requires BepInEx 6.0.0-be.793 for Unity IL2CPP on Windows x64. Install the mod loader first, let it generate its required files, and then add the WS Tools plugins.
Download both archives:
- WS Tools: Download from Nexus Mods.
- BepInEx 6: Download from the official build server. Select BepInEx 6.0.0-be.793, Unity IL2CPP, Windows x64.
Installation steps
- Open Steam Library and find Warhammer Survivors.
- Right-click the game, select Manage, then choose Browse local files.
- Extract the BepInEx archive into the folder containing
WarhammerSurvivors.exe. - Launch the game once through Steam, allow BepInEx to generate its interop files, and close the game. The first setup takes about a minute.
- Extract the WS Tools archive into the same game folder.
- Check that the following files exist:
BepInEx\plugins\SkipWarning.dllBepInEx\plugins\WSTools.dllBepInEx\plugins\WSLogic\WSLogic.dll
Launch Warhammer Survivors through Steam.
Use BepInEx 6.0.0-be.793 for Unity IL2CPP on Windows x64. WS Tools was tested on the Steam version of Warhammer Survivors running Unity 6000.0.74f1. Co-op and multiplayer compatibility has not been tested.
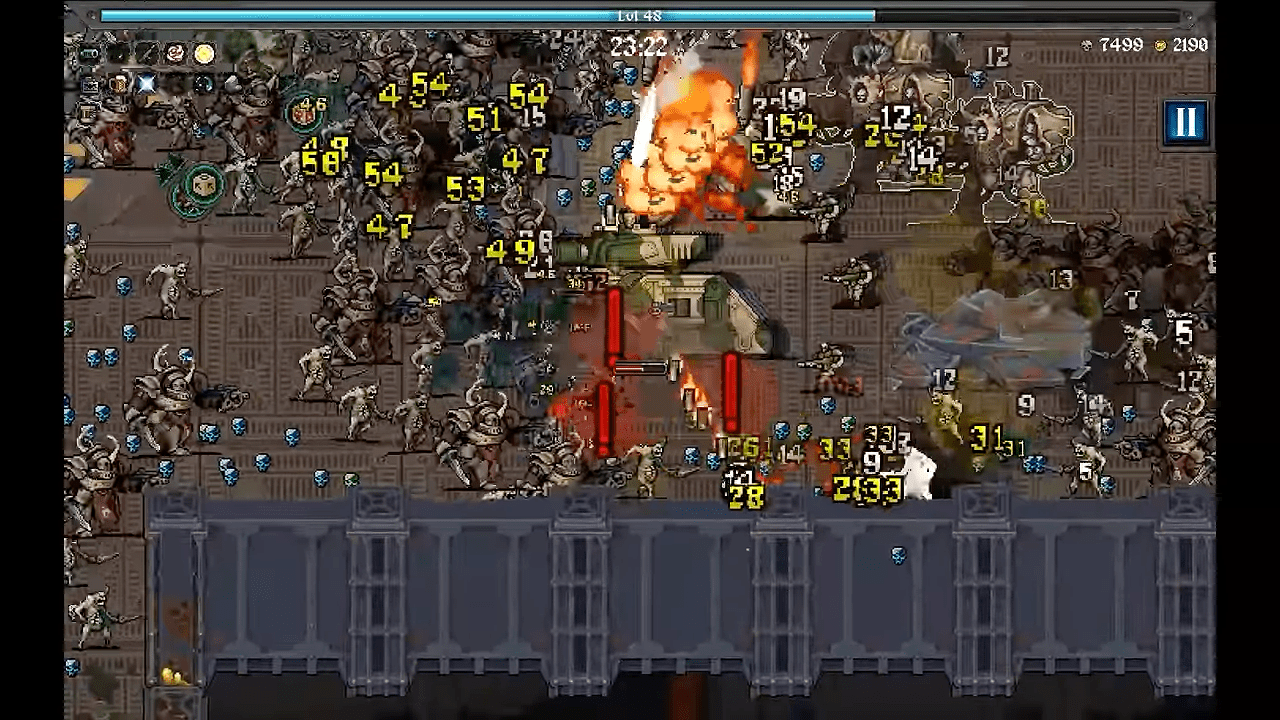
Tip: Run the game once after installing BepInEx, but before adding WS Tools. This allows the mod loader to generate the files required by the plugins.
Unlock Warhammer Survivors Content
Open the new Mods button on the main menu or find the MODS tab through Options. This interface includes an Unlock All feature for the game’s progression categories.
You can select:
- Characters: Unlock the character roster.
- Weapons: Unlock weapons.
- Stages: Unlock stages, including Hyper stages.
- Relics: Unlock relics that provide access to features such as Munitorum Dataslate, Emperor’s Tarot, and Astropathic Relays.
- Arcanas: Unlock the available arcanas.
Select the categories you want and press Apply. The main menu also has an option to add 1,000 coins.
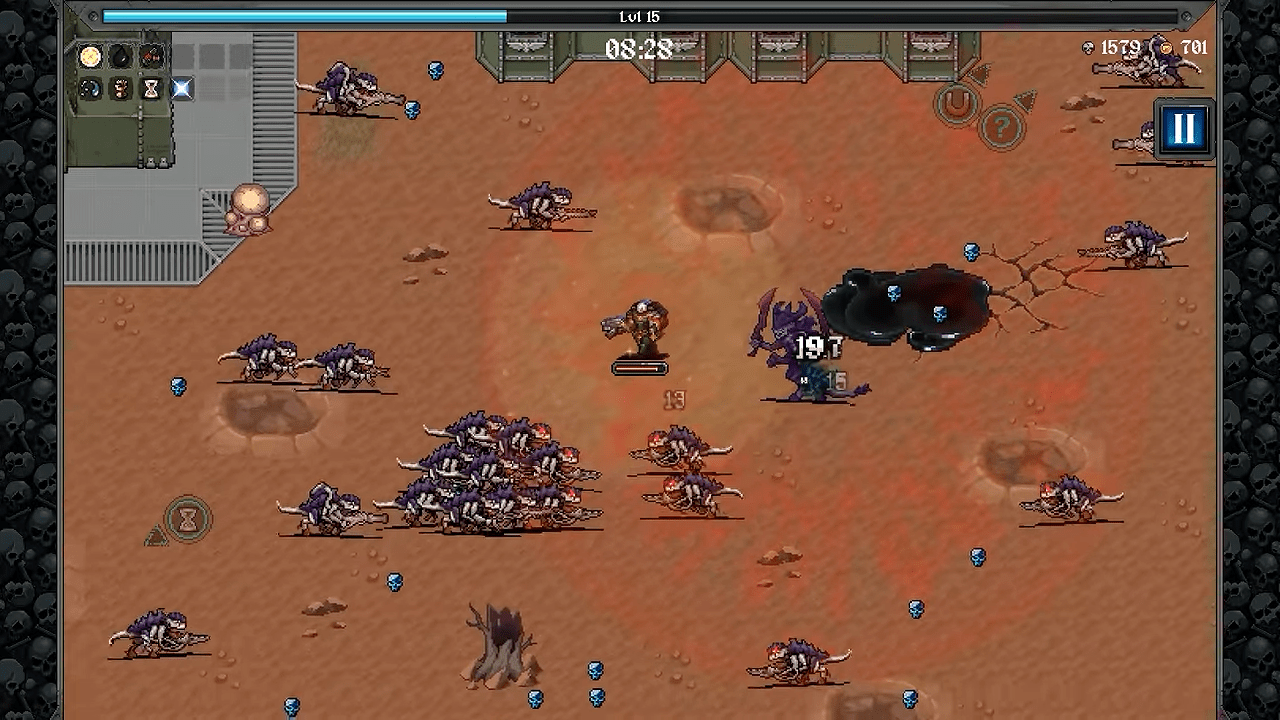
Important: Unlock All writes changes to your save file. These changes are permanent unless you restore a previous backup.
Change Gameplay and Combat Settings
During a run, open the pause menu and cycle to the MODS tab using Q or E. You can also press F1 to display the compact tools panel.
Survival and progression controls
WS Tools provides three controls for managing your character:
- God Mode: Toggle protection on or off.
- Heal: Restore your health to full.
- +1 Level: Add exactly the experience needed for the next level, triggering the game’s normal level-up screen.
You can also kill your character using the dedicated Kill Player option. Revive effects can undo this action.
Adjust resources and movement
The multipliers let you change how quickly you acquire resources and move through stages.
| Setting | Available values |
|---|---|
| Gold multiplier | x1, x2, x5, x10 |
| XP multiplier | x1, x2, x5, x10 |
| Luck multiplier | x1, x2, x5, x10, x20, x50 |
| Movement speed | x0.5 to x6 |
The Luck multiplier adjusts the Chance stat, which affects pickup drops and chest size. Items that provide additional Chance still stack on top of the multiplier.
During a run, you can also add 1,000 gold or spawn a miniboss from the faction currently on screen. The miniboss appears with a normal chest.
Change weapon visibility
Set your weapon-effect opacity to one of five levels:
- 100%.
- 75%.
- 50%.
- 30%.
- 15%.
This reduces the visibility of your own weapon effects, making enemies easier to see. Enemy projectiles remain fully visible.
Automatic Bolter targeting
WS Tools changes the targeting behavior of three weapons:
- Boltgun.
- Heavy Bolter.
- Storm Bolter.
Instead of firing in the direction your character is facing, these weapons target the nearest enemy.
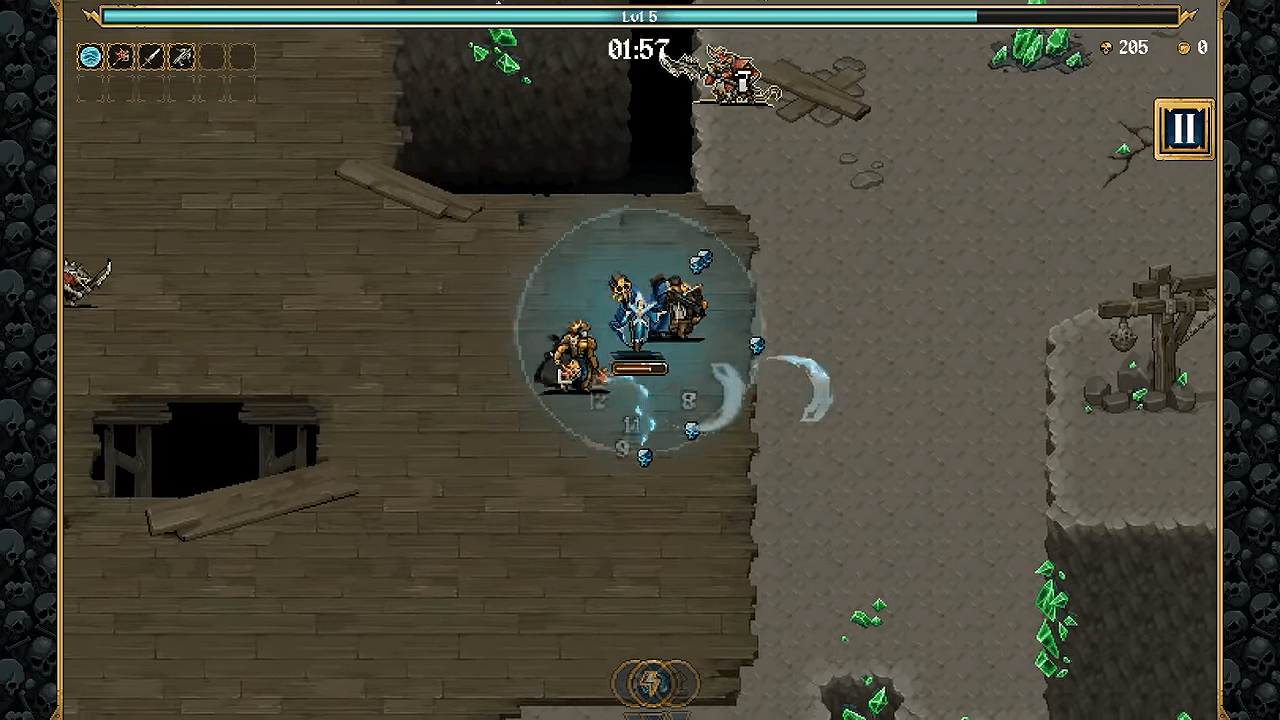
Tip: Movement speed and game speed are separate settings. Use the movement control to change character speed and the game-speed control to change the overall pace of gameplay.
WS Tools Hotkey Reference
You can activate several features without opening the MODS tab. Make sure the game window is focused before using these shortcuts.
| Key | Action |
|---|---|
| Q / E | Cycle through pause-menu tabs. |
| F1 | Show or hide the tools panel. |
| F2 | Toggle God Mode. |
| F3 | Heal to full health. |
| F4 | Gain one level. |
| F5 | Adjust movement speed. |
| F6 | Change weapon-effect opacity. |
| F7 | Change chest-opening speed. |
| F8 | Teleport toward the map cursor. |
| F10 | Adjust game speed. |
| Insert | Add 1,000 gold during a run. |
| Home | Spawn a miniboss from the faction on screen, with a normal chest. |
| Delete | Kill the player character. |
The keyboard controls reflect the current Nexus listing.
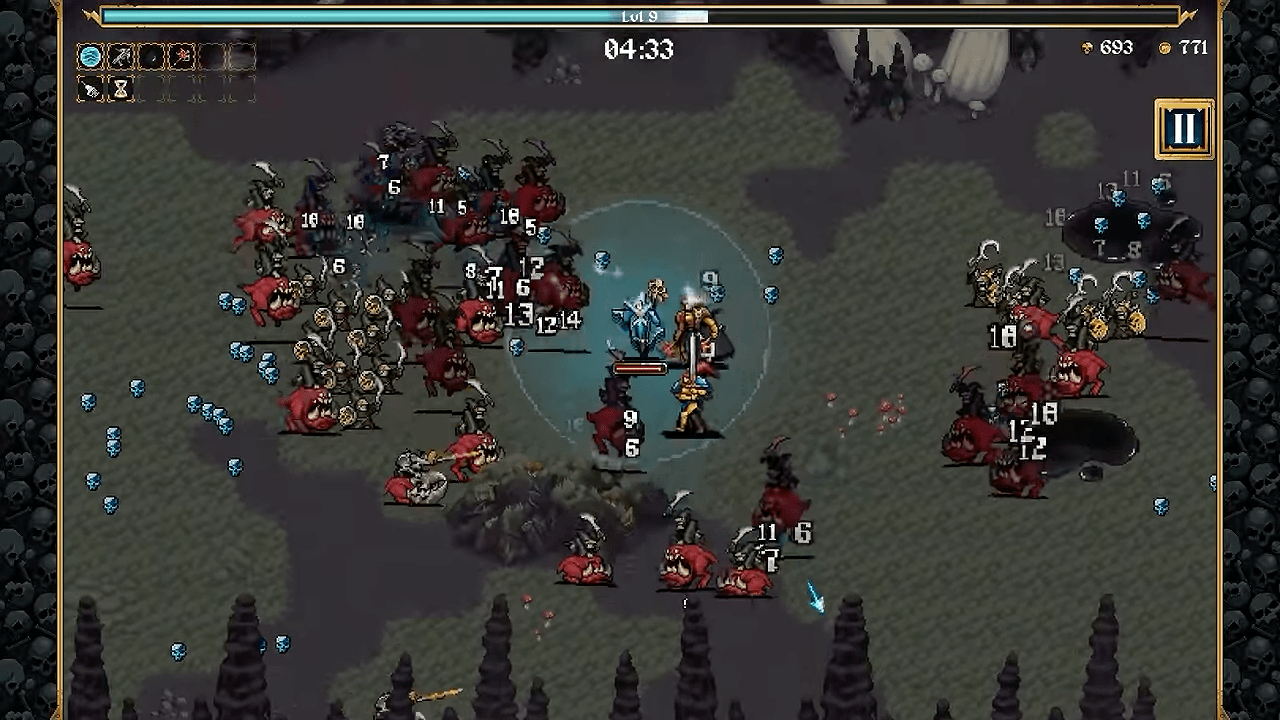
Tip: Use F1 for quick access to the tools panel and Q/E to reach the full MODS tab in the pause menu.
Teleport and Speed Up Chests
Teleport to a Map Location
The teleport feature uses the game’s pause-menu map. You do not need to enter coordinates.
- Pause the game.
- Open the Map tab.
- Move the mouse cursor to your intended destination.
- Press F8.
- Close the map and resume the game.
The teleport activates after you resume. Its map scale is approximate, so long-distance teleports may land slightly short of or beyond your selected position. Some stages may also refuse a destination, in which case the mod displays a message.
Speed Up Chest Opening
Press F7 to cycle through the available chest-opening speeds:
- x1.
- x2.
- x4.
- x8.
The setting speeds up the chest animation, reward music, and delay before the accept button becomes available. The MODS menu also provides automatic chest opening and automatic reward acceptance.
Hide the Grey Screen Edges
WS Tools includes an option to hide the grey shade on the left and right edges of the gameplay screen. You can change this through the MODS interface.
Skip the Opening Screens
The mod can skip the trypophobia/photosensitivity warning and the press-to-start screen. This behavior is controlled through the skip-warning configuration file and can be disabled if you want to retain the warning.
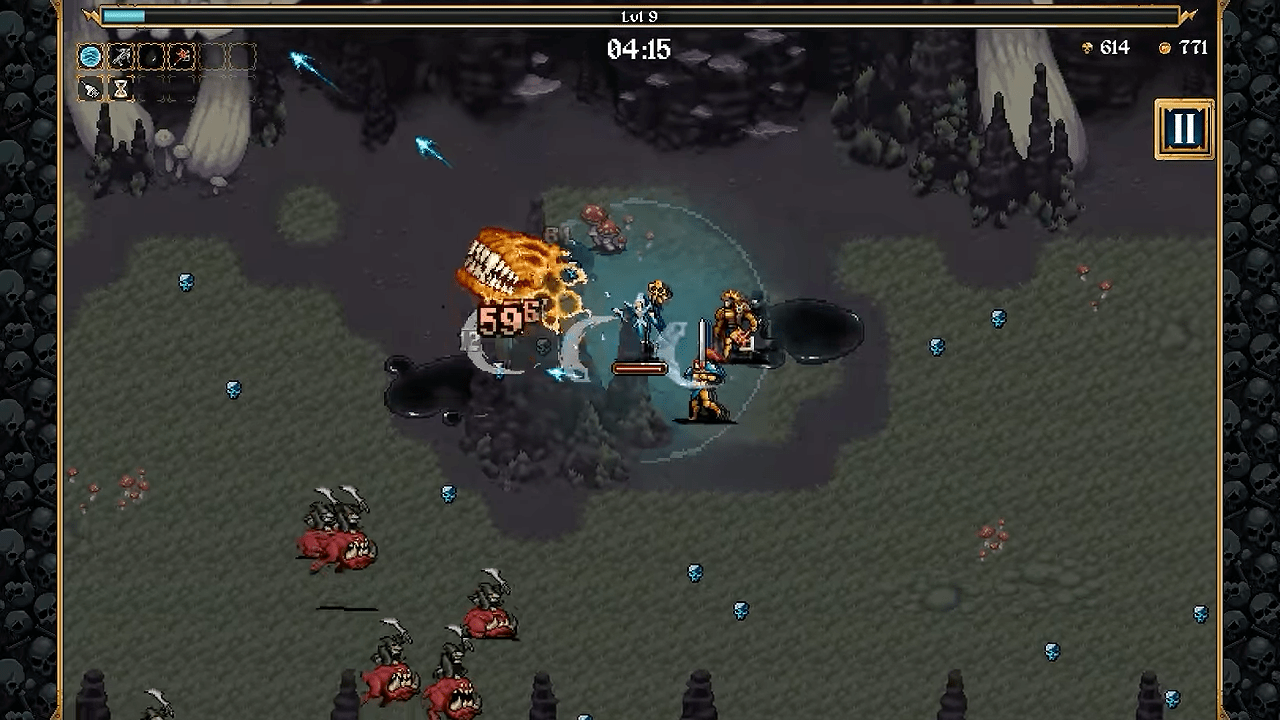
Tip: Use the map cursor for teleporting, but avoid selecting distant destinations when precise positioning matters. The map scale is approximate.
Configure WS Tools
WS Tools generates its configuration files inside BepInEx\config after the mod has been loaded.
The current configuration filenames are:
wstools.mod.cfgwstools.skipwarning.cfg
The main configuration file handles mod settings. The skip-warning file controls the opening screens. To keep the health warning, set Enabled = false in the skip-warning configuration.
Settings are remembered between runs and game restarts. Gameplay-only controls also appear greyed out when accessed outside an active run.
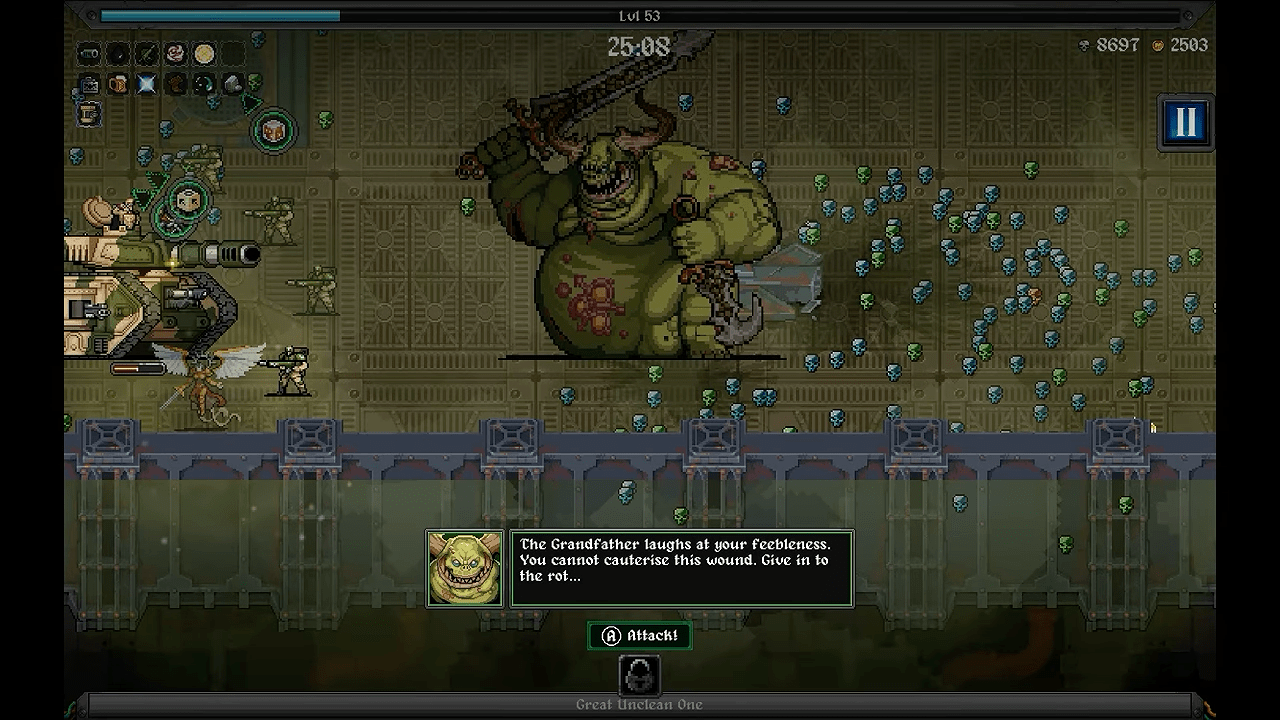
Tip: Edit the configuration file generated by your installed version. Earlier releases used different plugin configuration names.
Back Up and Restore Your Save
The Unlock All option writes to your save file. Back up your progress before using it.
The save location is:
Steam\userdata\[your Steam ID]\3669620\remote\SaveData
Create a backup
- Close Warhammer Survivors.
- Open the Steam userdata directory.
- Find your Steam ID folder.
- Open
3669620\remote. - Copy the entire
SaveDatafolder to another location.
Restore your save
- Close the game.
- Copy your backup over the existing
SaveDatafolder. - If Steam displays a cloud-save conflict, select the LOCAL save after restoring the backup.
Cheats may affect game progress or achievements. Backing up your save before using them gives you a copy of your original progress to restore.
Reminder: Keep an untouched copy of your SaveData folder outside the game directory.
How to Uninstall WS Tools
Close Warhammer Survivors before removing the plugins. You can uninstall WS Tools without deleting the game.
Delete these three files from the installation folder:
BepInEx\plugins\SkipWarning.dllBepInEx\plugins\WSTools.dllBepInEx\plugins\WSLogic\WSLogic.dll
If you only want to remove the MODS tab and associated hotkeys, deleting WSTools.dll removes those features while leaving the other plugin files in place.
To remove BepInEx entirely, delete winhttp.dll from the Warhammer Survivors installation folder.
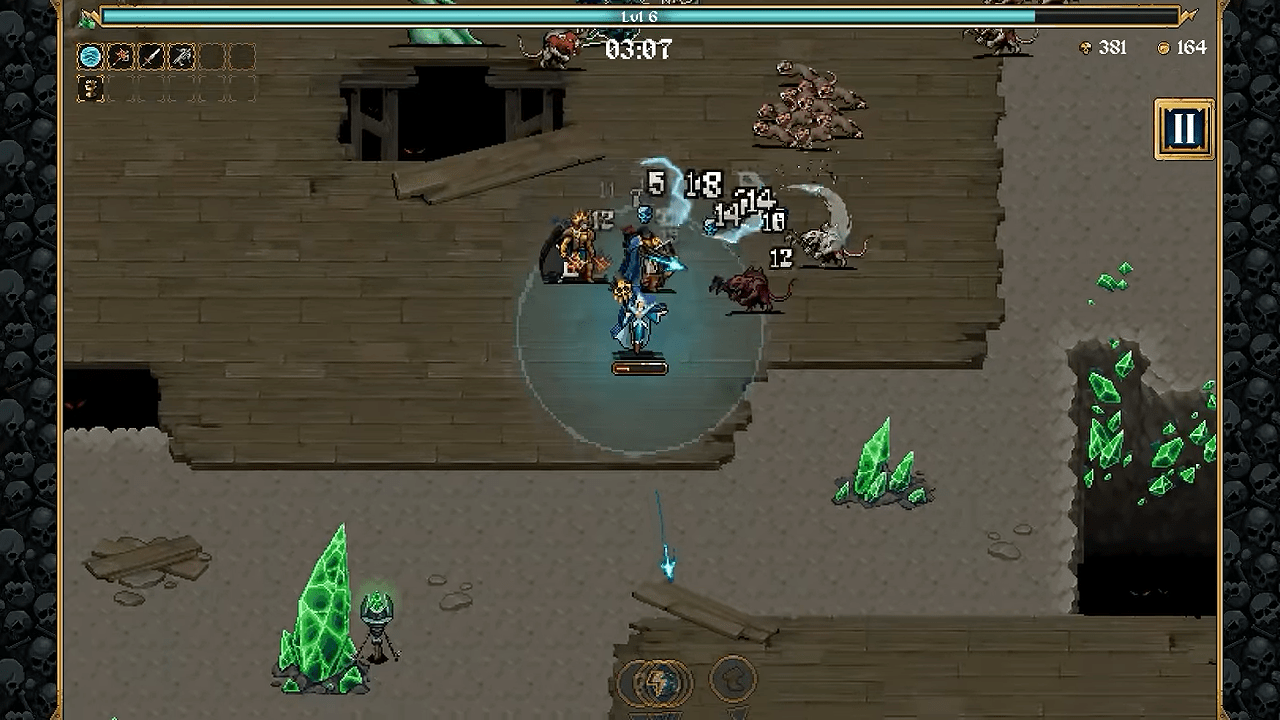
Tip: Remove the three WS Tools plugin files to uninstall the mod. Delete winhttp.dll only when you also want to remove the BepInEx loader.
Final Setup Check
Once the three plugin files are in place and the game launches through Steam, WS Tools is ready to use. Access content unlocks from the main menu, adjust gameplay through the MODS tab, and use the hotkeys for quick changes during a run.
Keep a save backup before applying permanent unlocks, and use BepInEx 6.0.0-be.793 for the configuration. WS Tools is intended for single-player use.
References
BepInEx Bleeding Edge Builds on the official BepInEx build server.

Leave a Reply