

Last Updated on 1 May, 2026
Stepping into the command center of Xenonauts 2 presents a grueling challenge where a single strategic misstep can doom the entire planet. This strategy guide completely eliminates the frustrating trial and error of the early game by detailing optimal base placement coordinates and foolproof tactical breach methods. By utilizing these precise loadout structures and strict recruitment parameters, you will successfully navigate the brutal opening hours and establish an unstoppable alien defense network.
Table of Contents
- Establishing the Primary Installation
- Conquering the Initial Combat Operation
- Critical Scientific and Strategic Directives
- Biological Metrics and Combat Effectiveness
- Personnel Procurement and Role Specialization
- Managing the Global Supporter Matrix
- Developer Override and Diagnostic Protocols
- Conclusion
1. Establishing the Primary Installation
The very first obstacle you must overcome involves selecting the perfect real estate for your main base of operations. Geographic placement is absolutely paramount because your detection radar must blanket the largest possible amount of terrestrial landmass. Constructing your facility in a highly isolated region will cripple your radar network and essentially ruin your playthrough before it even truly begins.
Radar Reach and Geographic Dominance
Your most reliable and standard location for this primary installation is Northern Africa. Situating your base in this specific region allows your detection equipment to cast a wide net beautifully across both the African and European continents. If you prefer alternative geographic strategies, both Central America and South East Asia function as highly viable backup locations.
Budget Allocation and Sweet Spots
When you begin pinpointing your exact base coordinates, you will notice a fluctuating price tag based on the specific zone. The absolute greatest placement zone will demand a premium investment of 1,500,000 credits. Establishing a base outside of this premium zone reduces the financial burden, but you must carefully consider if the monetary savings outweigh the severe penalty of reduced radar coverage. The most effective compromise is to place your headquarters just outside the premium territory, right on the boundary line where the construction cost drops to 1,250,000 credits. You should never build your base any further out than this specific edge.
Essential Initial Architecture
Once your foundation is officially poured, you must allocate your starting capital with precision. You must immediately order the construction of three specific architectural projects:
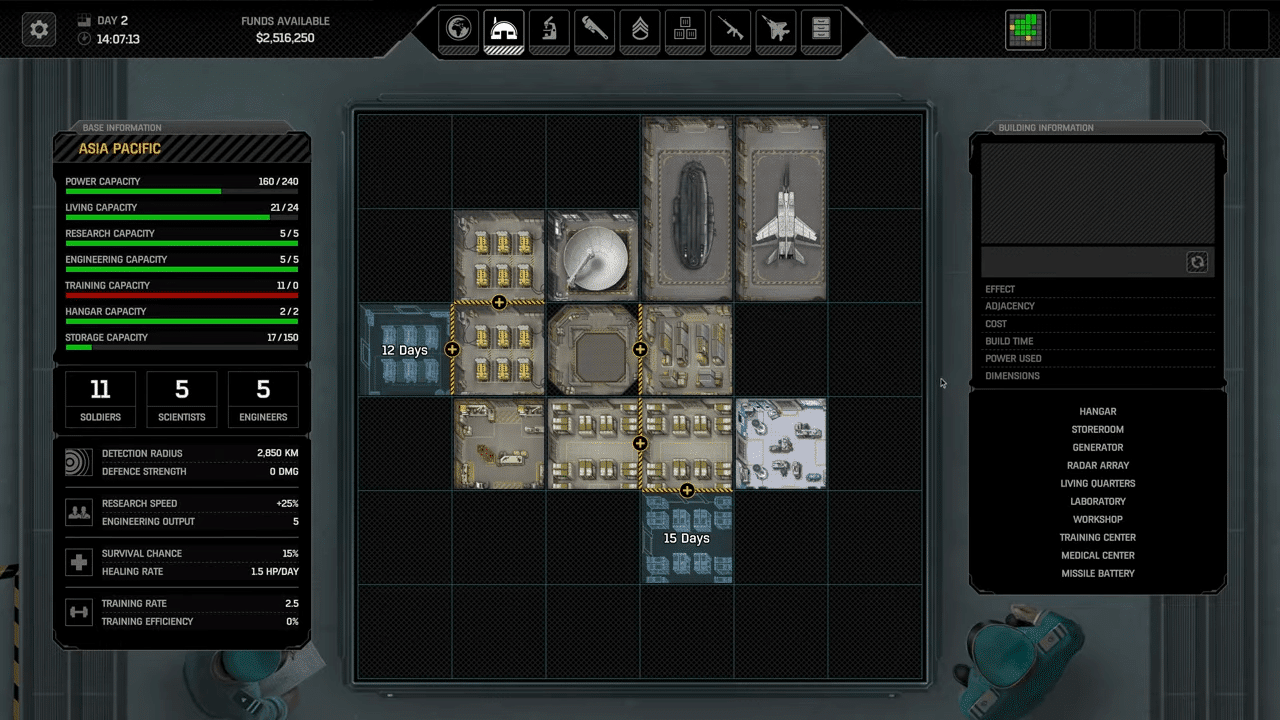
- A Third Hangar: You must build this facility so you have the capacity to house a second interceptor aircraft right away.
- A Generator: You require this structure to ensure your expanding facility has sufficient electrical power.
- A Medical Center: This health facility is absolutely mandatory. You desperately require the enhanced healing rates it provides. Furthermore, it occasionally grants your operatives a miraculous chance to cheat death entirely.
2. Conquering the Initial Combat Operation
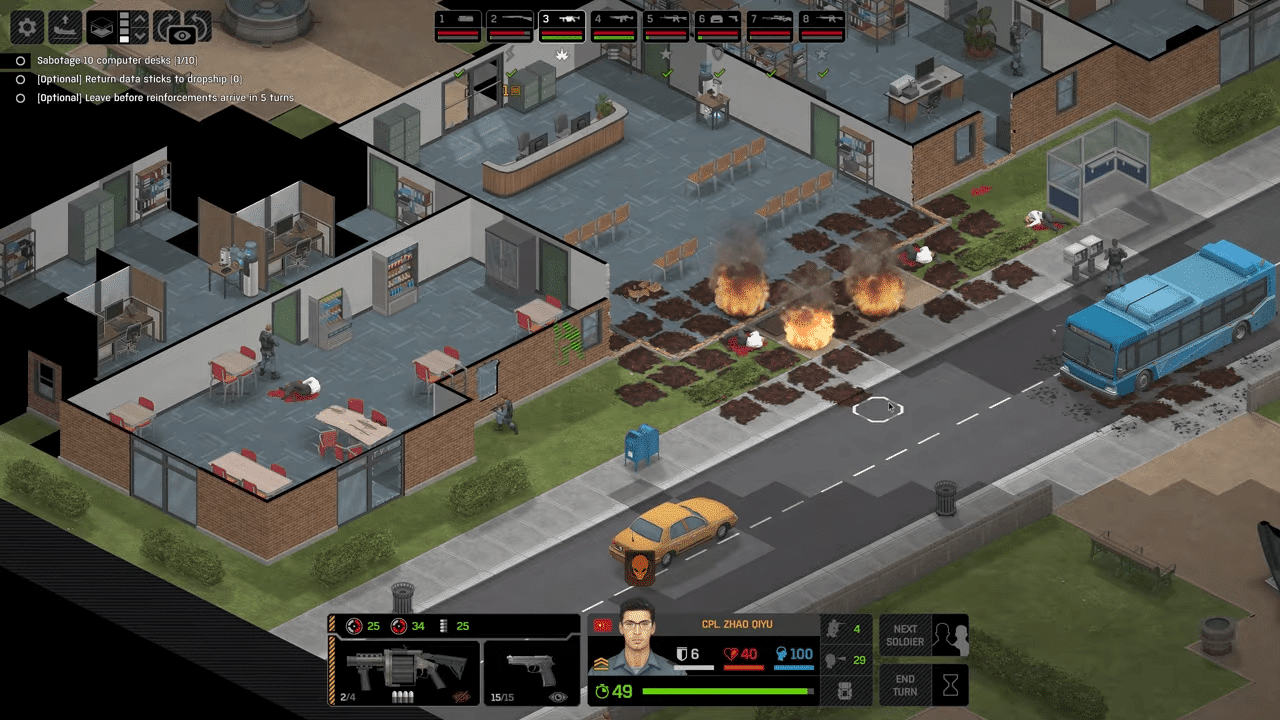
The opening tactical deployment serves as the most pivotal engagement of your early war effort. For commanders playing on the Ironman difficulty setting, failing to execute this specific operation flawlessly usually means you should abandon the timeline and start a completely new game. You must approach this urban sweep with intense caution and a strict checklist of primary goals.
Defining the Primary Directives
Your tactical goals for the initial mission are strictly defined and leave zero room for error:
- Objective A: You must stun the enemy leader. Do not kill him! Capturing the leader alive provides a massive boost in Operation Points.
- Objective B: You must stun at least one standard Cleaner Agent. Capturing an agent alive unlocks the observation research of cleaners, which will drastically aid your future strategic efforts.
- Objective C: You must recover as many Cleaner bodies and weapons as physically possible. You can sell these recovered assets on the black market after the mission for a major financial boost.
- Objective D: You must preserve your squad. Try to complete the mission without any of your soldiers dying or sustaining heavy physical wounds.
The First Turn Equipment Exploit
To successfully execute your non-lethal capture orders, your squad requires an immense payload of flashbangs, smoke grenades, and stun batons. In fact, you need to bring far more gear than your soldiers would normally carry.
You can utilize a brilliant trick to manage this excessive weight. In the base loadout screen, overload your soldiers with as many flashbangs, smokes, and stun batons as the game physically allows, even if it reduces their Time Units to half. As soon as the tactical mission begins in the first round, command your soldiers to drop all that extra equipment onto the ground. Proceeding as usual from there allows your soldiers to immediately regain all of their Action Points! You can use this gear-dropping trick in every future mission to stockpile necessary equipment at your spawn point.
Navigating the Spawn Zone Safely
Remember to play slow and methodical. You face no time limit, there are no civilians to save, and the enemy will not receive any reinforcements. Move your team methodically. Set your squad around a door, let a shield bearer open it to scout, have your ranged units shoot through the doorway if necessary, and then close the door again. Rinse and repeat this exact process until the area is entirely clear of hostiles.
Be incredibly wary of your initial spawn location. The first room features four distinct entryways, making it incredibly difficult to defend from all angles. The safest tactical maneuver is to immediately relocate your entire squad into either the adjacent left or right room, as these specific areas only possess two entry points. Leave two operatives watching your rear to secure the flanks while the remainder of your force pushes into the next unknown sector.
Orchestrating the Final Room Breach
Before you breach the final room containing the sandbags, send soldiers back to your entry point to retrieve the stockpiled flashbangs, smokes, and stun batons. Distribute the stun batons specifically to the soldiers who possess the highest Reflexes.
Execute the ideal breach using the following systematic approach:
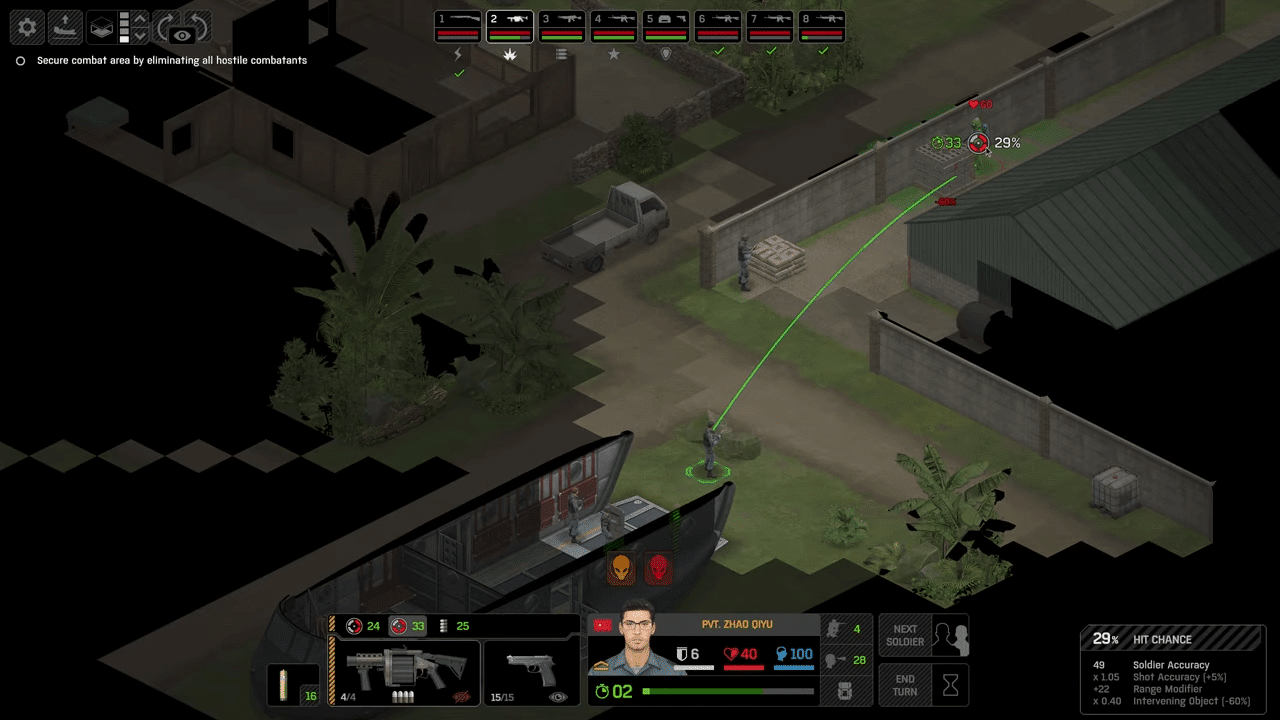
- Round One: Position two shield-bearing soldiers at the front, covering the left and right sides of the door. Open the door. Throw flashbangs at the agents and the general. Eliminate the standard agents with lethal force. Deploy a smoke grenade into the room to obscure vision.
- Round Two: Open the door again. Throw another flashbang directly at the general. Focus your fire to destroy the desk he is using for cover.
- Round Three: Open the door one last time. Throw a final flashbang at the general. Rush into the room with your high-reflex baton carriers and successfully stun him.

3. Critical Scientific and Strategic Directives
Once you successfully navigate the intense first mission, immediately assign your science division to interrogate the captured enemy general.
Interrogation and Aerospace Research Sequencing
Your science team needs strict administrative direction. You should research Aerial Warfare leading directly into Waveforms. If your scientists can complete this specific sequence before day 30, execute it in that precise order. Otherwise, research Waveforms first and transition smoothly into Aerial Warfare.
Securing Extraterrestrial Salvage
After establishing your laboratory research, wait patiently for an alien UFO to appear in the atmosphere. Intercept the craft, shoot it down, and deploy your tactical squad to play the ground mission. Do not simply take the instant money reward for shooting the craft down. You absolutely need to run the tactical ground mission to secure the alien materials and extraterrestrial equipment required to advance your complex research tree.
The Combat Vehicle Pitfall
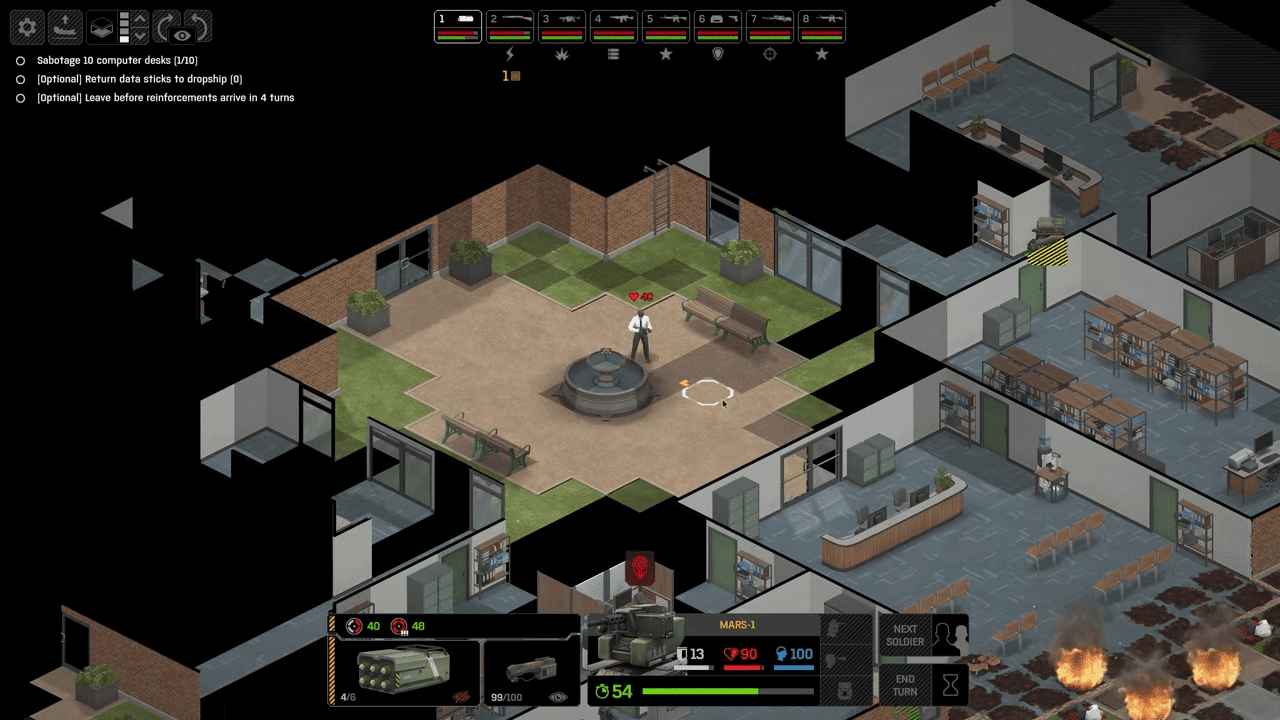
You must completely avoid researching Combat Vehicles early in your campaign. Combat Vehicles remain incredibly expensive to manufacture and provide very little strategic value on the battlefield. Furthermore, robotic units do not gain experience points, they lack skill level-ups, and their armor is extremely fragile. You simply do not have the time to waste on their developmental research tree.
Financial Research Prioritization
Money acts as your tightest ongoing bottleneck. Therefore, you must prioritize and finish as many scientific research projects that provide increased monthly funding as possible before the end of every 30 day cycle.
4. Biological Metrics and Combat Effectiveness
A complete understanding of your operatives’ core statistics is essential for assigning the correct combat loadouts. These underlying biological metrics dictate exactly what equipment a soldier can handle under pressure.
The Six Pillars of Combat Effectiveness
- Accuracy: This dictates the base chance to hit targets with ranged weapons. Prioritize this stat heavily for your Snipers and Riflemen.
- Strength: This governs a soldier’s maximum carry weight, their grenade throwing distance, and their recoil control. Heavy LMG units require high strength to avoid severe aim penalties caused by weapon recoil. Shield users also require high strength to carry backup weapons without suffering weight penalties.
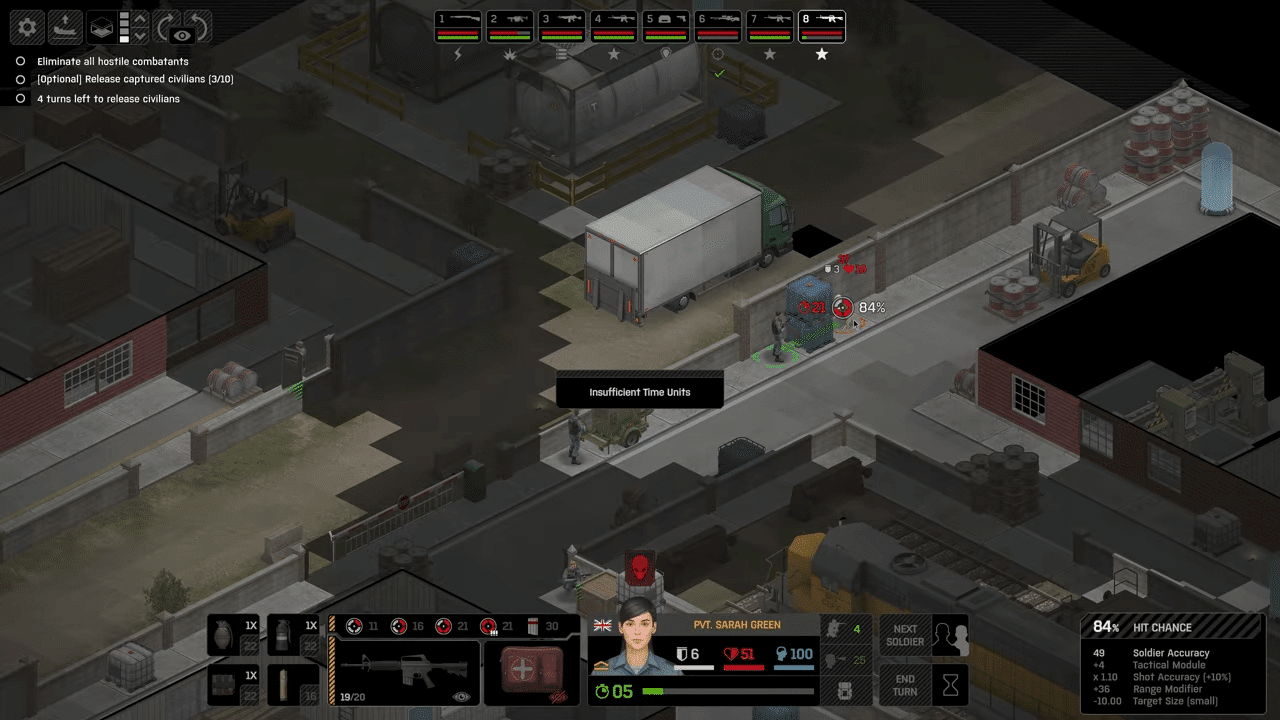
- Reflexes: This determines the frequency of Reaction Fire and affects melee hit chances. This stat is absolutely vital for your Shield scouts and Assault troops. High reflexes allow these front-line operatives to shoot back immediately when an alien moves or fires during the enemy turn.
- Time Units (TU): This represents the maximum amount of movement and actions a soldier can take per turn.
- Bravery: This acts as your soldier’s morale pool and provides resistance to devastating Psionic attacks. Bravery is essential for front-line troops who constantly take suppression fire.
- Health: This dictates your soldier’s total hit points.
Active Field Training Methods
You can actively train your soldiers’ attributes during tactical missions by performing highly specific actions:
- Training Strength: A soldier must move while carrying at least 80 percent of their maximum weight capacity. You can force rookies into this training state by overloading their inventory with extra heavy magazines or rockets.
- Training Accuracy: A soldier must spend Time Units firing their weapon at hostile units situated within 1.5 times their weapon’s maximum range. The soldier does not actually have to hit the target to gain the experience points.
- Training Reflexes: Soldiers earn points for every single unused Time Unit they retain at the end of a turn.
- Training Bravery: Soldiers only gain Bravery by being actively suppressed or by falling into a state of panic. Because of this strict requirement, Bravery is the absolute hardest and most dangerous stat to train in the entire game.
- Training TU & Health: You do not need to train these directly. These attributes increase automatically as a secondary effect whenever you level up any of the other four main combat attributes.

5. Personnel Procurement and Role Specialization
Scanning the recruitment pool is not merely a matter of searching for the highest digits. Your overarching objective during talent acquisition is to actively dodge any red statistics that would render a recruit a liability in a firefight. A statistic displayed in red typically indicates a value lingering below the 40 to 45 point threshold.
Identifying the Dealbreakers
When analyzing the recruitment spreadsheet, prioritize baseline values in this specific order:
- Bravery (60+): This is highly critical. Because Bravery is the most dangerous stat to train, you must hire soldiers who already possess a high baseline. Any soldier holding less than 55 Bravery is a massive risk. They are highly likely to panic and shoot their own squadmates during psionic attacks or under heavy alien fire.
- Accuracy (50+): You need rookies who can actually contribute to a firefight. Avoid any recruit with accuracy in the 40s unless they possess exceptional Strength or Bravery to compensate.
- Strength (50+): Low strength severely limits the type of armor and secondary gear a soldier can equip without losing precious Time Units.
- Reflexes (45+): While useful for reaction fire, Reflexes remain secondary to the “Big Three” stats listed above.
- Time Units & Health: As long as these specific numbers are not in the red, they are perfectly acceptable because they grow naturally over time.
Weapon Synergy and Tactical Roles
Assign roles based on the natural talents of your recruits:
- Sniper: Requires 60+ Accuracy and High TUs. Snipers need incredible base aim to strike from long distances. High TUs allow them to reposition across the map and still retain enough points to fire their weapon.
- Gunner (LMG): Requires 60+ Strength and Accuracy. Light Machine Guns are exceptionally heavy weapons. High strength is strictly required to manage the physical weight and mitigate the severe recoil penalty.
- Shield/Scout: Requires 55+ Reflexes and Bravery. Scouts are almost always the first units to make visual contact with an alien. Superior reflexes allow them to fire first during a tense reaction duel.
- Assault: Requires High TUs and Reflexes. Constant movement is everything for a shotgun user. They desperately need the points to run forward, take a lethal shot, and duck safely back into cover.
- Riflemen: Simply ensure they avoid having any red stats across the board.
At the dawn of your war effort, the most fiscally responsible tactic is to instantly terminate the employment of your substandard starting soldiers and spend the necessary funds to hire competent replacements. Do not waste precious operations attempting to rehabilitate a recruit plagued by 30 Accuracy or 40 Bravery. Simply exercise patience and wait for superior candidates to enter the hiring pool.
6. Managing the Global Supporter Matrix
The international supporter network is a mandatory logistical puzzle that you must master. These influential backers provide incredible strategic advantages to your organization, but their allegiances require constant auditing.
Understanding Supporter Allegiances
Every individual supporter currently occupies one of three specific operational statuses:
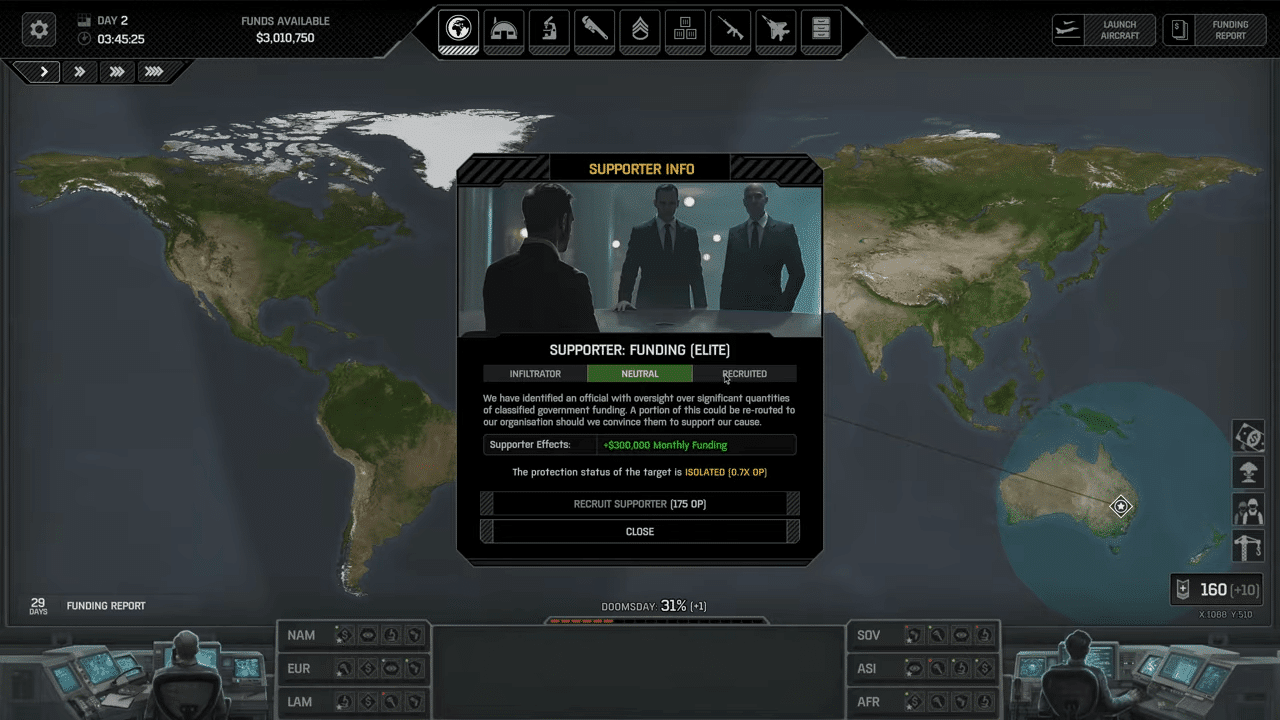
- Neutral (Grey): The supporter is available to recruit. They offer no negative effects and no positive benefits.
- Recruited (Green): The supporter actively works for you and provides their listed benefits.
- Infiltrator (Red): The supporter is secretly assisting the alien invasion. They apply dangerous negative effects that actively increase the doomsday counter.
Supporter Types and Backing Benefits
The matrix features various categories of backers. Elite supporters are marked with a star icon on their respective symbols.
| Supporter Type | Standard Benefit | Elite Benefit (Star Icon) | Phase 2 Bonus (Standard & Elite) |
|---|---|---|---|
| Funding (Dollar Sign) | $150k monthly funding | $300k monthly funding | -1 panic in their region at month start |
| Intelligence (Eye Symbol) | +1 Operations Point per day | +2 Operations Points per day | -1 panic in their region at month start |
| Scientist (Microscope) | -5% research project duration | -10% research project duration | -1 panic in their region at month start |
| Engineering (Wrench) | -5% engineering project duration | -10% engineering project duration | -1 panic in their region at month start |
| Security (Gun Symbol) | Phase 1: -1 doomsday per day. Phase 2: -2 global panic at month start | Phase 1: -2 doomsday per day. Phase 2: -4 global panic at month start | -1 panic in their region at month start |
Eliminating Alien Infiltrators and Calculating Costs
You cannot simply hire a new backer to overwrite a hostile Infiltrator. You are required to completely eliminate the corrupted individual first. During Phase 1, an active Infiltrator adds +0.5 Doomsday per day. From Phase 2 onwards, they add +2 panic in their specific region at the start of the month. Eliminating an infiltrator costs a base of 70 Operation Points, and this specific cost increases by +0.5 OP every single day you leave them active. Once eliminated, they are replaced by a neutral supporter whom you can then recruit.
Bringing a neutral supporter into the fold requires an upfront payment of Operation Points. The base cost to recruit a non-elite supporter is 150 OP, and the base cost to recruit an elite supporter is 250 OP.
However, supporters also feature a “protection status” indicated by a colored dot on their icon. This status acts as a powerful cost modifier applying either a discount or a premium:
- Isolated Status (Green Dot): The cost drops to 105 OP for a non-elite and 175 OP for an elite.
- Heavily Guarded Status (Red Dot): The cost skyrockets to 195 OP for a non-elite and 325 OP for an elite.
These exact same protection modifiers apply to the OP cost required to eliminate an Infiltrator.
7. Developer Override and Diagnostic Protocols
If the alien menace proves entirely insurmountable, the software contains a hidden developer diagnostic mode that allows you to bypass the standard rules of engagement.
System Activation Procedures
To authorize this override mode on the Steam platform, right-click the game title within your digital library and access the Properties menu. Navigate to the Launch Options text field located at the bottom of the interface and input the command -cheatmode. If you operate the software via GOG, you must generate a desktop shortcut for the primary executable file. Right-click this newly created shortcut, select Properties, and append -cheatmode to the very conclusion of the Target string.
Tactical Override Commands
Once you boot the software with these diagnostic protocols actively engaged, you gain access to an array of powerful keystrokes during tactical ground combat.
| Keystroke | Diagnostic Cheat Effect |
|---|---|
| ; | Takes direct control of the enemy unit currently at the cursor’s location. |
| K | Instantly kills the unit or destroys the physical cover at the cursor’s location. |
| M | Magically applies a medikit healing effect to the unit under the cursor. |
| N | Instantly reduces the Health Points of the unit under the cursor to exactly 25 percent. |
| R | Fully replenishes the ammunition of the currently selected weapon. |
| T | Fully replenishes the Time Units of the currently selected unit. |
| Y | Instantly teleports the currently selected unit directly to the cursor’s location. |
| Shift+T | Forces the selected soldier’s Time Units to become exactly 1000. |
| Shift+U | Forces the selected soldier’s Health Points to become exactly 1000. |
| Ctrl+Shift+M | Instantly kills all enemies present on the entire tactical map. |
8. Conclusion
Repelling the extraterrestrial threat demands flawless logistical planning and a highly methodical approach to ground combat. Securing superior radar coverage and aggressively filtering your recruitment pool will guarantee your global organization remains perfectly funded and lethally effective. Implement these proven operational strategies to systematically dismantle the alien invasion and guide humanity toward an absolute, definitive victory.

Leave a Reply