
Last Updated on 4 August, 2025
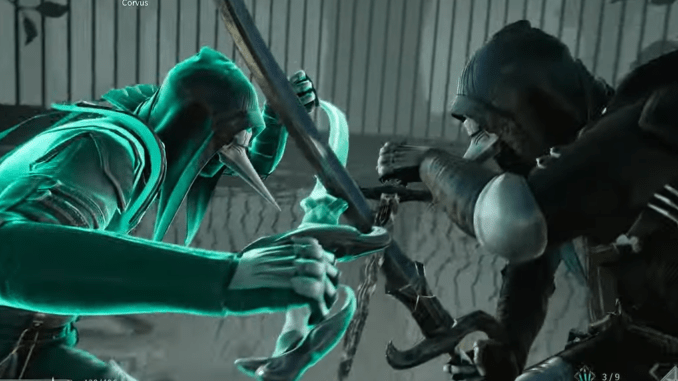
In Thymesia, you step into the boots of Corvus, a plague-infected knight wielding sword, claw and deadly Plague Weapons to purge a disease-ravaged kingdom. This article equips you with crystal-clear combat fundamentals, optimized talent builds, boss-shredding strategies and NG+ techniques. Each section features comprehensively broken down strategies to ensure you come out victorious!
1. Game Overview
Thymesia is a fast and aggressive Souls‑like action RPG in which players control Corvus, a plague‑masked warrior navigating a plague‑blighted kingdom and recovering lost memories using relentless parrying, precise dodges and a dual weapon system that combines wound‑focused saber strikes with claw executions to drain enemies’ dual health bars. The combat encourages risky, high rhythm aggression where sword attacks injure and claw strikes finish, preventing Wounds from healing if you move fast enough. Corvus can steal plague weapons from foes with a charged claw attack or permanently unlock them via collected shards, choosing from over twenty plague weapons to suit different playstyles. While the combat is widely praised as fluid, tight and satisfying, many note the campaign is short, enemy variety is limited and some systems like parry timing and level design feel inconsistent in places.

- Developer: OverBorder Studio
- Publisher: Team17
- Initial Release: August 18, 2022 on PC (Windows), PlayStation 5, and Xbox Series X|S; cloud‑based release on Nintendo Switch and Amazon Luna in September 2022
- Genre: Action role‑playing Souls‑like with melee‑focused wound‑and‑execution combat and plague weapon mechanics
- Core Loop: Battle through flashback levels and bosses → wound enemies with saber then finish with claw → harvest or unlock plague weapon shards → upgrade Corvus via skill tree and weapons → repeat runs to master combat and unlock multiple endings
2. Combat Basics: Wounds, Health & Weapons
Every foe in Thymesia has two health bars: white Wounds must be broken first; then green Health is vulnerable to damage. If Wounds aren’t fully depleted, they regenerate, therefore, adding time and risk to every encounter.
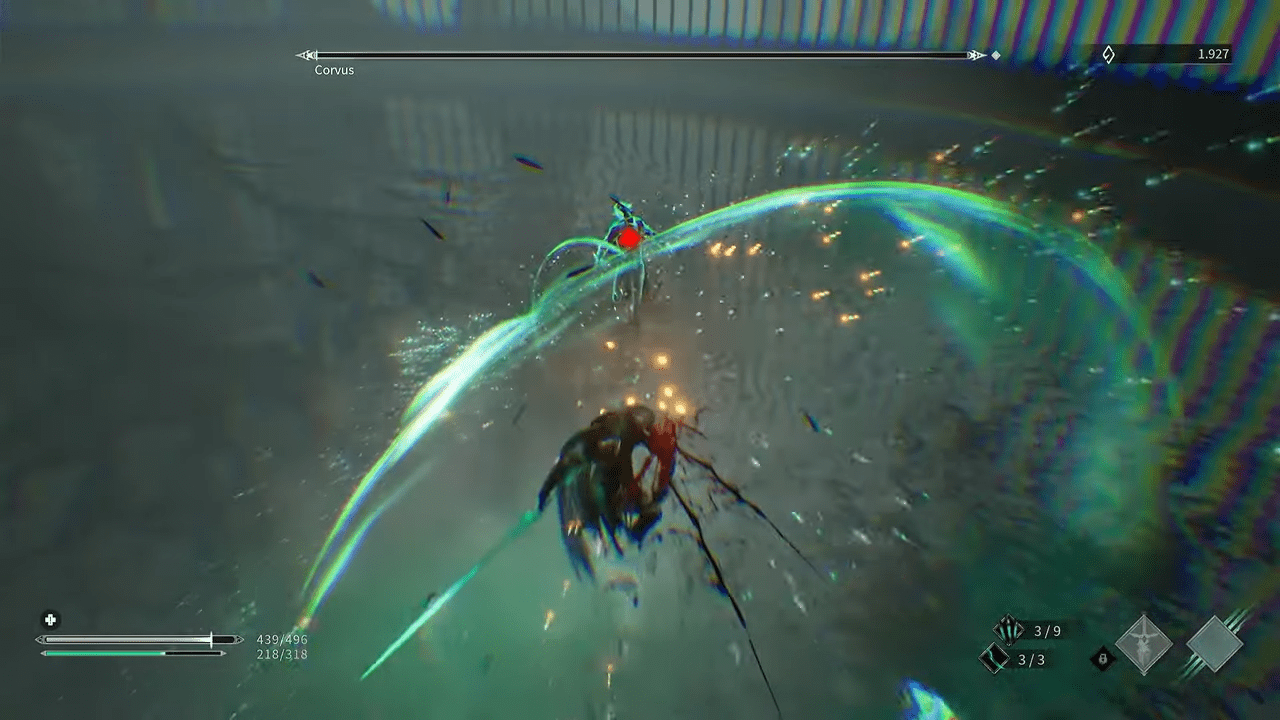
- Sabre: rapid strikes that build Wounds quickly
- Claw: heavy charged hits that shatter Health once Wounds are down
- Deflect: timed parry inflicts Wound damage and negates enemy attacks
- Dodge: short or long rolls to evade at the cost of recovery time
Master the Sabre → Claw → Deflect rhythm to turn every clash into a high-octane dance of blades.
3. Talents & Defensive Options
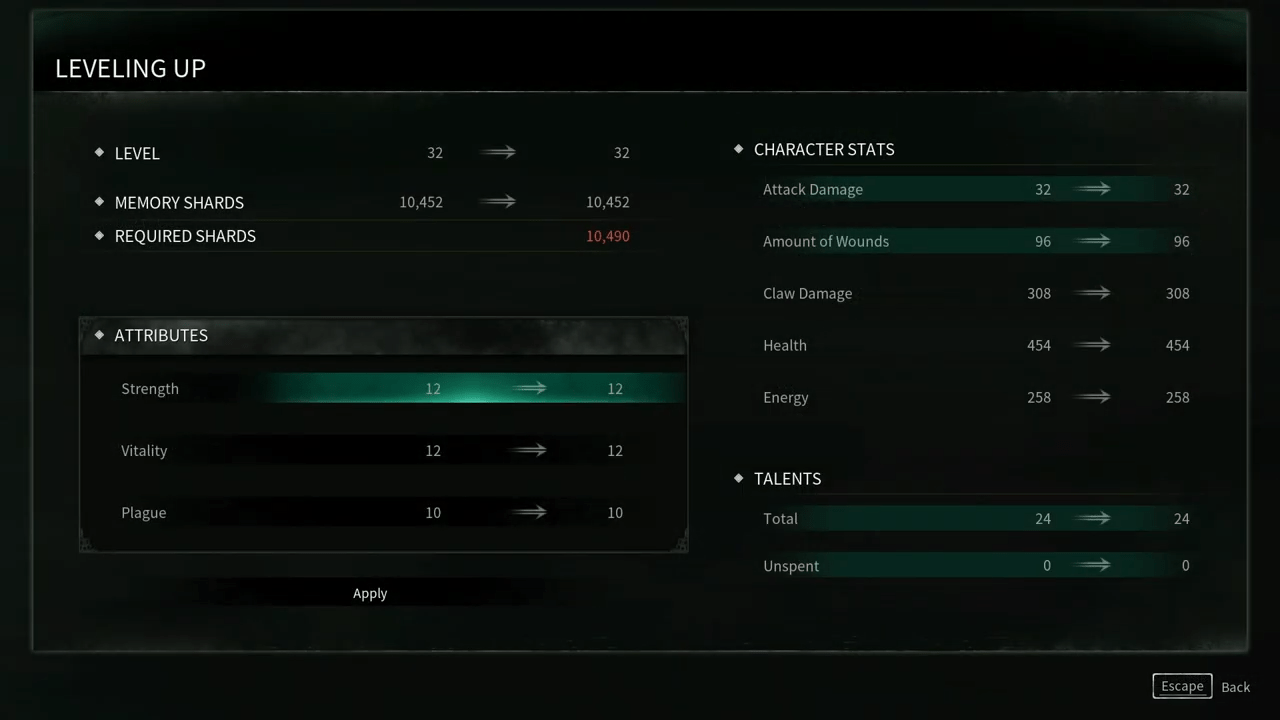
As you level Corvus up to cap level 25, you earn Talent Points that customize everything from parry timing to dodge reach to Plague Weapon slots. You can freely respec at any beacon using Forgotten Feathers, enabling endless build experimentation.
| Talent | Effect | Unlock Tier |
|---|---|---|
| Deflect Window | Wider parry timing; reduced reflect damage | Early levels |
| Deflect Damage | Higher reflect damage; tighter timing | Mid levels |
| Short Dodge | Two quick rolls; moderate distance | Any time |
| Long Dodge | Two rolls; extended second roll distance | Any time |
| Block | Hold to reduce incoming damage | Post-tutorial |
| Plague Weapon Slot | Unlock a second equipable Plague Weapon | Mid levels |
A balanced build, i.e. mixing offense and defense, lets you adapt to every threat, from quick minibosses to relentless champions.
4. Plague Weapons: Acquisition & Upgrades
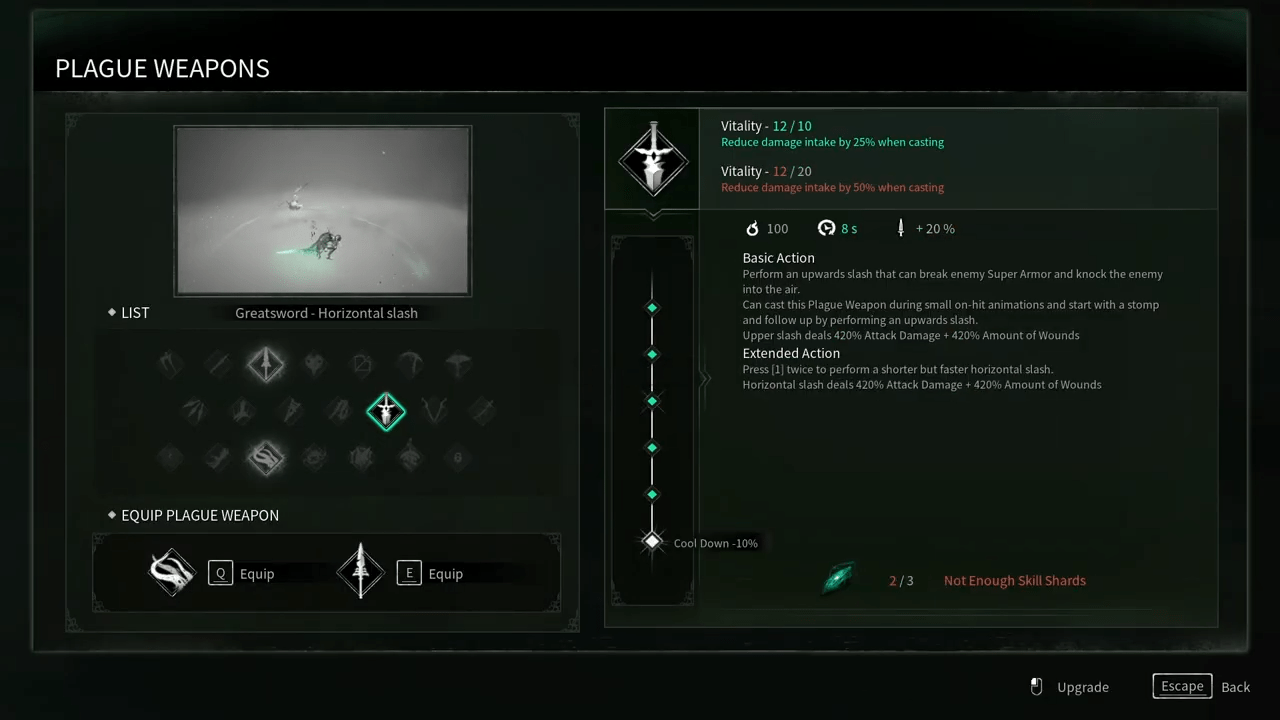
Plague Weapons are powerful special attacks dropped by enemies and permanently unlocked by collecting Skill Shards. You Reave one via a charged Claw hit, then spend three Shards at any beacon to equip or upgrade it.
| Name | Source | Effect | Shard Cost |
|---|---|---|---|
| Hand Axe | Common Axe Enemies | Fast AOE swing; stuns foes | 3 |
| Halberd | Elite Knight | Triple thrust; buff on upgrade | 3 |
| Miasma Dash | Odur Boss | Poison-cloud dash; high mobility | 3 |
| Blood Storm | Hanged Queen | Health-leech area attack | 3 |
| Greatsword | Royal Garden Knight | High-damage cleave; super-armor | 3 |
Prioritize Hand Axe and Halberd early for crowd control, then expand your arsenal with Miasma Dash and Greatsword as threats evolve.
5. Boss Strategies & Patterns
Thymesia features eight main bosses plus optional champions in multiphase fights with telegraphed ultimates you must dodge to avoid instant death.
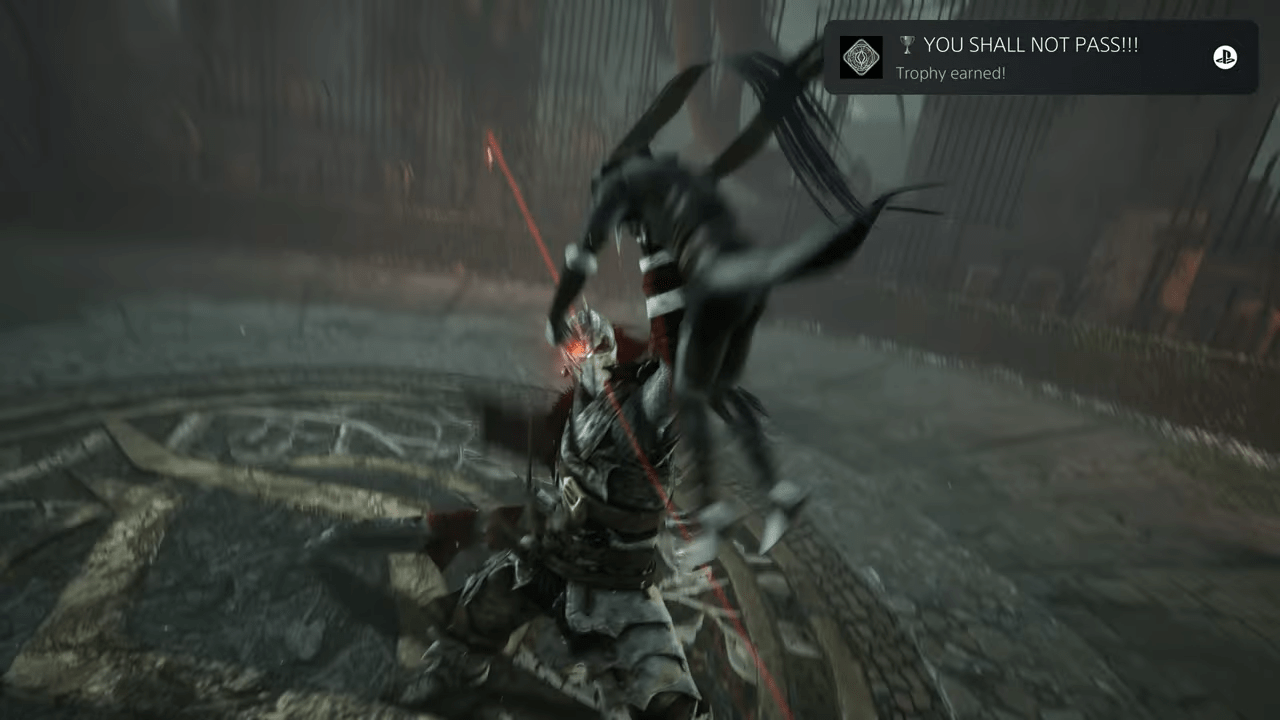
- Phase 1: Use Sabre/Deflect to break Wounds, then finish Health with Claw or Plague Weapon
- Phase Transitions: Bosses regain Wounds, so renew pressure immediately, or they’ll heal to full
- Ultimates: Always dodge clear on the red flash; these cannot be parried or blocked
- Positioning: Flank bosses to avoid sweeping strikes and breath attacks
- Interrupts: Feather Darts stagger heavy moves, so use three+ darts for guaranteed stun
Drill each boss’s patterns in practice runs; pattern mastery turns once-deadly fights into routine encounters.
6. Advanced Tips & NG+ Strategies
In NG+ and late-game runs, resource management and speed define mastery. Farm “Sea of Trees 3” for 4,000+ Memory in under two minutes by bypassing even minibosses; use Dodge or Miasma Dash to skip combat. Re-fight elites for unlimited Skill Shards and invest in Luck on the Strategies tree to boost drop rates.
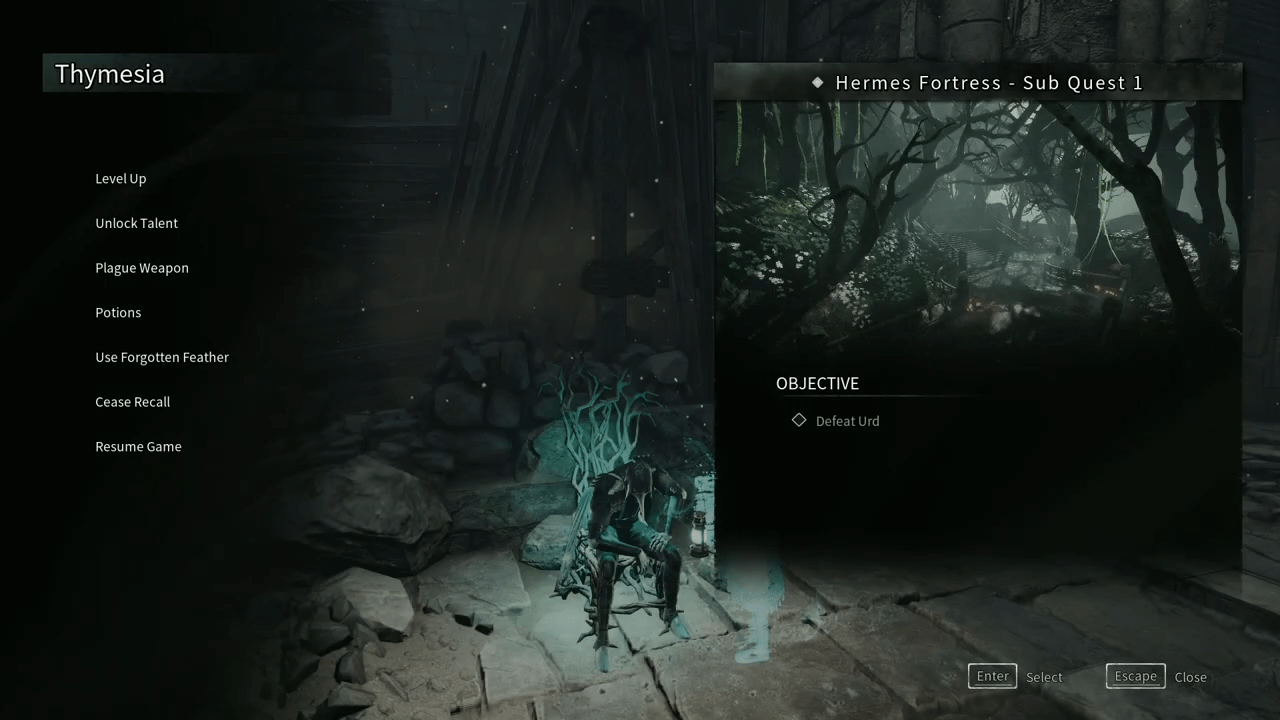
- XP Farming: Sea of Trees 5 or Odur rematch nets 6,000+ Memory in <2 min
- Shard Efficiency: Reave elites first to force extra Shard drops, then clear the level
- Respec Builds: Pivot Talents per boss, swap Deflect upgrades for wider windows or higher reflect damage
7. Conclusion
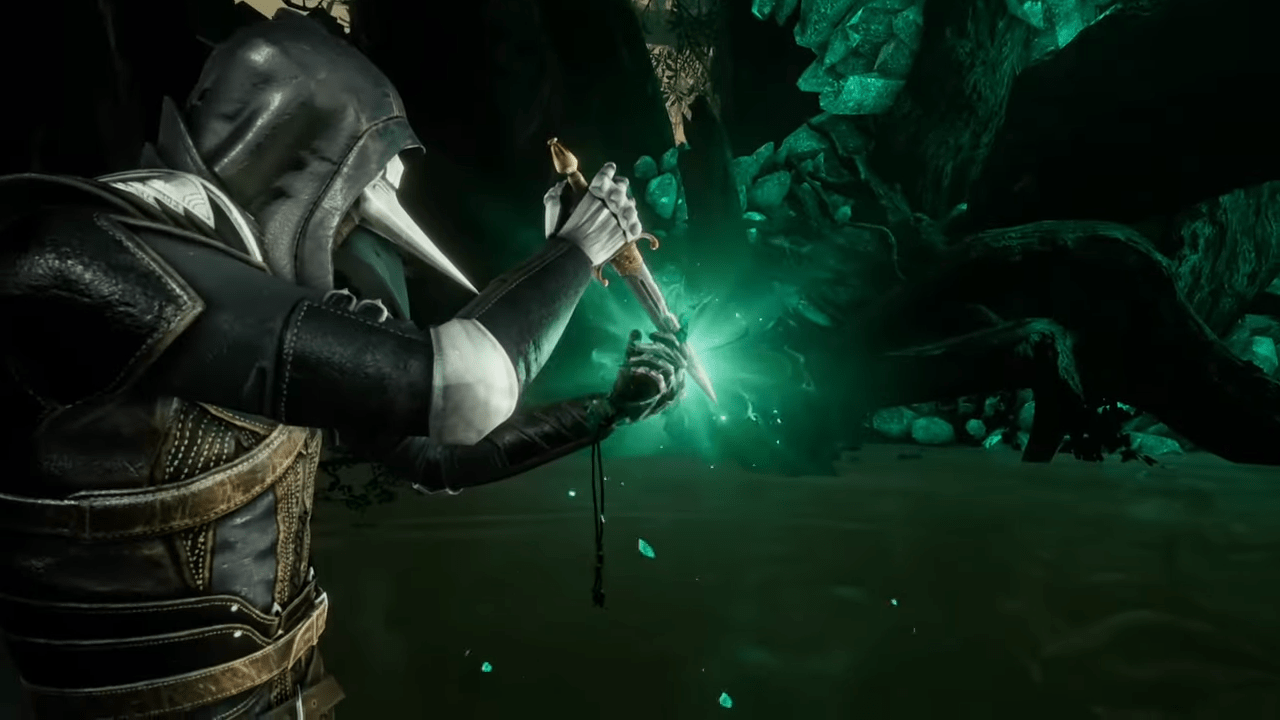
You now possess a verified roadmap through Thymesia’s lethal combat, from dual-bar health fundamentals to optimized Talents, Plague Weapon mastery, boss stratagems and NG+ farming loops. Apply these strategies to cut your learning curve in half and dominate every encounter. So, rest at a beacon now, respec into Deflect and Long Dodge, then blitz the Fool’s God in Sea of Trees with relentless parries and the Hand Axe Plague Weapon!

Leave a Reply