
Last Updated on 3 December, 2025
Success in Into the Breach requires more than just strong Mechs. Recognizing the enemy before you select an island remains one of the most critical elements. This guide breaks down every Vek type, their behaviors, and the best strategies to defeat them. Use this knowledge to choose your islands wisely and protect the grid.
Table of Contents
Tier 1 Vek
Tier 1 Vek represent the simplest varieties available. They are not the weakest, and they remain dangerous late into the game, but they are manageable for a starting squad. You will face three of these varieties when you select your first island.
Firefly (The Brute)
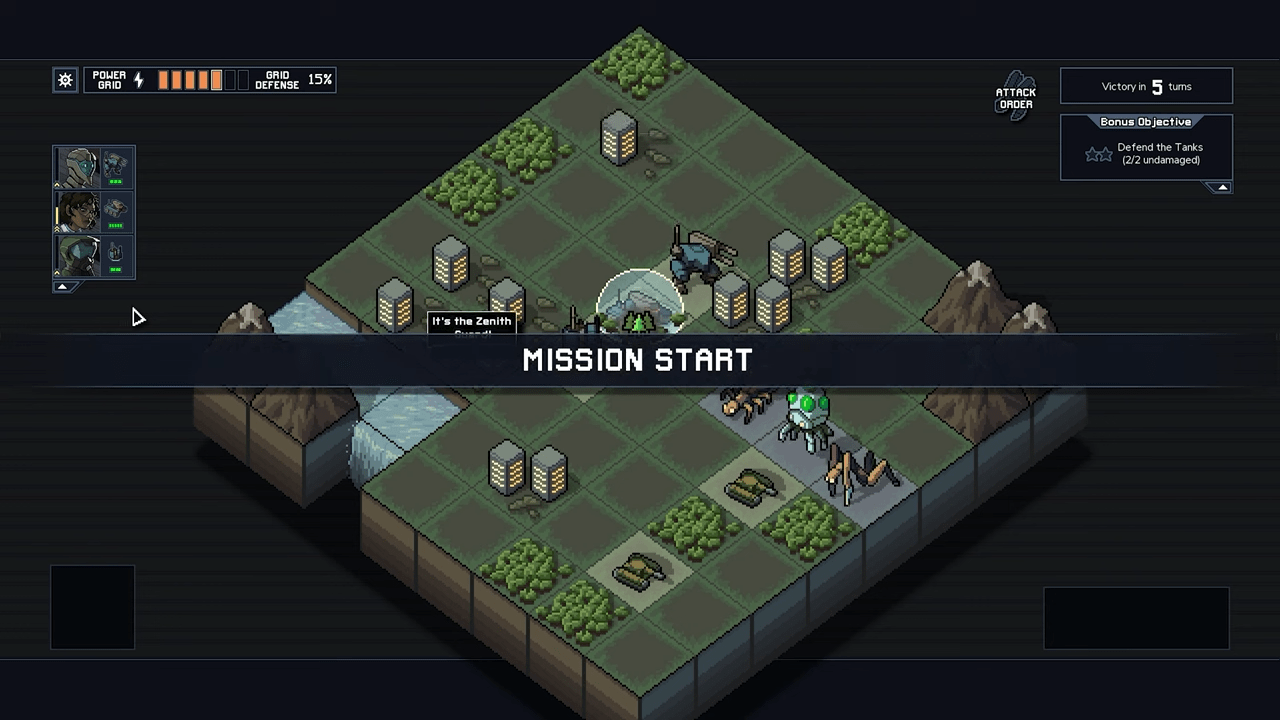
The Firefly acts as one of the most straightforward Vek. It lobs a projectile that contacts the first object in its path. You can view it as the enemy equivalent of a Brute class Mech. Most complications arise from the nature of their shot. For example, they might aim at a Mech standing in front of a building. If an Alpha targets you and you lack HP upgrades, the shot will likely kill your pilot. However, if you move out of the way, their shot will keep flying and hit the building instead.
Strengths and Weaknesses
Fireflies possess high durability and solid damage growth. The Leader variant deals the most damage by default. However, they move slowly. Blocked movement or mountain cover impacts them heavily. They are also prone to friendly fire.
Strategy
Squads that rely on pushing enemies backward will struggle against Fireflies. Squads with low damage output or no freeze options also face difficulties. Conversely, squads that excel at shifting enemies sideways perform wonders. A simple push to the side causes their straight shot to miss entirely or helps deal damage to other Vek.
Squad Synergies
- Steel Judoka: This squad fits perfectly given how many ways they can move Fireflies. The Pheromones passive allows the Firefly to hit hard enough to take out 1 or 2 HP Vek.
- Mist Eaters: The Control Mech can finely tune exactly where a Firefly aims. This manipulates it to hit its allies easily. If this fails, their ability to smoke out Vek minimizes potential crossfire damage.
- Zenith Guard: The Laser Mech can eliminate a basic Firefly with a point blank beam. The Defense Mech shields shots effectively if you cannot shove the Firefly out of position.
- Flame Behemoths: The Swap Mech offers flexibility that allows you to manipulate what the Firefly hits liberally.
Hornet (The Flanker)

Hornets serve as an X factor for controlling Vek. Their stats appear unassuming, but they fly. At best, they target your Mechs directly. At worst, a Hornet flies halfway across the map to hit a building your Mechs cannot reach. While basic Hornets are manageable, the Alpha variant hits two tiles forward, and the Leader hits three. This creates grievous grid damage if they target a line of buildings.
Strengths and Weaknesses
They are fast and reach a wide number of targets. They do not care about obstacles. However, they are fragile melee units. They pose a low threat to individual targets without webbing.
Strategy
Most squads handle basic Hornets easily if they include a solid Ranged Mech. Otherwise, you must use decisive control to push them out of alignment. Alpha Hornets become disproportionately dangerous as ranks increase compared to other Alphas.
Squad Synergies
- Rift Walkers: The Artillery Mech pushes and damages Hornets in a variety of ways. The Combat Mech and Cannon Mech can take a Hornet out in one shot.
- Blitzkrieg: Hornets serve as prime fodder for circuitry formation for the Lightning Mech. The Boulder Mech possesses the damage and displacement to nullify the threat. The Hook Mech pulls a Hornet far away from its target.
- Rusting Hulks: This fast team keeps up with Hornet targets. The smoke from the Jet Mech and the powerful attack from the Rocket Mech nullify the threat easily.
- Hazardous Mechs: Extreme damage output turns Hornets into quick heal sources. The Unstable Mech cannon destroys them, while the Leap Mech uses knockback to deal with bad positioning.
- Heat Sinkers: Consistent boost allows them to one shot basic Hornets. They also shove Alpha Hornets out of the way easily.
Leaper (The Glass Cannon)
Leapers can be the deadliest or the simplest Vek to deal with. They web their prey in advance, which restricts your ability to perform damage control. They deal the highest damage of any webbing Vek. Fortunately, they are literally made of glass.
Strengths and Weaknesses
They possess high mobility and will always do maximal Grid damage to the tile they hit. However, they are extremely fragile. A single shove, spawn block, or fire patch can kill a basic Leaper.
Strategy
Disable them with ranged units or high speed units. If you have knockback tools, shove another Vek directly into the Leaper. This often kills the Leaper instantly while damaging the other enemy. Shielding helps if they target your Mechs directly.
Squad Synergies
- Rift Walkers: All Mechs deal basic damage and include shove. Leapers usually die from collateral knockback.
- Hazardous Mechs: Leapers act as free healing fodder. The self knock and mobility of the squad mean you face little risk if a Leaper targets you.
- Zenith Guard: The Laser Mech vaporizes Leapers from across the map. The Charge Mech shoves other Vek into the Leaper. The Defense Mech shields the powerful hit.
- Blitzkrieg: The Lightning Mech punishes melee enemies for getting close. A fully upgraded whip takes out Alphas with a single shot.
- Flame Behemoths: This squad coats the battlefield in fire. Laying fire patches within spawn points guarantees basic Leapers arrive dead.
- Arachnophiles: The Arachnoid Mech uses Leapers as a quick source for creating spiderbots.
- Cataclysm: Leapers serve as an easy setup for the Drill Mech. They remain vulnerable to falling down gaps.
Scarab (The Artillery – Advanced Edition)
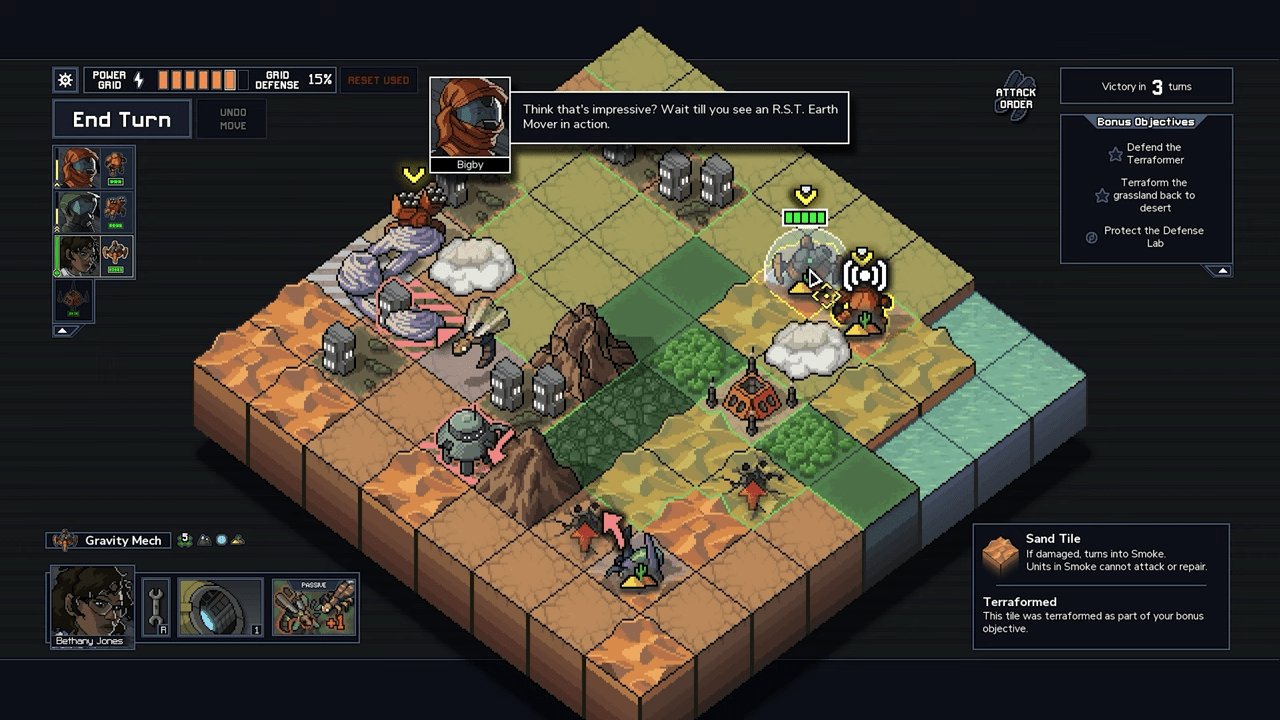
Scarabs function as the Vek equivalent of a Ranged Class Mech. They lob an arcing shot that hits distant targets. While difficult to track at a glance, you can counter them easily. They possess low health and you can squash them if you corner them.
Strengths and Weaknesses
Their arcing shot ignores line of fire. Alphas deal high damage. However, you can shove their attack off target or cancel it entirely if the shot goes off the board.
Strategy
A Scarab poses little threat if it aims at a Mech unless you are pinned. The threat increases when they target buildings in a crowded environment. Shove them sideways to force their specific attack pattern to miss.
Squad Synergies
- Rift Walkers: The Artillery Mech ensures a Scarab misses by shoving it in any direction. The Combat Mech and Cannon Mech squash Scarabs with sheer damage or knockback.
- Rusting Hulks: The Jet Mech closes distance quickly to disable and kill a Scarab. The Rocket Mech vaporizes non Alphas. The Pulse Mech provides harassment.
- Steel Judoka: The specificity of the Scarab shot becomes a blessing if they pair with melee Vek. The Siege Mech rockets one shot these bugs with combined damage and shove.
- Bombermechs: The Pierce Mech shoots through obstacles to take out a Scarab.
- Heat Sinkers: Scarabs fall prey to boosted damage attacks and fire. The Dispersal Mech and Napalm Mech limit their potential harm with a surplus of shove.
Scorpion (The Soldier)
Scorpions act as the melee footsoldiers of the Vek. They get up close to web targets before striking. While they deal less damage than Leapers, they are much more durable. The Scorpion Leader is particularly dangerous because it attacks in all four directions with webbing and knockback. Never deploy your Mechs in a “plus” shape against a Leader.
Strengths and Weaknesses
They are durable and persistent. However, they are less mobile than Leapers and you can counter their melee attack with pushback.
Strategy
Be wary if you lack decent damage output or reliable knockback. Scorpions will cluster around you and prevent movement. If you have effective ways to deal high damage or knockback targets point blank, their threat reduces heavily.
Squad Synergies
- Rusting Hulks: Smoke acts as an anathema to Scorpions. The Rocket Mech should use its reverse fire smoke against these enemies.
- Frozen Titans: The Aegis Mech flips a Scorpion to nullify its attack. The Freeze Mech uses ice to protect itself from webbing.
- Cataclysm: Scorpions cannot cross gaps. The Drill Mech can trap them easily.
- Blitzkrieg: Scorpions form easy circuits for the Lightning Mech. The Hook Mech displaces them and the Boulder Mech blocks passages.

Tier 2 Vek
After clearing your first isle, the enemy selection adds extra complications. These enemies possess more complex behaviors.
Beetle (The Charger)
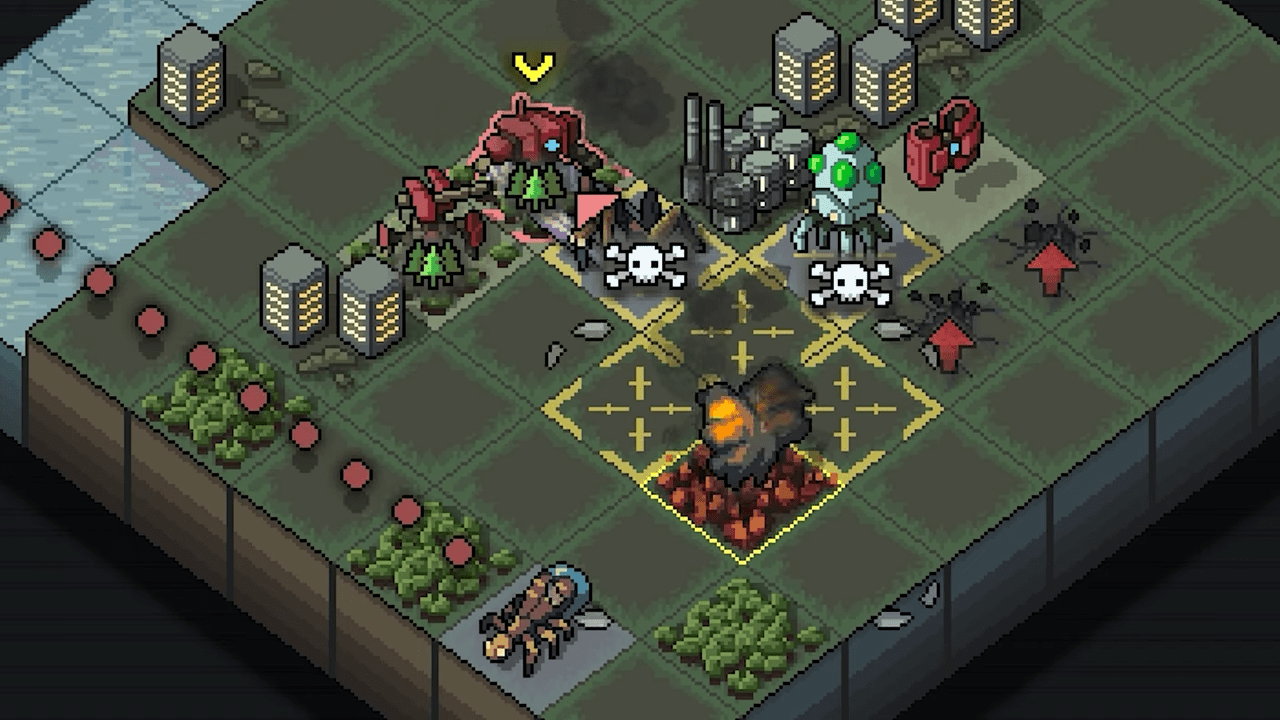
Beetles possess the highest base durability of any Vek. They rely on a powerful ramming attack that pushes targets. This knockback increases damage to Mechs and harms the grid if the target hits a building.
Strengths and Weaknesses
They deal high Alpha damage. However, they are liable to charge to their own death on maps with water or pits. Mountains hamper their low movement speed.
Strategy
Avoid parking Mechs directly in front of cities. A Beetle will hit your Mech and push it into the building for grid damage anyway. Use their charge against them. Position manipulation squads can make Beetles charge into other Vek.
Squad Synergies
- Steel Judoka: Beetles act as potentially the squad’s most powerful weapon against other Vek.
- Frozen Titans: The Aegis Mech flip gets the job done. The Ice Mech provides spaced blockage.
- Hazardous Mechs: The application of A.C.I.D. nullifies the high HP of the Beetle. The Nano Mech flies to get an angle and lead the charge elsewhere.
- Bombermechs: The Exchange Mech sends a Beetle off target. The Bombling Mech places bombs to interrupt the charge reliably.
- Cataclysm: Prepare death traps for these aggressors to fall into.
Blobber (The Summoner)
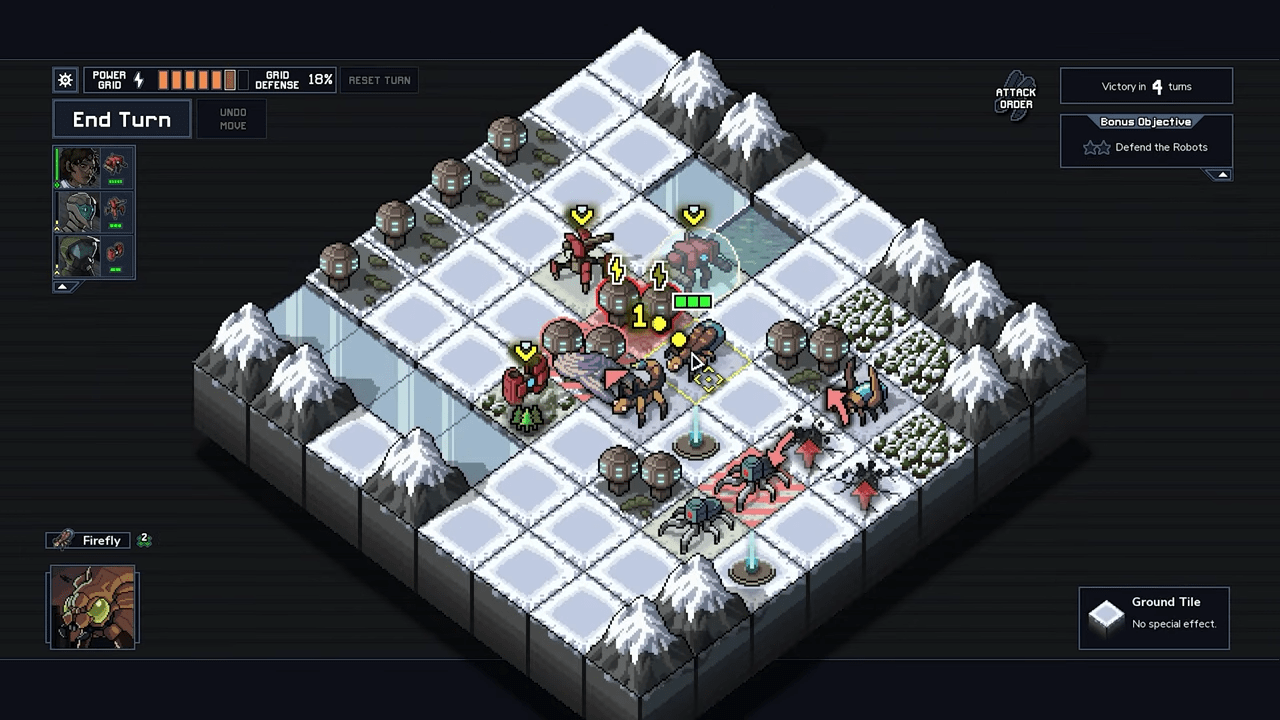
Blobbers throw living time bombs. These blobs hit a wide area and deal massive damage to the grid. The Blobber itself stays safe at range. It is easy to kill blobs, but killing the Blobber itself is difficult.
Strengths and Weaknesses
They pose a split threat between the Blobber and its blobs. They hit unexpected nooks. However, the bombs are easy to destroy and the Blobber is slow.
Strategy
Prioritize the Blobber rather than the blob. Squads with long range high damage excel here. You can also bait the Blobber by leaving openings in your formation. If the blob targets an empty space, you can walk away and focus fire on the main enemy.
Squad Synergies
- Zenith Guard: The Laser Mech hits the distant Blobber and closer enemies simultaneously. The Defense Mech shields victims or pulls the bomb out of position.
- Blitzkrieg: The Lightning Mech damages a huge number of tiles at once.
- Flame Behemoths: Fire damages the Blobber and destroys the blob instantly. The Meteor Mech Backburn upgrade counters the range of the Blobber.
- Frozen Titans: The Mirror Mech uses the Janus Cannon to hit both the Blobber and the blob.
- Arachnophiles: Use the bomb as a way to create a spiderbot.
Burrower (The Tank)
Burrowers stop certain squads cold. They are immune to push and pull effects. However, they are cowardly. If a Burrower takes any damage from any source, it retreats underground and cancels its attack.
Strengths and Weaknesses
They hit 3 tiles at once. They ignore obstacles. However, they are easy to scare off.
Strategy
You cannot shove them. You must damage them directly or knock another Vek into them. Attacks that rely on moving the opponent to damage them will fail. Deploy your Mechs in a straight line away from buildings to bait their attack into open space.
Squad Synergies
- Rift Walkers: The Combat Mech strikes them without fear of knocking them into buildings. It can also knock other targets into the Burrower.
- Zenith Guard: Wide area attacks deal with Burrowers without issue. A stray laser scares them off.
- Blitzkrieg: Burrowers sandwich themselves between buildings, which helps the Lightning Mech maximize targets.
- Flame Behemoths: This squad applies fire to many tiles at once to scare Burrowers off easily.
- Hazardous Mechs: You can slam into the Burrower directly without worry of collateral damage.
- Mist Eaters: The Control Mech is the only unit in the game that can physically move a Burrower.
Centipede (Area Denial)

Centipedes serve as dangerous upgrades to Fireflies. They vomit acidic shots that strip armor. An Alpha Centipede can hit a line of buildings for massive total grid damage.
Strengths and Weaknesses
They are durable and long ranged. A.C.I.D. increases damage drastically. However, they are extremely likely to cause damage to their allies.
Strategy
Block the shot carefully. Do not block it twice because the A.C.I.D. will make the second hit deadly. Use squads that create blockades or move Vek laterally. If you manipulate them correctly, they will coat their allies in acid.
Squad Synergies
- Steel Judoka: A redirected Centipede shot causes massive A.C.I.D. application to enemy ranks.
- Rusting Hulks: The Jet Mech smoke generation simplifies the complications caused by the wide hit area.
- Frozen Titans: The Ice Mech freezes the aggressor or blocks the shot safely.
- Hazardous Mechs: Utilize the A.C.I.D. to land high kill counts.
- Bombermechs: The Bombling Mech bombs block Centipede shots effectively.
Crab (Heavy Artillery – Advanced Edition)
Crabs improve upon the Scarab in every way. They retain range and speed but hit more tiles. An Alpha Crab hits hard enough to threaten Mechs and buildings alike.
Strengths and Weaknesses
They possess high grid damage potential. However, they cannot hit adjacent spaces.
Strategy
A simple shove usually fails because the attack covers two tiles. Push them sideways rather than forward or backward. Lure them into attacking units rather than the grid.
Squad Synergies
- Zenith Guard: The Defense Mech forces the Crab to overshoot or shields the target area.
- Steel Judoka: Reposition the Crab to hit its allies instead of a building.
- Frozen Titans: Both Aegis and Ice Mechs offer quick ways to nullify a Crab attack.
- Bombermechs: The Pierce Mech counterattacks for high damage.
Digger (The Obstruction)
Diggers construct rock barriers around themselves. This blocks movement for ground units and makes the Digger hard to target. They pose a massive obstruction problem for squads lacking artillery.
Strengths and Weaknesses
They create massive mobility blockades. However, they possess low HP. The more things they try to hit, the fewer rocks they make.
Strategy
The Force Amp passive makes short work of them by increasing knock damage. Otherwise, you must knock their own rocks into them. Bait them to attack as many tiles as possible.
Squad Synergies
- Zenith Guard: The Laser Mech one shots the Digger and clears the rocks. The Shield Mech walls the Digger in.
- Blitzkrieg: The Lightning Mech uses the rocks to extend its electric chain. The Hook Mech clears a path.
- Flame Behemoths: The Flame Mech burns the Digger away over time.
- Bombermechs: The Pierce Mech shoots through the rocks. The Exchange Mech locks the Digger in a tight spot.
- Arachnophiles: Leverage the rocks to generate Arachnoids.
- Cataclysm: The Drill Mech cracks the ground under the rocks to create instant pits.
Spider (The Swarm)

Spiders serve as a premier control unit. They can immobilize your entire squad if you deploy incorrectly. Do not bait them. Deploy in a tight clump against natural barriers to minimize the number of eggs thrown.
Strengths and Weaknesses
They hatch a massive number of units. However, they are slow and fragile.
Strategy
You need wide area attacks. The eggs and hatchlings have low health but dangerous numbers. Note that egg hatching deals no damage, so let them hatch next to buildings if necessary.
Squad Synergies
- Rift Walkers: Wide area knockback destroys eggs and pushes Vek simultaneously.
- Zenith Guard: The Laser Mech destroys the line of 1 HP targets.
- Blitzkrieg: The Lightning Mech hits all tiles at once.
- Hazardous Mechs: The Unstable Mech wipes out 3 targets at once. The Leap Mech jumps to eliminate Spiderlings.
- Flame Behemoths: Fire deals with eggs before they become an issue.
- Arachnophiles: The Arachnoid Mech converts the Spiderlings into your own spiderbots.
- Heat Sinkers: Wide ranges and flame make them excellent at damage control.

Advanced Edition Tier 1
These enemies appear on the first island only if you enable Advanced Edition content.
Bouncer (The Pinball)
Bouncers create chaos. They deal high collateral damage by knocking targets into buildings while simultaneously knocking themselves into other structures.
Strengths and Weaknesses
They create unexpected collision damage. However, they are extremely liable to knock themselves backward into a threat.
Strategy
Exploit their self knockback. Position them so their attack throws them into pits, water, or mountains.
Squad Synergies
- Rift Walkers: The Artillery Mech utilizes flexibility to send a Bouncer off course.
- Heat Sinkers: Boosted damage makes short work of Bouncers.
- Cataclysm: Create pits behind the Bouncer for an instant kill.
Gastropod (The Grappler)
Gastropods act like enemy Hook Mechs. They pull Mechs into pits or pull themselves directly next to you. They possess infinite range.
Strengths and Weaknesses
They pull Mechs into death traps. However, they are extremely likely to cause friendly fire.
Strategy
Treat them like Fireflies that pull. Squads that set up friendly fire work well here. A displaced Gastropod usually provides leverage to move another Vek.
Squad Synergies
- Steel Judoka: The Judo Mech lures them into grappling each other.
- Frozen Titans: The Aegis Mech turns the Gastropod around to pull its allies. The Ice Mech leverages the pull for mobility.
- Bombermechs: Use Bomblings to block the grapple shot.
- Cataclysm: The pull works in your favor to generate more pits for the enemy to enter.
Mosquito (The Smoker)
Mosquitos annoy you with smoke and flight. They become deadly when paired with webbers. If a Mosquito and a webber target the same Mech, that unit effectively shuts down.
Strengths and Weaknesses
They fly and create smoke. The Leader attack is a guaranteed full shutdown. However, they are susceptible to their own smoke.
Strategy
Keep the battlefield clear. If you leave them unchecked, they will smoke up the entire map. Bring a squad with fair durability.
Squad Synergies
- Rusting Hulks: Push the Mosquito into its own smoke to damage it.
- Blitzkrieg: They act as another useful component for creating circuits.
- Hazardous Mechs: Mosquitos serve as free sources of healing.
- Mist Eaters: Attacking this squad heals them instead of hurting them.
Moth (The Flying Pusher)
Moths function as better Scarabs. They have high health and cause collision issues. They hover over pits and remain hard to counter.
Strengths and Weaknesses
They push targets and fly. However, they are prone to bumping into obstacles once displaced.
Strategy
Use Force Amp to increase collision damage. Leverage their push to hurt other Vek.
Squad Synergies
- Rift Walkers: Throw the Moth off target while causing it to take greater damage from collisions.
- Steel Judoka: Put the Moth shot to work where you need it to throw the Vek into disarray.
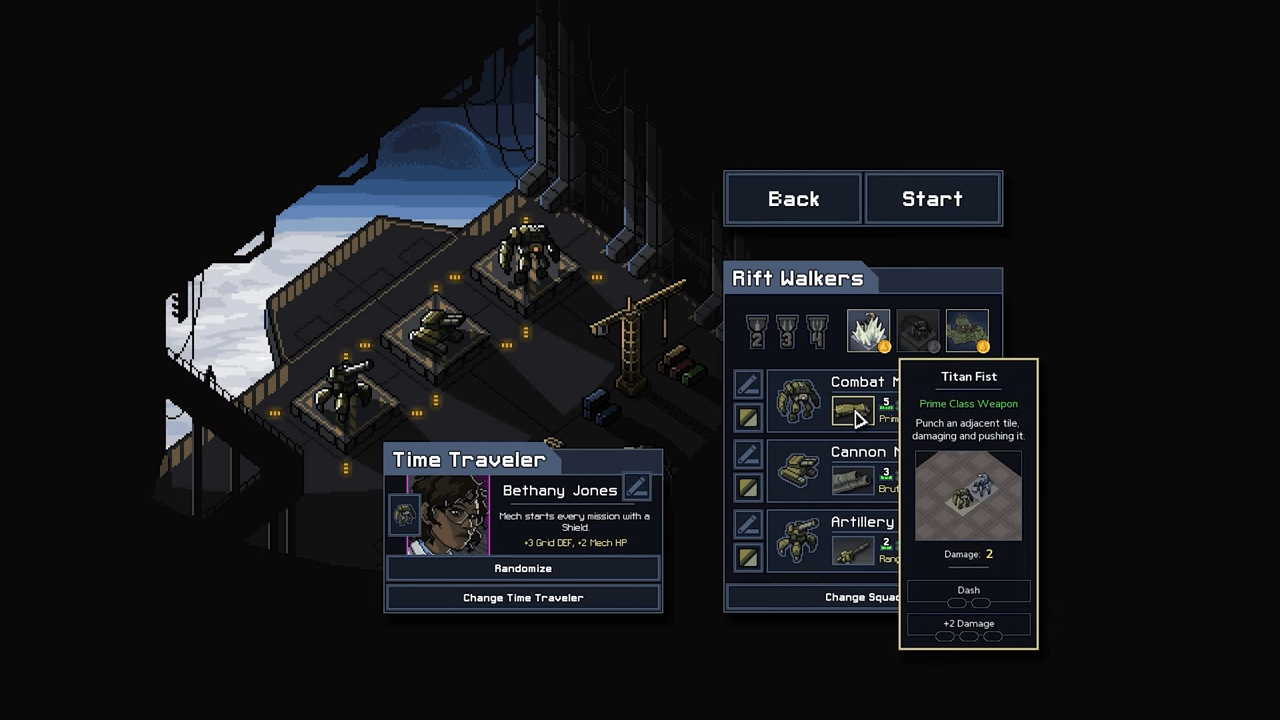
Advanced Edition Tier 2
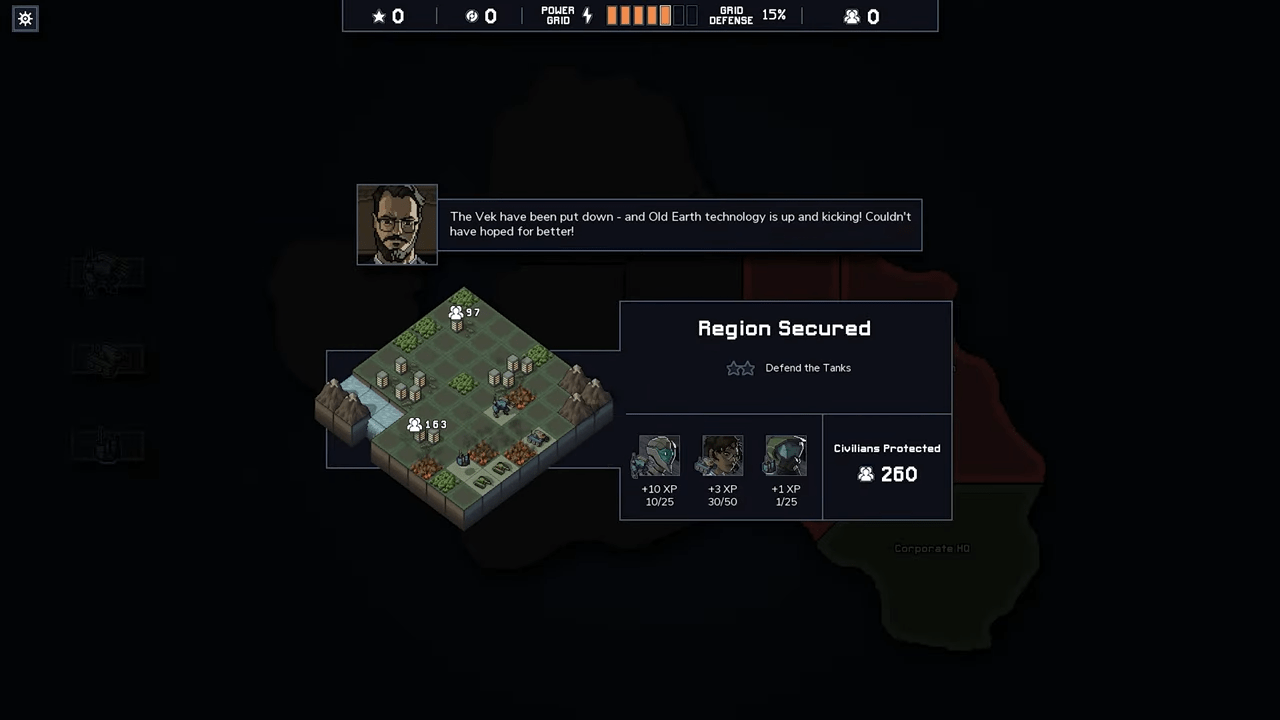
Plasmodia (The Spore Shooter)
These creatures summon a spore that fires a straight shot and then self destructs. They are slow and rarely threaten the grid directly unless ignored.
Strengths and Weaknesses
They possess excellent attack range. However, the spores are easy to disarm.
Strategy
Manipulate the spore. It counts as a unit, so you can move it or use it as a weapon against other Vek.
Squad Synergies
- Steel Judoka: The Gravity Mech manipulates where the spore fires without destroying it.
- Flame Behemoths: Coating the ground in fire ensures spores arrive dead.
- Arachnophiles: Spores act as Spiderling fodder.
- Cataclysm: Spores are hole fodder for the Drill Mech.
Starfish (The Diagonal Threat)
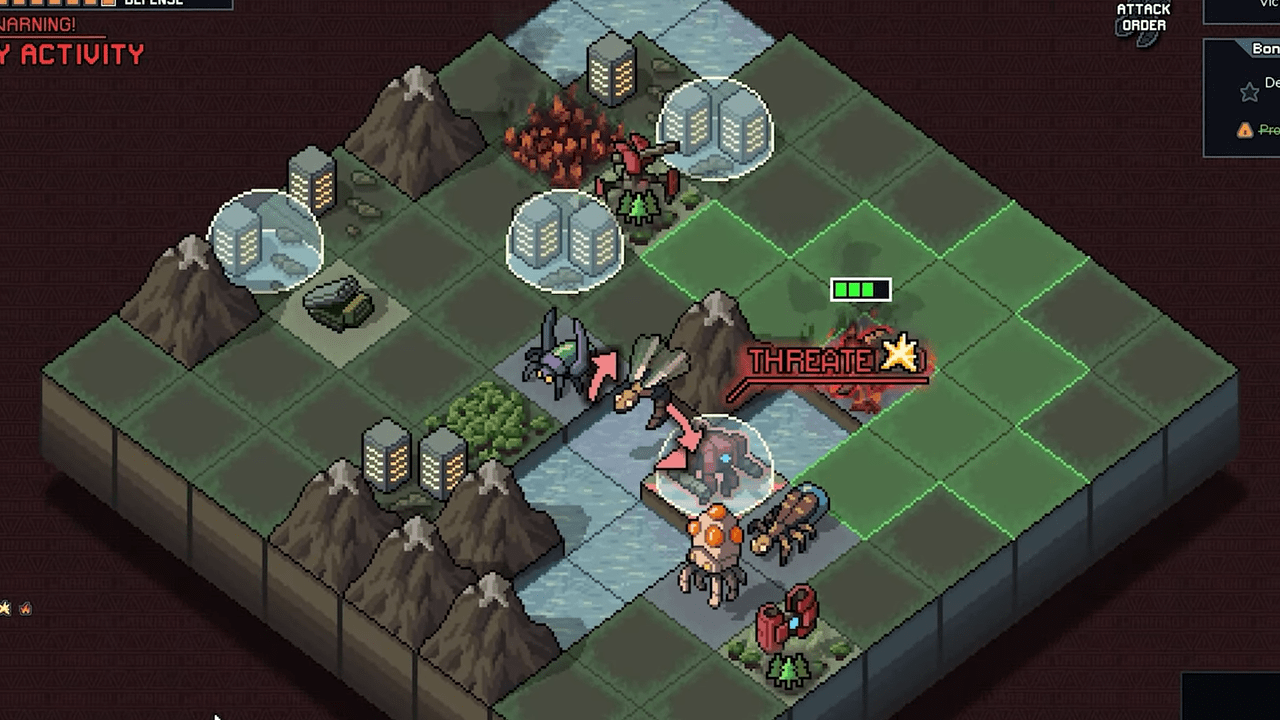
The Starfish has a unique attack pattern. It hits nothing but diagonals. Melee Mechs are safe from direct hits, but the grid is not. They ignore friendly fire and will happily kill their allies.
Strengths and Weaknesses
They hit a huge number of tiles. However, they are fragile and slow.
Strategy
They are fragile. Overwhelm them with damage rather than trying to displace them.
Squad Synergies
- Rusting Hulks: The Jet Mech instantly kills a basic Starfish.
- Blitzkrieg: The Starfish generates a tight circuit rich formation.
- Bombermechs: The Pierce Mech shines here as Starfish pack themselves densely.
- Mist Eaters: The Control Mech moves a Starfish out of a cluster easily.
Tumblebug (The Bomber)
Tumblebugs create explosive hazards. Even if you push the bug away, the rock remains and will eventually explode. They can chain these rocks to create massive blockades.
Strengths and Weaknesses
They create persistent threats. However, they always take damage from using their own gimmick.
Strategy
You must destroy the rock or the bug decisively. Shielding the rock prevents the explosion.
Squad Synergies
- Rift Walkers: Knock the Tumblebug away from its exploding quarry.
- Rusting Hulks: The Jet Mech prevents the detonating strike.
- Zenith Guard: The Defense Mech shields the rocks themselves to prevent the explosion.
- Steel Judoka: The Judo Mech displaces the rock safely.
- Bombermechs: Shoot the Tumblebug through its own rock with the Pierce Mech.
Psions
Psions appear on each island. Their buffs affect all enemies except themselves.

- Blast Psion: Enemies explode on death. This counters the Arachnophiles squad.
- Blood Psion: Enemies heal 1 HP per turn. This proves dangerous for low damage squads.
- Shell Psion: Grants armor to all enemies. Counter this with A.C.I.D. or fire.
- Soldier Psion: Grants +1 HP to all enemies. When the Psion dies, any enemy with only 1 HP dies instantly.
- Psion Tyrant: Damages your Mechs every turn. This Psion appears only on the finale island.
- Arachnid Psion (AE): Enemies spawn spider eggs on death. This helps greatly with “kill X enemies” missions.
- Raging Psion (AE): Enemies deal +1 Damage. Armored Mechs lose their advantage here.
- Smoldering Psion (AE): Enemies leave fire on death and do not take fire damage.
Psion Abomination: This boss applies the effects of Regeneration, HP increase, and Explode on Death all at once.
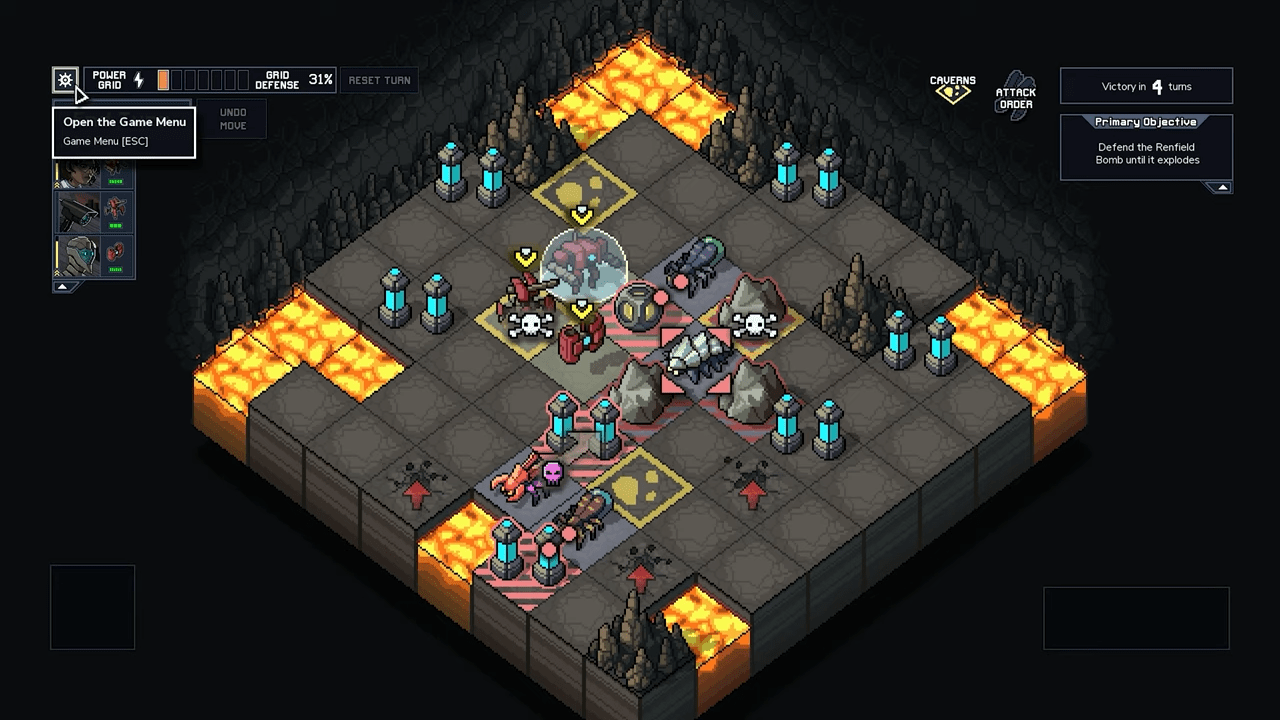
Pinnacle Robots and Bosses
Pinnacle Robots
Found only on the frozen Pinnacle island, these bots are glass cannons. They do not benefit from Psion buffs.

- Cannon Bot: Fires a damaging shot that starts fires.
- Artillery Bot: Fires missiles covering 3 tiles.
- Laser Bot: Fires a beam that decreases in damage over distance.
Bot Leader: This boss uses a shield and regeneration. It attacks with an Artillery style rocket. You must hit it twice in one turn to damage it effectively.
The Goo
This unique boss provides a target rich environment.
- Behavior: The large Goo splits into two Medium Goos upon death, which split into Small Goos.
- Tactic: It attempts to move into the space of its target. If it destroys your Mech or the building, it occupies that tile.
- Counter: Use wide area attacks to manage the swarm of smaller Goos.

Conclusion
Knowledge acts as your best weapon in Into the Breach. By recognizing these attack patterns and synergies, you turn the strength of the Vek against them. Choose your island based on which enemies your squad handles best, and you will secure victory for the grid.


Leave a Reply