

Last Updated on 2 December, 2025
Darkwood does not hold your hand. It actively tries to crush you. Steam stats show that less than 10% of players ever reach Chapter 2. This low success rate exists for a specific reason. Most survivors misunderstand the fundamental mechanics of defense. You likely rely on planks, nails, and simple barricades to protect yourself at night. You board up a window and pray. This strategy is a mistake. It is boring, weak and leads to death.
True survival requires a shift in perspective. You must stop looking at your hideout as a house. You must start viewing it as a physics puzzle. The carpentry in your room is not there for decoration. It is your primary weapon. Heavy wardrobes, cast-iron bathtubs, and solid tables offer far more protection than a few pieces of wood ever could. By manipulating the game’s physics engine, you can turn a flimsy shack into an unbreachable bunker. This guide will teach you the art of the furniture fortress. We will analyze your home, master the physics of movement, and build defenses that defy the horrors of the night.
Table of Contents
Phase 1: The Initial Analysis
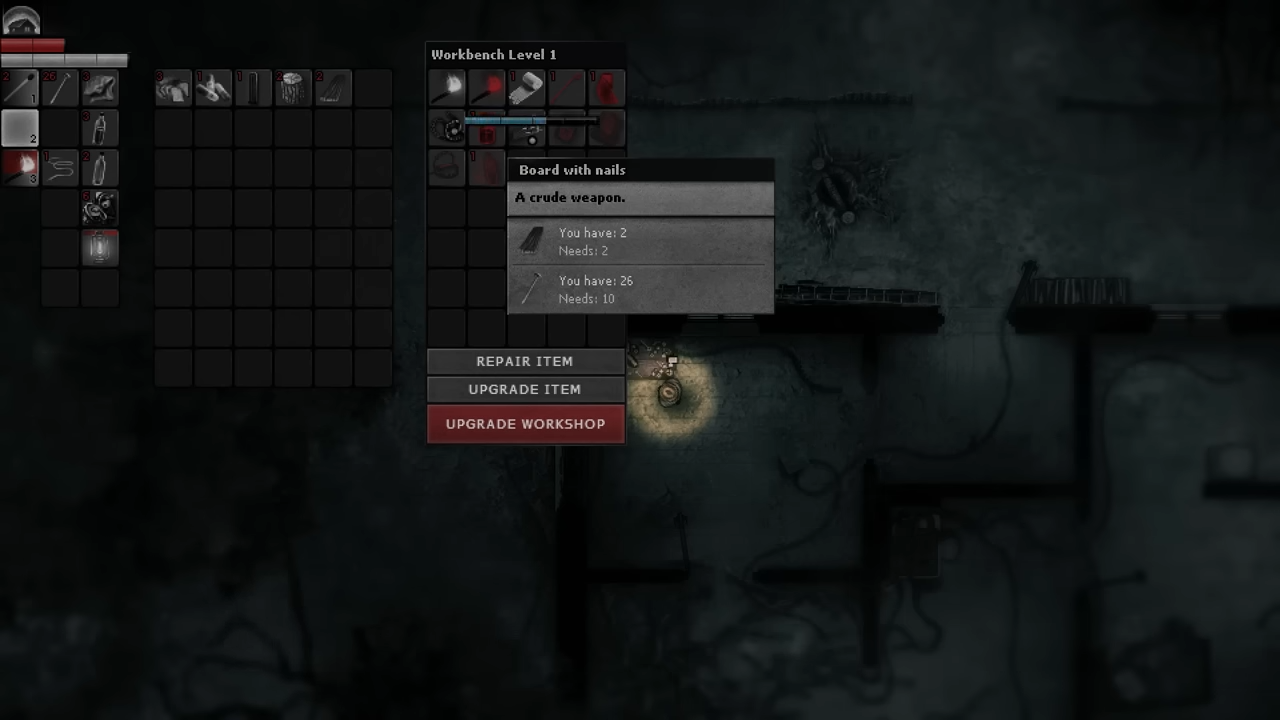
You enter a new hideout. The atmosphere feels heavy. You might feel a false sense of security because you see a workbench and a free mushroom cooker. Do not let this fool you. You are in immediate danger. Your first task is a complete structural audit of the property. You must survey every inch of your new home before the sun begins to set.

1. Identifying the Weaknesses
You need to identify every possible entry point. Doors and windows serve as the obvious invitations for the entities outside. However, you must look closer. Inspect the walls for large holes. A hole in the wall is just as dangerous as an open door. The homeless men in the forest will use these gaps to crawl into your sanctuary. You must spot these vulnerabilities early so you can plan your carpentry placement accordingly.
2. The Threat of Cracks
Pay strict attention to the condition of the walls. You will often find cracks in the wood. These fissures allow you to see outside. This visual connection works both ways. If you can see the trees, the horrors in the trees can see you. Silence and stealth are your greatest allies in Darkwood. A crack in the wall betrays your location. Light from your hideout will bleed through these cracks and alert the savages to your presence. You must note the location of every single crack. You will need to cover them with solid objects to maintain your stealth.
3. Inventory Your Defense
You must count your resources. Look at the furniture available in the house. Your survival depends on the number of heavy objects you possess. Do not solely rely on maps or images you found online. Darkwood uses random building orientation for its hideouts. So, even though all bases spawn with the same items, your house will look different from the houses in other playthroughs. You must adapt to the specific reality of your current save file.
4. The Garage Distraction
You might notice a generator shed or a garage disconnected from the main house. You must ignore these buildings. They are a trap for the inexperienced. You will never spend your nights in a detached garage. Securing a separate building wastes your valuable time and resources. Focus all your efforts on the main living quarters. The garage does not matter. The house is your only concern.
Phase 2: Violent Physics and Movement
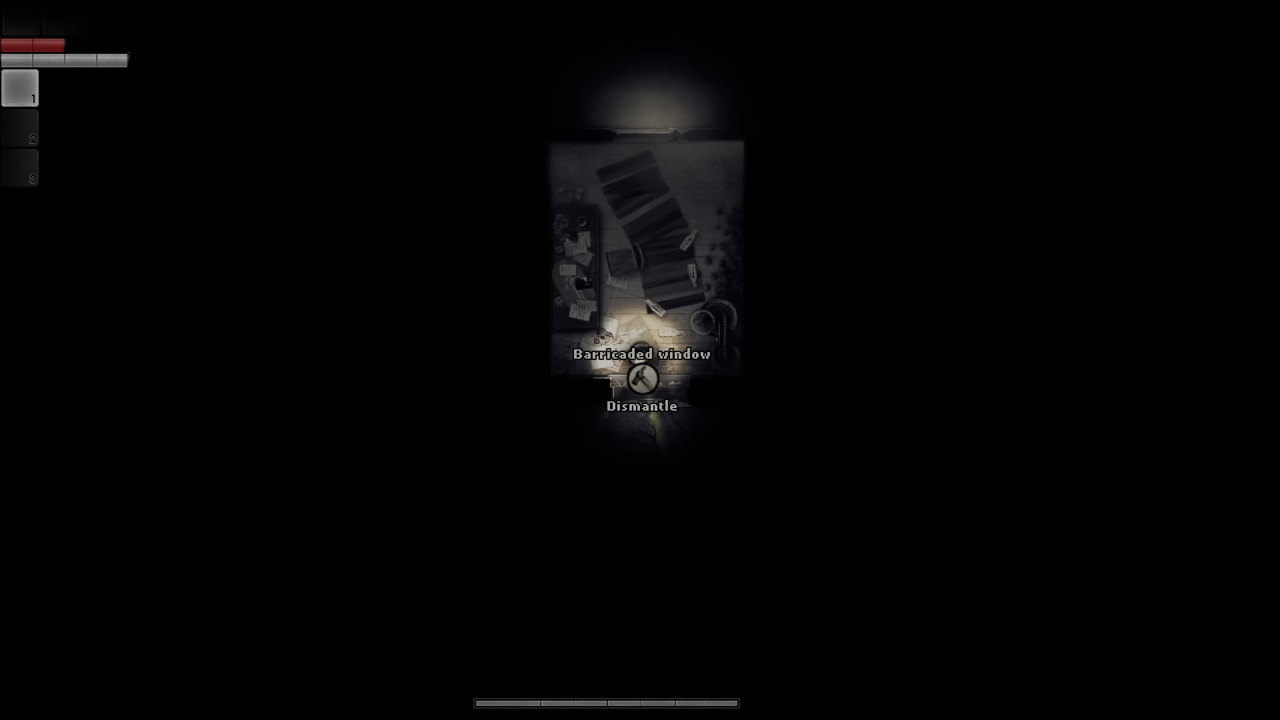
Speed determines your survival. The sun moves quickly. You have limited time to rearrange your house before nightfall. Most players waste precious minutes moving furniture incorrectly. They walk up to a wardrobe and drag it slowly across the floor. This method is inefficient. You need to apply force.

1. The Sprinting Method
You must treat furniture moving as a combat sport. Do not drag an object unless it gets stuck between trees or other geometry. Instead, you should use your character’s body weight as a battering ram. Position yourself fast and run violently into the carpentry. Aim in the direction you want the item to go. The impact of your sprint propels the object forward much faster than the standard drag animation. This technique allows you to reconfigure an entire room in seconds rather than minutes.
2. Managing Your Exhaustion
This method requires physical exertion. Your stamina bar will deplete rapidly as you slam into heavy oak cabinets. You cannot afford to be exhausted when an enemy attacks. You should carry stamina pills during your remodeling sessions. Pop a pill and keep moving. Peak performance is mandatory when you are racing against the dying light.
3. Navigating Hazards
You must exercise caution while pushing large objects. A tall wardrobe obscures your vision. You cannot see the floor directly in front of the object you are pushing. This creates a serious hazard. You might step on bear traps or poisonous mushrooms while sprinting blindly into a cabinet. This happens frequently to careless survivors. Clear your path before you begin the moving process. Check the floor for traps. Ensure the route is safe. Then, and only then, do you apply the force.
4. The 10% Commitment
You should dedicate a significant portion of your playtime to moving furniture. Allocating roughly 10% of your total game time to pushing wardrobes yields incredible results. Survivors who commit to this level of preparation often report zero deaths. You become a master of your environment and control the space. You deny the enemy the ability to navigate your home. This investment of time pays dividends in survival.

Phase 3: The Cult of the Tall Wardrobe
You will encounter many types of furniture in Darkwood, i.e. crates, tables, sofas. You must learn to distinguish the useful from the useless. One item stands above all others. The Tall Wardrobe is the king of defense.

1. Identifying the True Wardrobe
The game labels several items as Wardrobe. Do not let the text fool you. The short, light brown wardrobe is an inferior imitation. You want the tall, wide, black wardrobe. This specific item possesses the physical properties required for a perfect defense. It is heavy and large. It is the only furniture item worth dragging from a neighboring house.
2. The Physics of Light and Sight
The Tall Wardrobe offers superior coverage. Its height allows it to cover the cracks and holes in your walls effectively. This prevents the enemies outside from spotting you. Windows present a unique challenge. Even if you barricade a window with planks, light can still leak through the gaps. This light attracts danger. You must place a Tall Wardrobe in front of the window to block this light completely. The wardrobe acts as a blackout curtain. It ensures that your hideout remains dark and undetected from the outside.
3. The Efficiency of Storage
You constantly struggle for inventory space in this game. Most containers offer limited slots. The Tall Wardrobe typically provides eight storage slots. This capacity doubles the utility of standard carpentry. You solve your storage crisis and your defense crisis simultaneously. You can store your extra supplies inside the very wall that protects you.
4. The Plants vs. Zombies Analogy
Think of the Tall Wardrobe as your peashooter. It is the fundamental unit of your defense. It is iconic and reliable. You should aim to possess at least three Tall Wardrobes in your base at any time. If your hideout lacks them, you go out and find them. You drag them back. You do not settle for less.

Phase 4: The Geometry of Barricades
You must stop relying on boring barricading. Planks and nails serve as a secondary measure. Your primary shield is geometry. You must create structures that physics cannot defeat.
1. The No Wiggle Room Philosophy
Enemies can move furniture if there is space for the object to slide. Your goal is to eliminate all space. You create an unmovable wall by connecting furniture between two structural walls, and place a heavy item against one wall. You place subsequent items tightly against the first, and ensure the final item presses firmly against the opposite wall. This creates a solid line. When an enemy pushes from the outside, the force transfers through the line into the immovable walls of the house. The barricade holds because it has nowhere to go.
2. The Silent Forest Setup
The Silent Forest hideout offers the perfect geometry for this technique. You can secure the top left door with a specific combination of items. You need a wardrobe, a sofa, and exactly two trashcans. Then, you arrange these four items in a straight line that connects the walls on either side of the door. This setup removes all wiggle room. The door becomes a solid wall. You can only open it by pulling the furniture away from the inside. No amount of force from the outside can break this seal.
3. Reinforcing with Weight
Sometimes you need to reinforce a specific weak point. You can back up a wardrobe with a table. You can then reinforce the table with a bathtub. The cast-iron bathtub is incredibly heavy. It adds massive friction to the setup. The bathtub stops the table. The table stops the wardrobe. The wardrobe stops the door. You create a complex chain of resistance that confuses and blocks the AI pathfinding.
4. Strategic Distractions
Your defense extends to the exterior of the house. You can place furniture outside your windows to disrupt enemy movement. A couch or a crate placed in front of a window serves as a distraction. The enemies must deal with the obstacle before they can attack the barricade. You should also place bear traps on the inner side of your windows and reinforced doors. However, be careful. Do not place traps in your own walking paths. You will step on them. You will feel foolish. Place them where only the enemy will tread.
5. The One-Door Policy
You cannot defend every door. You must choose one entrance for your own use. The bottom left door of the Silent Forest hideout works well for this. You barricade this door with a single wardrobe. When you need to leave, you drag it aside. When you return, you pull the wardrobe tight against the doorframe. If you position it correctly, the door cannot swing open. You lock yourself inside a vault of your own making.
Phase 5: Choosing Your Battlefield
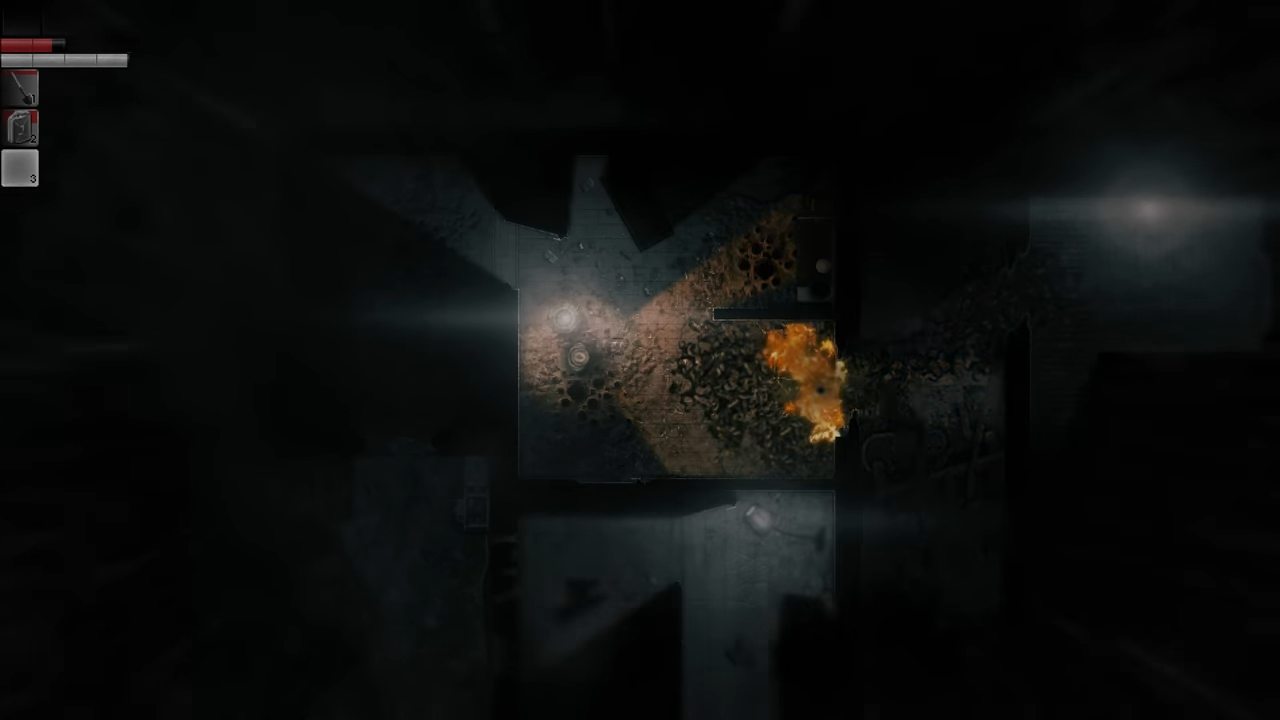
Your strategy depends heavily on your location. Each hideout offers different advantages and distinct disadvantages. You must choose wisely.
1. The Dry Meadow: A Waste of Time
You should avoid building a permanent base in the Dry Meadow. The house is small and pathetic. It makes a poor fortress. The general area lacks sufficient furniture. You cannot build a wall without bricks, and you cannot build a furniture fortress without wardrobes. Do not waste your time here. Move on to better grounds as soon as you are able.
2. The Silent Forest: Barricade Heaven
The Silent Forest hideout represents the pinnacle of defensive potential. The layout supports the no wiggle room strategy perfectly. You can lock down the main room, preferably the one with the workbench, and turn it into an impenetrable SCP-style containment unit. This is where you will perfect your craft. This is where you will survive.
3. The Old Woods: A Structural Nightmare
You might believe that progressing to the Old Woods means getting a better house. You are wrong. This hideout is a deathtrap. The structure suffers from millions of cracks in the walls. You cannot possibly cover them all. The house contains immovable wall lamps that interfere with your furniture placement. You cannot move them. You cannot work around them.
The Old Woods house is simply too large. It has too many windows and too many holes. You will run out of resources trying to secure the perimeter. The enemies in this region are significantly faster and stronger. They will exploit the gaps in your defense. The only positive trait of this hideout is the oven, which boasts an efficiency rating of 14. This is a high number. However, a good oven does not matter if you are dead.
4. Desperate Measures
If you have no choice but to stay in the Old Woods, you must play defensively. Drag Tall Wardrobes from every nearby house. Use them to cover the largest cracks. Pull wardrobes in front of your doors every night. Huddle in the workbench room and watch the cracks for movement. But the best advice remains simple: do not live here.

Conclusion
Carpentry and furniture is the ultimate tool in Darkwood. You’ve learned the flaws of the Dry Meadow and the Old Woods. You’ve learned the specific, geometry-defying layouts of the Silent Forest. You understand why the Tall Wardrobe is superior to all other containers.

You must now take this knowledge into the game. Do not be part of the 90% who fail to reach Chapter 2. Be the physics master. Analyze your home. Sprint into your wardrobes. Create the straight lines that deny entry to the savages. Build your fortress, and you will never die.

Leave a Reply