

Last Updated on 13 January, 2026
The King is Watching looks deceptively simple but hides a brutal economic puzzle that punishes even the slightest resource mismanagement. This guide solves those frustrations by breaking down advanced strategies to turn your struggling kingdom into an unstoppably wealthy empire. We will show you exactly how to exploit the Goose Rider artifact for free units and execute a specific King Alucard setup to print over 400 Town Denarii in a single run.
Table of Contents
- Mastering the Waves: Prophecy and Balance
- Economic Foundations: The Rush for Advanced Production
- The Magic School Strategy: Kitchen Sinking the Boss
- The Goose Rider Exploit: Free Tier 3 Units
- Map Management: Handling Debuffs and Tiles
- The 400+ Town Denarii Guide: The Setup
- The 400+ Town Denarii Guide: Execution and Map
- The 400+ Town Denarii Guide: The Saladin Alternative
- The Vault Key: Save Editing and Meta Currency
- Conclusion
Mastering the Waves: Prophecy and Balance
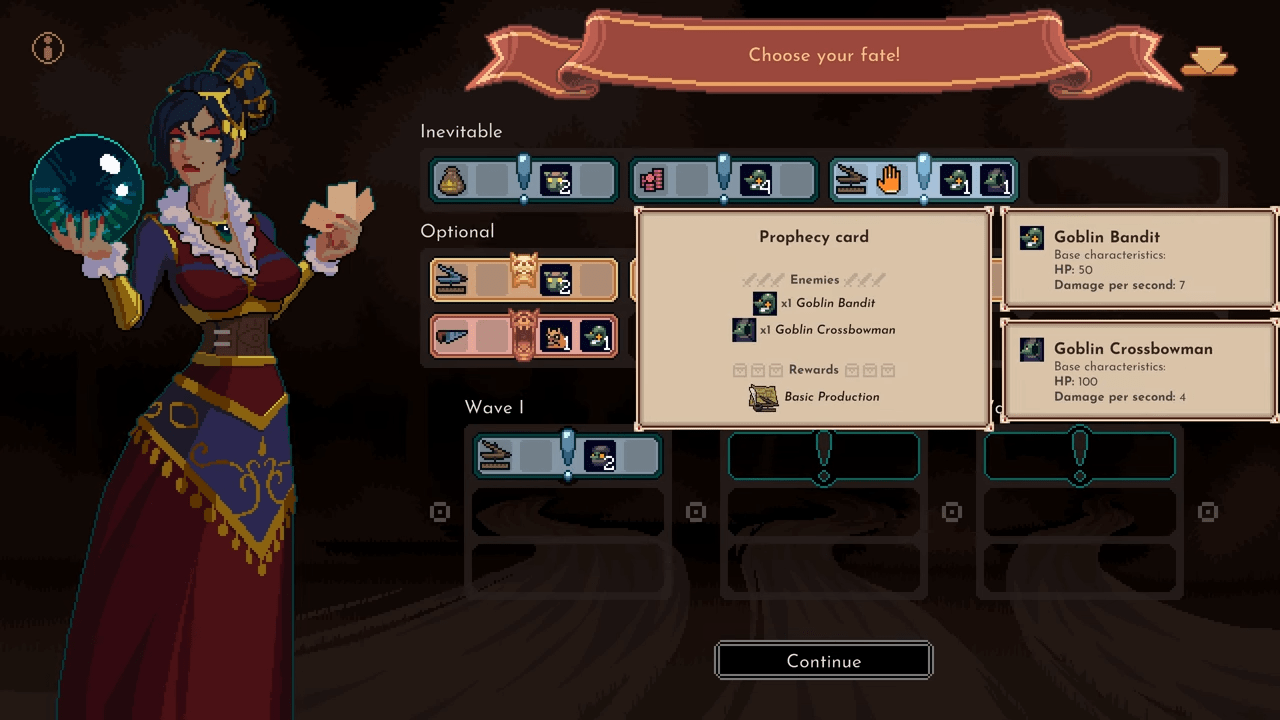
The temptation to take on every challenge the game throws at you is strong. You see an optional wave, you see a reward, and you want to grab it. However, veteran players know that greed acts as the quickest path to a “Game Over” screen. One of the most critical lessons involves the importance of balance regarding Prophecy Optional Waves.
The Danger of Overestimation
It is incredibly easy to overwhelm yourself. You might look at your current army and think you are invincible. However, if you overestimate your troops’ capabilities, a massive optional wave will crush you. Striking a perfect balance with these optional waves defines one of the biggest plays you need to make during any run. It sets your pacing. If you take too much, you die. If you take too little, you starve for rewards. You must find the middle ground.
The First Prophecy Rule
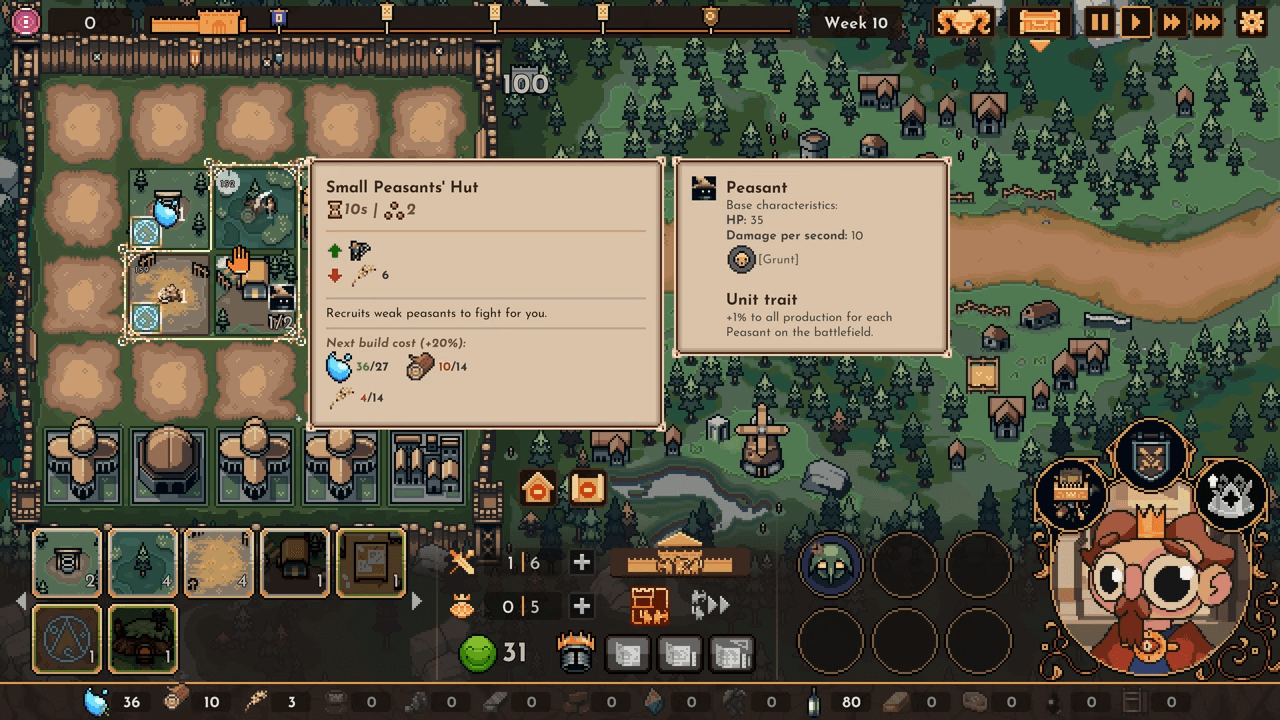
We recommend a strict rule for the early game. For the first prophecy, you should engage with at most one optional wave. Do not push your luck beyond that single challenge. After you clear that optional wave, focus entirely on essential waves before the boss appears.
Why do we suggest this? You need time. By sticking to essential waves leading up to the boss fight, you grant yourself a window to replenish your troops. If you take on too many optional fights, you enter the boss arena with a battered army and zero resources. Give your production lines time to breathe and refill your ranks before the main event.
Economic Foundations: The Rush for Advanced Production
If you remain stuck building basic units forever, you will lose. The game forces you to transition into higher-tier units to survive the scaling difficulty. To do this, you must secure Advanced Production capabilities as soon as possible.
The Resource Bottleneck
A significant number of Tier 2 and Tier 3 troops require specific, hard-to-get materials. Specifically, you will need Iron Bars and Fuels. You cannot produce powerful armies with simple wood and stone forever. Therefore, anytime you come across optional waves that list Advanced Production as a reward, you should consider getting those immediately. Prioritize these rewards over almost anything else in the early game.
Shop Priorities
The earlier you set up your Advanced Production, the easier your transition into Tier 2 and Tier 3 troops will be. If you delay this, you will find yourself floating basic resources while your enemies outclass your soldiers.
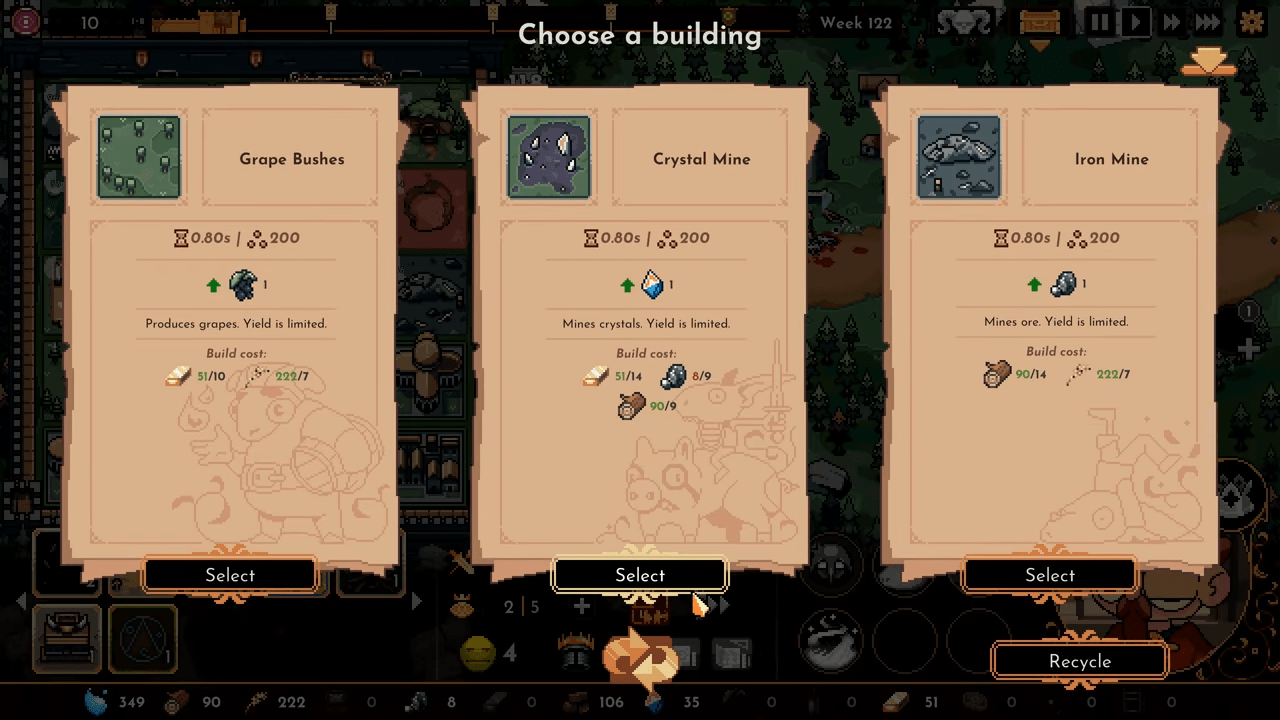
You must also keep a sharp lookout for Advanced Production items inside the shops. It is almost always ideal to purchase these facilities before you buy artifacts. While artifacts look flashy and fun, they do not solve the resource bottleneck. Unless the shop offers a truly god-tier artifact that defines your build, buy the production upgrade first. Your late-game army will thank you.
The Magic School Strategy: Kitchen Sinking the Boss
Many players overlook the Magic School and College facilities because they seem expensive or slow. This is a mistake. The Magic School actually performs better than you think, and it serves as a tremendous force multiplier if you understand how to utilize the spell cycle.
The Investment
Building these two facilities acts as a bit of an investment. You need to commit resources to get them running. However, spells possess some tremendous effects on the battlefield that can turn a losing fight into a decisive victory. This becomes a worthwhile investment if you have a good amount of Crystal to fuel them. It becomes doubly worthwhile if you manage to secure an upgrade that allows you to choose specific spells from the facilities.
The Infinite Spell Cycle
Here is why this strategy works. After a spell completes a cycle, it does not disappear. It stays as a reward for you to choose on the side of your screen. This mechanic allows you to stockpile power. You technically can have more than six spells ready and waiting.
We call this kitchen-sinking the boss. You simply let the spells accumulate during the easier waves. Then, when the boss arrives, you unleash everything at once. We have seen runs where a player had nine spells waiting as rewards on the side. When they activated them all, the boss legit stood no chances. If you want to trivialize prophecy waves or melt bosses, start investing in your magic education.
The Goose Rider Exploit: Free Tier 3 Units
There exists a cheeky trick involving a specific legendary artifact that can give you a massive army of high-tier units for almost free. This strategy relies on the interaction between temporary units and training facilities.
The Artifact Interaction
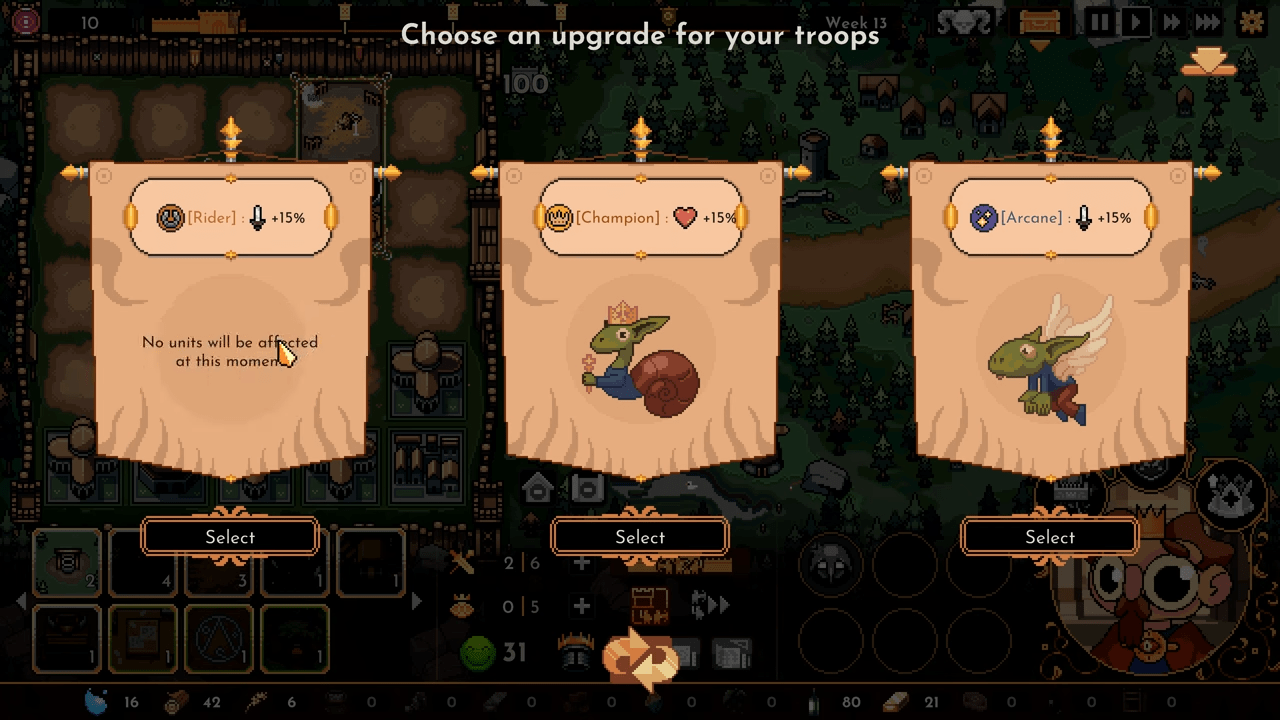
The key to this strategy utilizes the Goose Rider artifact. This legendary item spawns temporary Goose Riders each time a wave arrives. Usually, these act as fleeting reinforcements that disappear or die quickly. However, the game logic considers these temporary troops as your troops.
Converting Temporary to Permanent
If you just so happen to have a Goose Hydra Nest and a way to obtain meat, you can exploit this. When the temporary Goose Rider spawns, the Goose Hydra Nest can pick it up to train it into a Goose Hydra.
The catch is that the Goose Rider might run into battle and get themselves killed before the training finishes. Do not worry about this. The training cycle simply stops if the Goose Rider dies. You do not lose the progress permanently. The next time a wave arrives and the artifact spawns another temporary Goose Rider, the training continues. Eventually, you can get yourself some almost free big ducks. You convert a temporary, fleeting unit into a permanent powerhouse.
Map Management: Handling Debuffs and Tiles
Every run throws random elements at you to disrupt your plans. One of the most frustrating elements involves the red debuff tile.
The Tile Enchanter Fix
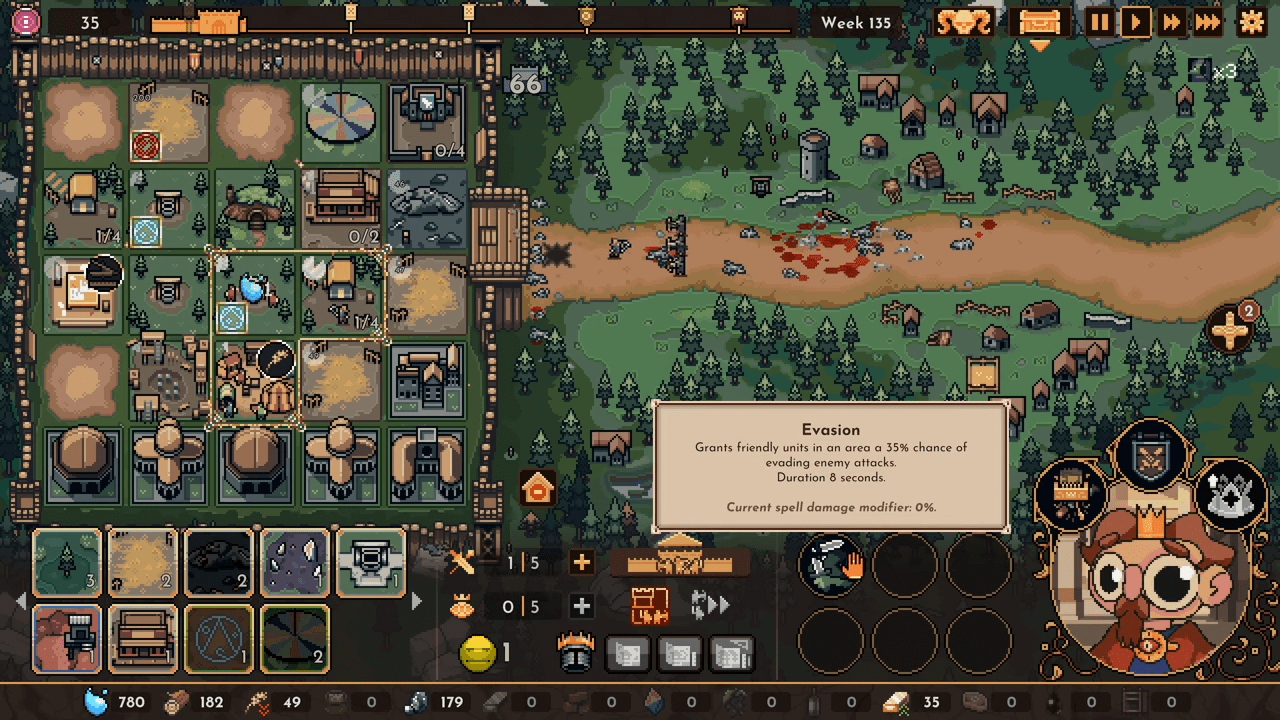
Every run ensures you will have a random red debuff tile somewhere in your kingdom. Do you hate that? We certainly do. It disrupts building placement and creates a dead zone in your territory.
Fortunately, there is a simple solution. You can cover it with the starting Tile Enchanter. By placing the enchanter directly over the red debuff tile, you effectively neutralize the threat and reclaim that space for your kingdom. Never let a bad tile ruin your layout again.
The 400+ Town Denarii Guide: The Setup
Now we move to the advanced meta-gaming section of this guide. You want to unlock your meta-progression quickly. You want Town Denarii. We have a strategy that consistently prints over 400+ Town Denarii on top of your standard reward for winning a run.
The Requirements
This strategy requires late-game unlocks. You cannot do this on a fresh save file. Ensure you have the following prerequisites met before attempting this run:
- Advisor Sophy: Unlocked.
- King Alucard: Unlocked.
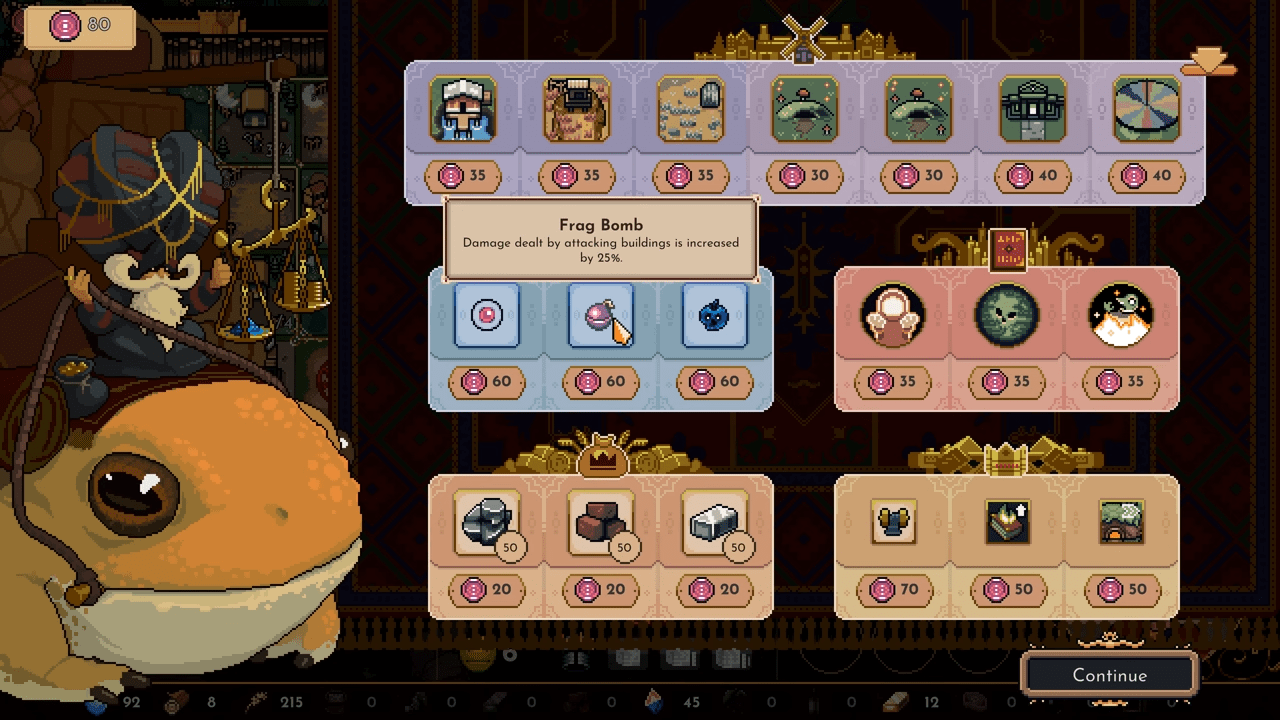
- Graveyard Map: Unlocked.
The Core Concept
The plan involves picking an easy difficulty, such as Level 2 or 3. You need the game to be forgiving enough to allow you to ignore standard military production.
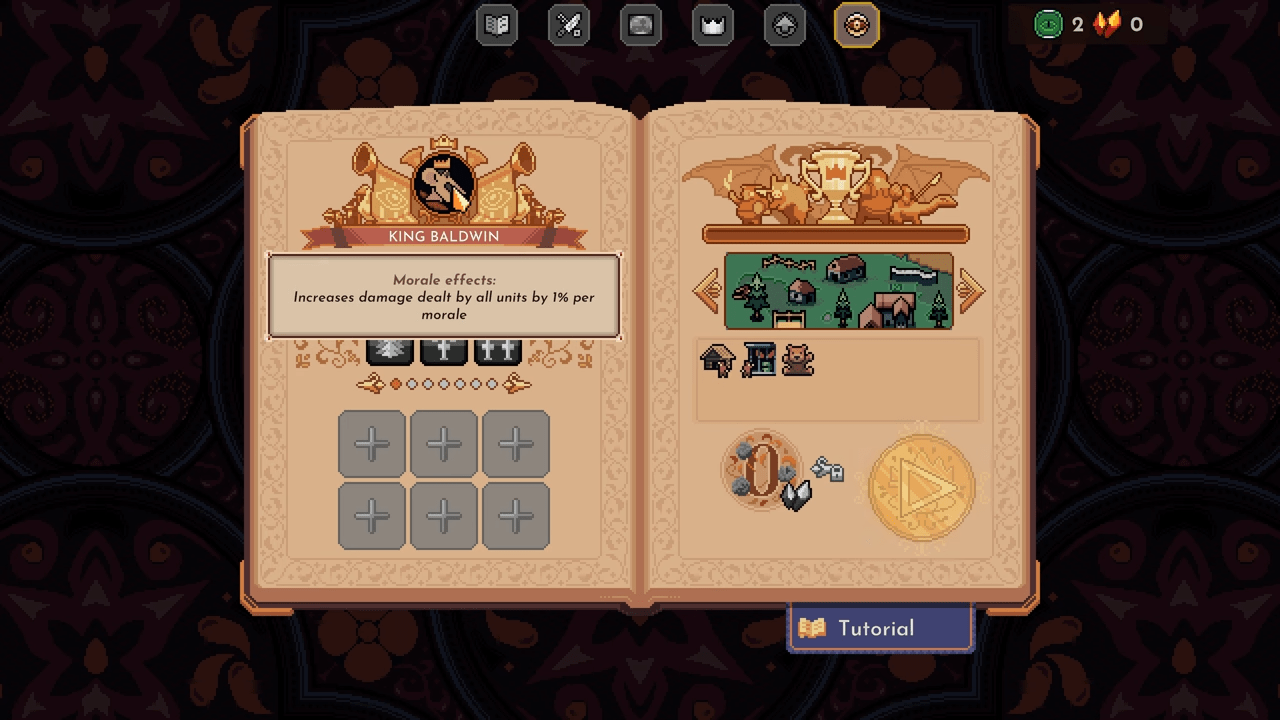
You will invest the minimum amount of resources into producing units. Since you play as King Alucard, you can create an army just by using his abilities. You need to have his abilities fully upgraded by the middle of Act 2. This allows your economy to focus entirely on money printing while Alucard handles the defense personally.
Sustain and Survival
Even Alucard needs help. You must get some healing to sustain your army. Ideally, you want Healers and at least one Hospital. For your army to survive, look for healers when you still have the capacity to add units to the army. The army usually snowballs on its own, and you often cannot add units to it around the halfway point of Act 2.
At least one hospital is recommended. If you have the time and space, you can have another hospital and apply some seals to them to boost their production. This ensures your free army stays alive to protect your economy.
The 400+ Town Denarii Guide: Execution and Map
Once you have survived the early game, you need to set up the engine that prints money. This starts at the beginning of Act 3.
The Economic Engine
You need a specific building setup to generate the furniture required to sell for Town Denarii.
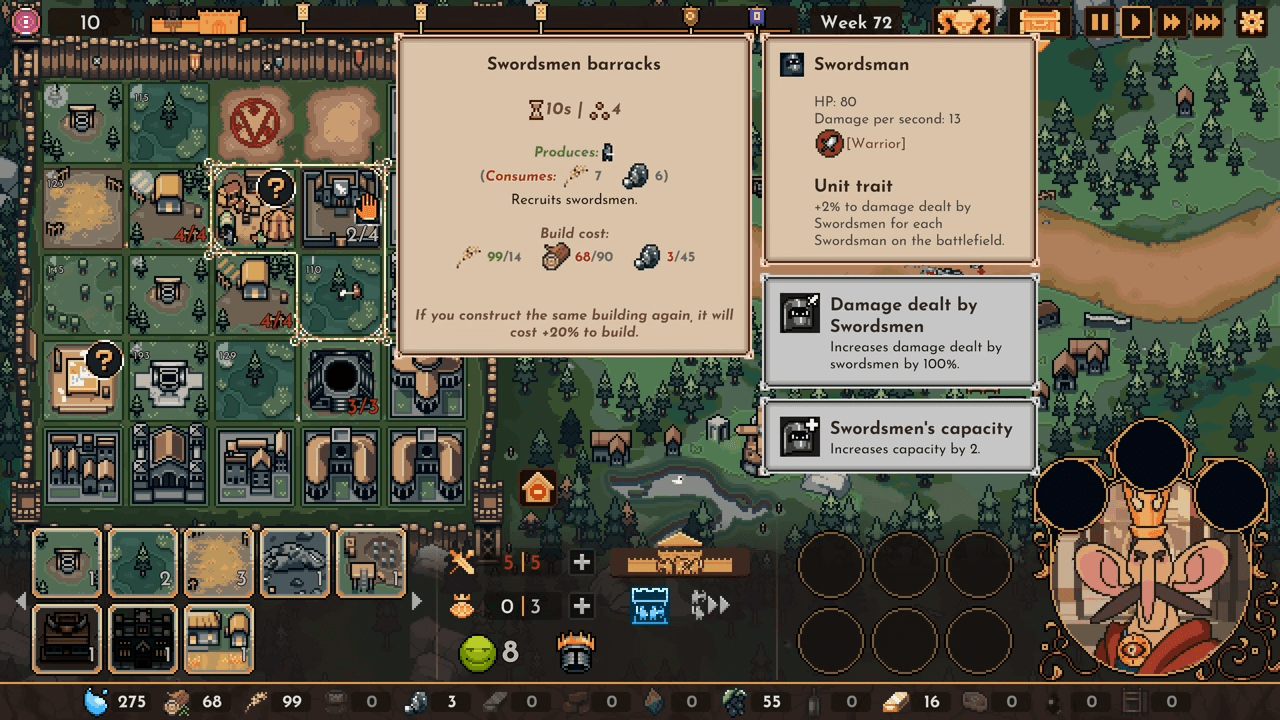
- 1 Carpentry: This must have both upgrades. It must sit on a golden tile provided by a Legendary Tile Enchanter.
- 2 Furniture Stores: Both must have the boost production upgrade at least.
Advisor Sophy allows you to look for all the buildings required for this run. With this setup, you should be able to print about 400+ Town Denarii extra. We have replicated this a few times, and the results remain consistent.
The Graveyard Advantage
We pick the Graveyard as the map for this play because it has an extra shop where you can buy upgrades and undead units. It gives you more opportunity to find the specific upgrades needed for the Carpentry and Furniture Stores. Furthermore, the undead units scale perfectly with Alucard’s army.
Note: Focus on looting the tombs on the right side of the map. They grant 20 relics instead of the 10 relics you get from looting those on the left.
Manipulating the Upgrade Pool
To have a better chance to get the upgrades on the Carpentry and Furniture Store, you must manipulate the RNG.
- Limit the Pool: Sell the blueprints of buildings you do not want to use. If you do not need the Magic School or an established production line, sell them.
- Focus Production: If you pick a building to produce units, only take that specific building. Do not diversify. This keeps the upgrade pool small.
- Buy Junk: If you have the resources, buy upgrades you do not need. This ensures you do not see them again in later shops, increasing the odds that the shops will offer the furniture upgrades you actually want.
Resource Planning
This strategy is expensive. To get 400 Town Denarii with a fully upgraded Carpentry, you will need about 3,000 Wood and 2,000 Ingots. Plan accordingly. Also, remember that the Carpentry and Furniture Stores require more than 200 Clay just for construction. Have it prepped before Act 3 starts.
Having a Monument to the King Gaze helps immensely to keep producing the resources needed for the selling of furniture. Of course, two King Gazes works better than one.
Balancing the Stores
The more production boost you have, the more difficult it acts to balance one Carpentry and two Stores.
- Sawmill Method: Using the Sawmill upgrade on the Carpentry can almost produce enough for the two stores, but not quite. If you use this method, start by building one Carpentry and one Store. Build some stock of furniture, then add the second store.
- Monument Method: Have one Carpentry and one Store running all the time. Keep the second store under the Monument to the King Gaze effect. During fights, move your monument to your healing side. This leaves only one Carpentry and one Store running, allowing you to build back stock.
- Double Up Method: If you can, the simpler solution is just to build two Carpentries and two Stores. In that case, the stores should have stronger production boosts than the Carpentries so you do not create too much excess stock.
Critical Warning: The 10 Furniture Rule
The Furniture Store cooldown starts only when there are at least 10 furniture in inventory. This applies even if you have two stores, which uses 20 furniture total. Make sure you always have at least 10 furniture and enough production to sell 20. Otherwise, one of the shops will stop selling, and they will alternate selling rather than selling simultaneously. You will lose a lot of Town Denarii this way. Check your setup works before running it for the whole of Act 3.
The 400+ Town Denarii Guide: The Saladin Alternative
If you do not have Alucard or prefer a different playstyle, there is a solution using King Saladin. The plan remains largely the same, but you can expect to get a bit less Town Denarii (about 300).
Finding the Blueprints
We actually discovered this strategy first using King Saladin. We were able to have the one Carpentry and the two Furniture Stores fully upgraded and running by the beginning of Act 3. While we felt it acted as a lucky shot initially, we think players can replicate it.
The first ability of King Saladin acts almost like the effect of Advisor Sophy. You should spam it to find the Carpentry and Furniture Stores as soon as possible. Having them early gets you more chances to get upgrades for them throughout the run. Additionally, the King Statue might help if you have problems finding the blueprints.
The Vault Key: Save Editing and Meta Currency
Sometimes you do not want to grind. You want to experiment, or you simply value your time. For those who want unlimited resources, there is a way to edit your save file. Note that we are not the best fans of just grinding runs, as time equals money. This method has not been tested with achievements, but normally, it should not impact them.
Accessing the Data
To begin, you need to navigate to the game’s save directory on your computer. You will find it at the following location:
\AppData\Local\The_king_is_watching_steam\Release
This folder sits under your user directory. Alternatively, you can paste this path into your file explorer:
\%UserProfile%\AppData\Local\The_king_is_watching_steam\Release
Editing the Meta Resources
- Backup: Before doing anything, create a backup copy of
savedata.dat. This is critical. - Open: Open
savedata.datwith a text editor like Notepad or Wordpad. - Locate: Look for the section labeled
"meta_resources". - Edit: You will see entries for
"star":XX.0and"meta_crystal":YY.0. You can put your desired amount of resources instead of the existing numbers. - Save: Save your file.
You can do the same with challenges and meta-progression, as they both reside under the same folder.
Editing a Live Run
This logic also applies to your current active run. You can save and exit the run, then edit your run_data.dat file. It resides in the same directory. This allows you to modify stuff ranging from resources to unit limits during a game.
run_data.dat in the same folder. This allows you to change unit limits and resources mid-game without starting over.Conclusion
Mastering this game requires you to treat your kingdom as a complex economic engine rather than just a military fortress. By prioritizing advanced production over flashy artifacts and utilizing our specific strategies for the Magic School, you can finally overcome the brutal difficulty spikes that ruin most runs. Take these economic blueprints and our save file editing tips to ensure your reign remains long and profitable.

Leave a Reply