

Last Updated on 30 January, 2026
Total Chaos plunges you into an unforgiving survival horror nightmare where ammunition is a luxury and a single mistake often leads to a gruesome end. This guide equips you with the essential combat strategies required to master the parry system and exploit the fatal weaknesses of every monster you encounter. We solve the problem of scarce resources by teaching you exactly when to fight and how to win without firing a single shot.
Table of Contents
Combat Fundamentals: The Path to Power
Before we discuss specific monstrosities, we must address how you handle yourself in the moment. The difference between a novice and a master in Total Chaos lies in three specific areas: parrying, positioning, and inventory management. Mastering these basics will trivialize nearly every encounter you face.
Parry Mastery and the Sweet Spot
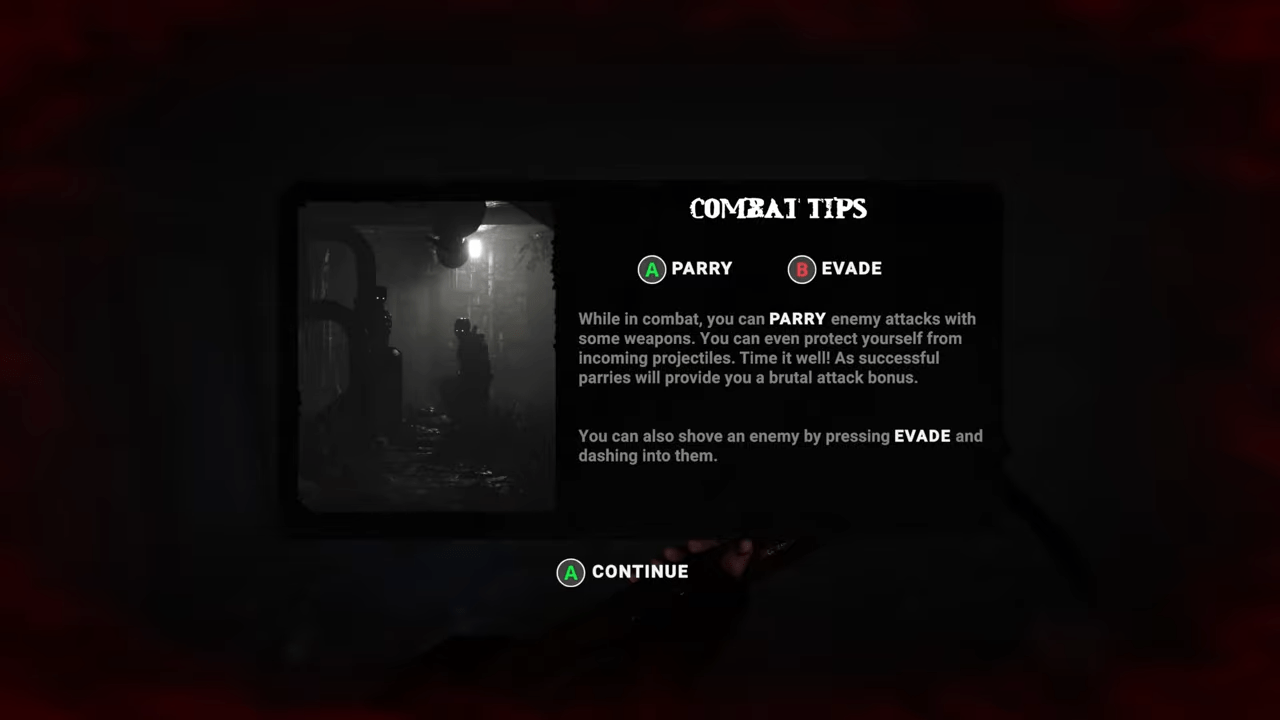
If you learn nothing else from this guide, learn to parry. This single mechanic is the key to breaking the game’s difficulty. You can parry almost every attack thrown your way, and the immunity window is surprisingly generous. However, blocking damage is only half the benefit. You need to find the sweet spot during the swing of your parry animation.
When you hit this perfect timing, your character gains a momentary damage boost. This buff does not last long. You have barely enough time to wind up a Level 2 charge swing, but the payout is massive. A standard pickaxe with a Level 2 charge can one-tap a Brute if you have the boost. If you mistime your parry, do not panic. Develop the habit of immediately dodging backward to save your skin. Just remember that a parry only blocks a single instance of damage. During the wind-down animation, you are vulnerable. If a second enemy attacks immediately after the first, you will get hit.
Corner Tactics and Line of Sight
Many players fall into a common trap. They try to fight in the open. The enemy AI is reactive. If a Brute sees you charging a weapon in the middle of a room, it will punish you by throwing an object to interrupt your attack. You can completely negate this behavior by fighting around corners.
Break the line of sight. Charge your heavy attack while you are hidden behind a wall. As the enemy rounds the corner to find you, release the attack. This forces them to walk directly into your swing without giving them the chance to react or throw projectiles.
Weapon Roles and Durability Management
Not all weapons serve the same purpose. Light weapons, such as knives and small hammers, might seem useful, but they fall off significantly in the mid-game. They suffer from low durability and do not gain significant benefits from parry damage boosts. Heavy weapons are the superior choice for combat. Use light weapons strictly for utility, such as breaking crates or throwing them to stun enemies, to save the durability of your heavy hitters.
Throwables and guns also have specific roles. Throwables are for breathing room. Use them to stun one enemy in a group so you can focus on another. Guns are your panic button. Ammo is scarce, so save your bullets for large hordes or unwinnable situations. Never waste a bullet on an enemy you can kill with a hammer.
The Bestiary Part I: Common Nightmares
Brutes
These are the basic enemies you will encounter most often. They serve as excellent practice for your parry timing. They generally operate in two modes. In Walking Mode, they attack slowly or throw objects. In Sprinting Mode, they run straight at you and unleash a quick melee follow-up.
Never charge an attack in the open against a Brute. They will react by throwing something at you. If you get caught charging, cancel it into a sideways dodge. Their close-range attacks are slow and rhythmic. Learn the timing, get the parry boost, and put them down with a single Level 2 charge.
Drifters
These floating electric enemies can be annoying, but they are physically weak. They almost always start a fight with a long-distance lunge. This move is highly predictable. Parry the lunge and counter with a boosted Level 1 charge or a normal Level 2 charge to kill them. Be careful of their close-range attacks, as those are much faster and harder to read.
Spiders
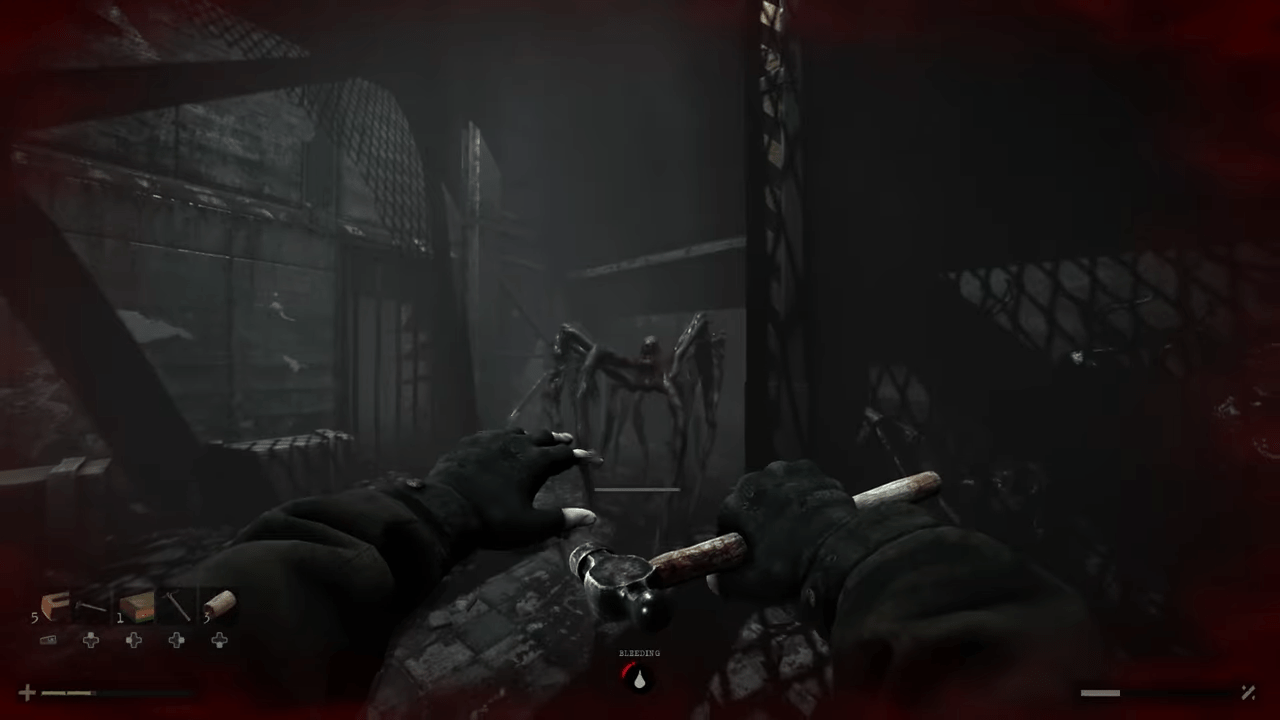
Spiders are tanky, dangerous, and rarely travel alone. At a distance, they use a web spit attack that blinds and slows you. Even if you parry the spit, they often follow up instantly with a rapid sprint and melee combo. Your best bet is to catch them sleeping.
If you find two sleeping spiders, hit the first one with a Level 2 charge. Immediately throw an object at the second one to stun it. Finish the first spider before turning your attention to the stunned one. If there are more than two, kill the first with melee and use a firearm to thin the herd. You cannot afford to fight a swarm of these with just a pickaxe.
Screamers
You will find this invisible enemy in the Chapter 2 graveyard. While intimidating, it is very fragile. Listen for sound cues and breaking crates to track its position. Throw an object to pinpoint exactly where it is.
In Standard Mode, a single shotgun blast will solve the problem. In Survivalist Mode, avoid using your strongest weapon. Throw random junk items at it to whittle it down. If it is still alive, risk a Level 2 charge and spam attacks to trade damage until it dies.
Dogs and Lickers
Dogs are squishy but deal high bleed damage with deceptive range. Do not let them attack first. Be aggressive and take them out with a Level 2 charge. Lickers, on the other hand, come in hordes. Avoid using guns if possible. Keep your distance and kite them. Their vertical attack is incredibly slow, giving you time to dodge and land a Level 1 charge. A Level 2 charge can cleave through two of them at once.
Splitters
Many consider the Splitter (the giant jaw enemy) to be the most annoying threat in the game. They block melee attacks and counterattack frequently. Their close-range chomp is slow but results in an instant kill. Avoid melee combat unless absolutely necessary.
You can trick them by throwing a low-value item, like a brick or a pickaxe, into their mouth. They will consume the throwable or damage the pickaxe, but it stops their attack. A reliable strategy involves the harpoon gun. Shoot them once with the harpoon, then follow up with a Level 2 charge attack. This combo is consistent and saves your precious firearm ammo.
The Bestiary Part II: Advanced Horrors
Jittering Brutes
Found in the final chapter or as hallucinations in Chapter 5, these are faster, deadlier versions of the standard Brute. They replace the sprint with a sudden lurch and a quick follow-up strike. The timing window for parrying them is much tighter, so you must rely on sharp reflexes to survive.
The Headless Hallucinations
In Chapter 5, you will encounter headless enemies. Patience is your best weapon here. If you are on the good ending route, let them aggro first, as some are passive. Their melee attacks are slow and easy to parry. Do not waste throwables on them, as they cannot be stunned.
In Survivalist Mode, a horde might pursue you near the pipes. Do not waste ammo trying to kill them all. Kill the one blocking your path and run.
Ceiling Crawlers
These look terrifying, but you can avoid them easily. Stay crouched. This allows you to move past them safely while also dodging the fans that can blow out your lighter. Only stand up if you absolutely must navigate around pipes.
Miner Brutes
These are the tankiest regular enemies in the game. They can parry your attacks, which wastes your weapon durability, and they throw weapons instead of random objects. However, they have a major weakness: the gas tank on their back.
If you hit the tank with a quick attack or firearm, it may ignite. If it catches fire, run for cover. The Miner will often throw the burning tank at you. If you are lucky, the explosion will kill the Miner and anything standing near him. In melee, wait for their headbutt animation. Parry it to get a free boost and land a Level 2 charge.
Xenomorphs and Forgotten Ones
The Xenomorph-looking enemies are fast. They alternate between a double-claw swing and a rapid two-hit combo. If they see you charging, they will sprint at you with repeated swings. You can interrupt this terrifying charge with a well-timed parry.
The Forgotten Ones are slow and weak. You can kite them easily, but be careful not to get cornered. Their bodies can block your movement, allowing other enemies to swarm you. If you are going for the good ending, try to avoid killing them.
Survivalist Mode: The Ultimate Test
Survivalist Mode changes the rules of engagement. You cannot rely on the same strategies that carried you through the standard game.
The Shotgun Drought
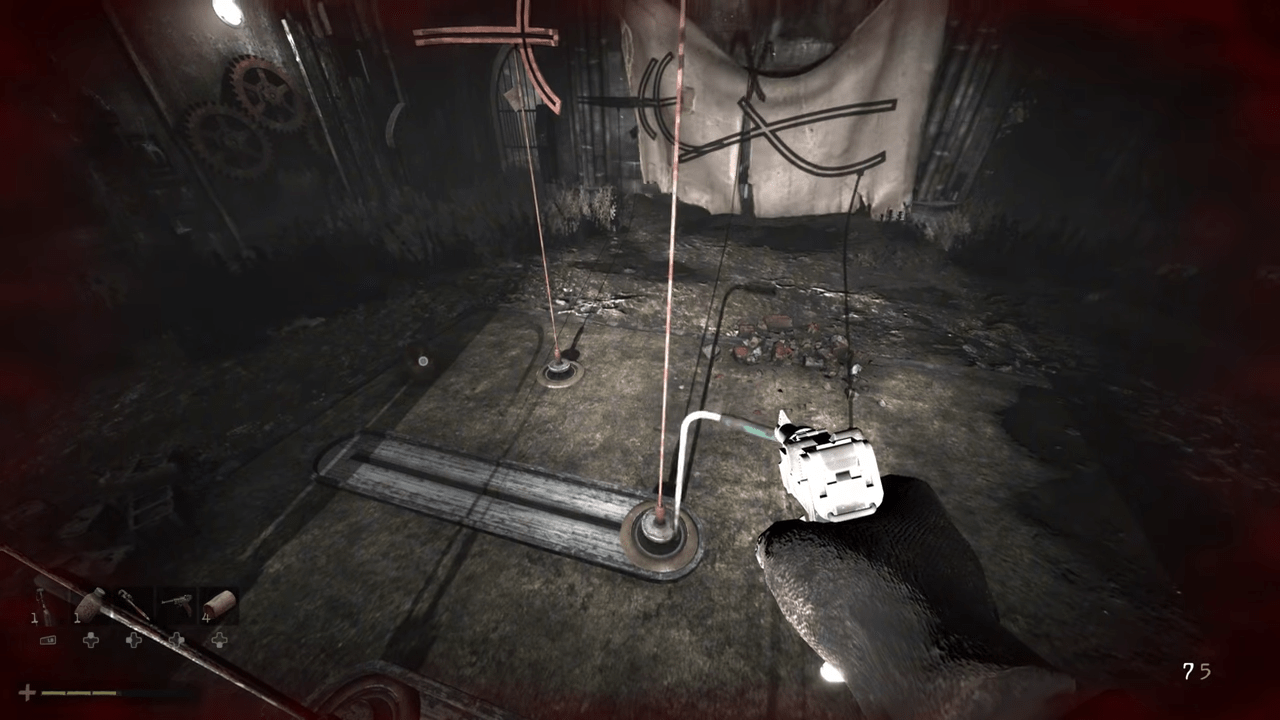
In the standard game, you get a shotgun in Chapter 2. In Survivalist Mode, that shotgun is missing its pump. It is dead weight in your inventory until you find the replacement part in Chapter 4. You must become comfortable using melee weapons and the harpoon gun to survive the early chapters.
Increased Lethality
The Splitter’s chomp attack functions differently here. It may not technically be an instant kill if you have full health, but it deals massive damage (3 to 4 blocks) and causes heavy bleeding. Unless you have the police vest or late-game miner lead armor, getting bit is essentially a game-over sentence.
Tactical Weapon Throwing
You can use short-handled melee weapons, like lead pipes or pickaxes, to interrupt a Splitter’s chomp. Throwing the weapon at them forces them to switch to a swiping attack. This is much safer to counter, but you have to be quick to retrieve your weapon before it breaks or despawns.
Boss Encounters Declassified
The Protector
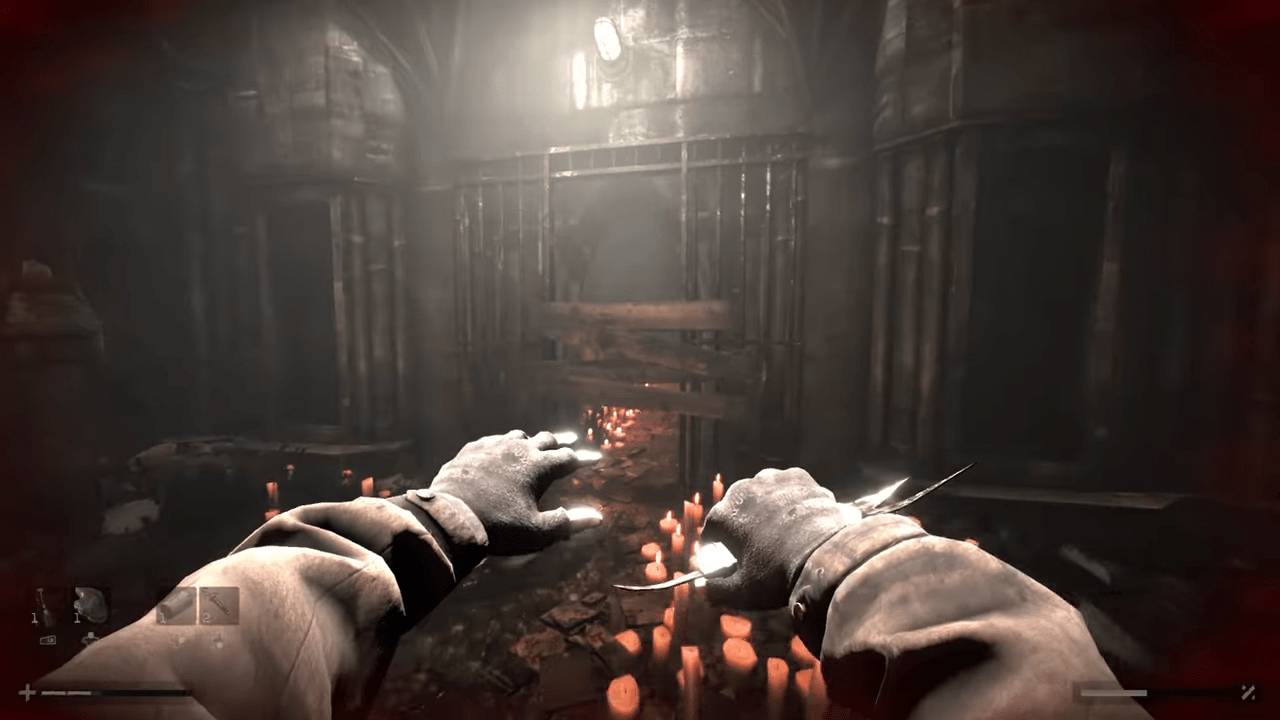
This boss fight is a test of spacing. Keep your distance. You are provided with infinite SMG ammo in the arena, so there is never a need to risk melee combat. She uses a long-range lunge and projectile throws. When she takes enough damage, she charges a shockwave. Hide behind a pillar to avoid it. After the shockwave, shoot the weak points revealed on the pillars to stagger her.
You can speed up this fight by using the red gas pipes in the arena. Shooting a pipe costs about three SMG bullets, but the explosion deals heavy damage and forces her into the shockwave phase much faster.
Tyler
The final boss, Tyler, looks intimidating but follows a strict script. In his first phase, he is human. He alternates between quick swings and bait attacks. Start the fight by throwing a bottle to stagger him or landing a parry. While he is staggered, hit him with a Level 2 charge. Charge another one immediately. You can loop this strategy until he transforms.
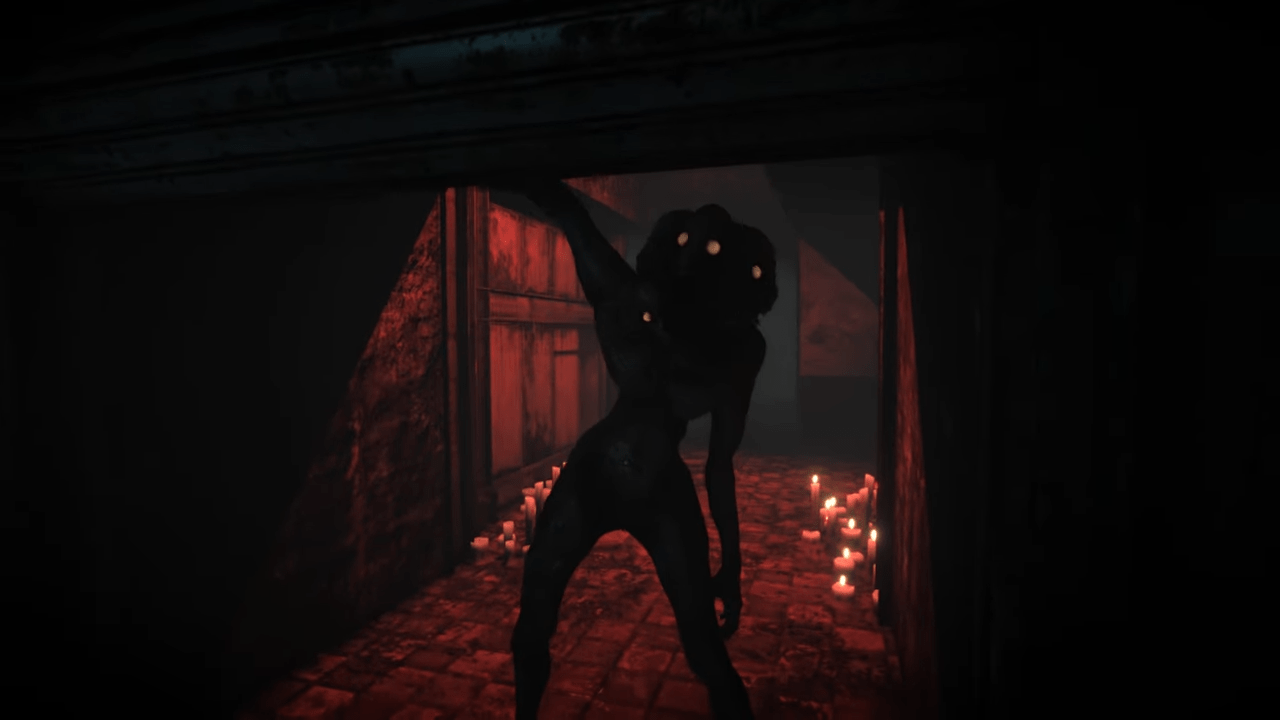
In his second phase, he becomes a monster with appendages on his head. These attacks cannot be parried. Dodge them and use your revolver to shoot the glowing orange weak points on the appendages. If you need ammo, break the crates behind the trees in the arena. In the final phase, he returns to human form before transforming one last time with a single weak point on his face. Shoot it until he drops.
Conclusion
The darkness becomes far less intimidating once you understand the mechanics and patterns governing the creatures that hunt you. This walkthrough has armed you with the tactics to preserve your resources and the confidence to beat every enemy using sheer skill. You are now ready to step back into the chaos and dismantle the opposition with the precision of a true survivalist.

Leave a Reply