
Last Updated on 20 March, 2026
Surviving the grim and twisted cooperative horrors of REANIMAL requires far more than just raw courage. This definitive walkthrough provides a meticulously crafted roadmap to guarantee your 100% completion status in a single playthrough. By helping you track down every hidden mask, poster, coffin, and elusive critter, this guide completely eliminates the frustration of missed collectibles and tedious backtracking. Grab your crowbar and prepare to conquer all nine terrifying chapters efficiently to secure your secret ending.
Table of Contents
Crucial Pre-Game Preparation
Before you dive into the first chapter, you must understand a few critical rules that dictate your success. Unlike some games that demand multiple runs, you can complete all achievements in Reanimal in a single playthrough. The game features nine chapters in total. If you follow this route carefully, a full completion run will only take you about 3 hours. Many players ruin their runs by ignoring the specific rules regarding missable items.
The Danger of Missable Items
You absolutely must collect all Coffins and Hidden Statues in a single continuous playthrough. Gathering them via the Chapter Select menu will completely void your progress for the secret ending. If you try to use Chapter Select to pick up a missed Coffin, the game denies you the Secret Ending. If you use Chapter Select to grab a missed Hidden Statue, the final statue fails to activate. This consequence permanently locks you out of obtaining the Sheep Mask. If you miss even one of these crucial items, you must start a brand new game and collect them all over again.
Safely Using Chapter Select
You can safely collect the remaining items like Masks, Posters, Secrets, Critters, and Rest Points using the Chapter Select feature. To do this without ruining your save, start a New Game in an empty slot and replay from your desired chapter.
Farming the Lost at Sea Achievement
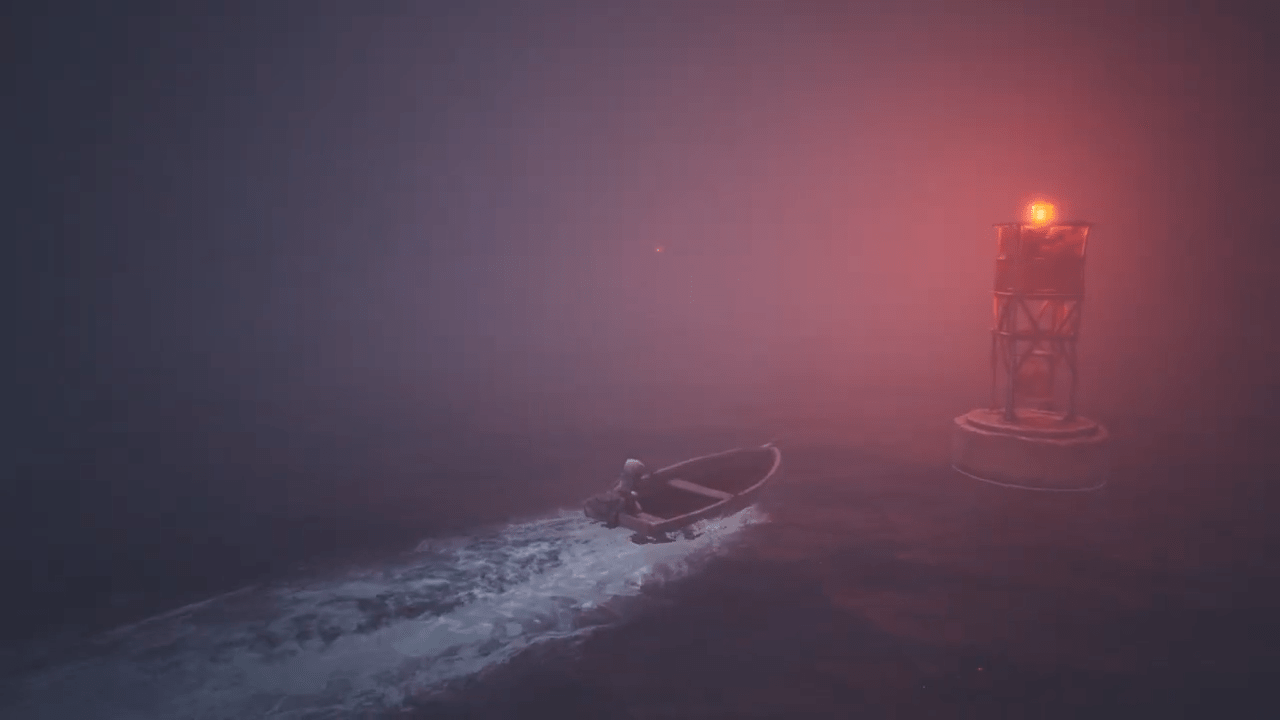
The Lost at Sea achievement requires you to travel a massive total distance of 10,000 in-game units using the boat. A standard completion run usually nets you around 6,000 units. Fortunately, your travel progress carries over across your different save files. Do not stress about finishing this immediately. Keep an eye on your achievement progress percentage while playing. Chapter 6 features the final story segment involving the boat. You can either drive in circles during Chapter 6 until the achievement unlocks, or simply start a New Game after you beat the story and drive the boat back and forth near the shore in Chapter 1 to farm the remaining distance.
Chapter 1: Dead in the Water
Before starting, take note of the Hidden among the pines achievement. You must locate all 19 secrets hidden across Chapters 1, 2, and 3 to unlock it. The Rest Your Legs couch and chair locations do not count toward this total.
Secret 1 (Mask 1 of 18)
As soon as you climb the initial ladder, a character shuts a gate directly in your face. Climb the wall located to the left of this gate. Ascend the next ladder and take an immediate left turn. Follow the path completely around the corner and step outside. Squeeze your character through the visible crack in the wall to discover your first mask inside a box.
Rest Your Legs 1 of 10
Shortly after collecting the first mask, you encounter a massive pipe that requires crossing. First, you must restore the power. Enter the small room housing the power switch. You will notice a comfortable chair right next to the computer. Sit in the chair to log your first rest point.
Secret 2 (Mask 2 of 18)
After you cross the massive pipe, you step into a locker room. Walk straight to the locker positioned directly opposite the main entrance. Open it and step inside to discover a hidden room. You will find the second mask hidden securely under the sink.
Achievement: Dark Tourism
You soon step back outside and climb another ladder. You will observe a man walking away into an alleyway. Stop immediately. Do not follow him yet. Walk past the two rails and turn the corner to find a hidden balcony featuring two chairs. Kick the chair holding the dummy down to the ground to unlock the Dark Tourism achievement.
Rest Your Legs 2 of 10
Stay on the hidden balcony. Sit in the remaining empty chair to secure your second rest point.
Secret 3 (Poster 1 of 20)
Look directly behind the two chairs on the balcony. Interact with the poster stuck to the wall to claim your third secret.
Secret 4 (Poster 2 of 20)
Enter the courtyard containing a minecart and three distinct doors. Walk through the upper right door featuring a bright light above it. You will see the man escaping through another door ahead. Look to the left of that escape door to secure your second poster.
Secret 5 (Mask 3 of 18)
From your current location, squeeze through the crack in the wall. Pick up the plunger lying next to the body. Use the plunger on the illuminated toilet in the center of the room to fish out a key. Take the key and return to the courtyard. Enter the second door (the one lacking a light above it). Follow the interior path to a room filled with explosives. You will find the third mask hidden beneath the table holding the bomb.
Rest Your Legs 3 of 10
Return to the courtyard again. Use your newly acquired key to unlock the left door. Jump across the gap. You will spot the third chair sitting directly in your path. Sit down to claim your rest point.
Secret 6 (Coffin 1 of 5)
You will eventually use a minecart to cross a bridge and arrive at a junction. Hop off the cart and follow the tracks leading to the right. You will find two train wrecks. Walk inside and follow the internal path to the opposite side. Open the first coffin waiting for you at the exit.
Secret 7 (Hidden Statue 1 of 5)
Return to the main tracks. Do not get back into the minecart. Follow the train tracks on foot until you reach the end of the tunnel. Look for a crack in the left wall. Squeeze through it to discover the first hidden statue. Interact with the statue to light its candle.
Secret 8 (Poster 3 of 20)
Later in the chapter, you engage in a tense chase sequence. Use the saw to clear your path and outrun the Hunter’s ice cream truck. Once you escape and jump down a small ledge, turn completely to the left. You will locate a camping trailer. Grab the poster pinned to the side of the trailer.
Achievement: Home From Home
You unlock this story-related achievement automatically as soon as you complete the final sequence of Chapter 1.
Chapter 2: The Cleaning House
Secret 9 (Mask 4 of 18)
Early in the chapter, you lift a shutter door to access a room filled with unsettling mannequins. Walk to the left side and step behind the counter. Squeeze through a small hole in the wall to enter a secret room. Pick up the pig mask inside.
Secret 10 (Poster 4 of 20)
Upon entering the cinema, do not walk toward the seats. Walk toward the bottom right corner of the screen. Look at the right wall to spot the poster. Jump onto the nearby shelf to reach it and secure your tenth secret.
Achievement: Rock ‘n Pop
Remain in the cinema lobby. Pick up the rock lying on the floor next to the entrance door. Aim for the popcorn machine on the left side of the room. Throw the rock to smash the machine and unlock this achievement.
Rest Your Legs 4 of 10
Exit the cinema and navigate through the adjacent house to reach an outdoor playground. Find the couch sitting in the middle of the playground and take a seat. Avoid sitting on other objects, as only the couch registers for the achievement here.
Secret 11 (Poster 5 of 20)
Look just to the right of the couch in the playground. Grab the fifth poster pinned to the fence directly behind the slide.
Rest Your Legs 5 of 10
Complete the stealth section where you evade the man. You will enter a corridor filled with prison cells. Sit on the chair located on the left side, right next to the cell containing the crowbar.
Rest Your Legs 6 of 10
Return to the cinema and use the crowbar to pry open the locked door. Sit on the toilet located directly in front of you.
Secret 12 (Mask 5 of 18 and Critter 1 of 5)
Exit the cinema and walk toward the ruined building on the right side. You will spot a Critter hiding underneath an orange cone. Follow the fleeing Critter to the bottom right area until you find a door blocked by wooden barriers. Break the barriers, defeat the Critter, and loot the orange cone from its remains to claim your mask.
Achievement: Save Our Skins
You unlock this story-related achievement automatically upon completing Chapter 2.
Chapter 3: After the Flood
Secret 13 (Poster 6 of 20)
Navigate the boat through the tense chase and arrive at the flooded town. Dock your boat on the beach. Immediately inspect the wall on your left to collect the sixth poster.
Achievement: Naval Blazing (Preparation)
To earn this achievement, you must destroy exactly 20 naval mines in a single playthrough using your harpoon. Keep a sharp eye out and destroy every mine you encounter as you navigate the waters during Chapters 3 and 6.
Secret 14 (Coffin 2 of 5)
Acquire your harpoon and destroy the first mine. You will notice a hotel directly ahead. Before entering it, steer your boat down the flooded path to your right. Destroy the two mines on the left side and proceed to the end of the area. Enter the building through the hole in the wall and walk downstairs to open your second coffin.
Secret 15 (Coffin 3 of 5)
Exit the hotel and drive into the wide-open sea area featuring a massive cannon island in the center. Drive your boat around the right side of the cannon island. Look toward the back left corner of the sea map to find a hidden alcove situated between the mountains. Drive through the opening to discover the third coffin.
Secret 16 (Mask 6 of 18 and Critter 2 of 5)
Return to your boat and drive to the beach located on the far right side of the sea map. Scare away the seagulls and climb the long ladder to enter a flower field. Move forward while hugging the left boundary until you find a scarecrow. Hit the scarecrow to spawn the second Critter. Defeat it and collect your mask.
Secret 17 (Hidden Statue 2 of 5)
Enter the large barn filled with pigs. Before you push through the pigs on the main path, walk down the detour on the right side of the barn. Interact with the hidden statue at the end of the path to light its candle.
Secret 18 (Poster 7 of 20)
Exit the pig barn to reach a small cabin containing a tractor. Grab the seventh poster pinned to the wall directly behind the tractor.
Secret 19 (Poster 8 of 20)
Escape the giant bird and run back through the pig barn. Keep moving until you arrive at a small bus station. Check the right side of the station and grab the eighth poster pinned to the second pylon.
Achievement: Hidden among the pines
Collecting the eighth poster secures your nineteenth secret, instantly unlocking this milestone achievement.
Rest Your Legs 7 of 10
Sit on the bench at the bus station to progress the story. This mandatory action successfully logs your seventh rest point. Board the yellow bus and interact with any seat to end the chapter.
Achievement: Tarred and Feathered
You unlock this automatically by surviving the giant bird chase and reaching the bus station.
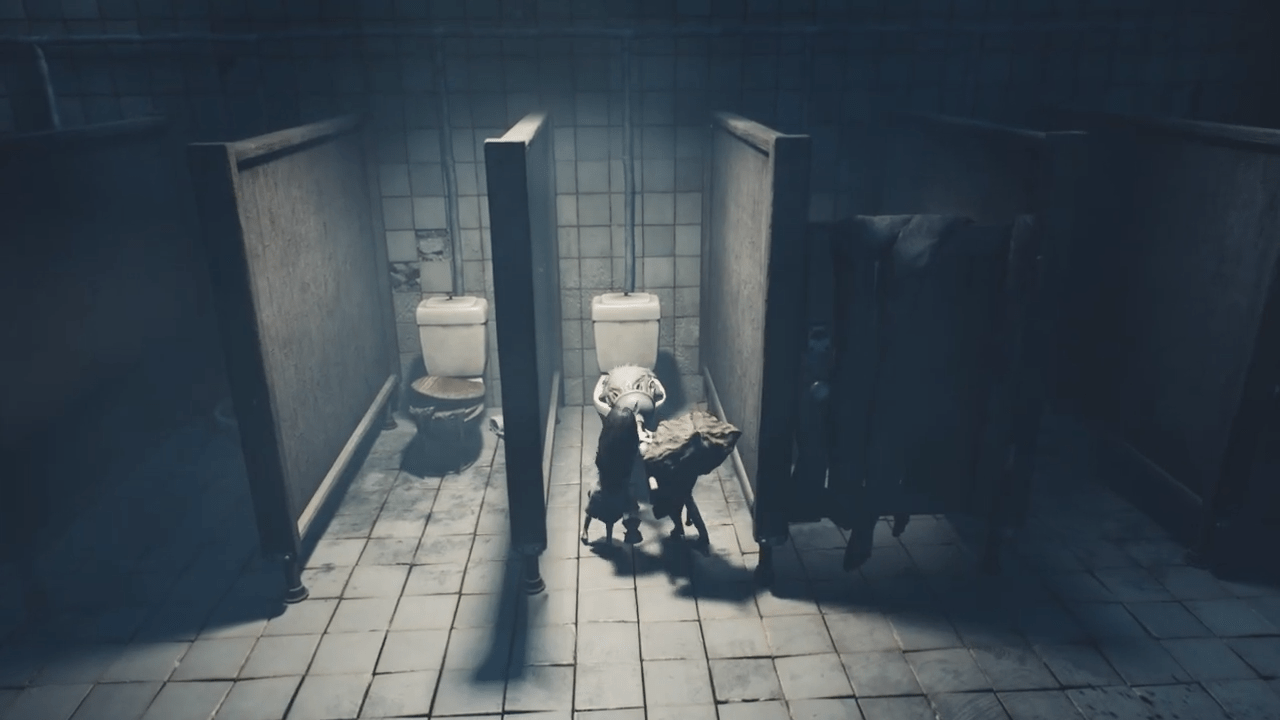
Chapter 4: No Shelter
Your new primary objective across Chapters 4, 5, and 6 is the Hidden among rats achievement, which requires you to find 17 specific secrets. All masks, posters, hidden statues, and coffins count toward this total.
Secret 1 (Poster 9 of 20)
Step off the bus and walk to the far left side of the yard. Grab the ninth poster pinned to the standing pylon.
Achievement: Scared to Dust
Enter the Clock Tower to find a room full of petrified kid statues. You must destroy all 13 statues using your crowbar to earn this achievement. You will find two statues hidden in the deep shadows on the far left, two leaning against cardboard boxes in the bottom right corner, three sitting on the floor in the center, one leaning against a wardrobe at the top center, and five standing in plain sight.
Rest Your Legs 8 of 10
Walk to the upper right corner of the statue room and sit on the couch.
Secret 2 (Poster 10 of 20)
Locate the hole in the far right wall of the statue room. Squeeze through it to enter a hidden room. Grab the tenth poster pinned to the wall in the bottom right corner.
Secret 3 (Mask 7 of 18 and Critter 3 of 5)
Return to the main statue room. The third Critter will have spawned in the area. Defeat it quickly to collect your seventh mask.
Secret 4 (Hidden Statue 3 of 5)
Walk to the end of the corridor. Do not enter the vent on the left wall. Find a small gap in the back wall and squeeze through it. Light the candle on the third hidden statue inside the secret room.
Achievement: Survival Instinct
You earn this achievement by letting enemies defeat your AI companion. You can do this during the first encounter after dropping through the hatch, or during the throne room fight against the King. Stand back and let the enemies attack your friend until he falls.
Secret 5 (Mask 8 of 18) and Achievement: Long Live The King
Crawl through the vent to enter the throne room. You must defeat the King kid to earn his crown. First, eliminate the small enemies until the King climbs down from his throne. Watch him closely, as he will attempt to sneak behind the throne toward the top right corner of the room. Defeat him quickly before he escapes. Pick up his dropped crown to claim the eighth mask. If he escapes, you must restart the checkpoint immediately.
Rest Your Legs 9 of 10
Leave the throne room and head upstairs to the theater stage area. Walk through the door located in the bottom left corner. Sit on the couch waiting directly in front of you.
Secret 6 (Poster 11 of 20)
Pull the lever on the wall in the corridor and enter the left room. Defeat the two enemies inside. Grab the eleventh poster pinned to the wall before exiting the area.
Secret 7 (Mask 9 of 18)
Clear the waves of enemies in the next room. Squeeze through the gap and enter the door to find a corridor with broken floorboards. Walk toward the extreme bottom edge of the screen to discover a hidden wall opening. Squeeze through and interact with the plant on the floor to collect the ninth mask.
Secret 8 (Coffin 4 of 5)
Sneak through the dark room and defeat the three kids in the next area. Do not interact with the body hanging on the rope, as this ends the chapter. Walk through the door in the bottom left corner instead. Open the fourth coffin inside the small room.
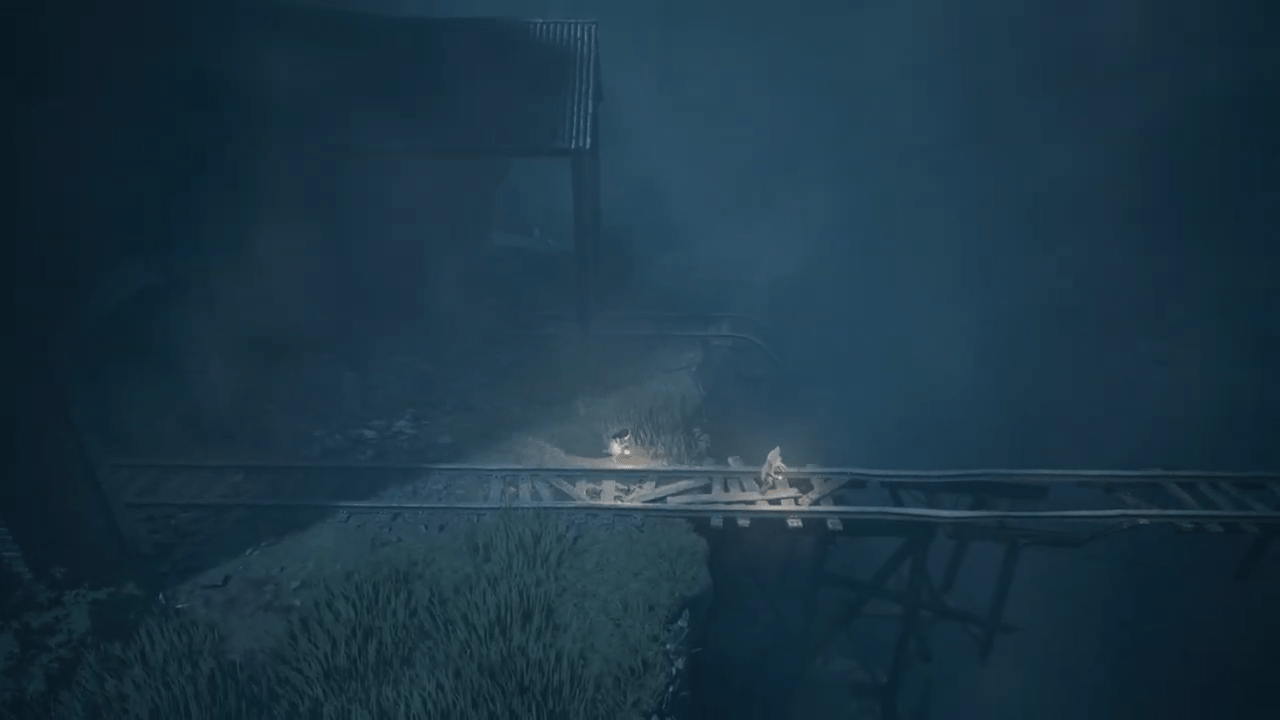
Chapter 5: Down in a Hole
Achievement: It’s a Trap!
You unlock this story achievement automatically upon reaching the entrance to Sand City.
Achievement: Creature Comforts
Navigate the dark abyss by staying extremely close to your roped partner. After your small friend places a wooden plank to bridge a gap, cross over and watch the screen carefully. A pig will run past you. Follow the pig to the left and interact with it to secure the achievement.
Rest Your Legs 10 of 10 and Achievement: Take a Load Off
Enter the room containing a chair and a couch. Sit on either piece of furniture. If you logged all previous spots, you will unlock the Take a Load Off achievement right here.
Secret 9 (Poster 12 of 20)
Walk to the wardrobe on the right side of the rest room. Open the wardrobe doors and interact with the back panel to squeeze through a hidden gap. Grab the twelfth poster pinned to the wall in the secret area.
Achievement: Lullabye
Exit the secret area and walk into the corridor. Look to the left side to find a small piano before heading up the stairs. Interact with the piano three times in a row to play a complete melody and unlock the achievement.
Secret 10 (Poster 13 of 20)
Walk upstairs and enter the left door. Step out onto the balcony and collect the thirteenth poster.
Achievement: Shot Through the Heart
During the giant spider boss fight, you must defeat 10 kid enemies by throwing their spears back at them. Wait for the spider to disappear, pick up a spear from the spawning kids, and throw it back. You can only throw one spear per cycle. Repeat this process ten times.
Achievement: Happy Days
You unlock this automatically by reuniting with your friends near the end of the chapter.
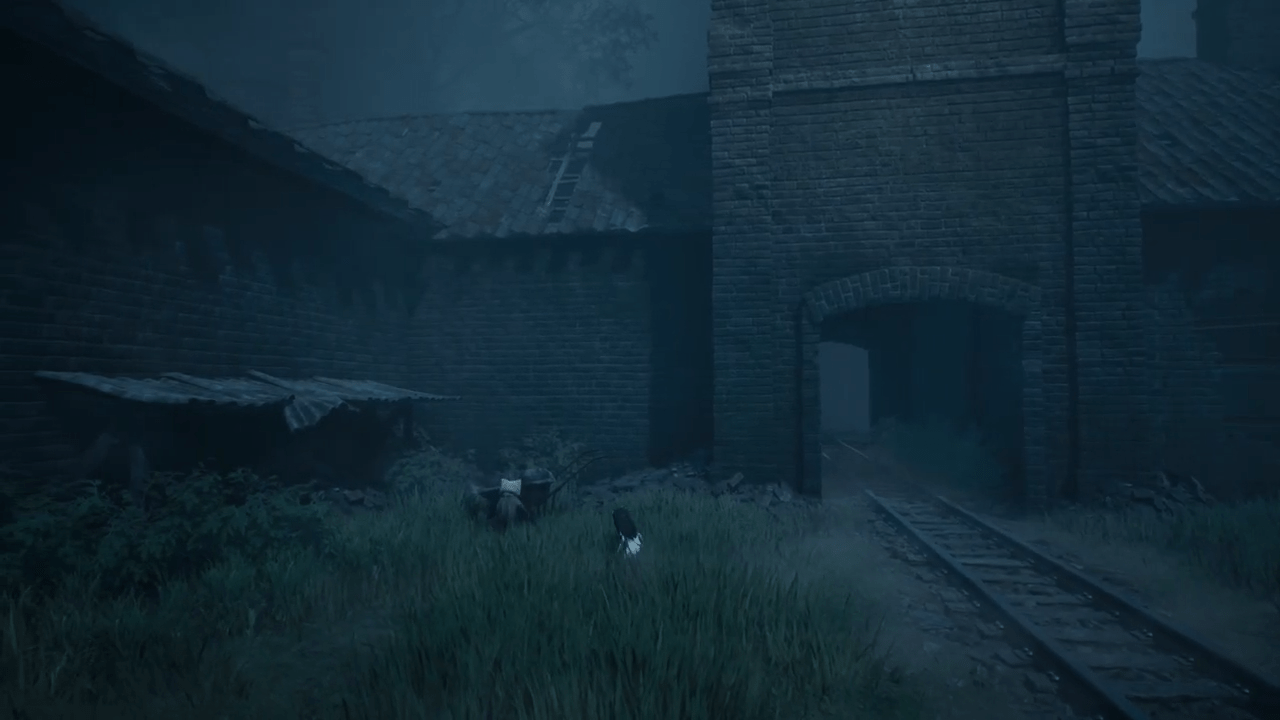
Chapter 6: Nobody Left Behind
Achievement: Secret Bunker
Drive through the right tunnel at the start of the chapter to enter a lab. Exit through the right door, kick down the crate outside, and pull the generator lever to restore power. Return to the lab and locate the console on the left. Enter the code sequence 2 then 3 then 3 then 2 from left to right. Pull the lever on the right side of the console to unlock the bunker achievement.
Secret 11 (Poster 14 of 20)
Look at the left wall near the console after pulling the lever. Grab the newly revealed poster.
Secret 12 (Mask 10 of 18 and Critter 4 of 5)
Look through the lab window binoculars to verify the beach crate code. Squeeze through the narrow gap on the left side of the room and climb down to the beach. Walk to the top end of the beach and defeat the fourth critter. Loot its remains to claim the tenth mask.
Achievement: Non-Cannonical
Drive your boat to the central island holding the large cannon. Pick up a cannon shell from the glowing red crate and carry it inside. Hold the loading door open using the small wheel while your partner loads the shell. Press the glowing wall button to open the firing window. Rotate the cannon using the large wheel and aim directly at the bunker you just explored. Fire the cannon using the two switches to destroy the bunker.
Secret 13 (Mask 11 of 18)
Load a second shell into the cannon. Aim the cannon at the massive sea monster blocking your path and fire. Drive your boat down the newly cleared path. Follow the cliffs all the way to the right until you find an isolated beach. Park your boat and pick up the mask lying in the sand.
Secret 14 (Poster 15 of 20)
Drive to the beach located near the massive shipwreck. Defeat the seagulls and let your companion boost you up the cliff. Climb the anchor chain to board the ship. Drop down to the lower level and walk left to find the poster pinned to a buoy.
Secrets 15 and 16 (Masks 12 and 13 of 18)
Insert the creature’s eye into the whale to automatically remove your diving suits. Look at the ground directly in front of the whale. Interact with the first diving helmet to collect Mask 12. Interact with the second diving helmet to collect Mask 13.
Secret 17 (Hidden Statue 4 of 5)
Squeeze through the right gap to return to your boat. Drive through the newly opened path to the right of the shipwreck. Destroy any sea mines you encounter. Approach the dark tunnel entrance carefully. Before entering the tunnel, turn your boat to the right to find a hidden cliff passage. Drive to the small beach at the end of the passage and light the candle on the fourth hidden statue.
Achievement: Naval Blazing
Return to the dark tunnel entrance. Use your harpoon to destroy the final sea mines guarding the tunnel. This unlocks the achievement if you successfully destroyed all previous mines.
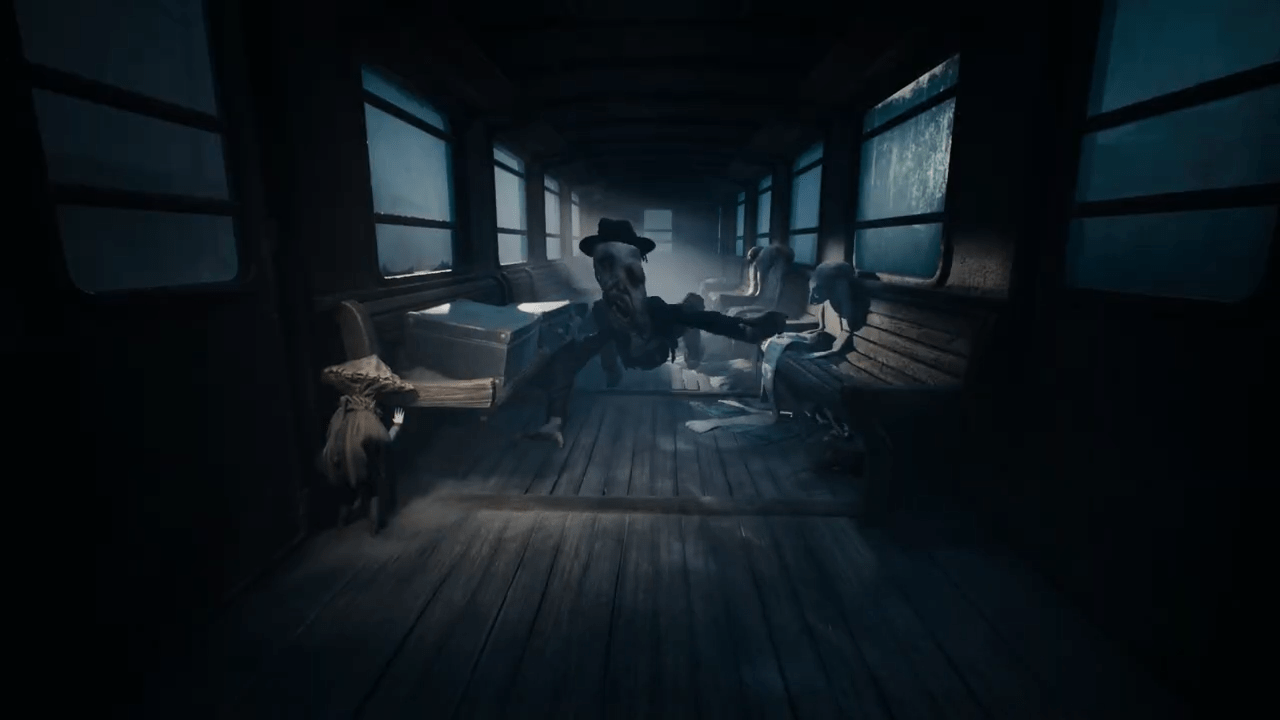
Chapter 7: The Spoils
Your final collectible goal is the Hidden in rubble achievement, requiring you to find the last 11 secrets across Chapters 7, 8, and 9.
Achievement: Into the Abyss
You unlock this story achievement automatically upon transitioning into the breach.
Secret 1 (Poster 16 of 20)
Begin the chapter by carrying the wounded girl and following the sheep. Walk forward toward the trenches in the first playable area. Check the left wall before descending into the trench to collect the sixteenth poster.
Secret 2 (Mask 14 of 18)
Look to the right of the previous poster to find a door on the right wall. Interact with it and crouch to pass underneath. Pick up the fourteenth mask lying on the floor.
Secret 3 (Mask 15 of 18)
Descend into the trenches. Follow the path past the three self-eliminating soldiers. Hug the right side of the trench and look for a narrow wall gap. Squeeze through the gap to find the fifteenth mask hidden near the artillery shells.
Secret 4 (Hidden Statue 5 of 5 and Mask 16 of 18) and Achievement: Prayer for the Dying
Continue forward until a soldier detonates a grenade. Run backward to survive the blast. Move forward and spot an opening on the left wall with a large enemy standing above it. Squeeze through this opening before reaching the ladder. Inside the secret room, you will find the final, pre-lit shrine alongside Mask 16.
Secret 5 (Poster 17 of 20)
Escape the giant sheep and climb down the long bunker ladder. Walk directly toward the bottom of the screen. Follow the path to the end to grab the seventeenth poster.
Secret 6 (Mask 17 of 18)
Ride the elevator to the very top. Enter the operating room on the right. Walk to the far right side of the room and crouch under the table to enter a hidden area. Collect the seventeenth mask inside.
Secret 7 (Coffin 5 of 5)
Use the bolt cutters to enter the exploding soldier corridor. Wait for the back right soldier to explode and create a hole in the wall. Move to the next corridor and run past the bedridden soldiers. Take a right turn, wait for the wall behind you to explode, and immediately turn around to enter the new hole. Turn the large wheel inside the secret room to reveal a hidden ladder. Climb down to open the final coffin, securing your path to the secret ending.
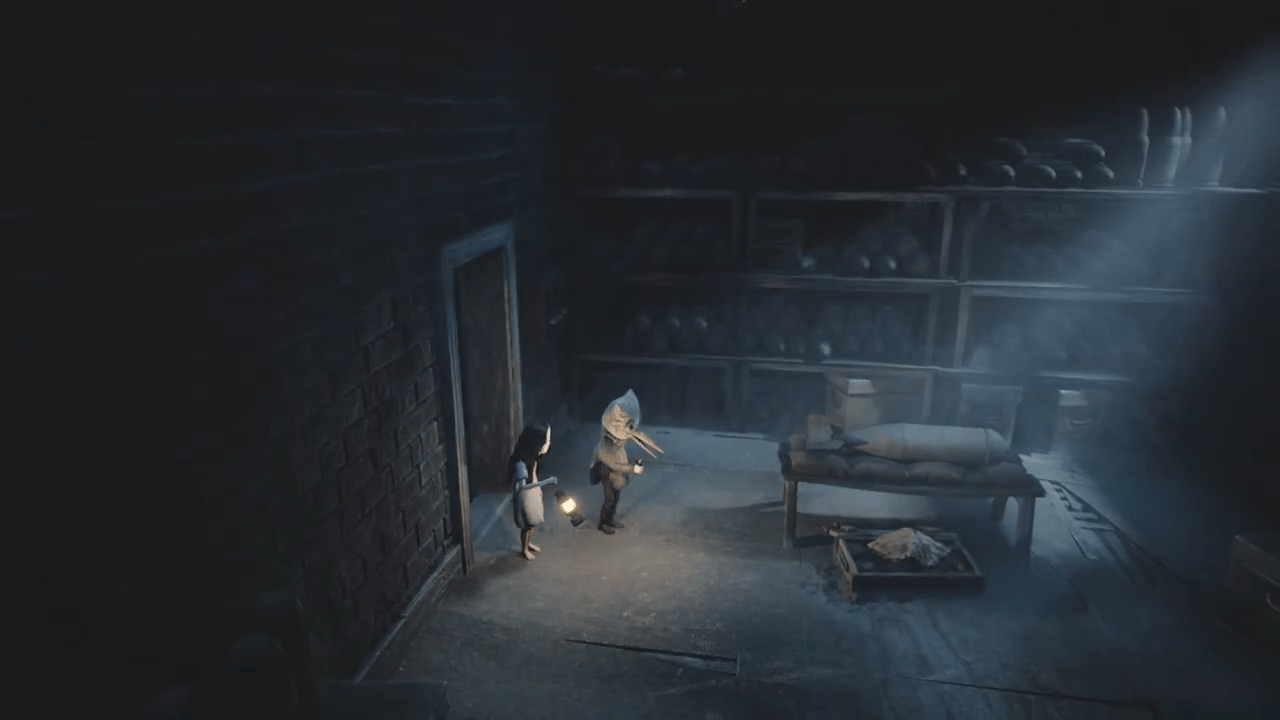
Chapter 8: The Watcher
Secret 8 (Poster 18 of 20)
Enter the house where the sniper is shot down. Walk into the room to the left of the sniper. Go upstairs and enter the left room. Grab the eighteenth poster from the wall.
Secret 9 (Poster 19 of 20)
Move completely to the right, using walls to block the sniper fire. Stop when you reach the climbable wall. Do not climb up. Walk around the wall to the far right side to find the nineteenth poster hidden behind it.
Achievement: Friends Like These
Arrive at the shooting range and pick up the gun. Do not shoot the practice dummies. Aim your weapon directly at your AI companion and fire. The achievement pops the moment you hit your friend.
Secret 10 (Mask 18 of 18 and Critter 5 of 5)
Shoot the third practice dummy from the left to drop a key. Use the key to unlock the door in the right corner. Enter the alley and interact with the oven directly above you. A critter will jump out and flee into the shooting range. Chase the critter, shoot it with your gun, and pick up the final mask it drops.
Secret 11 (Poster 20 of 20) and Achievement: Hidden among rats
Sneak past the giant sheep, climb the wall, and enter the building. Inspect the left side of the room to find an elevator door. Interact with the door to open it and collect the twentieth poster inside, completing your collection.
Achievement: Just Making Sure
Fire the rocket launcher at the sniper in the clock tower. Walk forward and pass below the tower. Enter the rubble on the right side of the path to find the sniper’s body. Interact with the body to kick it and unlock the achievement.
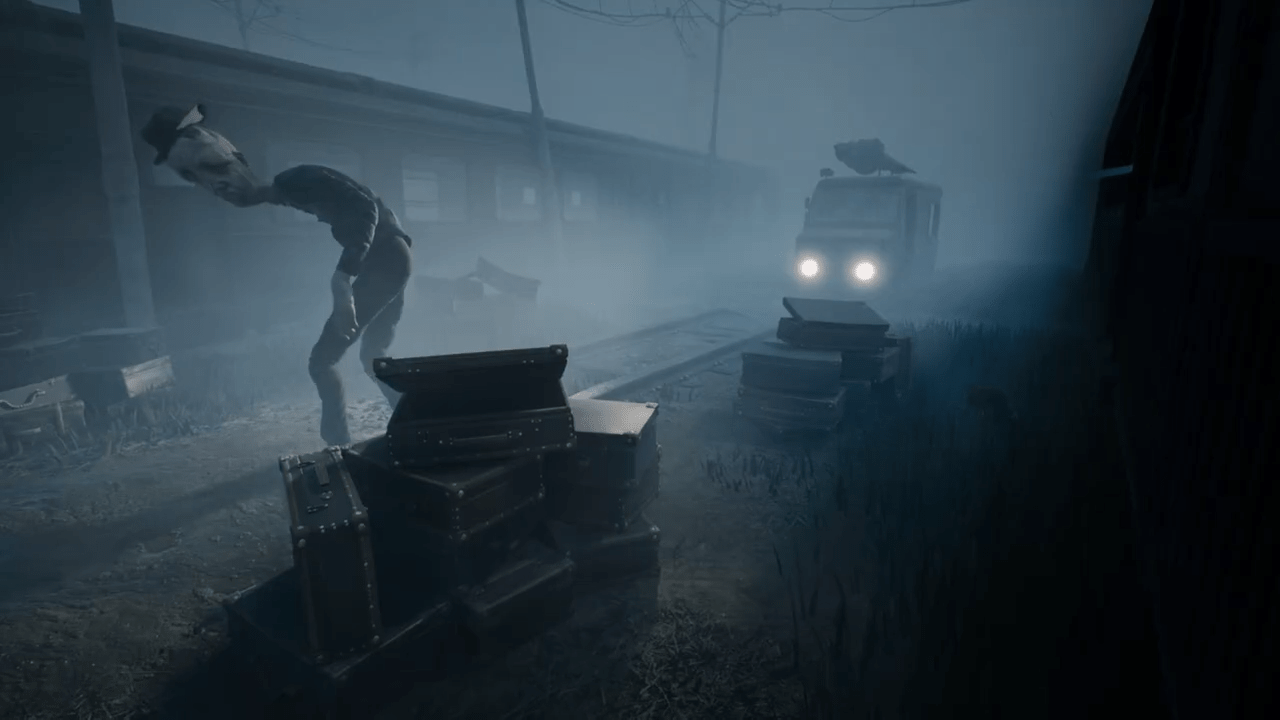
Chapter 9: All-Consuming Past
Achievement: Destruction Derby
Take control of the tank at the beginning of the chapter. Steer your tank to crush a total of 24 car wrecks scattered along the road. There are plenty of extra cars available, so simply focus on driving over every vehicle you see until the achievement unlocks.
The Secret Ending and Final Achievements
If you successfully opened all five coffins without using chapter select, the secret ending automatically triggers at the end of the game. You will earn the All is Well achievement for finishing the story and the Friends Reunited achievement for unlocking the true conclusion.
Conclusion
Escaping the nightmarish island of REANIMAL with every secret uncovered stands as a massive gaming triumph. By carefully gathering every hidden statue and coffin in one continuous run, you successfully unlocked the true narrative payoff of the secret ending. This optimal route saved you from the agony of completely replaying chapters and ensured your extensive collectible hunt remained entirely stress-free. Let this complete guide serve as your ultimate lifeline whenever you decide to brave the darkness again.

Leave a Reply