

Last Updated on 23 March, 2026
Dive into the highly chaotic world of YAPYAP, where vandalizing a magical castle and accidentally shouting into your microphone can quickly seal your doom. This comprehensive guide solves your most frustrating survival problems by teaching you how to master complex wand mechanics, build a robust amphibian economy, and brew powerful alchemical potions. You will discover exactly how to navigate the terrifying darkness and consistently meet your towering chaos quotas without losing your hard-earned gear.
Table of Contents
Finding Your Way in the Dark
Deciphering the Compass
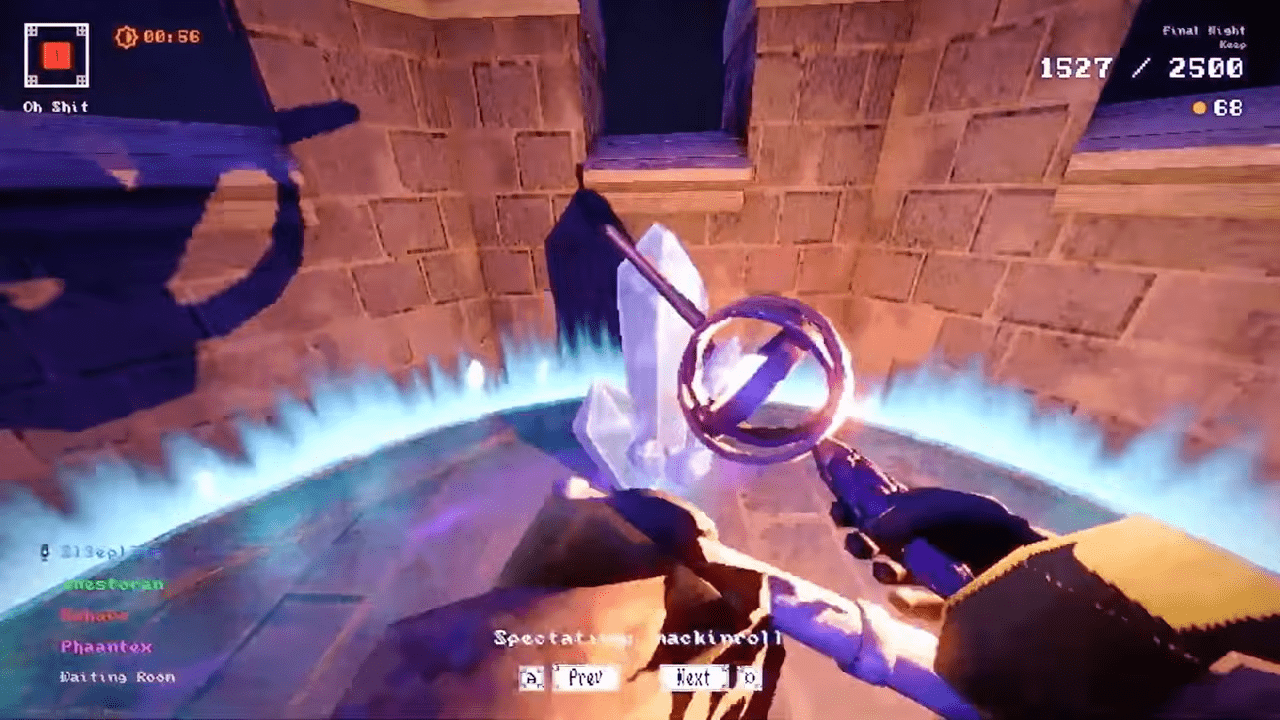
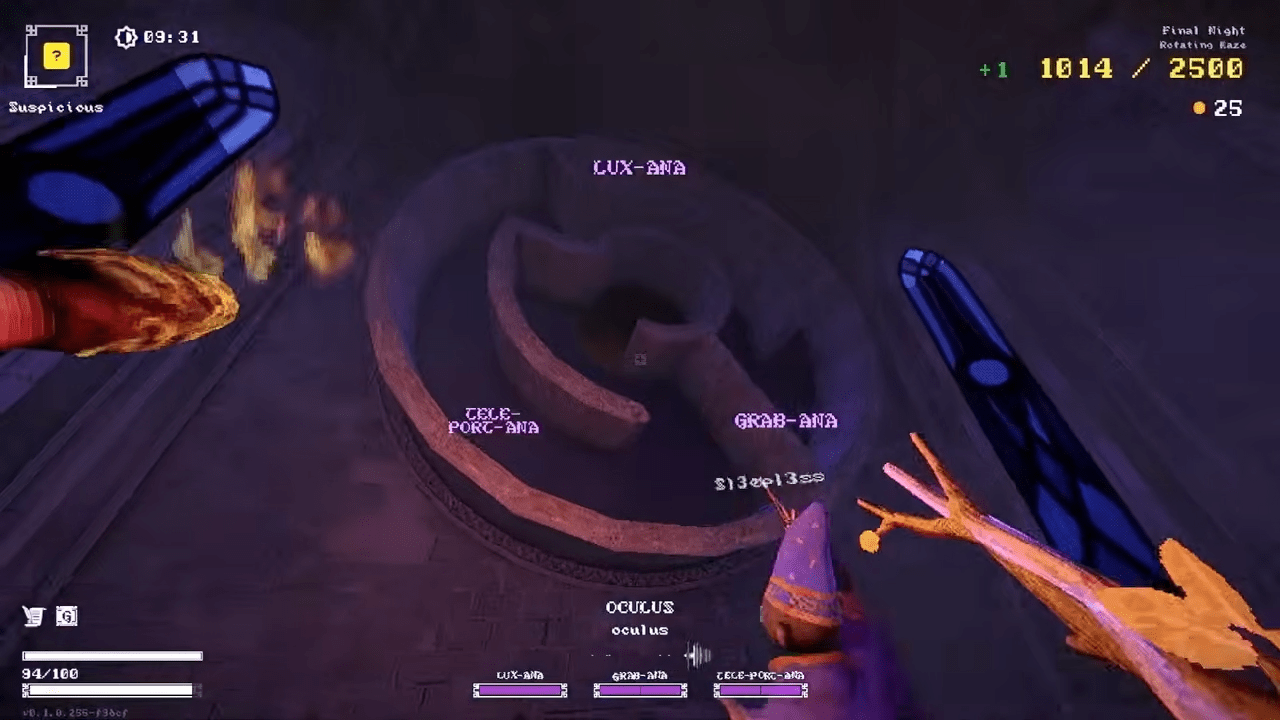
Navigating the castle while under extreme pressure can easily disorient even the most veteran players. To pinpoint the exit, you must look directly at your compass and slowly turn your view. Keep turning until the floating compass points completely disappear. When you only see the central globe covered in glowing lines, you know you are facing the exact direction of the exit. The user interface also clearly displays your vertical position in relation to the escape route.
Group Communication Strategies
Communicating this vital directional information to a group presents a real challenge. You often have only a split second to call out a direction while simultaneously dodging a terrifying jester or watching a teammate meet their doom. Explaining the exit position across the compass can quickly become taxing on your communication skills.
Mastering the Amphibian Economy
The Value of a Frog
A robust frog economy serves as your primary source of income in YAPYAP. Building this wealth is absolutely vital for purchasing gear, acquiring rare potion ingredients, and driving game progression for your entire group. Frogs are veritable cash cows. Each frog produces either 5 gold or a single shiny gem every single night. That gem holds a massive tradable value of 20 gold.
Inventory Management vs Wealth
You can locate a maximum of two frogs per run. You must listen closely for their distinct croaks or use the Astral Wand to scout them out from a distance. Keep in mind that frogs remain subject to the standard death and failure mechanics. They also occupy one full inventory slot per frog. However, their incredible ability to generate passive gold makes them far more valuable than certain wands. You will often find yourself making rapid decisions about what to drop on the fly to free up an inventory slot when you stumble upon one of these lucrative amphibians.
To help you make those quick inventory decisions, here is a complete price list of gear and items that cost 20 gold or more:
| Price | Item |
|---|---|
| 20 Gold | gemstone (tradeable value) |
| 25 Gold | Grotesque Wand, Wand of Illusions |
| 30 Gold | Wand of Minor Arcanes, Astral Wand |
| 35 Gold | Blessed Wand, large orb (tradeable value) |
| 50 Gold | Wand of Fire, Wand of Telekinesis |
| Priceless | Wand of Destruction (obtainable only as a quota reward) |
The High Cost of Dying
Silence is Golden
Avoiding death becomes significantly harder as you progress through the consecutive nights. You must remember one cardinal rule at all times: noise attracts mobs. This includes the in game noise you make from your vandalism and the real world noise picked up by your microphone.
Evasion Tactics
You can lose most pursuing mobs simply by staying quiet and breaking their line of sight. The map features various wooden wardrobes that offer an instant de-aggro effect. Alternatively, ducking around a sharp corner, finding an out of the way spot, and remaining perfectly silent for a few moments usually works to shake a persistent pursuer. Every monster features its own unique set of audio cues. You should actively listen to the ambient audio while you are busy wrecking things to stay one step ahead of the danger.
The exact price you pay in Chaos points for dying on a run acts as a variable percentage of your Quota. This specific penalty number depends entirely on what night you die on and how many of your group members perish alongside you.
Salvaging Defeat with the Lost and Found
How the Retrieval System Works
The Amazing Grace mechanic offers a crucial lifeline when you fail a run. When you die, one item of gear in your inventory has a random chance to appear in the Lost and Found box back at the hub area. This forgiveness system completely excludes the Wand of Winds but interestingly includes your precious frogs.
Calculating Your Return Odds
Your mathematical chances of retrieving a specific item decrease rapidly as you carry more gear. Here is how the exact probability breaks down:
- Grotesque Wand + Wand of Winds: You have a guaranteed 100 percent chance to get the Grotesque Wand back.
- Grotesque Wand + Wand of Winds + a random potion: You face a 50/50 chance of getting either the Grotesque Wand or the random potion back.
- Any two wands (excluding the Wand of Winds) + a random potion: You have a 33 percent chance of getting one of those three items back.
Wielding Arcane Power
The Secret Life of the Illusion Wand
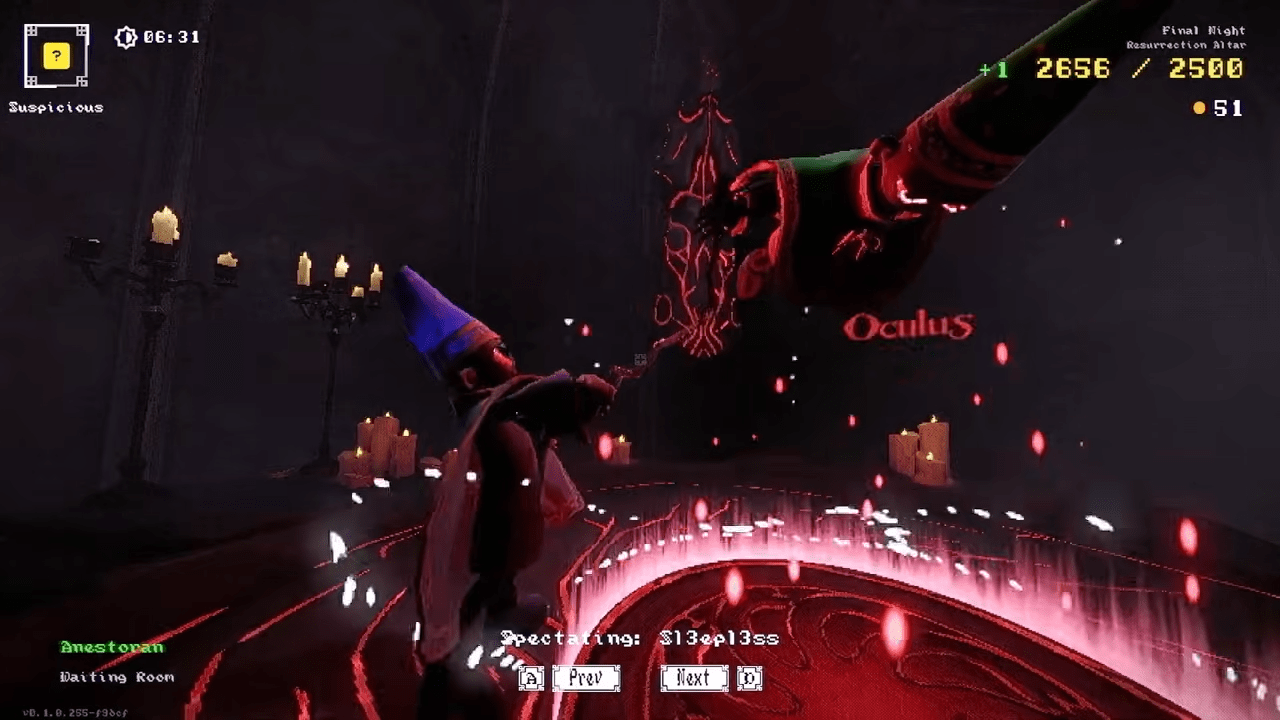
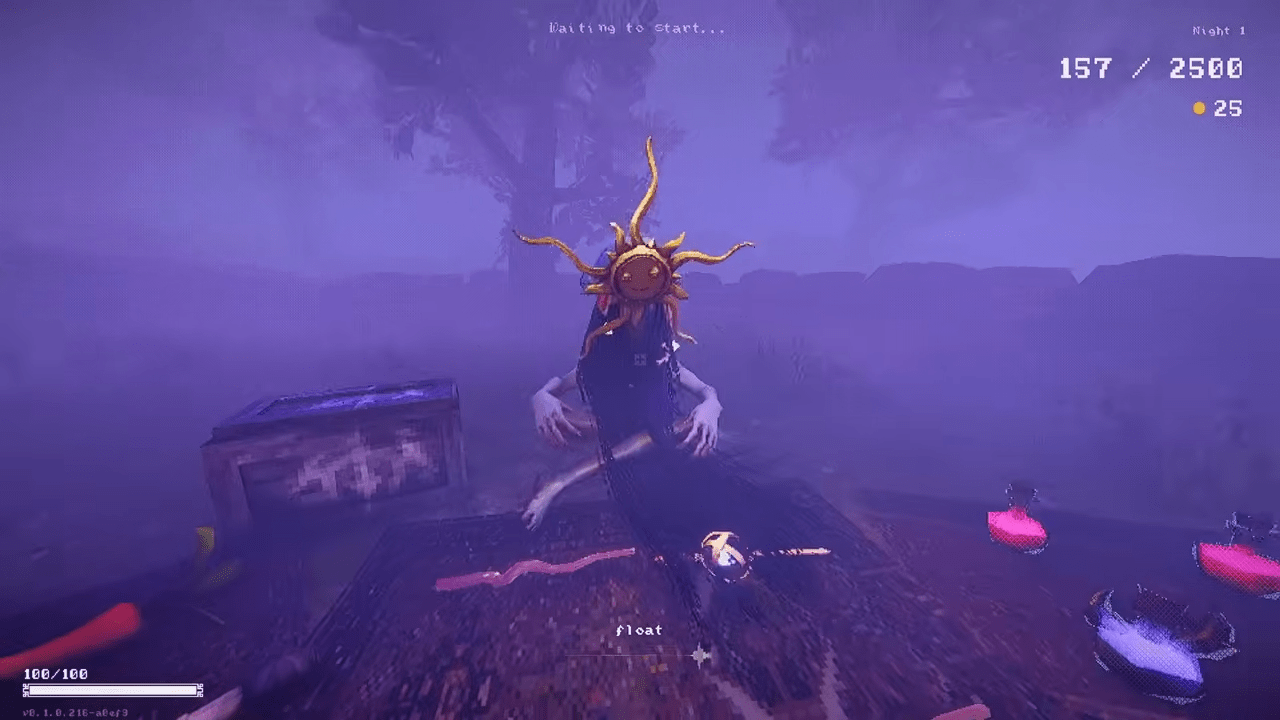
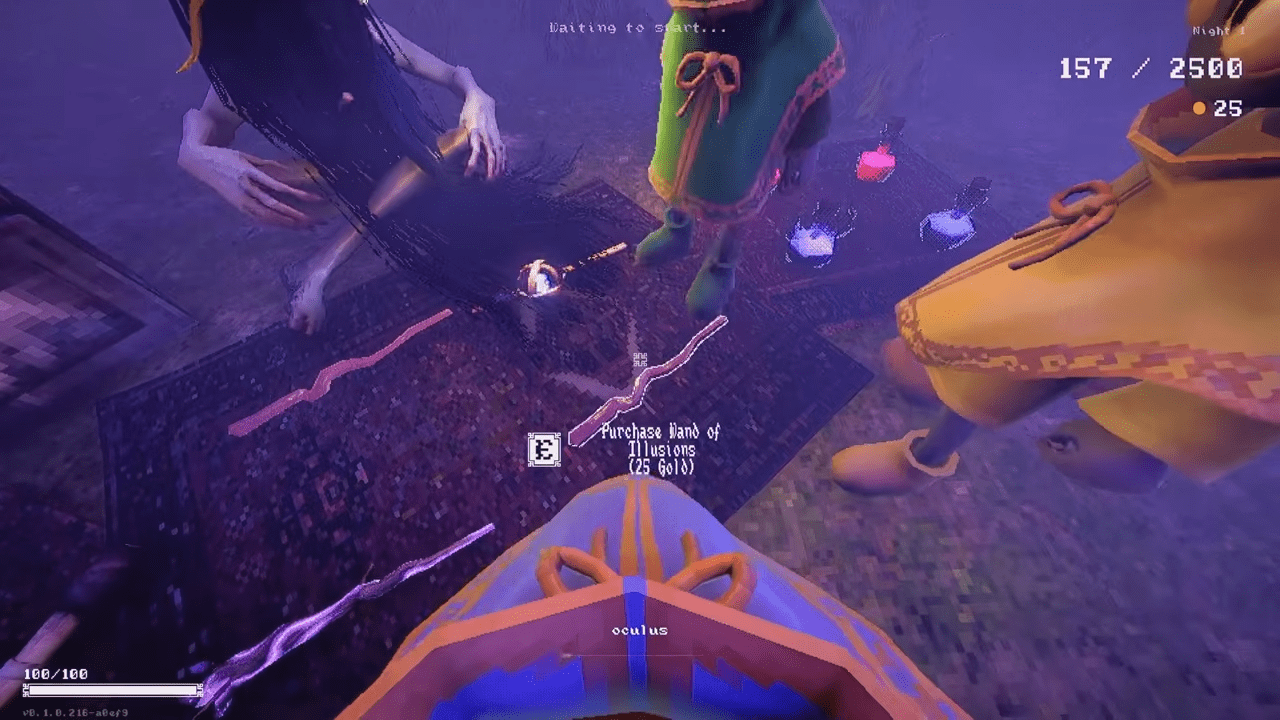
The secret spell for the Wand of Illusion is Float Oculus. Upon casting, your soul violently exits your body and flies freely around the map using the standard movement keys. As the Grimoire entry hints, you can fly directly into a monster to take total control of it. While you cannot force a possessed monster to jump into the void, the spell features a lengthy duration. You can easily march the monster a considerable distance away or force it to attack other creatures and objects. Always find a safe parking spot before casting because your physical body remains standing helplessly exactly where you left it.
Omnidirectional Travel with the Astral Wand
This wand features two incredibly fun spells that combine for massive utility. Astral Eyes gives you magical wallhacks. It highlights objects, players, and monsters straight through solid walls. It features a short cooldown rate and renders you completely invisible to monsters while active. You can instantly remove aggro, put massive distance between yourself and attackers, or scout dangerous rooms before entering.
The Swap spell functions exactly as the name implies. You instantly swap your physical location with whatever target you are currently looking at. Combining both spells allows you to move unhindered by walls, floors, and ceilings over massive distances. As long as Astral Eyes highlights a target, you can Swap with it. You can swap with objects in completely inaccessible places, like the statues resting in niches on the outside of buildings, and then swap back with a pursuing monster to trap them. Beware of the Jester, as swapping with it usually leaves the monster in the exact same room as you, ending badly.
Creative Destruction via the Grotesque Wand
This wand provides excellent room clearing capabilities but comes with a few specific quirks. You cannot turn Slime Monsters into fish using Fish Yuk. Instead, you must use the Piss Yuk spell to explode them. You can practice this exact mechanic on the Achoo snot located back in the hub. Furthermore, the Grimoire iconography displays exclamation marks for the Piss Yuk spell. This means you must keep making noise and chatter on your microphone after casting to actively increase the flow of the spell.

Weighing Your Toolkit
Temporary vs Permanent Light
Items take up precious inventory slots. You must carefully weigh their value against the Lost and Found mechanics and your quota goals. The Candle Holder provides a basic light source but burns out after roughly two to three minutes. Since other magical wands and items provide permanent light sources, the candle holder serves merely as a stop gap for groups needing temporary light until they establish their frog economy. Furthermore, you cannot use the candle holder to burn objects for points.
The Debate Over Torches
Many players aggressively advise against bringing torches to improve their Lost and Found odds. However, burn damage becomes completely necessary as quotas increase. You must extract Chaos points from objects using as many methods as possible. Torches allow you to burn books, paintings, and tapestries for massive chunks of Chaos points. Crouching allows you to burn books and half crates much more easily.
Relying solely on finding candelabras wastes precious time that you should spend actively vandalizing. Candelabras represent the most abundant burn source, but they become highly cumbersome to use when you want to ignite multiple items. The Wand of Fire Ignis Tongue spell can also prove highly inconsistent when lighting paintings or tapestries, whilst also burdening you with a spell cooldown.
The Illusion of Safety with the Bottled Fairy
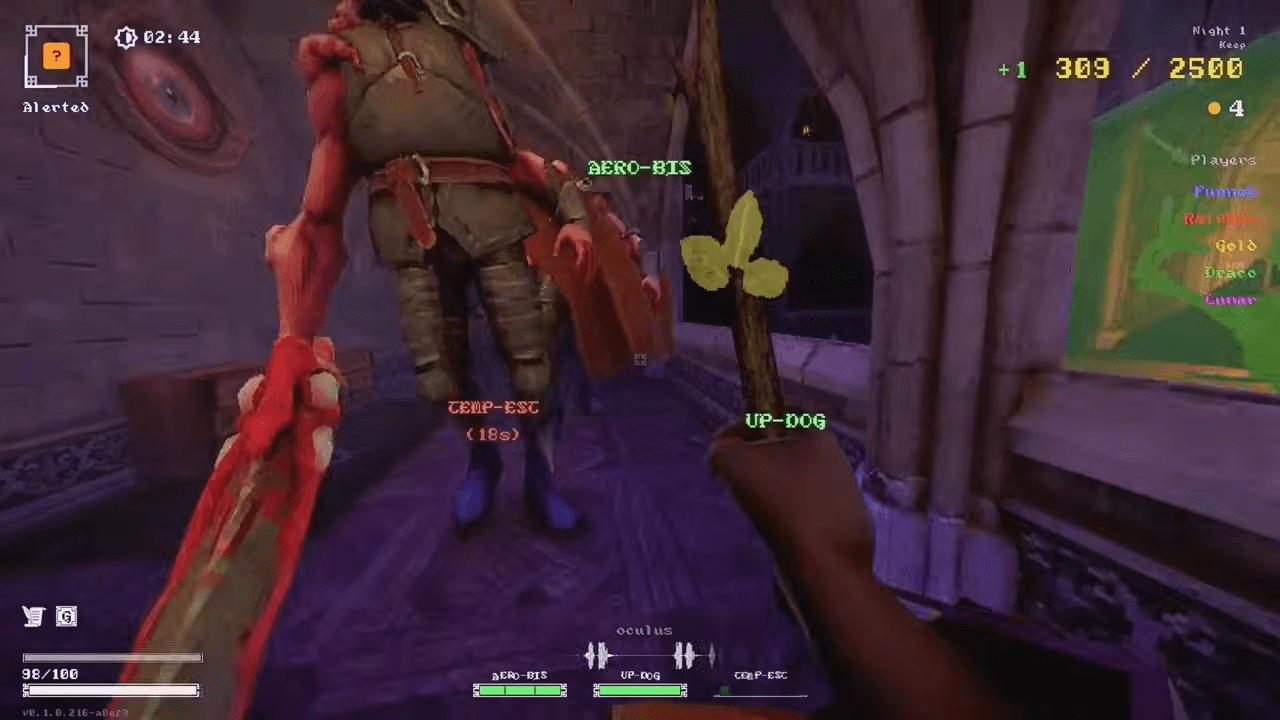
The Bottled Fairy grants an extra life to help you survive a fatal monster attack. However, it cannot protect you from falling into the void, taking gravity damage, suffering gargoyle attacks, or enduring immediate follow up blows. After triggering, it leaves an empty bottle cluttering your inventory without any warning. It serves as a great tool early on until you can afford better mobility and invisibility solutions like the Astral Wand.
Alchemical Mastery
Hub Commerce and Restocking Rules
Groups require massive amounts of ingredients to brew on an industrial scale. You can find ingredients by smashing containers, searching drawers, and checking tallboys during night runs. If you struggle to contextualize a tallboy, simply imagine an alcoholic beverage container of 16 or 25 US fluid ounces holding magical potion components.
Alternatively, you can purchase ingredients from the trader located in the hub. Click the box to the left of the trader to restock her wares, but you must navigate YAPYAP commerce carefully. Gold is pooled among the group rather than held individually. The price of refreshing wares increases by 10 gold every single time and only resets each night. Refreshing the wares for potion ingredients resets all the trader’s goods, including the magical wands. Likewise, refreshing the wares for wands resets all potion ingredients. Buy everything your group needs before refreshing, or you risk getting banned from the trader by your angry teammates.
Managing Your Stash
You only have two hands and two pockets. Do not clog your limited inventory with ingredients while out on a run. Drop them on the ground by pressing Q, hover your cursor over them, and hold E to execute the Send to Stash command. This teleports the items directly back to your bedroom floor or the potion room. The game automatically stacks identical items together when you send them to the stash. If you see the Send to Stash tooltip while standing inside the potion room, the game is simply offering to tidy the ingredients onto a neat shelf for you.
Cauldron Best Practices
Potions come in two distinct varieties. Temporary potions, like standard Health or Flight potions, have timed durations or simply restore stats to a maximum limit. Permanent potions actually increase your stats or abilities, and their effects stack indefinitely with multiple uses.
If you accidentally drop the wrong item into the cauldron, just jump inside and fish it out. If you accidentally start the brewing animation, drop any other random item into the cauldron to stop the process immediately. Each successful brew yields three doses, requiring you to use empty bottles to scoop the potion out. You can use the exact same bottle three times for permanent stat boosts since you do not need to carry those bottles on actual runs.
Crafting Permanent Stat Enhancements
When you first unlock the potion room, you will find three of each of the raw ingredients required to brew the Health and Stamina potions laying in clumps on the floor around the cauldron.
Health Boost Recipe:
- Blood Rose
- Dragon Bone
- Golem Gonads x2
Stamina Boost Recipe:
- Glowing Mushroom x2
- Moonlight Sage
- Weeping Willow Amber
Crafting Permanent Ability Enhancements
Hopping Potion Recipe:
- Coal
- Golem Gonads
- Mystery Egg x2
This potion provides a permanent single double jump. It no longer stacks and only yields one dose per brew. It pairs perfectly with the Wand of Wind Tempest spell and the Up Dog item for incredible vertical movement.
Cooldown Potion Recipe:
- Freshwater Pearl
- Moonlight Sage x2
- Fairy Wings
Each consumed dose permanently reduces your wand cooldowns by 5 percent. This pairs perfectly with the Blessed Wand Corpus Anima spell to mitigate its brutal stock cooldown rate. A hard cap exists at 70 percent for total cooldown reduction. Active ability boosts appear just above the inventory UI. The hourglass shows your cooldown reduction, while the green figure indicates your active Hopping ability. Interestingly, the developers actually forgot they had renamed this ability from Froggy, so the UI still displays the old visual concept.
Bartering in the Depths
Locating the Hidden Grate
You will often find the mysterious Tower Trader lurking in the lower levels of the map. If you ever come across a trapdoor during your exploration, you should absolutely investigate it. Look carefully for a metal grate set very low into the wall. The Tower Trader hides directly behind this grating in the darkness.
The Mechanics of Exchange
Drop any item from your inventory right in front of the grate. The trader will quickly reach through, snatch the item, disappear into the darkness, and return shortly with something to exchange. Testing with items like the Wand of Wind, candle holders, and gems shows that the returns vary wildly. You might receive powerful wands or simple potion ingredients in return.
Securing Your Chaos Score
Knowing When to Cash In
Once you successfully meet a quota, you can turn it in at any time by interacting with the bed located in the hub area.
Post Quota Exploration
If you decide to continue a run after meeting the quota, you will not gain any extra bonuses or rewards for achieving a higher Chaos score upon completion. However, continuing allows you to safely focus entirely on gathering gear, farming gold, and finding potion ingredients without the stress of the ticking quota clock. Assuming you keep a careful, minimal loadout to manage the Lost and Found mechanics, your physical items have a decent chance of returning to the hub.
Preserving Your Legacy
Identifying the File Path
Backing up your files provides an essential safeguard when a game update drops or when a group run goes on a long hiatus. This process is not about cheating or save scumming. It simply solves the problem of protecting your hard-earned progress. Navigate to the saves directory on your computer based on your operating system:
- OSX:
~/Library/Application Support/com.maisonbap.YAPYAP/ - Windows:
C:\users\"username"\AppData\LocalLow\mainsonbap\yapyap\
If you cannot find the path, run a basic system file search for the term “maisonbap”. Inside the target directory, you will find another folder specifically called “saves”. Depending on your active games, this folder contains up to six files named save_slot_0.json and save_slot_0.bak.json. The numbers range from 0 to 2, representing the three save slots on the main menu. Programmers start counting from zero instead of one.
The Simple Folder Copy Method
For beginners, simply duplicate the entire saves folder and rename the copy to anything you want. When you need to restore your backup, rename the original folder out of the way, and rename your duplicated folder back to exactly saves before launching the game.
The Granular File Copy Method
For advanced users who know exactly which file pair corresponds to their specific game slot, select both the .json and .bak.json files for that specific number. Duplicate them and change the name to something easily identifiable, such as wed_night_group.save_slot_0.json.
Conclusion
Surviving the brutal nights in YAPYAP requires sharp inventory management and a deep understanding of the hidden mechanics lurking within the castle walls. By applying these proven strategies, you completely eliminate the confusing guesswork of alchemy and turn deadly monsters from terrifying threats into easily manageable obstacles. Gather your group, keep your microphones perfectly silent, and use this newfound knowledge to finally conquer the tower and secure your magical wealth.

Leave a Reply