

Last Updated on 10 July, 2026
Exploding onto the scene with a staggering fifteen million copies sold in its first month, Meccha Chameleon has singlehandedly redefined the multiplayer hide-and-seek genre. Instead of simply transforming into a static prop, this six-dollar viral sensation tasks you with meticulously painting your character’s body and locking into a clever pose to become completely invisible to the hunting team. Surviving these chaotic matches requires far more than just picking the right wall, which is exactly why our guide offers proven strategies to solve your camouflage mistakes and outsmart even the sharpest seekers.
Table of Contents
The Three Crucial Match Phases
Every single round of Meccha Chameleon transitions through three distinct chronological phases. Understanding the purpose of each phase eliminates the most common rookie mistakes before they even happen.
The Initial Lobby State
This initial stage exists primarily to verify that every single player is running the exact same software patch. The matchmaking system requires absolute parity across all connected clients. If one person uses an outdated version of the game, the server architecture will fail to sync properly.
The Active Preparation Timer
During this secondary phase, Hiders receive a dedicated timer to find a location, apply their custom paint job, and lock their physical pose into place. Meanwhile, Seekers wait securely in a holding area. Every meaningful survival decision occurs right here in this specific window. Do not waste your valuable prep time wandering aimlessly around the map. You must pick a straightforward location rapidly, apply a clean coat of paint, and freeze your character before the timer expires.
The Final Hunt Sequence
The game finally releases the Seekers into the map to locate their targets. Hiders lose the ability to safely adjust their position and must remain completely motionless to survive. You have absolutely zero room to maneuver once the hunt officially begins. Any slight adjustment will instantly broadcast your location to sharp-eyed opponents.
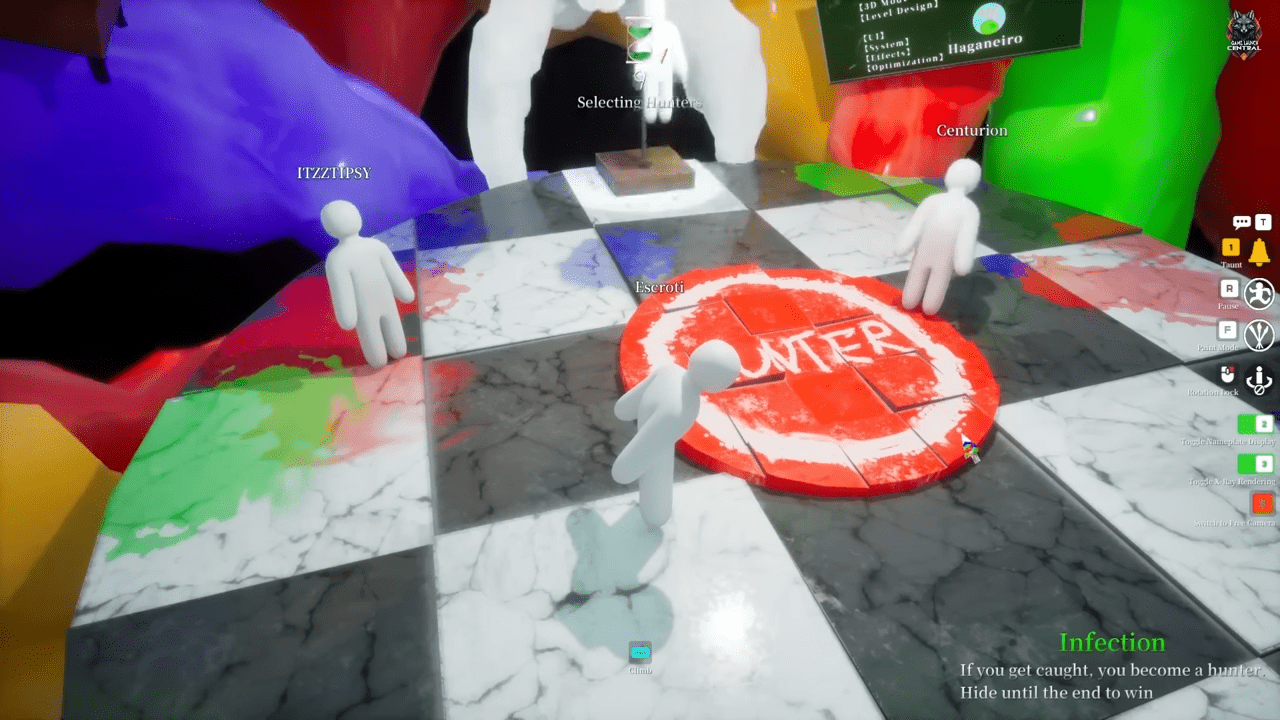
💡Pro Tip: Never use your preparation phase to explore the map. Pick a basic hiding spot immediately, lock down your colors, and settle into your pose to guarantee you are completely hidden before the Seekers spawn into the arena.
Lobby Settings and Player Counts
Meccha Chameleon accommodates a wide variety of group sizes and session types. Understanding how to configure your lobby ensures you get the exact gameplay experience you desire.
Maximizing Player Capacity
Standard matches perfectly support anywhere from two to fourteen players simultaneously. However, if the lobby host possesses a remarkably strong internet connection, you can push that maximum server capacity all the way up to twenty-four participants. Pushing the player count to its absolute limit creates an incredibly chaotic and thrilling environment where Seekers cover the map rapidly and Hiders must find truly exceptional hiding spots to survive the relentless sweeping.
Navigating Public and Private Spaces
Public matches fill up instantaneously due to the massive current player base enjoying the game. Dropping into a public game provides the absolute fastest route to racking up practical experience. You will witness highly creative hiding techniques from a wide spread of skill levels that you would likely never conceptualize on your own.
Alternatively, private rooms grant the host total control over custom settings and map selections without the intense pressure of competitive public lobbies. For tighter friend groups looking to practice their skills or introduce newcomers to the mechanics, private lobbies capping between two and ten players create the perfect low-stakes learning environment.
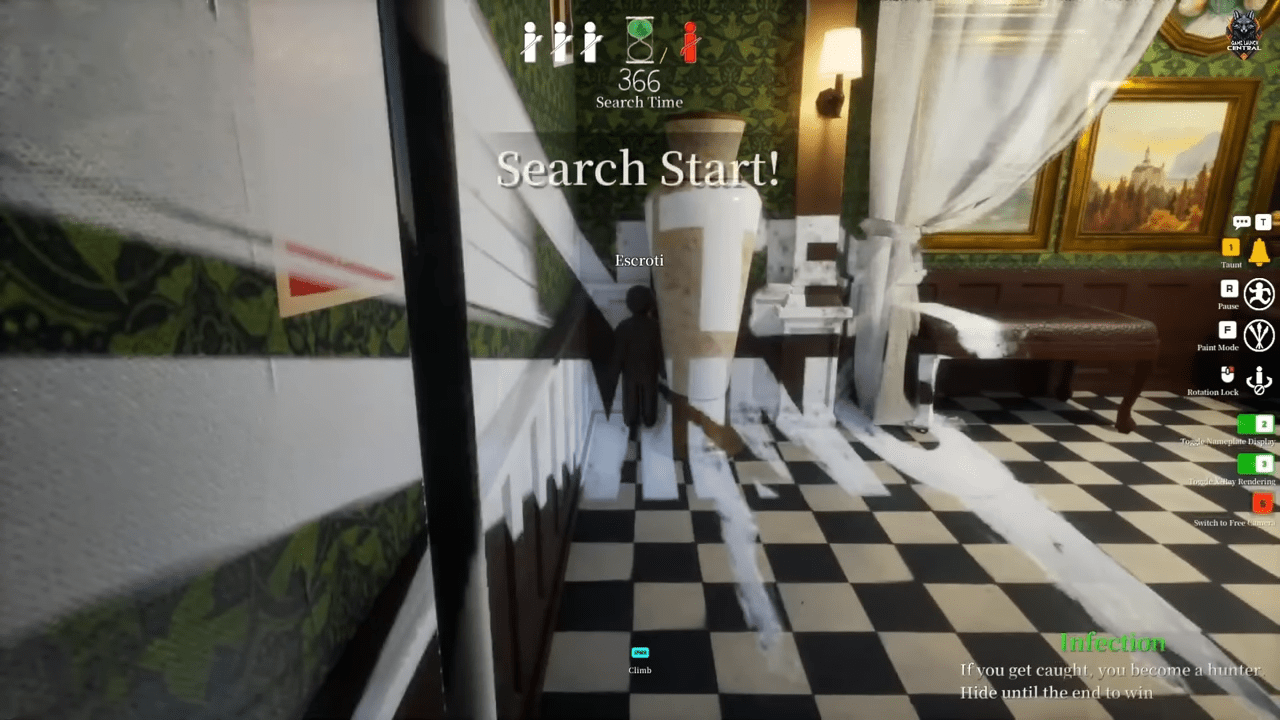
💡Pro Tip: Use private lobbies strictly when you want to walk a newer player through the fundamental mechanics or test a specific map layout without the heavy competitive pressure found in public matchmaking.
Mastering the Hider Role: The Art of Invisibility
Playing as the Hider carries the highest skill ceiling in the entire game. Surviving a full round relies on three foundational pillars. You must perfect your physical position, your applied paint job, and your locked pose. Execute all three elements perfectly, and veteran Seekers will walk directly past your character without a second glance.
Strategic Positioning
The most devastating beginner mistake involves opening the paint menu before locking in a final hiding spot. Colors sampled in the menu will never accurately match a surface once your character physically moves to a new location. You must visually scout out your desired wall, wooden crate, or metallic shelf first. Walk directly up to the object, settle into your spot, and only then should you open the paint interface.
When you first start playing, gravitate toward simple surfaces. A clean section of a plastered wall, the broad side of a shipping container, or a deeply shadowed corner is significantly easier to replicate than highly detailed backgrounds. Once you log enough hours and master the paint system, you can attempt bolder hiding spots. Advanced players regularly camouflage themselves against complex surfaces like the ornate paintings found in the Mansion map, the dense graffiti walls within the Sewer level, or the intricate cow standees scattered across Indoor Country.
Environmental Blending Tactics
You possess the unique ability to climb vertical walls and attach yourself directly to ceilings. The vast majority of Seekers completely forget to look upward during their sweeps. If you curl your character into a tight fetal position on the ceiling and paint yourself to mimic the surface texture, you easily pass as a generic light fixture or structural detail.
Get highly creative with your spatial awareness. Hang yourself directly above a doorway and disguise your body as an exit sign. Curl up tightly next to a decorative statue and become part of the artistic display. However, pay strict attention to the structural geometry of the level. If you wedge your character model too deeply into the environmental scenery, the game engine will penalize you by triggering an automatic cover warning. This warning instantly reveals your location to everyone on the map. If the warning flashes on your screen, simply shuffle your character slightly outward to clear the error.
Flawless Painting Techniques
Never rush the painting process, and strictly avoid using a single flat color across your entire body. Real-world surfaces feature inherent variation, deep shadows, rich textures, and physical depth. Applying a completely flat coat of beige paint to mimic a wooden wall will look incredibly fake to anyone standing directly in front of you.
Pressing the spacebar activates the game’s integrated eyedropper tool. This function allows you to directly sample precise color values from the immediate geometry surrounding your character model. After setting your base color, you must account for the room’s dynamic lighting. Identify the primary light source in the room. You need to brighten the side of your character facing the light and manually layer shadow tones onto the side facing away. Adding just one accurate shadow tone improves your disguise far more effectively than spending five minutes tweaking microscopic texture details.
Furthermore, the paint interface features two critical adjustments that most players ignore completely. You must utilize the metallic and roughness sliders. A perfectly matched base color means absolutely nothing if your material finish is wrong. Leaving these sliders at their default settings creates an unnatural, plastic-like sheen that instantly catches a Seeker’s eye. Drop the metallic value completely for matte surfaces like plaster or wood, and crank the roughness upward for textured materials.
Finally, do not panic if the prep timer reaches zero before you finish painting. You can actually continue applying colors and tweaking sliders after the Seekers enter the map, provided none of them are standing directly next to you. Taking an extra ten seconds to perfect your shadow gradients is infinitely better than settling for a rushed paint job that falls apart under close scrutiny.
Posing and Breaking Your Silhouette
Color masks your character model, but your physical pose hides your obvious human silhouette. You absolutely need both elements to survive a hunt. A standing, perfectly painted human shape pressed against a flat wall still looks exactly like a player. You must forcefully break your outline to match the surrounding area.
Take your time to actively mimic the architectural shape of whatever object you want to become. Curl your limbs tightly to match low furniture pieces. Flatten your character completely for wall hides. Stretch into horizontal, elongated silhouettes when utilizing floor or ceiling locations.
Before the hunt phase begins, you must inspect your work. Press the 5 key followed by the 4 key to detach your camera and enter freecam mode. Rotate the viewpoint completely around your character. Look specifically for unpainted white patches hidden under your arms, noticeable gaps between your legs, or misaligned texture edges. An angle that looks flawless in first-person view often reveals glaring errors from the perspective of an approaching Seeker. This rapid thirty-second inspection saves countless matches.
Additionally, mismatched shadows resting on the floor will give away your position instantly. Press the V key on your keyboard to completely remove the default shadow rendered underneath your character model. If you want to play mind games, you can utilize the dedicated taunt button. Pressing it emits a loud whistle sound toward nearby Seekers without pinging your exact coordinates. It serves as a brilliant tactical distraction to lure hunters away from your actual hiding spot.
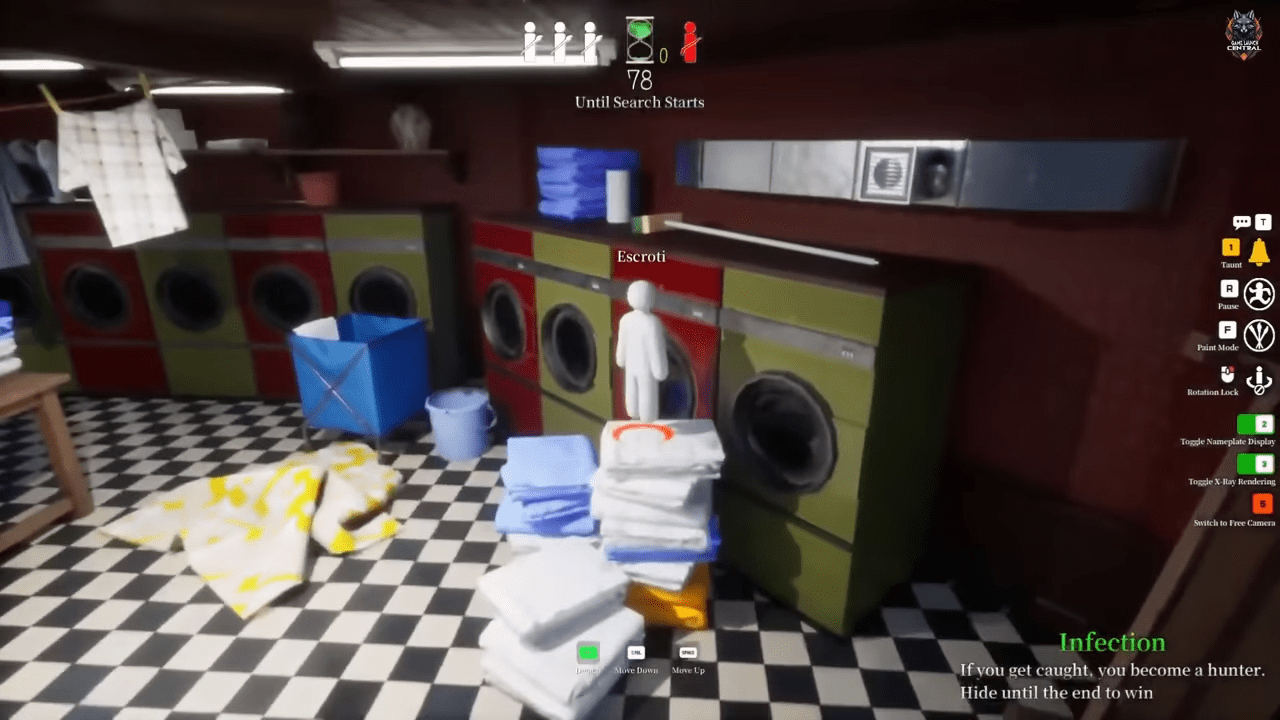
💡Pro Tip: Absolute stillness guarantees survival. A completely motionless Hider equipped with merely an average paint job will constantly outlive a flawlessly painted Hider who flinches or slightly moves their camera when a Seeker approaches.
Dominating as the Seeker: The Systematic Hunt
Playing as a Seeker requires immense discipline rather than wild creativity. The worst habit you can possibly develop involves sprinting aimlessly through rooms and scanning the environment too quickly. You must operate systematically and carve every single room into distinct inspection zones to achieve victory.
The Danger of Speed and Methodical Room Sweeping
High speeds make subtle giveaways completely invisible. When you sprint, you miss crucial details like brush strokes terminating abruptly or a small shadow pointing toward a light source. When you breach a new room, start your visual inspection at the outer edges and slowly work your way inward. Hiders naturally gravitate toward walls and corners to minimize their exposed angles. Since you do not possess a flashlight, you must dedicate extra attention and intense focus to dimly lit corners and shadowy alcoves.
Follow a strict hierarchy of inspection to maximize your efficiency and ensure you never miss a clever disguise. Sweep all four corners, the baseboards, and the intersecting wall edges first. Next, inspect the larger props like couches, massive wooden crates, bookshelves, and structural pillars. Following that, look straight up to check the ceilings, the tops of doorframes, and high shelving units. Finish by scanning the ground for objects trying to pass as scattered debris or small floor tiles. This methodical zoning technique prevents you from accidentally circling back to areas you already cleared.
Hunting for Visual Errors
Top-tier Seekers do not waste their time looking for incorrect colors. The best hiding players will always match their colors perfectly. Instead, you must train your brain to hunt for visual logic errors and optical anomalies that paint simply cannot disguise.
Keep your eyes peeled for anomalous outlines. Look for human-shaped bulges or limb-like geometry protruding from otherwise flat walls or perfectly square boxes. Spot illogical shadows that fall in the complete opposite direction of the room’s primary light source. Notice texture clashes where surfaces look far too smooth, overly metallic, or completely matte compared to the surrounding environment. Question the environmental logic entirely. A massive shipping crate attached to the ceiling or a delicate vase sitting in the middle of a dirty hallway is usually a disguised player. Furthermore, look for visible paint patterns or graffiti lines that abruptly stop at the edge of a character model instead of flowing naturally onto the wall behind them.
Finally, maintain absolute silence in your physical room and listen closely to the proximity voice chat system. Players frequently forget that their microphones remain live during the match. You can easily locate heavily disguised players by listening for accidental keyboard clacks, heavy breathing, panic-induced movement sounds, or their deliberate whistle taunts.
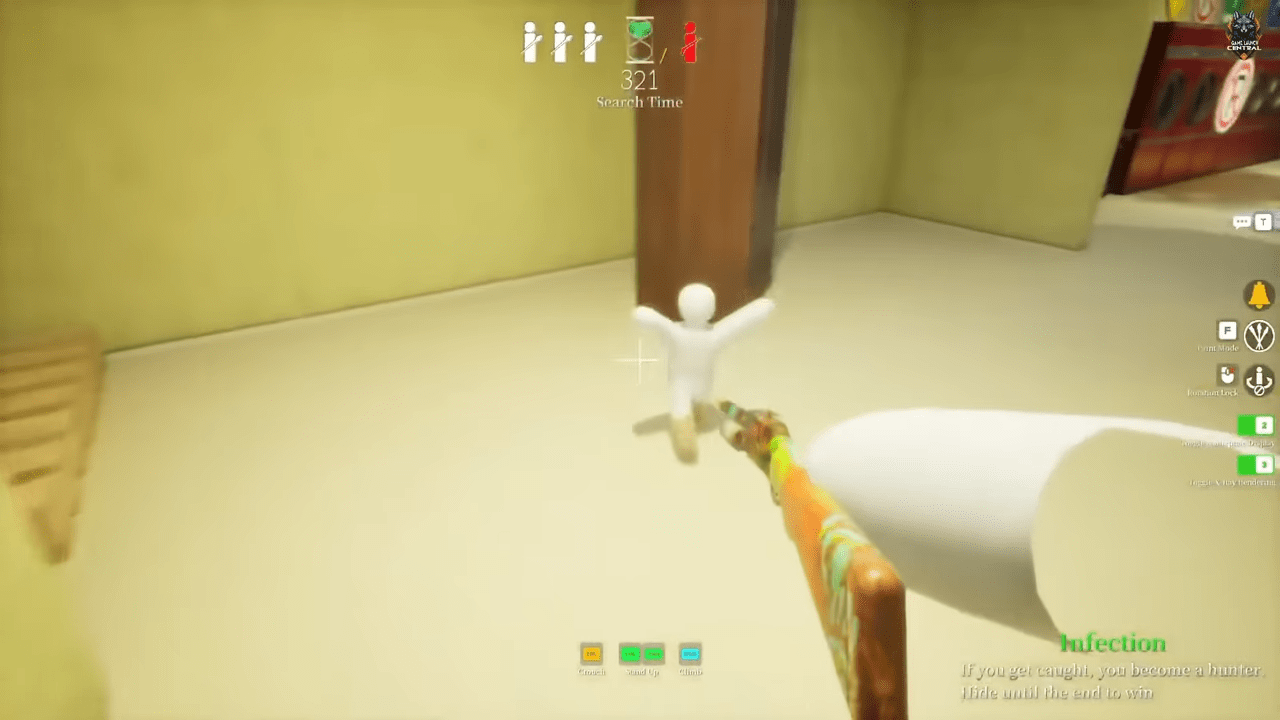
💡Pro Tip: Never fire recklessly at every suspicious object. Missed shots carry a penalty; typically costing the hunter health, and in lobbies using the optional ammo system, they also consume limited ammunition. It’s usually better to confirm your suspicion before pulling the trigger.
Game Modes Explored
The title ships with three distinct gameplay modes. Each one drastically alters the pacing and psychological tension of the match, making it vital to understand the varying rule sets before queueing into a new lobby.
Infection Mechanics
This specific mode keeps millions of players logging in daily. Infection operates on an escalating threat level. Whenever the Seeker squad catches a hiding player, that defeated player immediately respawns onto the Seeker team and joins the active hunt. The match continues until every single person has been located.
Because caught players instantly become hunters, nobody is forced to sit in a spectator screen waiting for the round to end. The pressure ramps up exponentially as the clock ticks down. Being the final surviving Hider in a lobby swarming with over a dozen active Seekers delivers an adrenaline rush that feels completely different from the calm, quiet opening seconds of the match.
Normal and Double Formats
The Normal mode delivers a pure, traditional gameplay experience. The lobby splits into two fixed teams from the very beginning. Seekers hunt, Hiders attempt to survive until the timer expires, and the results remain clean and highly competitive from start to finish.
Double mode ensures everyone gets a chance to experience both sides of the coin. Every single participant takes a turn actively hiding, followed by a dedicated turn as the lone Seeker. The game closely tracks your completion speeds, and the player who locates their specific targets in the fastest possible time claims the overall victory. Both of these formats provide solid options depending entirely on your current mood.
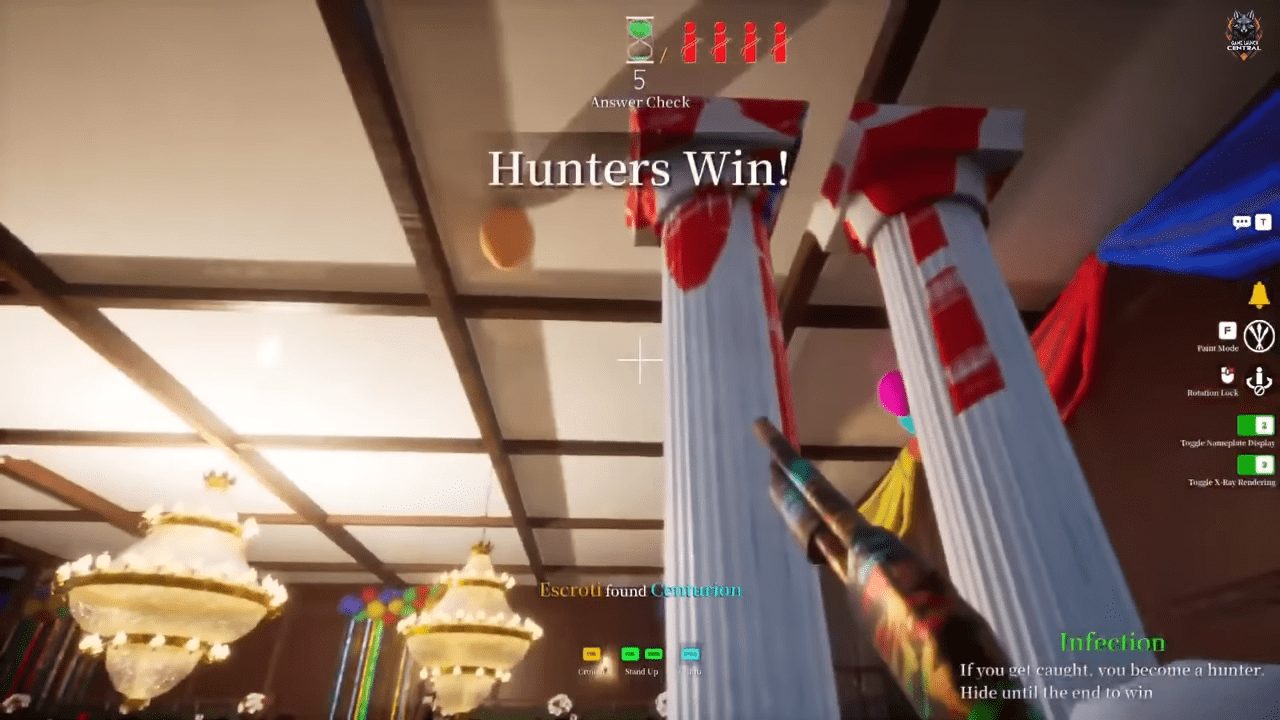
💡Pro Tip: If you only have a limited amount of time to play or want to experience the highest level of replayability the game offers, always select the Infection mode first.
Community Maps and Custom Environments
Once you master the base environments, you unlock massive replayability through total Steam Workshop integration. The community actively builds upon the foundation established by the solo developer, creating endless possibilities for fresh gameplay.
Expanding Your Roster
The passionate community has already developed and published over two hundred custom maps. These user-generated arenas feature incredibly creative layouts, including highly recognizable spaces pulled directly from famous pop culture franchises and other classic gaming titles. Playing on these custom maps adds a massive amount of variety once you memorize the standard layouts provided in the base game.
To access this massive library of customized content, navigate directly to the Workshop tab located on the game’s official Steam store page. From there, hit the subscribe button on your favorite user-created layouts to download the files to your local drive. If you operate as the lobby host, you can seamlessly select these newly downloaded community arenas from your control panel before starting the countdown timer.
Essential Installation Rules
You must enforce a strict loading rule in your hosted lobbies. Every single individual in the room must fully download and install the custom map before you initiate the round. The game requires absolute synchronization to render the custom geometry properly. If the host forces the match to start while a player is still buffering the required download, that specific player will suffer a completely black screen for the entire duration of the match, rendering them entirely useless to their team. Always verbally confirm downloads are completely finished before launching any custom content.
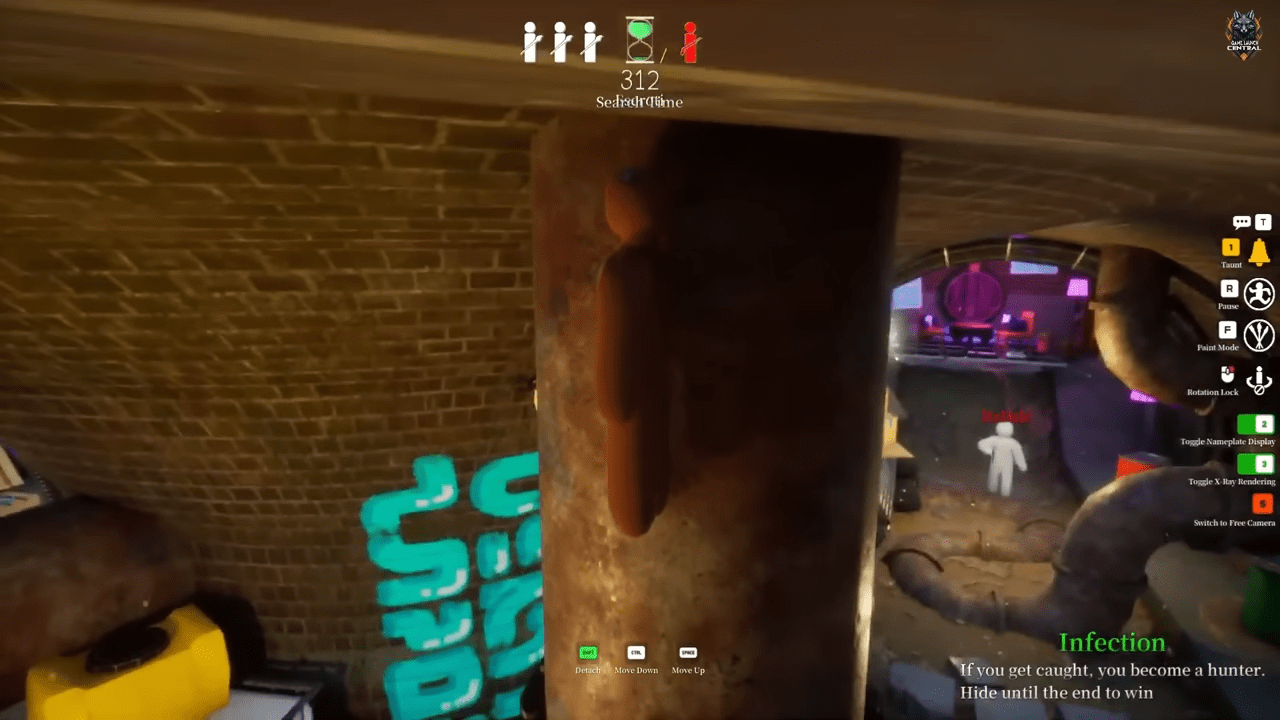
💡Pro Tip: Hold off on downloading community Workshop maps until you spend several hours mastering the official base maps. The core fundamental hiding techniques you learn on the standard maps will transfer flawlessly to any custom arena you play later.
Conclusion
Meccha Chameleon is a masterclass in independent game design. It strips away complicated mechanics and bloated progression systems, leaving players with an intensely fun, highly strategic battle of wits and visual perception. For only six dollars, the amount of replayability and pure tension offered here is unmatched in the current gaming market.
Remember the core fundamentals to ensure your survival in the digital arenas. Pick a complex spot before opening your paint menu, match the ambient room lighting carefully, break your human silhouette by mimicking the geometry around you, and absolutely refuse to move once the hunt begins. On the flip side, Seekers must trust their gut instincts, look for logical geometry errors instead of just bad colors, and carve rooms into manageable sweeping zones. The finer execution details will click naturally as you play more rounds. Launch the game, queue up for a chaotic match of Infection, and experience firsthand why seven million gamers cannot put this masterpiece down.

Leave a Reply