

Last Updated on 9 July, 2026
Set in a brutal alternative Age of Piracy, Windrose merges classic survival crafting with punishing soulslite combat that will quickly sink any unprepared buccaneer. Stepping onto these procedurally generated shores as a heavily armored frontline tank demands flawless stamina management and a deep understanding of intricate defensive mechanics. This comprehensive guide provides the exact blueprints you need to build an unstoppable juggernaut capable of surviving the deadliest coastal raids and monstrous bosses. By breaking down the crucial differences between perfect blocks and dodges while analyzing every major encounter, this walkthrough solves the steep combat learning curve and transforms you into the ultimate pirate powerhouse.
Table of Contents
- The Fundamentals of Defensive Combat
- Choosing Your Guard: Blocking Versus Dodging
- The Philosophy of the Frontline Defender
- Levels 1 to 5: Conquering the Coastal Regions
- Levels 6 to 10: Taming the Foothills
- Levels 11 to 15: Surviving the Treacherous Swamp
- The Windrose Armory: Weapon Recommendations
- Conclusion
The Fundamentals of Defensive Combat
Mastering Spacing
Positioning remains the most reliable method for mitigating incoming attacks. When you stand just close enough to bait a hostile strike but step back right before the impact, you create a perfect opening. The enemy swings at empty air, leaving them completely vulnerable. This strategy costs zero resources, operates simply, and allows you to dispatch countless foes as long as you have enough physical space to retreat. Greatswords excel at this exact tactic. Their heavy attack allows you to poke targets safely while kiting them across the battlefield.
Utilizing the Environment
Terrain manipulation offers another fantastic defensive layer. You can simply climb atop a large rock to escape the melee reach of ground units. From this elevated sanctuary, you can fire ranged weapons with impunity. This specific maneuver becomes incredibly valuable during chaotic ship boarding sequences. When your crew falls in battle and your healing supplies run dry, taking calculated shots from the safety of your own vessel provides the safest path to securing those final crucial eliminations.
Beyond these environmental strategies, Windrose provides players with two distinct active defense mechanisms. You must master the timing for perfect blocks and perfect dodges. When your timing falters, these maneuvers become standard blocks and standard dashes.
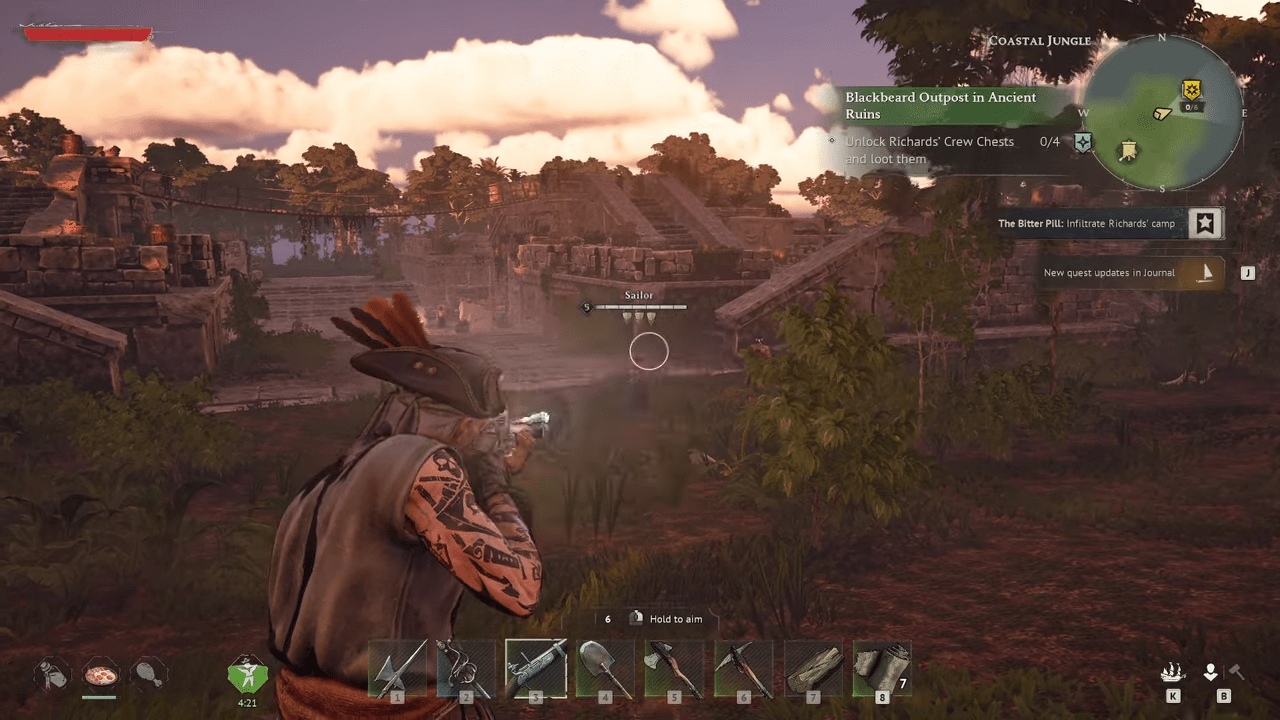
💡Tip: Utilize the greatsword heavy attack for safe poking and kiting when you need to maintain a healthy distance from dangerous foes.
Choosing Your Guard: Blocking Versus Dodging
Deciding how to mitigate damage defines your entire build. Each defensive style requires a specific approach to stamina management and weapon selection.
The Art of the Perfect Block
Perfect blocking requires you to unequip weapons like halberds. You must dedicate yourself to wielding sabers, rapiers, or greatswords to properly execute this technique. Executing a flawless parry completely halts your stamina regeneration temporarily, but the block itself consumes absolutely zero stamina. You can successfully block an incoming strike even when your stamina gauge sits completely empty.
Initiating a block early enough, or during recovery frames, cancels your current animation. You should confidently attempt a block even when you think you committed too hard to an attack. If you miss the strict timing window but still press the button early enough, you perform a standard block. Taking reduced damage always beats absorbing the full force of a blow.
Perfect blocks function as offensive tools just as much as defensive ones. Deflecting a strike perfectly shreds the opponent’s posture. Depleting their posture entirely results in a stance break, leaving the adversary staggered and open for guaranteed retaliation. Exceptional timing allows you to deflect multiple simultaneous attacks, including strikes originating from behind your character. However, adversaries possess certain unblockable attacks. You must always keep one finger hovering over your dodge input to escape these specific threats.
The Power of the Perfect Dodge
Perfect dodges remain universally applicable across all weapon configurations. Dashing allows for instant repositioning while completely negating incoming damage. Dodging works against every single attack in the game. You must exercise patience when facing unblockable attacks, because dashing too early results in taking a direct hit.
The primary drawback of dashing involves stamina consumption. You absolutely cannot dodge when your stamina pool runs dry. Attacking also drains this vital resource. You must monitor your energy meticulously, consume food that boosts endurance, and deliberately pause between offensive flurries to let your character recover. Dodging provides invincibility frames, making an aggressive forward dash straight through an enemy attack highly effective. This forward momentum keeps you glued to your target. Sticking close to a boss prevents them from sprinting around the arena, giving your cooperative partners a stationary target to shoot.
| Defense Type | Stamina Cost | Primary Benefit | Drawback |
|---|---|---|---|
| Perfect Block | Zero | Breaks enemy posture | Fails against unblockable moves |
| Normal Block | Low | Reduces incoming damage | Posture damage taken |
| Perfect Dodge | Moderate | Grants invincibility frames | Requires strict stamina management |
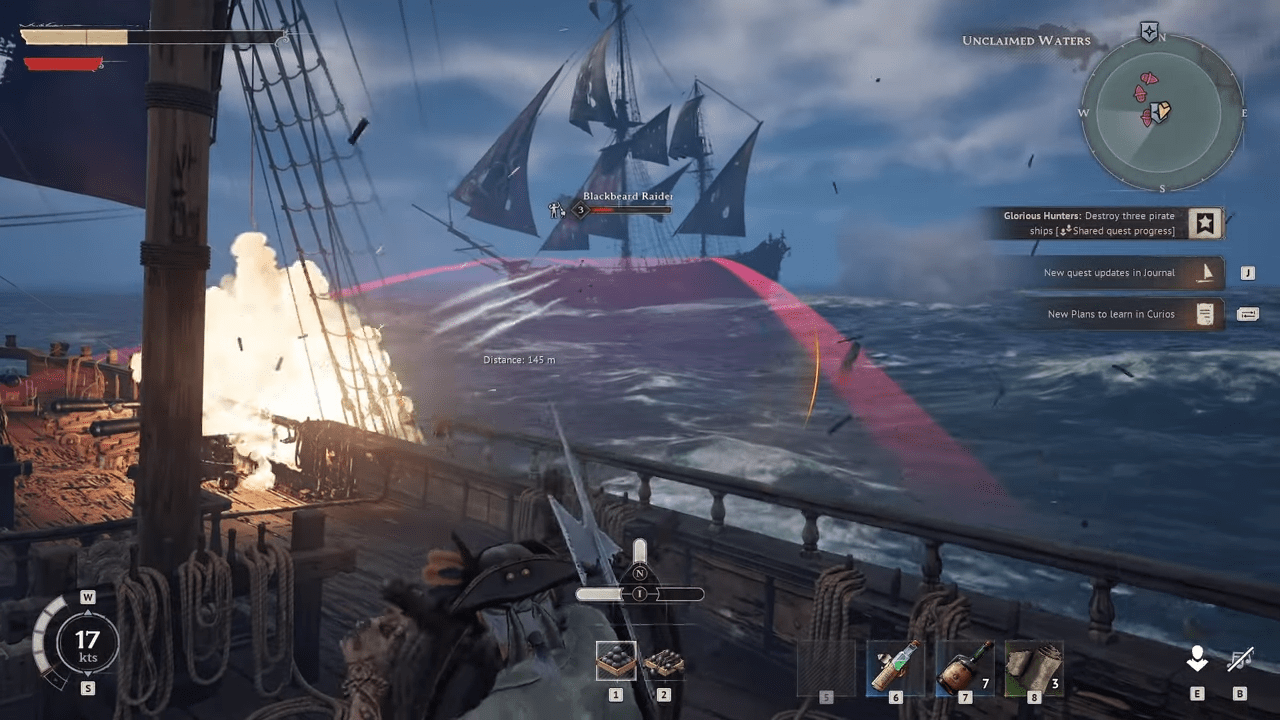
💡Tip: Keep a finger securely resting over the dodge button at all times, because adversaries constantly weave unblockable attacks into their patterns.
The Philosophy of the Frontline Defender
Analyzing Enemy Patterns
Hostile creatures operate using strict and limited attack patterns. Opponents generally unleash combinations containing one to three strikes. Understanding these patterns prevents devastating counterattacks. If you aggressively swing back after blocking a single hit, an enemy performing a two-hit combo will punish your impatience. Conversely, if you always wait for two strikes, a rare three-hit combination will catch you off guard.
You must actively search for visual tells. Drowned enemies, specifically the swollen and armored variants, broadcast their continuous combinations visually. Their feet will glide unnaturally across the ground while their arms flail, signaling that another strike approaches immediately. Testing different weapons and observing these animations requires trial and error, meaning you will likely perish multiple times during the learning process.
Targeting Mechanics and Temporal Health
The lock-on targeting system changes how your strikes behave. Thrusting motions, including the entire rapier moveset and the greatsword heavy attack, frequently miss their mark when you fight without locking on. The exception involves swinging at a dense group of foes running directly toward you. However, locking onto a single target during a chaotic boarding action usually results in swift defeat because you lose peripheral vision. You must manually toggle the targeting system based on your immediate surroundings. Free aiming a greatsword remains highly effective once you master the swing arcs.
Taking damage activates the temporal health system. A specific percentage of your lost vitality becomes temporarily recoverable by inflicting damage upon your foes. Specific talents can increase this recoverable percentage. You should never mindlessly rush into combat just to reclaim this health. The game provides a generous time window to cash in on temporal health. Attacking an enemy mid-combo only guarantees you suffer another blow. Patiently wait for a legitimate opening. Consider any recovered temporal health a fortunate bonus rather than a primary objective.
Why Choose the Tank Playstyle?
When operating in a cooperative group, holding a boss’s attention makes the encounter trivial for your allies. Perfect blocking leads directly to stance breaks. A broken stance gives you a massive damage window and creates a stationary target for your sharpshooting crewmates. Landing a headshot on a frantically moving boss is incredibly difficult, but a staggered boss offers a perfect bullseye.
For solo adventurers, frontline combat forces deep interaction with the core mechanics. You must memorize enemy behaviors instead of running away. Fighting face-to-face delivers a highly satisfying gameplay loop, and dispatching foes with precise one-handed weapon deflections simply looks incredible.
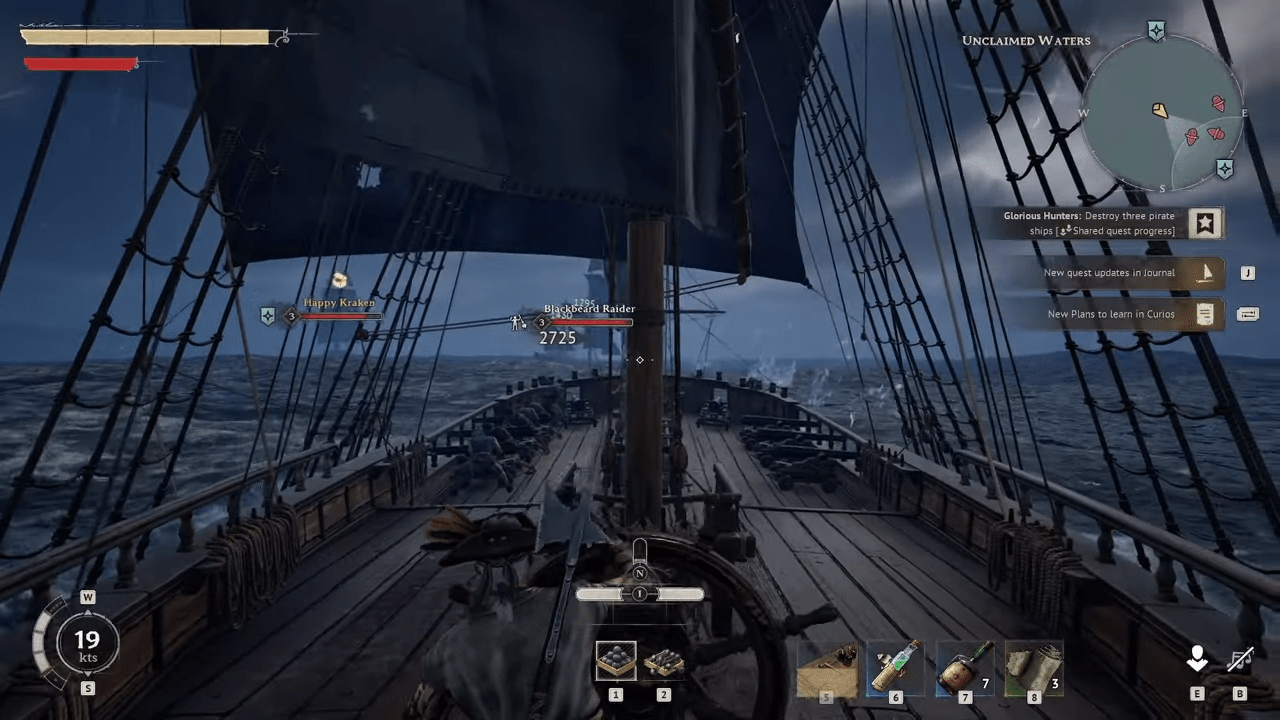
💡Tip: Never rush to cash in on temporal health; attacking while an adversary executes a combo only guarantees you will absorb another blow.
Levels 1 to 5: Conquering the Coastal Regions
Coastal Wildlife and Undead
The opening coastal zone introduces you to the basic wildlife and initial pirate factions. You will encounter complex drowned enemies featuring unblockable ranged projectiles. You must also contend with erratic dodos and three distinct variations of aggressive boars. Giant crabs populate the shores and fall quickly to perfectly timed blocks.
Standard sailors utilize basic one to three hit combinations, although the third strike rarely appears. Sergeants share this same melee combo but utilize the third strike more frequently. If a Sergeant pauses and stares at you, they are likely preparing to draw their pistol, requiring immediate offensive interruption. Sergeants also utilize a dangerous unblockable attack.
Undead combatants pose a unique threat in the early game. They utilize a simple two-hit melee combination and lack ranged capabilities. However, they possess a vicious unblockable bite attack. This bite inflicts a bleeding status effect that drains massive amounts of health unless you quickly apply a bandage. Always keep a healthy supply of bandages in your inventory. You can construct a portable workbench using five pieces of wood anywhere in the world, without needing a bonfire. Deploy this workbench to craft ropes and top off your essential supplies.
Early game firearms leave much to be desired. You must farm gunpowder from pirate camps, and your starting pistol feels incredibly weak until you locate a green rarity replacement. Rely on your upgraded starting saber or whatever rare weapons you uncover. Gravitate heavily toward greatswords during this phase. A dueling greatsword serves as the ultimate early game prize, depending entirely on your loot luck. Upgrade your chosen gear to level 5, acquire health potions, consume an elixir of cruelty, and prepare for your first major challenge.
The Grudge Match: Defeating Richards
Richards acts as the first massive progression wall for new players, requiring a patient war of attrition. His primary offense involves a two to five strike combination. He typically initiates a horizontal swing that transitions into an unblockable downward slam on either the first or second hit. Failing to perfect block his rare five hit flurry will completely shatter your posture. He also utilizes a rapid dual strike. Fast weapons let you sneak in one attack mid combo, but greed guarantees punishment.
Richards frequently throws explosive bombs in a forward arc. The blast radius is deceptively large. You can perfectly dodge the explosion, run backward, or sprint forward to circle behind him safely. Whenever you see him reach for his back pocket, use that generous window to land a few quick strikes.
Watch out for his highly dangerous unblockable charging grab. If you stand close, his animation stutters right before the grab initiates. He never follows this maneuver with another attack, so dodging it successfully leaves him completely exposed for a massive counterattack.
Before the fight, allocate your talent points into Agile and Duelist for dodge heavy builds, or the Cuts tree and Perfect Counter for weapon focused damage. Always prioritize critical hit talents. Consume spicy chicken alongside hearty egg broth or a spicy kebab for strength weapons. Substitute the broth for coconut milk if you struggle with endurance. The Flibustier armor set synergizes perfectly with one handed weapons, while the Conquistador set provides a phenomenal 15% damage resistance bonus.
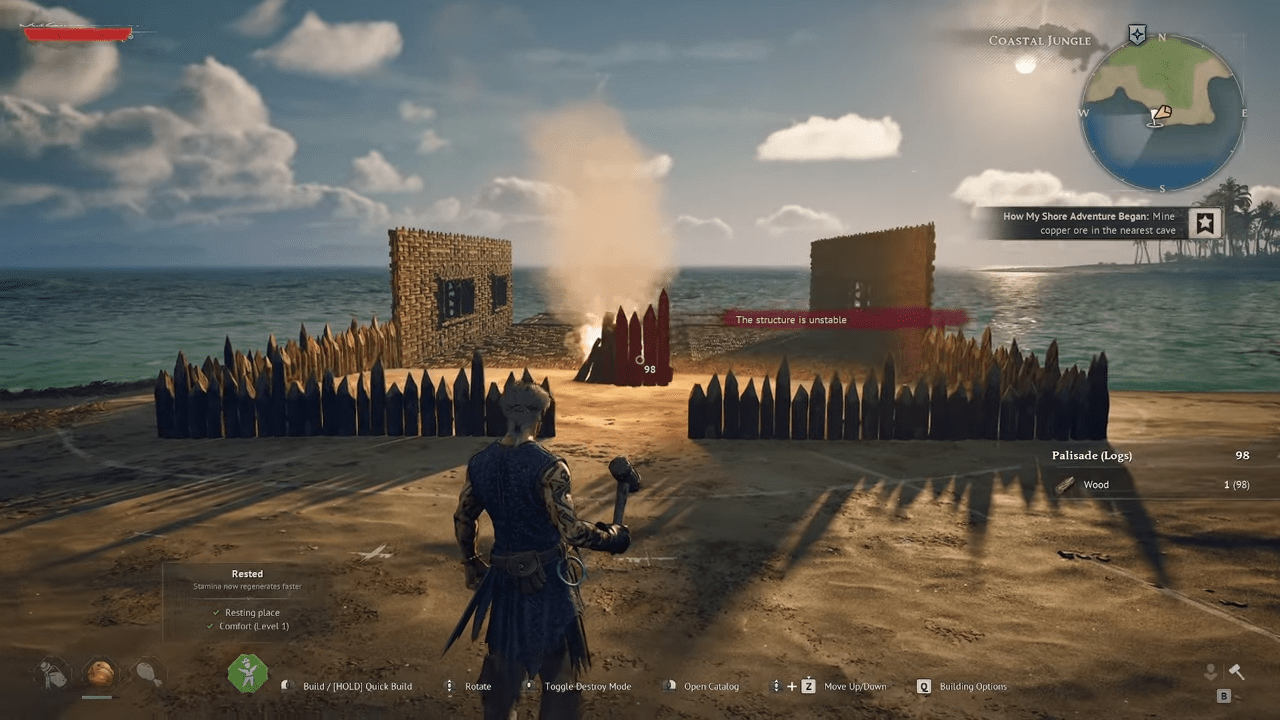
💡Tip: Deploy a portable workbench using five pieces of wood anywhere in the wilderness to craft emergency bandages without needing a bonfire.
Levels 6 to 10: Taming the Foothills
Goats, Wolves, and Pirate Skirmishes
The foothills introduce dangerous wildlife including goats, wolves, their respective alpha variants, higher-tier undead, and heavily armed pirates. Fighting enemies with a higher gear rating drastically reduces your damage output. You must farm resources safely until you can upgrade your crafting stations, ship, and gear to level 10.
Goats charge from massive distances using an unblockable attack. Outside of this charge, they rely on a simple two-hit horn combination. Bait their charge, close the distance, land your strikes, and prepare to parry. Alpha goats feature identical patterns with one additional attack mixed into their rotation.
Wolves present a highly frustrating challenge. They telegraph a blockable charge by shifting their legs, followed by a repetitive biting animation. Their danger stems from their incredible agility. They constantly backdash away from your swings or turn and sprint away completely. The greatsword thrust attack or basic firearms work best against these slippery targets. Alpha wolves replace the standard charge with an unblockable grab that causes heavy bleeding. They can chain their standard blockable bites up to four consecutive times, making them highly unpredictable.
Pirate musketeers fire highly damaging, well-telegraphed projectiles that demand precise dodges. Grenadiers operate like Sergeants but throw single bombs instead of firing pistols. These bombs inflict minor damage but create immense chaos, frequently damaging the grenadier’s own allies more than you.
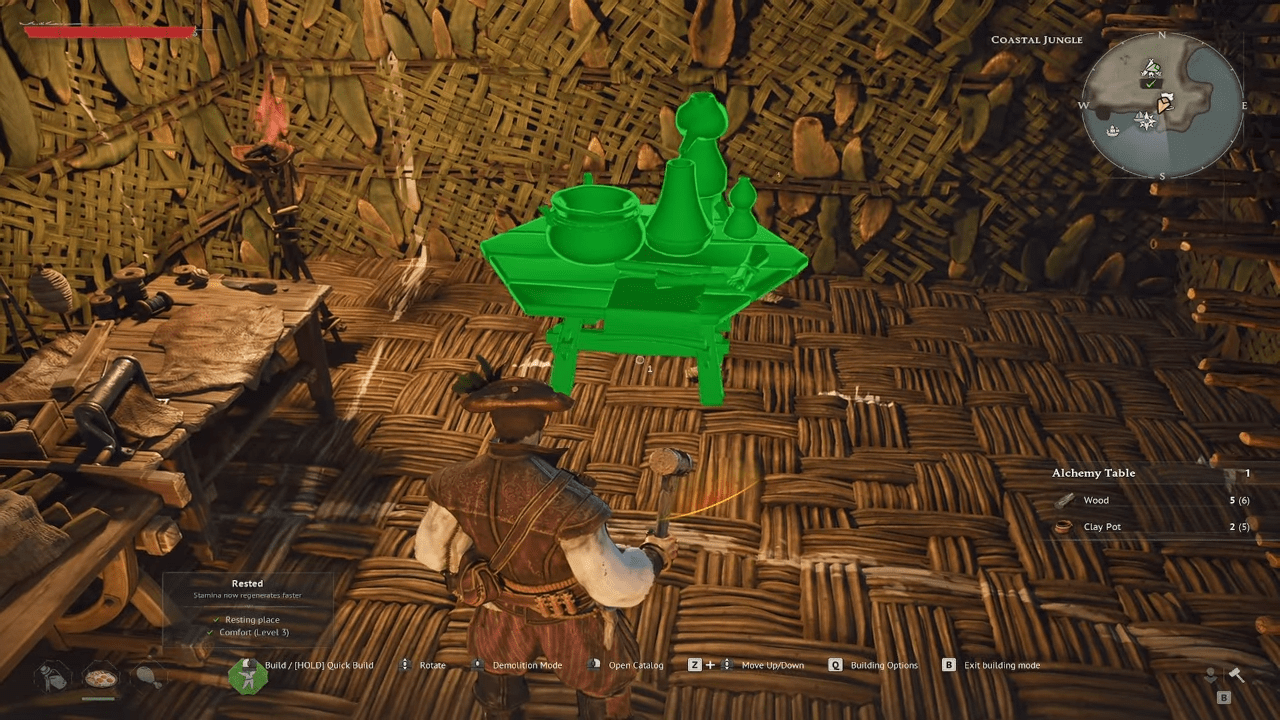
Discovering corn unlocks reliable gunpowder crafting. Iron bullets become highly effective. If utilizing greatswords, seek out the complete Pikemen armor set. One-handed weapon users should continue upgrading the Flibustier set. Ascend your primary weapon immediately. Respec your talents to acquire “too angry to die” to survive the resource grind, or grab “deadly finish” to maximize damage. Maintain 10 endurance and pour every remaining point into vitality. Consume coffee and seafood platters to prepare for the region’s boss.
The Duel: Conquering Hands
Hands attacks with blistering speed and erratic timing. He initiates combat with two lightning-fast slashes or raises his saber to deliver three rapid strikes. Perfect blocking this onslaught melts his posture gauge rapidly.
While Hands blocks your basic attacks, his unblockable arsenal relies entirely on his spectral ghost companion. The ghost fires projectiles, performs wide sweeps, executes a rapid 360-degree spin, or summons falling spectral skulls. The skull attack features a quick four-skull variant and a massive eight-skull barrage. Sprinting fails to avoid the skulls; you must perform consecutive dashes as they crash downward. Hands also utilizes a charging thrust that leaves a highly damaging trail on the ground. Consume blue vitality food while memorizing his patterns, saving your purple consumables for the final victorious attempt.
💡Tip: Securing corn allows you to craft gunpowder reliably, making iron bullets a fantastic asset during your foothill progression.
Levels 11 to 15: Surviving the Treacherous Swamp
Crocodiles and Plague Mutations
The swamp environment demands perfection. Crocodiles possess a deceptively long attack reach, utilizing a two-hit combo and an unblockable bite. Plague crocodiles upgrade this arsenal with a devastating, lightning-fast unblockable 360-degree spin. And, plague crushers feature glowing weak spots designed for ranged attackers, but a dedicated frontline defender must break their stance manually through sustained melee pressure.
Plague thralls act as basic fodder, relying on simple running attacks and varied two-hit combinations. Plague hunters throw incredibly dangerous unblockable spears that inflict massive health and posture damage. At close range, they rely on a single, easily blocked thrust. Plague warriors block your strikes, utilize shield bashes to disrupt your rhythm, and engage in honorable melee combat without unblockable gimmicks. Witches avoid combinations entirely, utilizing quick swipes, close-range explosions, and totem summoning. These totems fire relentless projectiles, forcing you to utilize cover or swap to a ranged backup weapon.
Push your gear to level 15. Craft firm hand elixirs, infused elixirs, and timbaga pots. Prepare to forge the ultimate plague weapons before facing the final encounter of the current early access build.
The Final Swamp Behemoth
You cannot perfect block the final boss under any circumstances. You must completely respec your talents away from blocking enhancements and heavily invest in dodging capabilities.
Approach this massive creature directly from the front to limit its attack pool. The boss utilizes two wide swipes, a crushing downward slam, a chin slam, and a stretching tongue attack. It generally strings these attacks together in that exact sequence. Occasionally, it opens its mouth to unleash a devastating ranged attack, signaling you to run immediately. The creature features a single unblockable headbutt. Perfect dodging through this onslaught and breaking the creature’s stance yields massive damage windows. Prepare your stamina gauge for a lengthy, grueling battle of attrition.
💡Tip: Fully upgrade your epic weapons before transitioning to the plague arsenal, because plague weapons demand significantly harder metals for crafting.
The Windrose Armory: Weapon Recommendations
Your weapon choice dictates your combat rhythm. Discard green weapons the moment blue variations become available for ascension. Here is a detailed breakdown of the arsenal at your disposal.
Melee Weapon Classifications
Maces and Halberds:
These weapons cater heavily to players who prefer perfect dodging over perfect blocking. The halberd variants offer exceptional range and sweeping arcs for keeping wildlife at bay.
Greatswords:
The premier choice for perfect blocking mechanics. Light attacks provide wide, continuous strikes that swing endlessly as long as your endurance holds. Heavy attacks deliver phenomenal thrusting range, though they demand manual targeting and occasionally get stuck on uneven swamp terrain.
- Stalwart Greatsword: A highly reliable foundational weapon.
- Dueling Greatsword: The ultimate defender’s tool. Perfect blocks grant a stacking 10% melee damage boost, capping at 30%. Ascending this weapon allows maximum stacks to heal you for 10% of your total health upon further perfect blocks. Maintaining this buff requires constant enemy aggression.
- Soul Eater: Unlocked after defeating Hands. Features incredible slash ratings and a vitality-scaling, 360-degree special attack that heals you. However, this special move carries a massive three-minute cooldown that does not reset upon death. The long animation frequently gets interrupted by fast enemies.
Rapiers:
The moveset feels slightly restrictive. The four-hit light combo frequently misses without a hard lock-on, and the heavy double thrust lacks significant forward momentum. Rapiers also lack a dedicated running attack.
- Sturdy Rapier: Serviceable for coastal regions but lacks endgame impact.
- Rapier of a Thousand Cuts: Visually stunning, though mechanically standard.
Sabers:
Sabers offer surprisingly fluid light attack sequences terminating in a sharp thrust. The third strike in the sequence suffers from poor range and weak forward momentum. The heavy attack performs a painfully slow horizontal swipe that rarely justifies the time investment.
- Dueling Saber: Exceptional light attack pressure.
- Cutlass and Razor: Reliable alternatives featuring slightly delayed swing timings.
Firearms and Plague Arsenal
Ranged Supplements:
Pistols pair perfectly with one-handed blades. Drake’s Friend provides a phenomenal 15% damage boost for the minor cost of two bullets. Blunderbusses, specifically the Dragon’s Breath variant, deal catastrophic damage. They require a complete weapon swap and consume two shots per volley, making them perfect for softening up witches before initiating a melee charge.
The Plague Weapons:
These swamp-exclusive armaments require rare ingots and dominate their respective weapon classes completely. They represent the pinnacle of early access equipment.
| Plague Weapon | Unique Effect | Playstyle Recommendation |
|---|---|---|
| Plague Pistol | On-demand 40% lifesteal | Vitality tanking and emergency recovery |
| Rapier of Devastation | Light attacks build charges, heavy attacks detonate for massive damage and 40% maximum health recovery | Unstoppable aggressive sustain |
| Arboris Saber | Five light attacks unlock a highly damaging, wall-piercing frontal cone special attack | Defensive posturing and hunter ambushes |
| Plague Halberd | Similar mechanic to the Arboris Saber but utilizing a shorter three-hit combo sequence | Perfect dodge builds seeking heavy special attack damage |
The Rapier of Devastation stands as the most powerful weapon currently available. The heavy attack strikes twice, popping accumulated charges twice for absurd damage numbers. Achieving five stacks grants astronomical healing. You can deal over 1,500 damage per strike with absolutely zero investment in precision stats, allowing you to pour every single attribute point into vitality.
The Arboris Saber fixes the standard saber moveset by completely replacing the useless heavy attack with a phenomenal cone ability. This special attack has no expiration timer; it remains primed as long as you keep the weapon drawn. The built-in temporal health recovery buff synergizes perfectly with toughness talents, turning you into an immovable object.
💡Tip: Abandon green weapons as soon as you find blue variations, because you can only ascend weapons of blue rarity and above.
Conclusion
Conquering the treacherous swamps and deadly foothills of Windrose requires far more than just a sturdy ketch and a loaded blunderbuss. Your success as a dedicated tank relies entirely on reading subtle enemy attack patterns and exploiting the devastating power of ascended Plague weapons. Armed with these advanced tactics, you can confidently protect your crew from lethal threats like Thomas Richards and Israel Hands while claiming the rarest treasures the archipelago has to offer. Equip your heaviest armor, refine your parry timing, and dominate the high seas with an absolutely impenetrable defense.

Leave a Reply