

Last Updated on 2 October, 2026
The opening hours of Control: Resonant can leave you with more questions than answers. The world keeps shifting, useful upgrades are scattered across different systems, and it is easy to follow the next objective without realizing you have walked past resources, shortcuts, hidden interiors, or upgrades.
A few early priorities can make a big difference, so here is what to focus on first before you get too deep into Resonant.
Your First Routine in Every New Zone
When you enter a new zone in Control: Resonant, several useful tasks can be handled before you push deeper into the next objective. Start by activating the central Pylon, then locate the local Vendor, look for shortcuts, and explore the streets for buildings and supplies.
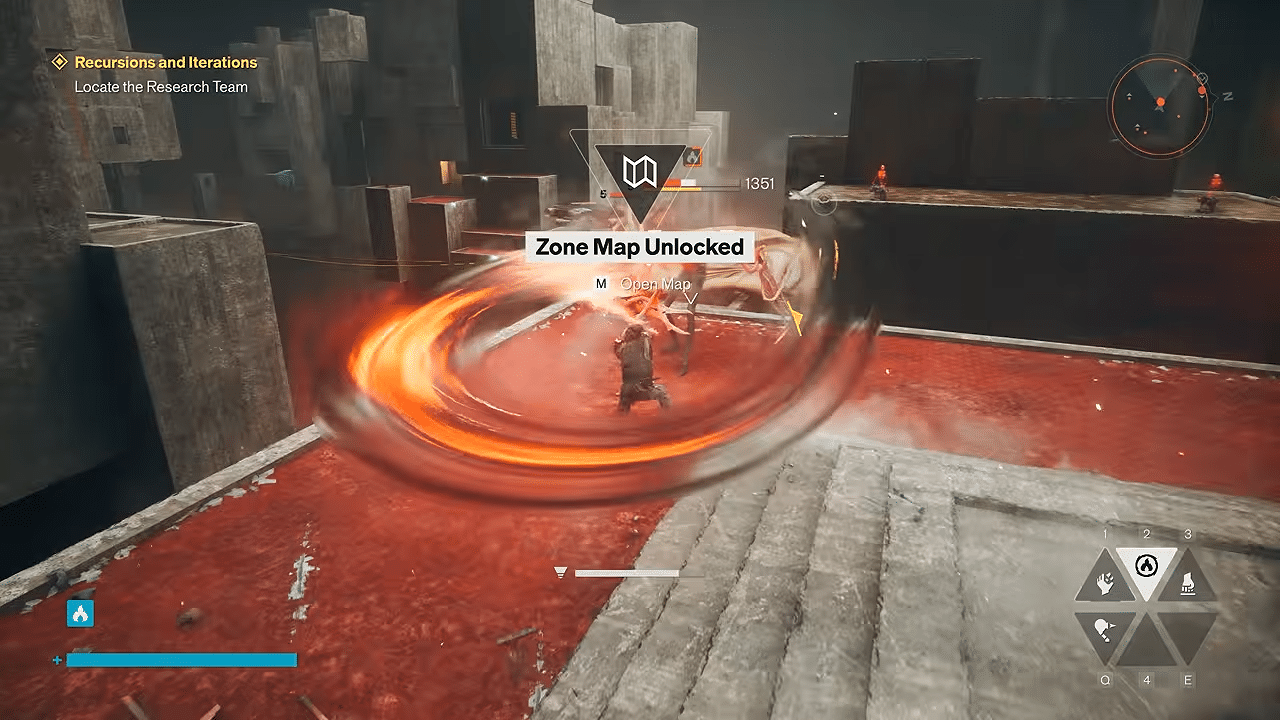
Activating the Pylon gives you a detailed Zone Map. That map reveals travel routes and marks important events and collectibles, although some icons only appear once you move closer to them.
Finding the Vendor gives you access to crafting materials for Artifacts and weapon upgrades. Vendor inventories are limited, and some higher-tier items depend on Vendor Level and Zone Level.
After that, look for shortcut doors, platforms, and street-level interiors. Shortcuts can reduce future travel, while enterable buildings can contain health chunks, resource crates, and hidden collectibles that are not always marked on the map.
FBC terminals are another useful stop as you explore. They provide upgrade resources after three consecutive questions.
Unlock More Weapons and Abilities
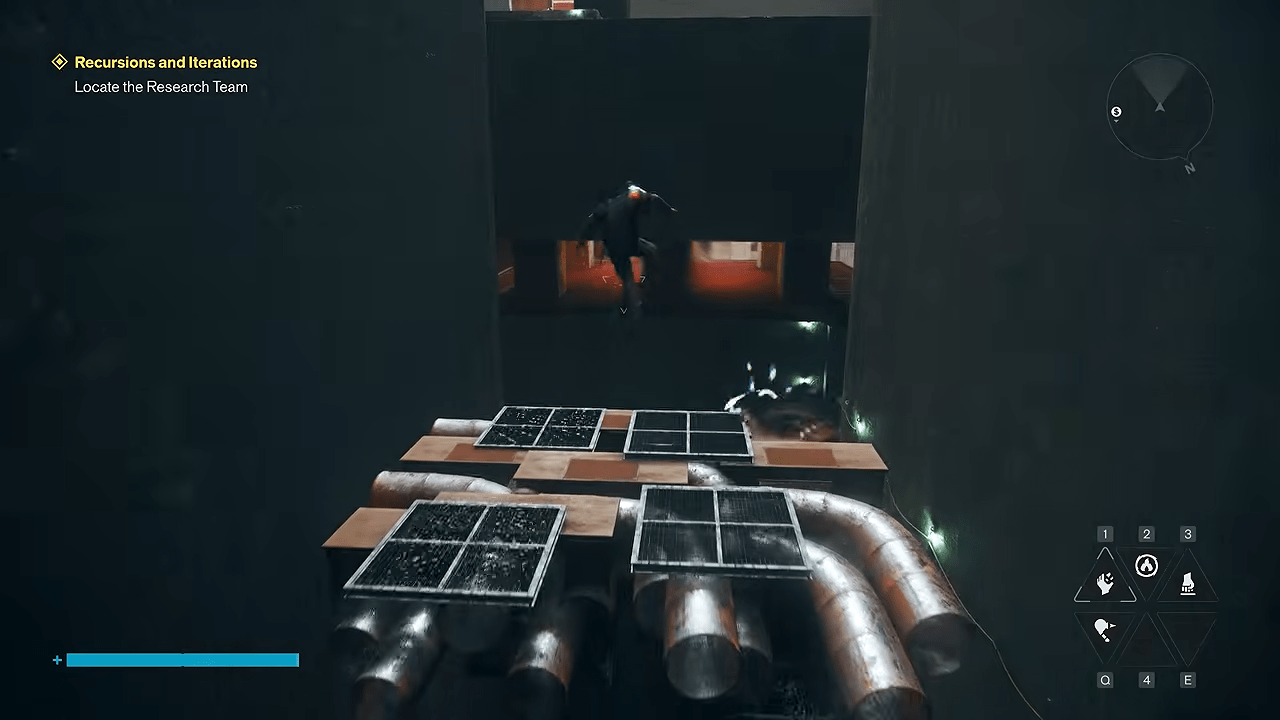
Combat can feel restrictive during the opening hours, so expanding your toolset should be one of your first priorities. New Aberrant Forms give you more combat options, while new Combat and Traversal Abilities add more ways to move and fight.
Expand your Aberrant Forms
Avoid putting all of your resources into the starter weapon. Unlocking new Aberrant Forms gives you more tactical options and also increases your Aberrant Strength, the core stat that governs your base damage and Falter damage.
Buy the required materials from Vendors, then enter the Gap to unlock the Form. If you try one and decide you do not want it, you can refund it for the full resource cost as long as you do so before leaving the Gap.
Track down new abilities
To unlock new powers, hunt down Resonants or traces of Jesse. Quest descriptions can provide hints about where to search.
You can also connect with Dylan’s sister by finding her illusions. These can guide you toward old video game consoles that grant upgrades.
Build two ability loadouts
You can create two ability loadouts and switch between them during combat. Aberrant Forms work differently because changing them requires you to pause the game and swap them through the Loadout menu.
Activate Every Location Tower
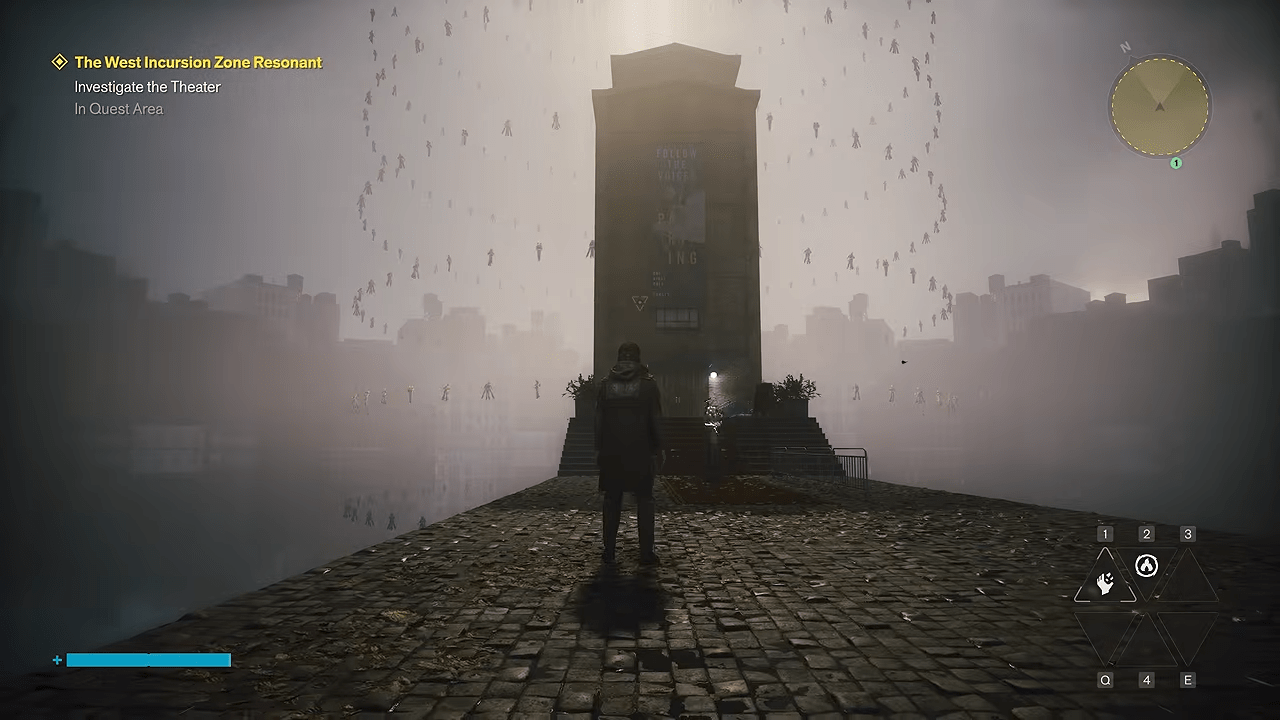
The basic map is available from the menu, but getting a detailed Zone Map requires more work. Each area contains a central Pylon, which looks like a large antenna tower, and activating it reveals more of the surrounding zone.
You need Map Kits to activate the Pylons, but reaching the tower is only the beginning. Three hidden Sensors must be found and interacted with before the Pylon can be activated.
Find all three Sensors
Sensors do not appear on the map. Stand near the Pylon and scan your surroundings for flashing red lights. Those indicate unactivated Sensors.
Use high ground to find them
Getting above street level makes the red lights easier to spot. The Sensors stay within a tight radius of their associated Pylon, so you can focus your search around the tower.
Why Pylons matter
Activating a Pylon reveals useful travel routes and marks important events and collectibles on your map. Some icons only appear once you get closer, so you still need to explore after activating the map.
Activating the Pylon should be a priority when you enter a new zone because it gives you more information about the area and its routes.

Find the Vendors in Each Location
After revealing a zone, look for its local Vendor. These merchants appear on the map as a dollar sign and take the form of ice cream trucks.
Vendors are the primary source for crafting materials used to create Artifacts and upgrade your arsenal.
Use the Gap at the Vendor
Standing at a Vendor lets you enter the Gap, craft or unlock what you need, and return to the merchant. Spend the Source earned through combat on your progression.
Check more than one Vendor
Vendor inventories are limited. If you need a large quantity of a specific resource, you may need to visit several different Vendors.
Raise your Vendor Level
Some higher-tier items are locked behind your Vendor Level. Raising your overall Zone Level unlocks the necessary merchant rewards.
Some higher-tier items therefore become available through Vendor Level rewards tied to Zone Level.
Unlock Shortcuts
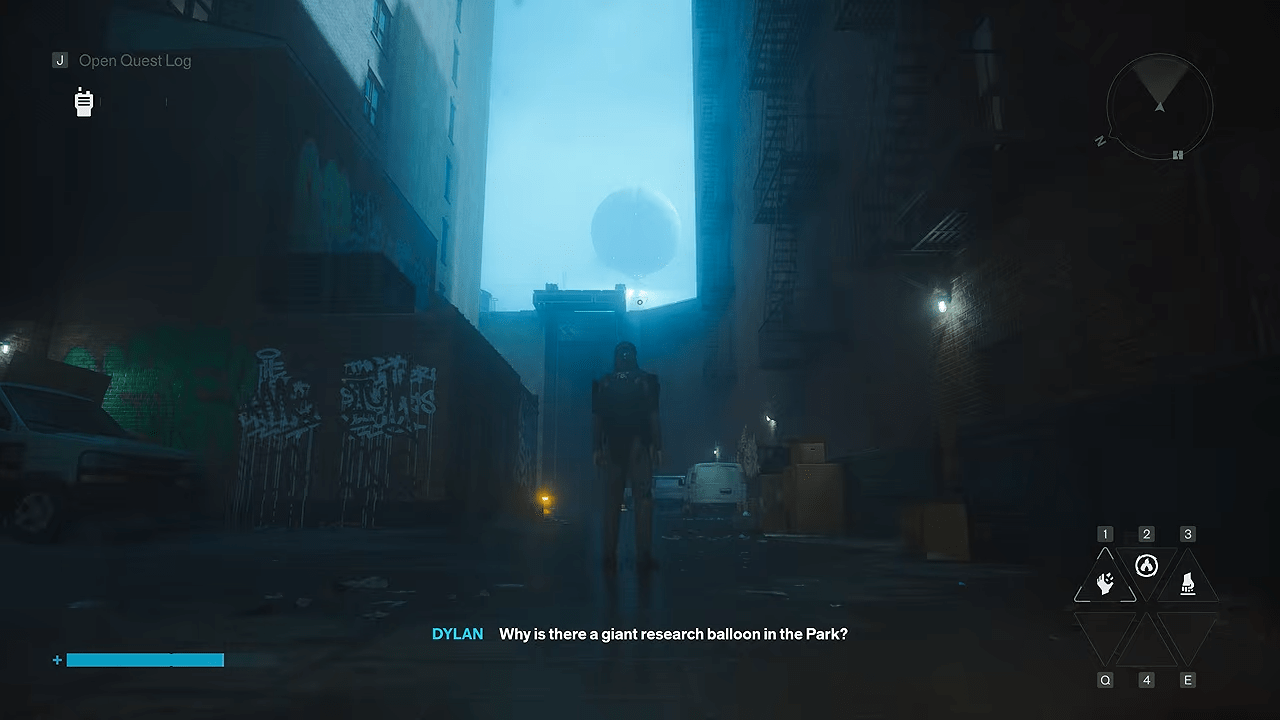
Large walls and doors marked with red or green lights can block parts of a zone. These are Zone Shortcuts, and they initially open from only one side.
Open shortcut doors as soon as you can
When a quest marker points beyond one of these barriers, use the map to find another route around it. Once you reach the opposite side, do not immediately continue toward the quest objective.
Turn around and interact with the door to permanently open the shortcut for future trips.
Activate platform shortcuts
Some shortcuts use unpowered platforms. Nearby Power Cores are marked on the map. Strike a core to activate it, then return to the core connected to the platform and hit it before your weapon loses its electrical charge.
Explore the Streets and Buildings
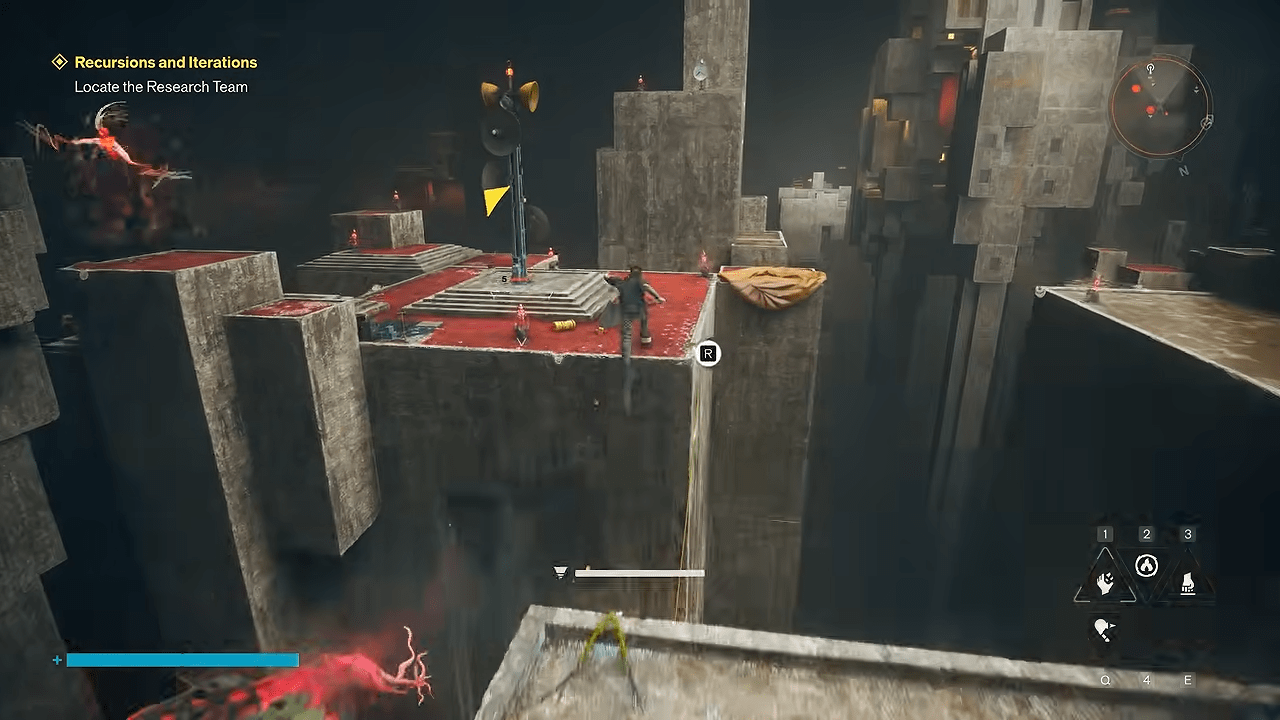
Floating, dashing, and parkouring across rooftops can make it tempting to ignore the streets below. That can mean missing interiors that contain useful supplies and collectibles.
Look beyond the map
Street-level areas contain enterable locations such as laundries, small markets, and restaurants. These interiors are rarely marked on the map, so look for storefront signs and check windows as you move through a zone.
Do not assume an unmarked building is inaccessible. Visual clues can indicate that you can enter.
Break through blocked doors
Cardboard-covered doors can be smashed with any weapon. Doors covered with web-like material require a fire ability to clear.
What you can find inside
Enterable buildings contain health chunks, resource crates, and hidden collectibles.
That makes street-level exploration useful even when there is no quest marker pointing toward a particular building.
Complete Every FBC Terminal
When exploring areas containing Federal Bureau of Control staff or equipment, look for interactive computer monitors carrying the FBC logo.
Some terminals are marked on the map with a World Feat icon. The first terminal can be found inside a small room at headquarters, right after your initial conversation with Emily Pope.
Do not worry about getting the answers right
Interacting with a terminal starts a lore and story quiz. Each question gives you three dialogue choices:
- No
- I don’t know
- Yes
Your actual answers do not matter. Answer three questions and you receive valuable upgrade resources.
Why terminals are worth stopping for
Terminals reward you with valuable upgrade resources, so complete them whenever you encounter one.

Easy-to-Miss Details That Pay Off
Control: Resonant places several useful systems away from the main quest path. Knowing what to look for can help you avoid missing resources, shortcuts, and upgrades as you move through each zone.
Do not overinvest in the starter weapon
Unlocking additional Aberrant Forms gives you more tactical options and increases Aberrant Strength, which governs base damage and Falter damage.
Do not leave a shortcut closed
Reaching the opposite side of a shortcut is not enough. Turn around and interact with the door to open it.
Do not stay on the rooftops
Street-level buildings can contain health chunks, resource crates, and hidden collectibles. Many of these locations are not marked on the map.
Do not waste time on terminal answers
The three terminal answers do not affect the reward. Complete three questions to receive the upgrade resources.
Do not assume the map shows everything
Activating a Pylon reveals travel routes and marks important events and collectibles, but some icons only appear when you get closer.
Keep Vendor progression in mind
Vendor inventories are limited, and some higher-tier items depend on Vendor Level. The necessary merchant rewards become available through raising your overall Zone Level.
Conclusion
Control: Resonant gives you plenty to chase from the moment the world opens up, but you do not have to tackle everything at once. Expanding your Aberrant Forms and abilities, activating Pylons, finding Vendors, opening shortcuts, checking street-level buildings, and clearing FBC terminals will give you a stronger foundation as you move through each zone.
The biggest advantage comes from making those checks part of your routine. Take a moment to explore beyond the quest marker, keep an eye out for hidden routes and interiors, and make the most of the systems the game puts in front of you. Doing that early can save you from missing useful upgrades, resources, and shortcuts later.

Leave a Reply