

Last Updated on 28 August, 2026
Cold Symmetry’s long-awaited sequel, Mortal Shell II, thrusts players into a sprawling dark fantasy open world where the stamina bar is completely gone and ruthless enemies guard the stolen Ova of the Undermether. PLaying through this massive new landscape can easily overwhelm even the most hardened action RPG veterans. Our comprehensive guide provides a complete roadmap to obtaining all achievements and conquering every mandatory boss encounter. By highlighting exact shell locations, hidden weapon unlocks, and the powerful interactive loot map, this resource eliminates all progression guesswork so you can reclaim the ravaged world with confidence.
Table of Contents
The Ultimate Interactive World Map
Crawling through the sprawling landscape requires a reliable tool. The Steam Community member, RuneSurveyorer, created a massive interactive map hosted at lootmap.gg that features exactly 2,248 distinct markers. This completely free resource requires no account registration and functions flawlessly on both desktop and mobile browsers. You can keep it open on a second screen or your phone to actively track your progress while exploring the treacherous environments.
Comprehensive Tracking Categories
The high-resolution map allows you to filter specific categories to find exactly what you need. It highlights the precise positions of all eight Shells, seven primary weapons, and seven sidearms, complete with their official artwork and lore descriptions. Beyond the major gear, you can track down essential collectibles and minor pickups including chests, artifacts, map fragments, glimpses, and coin bags. The tool also pinpoints highly specific crafting materials and consumables like Spoiled Ovum, Weltcaps, Moonshine, attack flowers, Tarstones, keys, and seals.
Navigation and World Threats
Exploration becomes significantly easier when you utilize the map to locate critical travel infrastructure. You can easily find hidden paths, Bone Gates, lifts, gates, traversal points, and all fast-travel beacons. The map also covers various non-player characters and interactables, highlighting the exact locations of Sester Genessa, Devout’s Chalices, sitting stones, and unique shell interactions. Finally, it flags dangerous threat zones, revealing where elite enemies, traps, and boss arenas await. The creator continuously updates the tool to match the current game version, ensuring total accuracy after major software patches.
Story and Progression Trophies
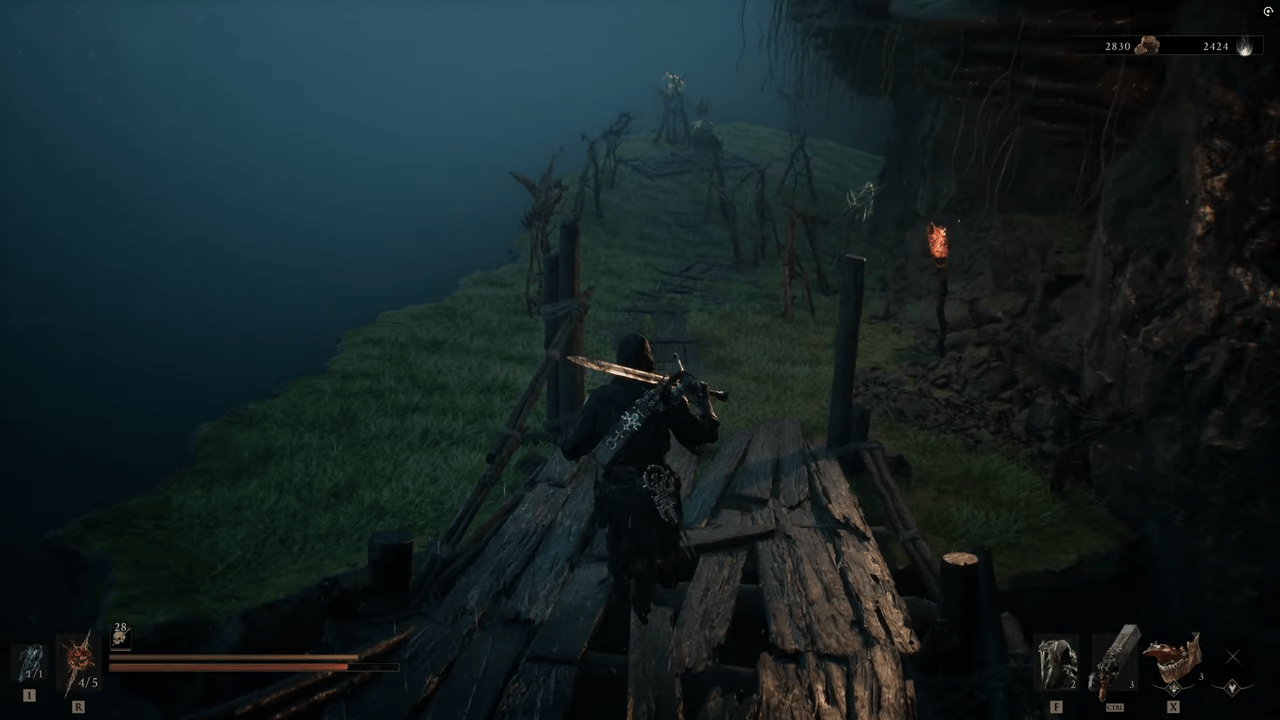
The core campaign hands out a few achievements naturally as you progress through the main narrative path. The developers designed these specific trophies to act as unmissable milestones that confirm you are heading in the right direction. You secure the You’re More Than a Weapon milestone simply by claiming your first Shell, primary weapon, and sidearm during the opening hours of the game. This serves as a basic tutorial for equipping your essential gear.
Reaching the Central Hub
Pushing further into the hostile territory eventually leads you to the primary safe zone. Reaching this critical sanctuary for the first time immediately unlocks the Home at Last trophy. This hub area grants you access to essential merchants and upgrade stations that you will rely on heavily for the remainder of your adventure.
Completing the Cycle
The final story milestone requires you to conquer the entire campaign. Finishing the game and initiating your New Game Plus cycle awards the cheekily named This is Not an Achievement milestone. Starting a new cycle resets the world state while allowing you to retain your hard-earned arsenal, which proves vital for completing the massive collection tasks required for full completion.
Mastering the Boss Encounters
The game features a brutal lineup of mandatory and hidden bosses that guard the most valuable treasures. Most of these challenging encounters reside behind Corrupted Gates scattered across the map, while others block your path through the climactic final dungeon.
The Overworld Corrupted Gates
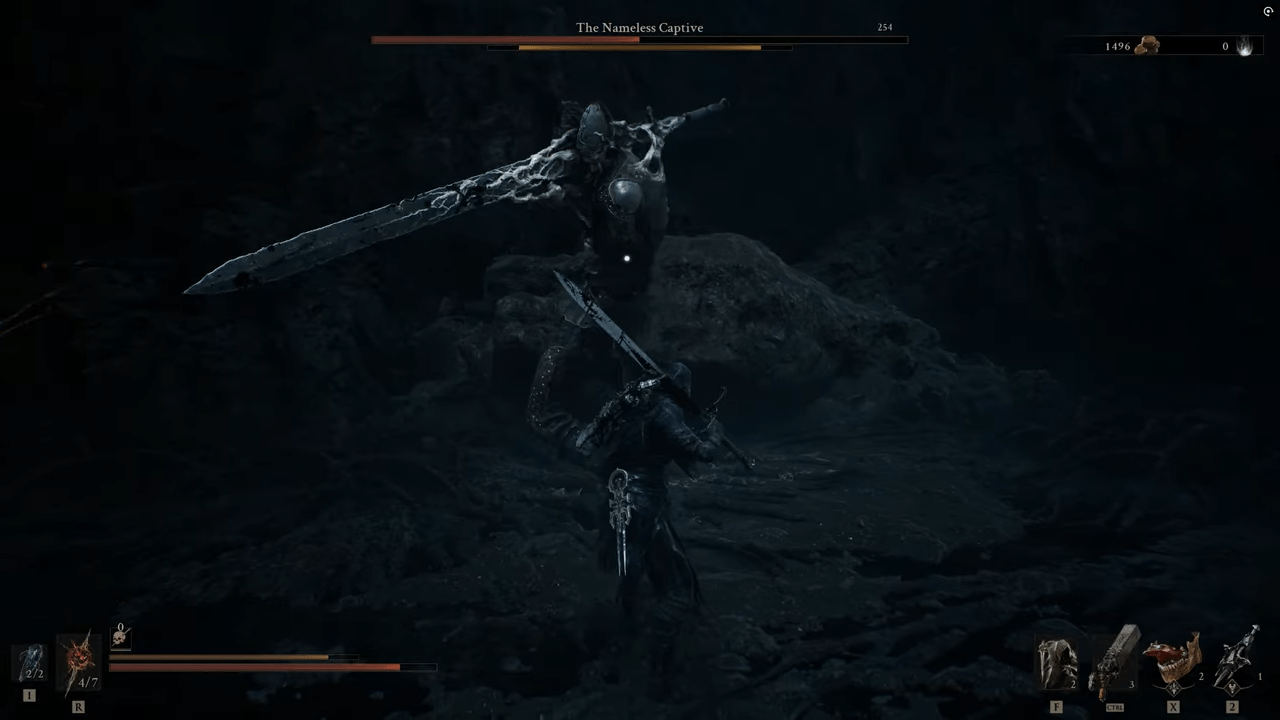
You must scour the outer regions to defeat six distinct overworld bosses. Travel to the eastern side of the top map section and enter the gate near the Mushroom Village Gate Beacon to defeat Magdalena, the Lady of the Woods, and earn the Wheelie Good Time achievement. Head to the northern section of the top map and enter the gate near the Stonebled Gate Beacon to conquer The Lost Child for the Meat’s Back on the Menu, Boys! trophy. Navigating to the western side of the top map brings you to the Nochtean Gate Beacon. Inside, you face The Nameless Captive to secure the Headcase achievement. During this specific fight, dropping the boss below half health triggers a devastating seven-hit headspin combo. You must successfully parry all seven strikes in a row to earn the highly missable Peter’s Perfect Parry achievement.
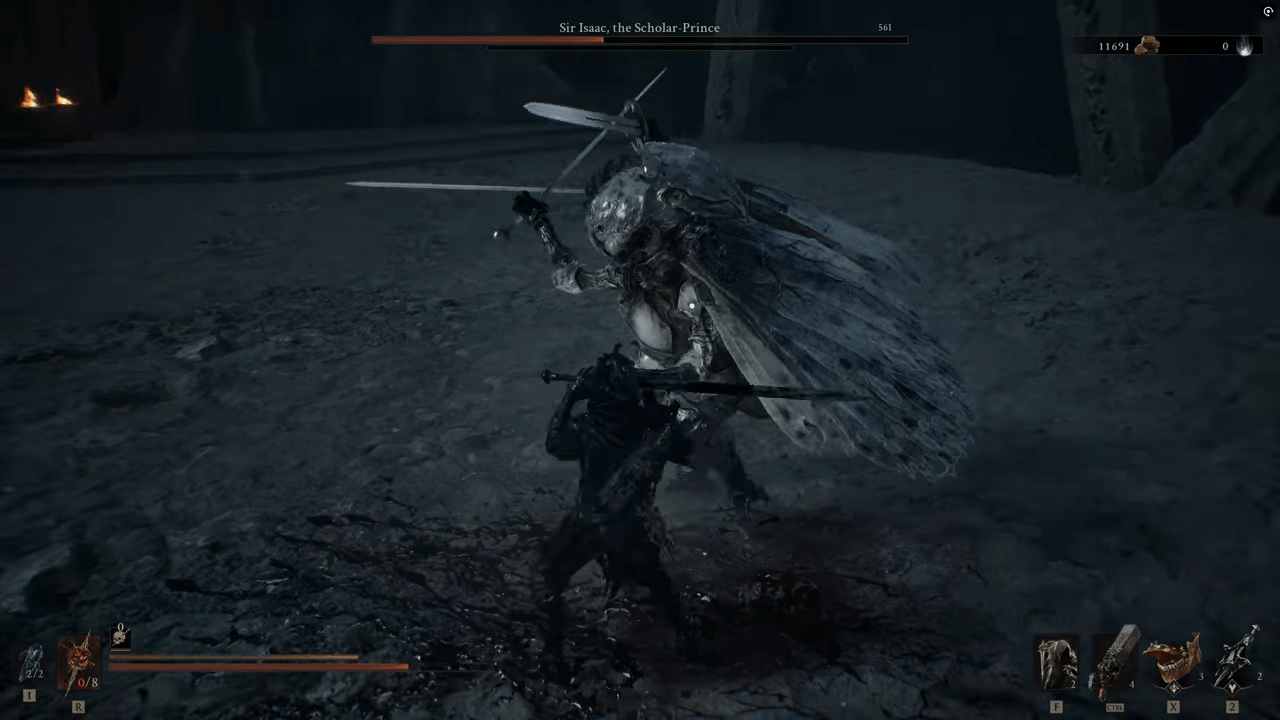
Continuing your hunt, travel to the western side of the bottom map section and enter the gate near the Gate of Mammon Beacon to defeat Hexapod and unlock the Something in the deep… trophy. Head to the eastern side of the bottom map near the Sester’s Gate Beacon to slay Droeg, the Conquerer, and claim the It burnssssssssss achievement. Finally, navigate to the southern side of the top map section and enter the gate near the Gate of Infinity Beacon to defeat Sir Isaac, the Scholar-Prince, and secure the Nightmare Fuel milestone.
The Final Dungeon Sequence
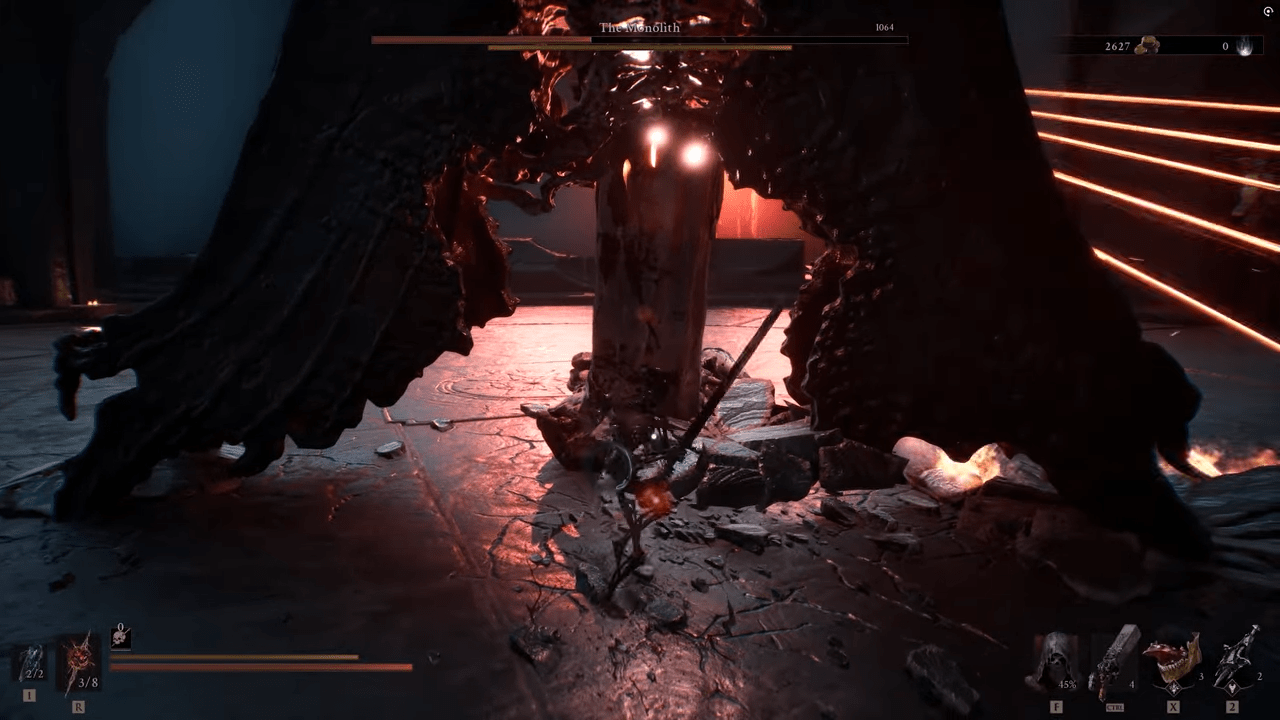
The climax of the game forces you through a punishing gauntlet of mandatory boss fights. You must sequentially defeat Orrem the Reclaimed to earn the Lost Your Head achievement, crush The Monolith for the Praise him! trophy, and slaughter the Malborn Offspring to secure the Ultimate Gainz milestone. Overcoming these three challenges grants you access to Zmey, the Unbidden. Defeating this ultimate threat finishes the game and awards the It’s over now? achievement. Additionally, there is a highly missable achievement during the prologue. When fighting the Tar Golem, you must deplete its health entirely to earn the No, You Still Can’t Win trophy. If the scripted cutscene triggers before you finish the job, press Alt and F4 to close the game immediately. Relaunching places you back at the last Beacon for another attempt.
Locating Every Combat Shell
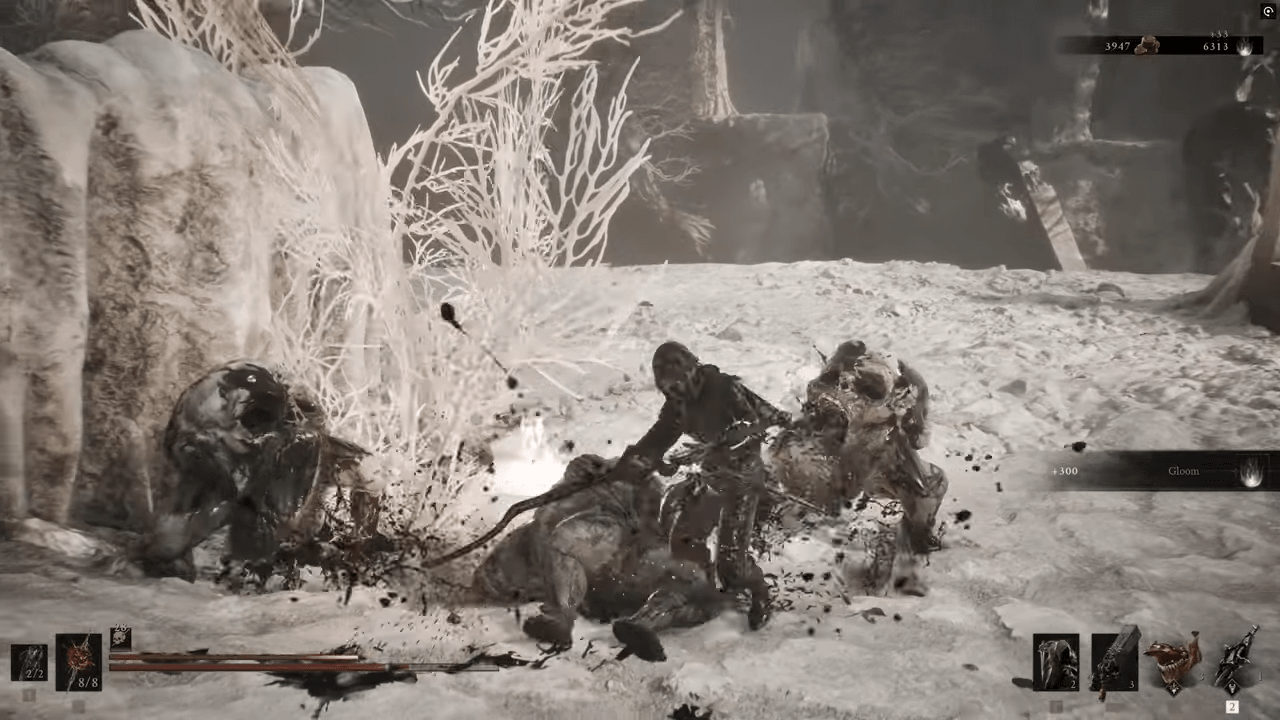
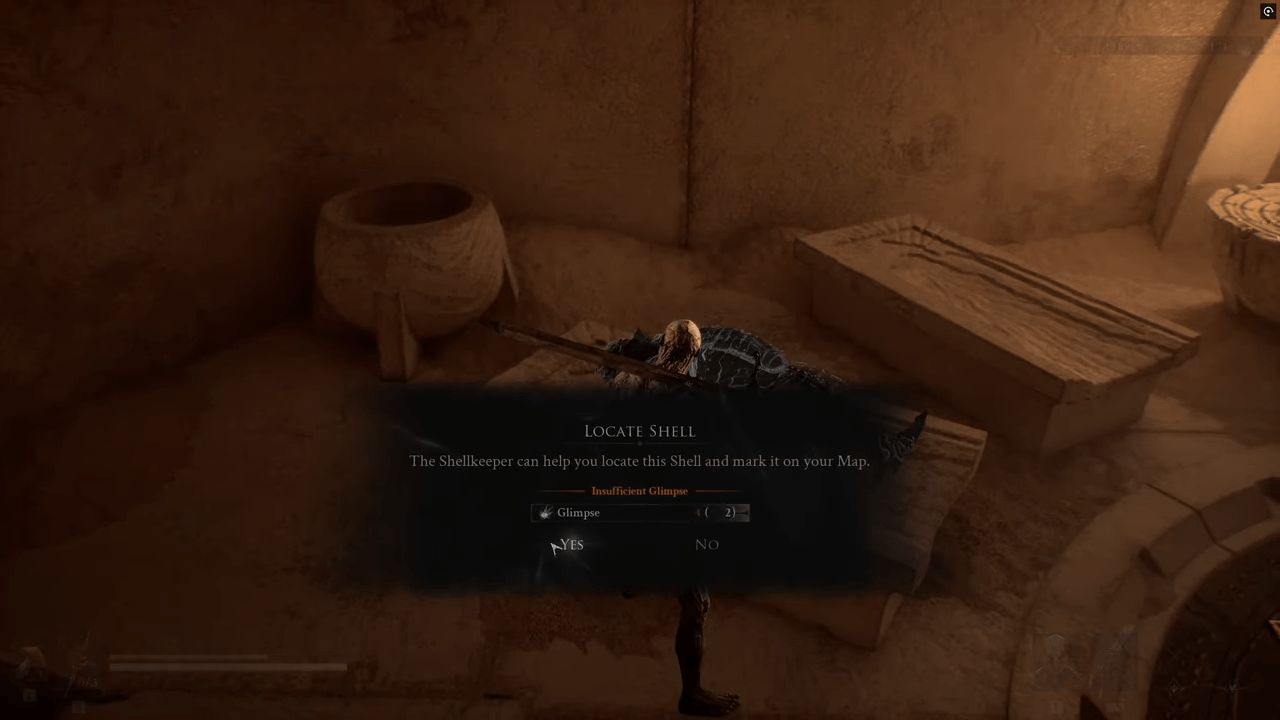
Acquiring new Shells drastically alters your combat capabilities and playstyle. You can track the locations of most Shells by spending Gloom near Zhirelle, the Shellkeeper. Discovering every available vessel unlocks the prestigious Shell Seeker achievement.
Tracking the Standard Shells
The tracker easily guides you to several standard vessels located throughout the world. Unlocking Tiel grants the Forever Alone? trophy, while discovering Proxima awards the Arrival achievement. Claiming Eredrim secures the Vengeance is Mine milestone, finding Smert unlocks the My Brether trophy, acquiring Sariel grants The Alchemist achievement, and uncovering Lazlo provides the Down with the Thickness trophy. Claiming your very first Shell and watching any of its memory sequences unlocks the Haunting Times trophy. You must eventually max out the bonding tier for one Shell at the Shellkeeper to earn the Decked Out milestone. Viewing every single memory across all available Shells unlocks the Seeking the Past achievement, which typically requires multiple playthroughs and heavy reliance on the interactive map to locate Glimpses efficiently.
Uncovering the Hidden Shells
Two specific Shells require you to complete obscure side quests. You earn the Heartless achievement by unlocking Gragu. Find Graga inside the local bar and exhaust his dialogue until he requests a specific heart. Use the nearby portal indicated by the map marker to teleport to the eastern temple, retrieve the heart, and return it to him. Sester Genessa serves as the final hidden vessel, and her body does not appear near the Shellkeeper. Earning the Sester achievement requires you to travel to the lower eastern section of the map and locate a graveyard covered in red petals surrounded by sisters. Interact with the floating red orb near the wall and defeat Sister Secunda in the alternate dimension. Deliver the censer she drops back to Sester Genessa to claim the Shell.
Expanding Your Weapon Arsenal
You must gather a diverse array of lethal armaments to earn the Lord of War and Guns. Lots of Guns. achievements. To begin your hunt, visit Merrick, the merchant located in Marrow Keep. He sells the critical maps that reveal the exact locations of every weapon hidden in the world.
Primary Melee Weapons
Your hunt for primary melee tools includes tracking down seven unique implements of destruction. Securing the Axe and Dagger grants you the Deep Cuts achievement, while uncovering the Veteran’s Battle Axe unlocks the Cut You Down to Size trophy. You earn the Big Boi achievement by acquiring the Great Martyr’s Blade, and finding the Salvaged Trebuchaxe provides the Chop Chop milestone. Discovering the Axatana grants the Dual Wielding trophy, locating the Obsidian Hammer unlocks the Stop – Hammer Time achievement, and claiming the Cursed Child awards the Beautiful Baby trophy.
Ranged Sidearms
You must also locate seven specialized sidearms to complete your ranged collection. This list includes finding the Forgotten Crossbow to earn the Old School achievement, and locating the Triarch Repeater to secure the Old Painless trophy. Uncovering the Black Needle grants the Point Taken milestone, while finding the Clockwork Scythe unlocks the Like Clockwork achievement. You secure the Spiked trophy by acquiring the Caged Hystrix, and you earn the Speared achievement by claiming the heavy-hitting Ballistazooka.
Collectibles and World Exploration
The map begins entirely obscured by the fog of war. You must locate raven icon markers in the environment to collect Map Fragments that slowly reveal the landscape. Finding all fragments awards the “Sat Nav” trophy.
Exploration also requires you to interact with specific environmental objects. There are 49 fast-travel beacons scattered across the world, but you only need to purify 46 of them to earn the “So Fresh, So Clean” achievement. You must also hunt down every Tarstone hidden in the world. Finally, cleansing beacons and clearing Corrupted Gates naturally rewards you with Ova. Collecting all of them unlocks the “Bring My Ova Back to Me” milestone.
Hidden Secrets and Miscellaneous Tasks
The developers hid several bizarre interactions and secrets throughout the world that grant unique trophies. Earning the prestigious No Lifer platinum achievement requires you to unlock all other achievements in the game, meaning you must complete every single one of these obscure tasks.
The Ascension Trophy: Secret of the Mango
The game provides absolutely zero context for this bizarre hidden Bronze trophy. You must complete a highly specific chain of events to access an isolated sanctuary and claim your reward.
- Open your map and fast travel directly to the Cleansed Gate.
- Walk toward the coastal region known as the Sanguine Shoreline.
- Search the coastal perimeter to locate a concealed cavern and head inside.
- Collect the item called Mether’s Flesh resting inside the cave and keep it safely in your inventory.
- Travel to the Fainweald region and locate the Outskirts of Nochte Beacon.
- Search the immediate vicinity of the beacon to find a massive fish statue.
- Interact with the fish statue and offer Mether’s Flesh as a tribute to trigger a secret teleportation sequence.
- Arrive in the hidden Mango Sanctuary and interact with the giant fruit to harvest it.
Additional World Secrets
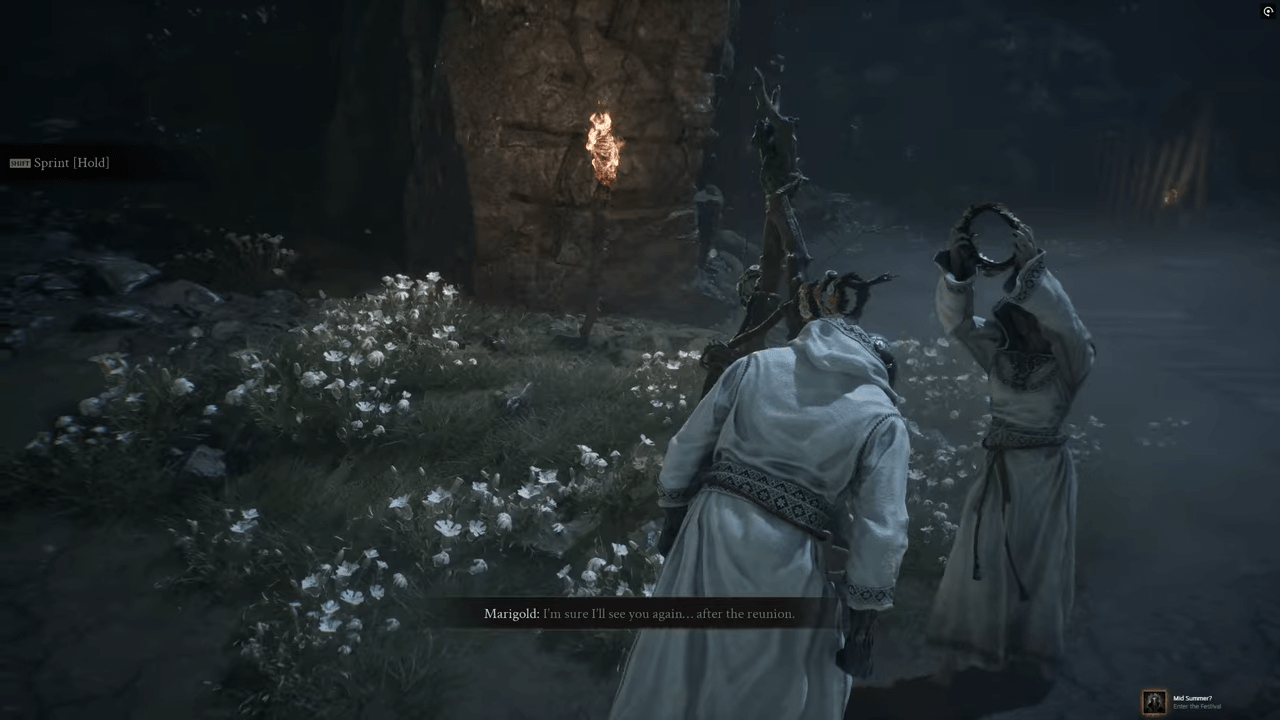
You can unlock several other miscellaneous achievements by interacting with obscure NPCs and items across the map. You earn the Mid Summer? achievement at the very start of the game by exiting the spawn courtyard immediately and speaking with Marigold to receive a flower wreath. You earn the Baghead trophy by locating Baghead, exhausting his dialogue, sitting next to his followers, and giving him the Special Moonshine found on a nearby box. When you answer yes to all his questions, he gives you his throne.
You secure the Heavy Metal achievement by finding the Troubadour’s Lute resting on the stage inside the tavern located to the right of the One Legged Wolf beacon. Equip the instrument, hold your aim button, press the play key, and use your mouse wheel to play every available track. Finally, you earn the Feed Me achievement by finding Egon at the top of the northwest courtyard tower. Give him the exact ten thousand or twenty thousand Gloom he requests. He will thank you, pass away, and surprisingly return double the amount you invested.
Conclusion
Earning the prestigious final trophy in Mortal Shell II requires immense dedication, but you no longer have to wander the dense Fainweald regions blindly. We have provided the exact steps you need to locate all eight elusive shells, upgrade your favorite weapons, and survive the punishing final dungeon sequence. Pairing the interactive map with our detailed combat strategies solves the frustrating problem of missing crucial collectibles hidden throughout the treacherous environment. Equip your powerful new sidearms, claim your rightful place among the elite completionists, and enjoy your perfectly conquered game world.

Leave a Reply