

Last Updated on 1 April, 2026
Welcome to the mesmerizing and secret-filled world of Angeline Era, the unique 3D action-adventure masterpiece developed by Analgesic Productions. Navigating this vast unmarked overworld as Tets Kinoshta can feel incredibly punishing, especially when you are trying to master the unconventional Bumpslash combat system. This comprehensive guide solves those exact frustrations by fully decoding the hidden mathematics behind your damage output and providing foolproof tactical blueprints for every major boss encounter. By absorbing this exclusive knowledge, you will gain the exact tools needed to optimize your loadout, skyrocket your high scores, and easily conquer the toughest challenges the Fae and Angels throw your way.
Table of Contents
1. Selecting Your Ideal Challenge Level
Angeline Era boasts six unique difficulty settings. The software provides a brief overview of these options, but we must dissect them thoroughly to guarantee you make the best choice. You can evaluate the comparative difficulty using a scale from 1 to 100. On this metric, the Low setting rests comfortably at 1, while Han-Tani’s Challenge peaks at 100.
The most important observation from this ranking system highlights that stepping from Low to Normal creates a noticeably larger gap than shifting from Normal to High. Moreover, High, Inferno, and Melos’s Trick cluster relatively close together in terms of pure punishment. Meanwhile, Han-Tani’s Challenge completely breaks the conventional scale.
For the most masochistic players, theoretical community numbers place Han-Tani’s Challenge without utilizing subweapons at a staggering 105. Attempting to clear this mode completely devoid of the gun or subweapons balloons the rating to a presumably impossible 150. If you access the debug menu to disable your double jump while maintaining those previous restrictions, the difficulty rating explodes to a comical 999999999999!
The Core Difficulty Modes
- Low (Rating 1): The major enemies operate at a much slower pace and execute significantly weaker strikes. You absorb less punishment compared to the standard setting. Defeated foes drop healing items much more frequently. Additionally, the pre-level minigames grant you abundant time on the clock.
- Normal (Rating 33): The standard baseline experience! It delivers a suitably tough adventure. If you leverage every tool the game provides, including leveling up, Artifacts, weapons, food, and plenty of practice, you will eventually conquer the campaign.
- High (Rating 55): You endure 33% more damage than you would on the standard setting. Most crucially, adversaries entirely cease dropping health pickups outside of a few extremely rare situations. This option introduces a massive difficulty spike, but it serves as the perfect fit if you find the standard mode too simple.
The Locked Hardcore Tiers
You must pay close attention here. From this specific tier onward, the software permanently locks your selection. You cannot alter the challenge setting inside the game once you commit to the following options!
- Inferno (Rating 67): You suffer 66% more damage than the standard setting. Keep in mind that weapon reloads and critical hits do not lose their potency on this tier; they operate exactly the same way across all difficulty options.
- Melos’s Trick (Rating 74): You take 89% more damage than the standard setting. Furthermore, the game severely cripples your healing capabilities, forcing food items to grant only half of their normal recovery bonus.
- Han-Tani’s Challenge (Rating 100): This brutal option mirrors the damage numbers found in Melos’s Trick, but it layers on agonizing limitations. You cannot gain levels. You cannot utilize the vast majority of your Artifacts. You cannot consume food. You cannot purchase goods. Finally, you cannot attach Gun Parts or enhance your arsenal.

2. Decoding the Boss Rush Scoring System
Dominating the Boss Rush requires a profound comprehension of the underlying mathematics. Every single target possesses a designated base score. The moment the fight begins, this base score depletes rapidly at a rate of 100 points for every passing second.
Difficulty Bonuses
When you tackle these encounters on the harsher settings, the system generously bolsters your initial base score:
- High: Injects an extra 1500 points into the starting value.
- Inferno: Injects an extra 2500 points into the starting value.
- Melos’s Trick or Han-Tani’s Challenge: Injects an extra 3500 points into the starting value.
The Level 1 Multiplier
The Boss Rush module automatically assigns a default level for every adversary. However, you can secure a colossal score increase by activating the Level 1 setting. Because battling at Level 1 forces the fights to drag on much longer, the programmers implemented a special formula to compensate you for your effort. The software takes your current base score and multiplies it by a specific factor. It calculates this factor by taking the boss’s default level, subtracting 1, multiplying that result by 0.1, and finally adding 1 to the total.
Let us examine a concrete example. Suppose you challenge the entity known as Throne on the High setting. You begin with Throne’s 14000 Base Score and append the 1500 High bonus to achieve 15500. If you activate the Level 1 toggle, you must determine the multiplier. Throne operates at a default level of 10. You subtract 1 from 10 to yield 9, multiply 9 by 0.1 to yield 0.9. You add 1 to yield 1.9. Finally, you multiply your 15500 points by 1.9, which rewards you with an astonishing 29450 base score! Because this math inflates the totals so dramatically, the community must keep Level 1 attempts segregated on a completely distinct leaderboard from the Default runs.
Official Target Values
- Fish: 12000 Points / Default Level 1
- Dulla & Han: 11000 Points / Default Level 1
- Gunnadoir: 9000 Points / Default Level 8
- Caitlin: 11000 Points / Default Level 4
- Neo-Kerygma: 9000 Points / Default Level 6
- Sorcerer: 10000 Points / Default Level 8
- Poison Tree: 12000 Points / Default Level 7
- Unformed Beast: 11000 Points / Default Level 9
- Bugdog Mass: 10000 Points / Default Level 8
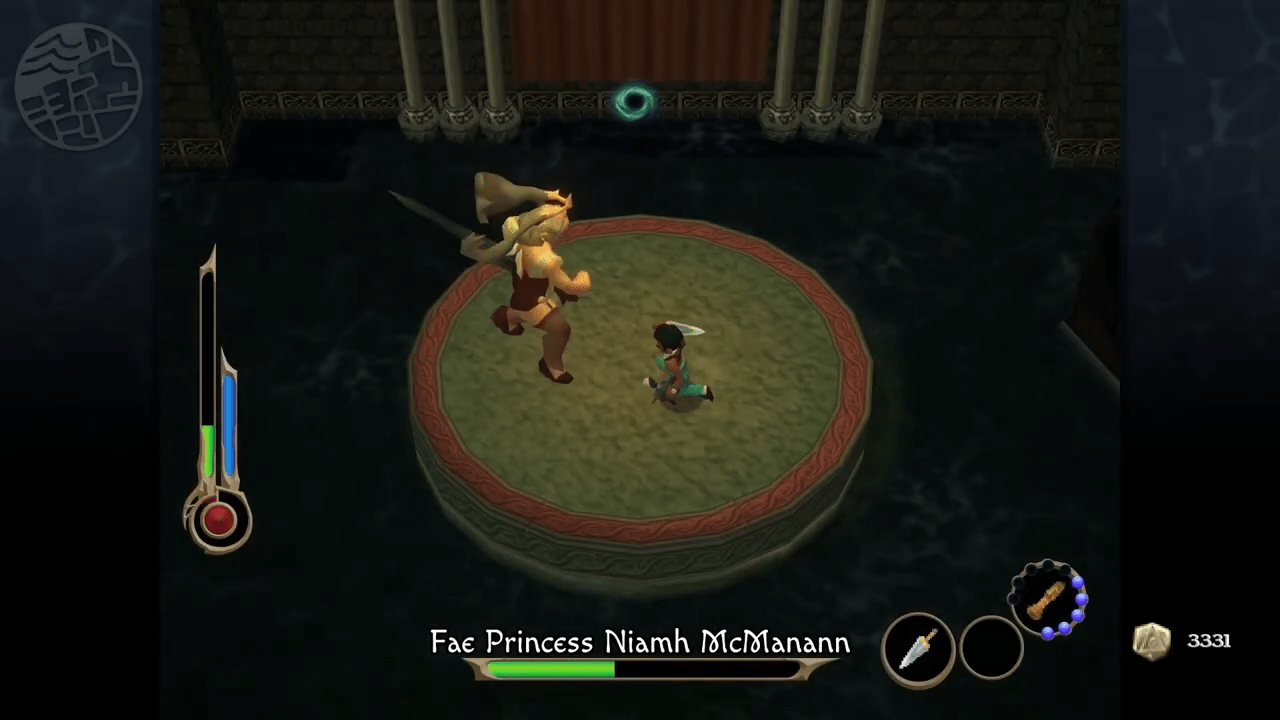
- Niamh: 11000 Points / Default Level 10
- Throne: 14000 Points / Default Level 10
- Yukata Woman: 10000 Points / Default Level 10
- Kids: 9000 Points / Default Level 10
- Boar: 11000 Points / Default Level 10
- Arkas: 16000 Points / Default Level 10
3. Mastering Combat and Damage Output
To unleash maximum devastation, you must learn exactly how Angeline Era processes your combo strings and raw damage.
Building the Ultimate Combo
Striking the majority of enemies will boost your combo multiplier by a flat value of 0.05. Firing your firearm also boosts the combo, but only by a marginal 0.01. Artifacts elevate your combo by a base of 0.05 as well. However, Artifacts currently harbor a strange bug where they adopt the base combo multiplier of your actively held weapon. Certain targets and environmental objects will not elevate your combo when attacked, but striking them typically replenishes your combo timer to save you from dropping your momentum.
Understanding Weapon Multipliers
Specific armaments apply unique mathematical modifiers to your combo generation. The Wand, Rapier, and Dagger utilize a 0.7 modifier. The Spear and Hammer boast a massive 1.2 modifier. The Broom operates with a 0.8 modifier. Consequently, a Rapier thrust raises your combo by exactly 0.035, a Sword slash raises it by 0.05, and a Hammer swing raises it by 0.06.
Combo Decay and Penalties
The engine imposes a strict penalty on your combo generation whenever a battle stretches on for too long. The system tracks this duration by evaluating your current score as a percentage of your absolute maximum possible score. When you drop below 60% of your maximum score, your combo grows at a sluggish 75% rate. When you plummet below 40% of your score, your combo grows at a mere 50% rate. If you fall below 1% of your score, your combo freezes completely and refuses to grow.
Additionally, your combo organically decays by 0.4 every 3.2 seconds. A handful of unique adversaries alter this rule to grant you a brief respite. During the Throne encounter, the combo decays every 6.5 seconds. The Sorcerer grants 6 seconds. Arkas and the Poison Tree both grant 5 seconds of safety.
Calculating Your Total Damage
The software refuses to scale your offensive output based on the challenge tier you selected. Instead, the game processes strict, unchanging numerical values.
Your tools possess intrinsic base damage properties. The Wand, Rapier, and Broom inflict 5 damage. The Dagger inflicts 6. The Sword inflicts 10. The Scimitar (Combo Sword) inflicts 10 on the initial slash, 5 on the follow up, and 23 on the final swing. The Hammer crushes for 20 damage. The Spear thrusts for an incredible 24 damage on the first hit, while its flying spear projectiles deal 12 damage.
Your tools also carry a strength reduction penalty. The Dagger cuts your strength by a factor of 0.8. The Wand cuts it by 0.7. The Rapier cuts it by 0.6. The second swing of the Scimitar cuts it by 0.5. Upon reaching weapon level 2, the majority of your arsenal earns a 1.2 damage multiplier, with the sole exception of the Dagger, which permanently retains a multiplier of 1.
You must meticulously manage your Red Circle Meter! Pushing this gauge above 40% injects 1.5 into your base strength. Pushing it above 70% injects an incredible 3 into your base strength.
The system determines your final physical output by taking your innate strength, adding your Red Circle Meter bonus, and multiplying that sum by your weapon’s specific strength reduction penalty. It evaluates your weapon output by multiplying your tool’s base damage by its level multiplier. The game then combines your physical output and weapon output to establish your total base damage. If this final result drops beneath 5, the engine automatically forces the value back up to 5.
Critical strikes universally multiply your total damage by exactly 2! The single exception involves the drill, which relies on a weaker 1.5 critical multiplier.
The Enemy Endure Mechanic
The creators programmed a specific failsafe to stop you from shattering the rhythm of an encounter by obliterating sturdy foes in a single strike. If you strike a fully healed adversary with a devastating blow, that foe will endure the hit and cling to life with precisely 1 health point. However, if you trigger a critical hit, you entirely bypass this endure mechanic and execute them instantly!
This endure safety net never shields fragile monsters. Tier 0 foes possessing under 20 max HP, Tier 1 foes possessing under 40 max HP, Tier 2 foes possessing under 60 max HP, and Tier 3 foes possessing under 80 max HP will never endure your attacks. They perish immediately upon taking lethal damage.
Maximizing Gun Power
The vast majority of primary targets heavily mitigate the damage they receive from your bullets. The standard gunshot damage rests at 5, meaning your leveled gunshots will only scale between 5 and 11.25 damage. If you toggle the Gunner’s Eye artifact, you completely double your ballistic damage.
4. The Ultimate Boss Survival Compendium
Are you feeling furious because you cannot overcome a specific boss? Study these tactical briefings thoroughly. I have cataloged the exact techniques necessary to dismantle every major threat lurking within Angeline Era.
The Early Encounters
- Fish: When engaging the 1 and 2 Fish swarms, you must actively utilize your double jump! Never chase them around the room; instead, hold your ground and wait for the fish to approach you. For the 4 Fish swarm, your safest play involves hunkering down in a corner. When battling 8 Fish, you should direct all your aggression exclusively at the bottom fish. For the 16 Fish swarm, attempt to hug a corner to safely rack up numerous hits. Finally, for the overwhelming 32 Fish swarm, you must spin rapidly in a circle! Your attack hitbox lingers for a few frames after you swing, allowing you to butcher multiple fish simultaneously.
- Dulla & Han: You can reliably squeeze a quick attack in between their stomping shockwaves. If your reflexes allow it, you can even smash the head directly to trigger massive critical damage. This exact logic carries over to their charging maneuver; you can consistently land a blow during every single charge, including direct hits to the head! The absolute easiest pattern to exploit remains their combined fireball, shockwave, and head strike routine.
- Gunnadoir: When Gunnadoir deploys those spinning lasers, turn them into your greatest asset! They function as incredible tools to rapidly replenish your ammunition so you can maintain heavy fire on Gunna. Make every effort to keep your paddle centered on the screen; this positioning makes it significantly easier to deflect the paddle directly into the balls.
- Caitlin: The most straightforward strategy for defeating Caitlin requires you to push her toward the upper section of the arena. Fire your gun repeatedly to stun her. Once she stops moving, you can effortlessly score critical hits by battering her against the wall.
The Mid-Game Threats
- Neo-Kerygma (The Lamb): Throughout Phase 1, ensure you do not knock too many wool balls away simultaneously. You will discover it is significantly easier to leap over the shockwaves when you stand right next to their landing zones. When Phase 2 initiates, seek refuge in the safest zone, which sits directly adjacent to the arm. Pay no attention to the rolling lambs. If you time your jumps with precision, you can actually deliver two rapid hits directly to the neck.
- Sorcerer of Beal Gorta: Maintain a very slow and methodical pace. You possess the ability to stun the Sorcerer using the miner’s ghost, though the community views this as an advanced tactic. Seek out secure methods to paint the terrain. Usually, your optimal strategy revolves around leaving a completely blank row near the top of the room; this grants you total control over the Sorcerer’s horizontal movement. Keep your ears open, as the Sorcerer broadcasts obvious sound cues right before unleashing projectile attacks.
- Poison Tree: You must leave the slugs alive to prep for Phase 3. Once Phase 3 begins, you can safely park yourself on the sunken rock to avoid the lethal poison for an extended period. You can even remain stationary on that rock and simply let the aggressive fairies fly right into your weapon.
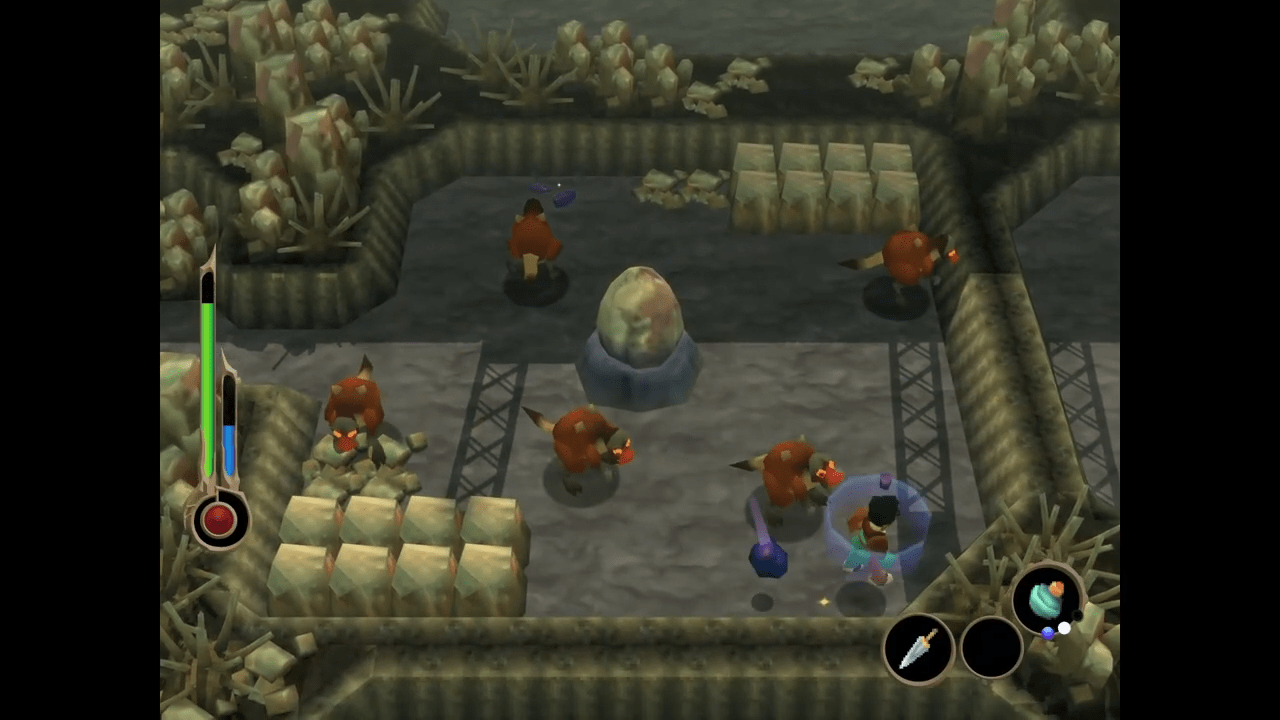
- Unformed Beast: The ultimate cheese strategy involves force feeding grenades to the Beast. This inflicts catastrophic damage and instantly cripples the boss. Otherwise, strive to land horizontal strikes so your own weapon knockback does not toss you directly into the surrounding pits. If you struggle to react to the boss’s chaotic shifting, wait for the bullet phase; it provides a highly secure window to strike, provided you can time your jumps accurately.
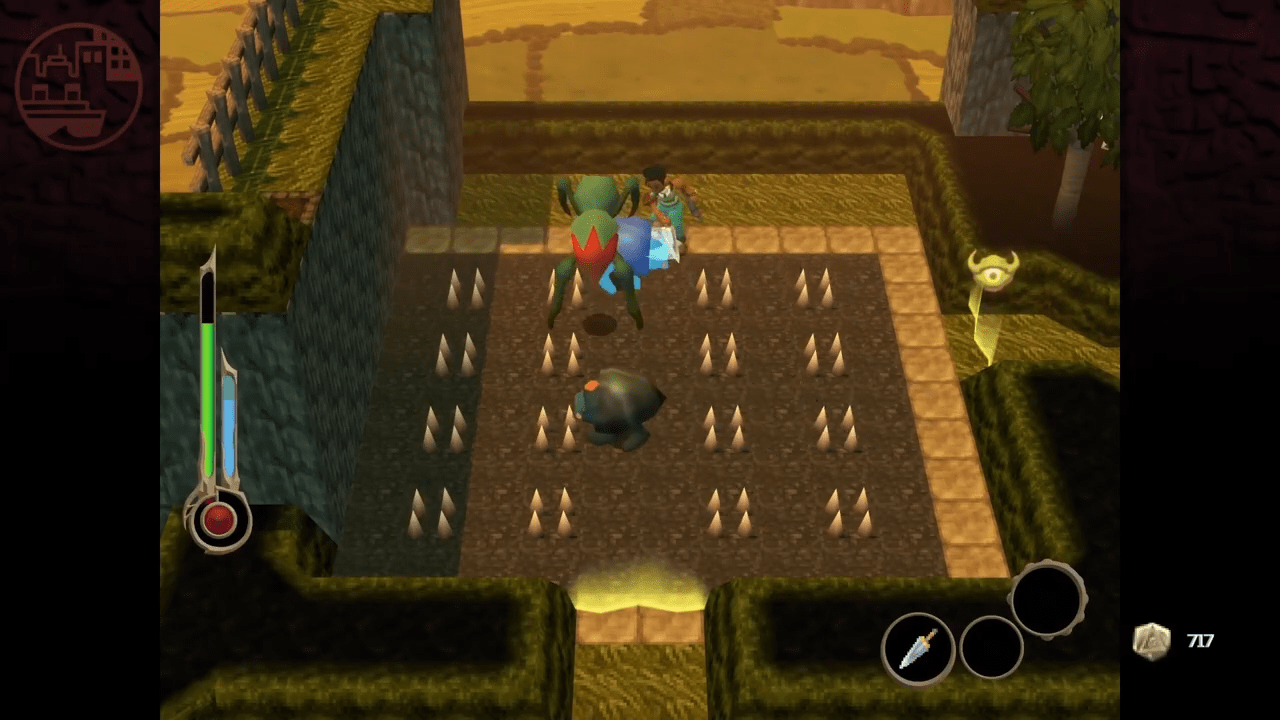
- Bugdog Mass: Victory here hinges entirely on your crowd control abilities. Sweeping the field clean remains the single most vital task to ensure the endless swarm does not overrun you.
The Royal and Late-Game Adversaries
-
Princess Niamh: Avoid standing directly in front of her. Attack from her side to dodge kicks, and retreat immediately when you hear the audio cue for her sword attack.
-
Throne: Slow your momentum and focus on the back glyphs. Prioritize extinguishing fires to prevent chip damage. While Bubbles or Lightning are highly effective, they require advanced skill, so it is safest to avoid Bubbles if you are struggling.
-
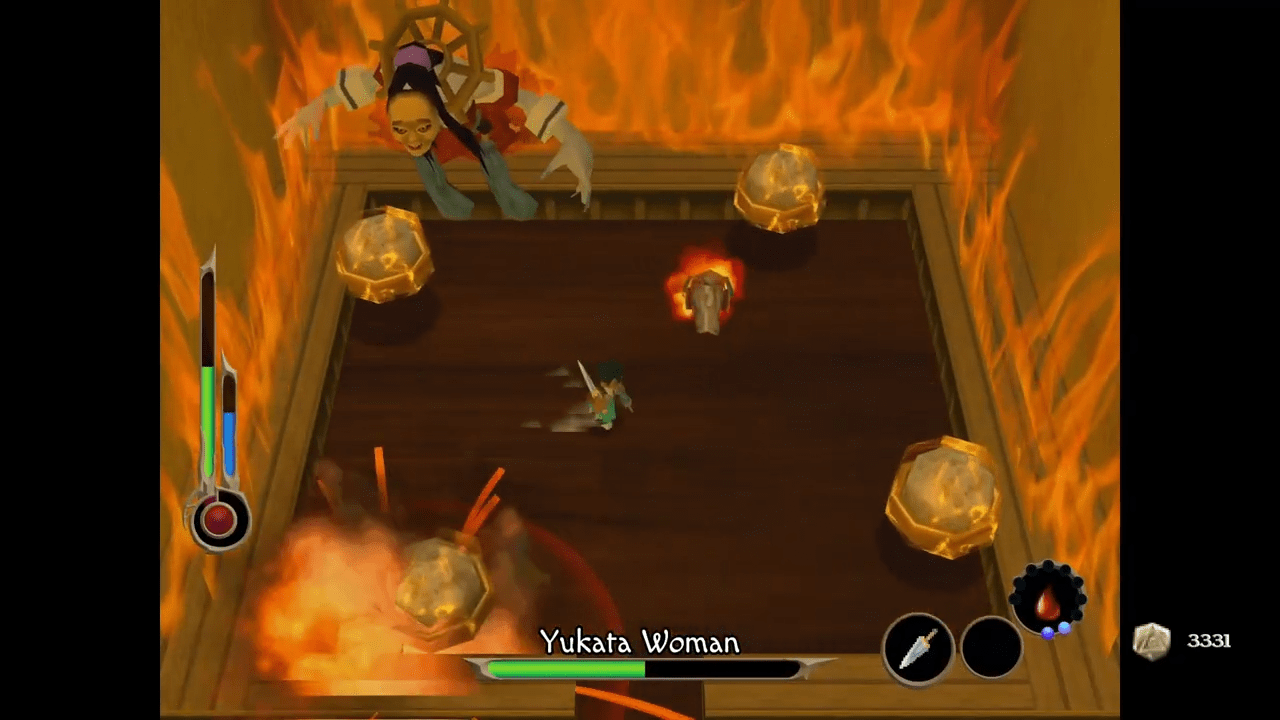
Yukata Woman: Stay near the entrance and defeat her by batting Imps back at her. Time your strikes at the exact apex of the Imps’ vertical jumps for critical damage. Never attack her directly; hitting her head spawns extra Imps and makes evasion much harder.
-
Kids: On Day 1, safely eliminate standard enemies from the rear shelf. From Day 2 onward, herd the enemies together toward the top of the screen for efficient crowd control.
-
Boar King: This fight relies heavily on raw skill. Hit his head quickly to hold your ground and avoid being pushed backward. Watch his vibrating fists and listen for audio cues to dodge. If adequately leveled, you can rush and overpower him when his health gets low.
-
Imago Arkas: Focus your attacks on his grenades and spiked fire hazards. Striking them creates massive shockwaves that damage Arkas. During the second half of the fight, intentionally leave durable enemies alive so you can strike them to generate additional shockwaves.
5. Unearthing the Mine’s Secrets
If you aspire to become a true master of the underground, you must internalize the cryptic advice offered by the seasoned prospectors scattered throughout the game. Stick to these five essential guidelines to dominate the depths:
Essential Tools of the Trade
- Rely on the Ore Radar: This device provides monumental assistance. Leaning on the radar remains the absolute most effective way to extract resources.
- Secure the Drill Upgrade: You can successfully conquer the entirety of the mine simply by obtaining a Level 5 drill!
- Stockpile Your Compost: Maintain a strict inventory of 10 to 20 compost items. These will prove incredibly useful when you traverse floors 6 through 10.
Navigating the Depths
- Rescue the Fairy: When you explore the caverns spanning floors 11 through 15, you must free the fairy. Accomplishing this objective magically transforms a standard hole into a crucial shortcut!
- Push to the End: The dungeon finally concludes on floor 25. You merely need to cross that threshold! Do not panic if you absorb heavy damage, because completing the journey with critically low health remains perfectly OK.
6. Conclusion
Conquering the hauntingly beautiful landscapes of Angeline Era requires much more than simply bumping into your enemies without a clear plan. By mastering the complex combo multipliers and exploiting the precise boss strategies outlined in this guide, you will completely eliminate the sting of constant defeat. You now possess all the critical data required to bypass the developers’ cruelest tricks and optimize your tactics for any difficulty tier. Step confidently into those treacherous primordial forests and show the entire land of Era exactly what a true hero can accomplish!

Leave a Reply