

Last Updated on 12 December, 2025
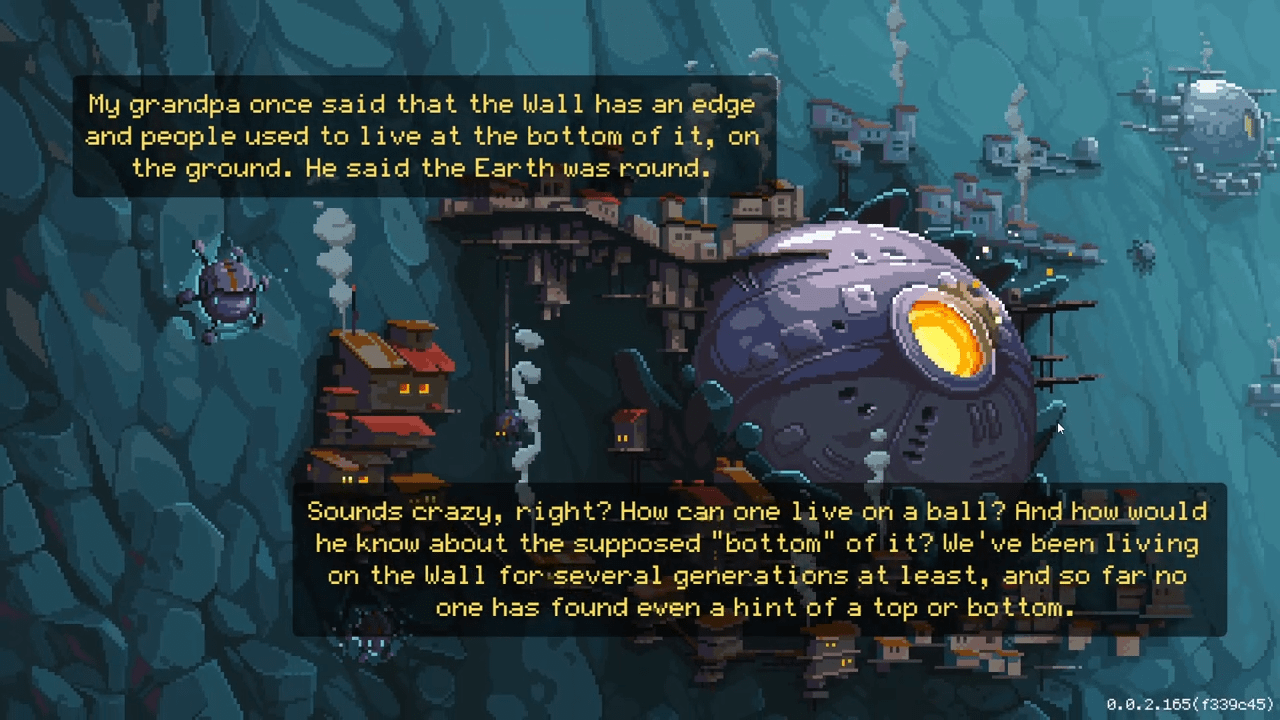
Welcome to the vertical nightmare of Wall World. In this rogue-lite mining game, you control a giant robospider and explore a seemingly infinite wall. You will mine for resources, upgrade your exosuit, and fight off hordes of alien enemies. But survival is not guaranteed. The clock is always ticking, and the waves of enemies grow stronger with every passing minute.
To succeed, you need more than just quick reflexes. You need a plan, you need to know which weapons shred bosses and which ones gather dust. You must understand how to juggle resources to maximize efficiency and how to manipulate the wave timers to your advantage. This guide covers everything you need to know to conquer the wall. We will break down combat strategies, mining loops, weapon tier lists, and a complete walkthrough for 100% achievements, including the Deep Threat DLC.
Let us climb!
Table of Contents
- 1. General Combat and Survival Tactics
- 2. Mastering the Mines: Efficiency and Juggling
- 3. The World: Biomes, Zones, and Anomalies
- 4. The Arsenal: Weapon Tier List and Guide
- 5. Essential Equipment and Gadgets
- 6. Upgrade Paths and Economy
- 7. Boss Mechanics and Beating the Game
- 8. Deep Threat DLC Content
- 9. Complete Achievement Walkthrough
- 10. Conclusion
General Combat and Survival Tactics
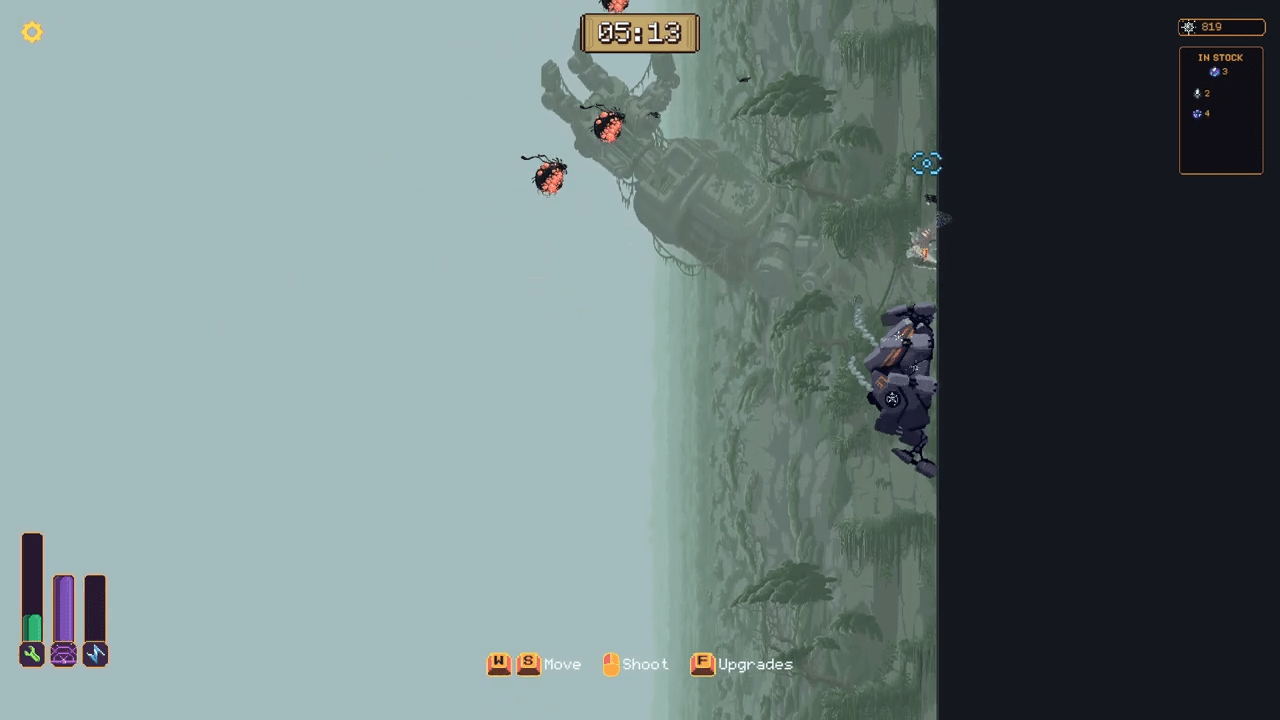
Combat in Wall World can feel overwhelming, but you can mitigate the chaos with proper movement. The absolute most important tip for combat is simple: undock and move. Never sit still. If you have invested in spider movement speed upgrades, you can dodge almost every ranged projectile the enemies throw at you. Furthermore, an upgrade exists that allows your spider to trample melee units simply by moving up and down along the wall. Use your mass as a weapon.

Prioritizing Targets
You cannot kill everything at once. You must identify the biggest threats and neutralize them immediately. Your goal is to limit sources of damage. Sometimes this means letting weak enemies attack you while you focus on the ones that can end your run.
- High Priority: Suicide bomb units. These deal heavy damage to your spider. Elite suicide flyers are even deadlier. Kill them before they get close. If they swarm you, kite them by moving up or down the wall.
- Medium Priority: Large lunging air units. These have weak spot bubbles on the top and bottom. Pop both bubbles to kill them instantly.
- Low Priority: Large flying spawners. While they look intimidating, they have very low DPS. Ignore them until the immediate threats are gone.
Multitasking and Wave Management
Advanced players do not just fight; they multitask. You can often leave a few weak enemies alive to focus on other things. If you possess the drone equipment, let the drone finish off the stragglers while you get a head start on mining the next cave.
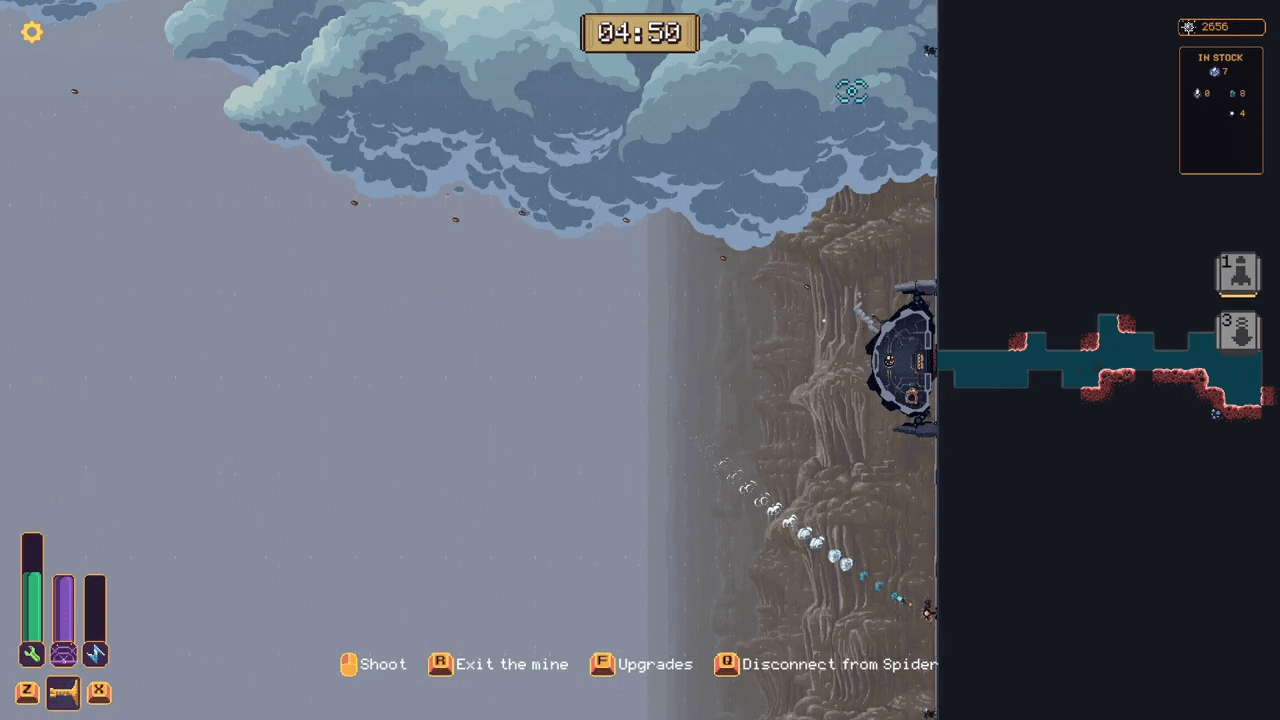
You can also use the cloud mechanic to your advantage. When you cross the clouds between biomes, you summon extra enemies. If you time this correctly, you can overlap the end of a timed wave with a cloud wave. This suppresses the next timed wave and allows you to clear two groups of enemies simultaneously. This strategy buys you significantly more mining time between boss timers.
Mastering the Mines: Efficiency and Juggling
Speed defines a successful run. You want to minimize downtime between tasks. If a wave is ending and only one enemy remains, launch a missile to kill it and immediately head into the cave. The wave timer for the next attack starts while you are already mining. This extends your effective mining duration significantly.
The Art of Resource Juggling
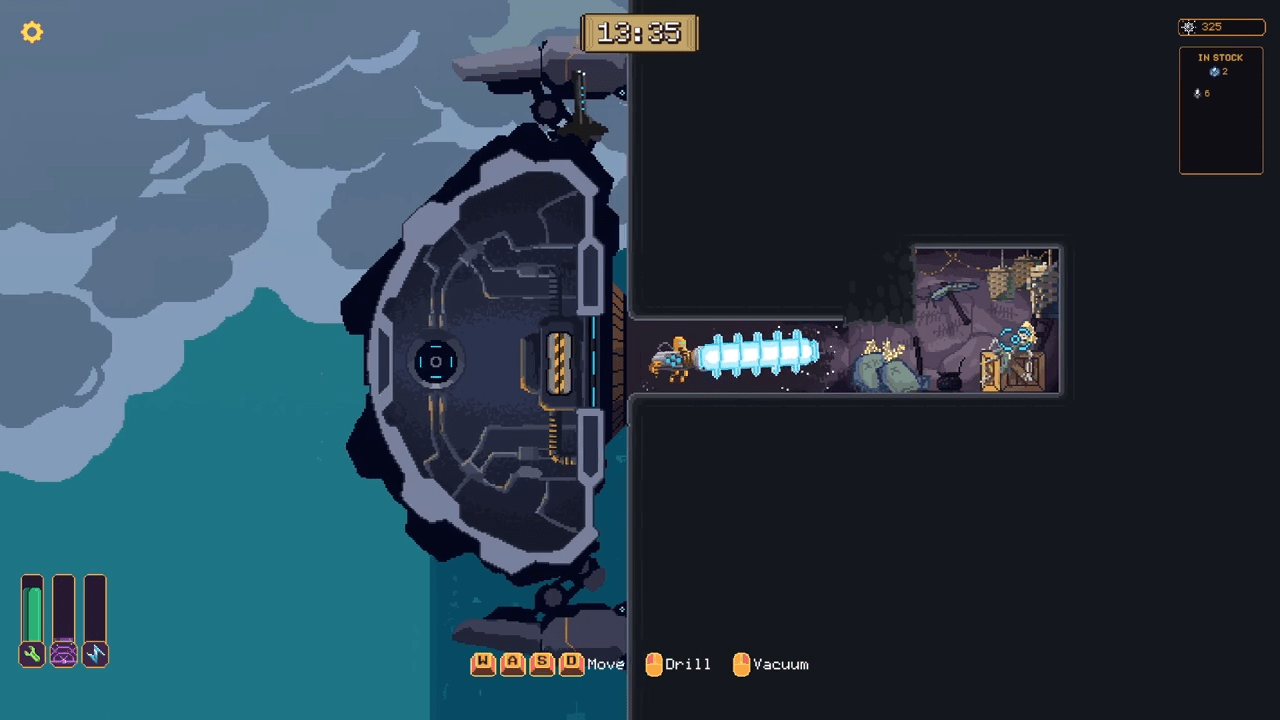
Carrying resources back to your spider takes time. To maximize efficiency, you should use the vacuum juggle technique. Instead of carrying one load, you can pull many resources along with you. Wiggle your mouse up and down for the best results. This momentum carries the resources forward.
Be careful, however. If you try to juggle too many resources, your movement speed will drop. If you juggle too few, you might send the minerals flying across the room. Drop the resources right next to the spider so you can vacuum them inside in very short, quick trips.
Cave Navigation Strategies
When you enter a cave, do not mine the entrance first. Move to the back of the cave and mine from the far end towards the spider. This reduces the distance you have to travel while juggling resources. This strategy also maximizes the value of permanent upgrades like the seismic generator which have limited range.
The World: Biomes, Zones, and Anomalies
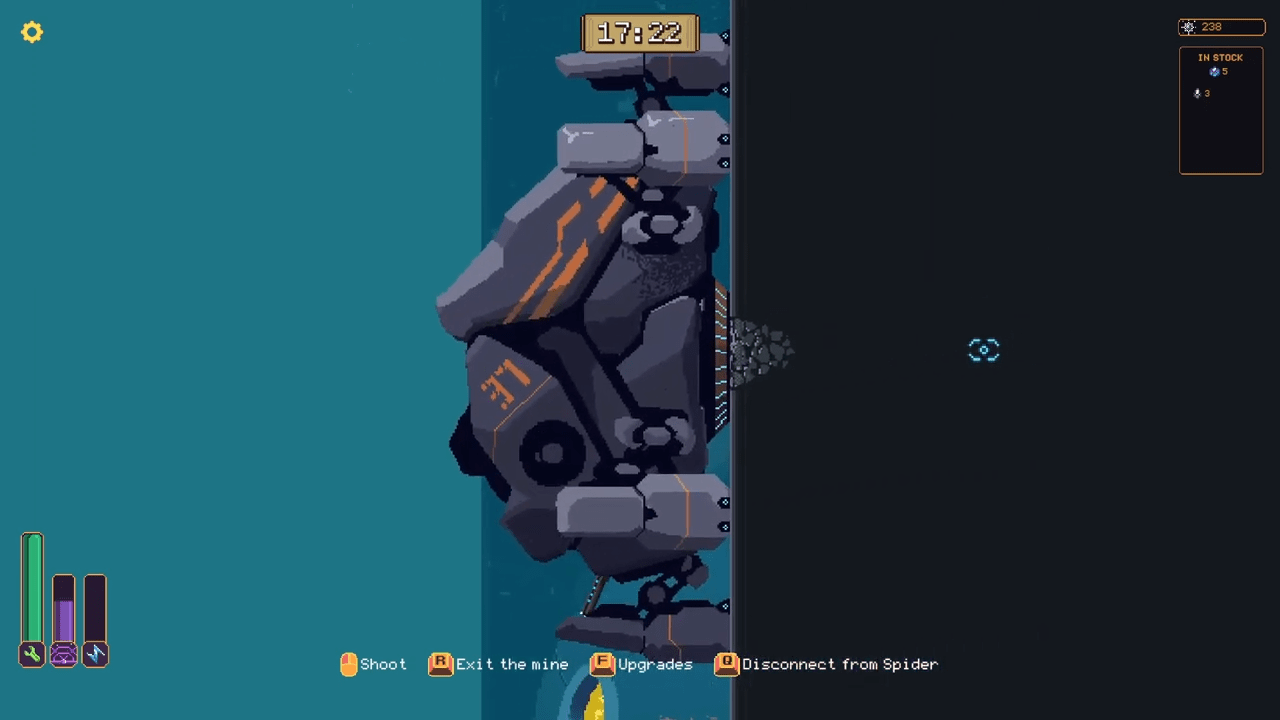
Understanding the map is crucial for finding the resources you need for specific upgrades. The world consists of different layers or zones.
Zone Breakdown
- Upper 3 (High-tech): Contains Energy.
- Upper 2 (Ice): Contains Amethyst.
- Upper 1 (Cubic): Contains Cubes.
- Ground (Rocky): The starter zone. Contains Diamonds.
- Special (Mossy): Contains Emeralds. This randomly replaces some diamond biomes in the starter zone or L1/U1 zones.
- Lower 1 (Sponge): Contains Pearls.
- Lower 2 (Blood): Contains Cells.
- Lower 3 (Magma): Contains Bones.
Anomalies and Secrets
Caves contain more than just ore. You will encounter Anomalies that grant huge bonuses to your run.
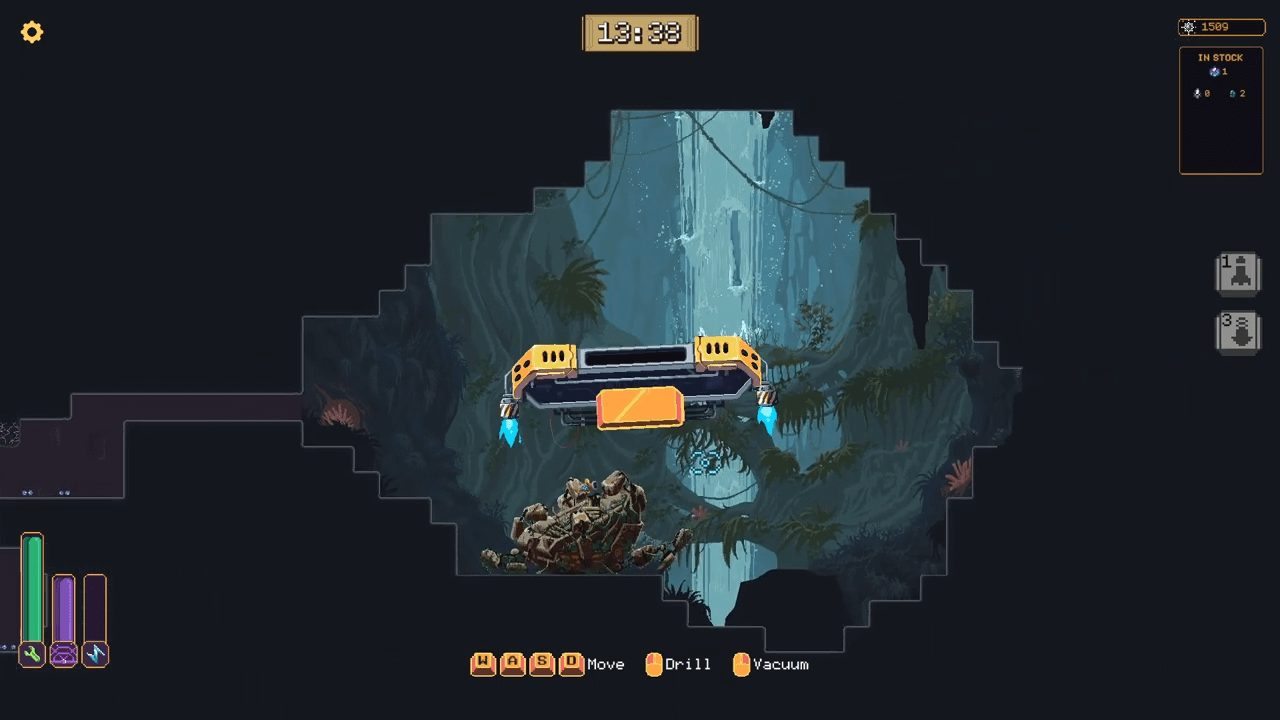
- Weapon Rooms: Deep to the right of certain caves, you may find a narrow tunnel leading to an open cavern. Inside sits a destroyed spider. Interact with it to unlock a new weapon for the current run.
- Equipment: You can find modules trapped in rock. Free them and bring them to your spider to unlock equipment.
- Blueprints and Upgrades: Special rooms contain treasure. These provide either a hidden upgrade for your current gear or a blueprint. Blueprints unlock new permanent investment opportunities in the main menu. You need to collect many blueprints to max out your spider.
The Arsenal: Weapon Tier List and Guide
Not all guns are created equal. While you can beat the game with any weapon, some make the journey significantly easier. Here is a breakdown of the available weaponry, ranked by effectiveness.
SS Tier: The Best of the Best
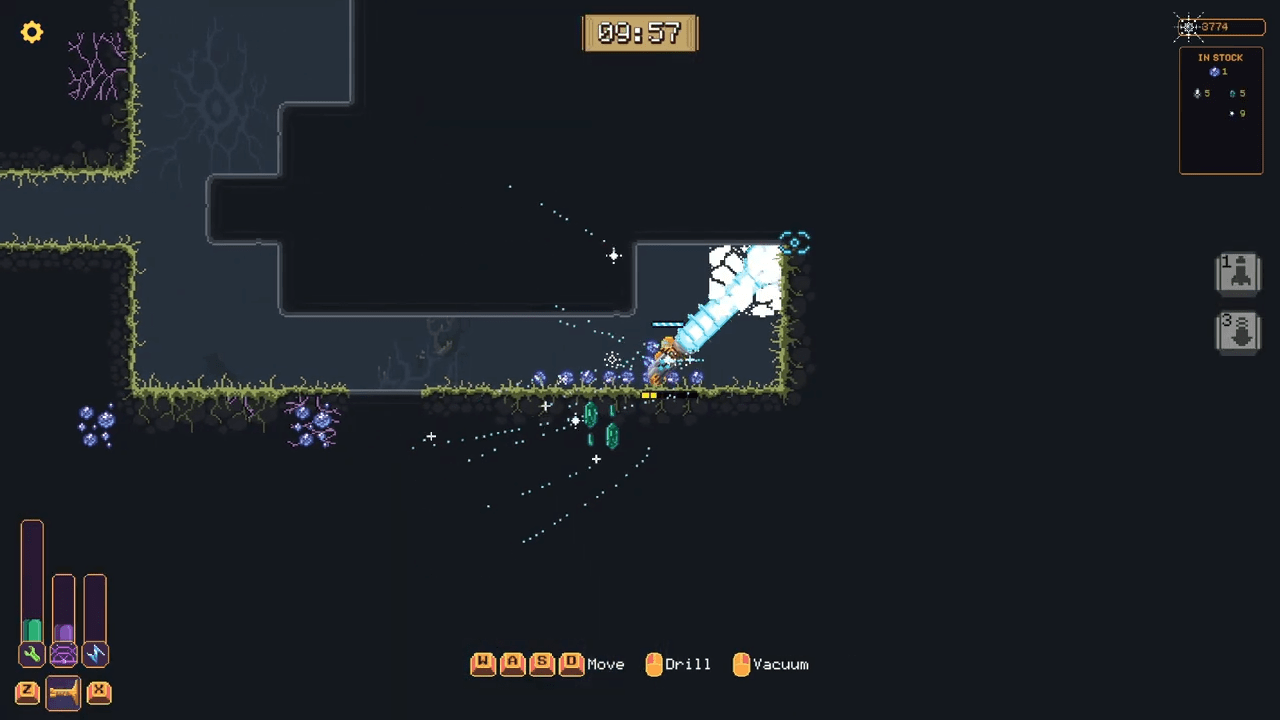
- Laser Machine Gun: Found in the Ice zone. This weapon possesses high accuracy, high damage, a fast fire rate, and excellent range. It also has a fast turning speed. If you find this, keep it. There is rarely a reason to swap it out.
S Tier: Boss Killers
- Railgun: Found in the High-tech zone. This weapon offers extreme damage and perfect accuracy. It is the ideal weapon for fighting bosses. Even without upgrades, the Railgun can carry you through the toughest encounters.
A Tier: Reliable Options
- Machine Gun: The starter weapon. It handles swarms of weak flyers well and has good upgrades. However, it struggles against large enemies and the boss. We do not recommend heavy investment past the third row of upgrades.
- Stake Thrower: Found in Cubic, Starter, or Sponge zones. This requires skill. It has excellent long-range DPS and hits weak points easily. A fully charged shot fired straight up will kill all melee units above you, then fall and kill everything below you. It is clunky against mass air units but rewards precision.
B Tier: Situationally Useful
- Cluster Grenade Launcher: Found in the Blood zone. This acts like the Bomb Thrower but covers areas better if you move while firing.
- Singularity Generator: Found in the Magma zone. It shoots a slow projectile that deals area damage. Without upgrades, the projectile moves too slowly to reach a boss on the left side of the screen. It also has a low fire rate. It requires too many upgrades to become viable.
C Tier: Mediocre
- Bomb Thrower: Found in Cubic, Starter, or Sponge zones. It is very difficult to hit moving or distant targets. It becomes viable only with full investment.
D Tier: Avoid if Possible
- Shotgun: Found in Cubic, Starter, or Sponge zones. It kills close-range melee units quickly but lacks the range and turning speed necessary for general survival.
Essential Equipment and Gadgets
Equipment modules provide active or passive bonuses. You find these by freeing equipment balls from rocks in caves.
Top Tier Equipment
- Drone System (SS Tier): This provides automated defense. The robot shoots bullets, covering your weaknesses and allowing you to leave the spider early to mine. A fully upgraded drone can solo entire waves.
- Resource Harvester (S Tier): You deploy this at a mine to passively harvest resources. If you get this early, it pays for itself quickly and boosts your economy massively.
Mid Tier Equipment
- Repair Station Replicator (B Tier): Builds towers that heal the spider. This is useful early on, but later in the game, you will have abundant resources to heal manually, making this niche.
- Barrage Mortar (B Tier): Lays bombs at the start of a wave to kill incoming melee units.
Low Tier Equipment
- Turret Replicator (C Tier): Builds a turret. Since you move constantly, stationary turrets provide limited value.
- Overdrive (C Tier): A temporary speed boost. Good for squeezing in mining trips, but not worth upgrading.
- Docking Station (D Tier): Grants a speed boost inside the mine. However, because you have to keep moving the station to stay in range, you lose the time you would have saved.
- Cluster Bomb (D Tier): Releases bombs when you take damage. You generally want to avoid taking damage in the first place.
Upgrade Paths and Economy
Suggested Routing
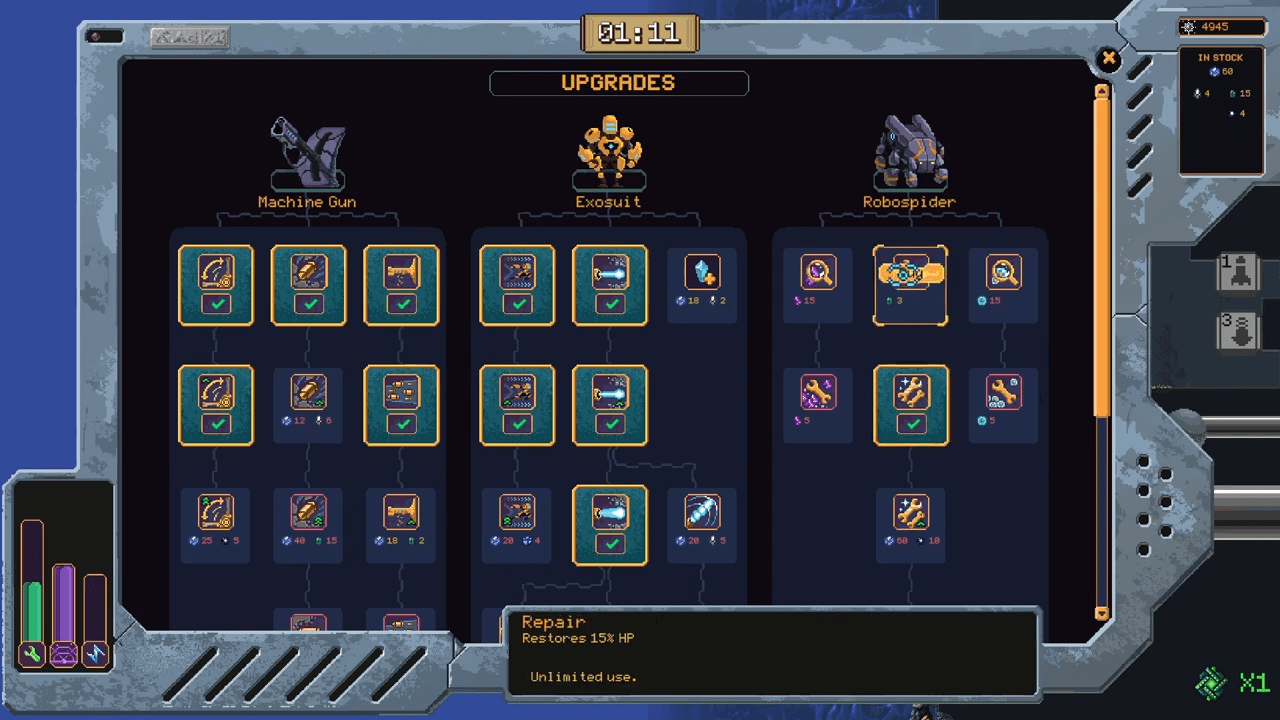
In the early game, you cannot focus entirely on economy. Later, you can be greedy. If your first mine is a Moss cave, exit the mine and look for a Diamond cave. Mine 6 Cobalt to unlock the Plasma Cutter. Run back and buy the upgrade.
For your second trip, return to the spider either when you have 16/4 resources (16 for the second plasma cutter upgrade) or when the wave starts, whichever comes first. After clearing the first Diamond cave, search for a Moss cave to get the third Plasma Cutter upgrade.
Strategic Decisions
Upgrading the Plasma Cutter to level 4 costs Pearls. Therefore, we recommend going down to the Sponge zone (Lower 1) after getting the level 3 upgrade. Farm the Sponge biome. From there, head up to the Ice biome (Upper 2) to gather Amethysts and potentially find the Laser Rifle.
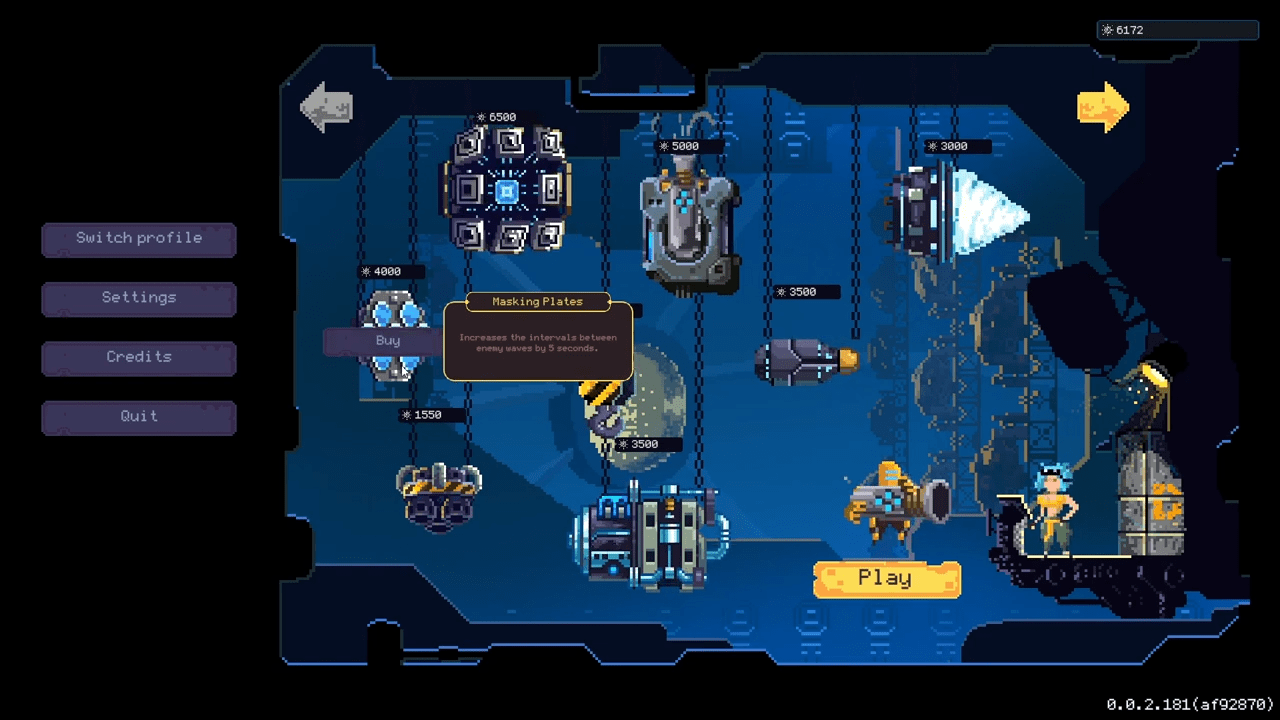
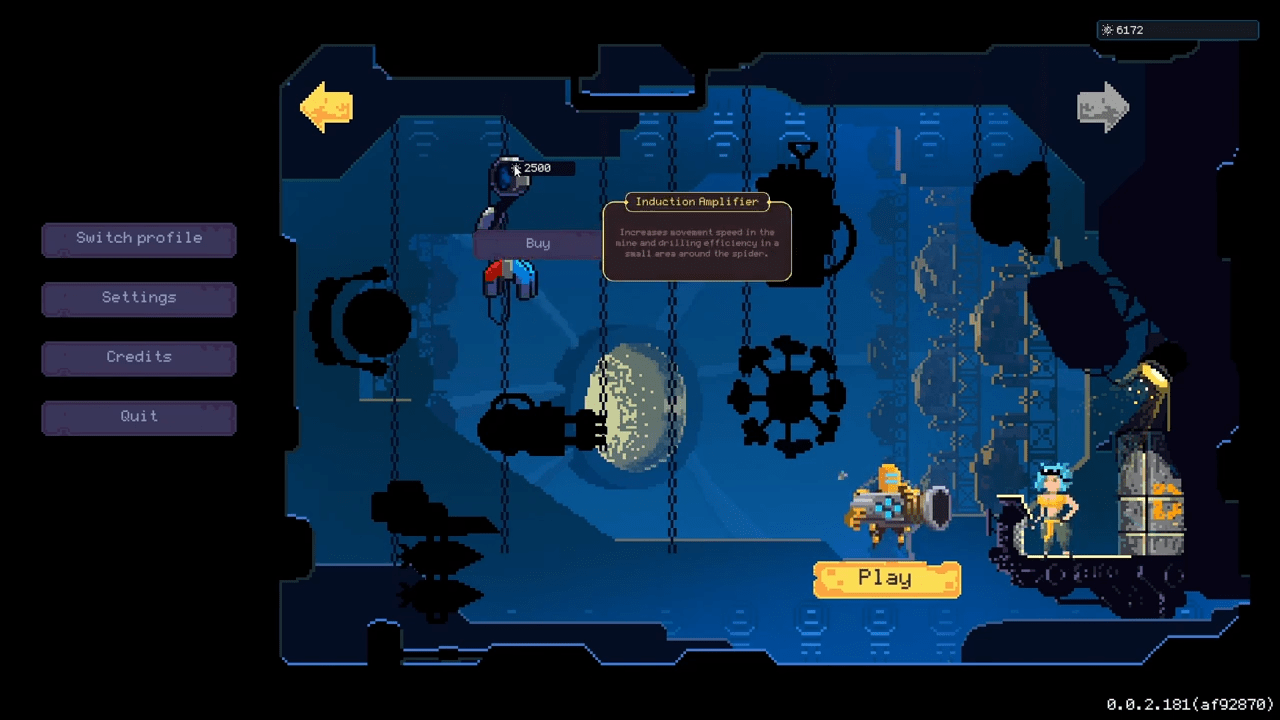
You can choose to rush high-tier biomes or clear the starter zone completely. This depends on how many permanent upgrades you have unlocked. If you possess many blueprints and stat boosts, you can play more aggressively.
Boss Mechanics and Beating the Game
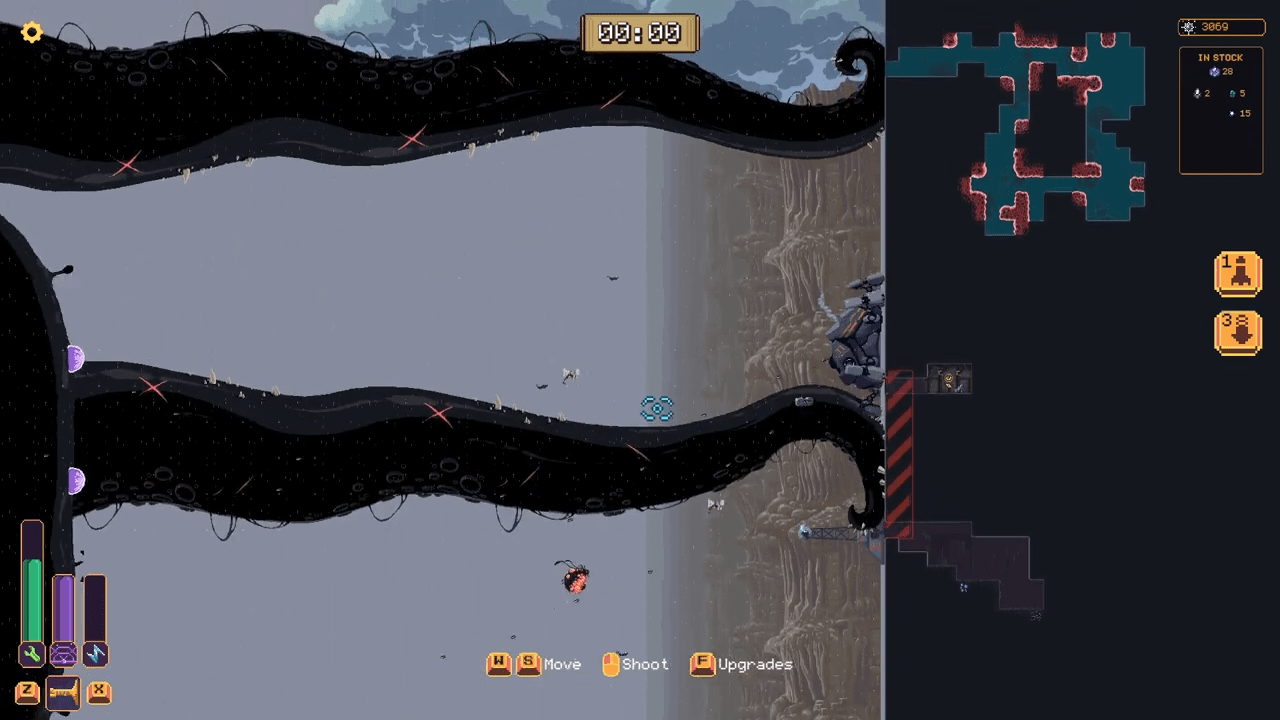
The boss is a persistent threat. A timer at the top of the screen counts down to the inevitable encounter. When it reaches zero, the boss attacks.
The Three Phases
- Phase 1 and 2: The boss reveals boils on its body. You must destroy these to end the phase. Accurate, long-range weapons like the Stake Thrower or missiles are recommended here. Do not focus on the smaller enemies spawning around the boss unless they are suicide flyers; killing the boils ends the phase and wipes out all minions.
- Tentacle Attacks: The boss will highlight an area in red and slap it with a tentacle. This deals extreme damage. You must dodge this. Movement speed upgrades are essential here. Dash upgrades help, but raw movement speed is more reliable due to cooldowns.
- Phase 3 (The Instakill): In the final phase, the boss unsheathes a laser beam eyeball and kills you instantly.
How to Actually Win
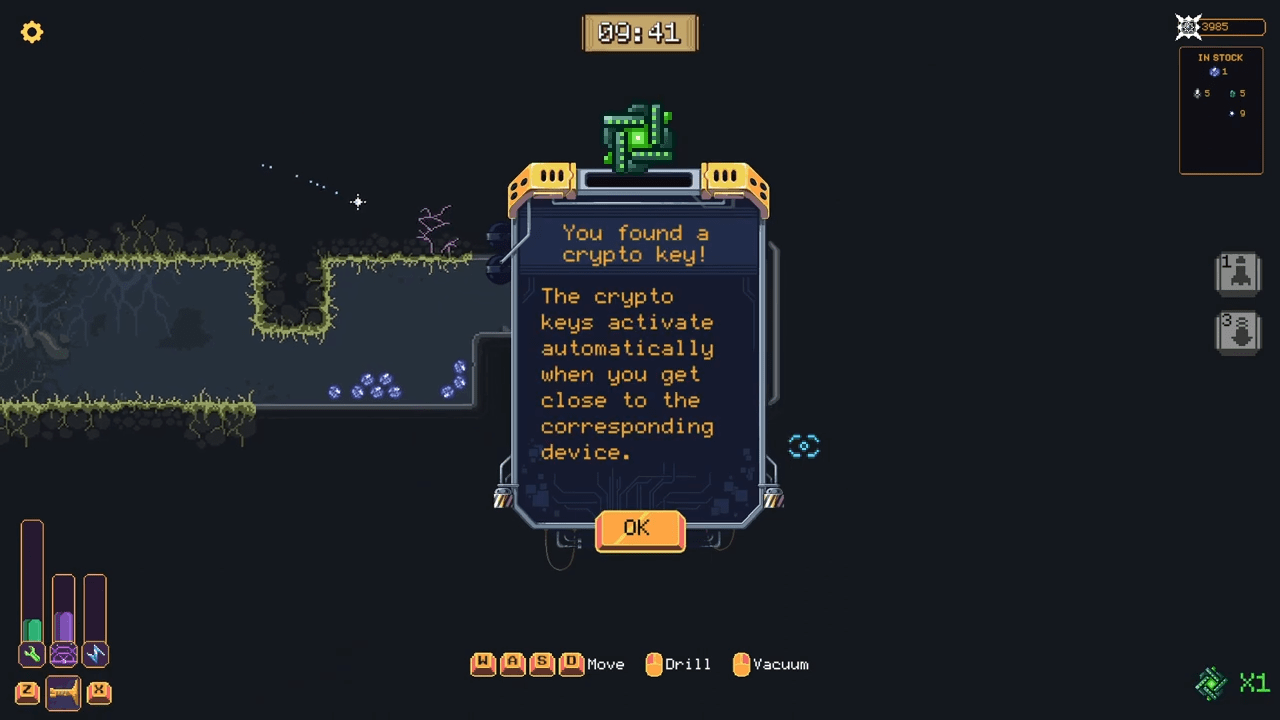
To survive the Phase 3 instakill, you must collect 5 crypto keys. These are hidden within the caves of various zones. Once you have them, you must unlock the gate at the top of the map, located above the High-tech zone. After passing the gate, you will face the final boss phase. This phase involves dodging projectiles rather than facing an instant death laser.
Deep Threat DLC Content
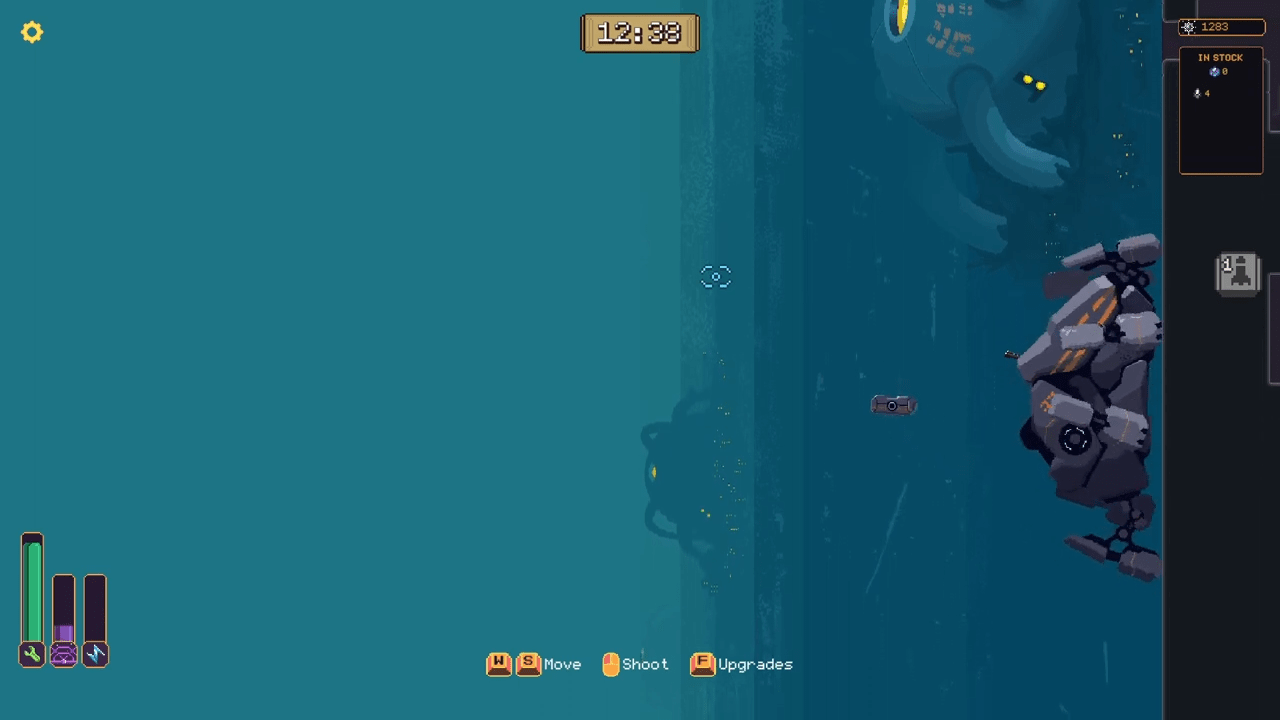
The Deep Threat (DT) DLC expands the game significantly. It adds new weapons, a new upgrade page, and a new zone beyond the rift.
New Mechanics
- The Rift: You can now travel beyond the rift to find new resources and blueprints.
- New Resources: The DLC introduces specific materials found only past the rift.
- New Upgrades: A new page of upgrades is available. Some require blueprints, while others like Jump and Emergency Safe do not. Note that upgrades like the Devastator and Emergency Repair Kit are single-use consumables per purchase.
DLC Weapons
The DLC adds two new weapons. While not strictly required for the base game Force of Evil achievement, they add variety to your arsenal.

Complete Achievement Walkthrough
This section details how to get 100% completion in Wall World. We have categorized them for clarity.

Base Game Achievements (Unmissable)
These achievements occur naturally as you play the story.
- Meet in the Middle: Navigate up or down past your first cloud barrier to spawn a wave.
- What Kind of Day Has It Been: Get defeated. This will happen.
- A Hard Way to Go: Pick up a key found at the end of a mine. Dig far back to the right and up, then downwards.
- Long Time Coming: Pick up all 5 Crypto Keys.
- All the Bells Say: Collect three relics. These look like the picture in the achievement icon. They randomly generate (max 1 per mine). Just mine blocks until you find them.
- Get Some Then: Kill 500 enemies.
- Endure and Survive: Survive for 20 minutes (reach the first boss spawn).
- The Day the World Went Away: Complete the base game by activating the core at the top of the world after collecting 5 keys.
- House of Enlightenment: Enter three rooms. This includes single-room mines or circuit/blueprint rooms.
Missable Achievements
You technically could miss these, but normal exploration usually unlocks them.
- One Way Out: You will see a specific visual in the background indicating you are close.
- Three Slaps: Build all 3 available structures. Unlock these structures with Relics from the mines and build 1 on any mine that does not already have a building on it. The three buildings are: Turret, Resource Harvester, Spider bot Repair Building. DT DLC update added 2 more, a shield and a Tesla tower. All buildings are automated after placing, Resources teleport into your inventory, repairs are done remotely.
- Stranger in a Strange Land: Find the specific room pictured in the achievement icon.
Farmed Achievements (The Grind)
These require specific effort over multiple runs.

Force of Evil (Use Every Weapon)
You must find and use every weapon available at the end of mines. You do not need to use them all in a single run. The list includes:
- Shotgun
- Bomb Launcher
- Stake Gun
- Cluster Bomb Launcher
- Railgun
- Laser Machine Gun
- Singularity Gun
To farm this, start a run and visit every mine with an anomaly. If a mine has only one anomaly and it is a relic, leave the mine and move on.
The Hope That Kills You (Purchase Every Upgrade)
This is the hardest achievement. You must purchase all upgrades from the main page and the blueprint page. You need to find a blueprint for every single level of the secondary tool upgrades.
Blueprint Farming Strategy:
Blueprints can spawn anywhere but seem more common in the last Biome (up or down). The mines in the last areas are large, and typically only two exist per run.
- Efficiency: Farm mining efficiency in the first biome. Use upgrades like the Torpedo Drilling unit and Seismic Generator.
- Weapon Choice: Get a piercing weapon like the Laser Machine Gun or Railgun.
- Cloud Rushing: Rush the clouds. Trigger a hard cloud wave. Your piercing weapon will eliminate them easily. If you reach the next cloud before the wave ends, it won’t spawn a second wave.
- Scanner: Use the Depth Scanner upgrade. It tells you how many anomalies are in a mine. If there are 2, one is a relic and the other is a blueprint or circuit board.
Deep Threat DLC Achievements
- The Route of All Evil: Collect all blueprints beyond the rift.
- Asteroid Blues: Gather all resource types beyond the rift.
- Down Like the Titanic: Trigger the Devastator (one-time use).
- Threat Level Midnight: Obtain a new weapon beyond the rift.
- Optimal Tip-to-Tip Efficiency: Max out the Locust Machine Gun
- Stop Dragon My Heart Around: Max out the Chemical Weapon.
- Papa’s Goods: Fully upgrade vacuum capacity (Max level 6).
- Sore Must Be the Storm: Defeat the Zeus. Play and go up as far as possible, beating every boss.
- Dying Changes Everything: Deal with the Leviathan. Lose to the third stage of the Leviathan to get the needed blueprint.
- Watching Too Much Television: Find the dark room. This seems guaranteed or very common.

Conclusion
Wall World is a game of optimization. It rewards the greedy miner who knows exactly when to retreat. By mastering the resource juggle, prioritizing the right upgrades, and securing the Laser Machine Gun or Railgun, you can turn the odds in your favor.
Completing the game to 100% will take approximately 15 hours for the base game and roughly 22 hours with the DLC. Remember to farm your blueprints efficiently by rushing clouds and checking anomaly counts. Good luck, spider pilot. The wall awaits.

Leave a Reply