
Last Updated on 10 December, 2025
System alert! A computer virus has infiltrated the Stargazer complex, and you are the only defense protocol left online. Mainframe Defenders tasks you with piloting a customizable squad of mechs through procedurally generated levels, but the learning curve is steep enough to crash your system. Victory requires more than just big guns. You need to understand the precise interaction between Action Points, cooling systems, and status effects. Stop guessing and start calculating.
This guide breaks down every mechanic, mission type, and status effect you need to know to turn your squad of mechs into an unstoppable force. Secure the mainframe once and for all!
Table of Contents
The Core Dictionary: Keywords and Stats
Before you deploy, you must understand the language of the mainframe. You cannot win if you do not know what the numbers on your screen represent. Use this section to decipher your stats.
1. Upgrades and Tiers
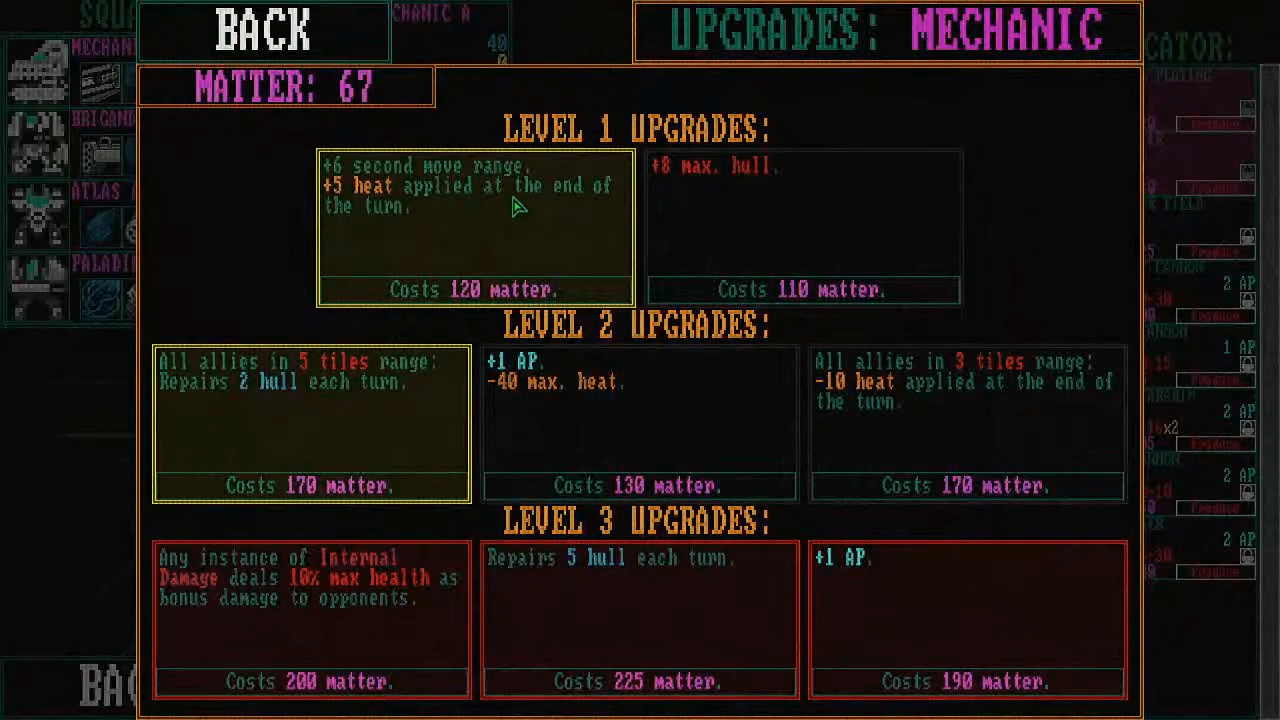
Every mech features a unique upgrade tree. You spend matter to add passive effects or improve stats. You may only select one upgrade per level. The game itself divides into Tiers (1, 2, and 3). As you climb tiers, enemy stats increase, but so does the rarity of the items you find.
2. Matter
Matter is the primary currency of the game. You earn it by completing missions and selling unwanted items. You can also find degrading matter blobs during assault missions. If you end your move on these pinkish blobs, you gain 10 to 18 extra matter. Be quick, as these blobs despawn after a set number of rounds.
3. Second Move
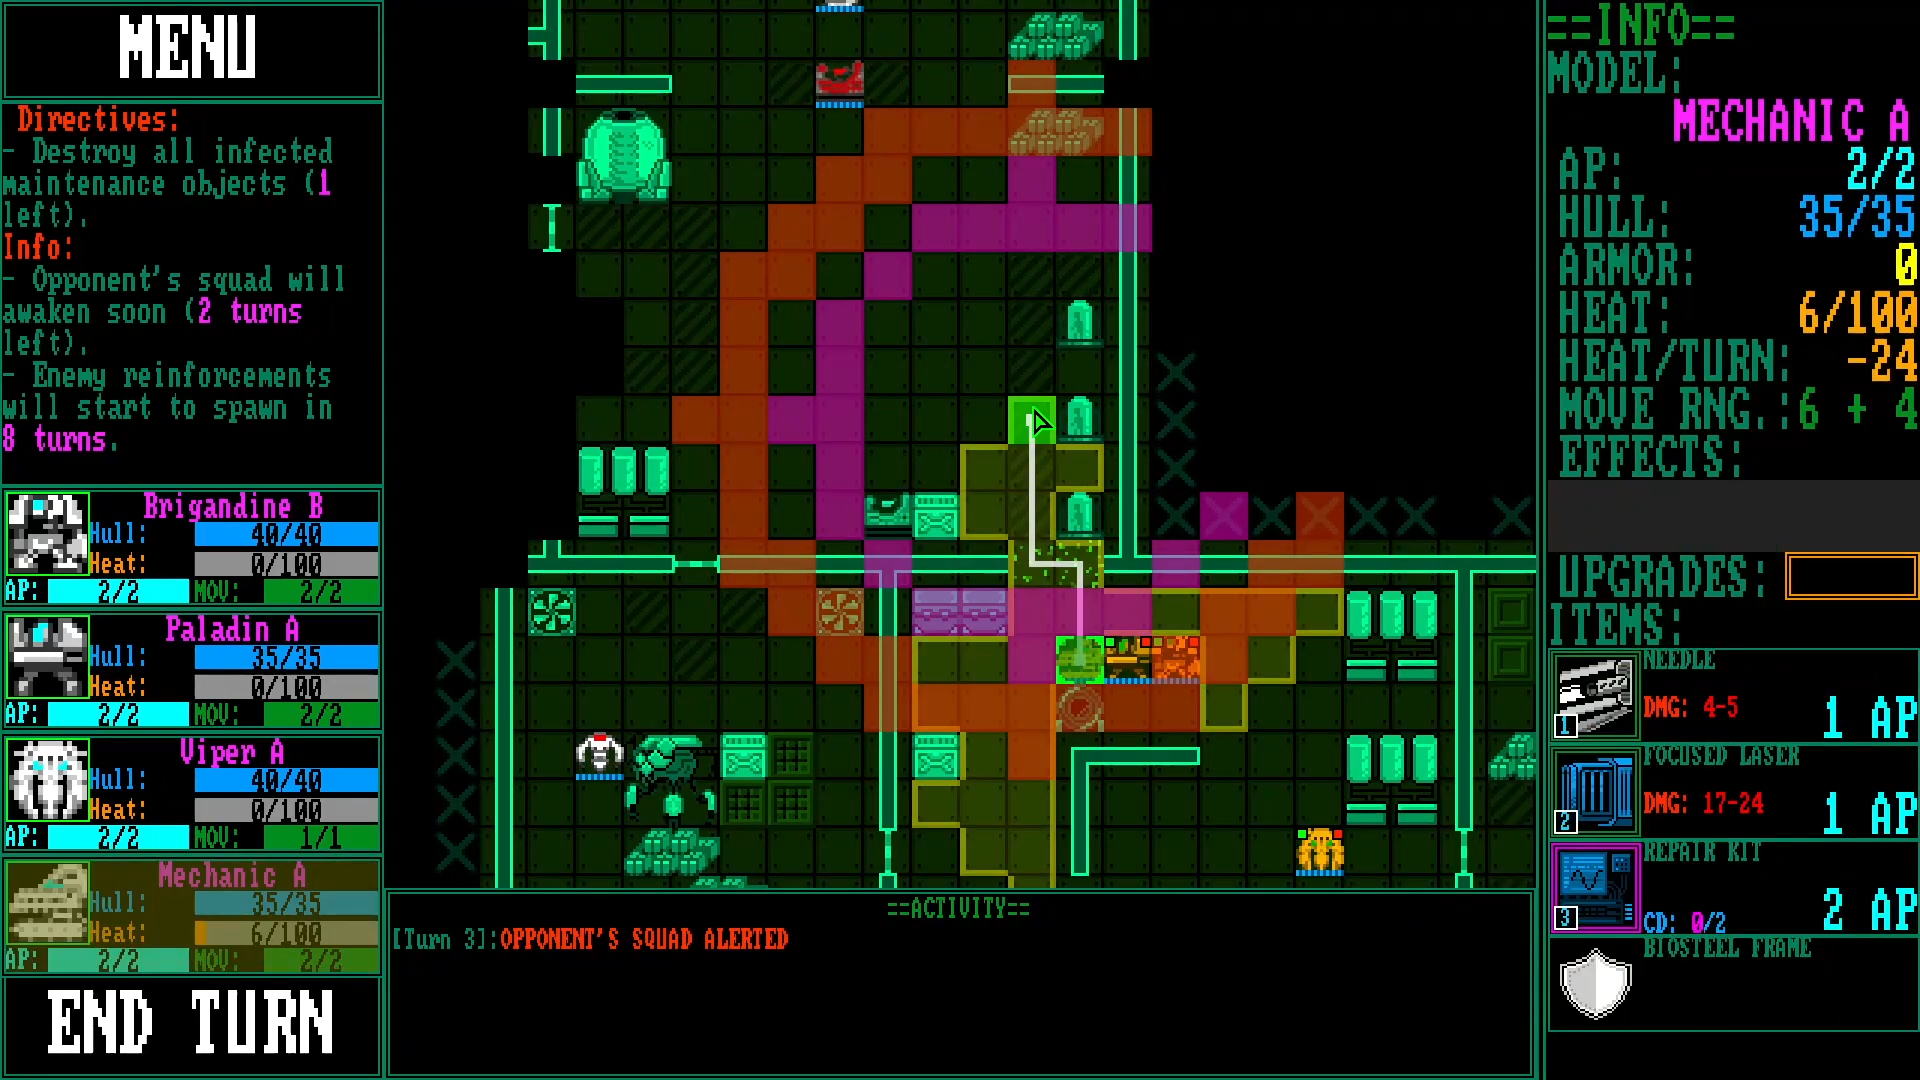
Some items and upgrades grant your mechs a Second Move. You can execute this move at any point after your first move. For example, if you have a 2+ Second Move, you can move your normal 6 tiles, perform an action, and then move those extra 2 tiles. This tactical flexibility allows for shoot and scoot strategies.
4. Action Points (AP)
AP dictates exactly how many actions your mech performs upon activation. To be precise, this number represents how many items you utilize in a turn. Since your items are your actions, AP effectively limits your offensive and utility output. Most item costs range between 1 and 3 AP. You rarely see anything higher than that.
5. Hull
This is your health. If your Hull reaches zero, you lose the unit. Keep an eye on this number at all times.
6. Armor
Armor acts as a flat damage reduction against incoming attacks. High armor is essential for survival against rapid-fire enemies. Interestingly, armor reduction can reach negative values. If an enemy has negative armor, they take increased damage from your attacks.
7. Burst Weapons vs. Cooldowns
Burst weapons fire multiple times in one action. You will usually see damage numbers like 10-15 x3 on these weapons. Items with purple borders have Cooldowns (CD). Regardless of your AP cost or current AP, you cannot use a cooldown item again until a specific number of turns pass.
8. Heat and Overheat
Heat management is critical to your survival. Most items, especially weapons, generate heat when used. If you end a turn with more heat than your total capacity allows, you suffer Overheat damage. The penalties are severe:
- 100% Heat: You take 5 damage.
- 200% Heat: You take 30 damage.
The higher your heat climbs above your maximum, the more damage you suffer. Do not ignore your temperature gauges.
9. Items and Quality
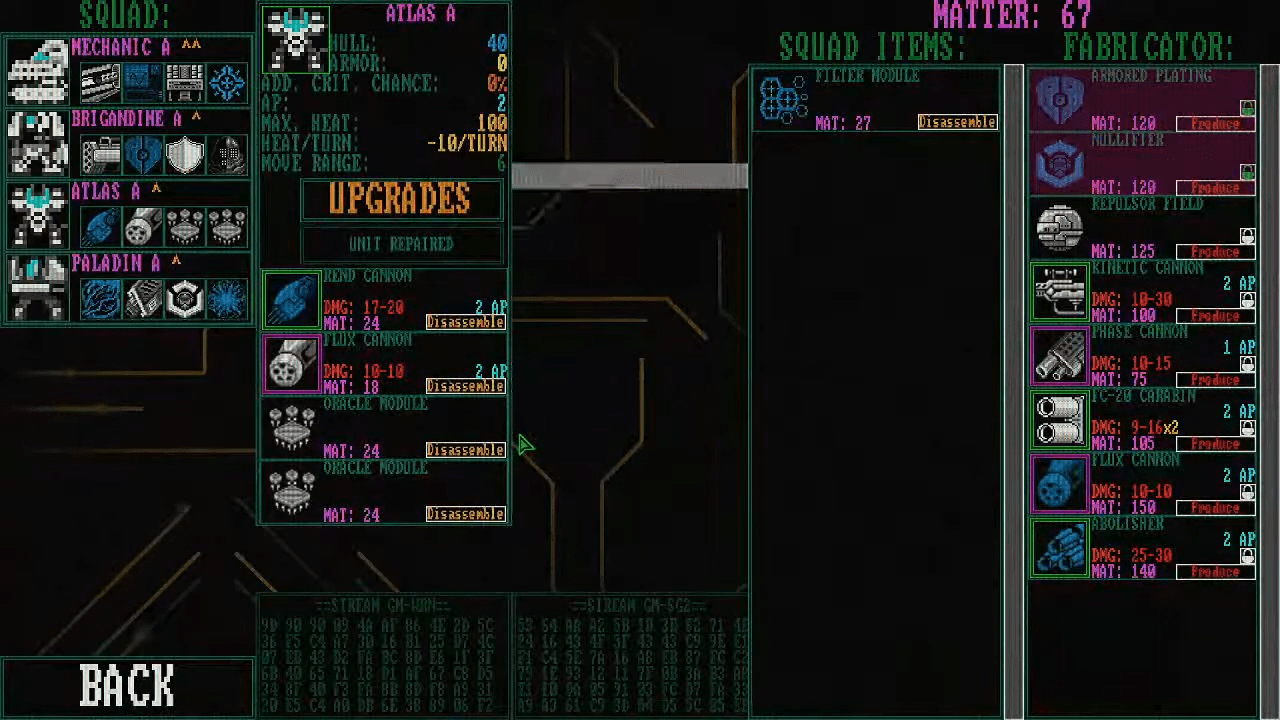
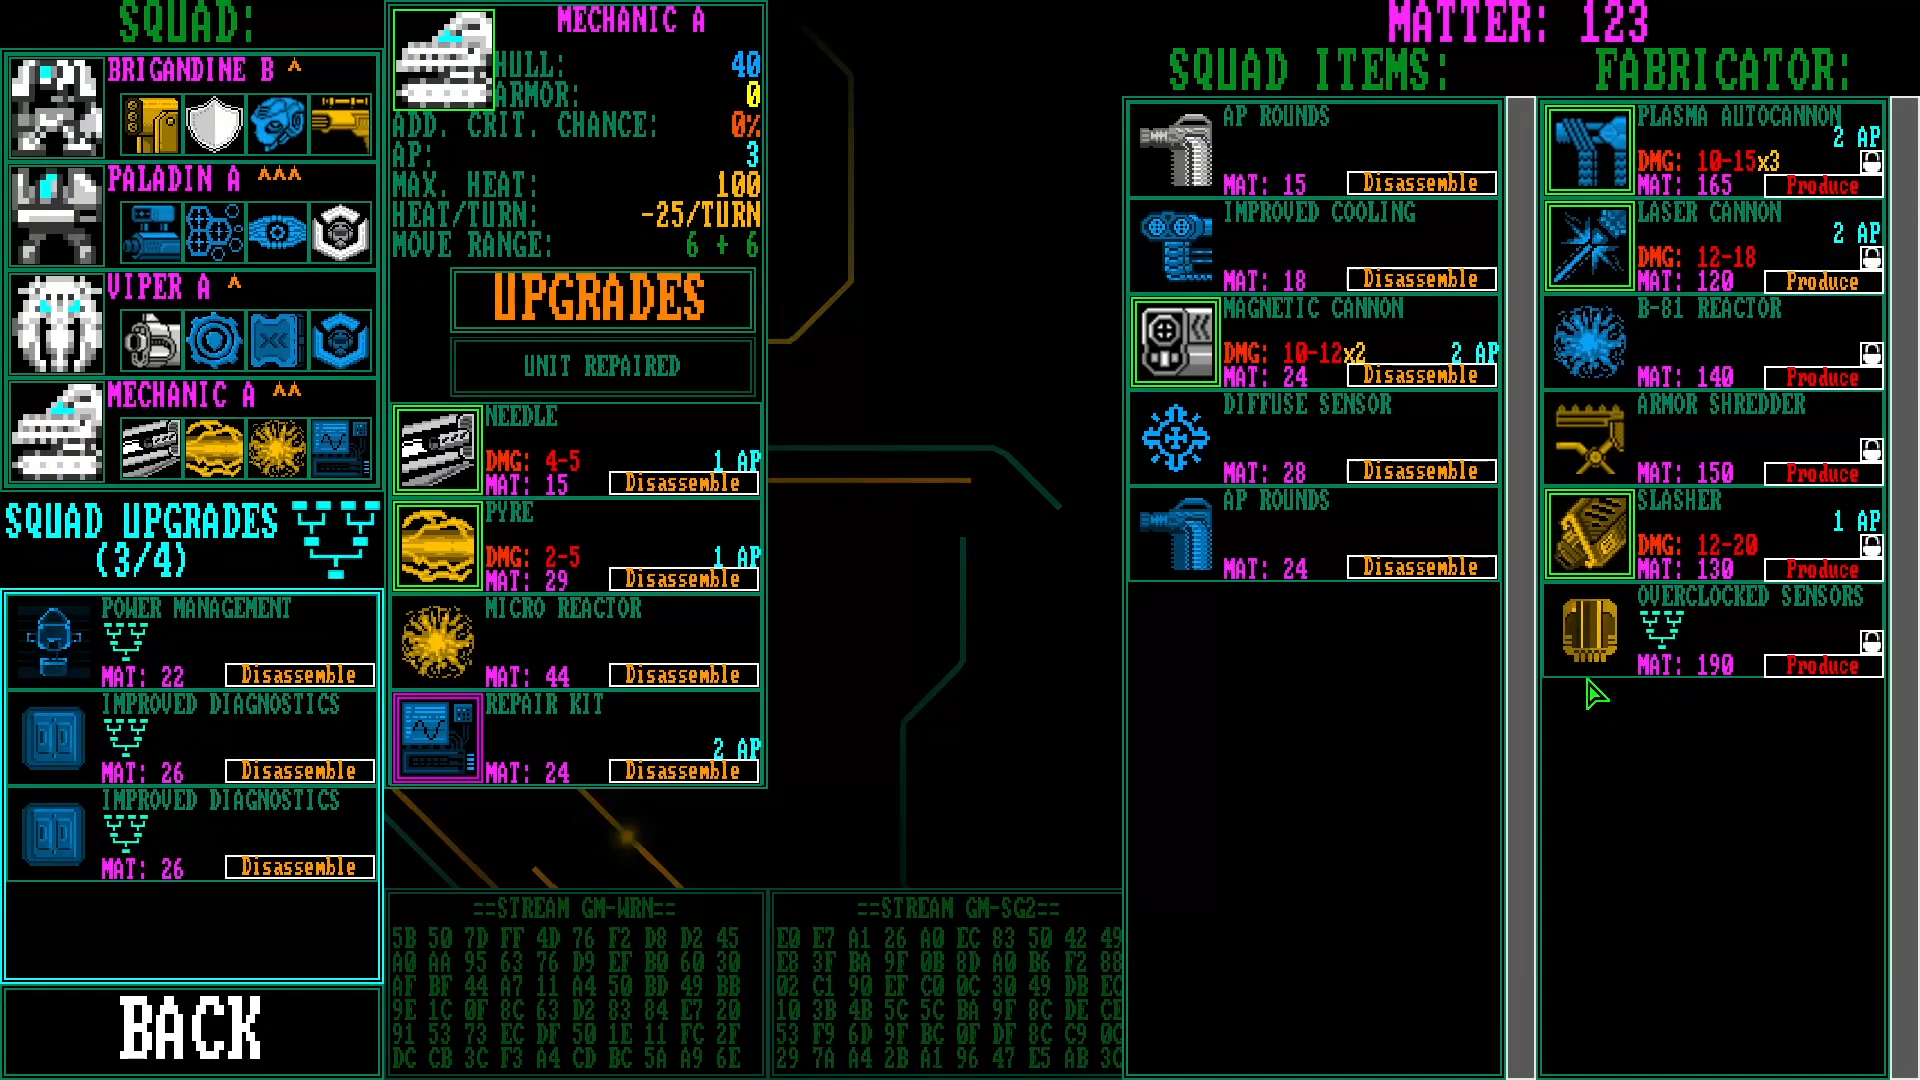
Your mech has four slots for items and four slots for squad upgrades. Items fall into specific categories:
- Weapons: Green border.
- Utility (Cooldown): Purple border.
- Utility (Passive): No border.
- Squad Upgrades: No border with a flowchart icon.
System Malfunctions: Understanding Status Effects
Status effects can make or break a run. They function differently depending on whether they afflict you or the enemy.
Effects That Afflict Your Mechs
You need to watch out for these debuffs. They will cripple your efficiency if you ignore them.
- Interference: Reduces all weapon damage by 35%. This lasts for 3 turns. You encounter this in special missions or from specific enemy items. Stacking this effect does not appear to increase the penalty.
- Unstable Current: A temporary effect that reduces weapon damage by 5 per stack. It lasts for 2 turns. Unlike Interference, adding more stacks increases the damage reduction significantly.
- Sensors Damaged: This caps any instance of weapon damage at 20. It lasts for 2 turns. This effect completely destroys high-damage sniper builds.
- Corrupted Data: A lethal effect. You take 1 damage per stack every turn, and this damage ignores armor. More importantly, affected units cannot restore Hull. This effect lasts 2 turns and cannot be cleansed.
- Lingering Heat: Increases heat by 1 per stack each turn. It lasts for 2 turns. This creates a snowball effect where you overheat much faster than anticipated.
- Plasma Residue: Increases heat by 20 each turn. If the unit overheats, it takes 5 damage per stack (ignoring armor). Adding stacks increases the damage taken from the overheat.
- Propulsion Damaged: Reduces movement range by 2 and prevents the unit from utilizing a Second Move. Lasts 3 turns.
- Armor Breach: Reduces armor by 1 per stack for 2 turns. Negative armor means you take bonus damage. Stacking this makes you extremely vulnerable.
Effects You Inflict on Enemies
Use these tools to dismantle opponent defenses.
- Imp. Interference: Reduces enemy weapon damage by 50% for 3 turns.
- Internal Damage: Deals 15% of the target’s max health as damage each turn. This ignores armor. Adding stacks increases the duration.
- Corrosion: A persistent effect that deals 1 damage per stack each turn. This ignores armor. Stacks increase the damage. Since this is persistent, it serves as a great way to melt high-health enemies over time.
- Immobilize: The affected unit cannot move. Adding stacks may increase the duration.
- Armor Breach: Just like when it hits you, this reduces enemy armor by 1 per stack. Use this to soften up tanky targets.
The Campaign Structure: Goals and Progression
Mainframe Defenders is a rogue-lite experience. You choose a setup, try to get as far as possible, and inevitably restart with new knowledge.

The Setup
You select four mechs to form a team. You can change their colors and names to your liking. Each mech starts with specific equipment and a unique upgrade tree. You also select a difficulty:
- Very Easy: You start with more Hull than on Easy, but the game functions the same otherwise.
- Easy: Balanced for mistakes. It will not cost you the entire run if you mess up.
- Normal: The intended experience. Expect to die in Tier 2 if you lack knowledge of items and enemies.
- Hard: This requires solid builds and game knowledge. It is a significant step up from Normal.
- Very Hard: An unfair challenge for experts.
The Loop
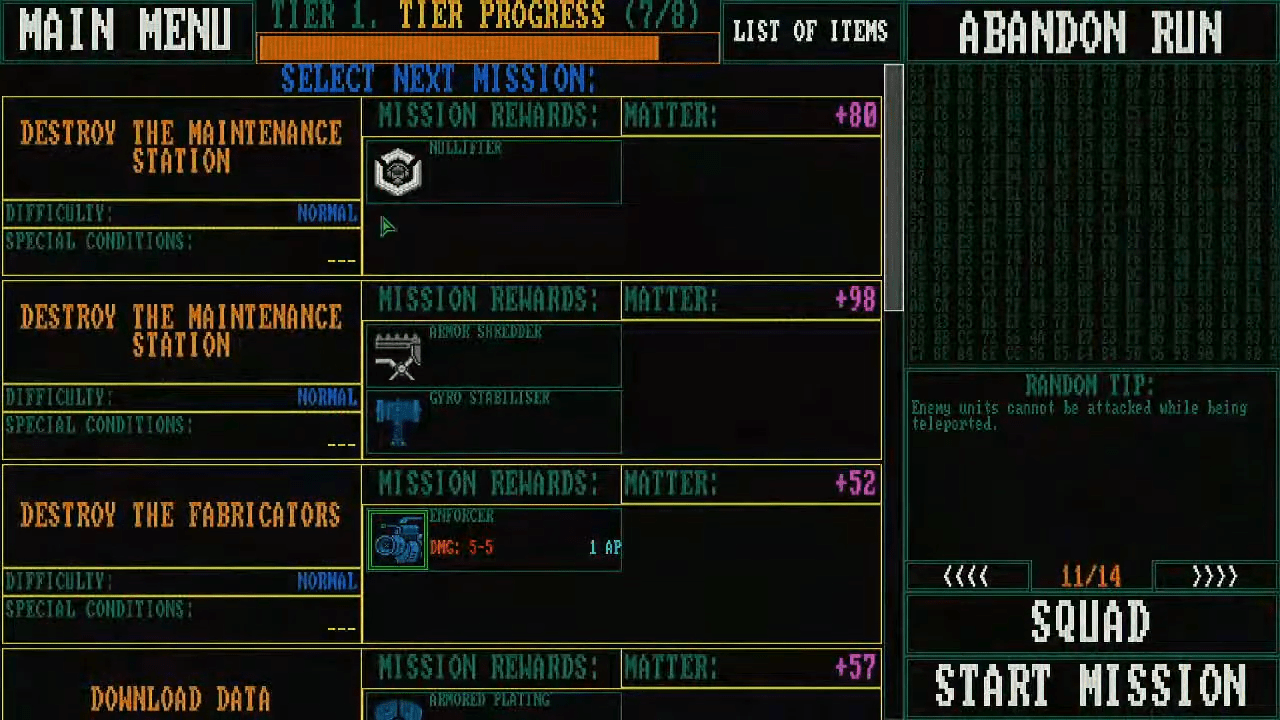
You start with funds to buy items or rearrange your squad. Your goal is to complete missions to progress through Tiers. Tier 1 requires 7 missions, Tier 2 requires 6, and Tier 3 requires 4. After Tier 3, you face the Final Mission. You can track your progress at the top of the mission select screen.
If a mech dies, you can spend matter to revive them in the squad menu. However, if all mechs die in a single mission, the run ends immediately.
Scoring and Unlocks
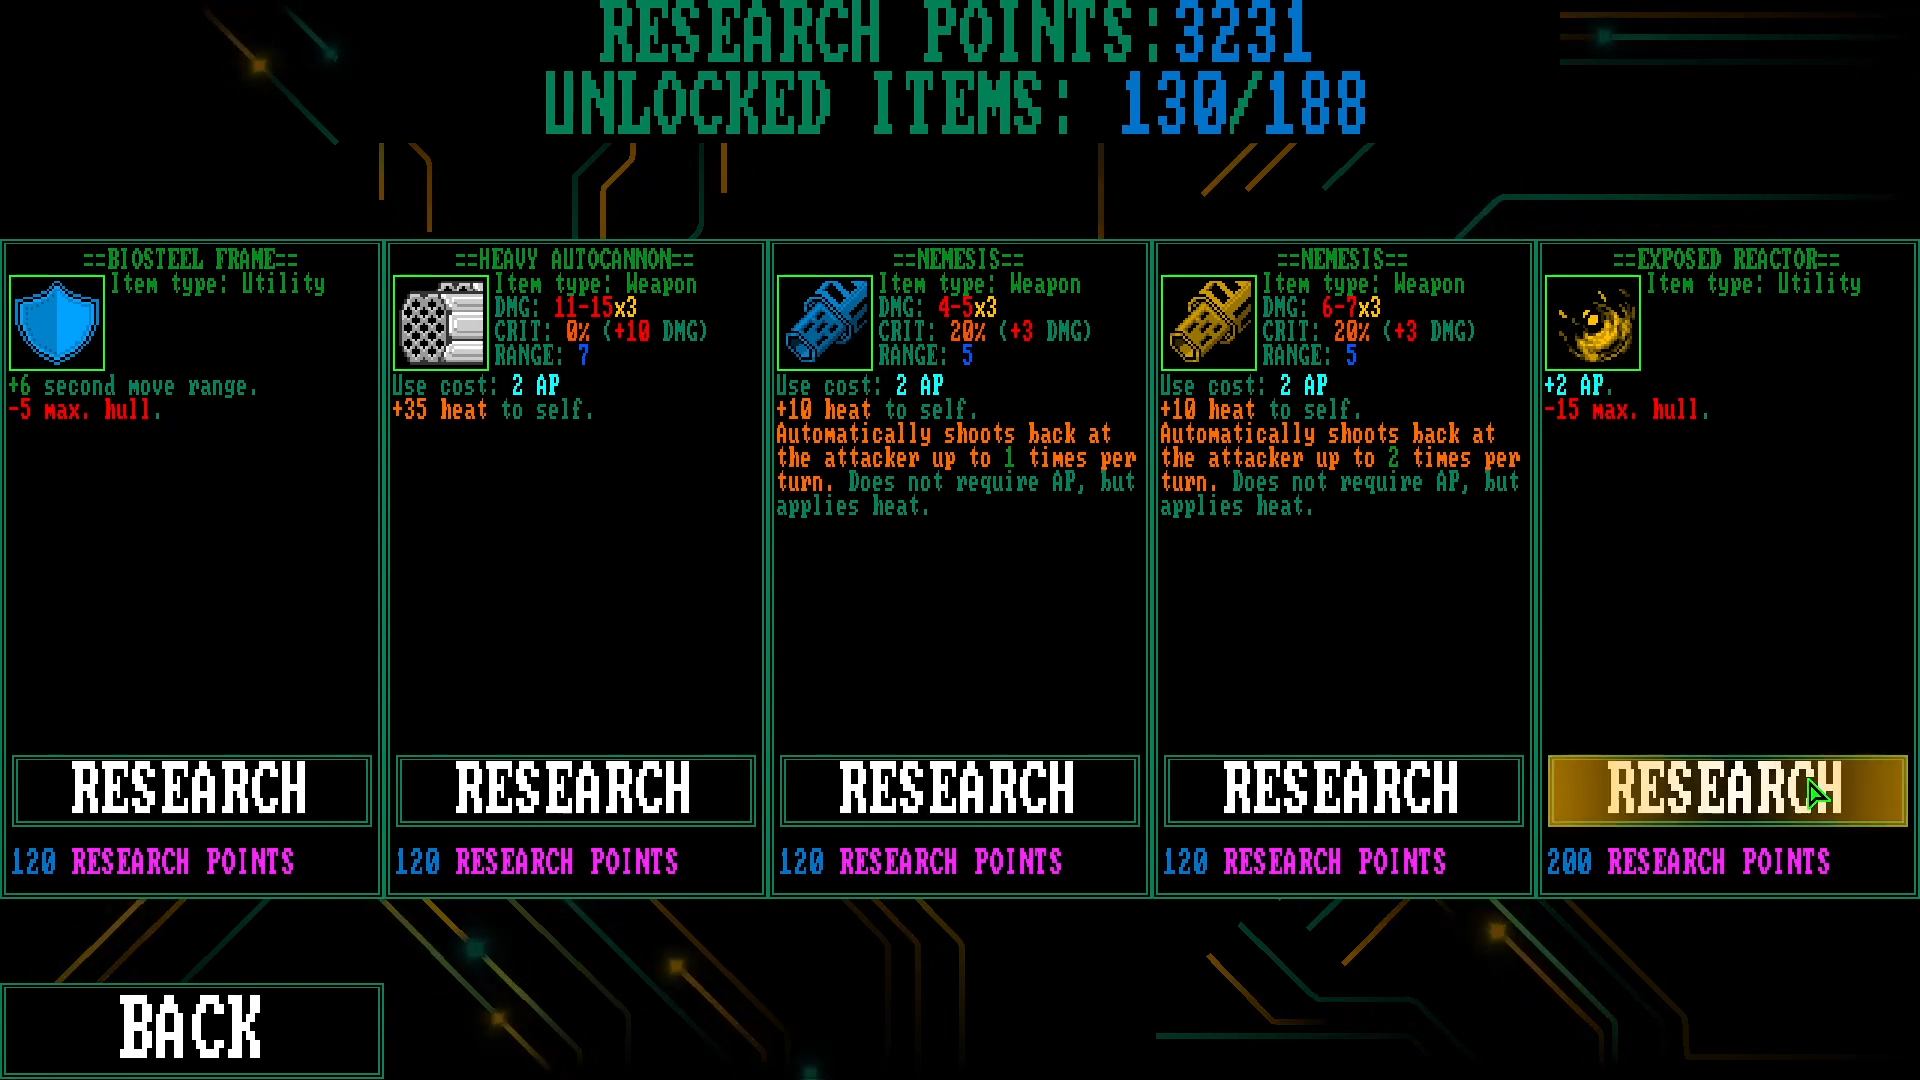
Beating the final mission (or dying) presents a score screen. Based on your performance, you unlock new mechs or alternative loadouts for existing ones. You also earn Research Points. You can spend these points to unlock approximately 70 different items for future runs. Each item costs between 120 and 200 research points.
Enemy Upgrades
After you beat the game once, you unlock the option to Upgrade enemies. This adds random items to enemy mechs, creating terrible situations for you. Only use this if you want a serious challenge.
Mission Protocols: Objectives and Strategy
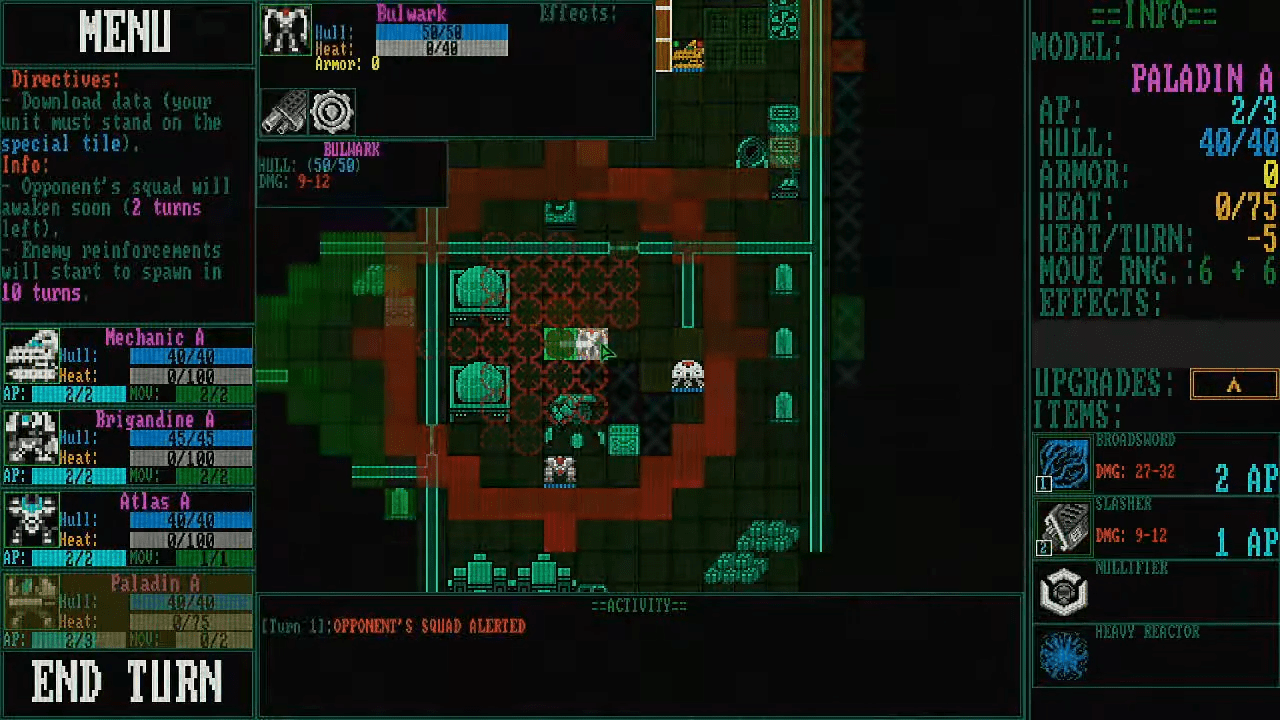
Not all missions are the same. You must choose your path based on the rewards (Matter and Items) and the mission type. Pay attention to the Special conditions listed in the mission select screen, such as Prototype (spawns high-tier enemies like Devastators) or Allied Units (grants you Legionnaire or Centurion allies). Note that if allied units get Corrupted status, they usually die quickly because they cannot heal.

Specific Mission Types
1. Repel the Assault
The game phrases this as Survive the assault, which is odd because you actually need to kill everything. Enemies teleport into rooms over several turns. You get a few turns to prepare. Grab the pink matter blobs before they degrade. Once the turn count ends and all enemies spawn, wipe them out to win.
2. Activate the Defense
You must move a mech to special tiles marked on the map. Once you arrive, two Centurions activate as allies. Enemy reinforcements spawn if you take too long and immediately when you enter the special tiles. You win by defeating all enemies.
3. Eliminate the Infected Node
Your goal is to destroy two Infected Nodes. While these nodes live, your units suffer 2 stacks of Interference every turn, reducing your damage significantly. The enemy reinforcements will spawn if you take too long. Destroy the nodes quickly, then clear the remaining enemies.
4. Destroy the Fabricators!
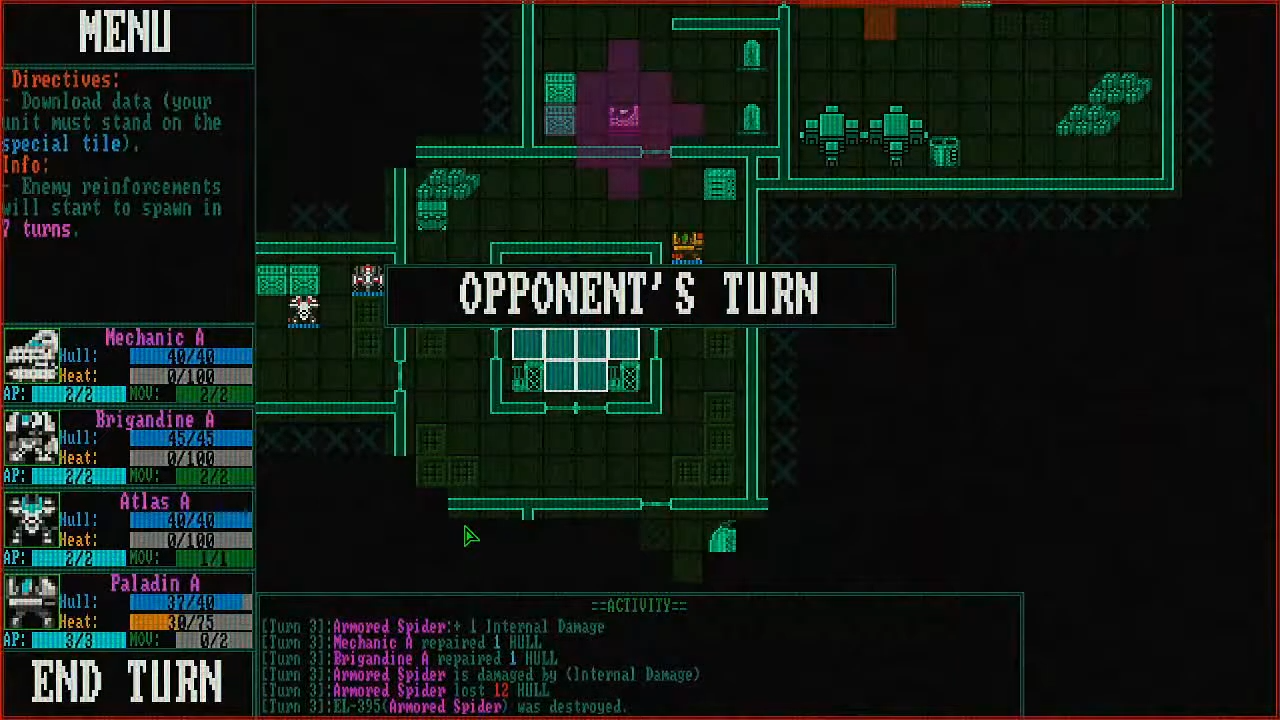
Fabricator units spawn new enemies every 3 turns. You usually face 2 or 3 of them. They reveal themselves on the map once they spawn their first unit. Destroy them to stop the reinforcements, then clean up the map. Reinforcements spawn if you take too long.
5. Destroy the Maintenance Station
Similar to the Fabricator mission, but you target repair stations. These missions often include Fabricators as well, so prioritize your targets carefully. Reinforcements spawn if you take too long.
6. Download Data
You start on special tiles and must find other colored tiles on the map. Send a mech to the objective to collect data, then return to the starting tiles to extract. Be careful with your timing: enemy reinforcements spawn if you take too long, when you collect the data, and then again roughly 3 turns later.
7. Raid Matter Depot
This is a high-risk loot mission. You must loot at least 3 out of 5 caches and reach the exit. Every time you loot a cache, new enemies teleport in. Reinforcements also arrive if you take too long.
Achievement Hunting: How to Unlock Everything
For the completionists, here is how to secure those badges of honor. Follow this advice to fill out your trophy case.
Difficulty Achievements
- Employee: Finish on Easy. Do not pick Very Easy, as it awards no achievement.
- Middle Manager: Finish on Normal. Doable with some luck, but randomness can ruin a run.
- Vice President: Finish on Hard. Requires adapting your build to the items you find. Unlocking more items helps significantly.
- CEO: Finish on Very Hard. This is grueling. Using a specific Heat build on an unlockable class is widely considered the best strategy.
Special Plays
- Valuable Property: Finish without any squad unit deaths. Use a Mechanic for early healing. If you play on Very Easy, mechs start with 60 Hull instead of 40, making this much easier.
- Economist: Finish without using Rare (yellow) items. Stick to white and blue gear and save the good stuff for another run.
- Effective Manager: Finish with 1000+ Matter. Use the squad upgrade that awards extra matter after missions. Save your money.
- Firewall: Finish with a mech that has 70+ Hull or 15+ Armor. Stacking passive utility items makes the Hull requirement easier to reach than the Armor one.
Combat Challenges
- Rust Bucket: Kill an enemy with 60+ stacks of Corrosion. Use units like Viper or Synapse. Since Corrosion lasts forever, just keep stacking it on a high-health enemy.
- Long Term Strategy: Inflict 5 different status effects on one enemy. Corrosion, Internal Damage, Imp. Interference, Armor Breach, and Immobilize are easy to find early.
- Heat Death: Kill an enemy while your mech has 3x its max heat. You will take massive overheat damage (around 40) to reach this state. Look for items that decrease your max heat to make the multiplier easier to hit.
Advanced Tactics: Tips and Tricks for Survival
To truly master Mainframe Defenders, you need to exploit the mechanics. Here are the pro tips you need to survive the higher difficulties.
1. Mastering Heat
Check your Heat constantly. If you exceed your limit, you take damage. Remember that some weapons, like the Javelin, deal extra damage based on your current heat. These weapons generate heat before the attack hits, so you always get a bonus even at zero heat. Also, note that burst weapons usually generate heat only once upon activation, not per shot.
2. Cooldown Management
If you reduce an item’s cooldown to 0 via upgrades, you can use it as many times as your AP allows. However, the game still categorizes it as a weapon with cooldown, which matters for certain synergies.
3. Armor and Damage Types
Burst weapons struggle against high armor because the armor reduction applies to each small hit. Conversely, single-shot weapons perform better against armored targets. Watch out for enemy items that cap damage. For example, Dominator Armor caps damage at 20 per hit. This cap applies to status damage like Corrosion as well. If an enemy has 54 stacks of Corrosion but wears this armor, they only take 20 damage.
4. Movement Mastery
Some items grant a Second Move. This is incredibly powerful. You can move your standard 6 tiles, fire a weapon, and then use your Second Move to retreat or reposition. It gives you total control over the battlefield.
5. Understanding Enemy Behavior
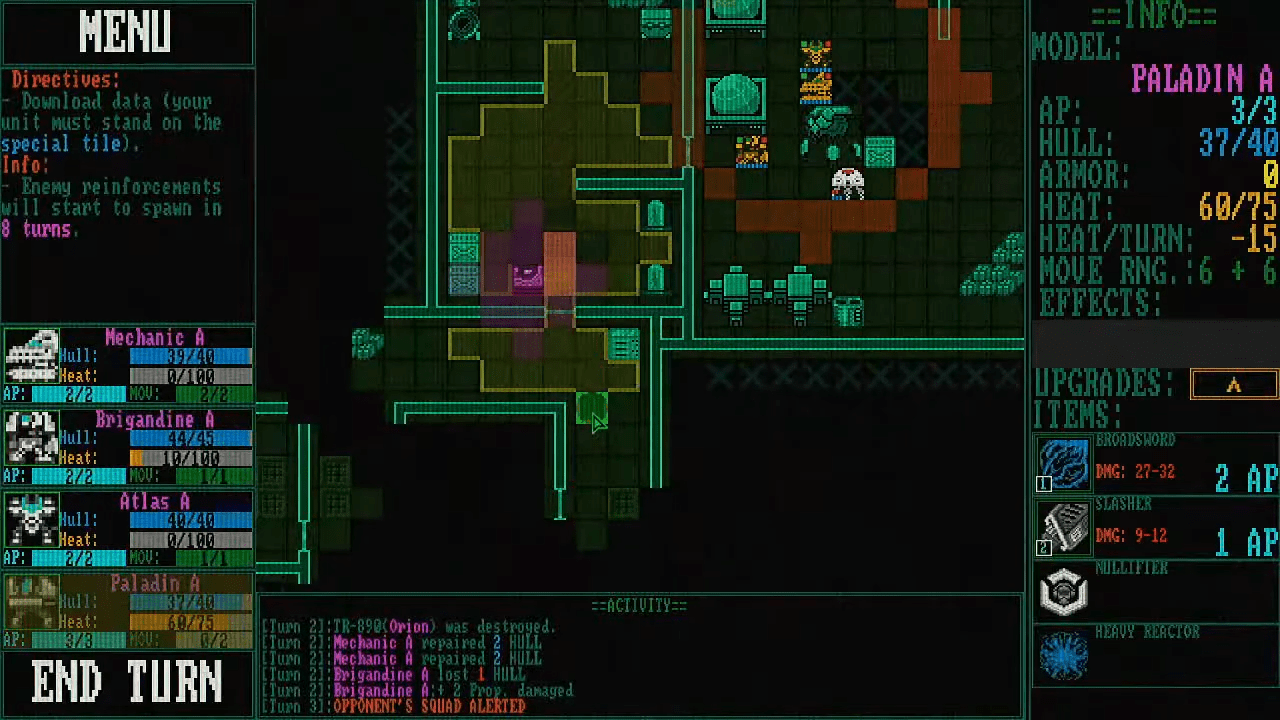
When enemies appear blurry and are teleporting in, they are immune to damage. Once they materialize, they are sitting ducks until their turn starts. Also, be wary of counter-attacks. Some enemies (and weapons like Lances) counter-attack after being hit. If you use a burst weapon on an enemy that triggers effects on taking damage, you will trigger that effect multiple times. Do not use a 4-shot burst on an enemy like Orion if they have a retaliation item.
6. Store Mechanics
You can lock items in the store. If you see an item you want but cannot afford, click the padlock icon. It will remain there for the next mission. You can save up to two items this way.
7. Squad Synergies
Always aim for a diverse team. If you rely too heavily on low-damage, 1 AP weapons, you will fail against armored enemies. Grab a squad upgrade that grants passive bonuses, such as +5 Hull for every mech or +20 Matter per mission, to smooth out your progression.

Conclusion
Mainframe Defenders is a game that rewards patience, math, and strategic planning. Whether you aim to snag the CEO achievement on Very Hard or just want to survive your first run, understanding the interactions between heat, armor, and status effects is the key to victory.
Boot up the system, manage your heat, and defend the mainframe. Good luck, commander.

Leave a Reply