

Last Updated on 19 March, 2026
Building the ultimate vessel in Introversion Software’s universe builder, The Last Starship, requires immense capital for life support systems, FTL drives, and heavy weaponry. This financial guide solves your credit shortages by ranking every single money-making method from the highly lucrative S-Tier down to the absolute worst F-Tier time wasters. By following these tailored strategies, you will quickly transform your starting empty hull into an unstoppable galactic empire and never struggle to fund your next massive fleet upgrade.
Table of Contents
- S-Tier: Assembly Table Manufacturing
- A-Tier: Stargate Projects and Story Contracts
- B-Tier: Mining and Hyperspace Scoops
- C-Tier: Contracts, Gas Harvesting, and Combat
- D-Tier: Ammunition and Component Manufacturing
- E-Tier: Salvaging, Ship Flipping, Civilians, and Smelting
- F-Tier: Food, Ice, and Oxygen Production
- Conclusion
S-Tier: Assembly Table Manufacturing
Income Rate: Very High | Scalability: High | Investment: Moderate
The Power of Assembly Tables
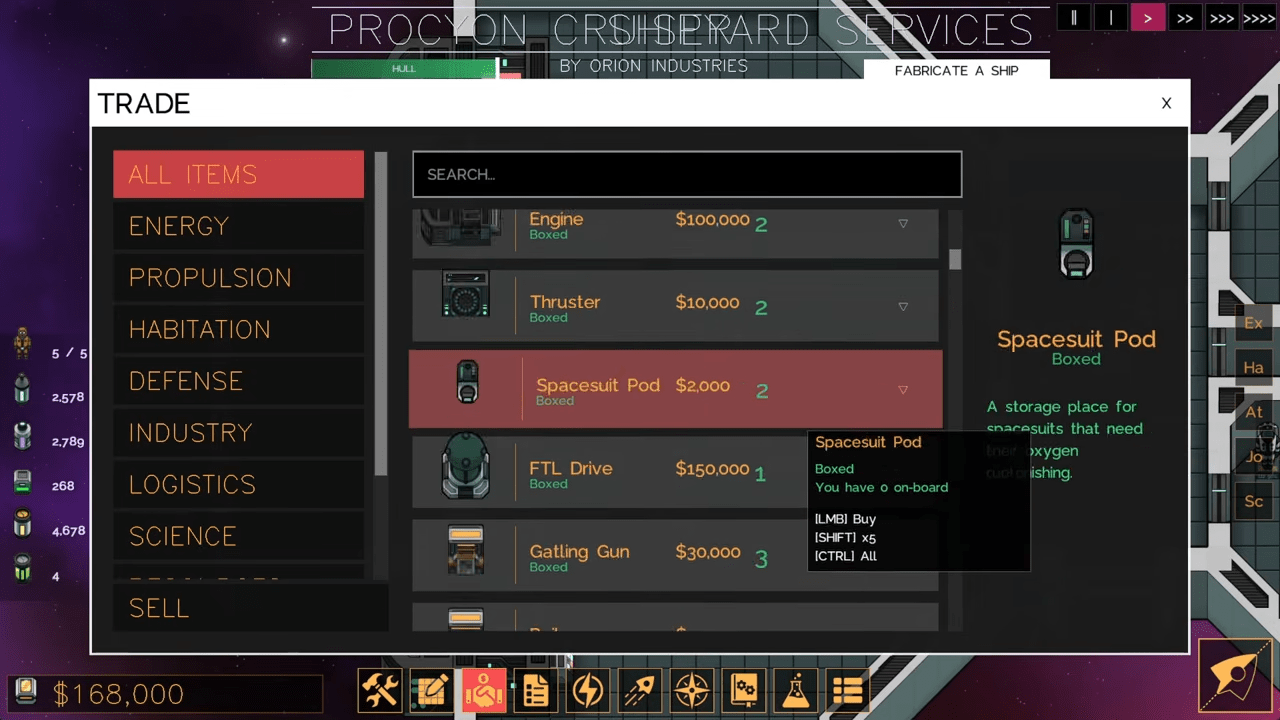
Assembly Table manufacturing stands as the undisputed champion of wealth generation in The Last Starship. This method provides the most effective and consistent way to secure massive profits throughout your entire playthrough. You will need to fuel your production lines with raw resources, meaning you must eventually scale up with dedicated mining ships. Once you establish a large scale operation, this industrial powerhouse will outpace any other economic strategy available.
Players must factor in the time required to load materials into the Assembly Table, which lowers the absolute profit rate slightly. You can reduce these delays significantly through automation.
Top Profitable Manufacturing Recipes
Here are the optimal items to manufacture:
| Item Name | Sell Price | Input Cost | Input Profit Markup | Full Speed Profit Rate | Manufacturing Cost | Research Required |
|---|---|---|---|---|---|---|
| Water Purifiers | $40,000 | $900 | 4344% | $78.2k / minute | 2 frames, 2 motors (14 metal ingots, 2 copper ingots) | Waste Processing |
| Deflectors | $120,000 | $8,400 | 867% | $111.6k / minute | 6 frames, 6 energy coils, 6 lenses (42 metal ingots, 12 copper ingots, 12 precious metals) | Deflector Beams |
| Batteries | $20,000 | $1,300 | 1438% | $37.4k / minute | 3 frames, 2 energy coils, 1 precious metal (19 metal ingots, 2 copper ingots, 1 precious metal) | None (Available at start) |
A-Tier: Stargate Projects and Story Contracts
Stargate Manufacturing (Boldly Go Campaign Only)
Income Rate: Very Good | Scalability: Good | Investment: Moderate
Exploiting Production Quotas
Manufacturing Stargate components provides an incredibly lucrative income stream. You must frequently adjust your production lines to meet changing project requirements, making this slightly less consistent than standard S-Tier manufacturing. Check the stargate window frequently to verify your current production needs.
A massive exploit exists here. You can intentionally over manufacture a required part, creating far more units than the Stargate actually needs. By selling them all at the exact same time, you can secure an enormous financial windfall. Keep in mind that you can only execute this trick once per item type.
Navigating the AJE Tax
If you activate the “Deep Space Industrialists” story mission with AJE, he will instantly take 50% of your Stargate revenue. Even with this hefty penalty, the process remains incredibly profitable. Players who prefer to avoid AJE’s tax can simply ignore his mission and research the stargate phases manually in the tech tree.
Story Contracts (Boldly Go and Survival Modes)
Income Rate: Good | Scalability: Bad | Investment: Low
Story missions in the Boldly Go campaign and unique missions in Survival mode deserve your immediate priority. They dwarf regular contracts in value, often rewarding you with hard cash, rare equipment, or completely free ships. In Survival mode specifically, the data collection contract scales perfectly. Players can easily earn a full $1 Billion simply by gathering 10 million data points, provided they have the supplementary income to survive the grind.
Early Campaign Mission Breakdown
Boldly Go missions serve as excellent tutorials and progress the narrative. Here is a breakdown of the early story contracts:
- Black Hole Sun: A straightforward early mission requiring a hyperspace scoop, tank, and loader. AJE provides free mining equipment at the start of part two.
- Trouble With Tiddlets: This mission requires the completion of Black Hole Sun. It involves a time consuming series of jumps but pays out nicely. You only need a drone port and basic drones to begin. The final reward includes a small ship perfect for rescue operations, plus two entirely useless Tiddlets that sit on your ship.
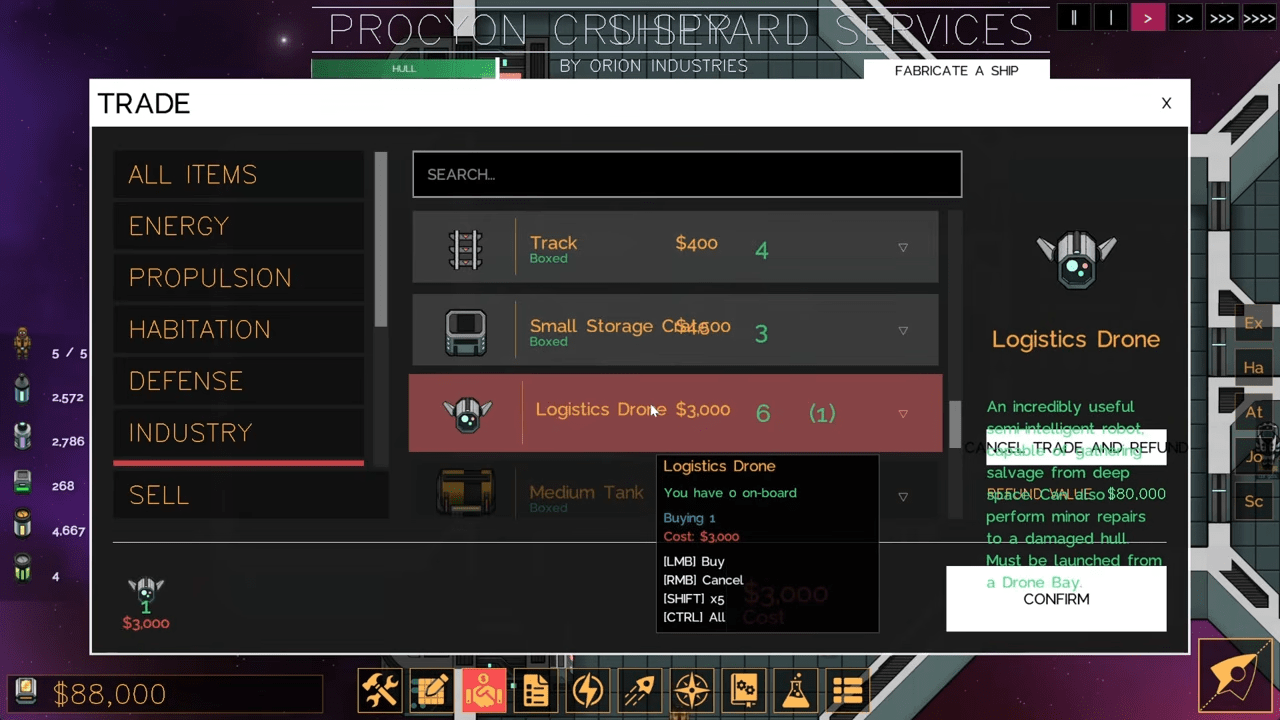
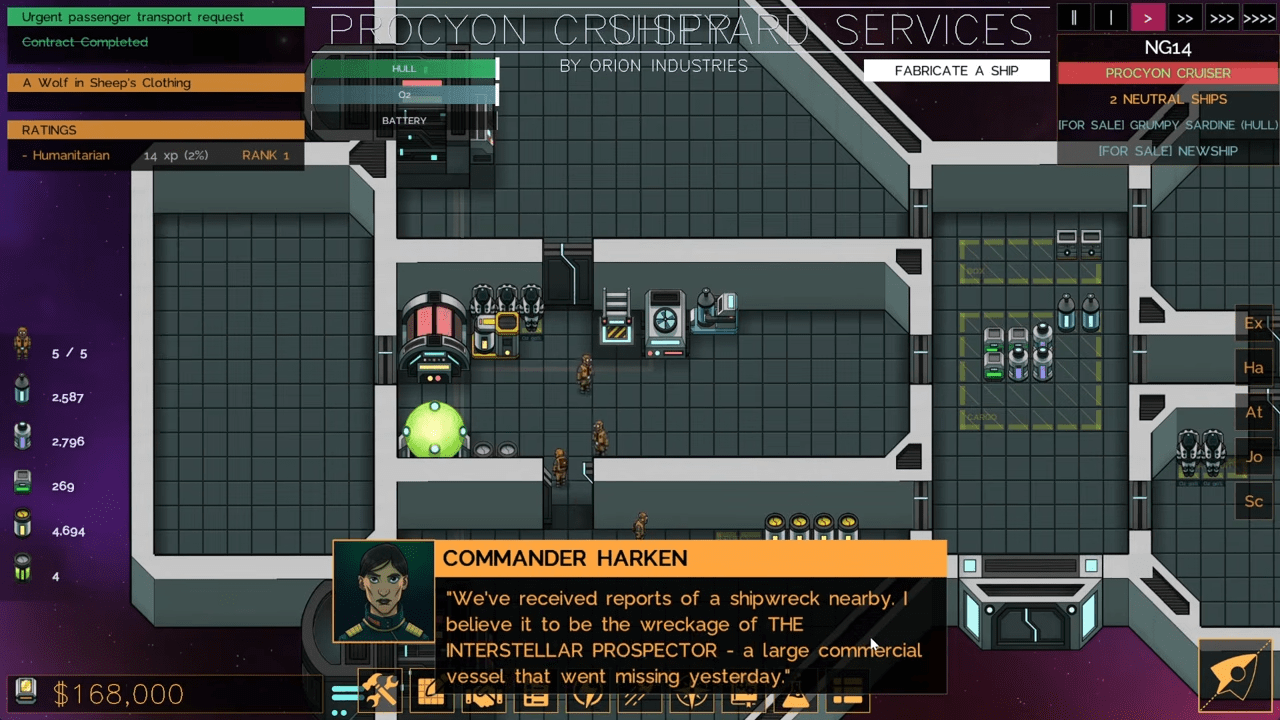
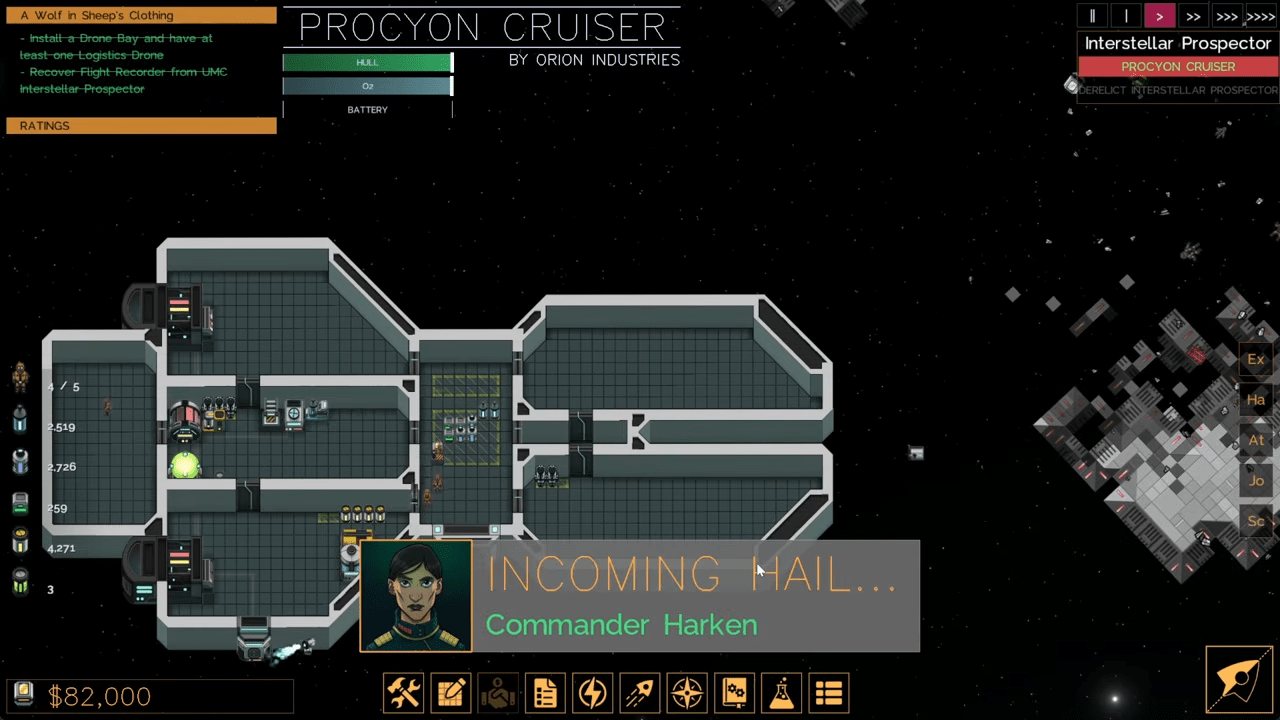
- Wolf in Sheep’s Clothing: This contract introduces combat and advanced rescue mechanics. You will need a drone port to collect salvage. The mission asks you to pay money at one stage, salvage during a meteor shower at another, and survive a fixed time combat encounter at the end. Allied ships will jump in to kill the enemy for you, and you walk away with a brand new ship.
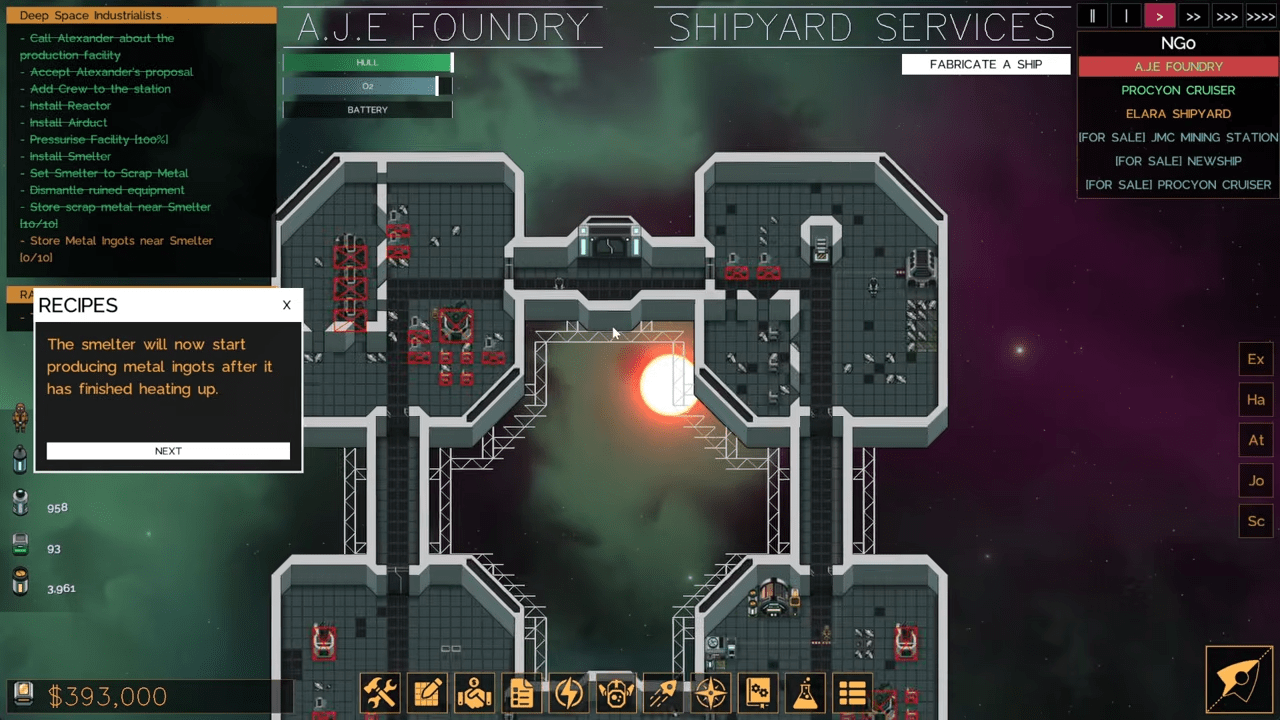
- Deep Space Industrialists: AJE grants you a space station, starting capital, and eventually a gas collection ship. However, his 50% tax on your Stargate revenue makes this a terrible long term financial deal. New players should play it for the tutorial value, while experienced captains often skip it completely.
B-Tier: Mining and Hyperspace Scoops
Mining Operations
Income Rate: Good | Scalability: Moderate (Deposits eventually deplete) | Investment: Moderate
Essential Mining Equipment
Mining primarily fuels your S-Tier manufacturing empire, but selling raw precious metals generates excellent standalone profit. To succeed, you must equip your ships with logistics drones and drone ports to collect the floating resources. Note that each mining laser shot consumes 100MW of power.
Smelting and Value Optimization
Always smelt your mined resources directly on your mining ship to maximize value. Researching smelting technologies significantly increases your profit margins. If you deplete an asteroid belt, you can use ship cannons to physically crack the mineral asteroids open and reveal new deposits. This technique demands time and money, but high value manufacturing justifies the expense. Sector scanning also reveals fresh asteroid belts, though in the Boldly Go campaign, scanning only functions on the far side of the stargate. Prioritize mining laser research to massively boost your asteroid yield, and logistics drone research to speed up resource collection.
Basic Ore Values (Smelted Stacks):
- Precious Metals: $8,000 per stack of 20 ingots
- Tillium Crystals: $2,000 per stack of 30 crystals
- Copper Ingots: $1,000 per stack of 20 ingots
- Metal Ingots: $80 per stack of 20 ingots (Never sell these directly; use them for crafting)
Hyperspace Scooping
Income Rate: Moderate | Scalability: Excellent | Investment: High
Automating the Deuterium Goldmine
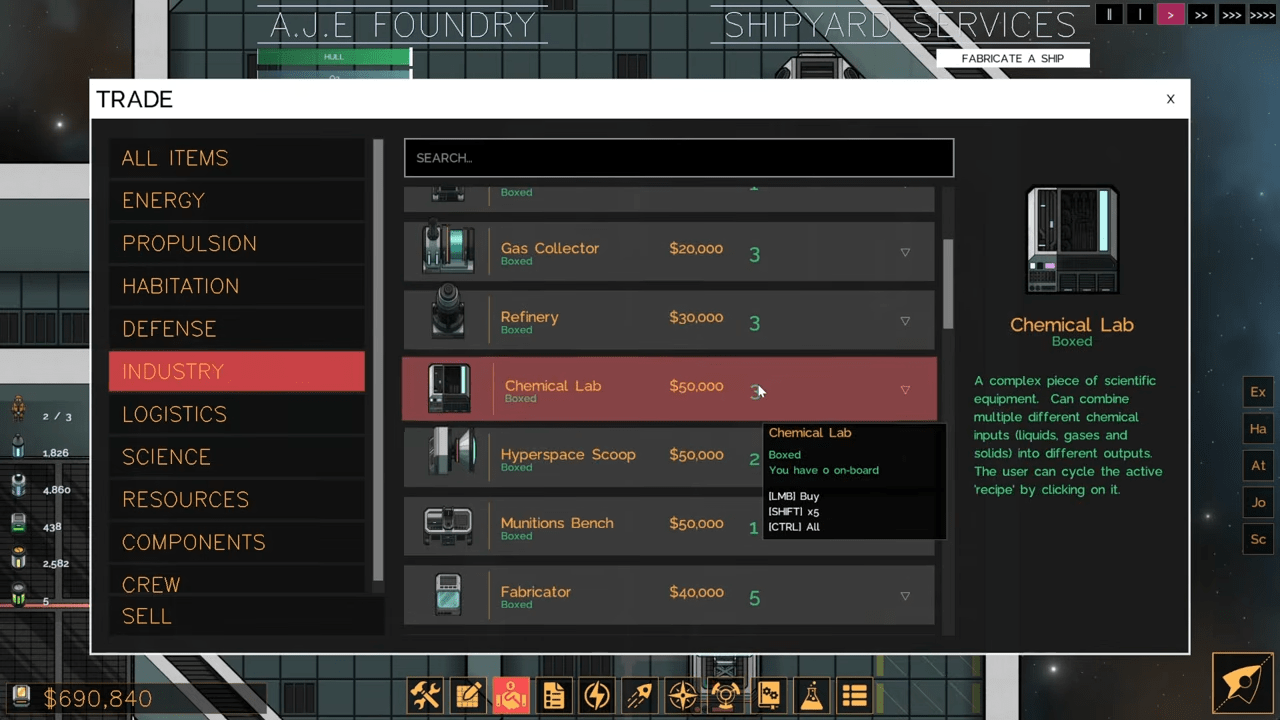
Harvesting hyperspace isotopes into Deuterium generates phenomenal wealth for ships that jump frequently. Scoops require massive amounts of power, and refining the isotopes demands expensive chemical labs. However, the introduction of interstellar logistics transforms this into an infinitely scalable, automated money machine.
Deuterium sells for a massive $10,000 per stack of 1000. In Survival mode, panic mechanics drive this price even higher. You can also utilize Deuterium directly as fuel for fusion reactors.
Stable Isotopes Alternative
If you want to bypass the massive investment of chemical labs, you can sell stable isotopes directly. Stable isotopes yield 25% of the total profit you would make from fully refined Deuterium, selling for $500 per stack of 100. Unrefined hyperspace isotopes sell for a meager $100 per stack of 100.
C-Tier: Contracts, Gas Harvesting, and Combat
Standard Contracts
Income Rate: Decent | Scalability: Bad | Investment: Very Low
Standard contracts offer a fantastic launchpad for the early game because they require virtually zero investment. Unfortunately, they demand constant player attention and simply do not scale well as your financial needs grow. You should use contracts to supplement your main manufacturing income rather than relying on them entirely.
Passenger, Cargo, and High Stakes Rescue Jobs
- Passenger and Cargo Transport: These represent the easiest missions available and require minimal effort.
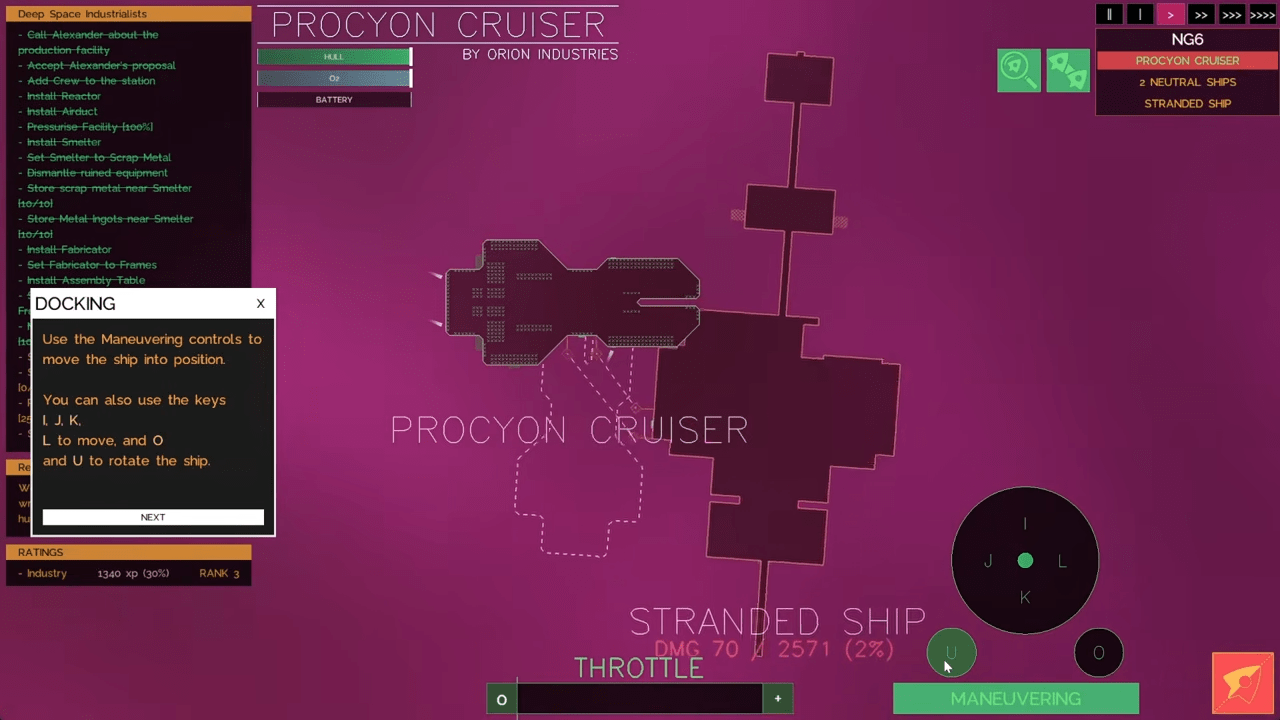
- Rescue Missions: These missions pay well but require absolute focus. Timed missions involving exploding ships yield free salvage but carry high stress. Enemy ships often target crippled vessels and will destroy your rescue target, failing your mission instantly. Make sure you pilot a highly maneuverable ship with excellent thrusters and dual sided docking ports to match spinning derelicts.
Combat and Mining Contracts
- Combat Contracts: Take these only if you have heavily invested in a dedicated warship. Taking multiple combat contracts in the same location creates deadly scenarios.
- Mining Contracts: These unique missions spawn fresh Tillium deposits at an asteroid belt. You can instantly complete the mission if you already have the required Tillium in your cargo hold, allowing you to freely mine the newly spawned deposit for extra profit.
Gas Harvesting
Income Rate: Decent | Scalability: Good | Investment: Moderate
Passive Income Streams
Gas harvesting offers a very passive, technically infinite revenue stream. You must actively fly your ship to locate the densest pockets of gas to maximize your harvesting rates.
- Fuel: Sells for $6,000 per stack of 1000 ($4.5k per 1000 Metreon Gas). Fuel proves especially valuable in Survival mode, where panic drives the prices up.
- Explosives: Sells for $1,200 per stack of 30 ($6k per 1000 Metreon Gas). Explosives provide the highest markup outside of Survival mode and store highly efficiently in crates.
- Refined Metreon: Sells for $4,000 per stack of 1000 ($3k per 1000 Metreon Gas). This requires zero chemical labs, drastically lowering your setup costs.
Combat Operations
Income Rate: High | Scalability: Moderate | Investment: Very High
High Risk Warfare and Salvage
Combat stands as a highly lucrative venture, provided you know exactly what you are doing. Finding a DrX Anvil essentially provides a massive loot pinata. However, warfare requires heavy upfront capital, carries catastrophic risks, and incurs continuous ammunition and armor repair costs.
In the Boldly Go campaign, hostile sectors constantly regenerate enemy forces, creating an infinite supply of salvage. Enemy strength scales based on your fleet power. You must deploy ships with massive storage bays and numerous logistics drones to clean up the wreckage quickly. In hostile sectors, strict time limits force you to salvage and repair rapidly before the next enemy wave jumps in. Dedicated salvage vessels remain an absolute necessity.
D-Tier: Ammunition and Component Manufacturing
Ammunition Manufacturing
Income Rate: Modest | Scalability: Modest | Investment: Modest
Supplying Your Fleet
Using the munitions bench to craft ammo provides a small, fiddly income stream. You should primarily manufacture ammunition for your own fleet, treating any surplus sales as a minor bonus. In Survival mode, panic mechanics do increase the profitability of ammo sales.
| Ammo Type | Sell Price | Input Cost | Profit Markup |
|---|---|---|---|
| Railgun Slugs | $200 per stack of 10 | 20 metal ingots ($80) | +150% (Easiest to make) |
| Cannon Shells | $500 per stack of 5 | 5 metal ingots, 5 explosives ($220) | +127% (Highest personal demand) |
| Bullets | $900 per stack of 300 | 6 metal ingots, 6 explosives ($264) | +240% (Best profit and storage efficiency) |
Component Manufacturing
Income Rate: Modest | Scalability: Modest | Investment: Modest
Fabricator Pitfalls
Selling raw components built at a Fabricator wastes massive potential. You should always plug components directly into an Assembly Table to craft S-Tier items. The singular exception involves crafting lenses, which provides an effective way to squeeze extra value out of large hoards of precious metals.
| Component | Sale Value | Input Required | Profit Markup | Primary Use |
|---|---|---|---|---|
| Lens | $1,000 each | 2 precious metals ($800) | 25% | Deflectors, logistics drones, energy transmitters |
| Energy Coil | $300 each | 2 copper ingots, 2 metal ingots ($108) | 177% | Batteries and Deflectors |
| Motor | $200 each | 2 copper ingots, 2 metal ingots ($108) | 85% | Water Purifiers |
| Frame | $100 each | 5 metal ingots ($20) | 400% | Foundational crafting material |
E-Tier: Salvaging, Ship Flipping, Civilians, and Smelting
Salvaging Abandoned Derelicts
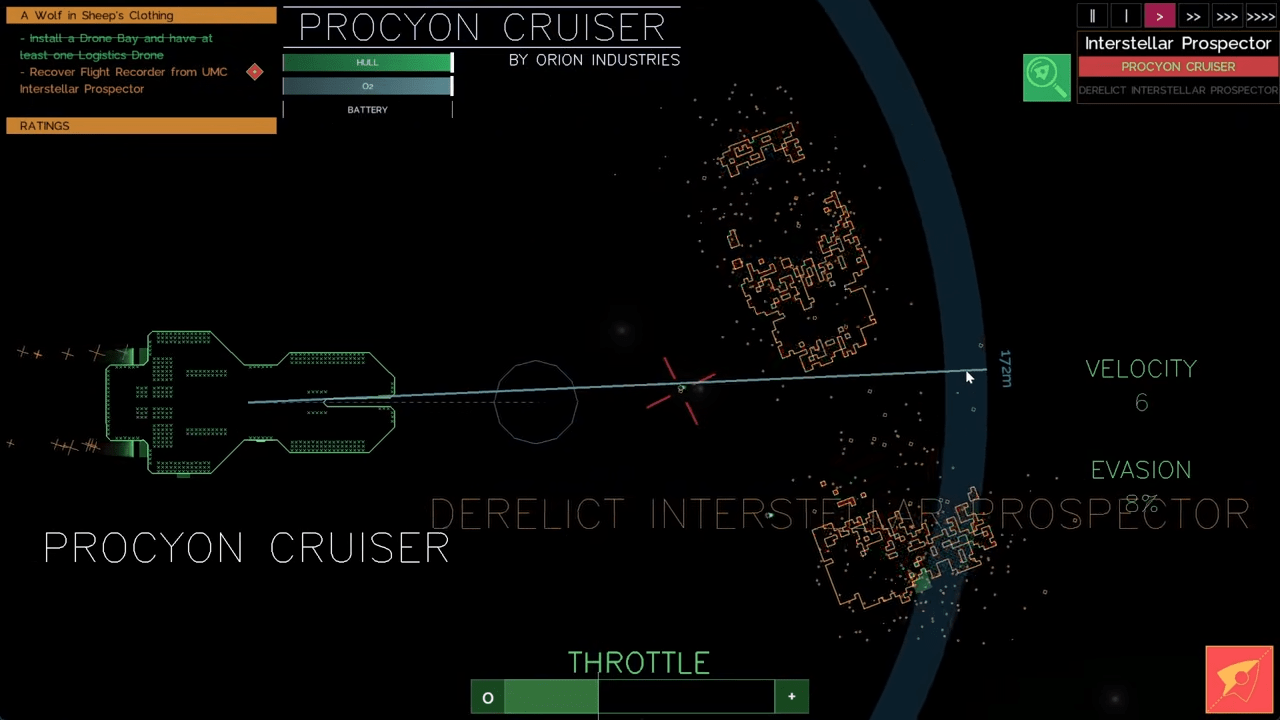
By deploying a drone port and logistics drones, you can strip abandoned ships for equipment, resources, and consumables. While accessible, it scales very poorly. Surveying derelicts does unlock special repeatable tech boosts across both game modes.
Tutorial Ship Flipping (Boldly Go Only)
During the Boldly Go tutorial, ship hull prices drop drastically. You can exploit this heavily. Once you complete the first passenger contract and finish the tutorial, empty hull values skyrocket. You can repeat this trick with any ship available during the tutorial phase.
Civilian Transport (Survival Mode Only)
Buying civilians generates minor income per sector jump. Their primary purpose revolves around boosting your score rather than generating meaningful wealth.
Smelting Trader Ores
Buying unrefined ores at a trader and smelting them for a markup functions as a very slow, poor income source. Tillium crystals provide the best returns here. Selling ingots leaves far too much potential money on the table compared to full manufacturing.
F-Tier: Food, Ice, and Oxygen Production
Players should completely avoid utilizing these methods for primary wealth generation. They waste time, resources, and effort.
Agricultural Money Pits (Food Production)
Selling farm grown food yields terrible returns. Farming drains your water supply quickly, harshly limiting any potential scalability.
Frozen Wastelands (Ice Harvesting)
Mining comets for ice consumes vast amounts of time.
Agonizing Oxygen Processing
Buying water to process into oxygen will double your investment, but the process moves at an agonizingly slow pace. The hard limit on water availability makes this entirely useless for scaling a galactic empire.
Conclusion
Dominating the expansive sandbox of The Last Starship demands a sharp transition from early game contract work into late game industrial dominance. This guide eliminates the guesswork of space capitalism by pointing you directly toward Assembly Table manufacturing and highly profitable story contracts. Stop wasting your crew’s precious time on low yield farming or ice mining and start building the heavily armed armada of your dreams.

Leave a Reply