

Last Updated on 11 August, 2025
Lost Ruins is a punishing 2D Metroidvania survival action game that thrusts you into a dark, interconnected dungeon as an amnesiac heroine. This guide delves into the narrative arc, core combat mechanics, area layouts, weapon and spell variety, boss strategies, hidden collectibles, and advanced techniques. So, by clarifying every essential system and revealing pro tips, this article solves common player frustrations and equips you to claim every ending and 100% completion with confidence.
- 1. Game Overview
- 2. Story & Setting
- 3. Core Mechanics & Combat
- 4. Map & Dungeon Areas
- 5. Weapons, Equipment & Spells
- 6. Boss Battles & Strategies
- 7. Secrets & Collectibles
- 8. Advanced Techniques & Pro Tips
- 9. Conclusion
1. Game Overview
Lost Ruins is a 2D side-scrolling survival-action title. You awaken in a haunted dungeon without memories and must explore twisting corridors, slay monstrous foes, and piece together your identity. The game demands resource management, precision combat, and careful exploration as you pursue three distinct endings.
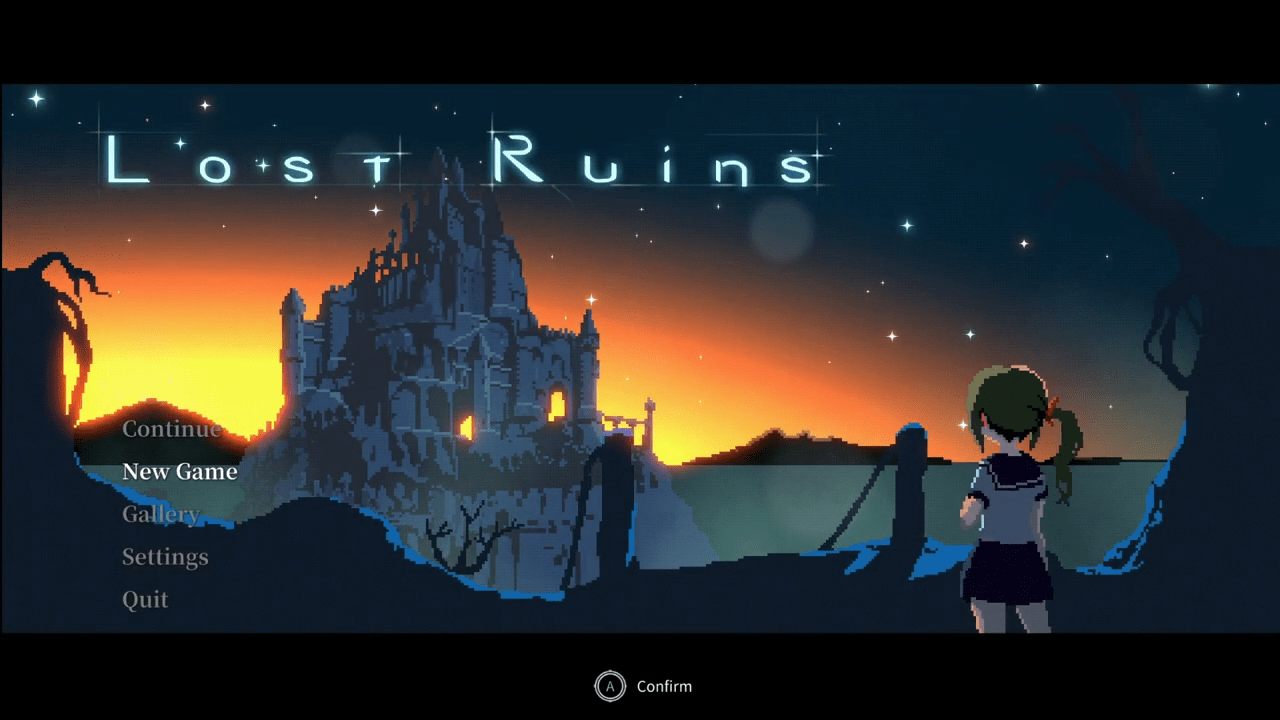
- Developer: Altari Games
- Publisher: DANGEN Entertainment
- Initial Release: June 17, 2021 (PC); Nintendo Switch, PS4, and Xbox One (June 2022)
- Platforms: Windows, macOS, Linux, Nintendo Switch, PS4, and Xbox One
- Genre: Metroidvania, Survival Action
- Core Loop: Traverse interconnected zones → collect weapons & spells → upgrade gear → defeat bosses → unlock endings
2. Story & Setting
At the heart of Lost Ruins is an unnamed heroine who awakens in a decaying underground complex with no recollection of her past. Guided by the enigmatic sorceress Beatrice, she ventures deeper into the “Lost Ruins” in search of answers. Along the way, cryptic journals, shattered terminals, and memory fragments recount the collapse of a once-prosperous realm and the tragic fate of its inhabitants.
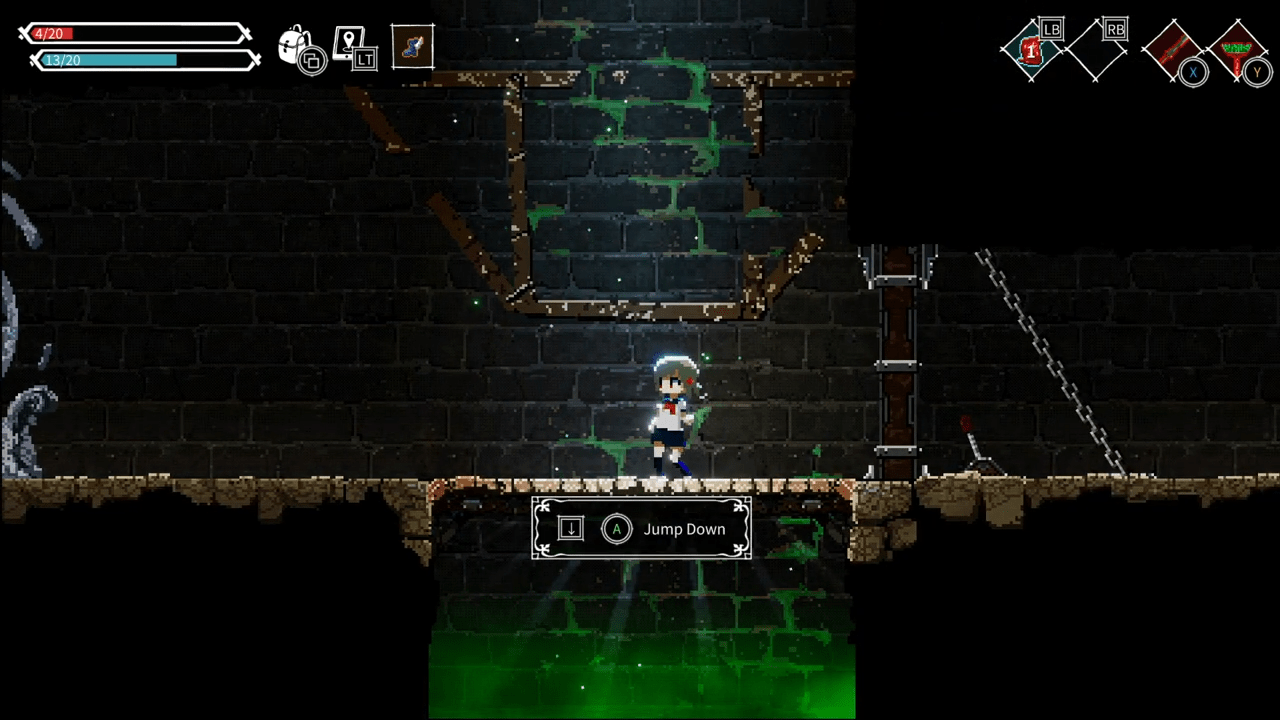
The narrative unfolds across three possible conclusions:
- Bad Ending (The End): Fail the Ascetic Lifestyle quest and escape without key relics.
- Good Ending (Reincarnation): Complete the Ascetic Lifestyle side-quest and wield the Holy Sword to vanquish Beatrice.
- True Ending (Arrive Home): Achieve the Good Ending on Veteran or Hardcore difficulty to unlock the protagonist’s final redemption.
3. Core Mechanics & Combat
Combat is visceral and unforgiving. You wield two equipped weapons mapped to quick-swap buttons and unleash light and heavy attacks, special spells, and dodge rolls. Rolling grants full invulnerability frames, so dodge into enemy attacks to avoid damage entirely. Each enemy has distinct patterns, and bosses punish predictable behavior, making practice and pattern recognition critical.
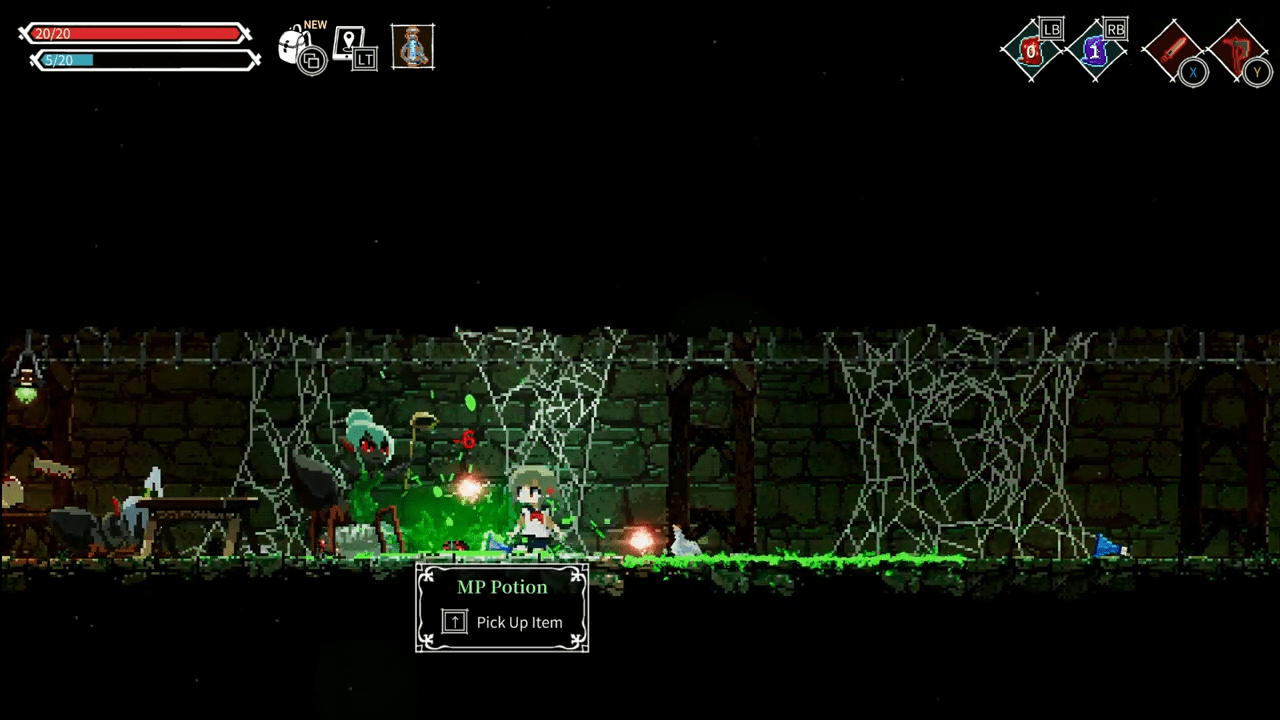
Health restoration comes from consumable potions dropped by foes or found in chests. There is no passive regeneration, so conserving HP items is vital. Likewise, Mana for spells is finite and refilled only by pickups. So, every encounter demands tactical weapon choice: heavy blades excel against armored targets, while wands and bows let you strike at range.
- Equip two weapons and swap instantly to chain combos and handle varied threats.
- Use dodge-into-attack (rolling) to negate incoming hits, so master timing to survive bullet-hell patterns.
- Light attacks breeze through crowds; heavy attacks break enemy guards but leave you vulnerable.
- Spells provide CC and burst damage but consume scarce mana.
4. Map & Dungeon Areas
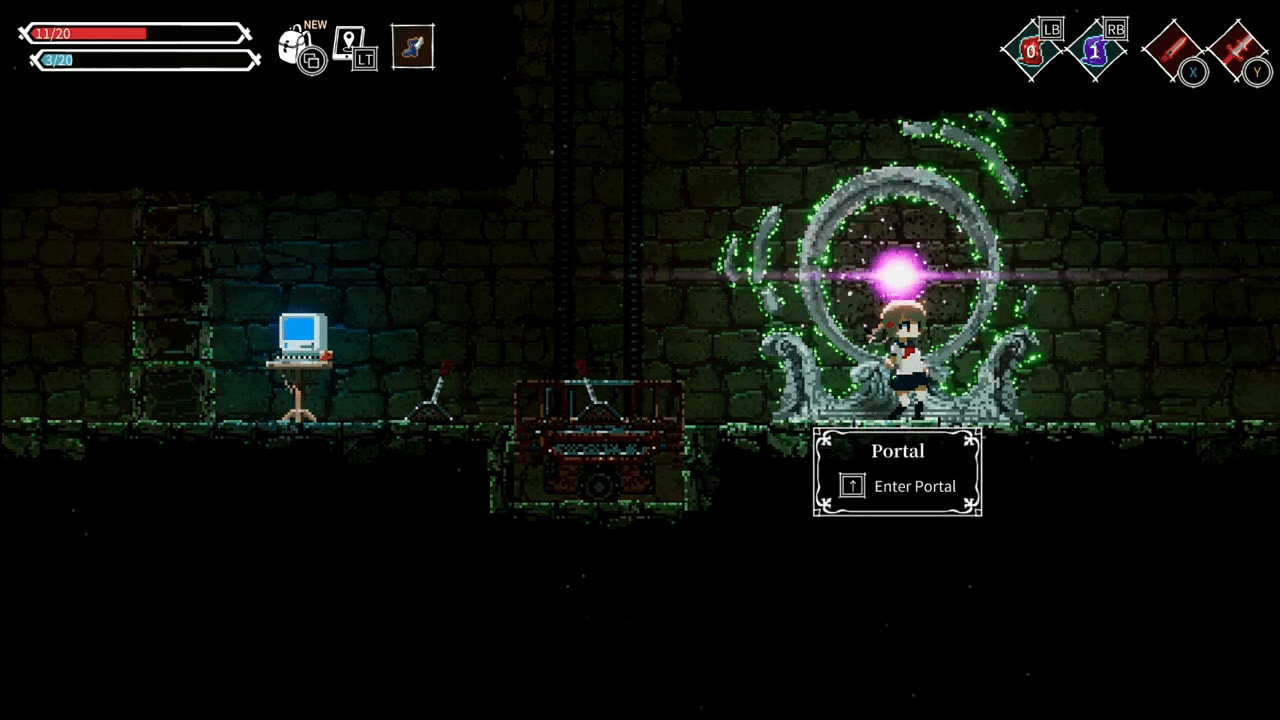
The Lost Ruins map is an intricately connected maze of zones: the Forgotten Sanctuary, Crumbling Archives, Smelter’s Depths, Sadora’s Trial Grounds, and the Final Throne Room. Access to each area is gated by keys, spells, or boss-dropped relics. So, thorough exploration, including backtracking with new abilities, reveals hidden shortcuts, secret vaults, and fast-travel portals.
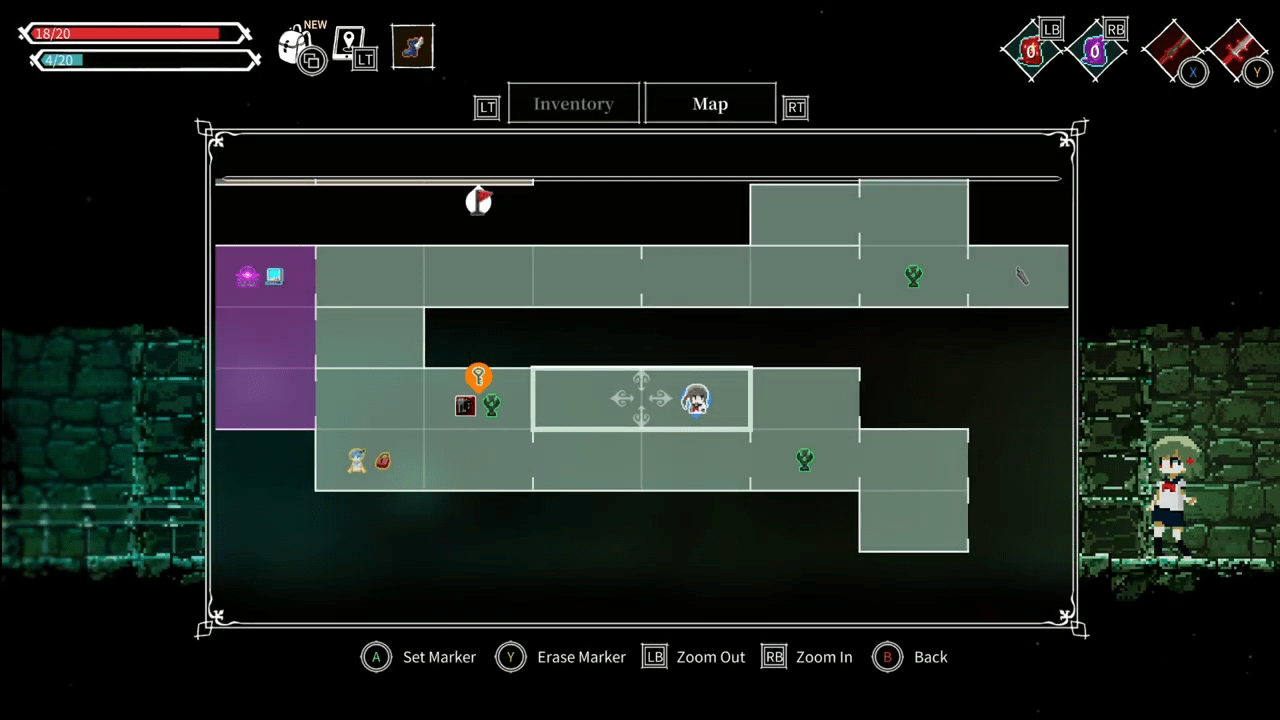
- Forgotten Sanctuary: Starting area with basic enemies, saving statues, and first journals.
- Crumbling Archives: Filled with platforms, puzzles, and destructible walls hiding spells.
- Smelter’s Depths: Lava hazards and the Smelter boss require precise movement.
- Sadora’s Trial Grounds: Platforming gauntlets and the Ascetic Lifestyle side-quest encounter.
- Final Throne Room: Endgame chamber where choices determine which ending you face.
5. Weapons, Equipment & Spells
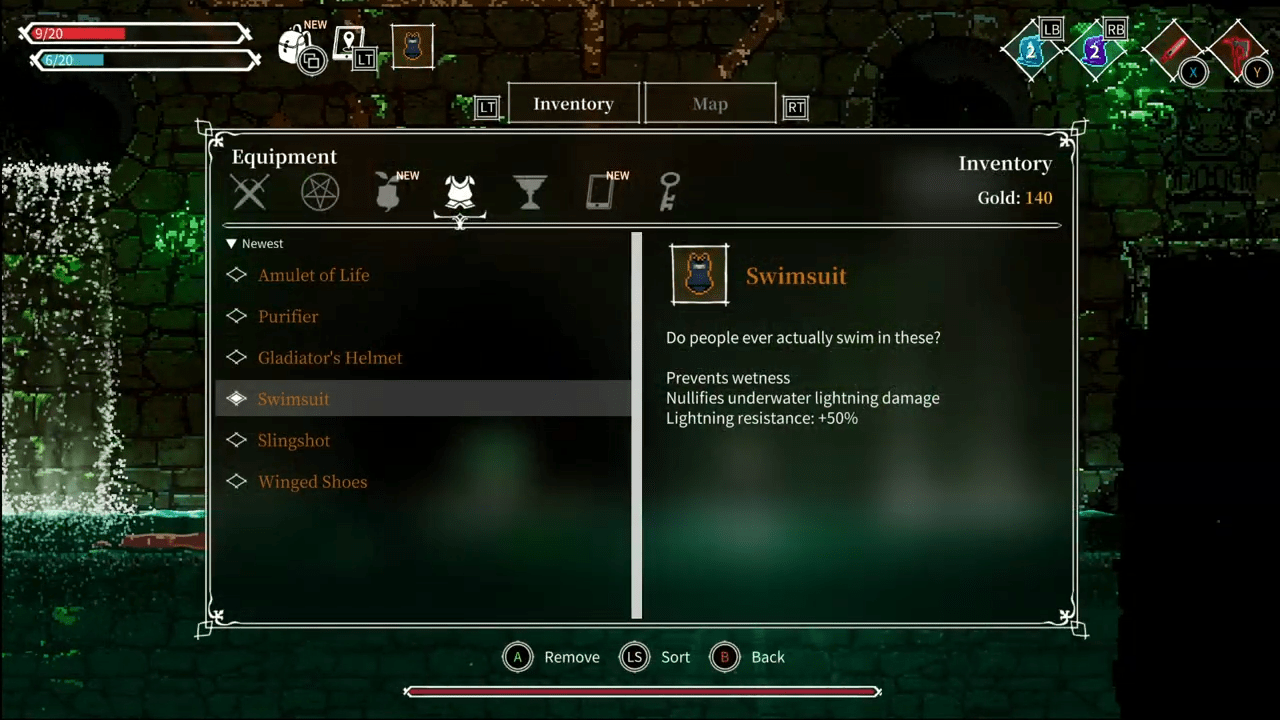
Lost Ruins boasts 51 unique weapons, 37 equipment pieces, and 24 spells to tailor your build. Weapons range from short-reach daggers and broadswords to heavy hammers and elemental wands. Equipment grants passive buffs such as increased HP, magic capacity, or resistance to status effects. Spells include Fireball, Ice Rune, Lightning Bolt, and Summon Orbs; each opening new combat and exploration possibilities.
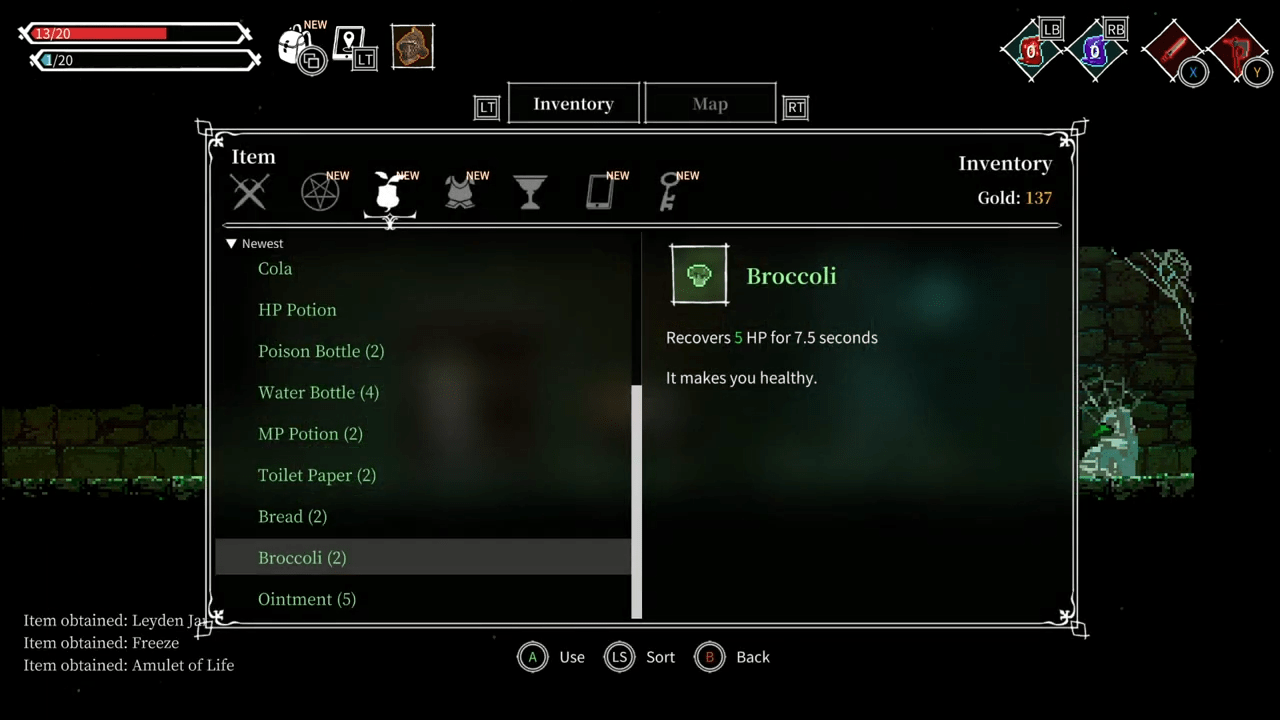
- Golden Weapons: Dropped by bosses; deal bonus damage and unlock special finishers.
- Equipment Sets: Full sets (e.g. Berserker Armor) grant 20% stat boosts when complete.
- Spells: Found in hidden alcoves; Fire Rune breaks ice barriers, Ice Rune freezes hazards.
- Upgrade Materials: Rare ore and memory shards needed for weapon mastery, track counts in menu.
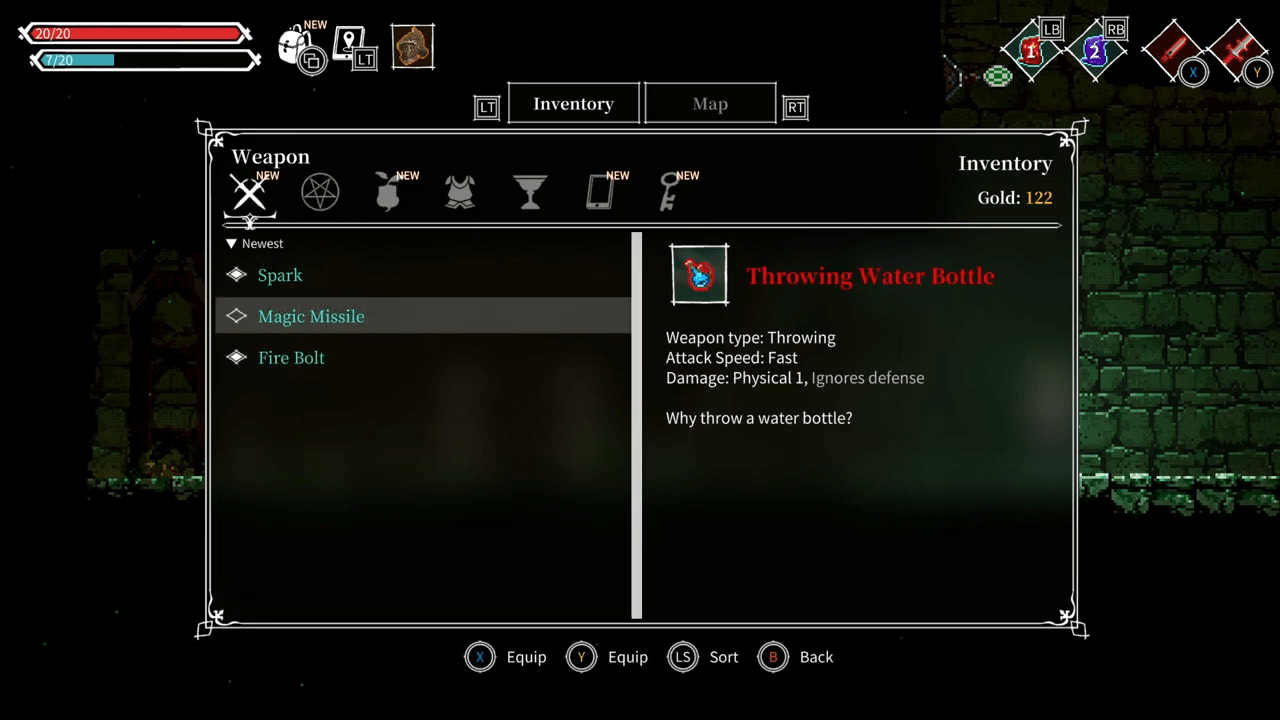
6. Boss Battles & Strategies
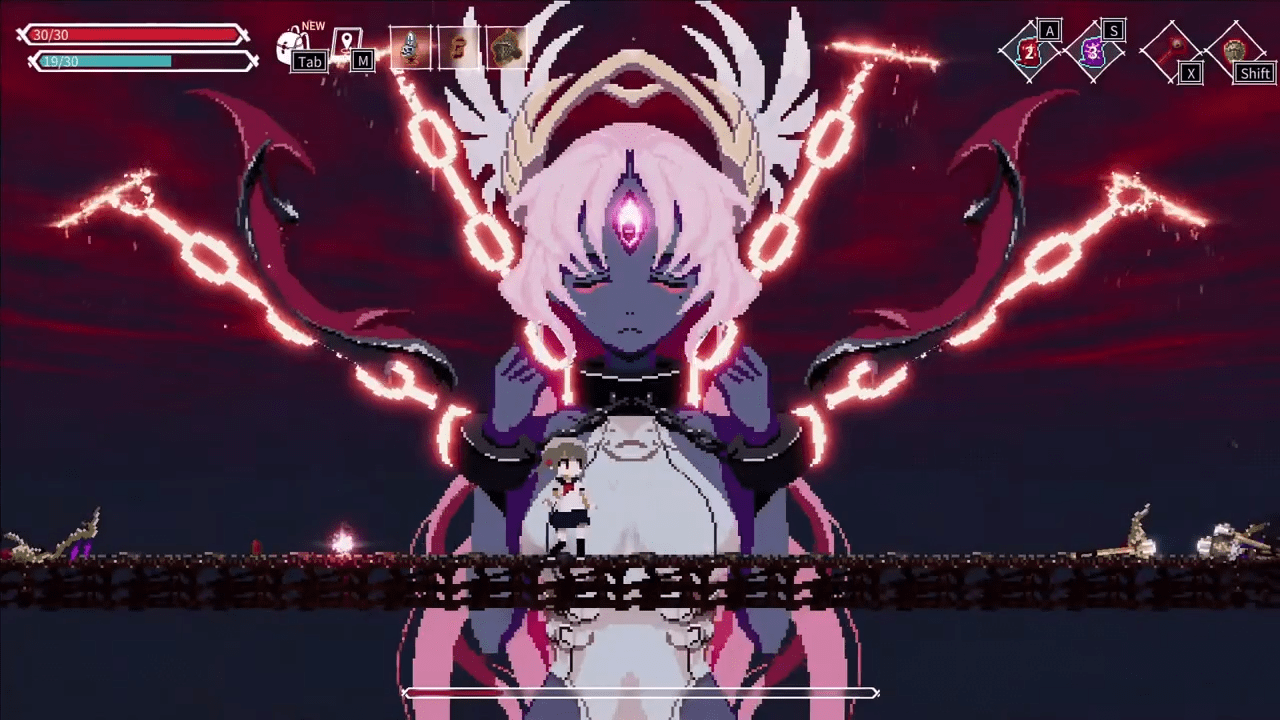
Seven major bosses stand between you and the True Ending: Jun the Reawakened, Smelter Lord, Sadora the Ascetic, and others. Each fight is multiphased, requiring memorization of attack patterns and precise form swaps. Defeating them not only grants key relics, but often rewards a Golden Weapon or rare upgrade material.
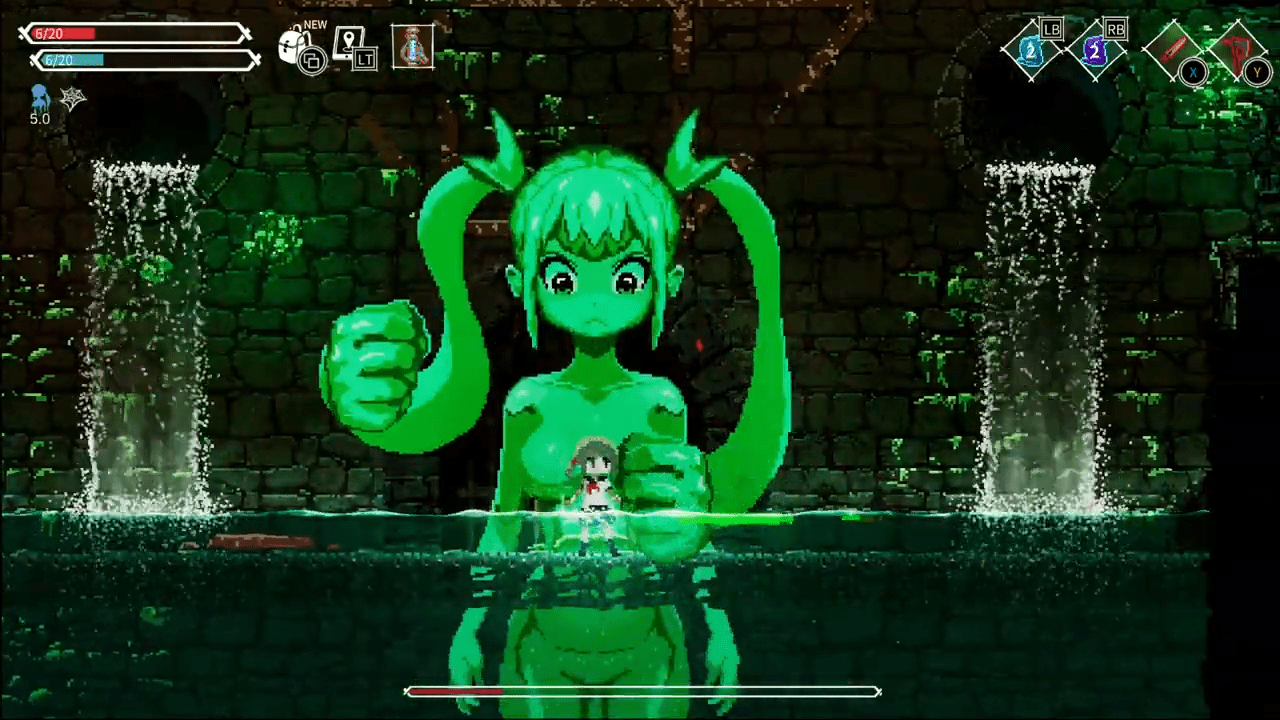
| Boss | Recommendation | Strategy |
|---|---|---|
| Jun the Reawakened | Sword & Shield | Block headbutt with shield, counterattack then dodge under slam |
| Smelter Lord | Ice Wand | Freeze molten orbs, punish slow recovery frames with heavy swings |
| Sadora the Ascetic | Poison Dagger | Avoid golden chest sugar rush, so stay mobile and chip damage over time |
7. Secrets & Collectibles
True completion in Lost Ruins demands 100% of these hidden items: 51 weapons, 37 equipment pieces, 24 spells, 50 data shards, 15 memory cards, and all journals/smartphone messages. Many lie behind breakable walls, timed platforming sequences, or require specific spells to access. Tracking your progress via the in-game checklist helps pinpoint missing collectibles.
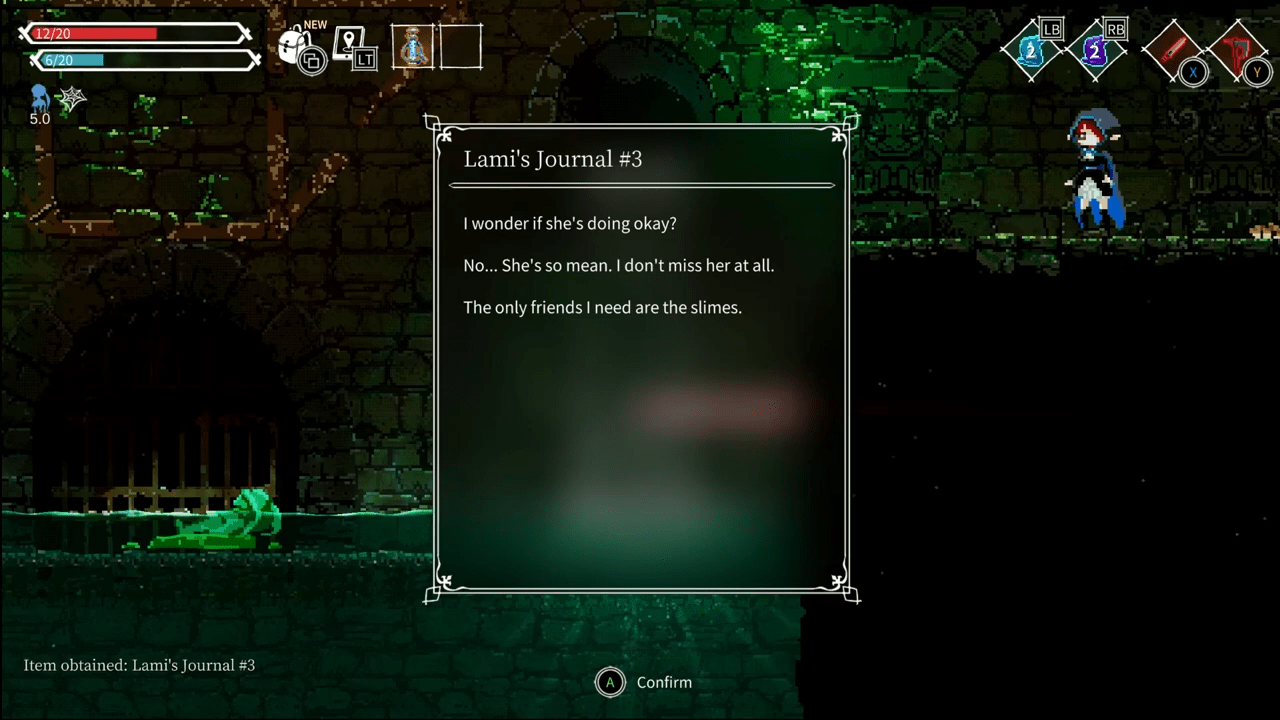
- Data Shards (50): Audio logs revealing backstory; hidden in tucked corners of each zone.
- Memory Cards (15): Tie into the Memory Collector achievement; often require precise jumps.
- Journals & Messages: Provide lore and hints; mark locations as you collect.
- Golden Chests: Contain top-tier gear but can affect endings if opened prematurely.
8. Advanced Techniques & Pro Tips
Veteran players refine their runs by mastering movement, combat cancels, and resource routes. Techniques like Bullet Block Jump, using a thrown object to momentarily shield, then bounce into hidden areas and Goomba Stomp, jumping straight down onto weak enemies for instant kills let you breeze through gauntlets. Prioritize upgrading your dodge-frame gear to minimize vulnerable windows in tight boss patterns.
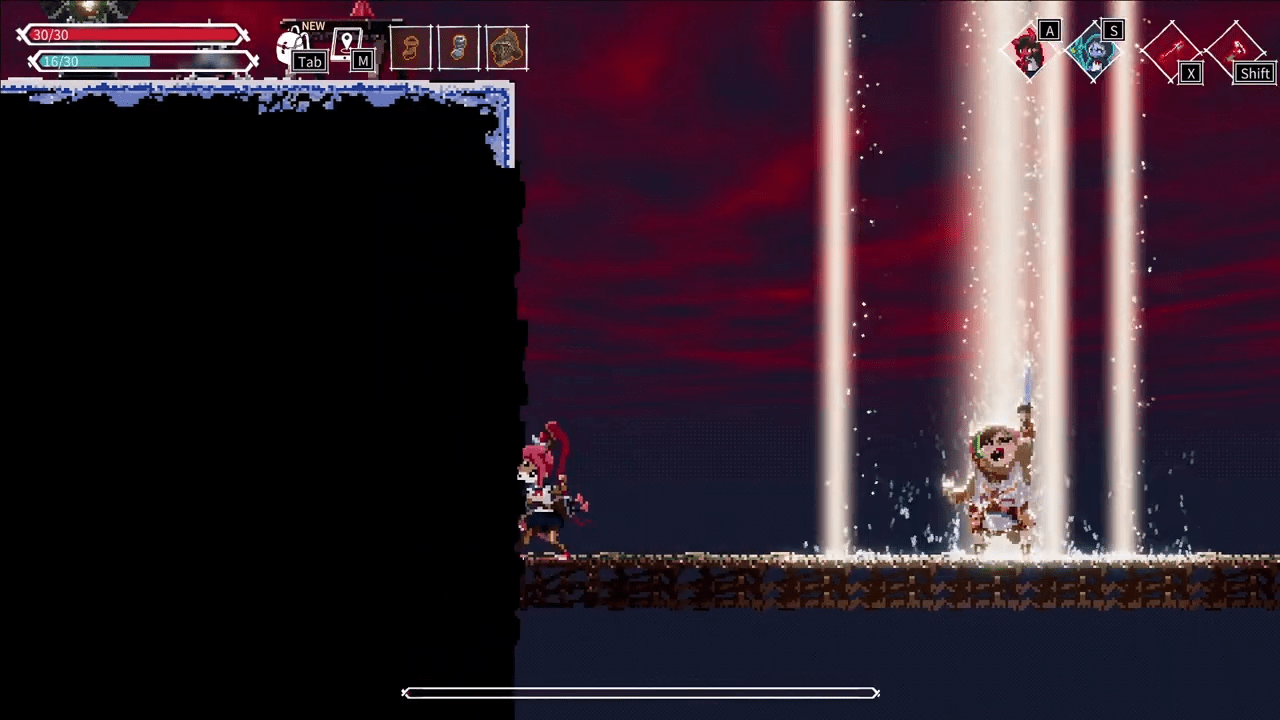
- Dodge-Cancel: Immediately roll after a heavy swing to chain attacks and evade recovery frames.
- Weapon Swap Combos: Switch mid-combo to chain element effects (e.g. Poison Dagger into Fire Sword).
- Stat Farming: Revisit Smelter’s Depths at night mode for double ore drops via saved quit/reload loops.
- Achievement Runs: Complete on Veteran with no deaths to unlock the “Survivalist” accolade.
9. Conclusion
With these strategies, you have a detailed roadmap through Lost Ruins’s darkest depths, covering narrative context, core combat, area navigation, gear builds, boss tactics, and secret hunts. Each section is rooted in verified community and wiki sources, ensuring accuracy and depth. Armed with this guide, you can tackle the caves confidently and complete every challenge.

So, start a new playthrough on Recommended difficulty, aim to clear the Forgotten Sanctuary without opening any golden chests, and track your first ten data shards to build momentum and confidence.

Leave a Reply