
Last Updated on 28 January, 2026
Welcome to the unforgiving lands of Yariv where a single mistake can lock you out of perfection forever. This comprehensive roadmap solves the frustration of missable content by guiding you through the complex web of mutually exclusive endings and hidden questlines found in Patch 1.0.5+. We provide a precise step-by-step strategy to navigate the dangerous new economy of Ancient Seals and ensure you collect every legendary weapon without wasting precious resources. Prepare to conquer the Curse of Faces with efficient planning that respects your time and guarantees the Platinum trophy.
Table of Contents
Critical Warnings and Roadmap
Before you take your first step into the fog, you must heed a critical warning regarding Patch 1.0.2 and onwards. The developers changed the game economy so that it now contains an equal number of Ancient Seals and Ancient Doors. This strict balance means you have zero margin for error.
One specific Ancient Seal is highly missable. You obtain this seal during a skippable interaction with the NPC Laran in the Swamp of the Abandoned. If you miss this interaction, you lock yourself out of valuable loot and multiple achievements for that entire playthrough. Do not skip through Laran’s dialogue under any circumstances.
The Two-Playthrough Strategy
To maximize your efficiency and respect your time, we suggest you follow this structure:
- Playthrough 1: Select the Forgotten class. Focus on the True Forgotten achievement immediately, which requires killing a boss at Level 1. Complete the game to get the Redemption Ending.
- Playthrough 2: Select any other class. Back up your save files before making critical choices at the Castle questgiver to unlock multiple mutually exclusive endings in a single run.
You cannot use the respec feature to change your class. Once you pick a path, you must see it through to the end. However, if you miss something nonessential, you can continue hunting for achievements after defeating the final boss simply by loading your save file from the main menu.
The Forgotten: Class-Specific Achievements
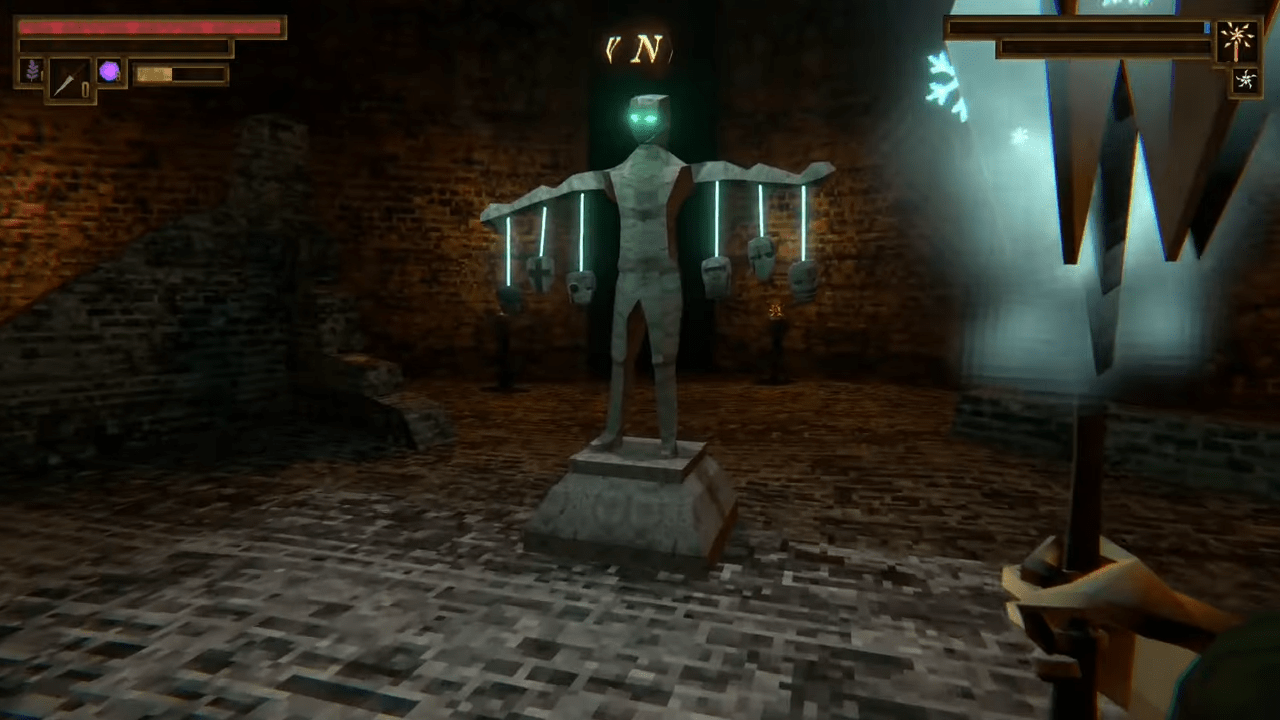
These challenges require you to select the Forgotten as your starting class. This class has a unique path and ending that you cannot see otherwise.
The True Forgotten
This is arguably the toughest challenge to execute early in the game. You must unlock the True Forgotten achievement by killing a boss at Level 1. If you level up even once, you fail this achievement for the current run.
We recommend targeting the Giant Crystal Mite in the Red Cavern. You will find this beast in the area between the Nameless Village and the Mourning Forest. The location sits near Azarin’s Camp. Before the fight, loot the barrels at the camp, as they have a chance to drop gold and healing potions. You may also purchase Frost Powder from Azarin himself. Since you cannot level up your character stats, use your gold to upgrade your broken sword to increase your damage output.
The Crystal Mite poses a significant threat as it will kill you in roughly two charges and inflicts bleed buildup. However, it retreats temporarily when you hit it. Time your strikes carefully with the broken sword and watch your health closely. You have no limit on potion usage, so drink as often as you need to stay alive.
You will also earn the Forgotten achievement simply for picking this class at the start menu, and the Redemption Ending for finishing the game with this class.
The Main Story: Automatic and Missable
As you traverse Yariv, you will naturally unlock achievements for entering major zones like the Nameless Village, Mourning Forest, Prison Wall, Old Temple, Heretical Path, Swamps, Giants Pass, and the Capital. You will also receive trophies for defeating major story bosses such as Ovarius, the Puppet King, Malecor, Mar’agul, Gan’akan, Si’ran, and S’selecaf. We will not list every single location here, as you cannot miss them if you simply complete the game.
However, you must pay close attention to these specific missable story moments:
Early Game Secrets
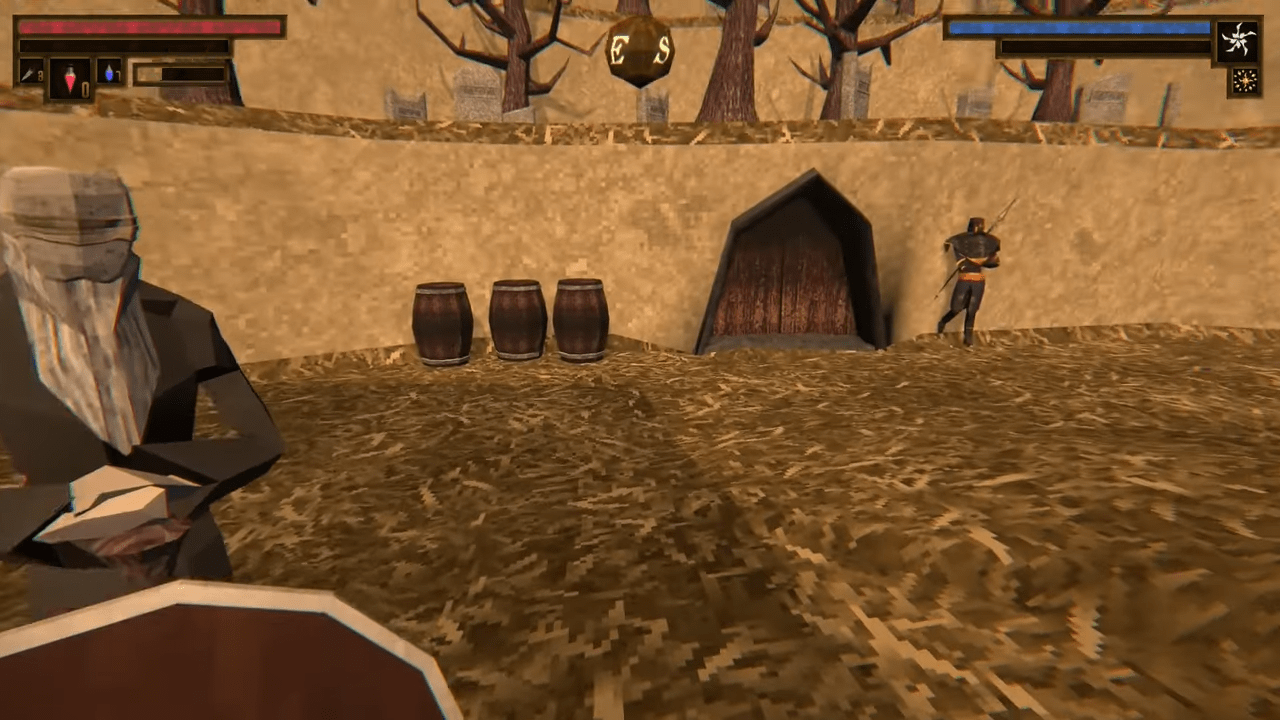
- Find ???: You can miss this secret in the very first tutorial area. At the entrance to the boss arena, turn right immediately. Walk along the arena wall to trigger this secret achievement.
- Backdoor: You obtain this by entering the Nameless Village via an alternate route through the Mourning Forest. In the Rotten Valley, ignore the obvious door next to Laran. Instead, look to the right of the ruins where he stands. You will find a road sign pointing toward the Mourning Forest / Kurath Ruins. Follow this path.
- Curse of Faces: You need to die from the curse to unlock this. Go to Avgrund’s mausoleum. When the game explicitly tells you not to turn around, defy the order and turn around immediately.
Brothers in Arms
You must recruit an NPC to help you kill a boss. You can do this at two specific points in the story, but you must progress their personal questlines first.
- Castle Quest: After defeating the main Castle boss, you receive a task to collect 3 Archdemon Hearts. You can recruit Belicor in the Realm of Might, Laran in the Realm of Past, or Zaran in the Realm of Shattering. You must recruit them before you complete the objective in their respective zones.
- Namir: After completing the previous Castle quest, show Namir the three collected items. Find him in the Realm of Fear to recruit him for the final stretch.
The Workshop Ending (Secret)
This is a unique fake ending that does not actually end your game or prevent you from getting other endings. You must trigger this before you give the three Archdemon Hearts to the Castle questgiver and while the optional boss The Guardian is still alive.
- Bring 5 Ancient Tablets to Volundius (we list these locations in the Sidequests section).
- Have Perantius craft the Crimson Key for the secret location.
- Enter the secret entrance located in the Gracious Pit, specifically under the first set of pipes.
- Wait. Do not try to leave the area. Simply stand there for roughly 40 minutes. The ending cutscene will play automatically.
Unlocking Every Ending
Verho features three main outcomes. The Redemption Ending belongs solely to the Forgotten class. The other two belong to the non-Forgotten classes and are mutually exclusive unless you use save backups.
Class: Forgotten
- Redemption Ending: Simply complete the game as the Forgotten class. No special choices are required other than surviving.
Class: Non-Forgotten
These endings depend entirely on your choice after collecting the three Archdemon Hearts and returning them to the questgiver in the Castle. If you want to unlock both in a single playthrough, you must back up your save file before handing over the items.
- Sacrifice Ending: Give the items to the questgiver. When presented with a choice, accept the offer. You will receive this achievement after defeating the final story boss.
- Defeat Werhel / Possession Ending: Give the items to the questgiver. When presented with the choice, refuse the offer. You will earn the Defeat Werhel achievement immediately. Proceed to defeat the final story boss to unlock the Possession Ending.
Sidequests: The Safe and The Missable
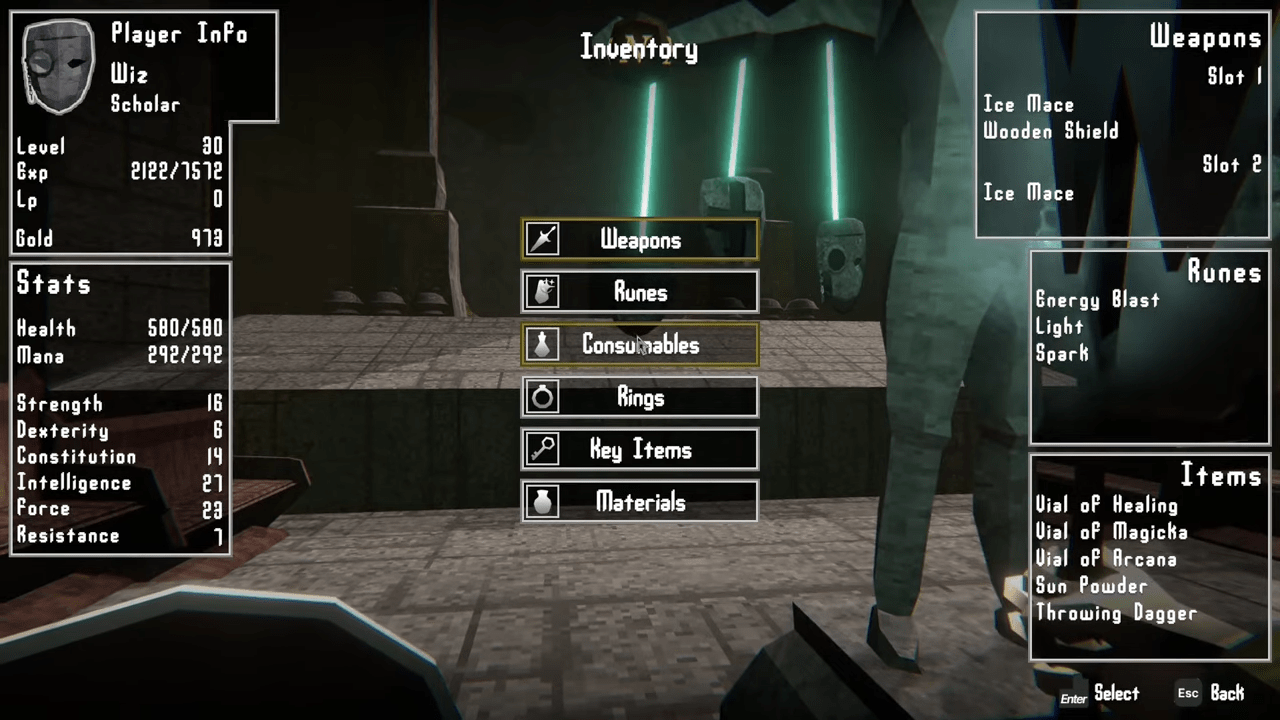
NPCs in Verho are fickle. Some quests are straightforward and can be done at any time, while others break easily if you progress too far in the main story.
Safe Sidequests (Non-Missable)
- Perantius: You must find and bring him 6 Runesteel Ingots to earn Perantius’s Legacy.
- Ingot 1: Secret Tunnels, inside an illusory wall within another illusory wall in the first chamber.
- Ingot 2: Gracious Pit, inside an illusory wall on the left in the second room.
- Ingot 3: Angels Peak corridor.
- Ingot 4: Lower City market near the Gallows.
- Ingot 5: Castle, inside a locked room on the second floor of the main hall (requires Captain’s Key from Chaos Duelist arena).
- Ingot 6: Foggy Burrows, on the ground near small mausoleums after exiting the sewers.
- Completion: After delivering all 6, rest at an altar 4 times and speak to him again.
- Ruk: Simply spend money at his shop until his dialogue changes once for Make the Merchant Happy and again for Best Friends.
- Rat Monarchs: Find the Cheese on a table in the dining room on the first floor of the Castle (requires Servant’s Key). Deliver it to earn Cheese!.
- Thrumli: Sell 1000 Gold worth of items for Trader. Sell him one of the weapons he actually sells for A Bit Disguting.
- Warka: Defeat the boss of Collector’s Grove and speak to Warka for A Bit More Impressive.
Missable Sidequests (Proceed with Caution)
Argon
Speak to Argon in the Nameless Village after defeating the boss of Mourning Forest. You must do this before you complete the steps for the Garet’s End achievement.
Azarin
During your encounter with Azarin in Foggy Burrows, you must destroy the Kurath Tablet floating next to him. Aim your attacks at the tablet to unlock Break Kurath Curse.
Belicor
This is a long chain for A Father’s Legacy:
- Speak to him in Nameless Village to start.
- Speak to him in The Old Temple Quarters, One-Eyed Temple, Garrison, and the purple-lit building in Upper City.
- Speak to him in the Castle after the boss fight (when you get the Archdemon Hearts quest).
- Find him in the Realm of Might (resting next to the West Cavern altar). You must do this before killing the Realm of Might boss.
- Summon him for the boss fight and win.
- Defeat the boss of the Ancient Fortress.
- Finally, find Belicor in the Nameless Village and choose to tell him the truth.
Estern
Speak to Estern in the Nameless Village to receive a key. Equip and use it on an Ancient Door (one is near the second Maker’s Altar in Rotten Valley) to earn Open Ancient Doors. For True Scholar, bring him 6 Arcane Scrolls.
- Scroll 1: Prison Wall, 3rd floor.
- Scroll 2: One-Eyed Temple side room.
- Scroll 3: Upper City, purple-lit building behind an Ancient Door (Missable!).
- Scroll 4: Ancient Fortress, behind an illusory wall near the maker’s altar.
- Scroll 5: Realm of Might, South Cavern (hug the right wall).
- Scroll 6: Realm of Past, inside the room with the Restless.
Garet
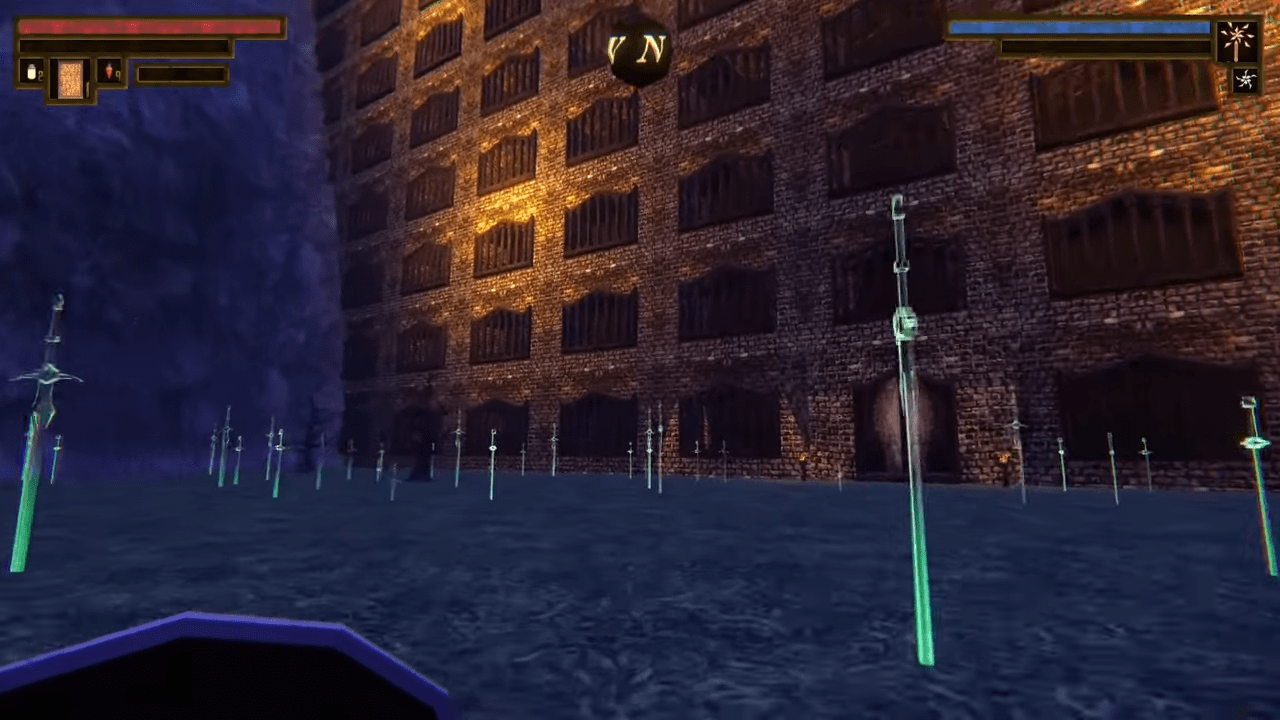
You have two mutually exclusive achievements here. To get both in one run: rescue him in the Scarlet Mines, then kill him in the Nameless Village immediately for Not Today!. Reload your save file, rescue him again, but this time leave him alone. After roughly 10 rests, find him in the village for Garet’s End.
Laran (CRITICAL)
Follow these steps exactly for Unbroken Spear:
- Speak to him in Rotten Valley, Nameless Village, and Swamp of the Abandoned. (Do not miss the Seal here!).
- When you reach the Lower City, do not rest or exit. Go left from the first altar, then turn left again to enter the alley. Find the pile of bodies and destroy the intact one with golden bubbles until it becomes mush. Reload the area and speak to Laran at that specific spot.
- Speak to him in the Castle after the boss. Deadline: This must be done before you defeat the boss of the Realm of Past.
- Find him in Realm of Past (next to the mask altar).
- During the subsequent cutscene, dodge until the timer runs out. Let Laran kill the boss in the next room by himself.
Namir
For To the End: Speak to him in Rotten Valley, Mourning Forest, Prison Wall, and the pier in Lower City. Speak to him in the Castle after collecting the 3 story items (Deadline: This must be done before you defeat the boss of Realm of Fear). Find him in the Realm of Fear (near the green flame arena and locked tower) and summon him to help defeat the area boss.
Sorelia
To unlock Release Sorelia’s Soul:
- Find her in Pit Bottom behind a giant illusory wall (near a convenient Healing Vial).
- Speak to her on the pier between Giants Pass and Lower City.
- Unlock the Maker’s Workshop (requires Volundius’s quest). Warning: Killing the optional boss “The Guardian” before speaking to Sorelia in the Workshop breaks her quest. Do not enter the Workshop until she moves there. Speak to her inside before leaving.
- Defeat the Workshop boss and speak to her again.
- Defeat the Mount Ingel boss and meet her at Angel’s Peak to fulfill her request.
- Bonus: Sell her reward (Maiden’s Greataxe) to Thrumli for the MONSTER! achievement.
Volundius
Give him a Mask Shard in Secret Tunnels for Save the Archeologist. Bring him 25 Small Ancient Rocks, Ancient Rocks, or Huge Ancient Rocks for Archeologist. For True Archeologist, bring him 5 Ancient Tablets found in:
- Old Temple Secret Passage (requires Ancient Key).
- Tunnel of Redemption (behind the shortcut gate, access via 2nd floor tunnel).
- Swamp of the Abandoned (cave on an isle with 2 Jawlers).
- Maskless Village (mausoleum puzzle room).
- Realm of Shattering (first portal to the right, near yellow crystal).
Bringing these tablets allows you to open the Maker’s Workshop for Enter Workshop. Inside, read all notes for The Truth and kill the boss for Defeat the Guardian.
Zaran
For Zaran’s Redemption: Meet him in Old Temple, Nameless Village cemetery, Old Temple living quarters, Tunnel of Redemption, and Lower City (near Gallows). After the Castle quest begins, find him in the portal near the Gallows altar. Agree to help him (Deadline: This must be done before you defeat the boss of Realm of Shattering). Summon him for the Realm of Shattering boss, then uphold your promise.
The Armory: Legendary Weapons and Unique Gear
To earn Hero Of Legend, you must collect 20 legendary weapons. Many of these are missable, and some require specific crafting materials that are limited in supply.
The Broken Weapons
You must upgrade three specific broken weapons to +10. This is the only way to obtain their legendary forms. Note that there is a finite amount of both Spectral Revsteel and standard Revsteel available per playthrough.
- Moon Blade: Upgrade the Broken Blade (found on the floor above Scarlet Mines) to +10.
- Ancient Blade: Upgrade the Broken Ancient Blade (found after Ancient Fortress boss) to +10.
- Reforger Achievement: Upgrade the Broken Sword (requires normal Revsteel) to +10.
Legendary Weapon Locations
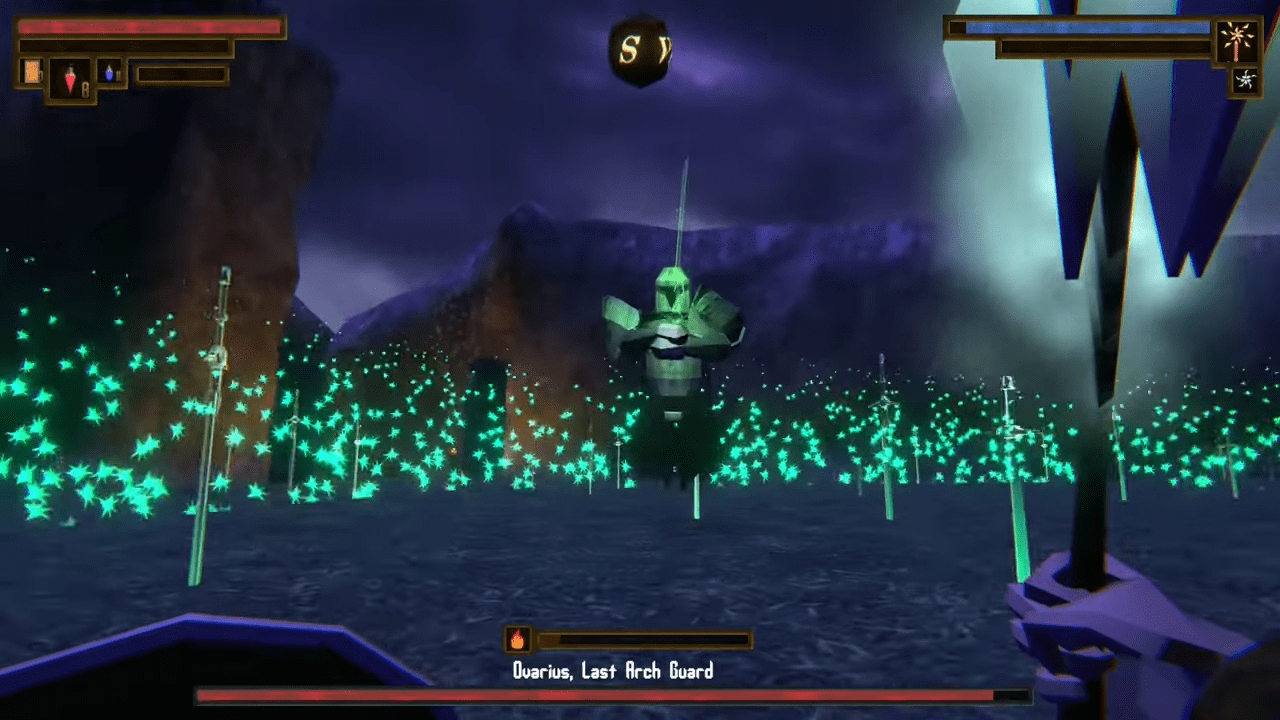
- Galecrusher: Defeat Ovarius in Central Forest.
- Bloodstone Blade: Defeat the optional Angel boss on Mount Ingel. Speak to Perantius afterward to get it.
- Eclipse: Upper City, blue-lit building. Look for a hidden chamber between stairs on the 2nd floor, locked by 3 switches.
- Bloodsteel Shield: Castle, in a locked room in the main hall (requires Captain’s Key).
- Aspect Ruler: Complete the Castle puzzle. Find Ksalan Key in the council room (3rd floor), unlock the door in the 2nd-floor corridor, and destroy the 8 elemental walls with matching elemental attacks.
- Red Eye Twin Daggers: Castle treasury on the 3rd floor (behind Ancient Door).
- Herin’s Hammer: Return to the Castle throne room after defeating the main boss.
- Great Rune Sword: Reward for completing Perantius’ quest.
- Corrupted Slayer: Pick it up off the floor after defeating the boss of Ancient Fortress.
- Elder Blade: Realm of Might, in the middle of the swamp.
- Dal’umdum: Realm of Might. Find a cave without an altar and check the right wall.
- Aegis Spear: Realm of Past, next to the 3rd elevator.
- Thunderstring: Realm of Past, in the room with Bone Titans.
- Sharpstorm: Realm of Shattering. Enter the portal to the left of the boss arena.
- Stone Hero Greatshield: Realm of Shattering. Enter the 2nd portal to the right of the mask altar.
- Abyssal Greathammer: Realm of Shattering. Enter the portal furthest from the mask altar.
- Maiden’s Greataxe: Reward for completing Sorelia’s quest.
- Mysterious Sword: Story pickup in Reverse Castle.
Artifacts (Arcanist Achievement)
You also need to find 8 artifacts for the Arcanist achievement.
- Void Shard: Defeat the Predator boss in Rotten Valley (bottom of locked cave near Poison Lake; key is on the ruins to the right).
- Blood Essence: Gracious Pit (hall on the left after the iron maiden room).
- Brightest Lightning: Giants Pass (at the base of ribs near the Pass altar).
- Star Shard: Upper City (purple building behind Ancient Door). Missable!
- Gale Fragment: Castle 3rd floor balcony (blue candles).
- Contain Blight: Sewers (behind Ancient Door). Missable!
- Hoarfrost Fog: Avgrund’s mausoleum (behind Ancient Door). Missable!
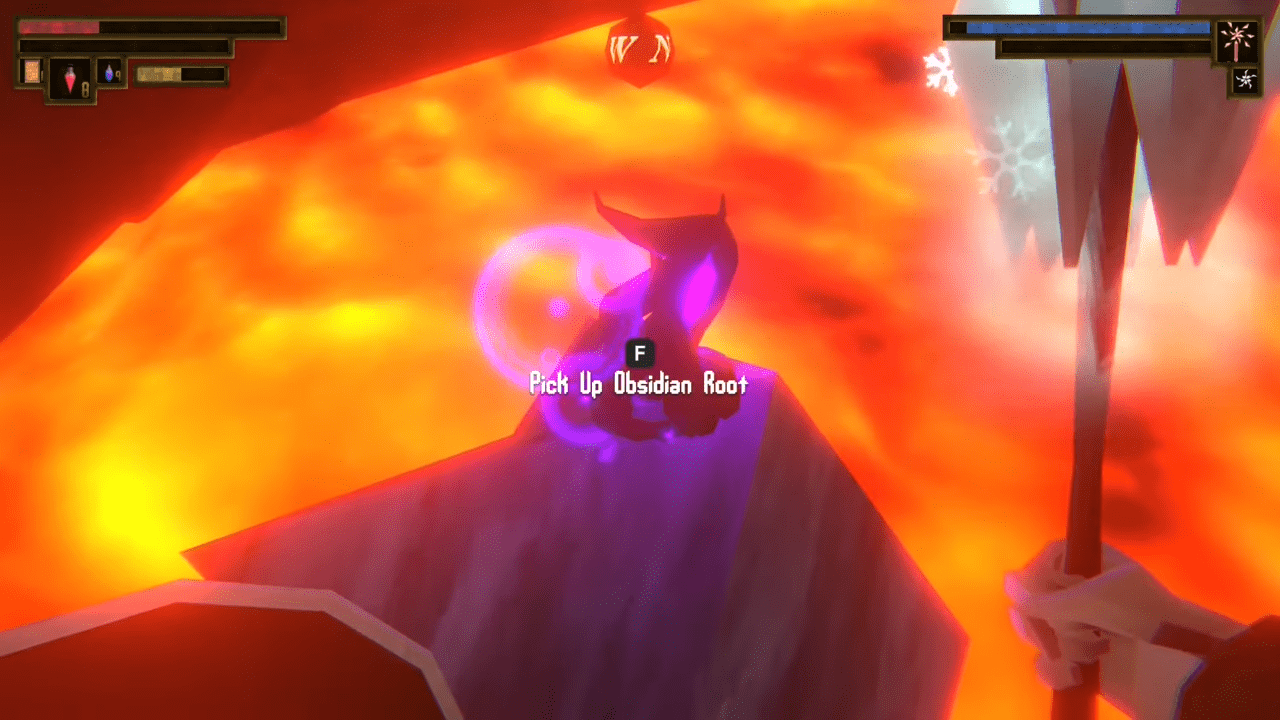
- Endless Flame: Ancient Fortress (room with lava pool to the right of the mask altar).
Miscellaneous Challenges
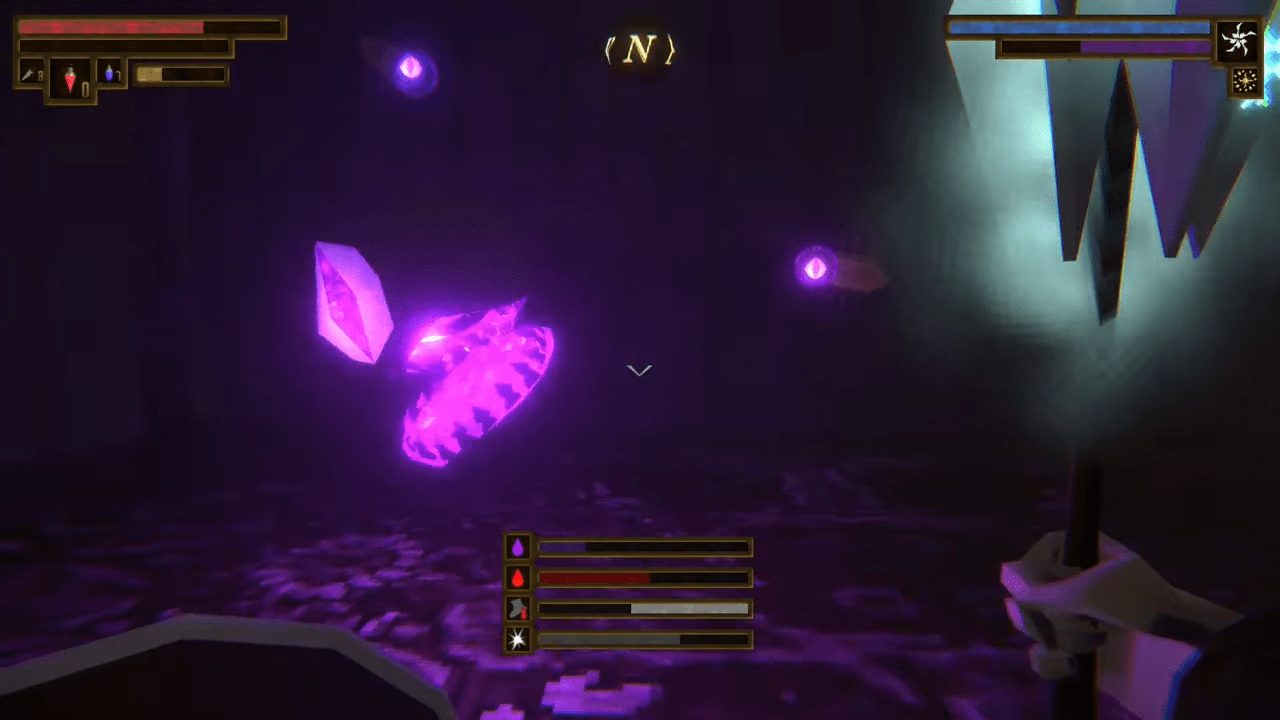
Finish off your completion list with these various tasks that range from stat building to secret hunting.
Combat and Stats
- Your Power Grows: Reach Level 50.
- Rebirth: Respec your character in Nameless Village. Find a Blank Mask and interact with the ominous altar on the path to the Old Temple.
- Stat Achievements: Reach 60 in Strength, Dexterity, Constitution, Intelligence, Force, and Resistance.
- Godmaster: Complete the Boss Rush mode. This unlocks in the Realm of Fear after you defeat the final boss.
- Unstoppable: Kill 10 enemies in a row without taking damage.
- This is fine…: Have 3 negative status effects at once. The easiest way to do this is in the Lower City by aggroing a Cobalt Stalker and an Impaled One simultaneously.
- Evenly Matched: Defeat a boss with less than 5% health remaining. You can farm this in Boss Rush mode.
Collection and Exploration
- Time to Spend It!: Hold 10,000 gold in your inventory at once. Note that spent gold does not count toward the total.
- Vegetarian: Buy and eat all resistance-boosting leaves from Warka in Swamp of the Abandoned.
- What Did You Expect?: Cast the Sacrifice spell. You can find this spell on the second “floor” of the Tunnel of Redemption.
- Makers Blessing: Activate all mask altars. The final altar unlocks right before the final boss fight.
Hidden Secrets
- Hidden Within the Ruins: Light two unlit torches near the Maker’s Altar in Kurath Ruins to open a secret passage.
- No Coin Left Behind!: Find the hidden treasure sitting on top of the dome in Kurath Ruins (the same dome where you find the Tablet).
- Lord Of Lavender: Find the secret location in Foggy Burrows. Look for three small mausoleums near The Great Lift altar. The middle one has an illusory wall covering the entrance and another one inside.
- Friend?: Stand perfectly still with a group of Restless in Foggy Burrows for some time.
Conclusion
Your journey to becoming the True Masked One requires patience and an unwavering attention to detail. This guide has equipped you with the knowledge to bypass the most punishing roadblocks and secure every missable achievement that typically ruins a playthrough. We hope these strategies help you survive the relentless threats of Yariv while uncovering every secret the developers hid in the fog. Keep your save files backed up and your blade sharp as you step back into the darkness for your final run.

Leave a Reply