
Last Updated on 4 February, 2026
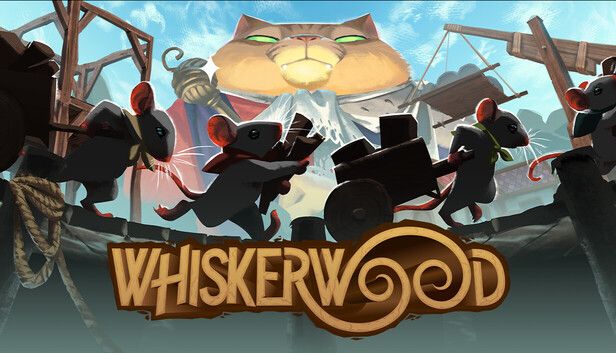
Do not let the charming Whiskerwood aesthetic deceive you. Behind every bustling colony of whiskers lies a ruthless struggle against starvation, freezing winters, and the ever-looming threat of The Claws. Managing a successful settlement requires more than just stacking buildings. It demands a mastery of vertical logistics, a keen understanding of heat thermodynamics, and the ability to balance a fragile economy against brutal tax cycles.
This comprehensive guide solves the most common bottlenecks that plague new and intermediate governors. We move beyond basic survival to explore the mathematics of efficiency. You will learn how to optimize your supply chains with precise conveyor layouts and discover why your early game housing choices might be draining your treasury. We also break down the hidden Rat Labor Unit costs of fuel production to ensure every whisker contributes to your survival. Whether you are struggling to keep The Claws happy or trying to establish your first tin outpost, this guide provides the blueprint you need to thrive.
Table of Contents
- Mastering Construction and Verticality
- Farming Fundamentals
- The Logistics of Movement
- Service Industry Standards
- Heating, Pollution, and The Environment
- Navigating The Claws and Taxes
- Smuggler Economics
- Early Game Strategy and Housing
- Advanced Logistics and Warehousing
- The Math of Fuel and Labor
- Establishing Your First Outpost
- Conclusion
Mastering Construction and Verticality
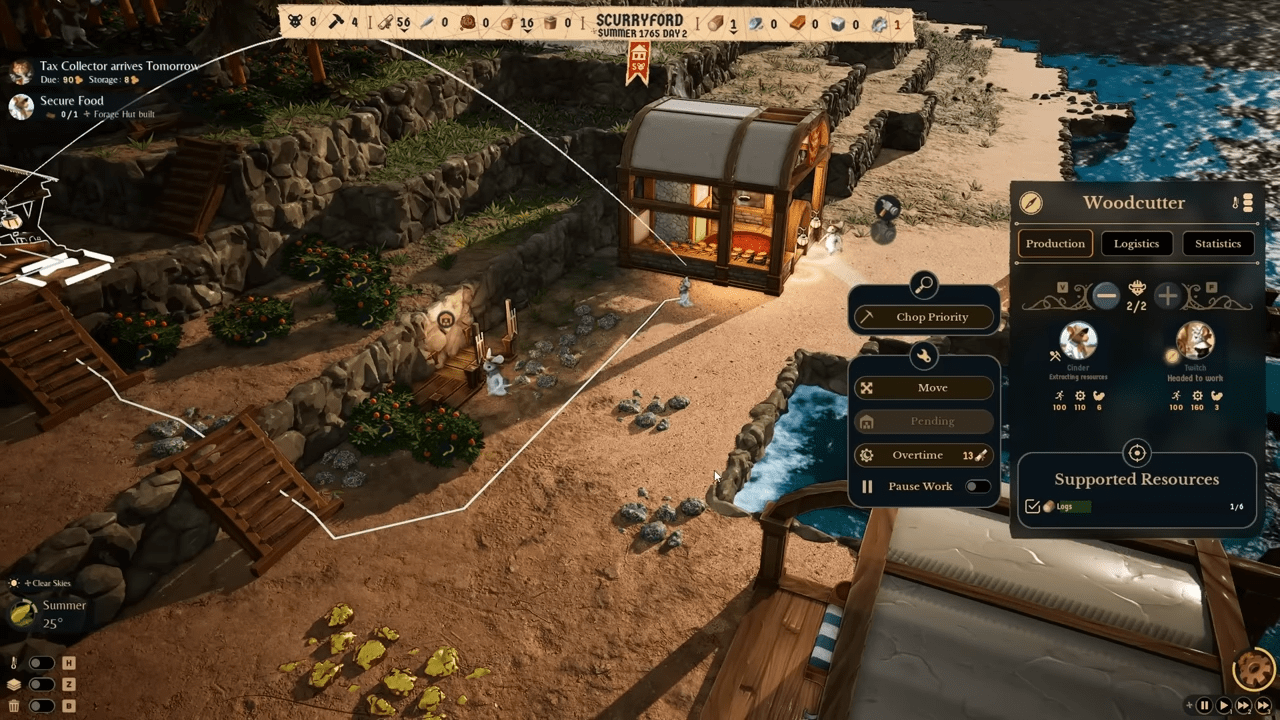
Space is a premium resource in Whiskerwood, and the best way to utilize it is often by looking up. You possess the ability to construct buildings directly on top of almost any other structure. The only limitation arises when the game explicitly alerts you that solid ground is needed. You should constantly experiment with verticality using the F and V keys to toggle your view and placement levels.
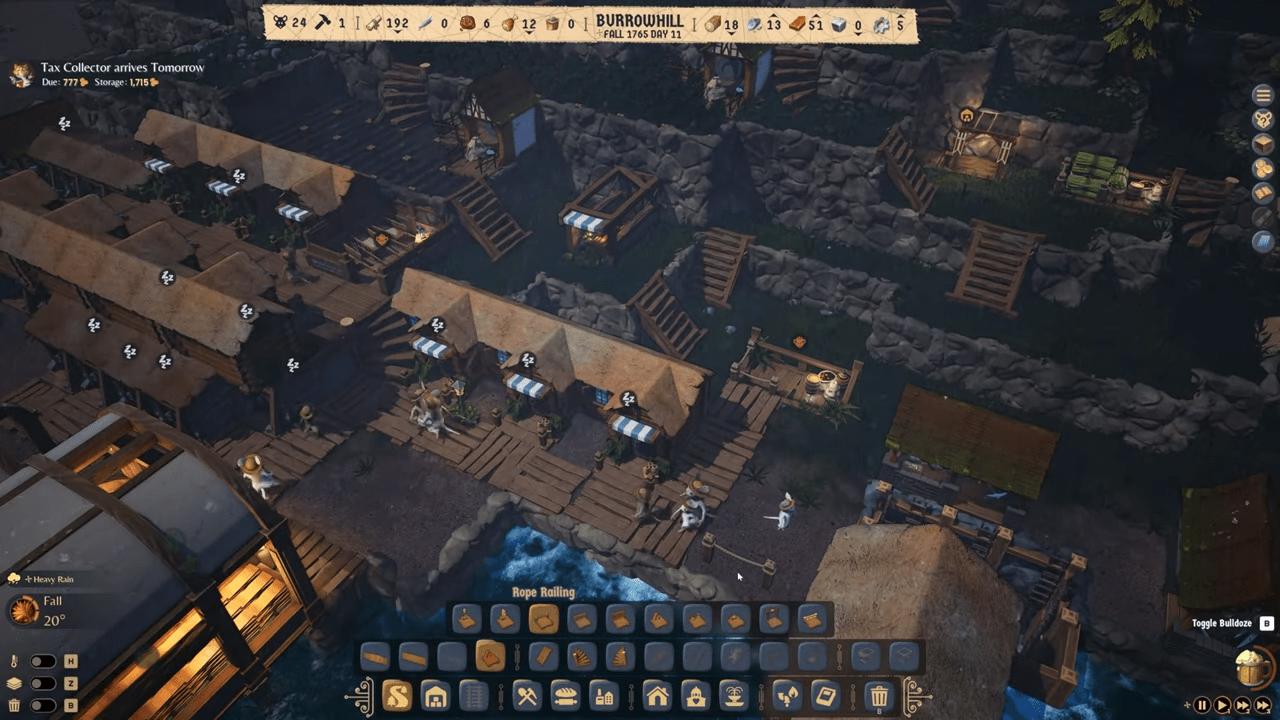
Pathing presents a specific challenge when building upward. Your whiskers will not path over flat rooftops automatically. You must explicitly place a Makeshift, Plank, or Stone Path to allow them to traverse these surfaces. However, solid ground always remains pathable.
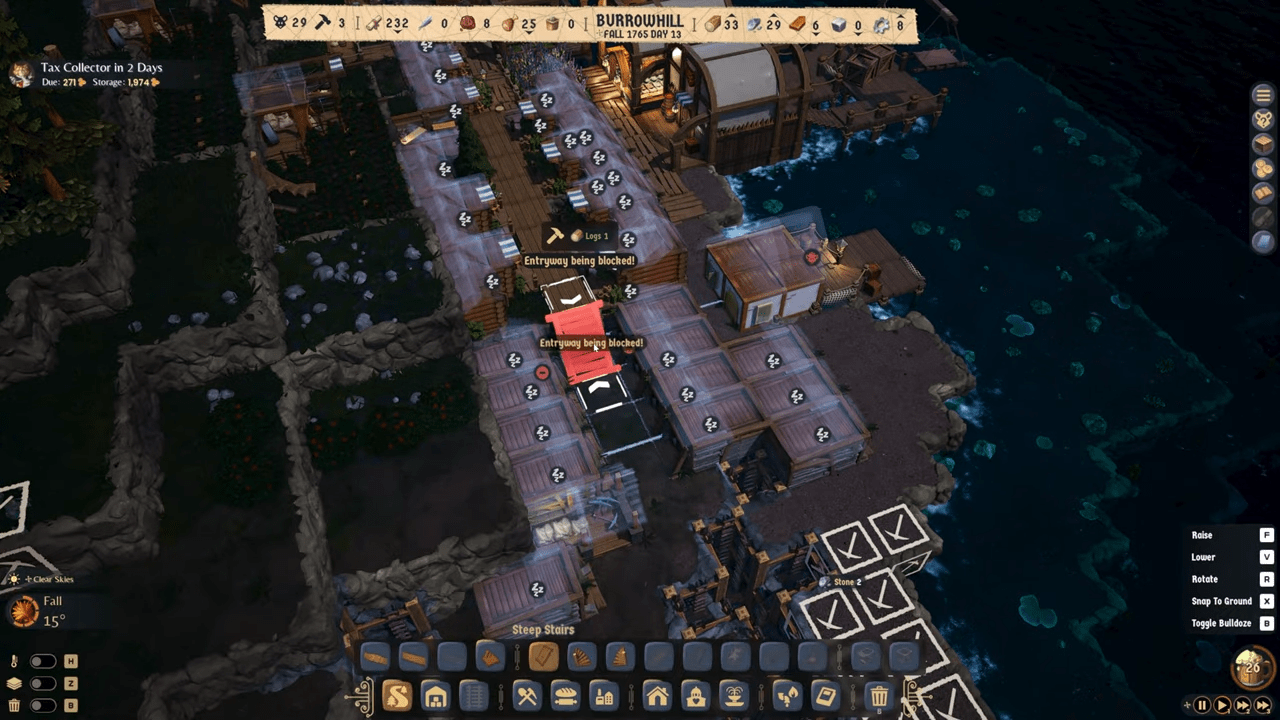
Occasionally, you might encounter a blocking entryway alert even when the path looks clear. This usu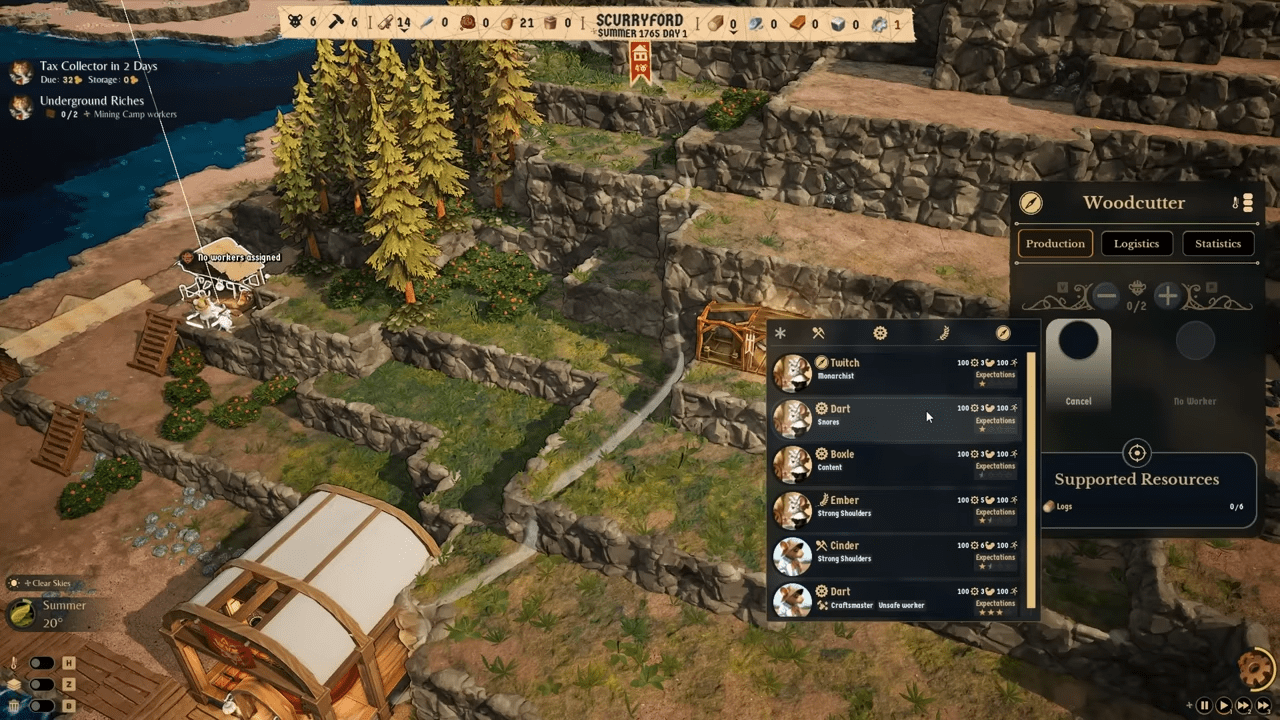 ally indicates you are blocking another building’s entrance or an Earthworks designation. Furthermore, if you attempt to build over empty space or mined terrain, the game will automatically generate supports. Be warned that this convenience comes at a cost of 1 Log per cubic unit or cell.
Farming Fundamentals
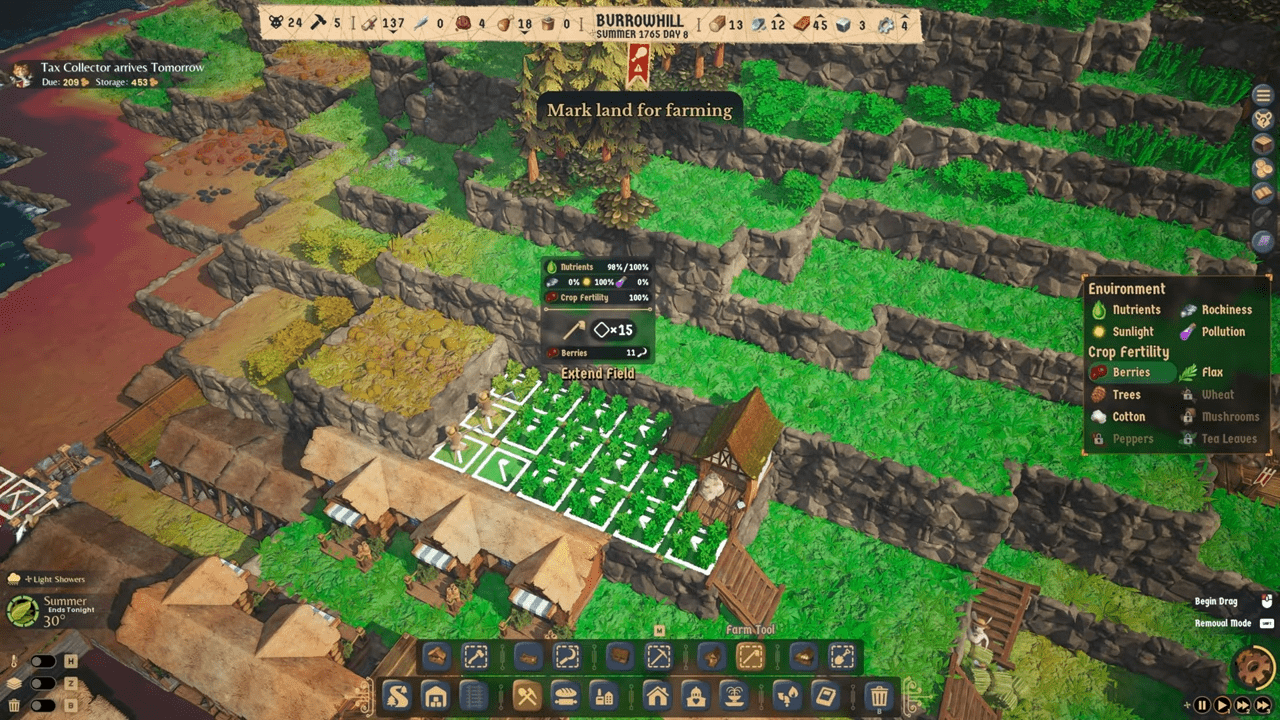
Your Farm Tool (bound to N by default) acts as your primary lens for agricultural success. Use it frequently. It provides vital raw statistics regarding nutrients and sunlight while showing suitability for specific plants.
Mushrooms and Darkness
Farming mushrooms requires a specific approach. They grow optimally in areas with 0% sunlight. You must construct artificial caves or find covered pieces of land to satisfy this requirement. Interestingly, mushrooms do not care about nutrients or rocks. You do not need to waste time removing rocks or fertilizing the soil for them. However, they still require heat during Winter to grow, and pollution will affect their growth time.
Soil Management
You might encounter errors while building that seem like bugs. Ensure you are not building on the same tile as a farm plot to avoid this. While you can build elevated paths over your farm plots, the crops underneath will suffer a penalty to Sunlight, though they remain arable.
Crops like Cotton, Tea, and Peppers will deplete soil nutrients over time. You must rotate these crops by leaving the field Fallow or applying fertilizer to maintain soil health. When observing nutrient numbers, the format displays Current Nutrients percentage over Max Nutrients percentage. You might notice that land reclaimed via Earthworks often boasts higher Max Nutrients than natural terrain.
The Logistics of Movement
Efficient movement defines a successful colony. Logistics Hubs play a crucial role here. These hubs prioritize the nearest storage facility when fulfilling demands, which makes them incredibly useful for managing outposts.
Conveyor Belt Nuances
Understanding the specific geometry of your transport infrastructure saves you headaches later. The black square behind Small and Medium Warehouses acts as an inlet for conveyor belts, Up-Stairs, and Down-Drops. This applies to your Central Warehouse as well.
The lower square of an Up-Stair and the upper square of a Down-Drop accept inputs from multiple Input Hoppers, belts, and other conveyor infrastructure from any direction. Note that setting a storage unit to “Empty out warehouse” does not consider an Input Hopper as a valid destination in the current version. Once an item arrives at storage, you cannot put it back onto a conveyor belt. You can only move it to a workshop or another storage unit.
Service Industry Standards
Your mice have standards, and they prefer quality. Whiskers prioritize eating at a Dining Hall or Cafe over other options. They will also always choose the best quality food available at that location. Since Cafes tend to stock lower-quality items alongside high-quality ones, you might find your rats eating subpar meals even when better options exist.
Cafe inventory management is critical. A Cafe holds 21 meals, but this does not equal 21 fed whiskers. Miners Guild rats eat twice, and Heavy Eaters consume an additional meal. If a Cafe runs empty, a whisker will resort to eating directly from a Warehouse, which applies a significant debuff.
The game calculates Cafe availability at the end of the day. A whisker will actively avoid eating at a nearby warehouse if an available Cafe exists, even if that Cafe sits 1000 blocks away. Regarding hygiene, Bathing Docks will not stock Soap unless you have secured the Luxury Supplier.
Heating, Pollution, and The Environment
The game simulates heat using a raycasting calculation with drop-off. Imagine heat lines bouncing off surfaces. This mechanic makes heating an enclosed space, like a cave, significantly more efficient than trying to heat an open-air area.
Pollution operates differently. It functions via a heat equation that dissipates over time. An inherent decay exists within the system, meaning an enclosed area of sufficient size will not fully clog with pollution. Contrary to popular belief, pollution does not strictly rise. Its diffusion action affects cells lower than the source, though at a negligible rate unless you spam polluting buildings.
Navigating The Claws and Taxes
Your relationship with The Claws determines your colony’s safety. Your Claws’ Trust (CT) fluctuates between 0 and 4. It will never exceed 4 or go lower than 0.
The Cost of Failure
If your Claws’ Trust hits 0 and you fail to make even the first tax marker, cannon fire will rain down on your colony. This destruction targets your buildings similar to Pirate attacks. Currently, cannon fire does not target underground buildings. The game considers a building underground if it sits beneath natural terrain.
Tax Calculations
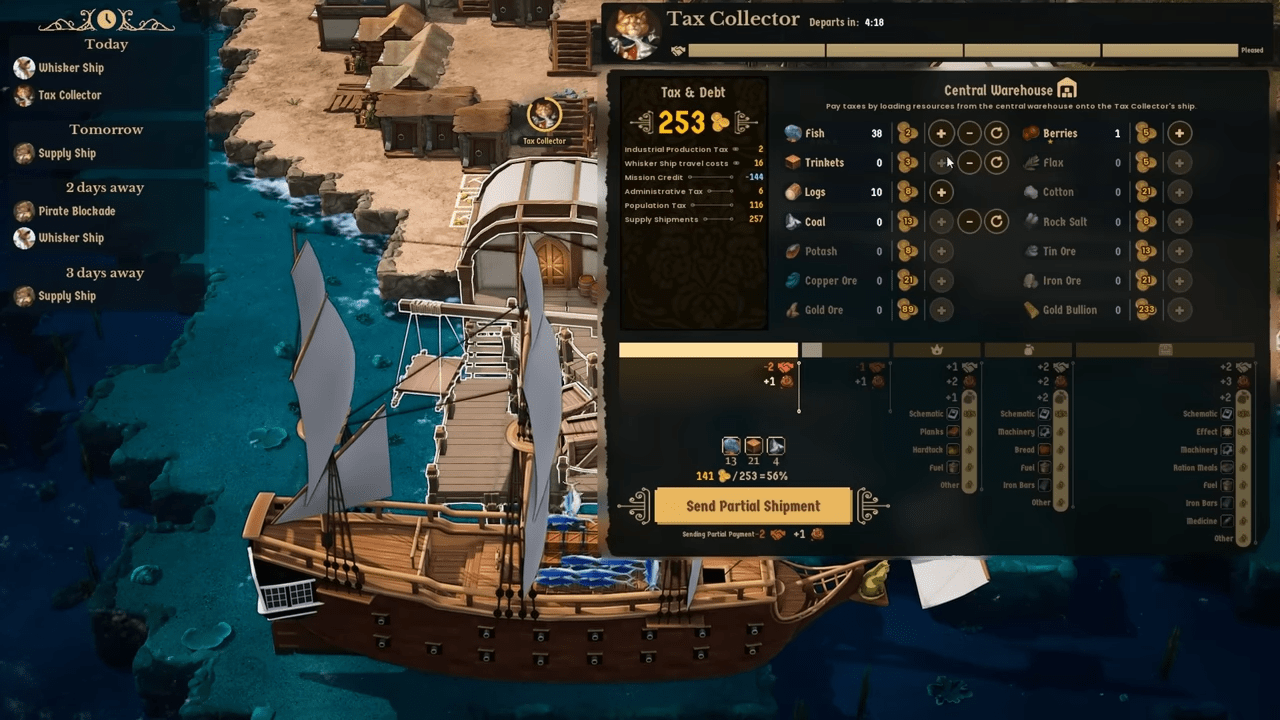
Unpaid taxes do not roll over 1:1. Depending on your difficulty, only a fraction of unpaid taxes contributes to your next cycle.
- Population Tax: 3 per Whisker per day on Normal (6 on Dire).
- Industrial Tax: A flat percentage of your produced goods.
- Admin Tax: A slowly increasing tax based on time.
Smuggler Economics
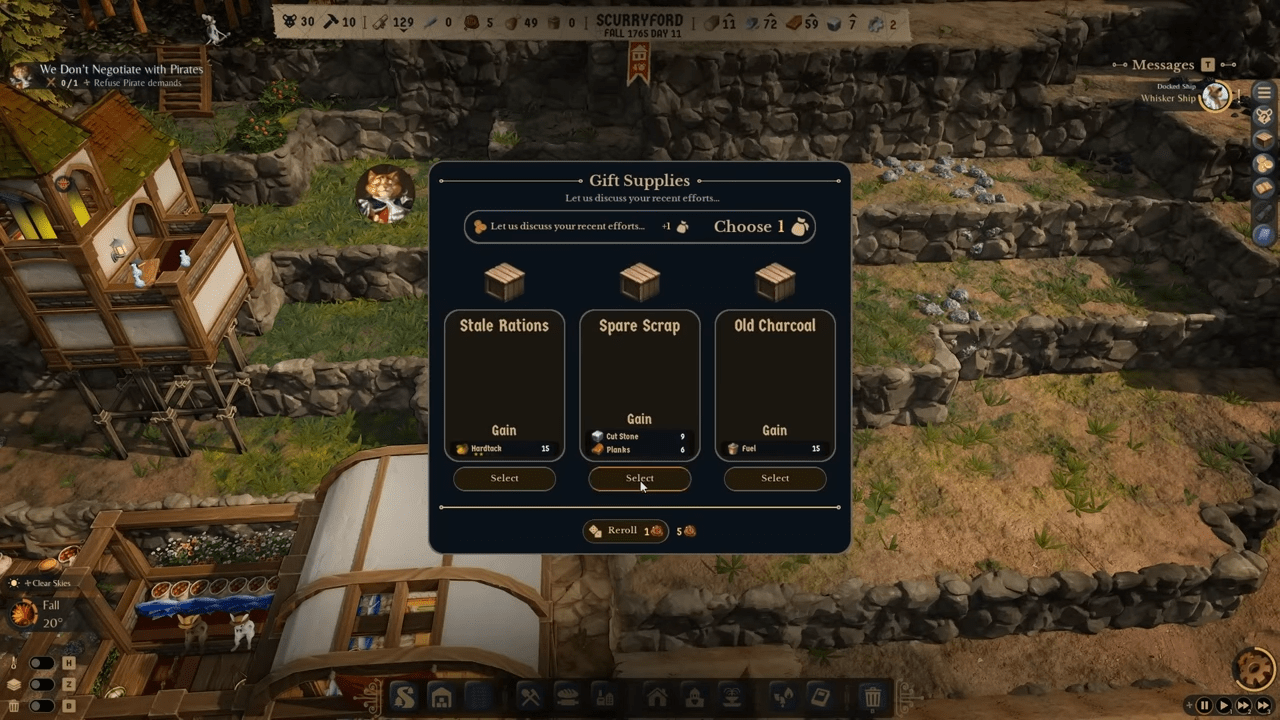
The Smuggler offers a vital lifeline for your economy. Prices are not visible outside the dialog, so use this reference list to plan your exports.
High Value (55 Gold):
- Medicine
- Furniture
- Steel Plates
Mid Value (34 Gold):
- Bedding
Standard Value (21 Gold):
- Hearty Meals
- Fertilizer
- Fancy Meals
- Tailored Cloaks
- Cut Stone
- Savory Meals
- Fish Skewers
Low Value (13 Gold):
- Soap
- Jam Pastries
- Ropes
- Mushroom Stew
- Woven Cloaks
- Smoked Fish
- Fuel
Basic Materials:
- Planks (8 Gold)
- Bread (5 Gold)
Early Game Strategy and Housing
Personnel Choices
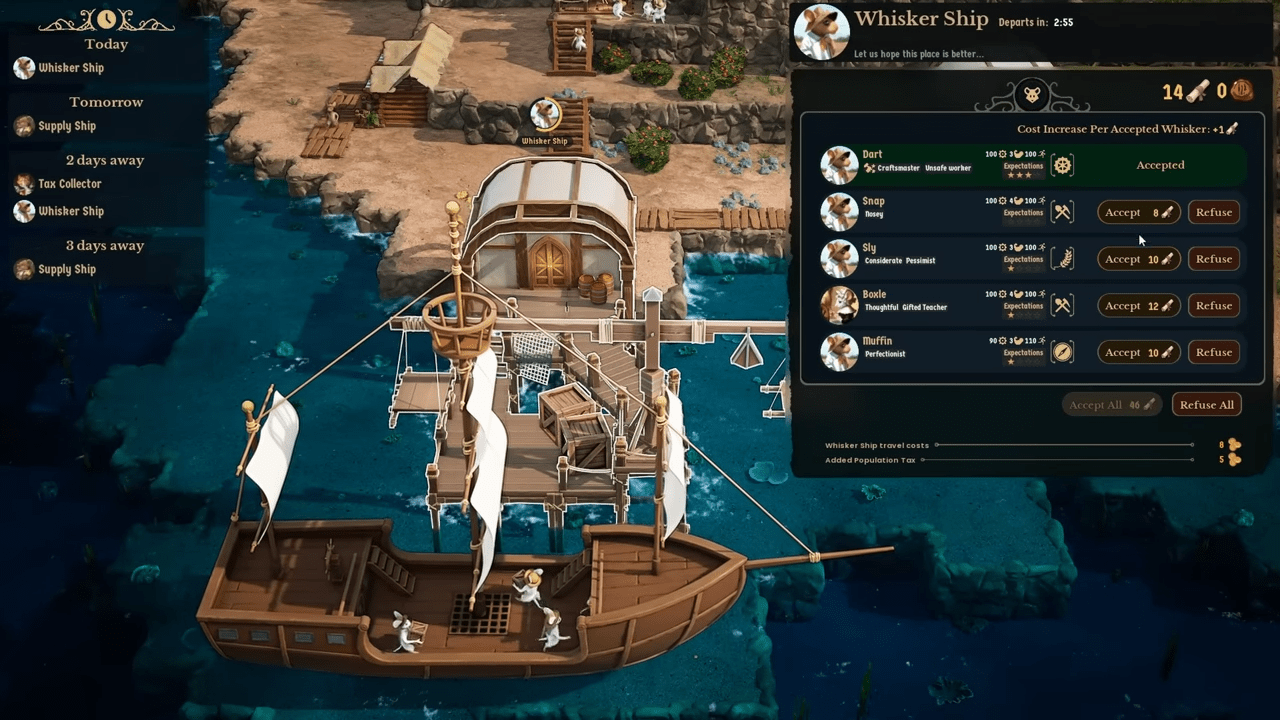
Secure an Educated rat immediately. Their guild matters less than their ability to unlock research. In the early game, get Explorers Guild or Engineers Guild rats. Avoid Farmers Guild rats due to the penalty for raw food, and avoid Miners Guild rats due to extra food consumption. These penalties are too crippling for a startup colony. Also, avoid Monarchist rats entirely. Managing rebellious thoughts is far easier when you simply avoid recruiting rebellious rats.
Mining Strategy
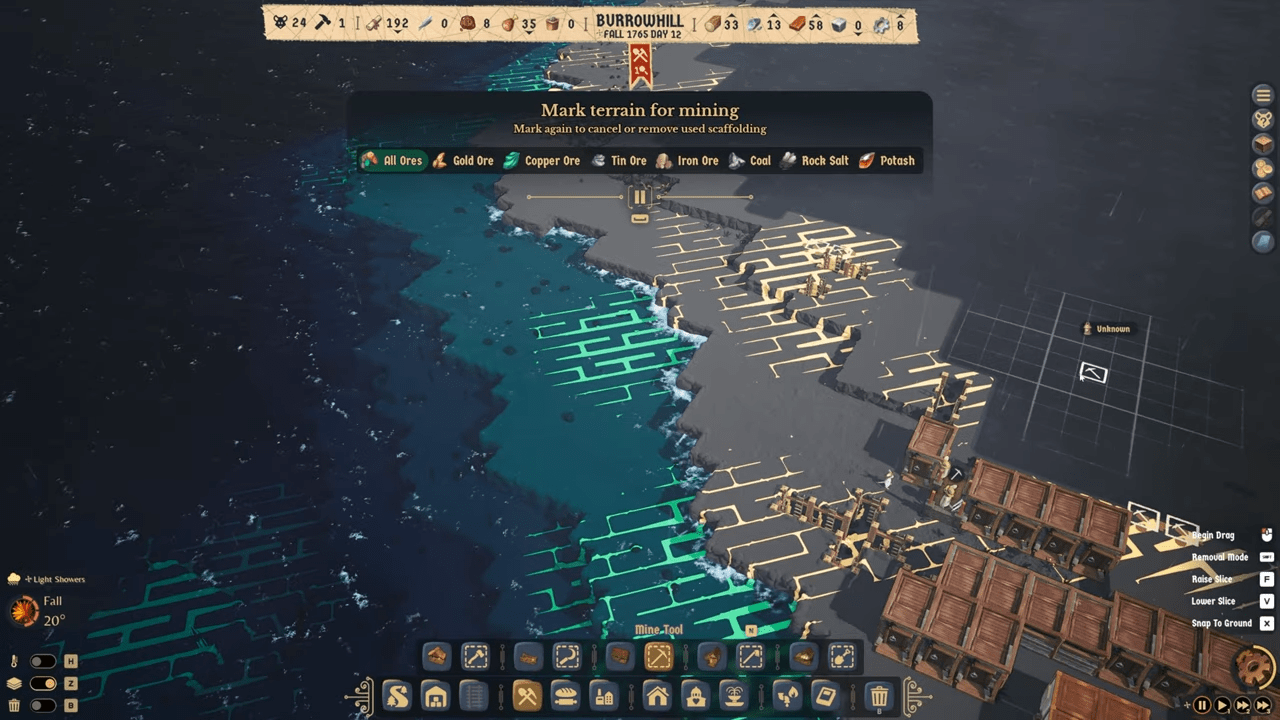
Mine laterally. Rat vertical movement speed is terribly slow in the early game. You lack the options to transfer tons of ore and stone upwards efficiently. When you mine, clear space as if you plan to build there. Do not mine out fertile ground.
The Stone Shelter Strategy
In your first few playthroughs, you might rush for Log Cabins. This is a trap. Wood is incredibly valuable for production. Stone, however, is plentiful if you mine heavily. Stone Shelters are the superior early game choice. They immediately fill your coffers via stone mining byproducts and have an efficient footprint of two cubic units per occupant.
Daily Approval Math
Satisfaction works at a collective level. You care about the total positive points minus the negative points. A single unhappy high-expectation rat can be offset by many happy low-expectation rats. With Stone Shelters, Raw Fish, and a Cafe, you can maintain approval easily. Even with the “Rough and stuffy” and “Bland Food” debuffs, the base approval from eating and shelter keeps you afloat.
Tax Strategy
Fishing is king. A good setup yields roughly 40 Fish for three employed whiskers. Since population tax is 3 per whisker, you need to fish 1.5 Fish per rat to offset the tax. Fishing is sustainable, unlike finite Copper Ore or slow-growing Cotton. Early on, spam Cut Stone and sell it to the Smuggler. Once you start building with stone, switch to exporting Ropes, Clothes, Fuel, or Smoked Fish.
Advanced Logistics and Warehousing
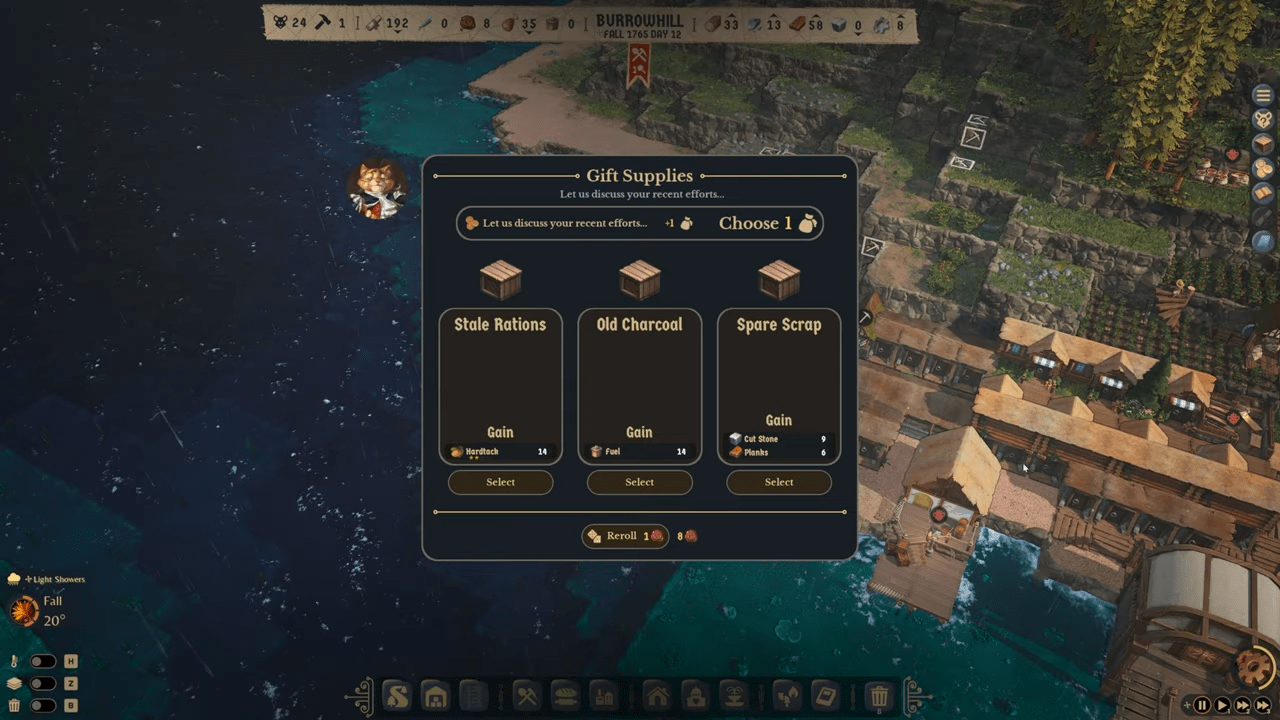
Establish a Logistics Hub early, even before Spring ends. Assign Swift Whiskers to these hubs for maximum speed. When you see requests going unfulfilled despite available resources, add more workers.
Input vs. Output Warehouses
Think of warehouses in two categories: Input and Output.
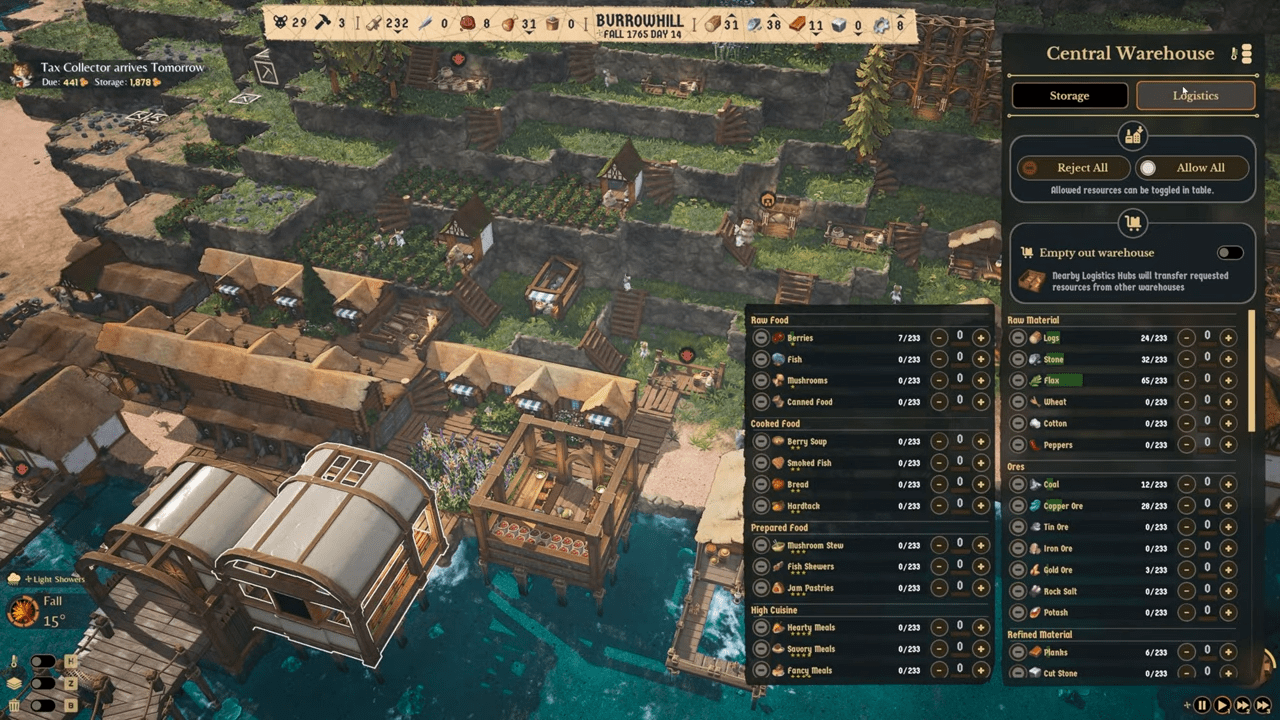
- Input Warehouses: Place these near workshops to store materials they need (e.g., a shed holding Logs near a Sawmill). Logistics workers will fetch logs from elsewhere and bring them here. This keeps your Sawmill worker working instead of fetching.
- Output Warehouses: Place these near the workshop’s output (e.g., Planks near a Sawmill).
For bulk goods like Fish, keep a separate bulk storage area. Use an output warehouse with the “Empty out warehouse” option enabled near the dock. This forces logistics workers to move the fish to bulk storage, preventing the dock output from filling up. For goods you use sparingly, use a Small Warehouse restricted to that item and leave “Empty out warehouse” OFF.
Conveyor Hacks
You can build conveyor systems compactly. Up-Lift Stairs and Down-Drop Slides do not need to match perfectly with belts in between. The second half of a Down-Drop Slide does not occupy the space above it, allowing whiskers to walk over it or you to build above it.
Resource extractors like Woodcutters and Miners do not need to eat or rest during work hours. Use temporary conveyors to move resources from distant extraction points back to your center. This saves massive amounts of travel time. You can refund conveyors at full cost later, making this a lossless investment.
The Math of Fuel and Labor
Sifting Tower vs. Charcoal Furnace
A fully staffed Sifting Tower using catalysts (Ropes) rivals the efficiency of a Charcoal Furnace.
- Charcoal Furnace: ~27 Fuel/day (Consumes 18 wood).
- Sifting Tower: ~45 Fuel/day.
The Sifting Tower produces roughly 1.5 to 1.75 times more fuel. While it requires more whiskers and water infrastructure, it saves precious Logs.
Selling Fuel vs. Smoked Fish
Should you sell Fuel directly or use it to smoke fish? Let’s look at the Rat Labor Units (RLU).
- 1 Fish requires ~0.08 RLU.
- 1 Smoked Fish requires ~0.085 RLU.
- 1 Fuel requires ~0.07 RLU.
Selling pure Fuel (minus Coal costs) yields approximately 177 coins per RLU. Selling Smoked Fish yields only about 77 coins per RLU.
Labor-wise, it is far better to sell Fuel as-is. However, if you want to conserve Coal, you get more total value per piece of Coal by turning it into Smoked Fish, even though the labor efficiency drops. If you rely on Logs for fuel, do not sell the fuel. If you process Coal, sell the Fuel.
Establishing Your First Outpost
You will eventually need Tin Ore to make Bronze. Tin Ore usually resides on a different island, necessitating an outpost.
The Bare Minimum Setup
Do not just send miners to walk back and forth. They will spend half the day traveling and starving. You must build a local infrastructure:
- Connection: Bridges or tunnels to the island.
- Conveyor System: Feed extracts back to the main island.
- Services: Build a Cafe, Bathing Dock, and Bonfire locally.
- Storage: A Small Warehouse requesting Fuel and Food.
- Logistics: A local Logistics Hub to fulfill local requests.
- Housing: Stone Shelters for the miners.
This setup ensures your outpost miners do not live in hell traveling back to the main city. As the outpost grows, you can make it self-sustainable by adding local fishing and fuel processing, eventually limiting traffic between the colony and outpost to just Tin Ore exports.
Conclusion
Remember that efficiency is your best defense against the demands of The Claws. Every piece of coal saved and every path optimized brings you one step closer to a self-sustaining industrial powerhouse. Monitor your logistics hubs closely and never underestimate the value of a well-placed sifting tower. The tools for prosperity are in your hands. It is time to build a legacy that will withstand the winter.

Leave a Reply