

Last Updated on 4 March, 2026
Plunging into the unforgiving world of Nested Lands requires more than just basic survival instincts to outlast the deadly plague and ruthless bandits. This comprehensive starter guide provides a complete roadmap to help you establish a thriving village and master complex bodily needs without constantly facing a frustrating death screen. By breaking down the essential mechanics and offering a step-by-step walkthrough of your crucial first hours, this manual solves the steep learning curve so you can focus on building your legacy. Prepare to transform from a stranded castaway into a hardened settlement leader.
Table of Contents
- Staying Alive: Navigating the Elements
- Architect of Hope: Settlement Management
- The Path Forward: Missions and Lore
- Purging the Sickness: Eradicating Infected Zones
- Essential Knowledge and Game Systems
- Decoding Your Screen: A Complete Interface Breakdown
- Your First Steps: A Guided Walkthrough
- Final Thoughts
Staying Alive: Navigating the Elements
Surviving in this harsh environment requires constant vigilance over a complex web of bodily needs. Maintaining standard meters like hunger and hydration is vital, while simultaneously managing physical exhaustion, personal hygiene, and core body temperature.
So:
- Forget about the massive list of random diseases found in many other survival games.
- Watch out for the plague. This punishing ailment immediately begins siphoning health the moment the infection takes hold.
- Curing this deadly affliction requires locating rare medicinal items or suffering a fatal end.
- Keep a safe distance from corrupted areas to prevent contracting the sickness since medicine proves incredibly scarce during the early stages of the adventure.
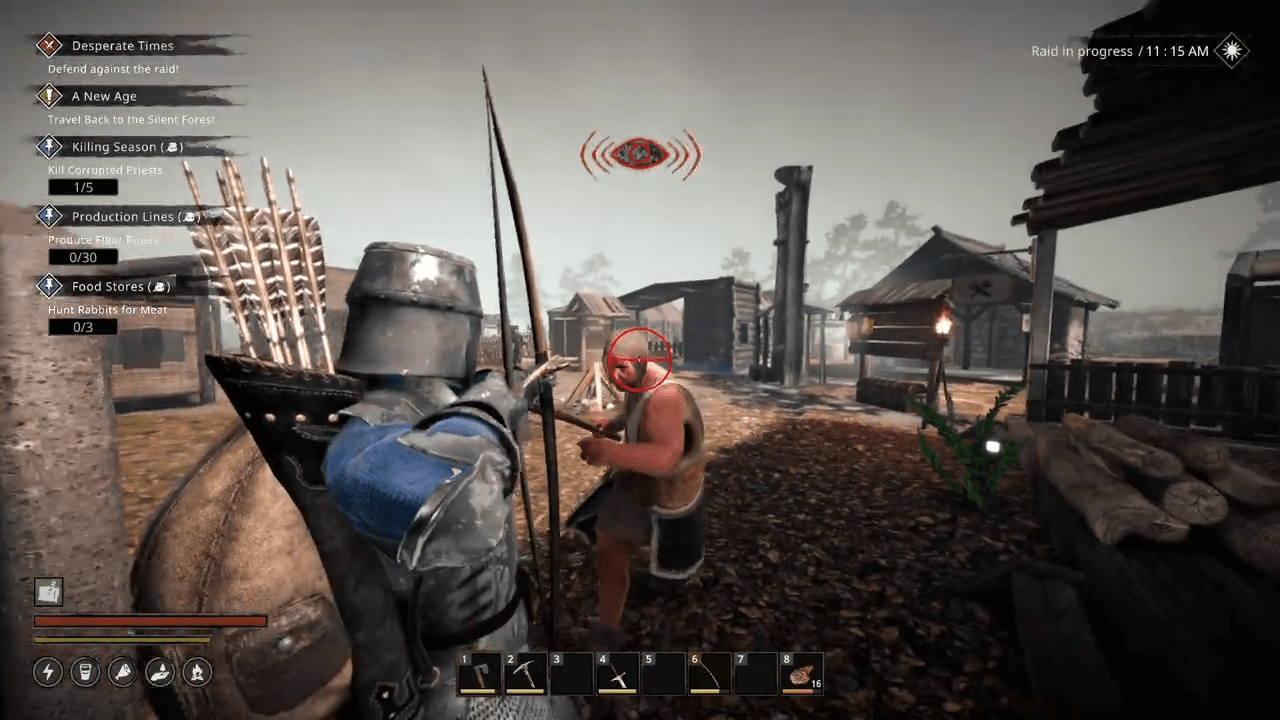
- Take immediate cover indoors whenever the deadly Plague Winds sweep across the world map.
Architect of Hope: Settlement Management
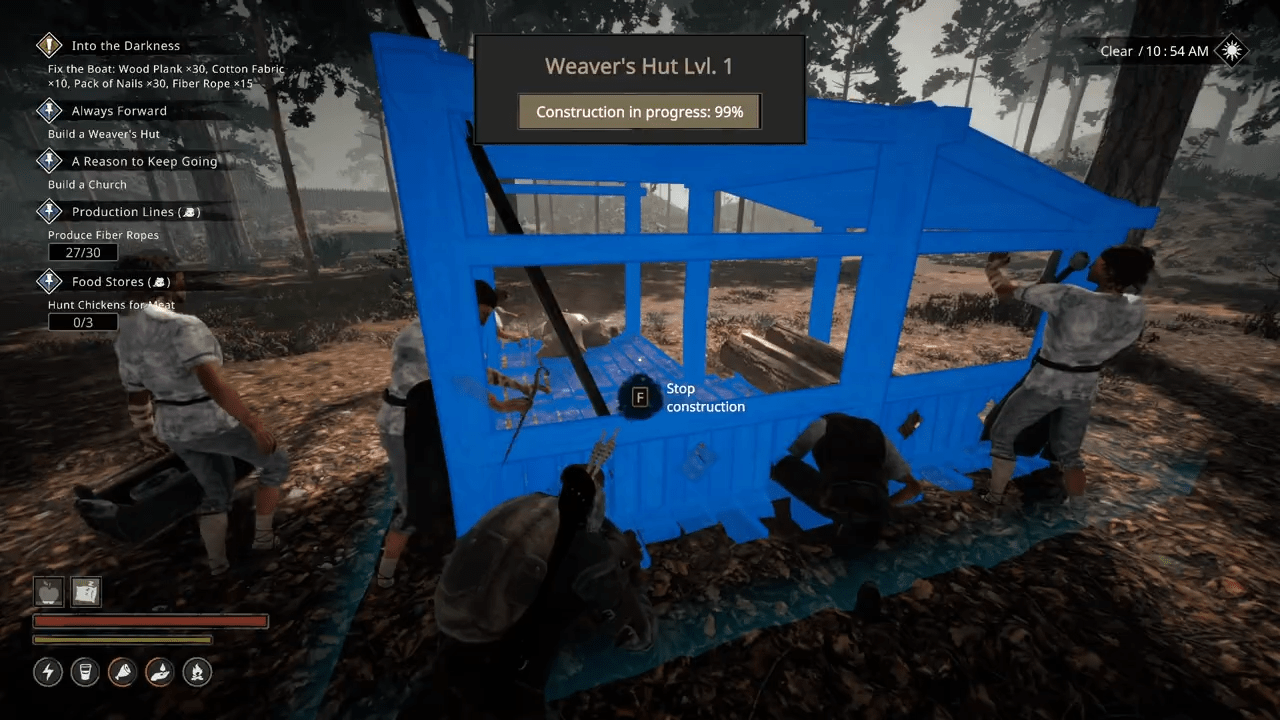
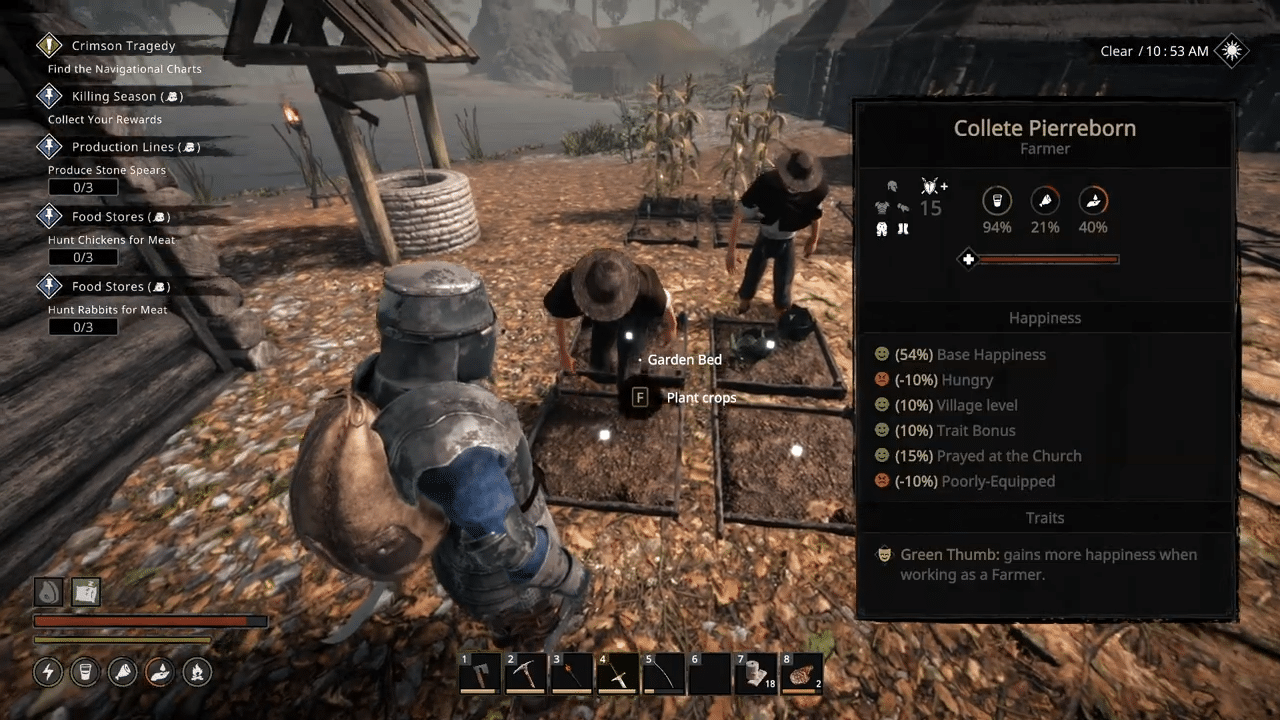
Beyond personal survival, stepping into the role of a community leader provides a massive portion of the experience. Deep colony simulation mechanics require constructing a thriving haven and attracting wandering survivors to join the cause.
Keep in mind to:
- Expand the local demographic to unlock access to advanced building blueprints.
- Construct new structures to manufacture superior equipment for the journey.
- Satisfy the specific demands of every single resident to keep morale high.
- Failing to meet personal needs causes citizens to pack their bags and abandon the settlement entirely.
- Protect the people from the local sickness and combat deaths, especially if assigned to the dangerous Guard profession.
- Expand the headcount to the current maximum limit of fifteen citizens to rapidly unlock all available technology trees.
- Strategically downsize the community to a much more manageable number later to ease the heavy strain on resources.
The Path Forward: Missions and Lore
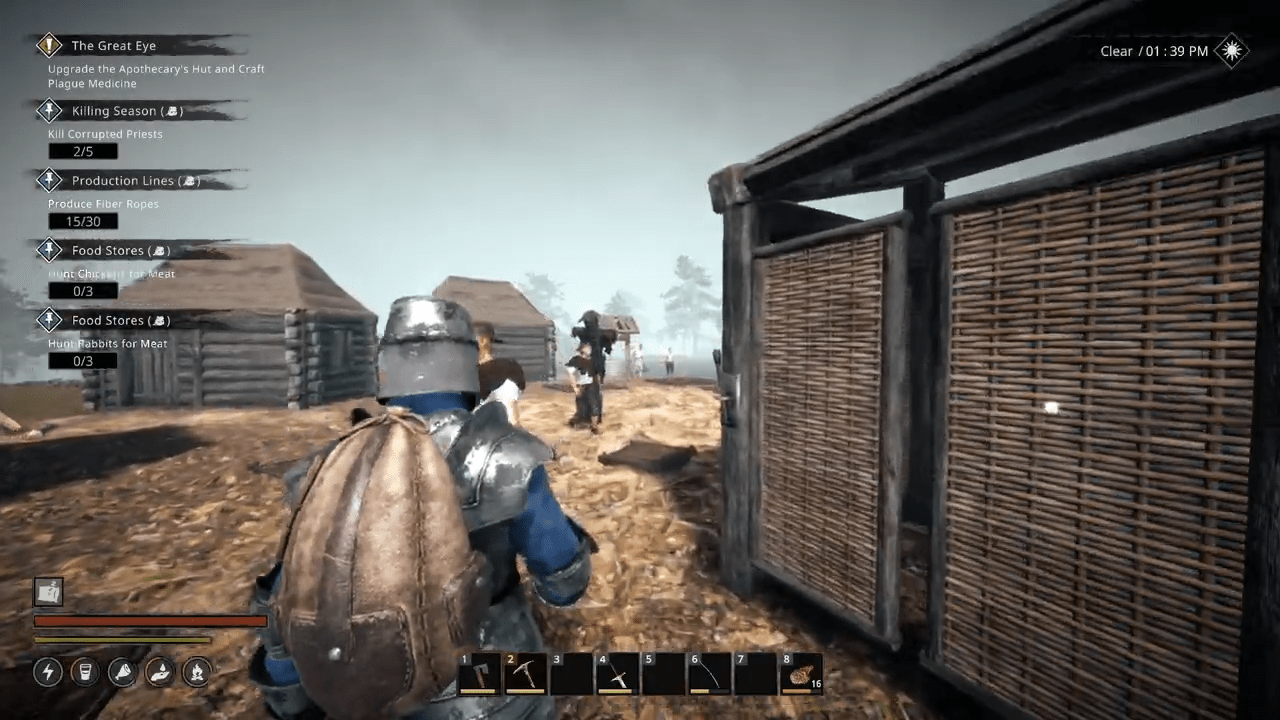
The game provides a steady stream of objectives to keep the adventure focused and rewarding. During the initial progression, securing jobs directly from the town bulletin board or speaking with a friendly local named Balder provides plenty of direction.
You should:
- Follow missions across the starting zone and eventually navigate toward a secondary landmass.
- Complete retrieval operations by locating specific items hidden in fixed and predetermined spots.
- Accept the corresponding mission from a quest giver before the game engine allows interaction with those crucial quest items.
- Discover a permanent cure for the mysterious sickness that obliterated human society without warning.
- Reach the end of the current Early Access journey after finishing the second zone.
- Secure settlement upgrades, powerful tools, and potentially life-saving medical supplies simply by following the main storyline.
Purging the Sickness: Eradicating Infected Zones
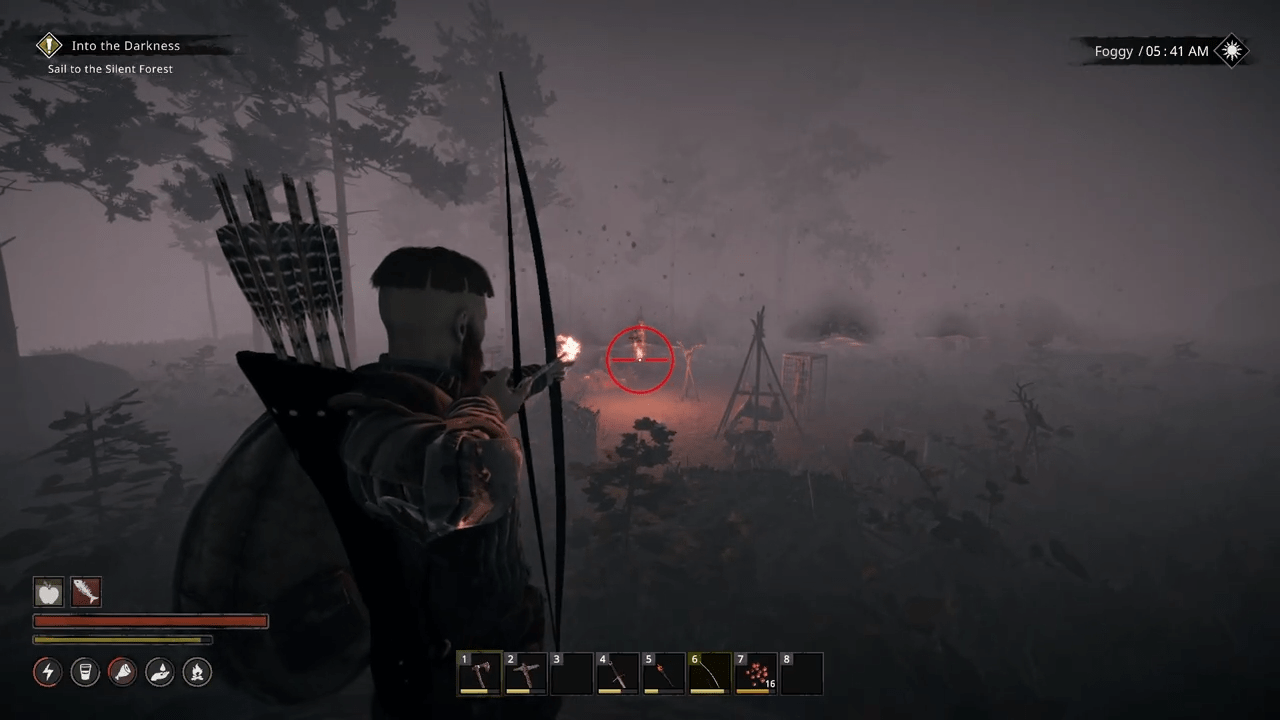
The infection creates massive roadblocks across the landscape, but the right tools allow survivors to fight back. Constructing a Hunting Bow and crafting a quiver of Fire Arrows targets these toxic zones to burn the corruption away permanently.
- Ignite infected areas to clear travel paths and significantly reduce the environmental hazards surrounding the home base.
- Maintain a proactive defense because the corruption eventually returns to the map.
- Dispose of corpses properly inside a local Crematorium to stop dead bodies from mutating into fresh hazard zones.
- Cleanse the land with fire at every available opportunity since evidence suggests corrupted areas slowly regenerate naturally over time regardless of player actions.
Essential Knowledge and Game Systems
Before delving into the interface and the step-by-step roadmap, understanding a few technical parameters that govern the game world is absolutely critical.
- Multiplayer Capabilities: The title fully supports online cooperative play, allowing groups to brave the wilderness and build a massive settlement alongside friends.
- Save File Directory: Locate personal progression data by navigating through computer folders to this exact path: C:\Users\USERNAME\AppData\LocalLow\1MBH\Nested Lands (Make sure to replace the word “USERNAME” with the actual Windows profile name).
- The Price of Failure: Dying carries severe consequences. Upon death, the game instantly revives the character at the exact location where they last rested. Waking up with a mere twenty-five percent of maximum vitality forces immediate medical attention before the game permits sprinting again.
- Inventory Penalties: Perishing triggers a massive loot penalty. The avatar drops all unequipped inventory items directly onto the ground where they fell. Death also drains experience points, although the developers have temporarily disabled the leveling system in the current Early Access launch build.
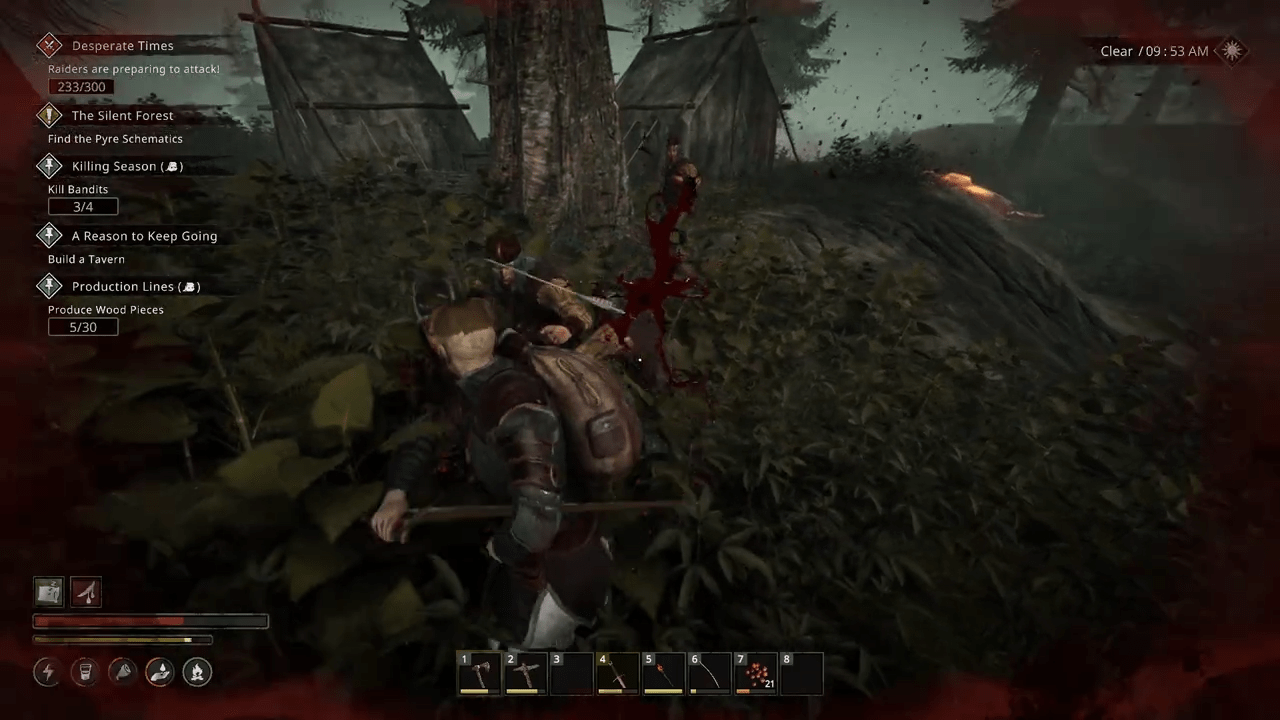
Decoding Your Screen: A Complete Interface Breakdown
Understanding visual indicators is a matter of life and death. The screen holds plenty of critical information that requires close and constant monitoring.
Navigation
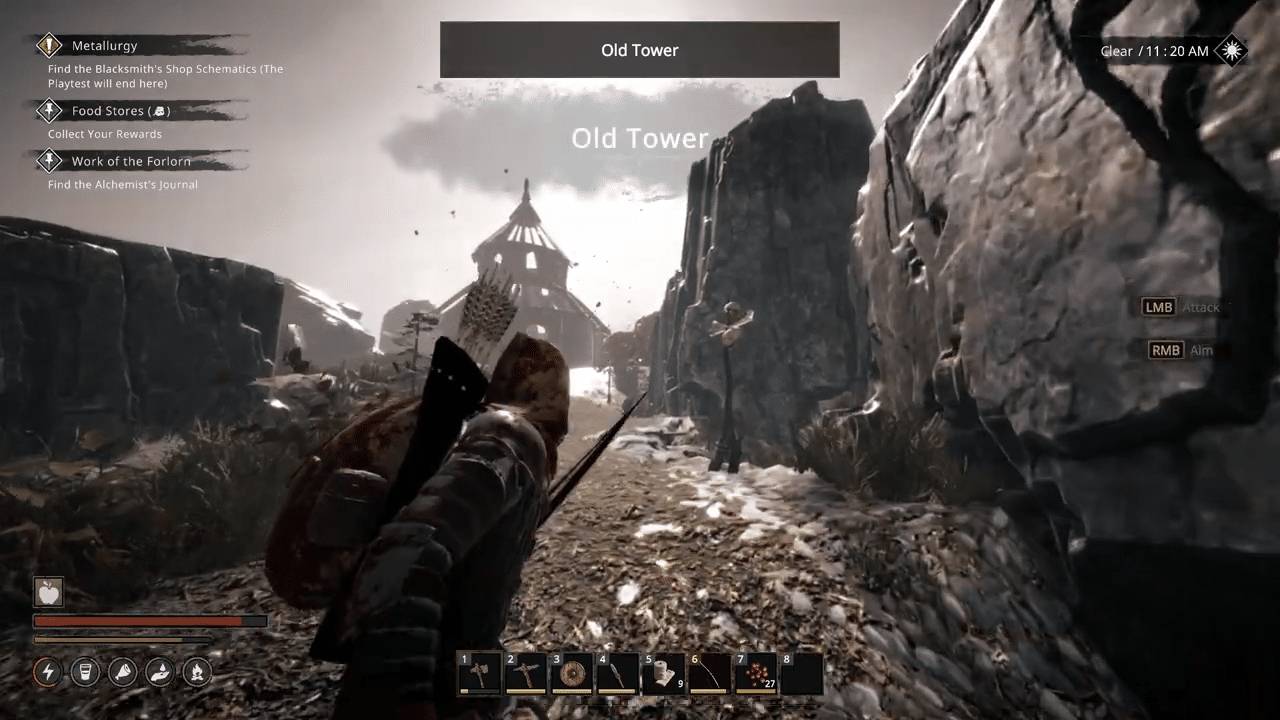
- Tracked Mission Status: Located in the top left corner, this text displays the currently active mission alongside the immediate next step required to progress.
- Crucial Warnings: Look at the top center of the monitor for vital notifications. This specific spot warns of depleted stamina. It also displays the active plague infection meter and flashes a detection alert whenever an enemy bandit spots the character.
- Environmental Conditions: The top right corner keeps survivors informed about the time of day and the current weather patterns. The game alerts players in this corner if enemies trigger a base raid or if dangerous Plague Winds begin to blow.
- Scavenging Prompts: Small white dots will materialize on the screen to highlight any items available for physical pickup or interaction once standing close enough to the objects.
- Active Modifiers: The interface displays any active positive buffs or negative debuffs directly above the health bar.
- Vitality Gauge: The solid red bar situated at the bottom left of the screen represents life force. Perishing happens if this bar hits zero, and the ability to run vanishes if it drops too low.
- Endurance Meter: The yellow bar positioned just below health tracks physical exertion. Spending stamina allows running across the map, swinging gathering tools, and executing deadly combat attacks.
- Quick Access Belt: The hotbar holds the specific items selected for immediate deployment. Crafted tools, melee weapons, food rations, water sources, and healing bandages belong here.
- Acquisition Log: A text notification pops up in the bottom right corner of the screen to confirm the addition to the digital backpack whenever gathering materials or grabbing items off the ground.
Survival
- Restfulness (Energy): Tracks how well rested the character feels. Sleeping restores this meter. Dropping below twenty-five percent prevents running entirely.
- Hydration (Thirst): Tracks body fluids. Health steadily drains until death if this hits zero.
- Satiety (Hunger): Tracks the need for caloric intake. Taking constant health damage until death claims the character happens if this empties completely.
- Hygiene (Cleanliness): Tracks how dirty the body is. Emitting a terrible smell completely prevents using stealth around enemy bandits if the character becomes too filthy.
- Body Temperature (Warmth): Tracks thermal levels. Staying near heat sources like a handheld torch or a Campfire Area is mandatory during cold periods like the night. Freezing entirely causes health to drain until perishing.
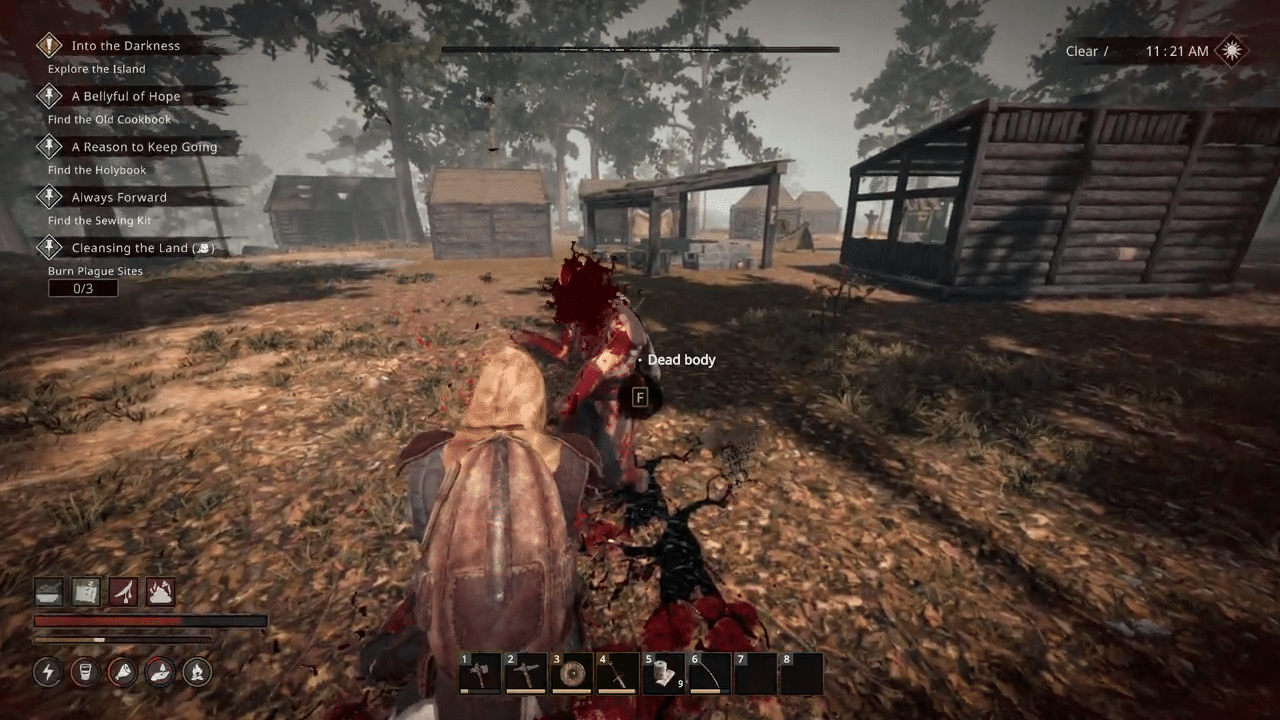
Your First Steps: A Guided Walkthrough
Now that the fundamental mechanics and the complex interface are clear, it is time to get those boots dirty. Follow this step-by-step roadmap to dominate the opening hours of the adventure.
Forging Your Avatar
The journey starts at the character creation menu where finalizing the protagonist and the new game world takes place.
- Select a preferred gender to begin the process.
- Adjust physical characteristics and type in a memorable name.
- Choose carefully because the game offers absolutely no way to alter physical appearance once the avatar is finalized.
- Name the new world and pick a difficulty setting.
- Select the Normal difficulty setting for the very first playthrough because the game presents a fairly tough challenge right out of the gate.
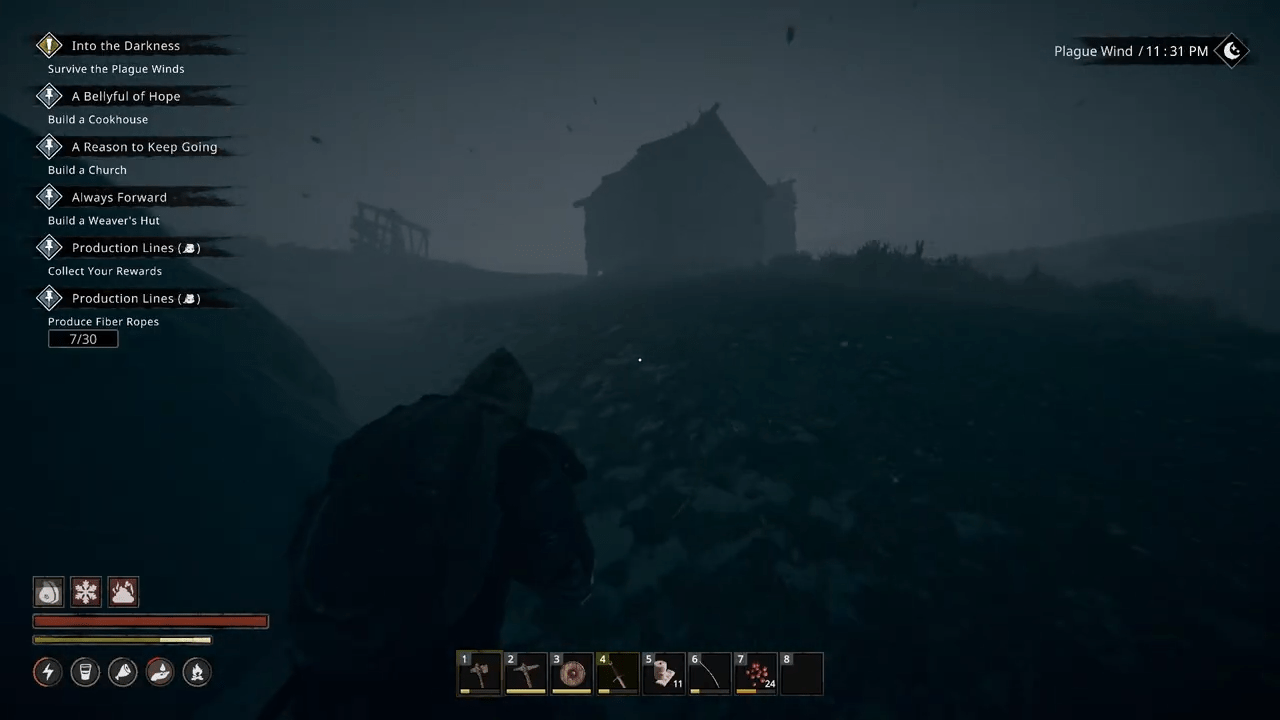
Washing Ashore
Awakening on a desolate beach after a terrible shipwreck introduces a local resident who helps provide initial bearings.
- Speak with Balder who explains that he pulled the unconscious body from the wreckage.
- Retrieve the personal backpack alongside the rest of the scattered equipment immediately.
- Open the inventory, find the cloth shirt located in the bag, and equip the garment.
- Smash open the nearby wooden crates to gather the raw crafting materials hidden inside.
- Use the gathered Cotton in the crafting menu to create a couple of medical Bandages.
- Apply both bandages to heal physical wounds and restore the ability to sprint at full speed.
- Follow Balder closely down the nearby dirt road, or follow the path illuminated by lit torches if he wanders out of sight.
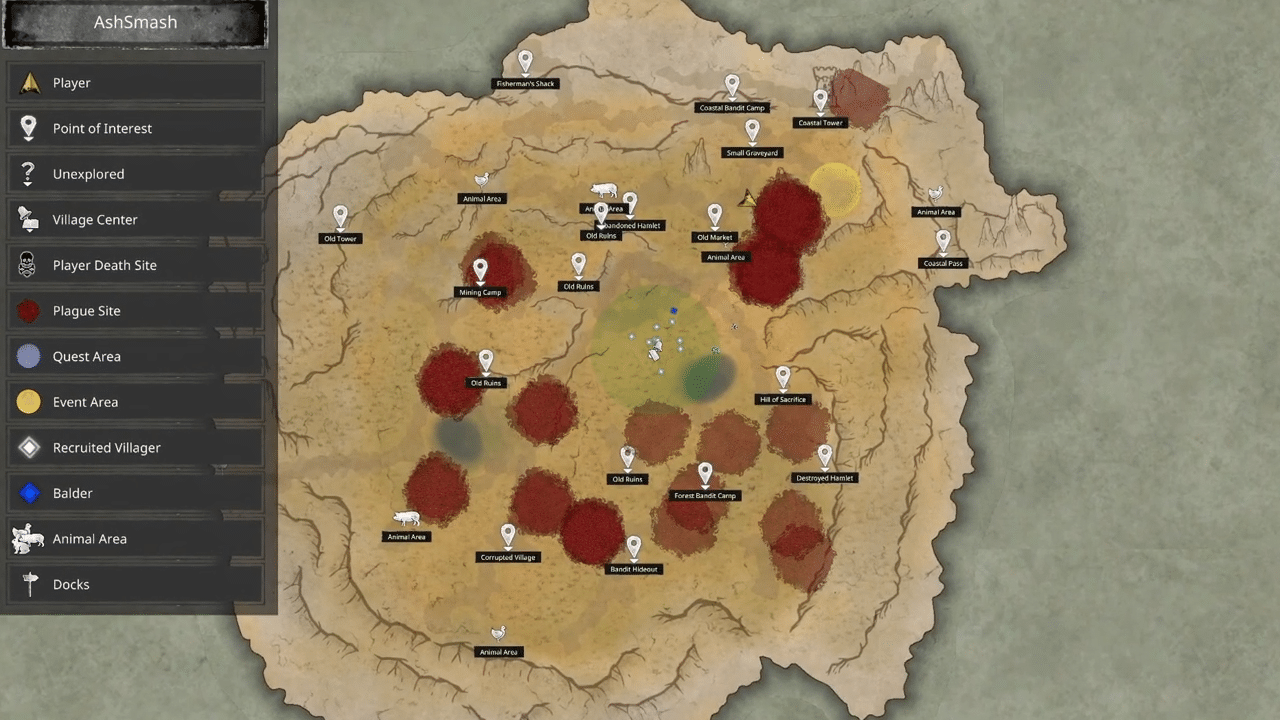
- Open the map for orientation if getting completely turned around in the wilderness happens.
- Scavenge the ground for loose wood and stone when Balder stops at a wooden barricade.
- Break open the nearby barrels and crates for extra loot.
- Open the crafting menu and manufacture four Wood Pieces to craft a basic Axe and a Pickaxe.
- Drag the Axe down to the hotbar, equip it in hand, and physically smash the wooden barricade to pieces.
- Continue following Balder down the road until arriving at a location called the Old Market.
- Vacuum up every single piece of loot scattered around the Old Market.
- Follow Balder into the crumbling ruins of his former town and prepare for survival mechanics to officially activate.
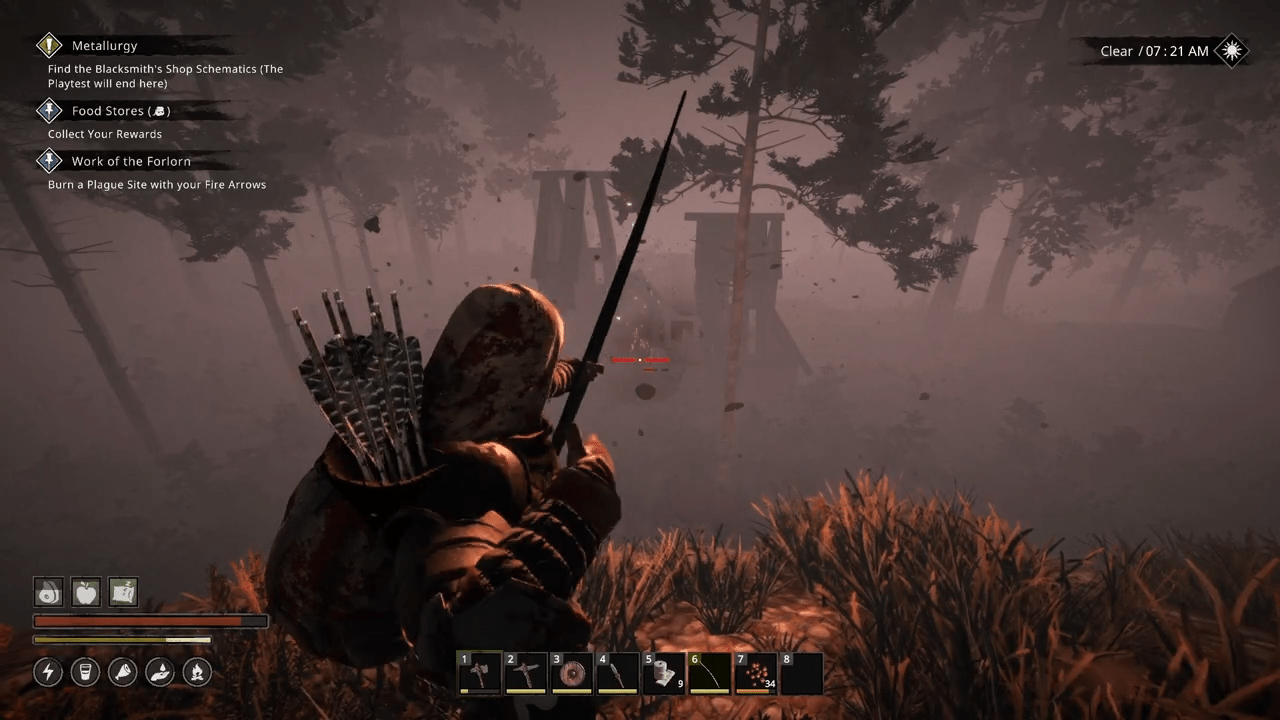
Laying the Foundations
The next goal involves establishing a basic foothold in the ruined town to secure survival for the upcoming night.
- Equip the Axe to chop down nearby trees for Wood Logs.
- Switch to the Pickaxe to break rocks for raw Stone.
- Harvest Reeds near the edge of the local pond.
- Build a Campfire near the center of the ruined town to secure a reliable heat source.
- Gather the necessary resources and construct a Traveler’s Tent to secure a safe place to sleep.
- Crawl inside the tent and sleep for exactly three hours to force the game to save current progress.
- Wake up and run around the surrounding area to collect Wood Logs, Fiber, and Reed Fiber.
- Use these items to complete the repairs on the main Village Center for Balder.
- Go inside Balder’s personal house to retrieve the Builder’s Hut Schematic.
- Use the document to construct the Builder’s Hut within town limits.
- Report back to Balder and follow his instruction to build one Villager’s House.
- Open the map and look for a small camp located to the northeast to find a guaranteed villager spawn.
- Talk to the NPC, recruit him to the cause, and assign him the Laborer profession for the time being.
Securing Hydration and Hygiene
Attention must now turn toward draining bodily needs and establishing proper water sanitation for the growing community.
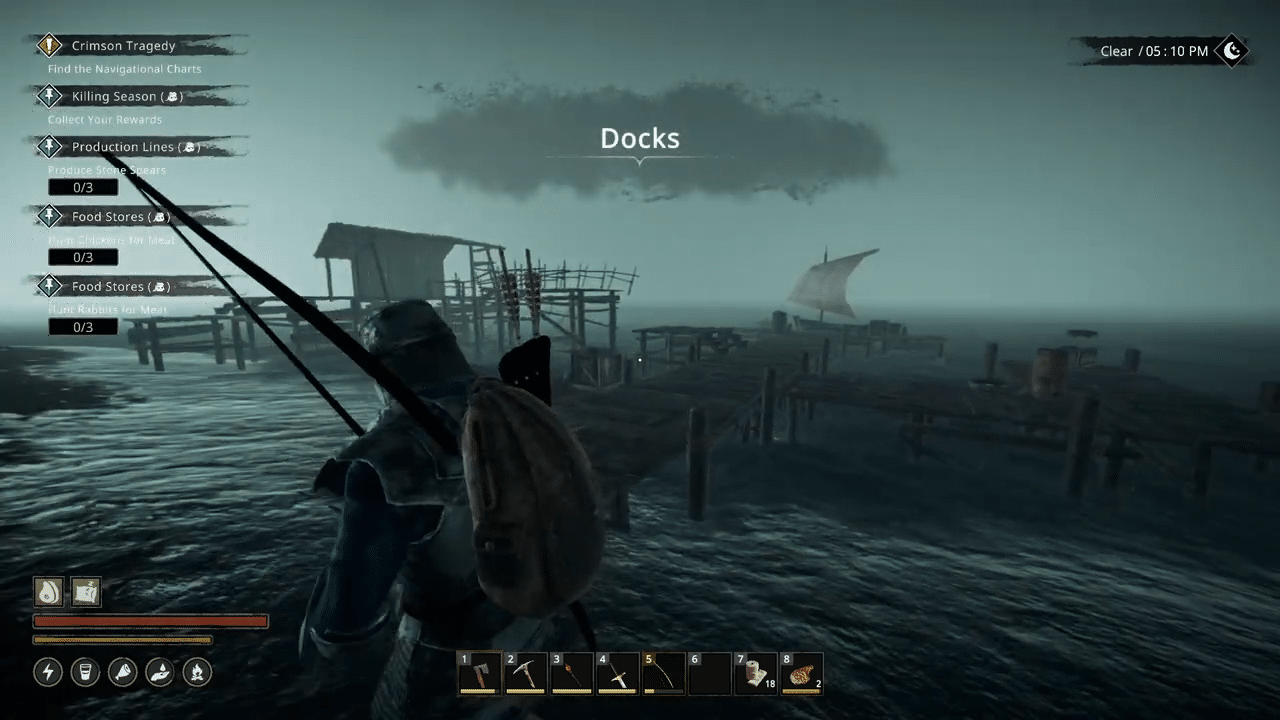
- Forage the area for wild berries and eat them to reduce growing hunger.
- Walk over to the pond and drink directly from the water source to cure thirst.
- Jump into the water and take a quick swim to wash off dirt and restore the cleanliness meter.
- Walk over to the newly constructed Builder’s Hut and craft a Simple Knife.
- Place this weapon directly onto the hotbar for quick access.
- Walk to the message board located in the center of town and read the pinned note requesting easier access to drinking water to trigger “The Element of Life” quest.
- Harvest the necessary crafting materials and build a functional Well.
- Gather more materials and construct the Wash Hut to complete a basic sanitation setup once the Well unlocks the new schematic.
- Walk over to the Village Management book located in the center of town and open the storage chest situated directly underneath it.
- Deposit all excess loot into the chest so the game can automatically pull materials whenever crafting items inside town limits.
- Spend the rest of the daylight hours chopping down trees and breaking rocks to clear out land for future construction projects.
- Head back to the tent at ten at night and sleep for exactly six hours to replenish the majority of the energy meter.
Blade and Blood: Securing the Handsaw
With basic survival handled, acquiring new tools requires braving dangerous territory filled with hostile enemies.
- Check the map and travel toward the designated blue circle to retrieve the Handsaw for the Carpenter’s Workshop.
- Prepare for the very first combat encounter with enemy bandits at this location.
- Watch out for a glowing red eye icon at the top center of the screen which indicates an enemy bandit has a line of sight and plans to attack.
- Isolate the bandits and fight them one at a time.
- Strike a single bandit with at least five solid hits using the Simple Knife to eliminate them.
- Completely recover the stamina bar before moving on to the next target.
- Repeat this careful process until clearing the entire camp.
- Search the immediate area and look for an item emitting a glowing white aura to locate the Handsaw.
- Pick up the tool and thoroughly loot the rest of the ruins while stepping carefully to avoid any nearby plague sites.
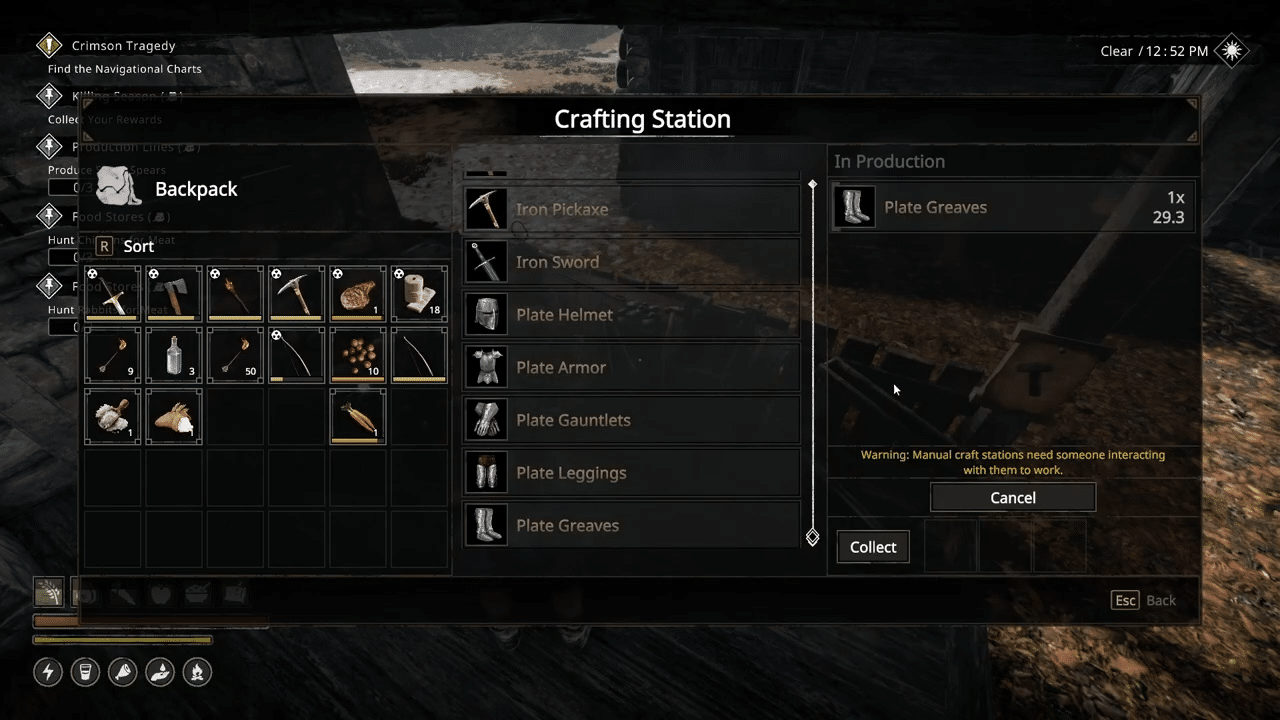
- Run back to town, assemble the required materials, and build the Carpenter’s Workshop.
Foraging and Cleansing the Land
The final tasks in this starting sequence involve upgrading the arsenal, gathering food, and pushing back the deadly sickness.
- Walk into the new Carpenter’s Workshop and craft a Stone Spear.
- Place the spear firmly on the hotbar and rely on it for better damage until uncovering advanced military gear.
- Leave the town and head northeast toward the Animal Spot located inside the old trading area.
- Hunt down both chickens using the spear and loot their bodies to collect raw chicken meat, feathers, and a high chance of acquiring an egg or two.
- Return to town and cook the raw meat at the Campfire Area.
- Walk back to the Carpenter’s Workshop and use newly acquired feathers to craft a Hunting Bow alongside standard Arrows.
- Upgrade those arrows into as many Fire Arrows as possible.
- Leave the town again and track down the nearest Plague Site marked by a red circle on the map.
- Equip the Hunting Bow and ensure Fire Arrows are selected.
- Fire flaming projectiles directly into the infection to damage the Plague Site.
- Keep shooting until the game gives a destroyed notification, keeping in mind that the infection takes a few seconds to fully burn away.
- Return to town and check the main bulletin board for green notes representing quests and yellow notes representing specific villager requests.
Final Thoughts
Surviving the brutal early hours of Nested Lands is a massive achievement that sets the perfect foundation for your expanding settlement. You now possess the knowledge to cure your physical ailments, command a growing population, and push back the toxic corruption threatening your borders. Keep expanding your territory and fulfilling villager requests as you continue your epic quest to find the ultimate cure. Good luck braving the wilderness and transforming your humble camp into an unstoppable stronghold.

Leave a Reply