
Last Updated on 18 September, 2026
Even with the significant update, not a lot changed fundamentally for Akatori. Before stepping into the full release it is worth looking back at where the game began. And for many players: its this demo. Akatori: Chapter One drops you into a mystical world and challenges you to survive its tight platforming and punishing combat. Earning every achievement requires serious precision while tracking down obscure collectibles and attempting a flawless boss run.
This comprehensive guide takes a look back at the achievement challenges, revealing the precise locations of all hidden relics and prayer beads. You will also find a detailed breakdown of Takatsugu’s attack patterns to help you secure the elusive no-damage victory if you hadn’t already.
Table of Contents
Unmissable Story Milestones
Looking back, you will unlock three core achievements by progressing through the main narrative. The developers designed these milestones to mark your primary progression phases and reward your basic forward momentum.
Journey to the Other World
You earn this trophy the moment you travel to Kohakujō. This transition serves as your formal introduction to the primary mystical setting of the game.
Fateful Encounter
After your arrival in the new world, you will obtain the Staff. This magical weapon changes your combat capabilities, opens up new traversal options, and grants you this achievement upon picking it up.
Freedom for the Bird
You will receive this achievement upon defeating Takatsugu the Sentinel at the very end of the game. This mandatory boss fight acts as the final hurdle and tests all the combat skills you learn during your short journey.
Combat and Environmental Feats
Beyond the main story, you interact with the environment and specific non-playable characters to unlock a series of unique miscellaneous achievements. These tasks require a keen eye for detail and some creative problem-solving.
Mako the Impaler
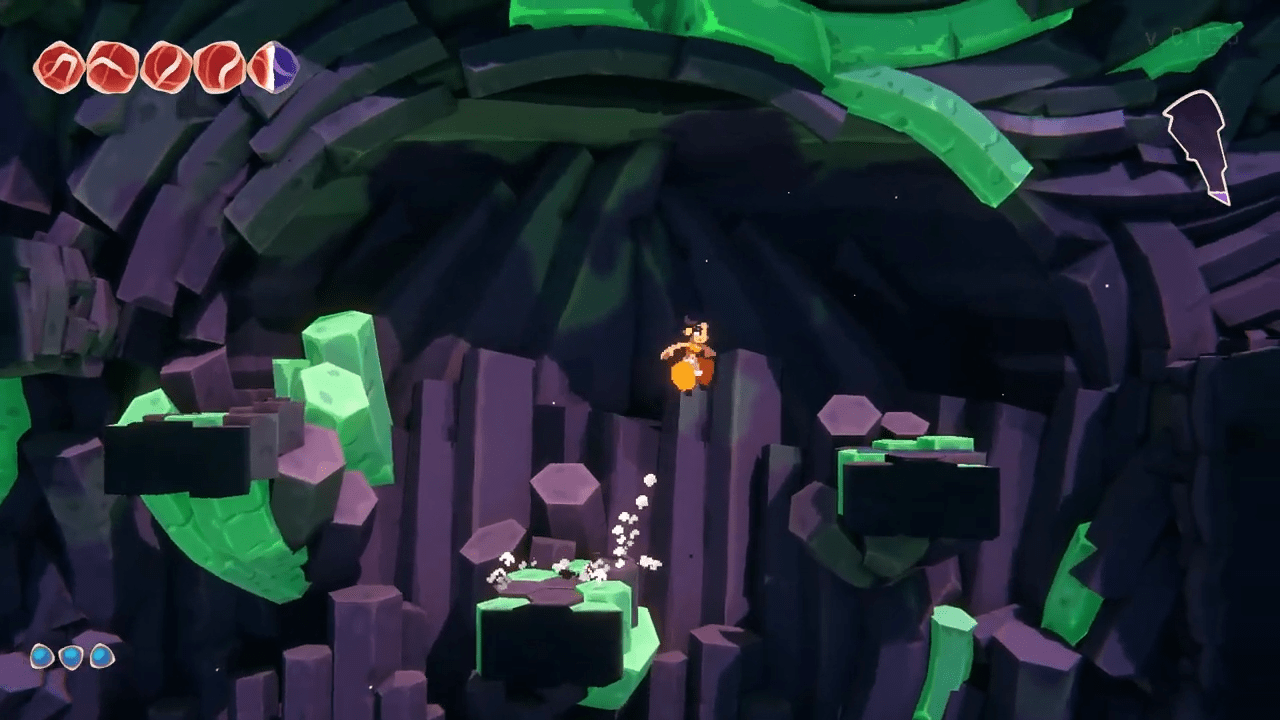
To earn this brutal trophy, you have to trick a hostile enemy into plunging into a spike trap. Locate a tall vertical room featuring several floating platforms and a bed of spikes at the very bottom. Catch a monster’s attention from the upper level. Once the creature focuses its aggression on you, descend by jumping across the platforms. Lure the beast all the way to the bottom floor and position yourself so your opponent charges forward into the sharp spikes.
No Worse Than Pineapple Pizza
This humorous achievement tasks you with eating a questionable bowl of soup. Track down the country merchant during your travels and purchase the unusual soup from his inventory. Consume the meal to unlock the trophy. We recommend buying his other two inventory items as well, as they play crucial roles in your collectible hunt later on in the game.
Wait, Was That Here Before?
You earn this reward for revealing a hidden secret passage. Find the designated hidden wall area and monitor your on-screen chaos bar. You should exercise patience and allow the chaos meter to fill to the halfway point. Once the bar reaches 50 percent, walk to the right. The environment will shift seamlessly, and the secret passage will open before you.
Enlightenment: Locating All Six Relics
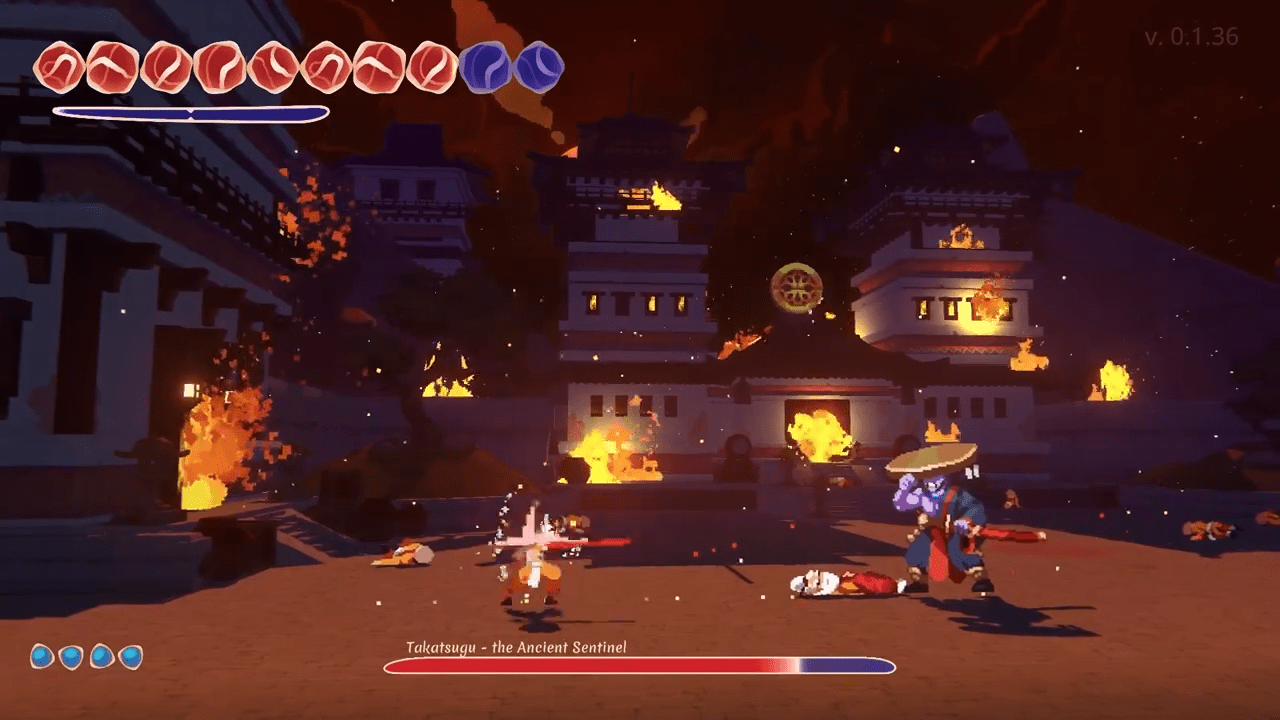
The Enlightenment achievement requires you to scour the map and collect six specific relics. Use the following directions to track down every single hidden treasure and complete your collection.
- The Merchant’s Cloak: You do not need to search far for the first relic. Visit the primary merchant and purchase the torn cloak from his shop inventory.
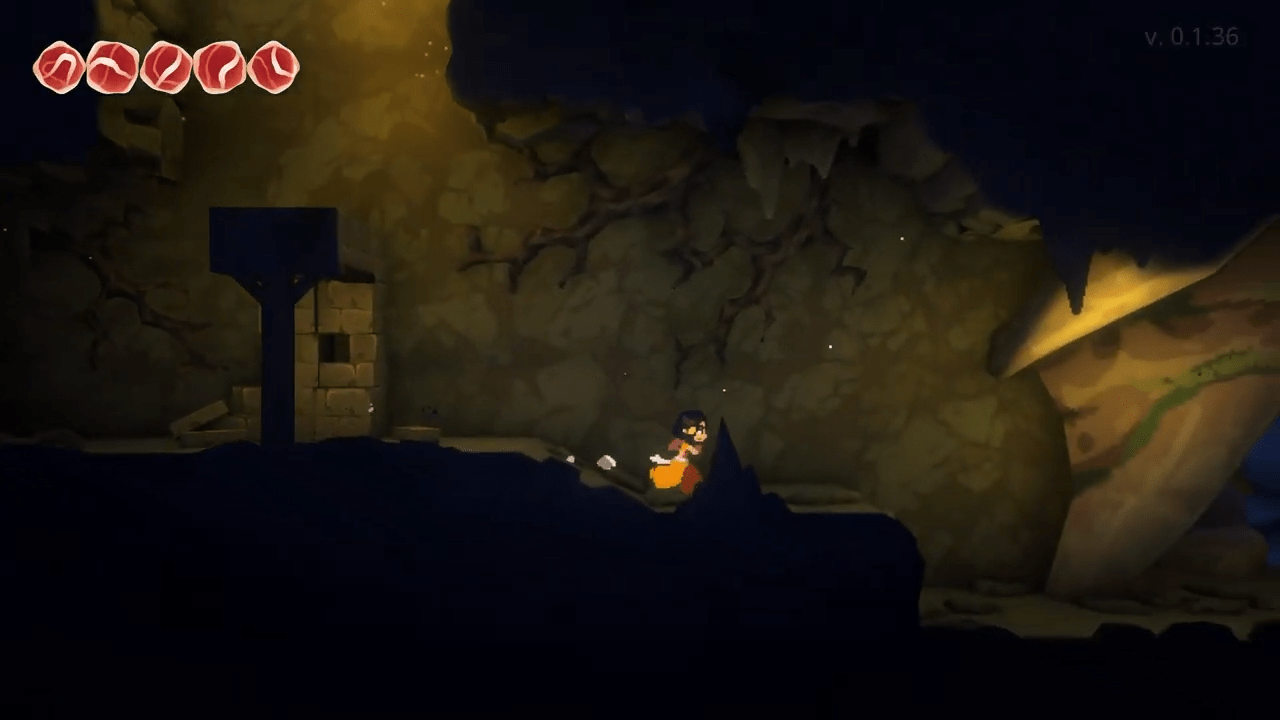
- The Vertical Shaft: Locate a tall, enclosed shaft area. Ascend the wooden platforms to the very top to find the second relic resting on a high ledge.
- The Chain Platforms: Keep your eyes peeled for a large room featuring several platforms suspended by long metallic chains. Walk all the way to the left boundary of this room. From there, execute a series of precise jumps across the hanging chains toward the right side to secure the third relic.
- The Left-Side Entrance: You will discover a specific rectangular chamber holding the fourth relic. However, the game blocks you from reaching the item unless you enter this exact room from the left-side doorway. Ensure you approach the chamber from the correct angle.
- The Upper Left Ledge: In the late-game exploration zone, proceed as far left as the path allows. Climb the surrounding vertical structures and platforms to find the fifth relic resting at the peak.
- The Final Summit: You will find the sixth and final relic tucked away in the extreme top-left corner of the overall map. Scale the exterior walls to claim your prize and unlock the Enlightenment achievement.
Pray, Pray, Pray: Gathering All Eight Beads
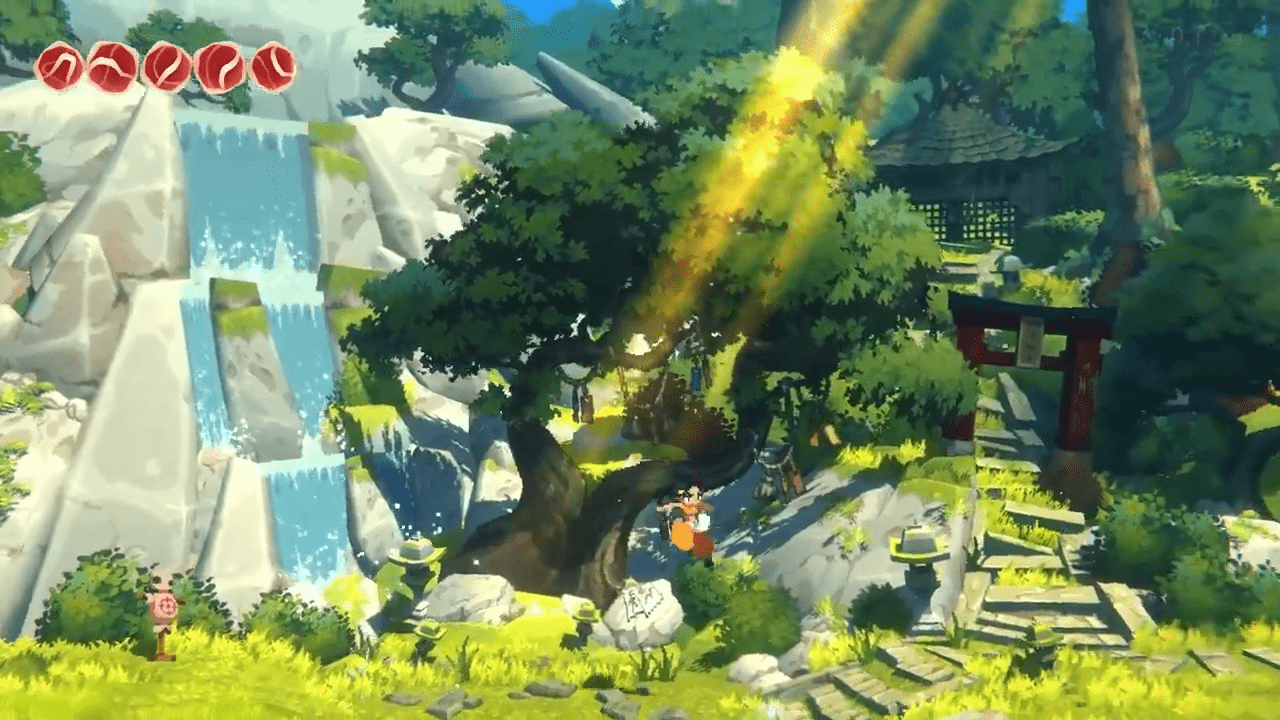
To unlock this achievement, you must collect all eight prayer beads scattered throughout the game. Pay close attention to the first bead on this list, as you can miss it and ruin your current run.
- The Missable Healing Bead: Before you travel to Kohakujō, you should speak to the starting merchant and purchase the Healing Bead from the Prayer Beads. If you advance to Kohakujō before buying this item, the game locks you out of the achievement for your current playthrough.
- The Bell Area Bead: You can find the second bead resting near the large bell. A quick warning: do not ring this bell if you have not yet completed the hidden secret passage achievement mentioned earlier.
- The Country Merchant Bead: Visit the country merchant and purchase the Fortifying Bead from the Prayer Beads using your collected currency.
- The Secret Room Bead: After you open the secret passage using the chaos bar method, enter the new room and climb to the upper platform to grab the fourth bead.
- The First Breakable Wall: Ascend the main vertical corridor until you spot a cracked structural wall. Strike the wall to break it open and claim the hidden bead waiting behind it.
- The Exposed Ledge: Scale the next major vertical section of the map. You will spot the sixth bead resting in plain sight on an upper platform overlooking the drop.
- The Second Breakable Wall: Just like the fifth bead, you must locate another weakened wall section nearby. Smash through the stone barrier to uncover the seventh bead.
- The Final Breakable Wall: You will find the final bead hiding behind a third breakable wall near the very end of the exploration zone. Shatter the stone and grab the bead to complete your collection.
Mastering Takatsugu: The Flawless Victory Guide
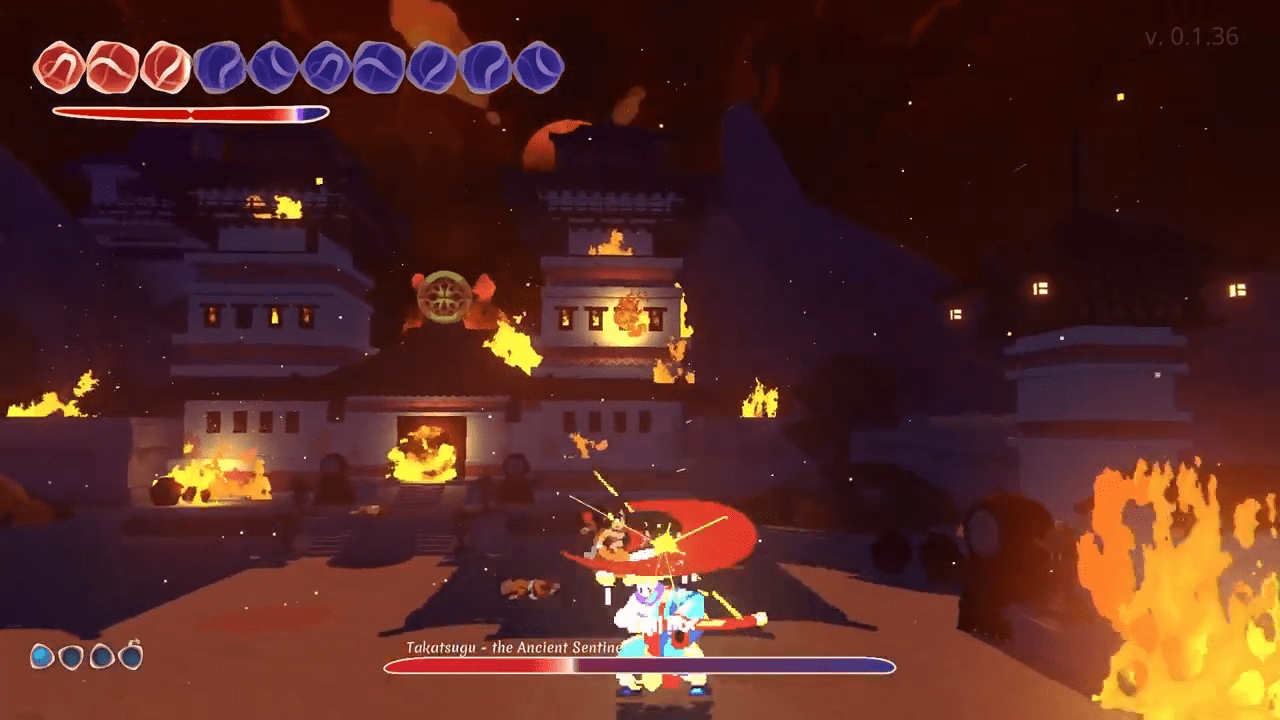
The final challenge in Akatori: Chapter One involves the Invincible achievement. While defeating Takatsugu The Ancient Guard takes most players five to ten attempts, defeating him without taking a single point of damage transforms the encounter into a grueling test of patience and precision. You should memorize his attack patterns and exploit every safe opening.
Safe Windows and Inactive States
Takatsugu leaves himself open between his vicious attacks. When he stands in his normal neutral position, or when he takes a brief moment to adjust his hat, you have a massive window of opportunity. These specific animations do not count as attacks and pose zero threat. Run in, deal as much damage as you can with your staff, and prepare to retreat the exact moment his animation changes back to a combat stance.
Phase One Attack Patterns
During the first half of the fight, Takatsugu relies on a set of three primary physical attacks.
- The Dagger Toss: Takatsugu throws three distinct daggers in your direction, followed by a backward evasive jump. He uses two different trajectories for this move. In the straight variation, one dagger flies horizontally while the other two fly diagonally above and below it. In the inclined variation, he angles all three daggers downward. To dodge either variation flawlessly, execute a somersault toward the direction of the attack, or use a standard step to move backward out of range.
- The Sword Thrust: The boss performs a single, lightning-fast lunge at you. You can avoid this sharp thrust by jumping over him, executing an aerial dash above his head, or using your somersault invincibility frames to roll right past the physical blade.
- The Wave Strike: Takatsugu raises his massive sword high above his head and slams it into the ground, generating a destructive shockwave that travels outward in both directions. You should anticipate the ground slam and jump over the wave. Alternatively, you can jump straight up into the air and perform a mid-air dash to stay suspended until the wave passes beneath your feet.
Phase Two Attack Patterns
Once you deplete enough of his health, the boss escalates the fight. His Wave Strike and Dagger Toss attacks remain identical to Phase One, but he modifies his thrust and introduces new magical mechanics to trip you up.
- The Triple Sword Thrust: Instead of a single lunge, Takatsugu now executes three sharp, consecutive sword thrusts across the ground. You have to chain your jumps and aerial dashes to clear all three rapid lunges without touching his hitbox.
- Energy Spheres: The boss summons three glowing blue spheres above his head that home in on your position. You have three distinct options to deal with this magic. If you stand close to him, somersault underneath the spheres, create some distance, and throw your staff at them to destroy them instantly. If you stand far away when he casts the spell, throw your staff at the incoming orbs. If you prefer to keep your weapon in your hands, you can bait the spheres toward you and execute a timed somersault right through them to survive via invincibility frames.
- Explosive Bombs: Takatsugu tosses three explosive devices in your general direction. These bombs operate on a short fuse and will detonate after a couple of seconds. The strategy here remains simple but requires fast reflexes. Identify where the bombs land and sprint far away from the blast radius.
Conclusion
Conquering Kohakujō and unlocking a perfect completion record demands patience and sharp reflexes. By following these targeted strategies, you bypass the frustration of missed items and brutal boss retries. As the full version of Akatori now stands beyond this early slice of the game, this guide offers a chance to revisit the demo and the challenges that first introduced its world, combat and collectibles. Keep your weapon ready, memorize the attack patterns, and claim your flawless victory against the Ancient Guard.

Leave a Reply