
Last Updated on 20 August, 2026
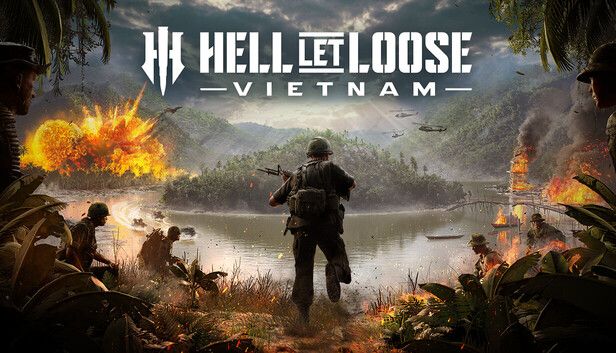
Stepping away from the defined frontlines of mainland Europe and plunging into unpredictable jungles, Expression Games has delivered a chaotic and terrifyingly immersive experience built on Unreal Engine 5. This tactical first person shooter demands intense communication and absolute coordination as the United States Armed Forces clash with the North Vietnamese Army across massive, historically inspired maps. To help you survive this brutal asymmetrical warfare, our comprehensive guide breaks down everything you need to know to overcome the steep learning curve, secure critical map control, and properly support your squad. From utilizing authentic weapons and deploying strategic vehicles to maximizing the impact of commander abilities, you will find every tactical advantage needed to completely shape the battlefield in your favor.
Table of Contents
Understanding Game Modes and Objectives
The game offers four distinct modes that challenge teams to adapt their strategies and communication.
Warfare
When a Warfare match begins, both armies control their respective halves of the map, leaving the central sector completely neutral. Teams must push the enemy lines backward by conquering contested sectors sequentially. The ultimate goal is to secure the enemy Headquarters sector to achieve immediate victory. If the match timer expires before either team captures a Headquarters, the army holding the majority of the map sectors wins the game. In this mode, players standing inside the soft capture zone contribute standard capturing power, while players inside the hard capture zone contribute triple the capturing power.
Offensive
Offensive mode creates a strict asymmetrical battle between an attacking force and a defending force. The defenders must protect one specific sector per frontline. If the attackers successfully capture that sector, the defenders must retreat to the next frontline, and the match timer resets back to thirty minutes. Defenders achieve victory by successfully holding any active sector for a full thirty minutes. Once attackers take a sector, defenders cannot recapture it. An excellent example of this mode takes place on the Cam Ranh Port map. The attackers begin with only a single active capture point and thirty minutes to take it. Meanwhile, the defending team sees all five capture points immediately and can build defenses at future fallback positions to halt the enemy advance. In Offensive mode, only players standing inside the hard capture zone contribute to the capturing power.
Conquest
Conquest shares structural similarities with Warfare, as teams fight over frontline capture points. However, Conquest introduces a finite supply of morale for each team. Every time a player redeploys to the battlefield, their team loses morale. Additionally, morale bleeds away steadily from the team that controls fewer territories. Teams must fight cautiously, knowing every single casualty directly damages their score. A team secures an immediate victory if they hold the majority of the territory when the enemy depletes their morale entirely. If the team holding the most territory runs out of morale first, the match enters sudden death overtime. During overtime, the team with remaining morale must quickly seize the majority of the capture points before their own morale drains completely, or they suffer defeat.
Domination
Domination forces teams to battle for control over three central capture points during the initial phase of the match. Players can seize these central points in any order. The team that captures the majority of these three central locations unlocks the enemy Headquarters. Securing the unlocked Headquarters immediately wins the game. If the timer runs out before either team takes a Headquarters, the army holding the most capture points wins. Similar to Warfare, soft capture zones provide standard capture power, and hard capture zones provide triple the capture power. A classic Domination match on the Đắk Tô Airfield map begins with both Headquarters locked while both armies rush the three available central objectives.
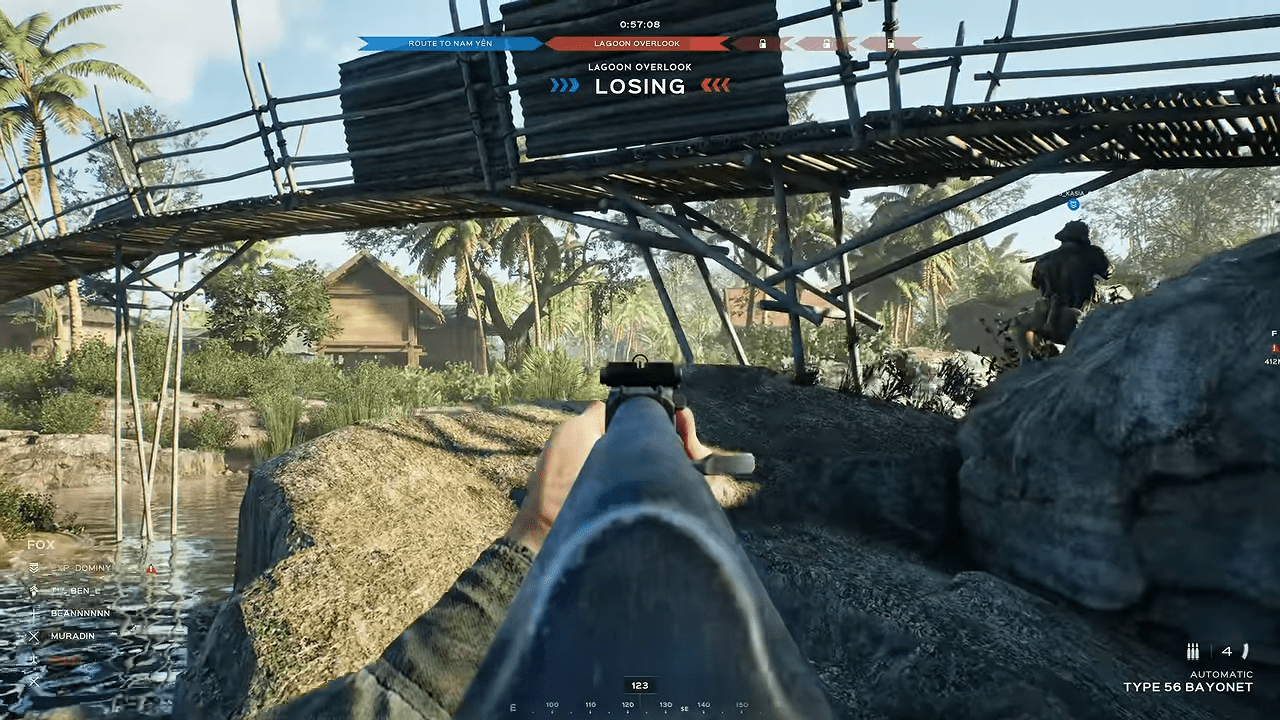
Pro Tip: Always check your tactical map and communicate with your squad leader to confirm whether your unit needs to hold your current ground or aggressively push the next enemy line.
Mastering Capture Points
Capture Points represent the specific geographical areas teams must attack or defend to control territory. Every Capture Point features two distinct zones: the Hard Capture and the Soft Capture. The game calculates capture strength based on the number of players standing inside the Hard Capture zone, and sometimes the Soft Capture zone depending on the active game mode. The Hard Capture zone always provides the most efficient capture strength. However, throwing more players into a capture zone does not increase the actual capture speed. The game utilizes a fixed capture duration based on the current game mode.
You can identify Hard Captures on your tactical map by looking for black cross hatched circles. The Soft Capture zone encompasses the underlying two by two grid squares surrounding the point. Each map features uniquely named Capture Points to help squads coordinate their movements.
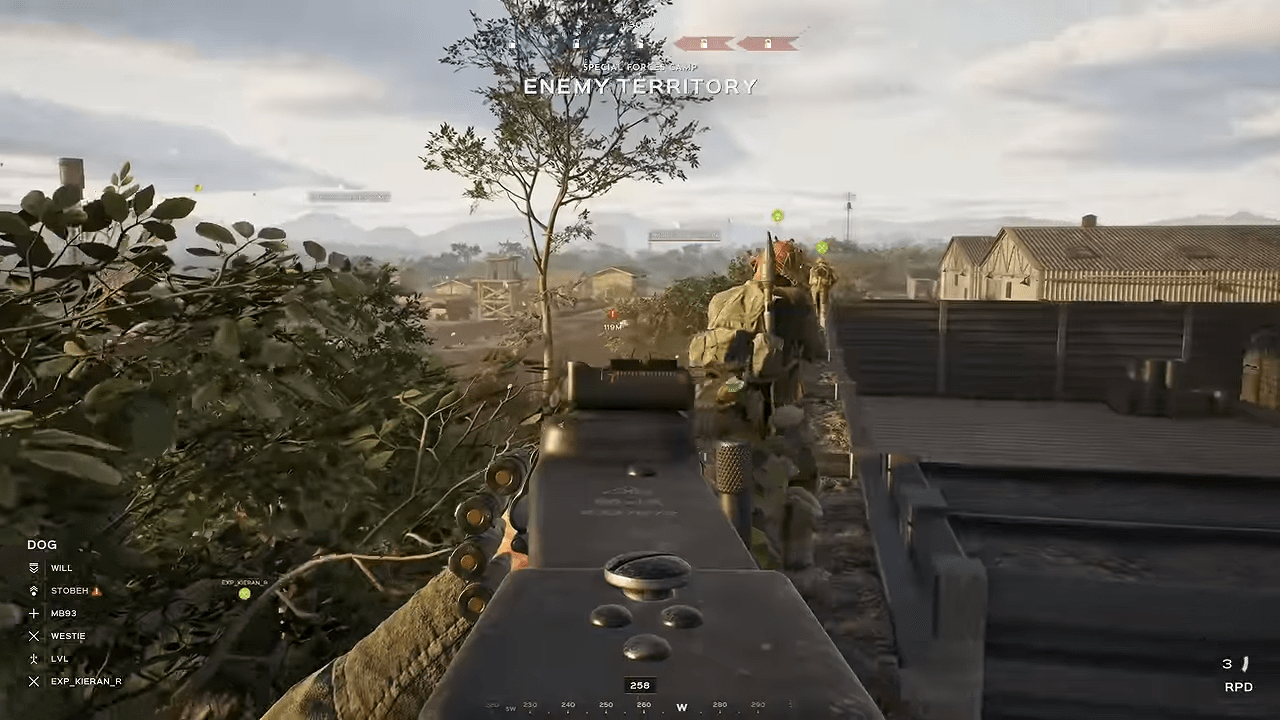
Pro Tip: Prioritize getting your squad inside the Hard Capture zone to maximize your team’s capturing strength and secure highly contested sectors much faster.
United States Armed Forces: Roles and Loadouts
The United States military brings a highly specialized roster of soldiers to the battlefield, categorized into Command, Infantry, Armor, Recon, Mortar, and Helicopter divisions.
Command and Infantry Roles
- Commander: Leads the team using an M16A1 rifle (weight four) and an M1911A1 pistol. They unlock the M16A1 Bayonet at level four and the Model 77E shotgun at level seven. They carry M18 smoke grenades, bandages, and an AN M8 Flare. Their standard equipment includes a Field Pad and M3 Binoculars.
- Squad Leader: Commands individual units with the same primary weapon progression as the Commander. They support their squad using ammo boxes, high explosive ammo boxes, and a hammer to build structures.
- Rifleman: Forms the backbone of the infantry. They wield the M16A1 and eventually unlock the powerful M16A1 M203 at level ten. They carry a small ammunition box to keep their squad supplied in the field.
- Medic: Keeps the squad alive using medical supplies, bandages, and a revive tool. They carry the M16A1 but lack heavier offensive explosives.
- Specialist: Brings immense utility with a blow torch, ammo boxes, and an AN M8 Flare unlocked at level nine. They also gain access to the devastating M2A1 7 incendiary weapon at level seven.
- Machine Gunner: Locks down sightlines utilizing the automatic M60 machine gun. They defend their positions using M61 fragmentation grenades and M18 Claymore mines.
- Grenadier: Provides explosive firepower using the M79 grenade launcher and M72 launcher. They excel at area denial by planting M21 AT Mines, M18 Claymores, and M183 Demolition Charges.
- Engineer: Builds the team’s infrastructure using a wrench, hammer, and blow torch. They unlock a diverse arsenal including the M79 launcher and Model 77E shotgun at level seven.
Armor, Recon, Mortar, and Helicopter Roles
- Tank Commander and Crewman: Operate the heavy machinery. Both start with an M1911A1 pistol and unlock the M16A1 at level three. They carry a blow torch to perform critical field repairs on their vehicles.
- Spotter and Sniper (Recon): The Spotter uses M3 Binoculars and a Field Pad to locate enemies, while the Sniper eliminates them from afar using the bolt action M40 sniper rifle.
- Observer, Support, and Gunner (Mortar): This trio coordinates indirect fire. The Observer spots targets, the Support provides explosive ammo boxes and supplies, and the Gunner operates the mortar using a wrench.
- Logistics Officer and Pilot (Helicopter): These aviators utilize the Field Pad and M3 Binoculars to coordinate aerial insertions. They arm themselves with M1911A1 pistols initially and upgrade to M16A1 rifles at level three.
Pro Tip: Coordinate your mortar strikes with your Recon plane flyovers to guarantee maximum destruction of entrenched enemy infantry positions.
North Vietnamese Army: Roles and Loadouts
The NVA focuses on guerrilla tactics, heavy ambushes, and robust infantry setups.
Command and Infantry Roles
- Commander: Commands the battlefield with a Type 54 pistol, unlocking the K50M submachine gun at level three and the IZH 58 at level seven. They utilize the Chi Com Signal Pistol, RDG 1 smoke grenades, and a Field Pad.
- Squad Leader: Leads guerrilla units with similar weapons to the Commander. They utilize ammo boxes and a hammer to establish forward bases.
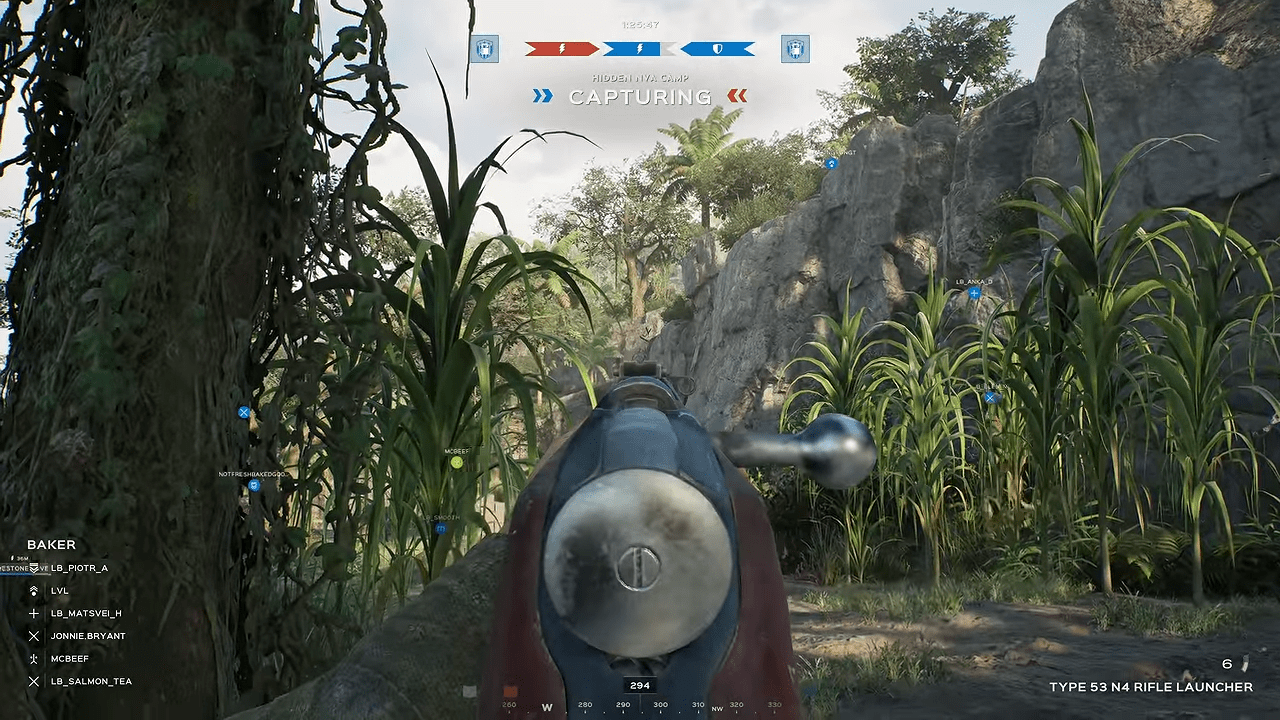
- Rifleman: Pushes the objective using the Type 56 Bayonet rifle and eventually unlocks the Type 53 N4 Rifle Launcher at level ten.
- Medic: Revives downed comrades and distributes medical supplies. They rely on the K50M at level three to defend their patients.
- Specialist: Excels in sabotage and support, unlocking the fierce LPO 50 flamethrower at level seven. They carry a blow torch and supply crates to aid team engineers.
- Machine Gunner: Suppresses enemies with the automatic RPD machine gun. They unlock the K50M Drum at level six and protect their flanks using DH10 AP Mines.
- Grenadier: Destroys enemy armor using the RPG 02 rocket launcher. They heavily mine the battlefield using TM 46 AT Mines and Satchel Charges.
- Engineer: Constructs vital defenses using their wrench and hammer. They carry heavy explosives and unlock the K50M Drum submachine gun at level six for close quarters combat.
Armor, Recon, and Mortar Roles
- Tank Commander and Crewman: Operate the NVA armor utilizing the Type 54 pistol and a blow torch to keep their tanks functional during heavy firefights.
- Spotter and Sniper (Recon): The Sniper utilizes the bolt action Type 53 PU sniper rifle to eliminate high value targets, while the Spotter highlights enemy movements using the Chi Com Signal Pistol.
- Observer, Support, and Gunner (Mortar): The NVA mortar team functions similarly to their American counterparts. The Support player brings crucial high explosive ammo boxes, enabling the Gunner to rain destruction on the enemy.
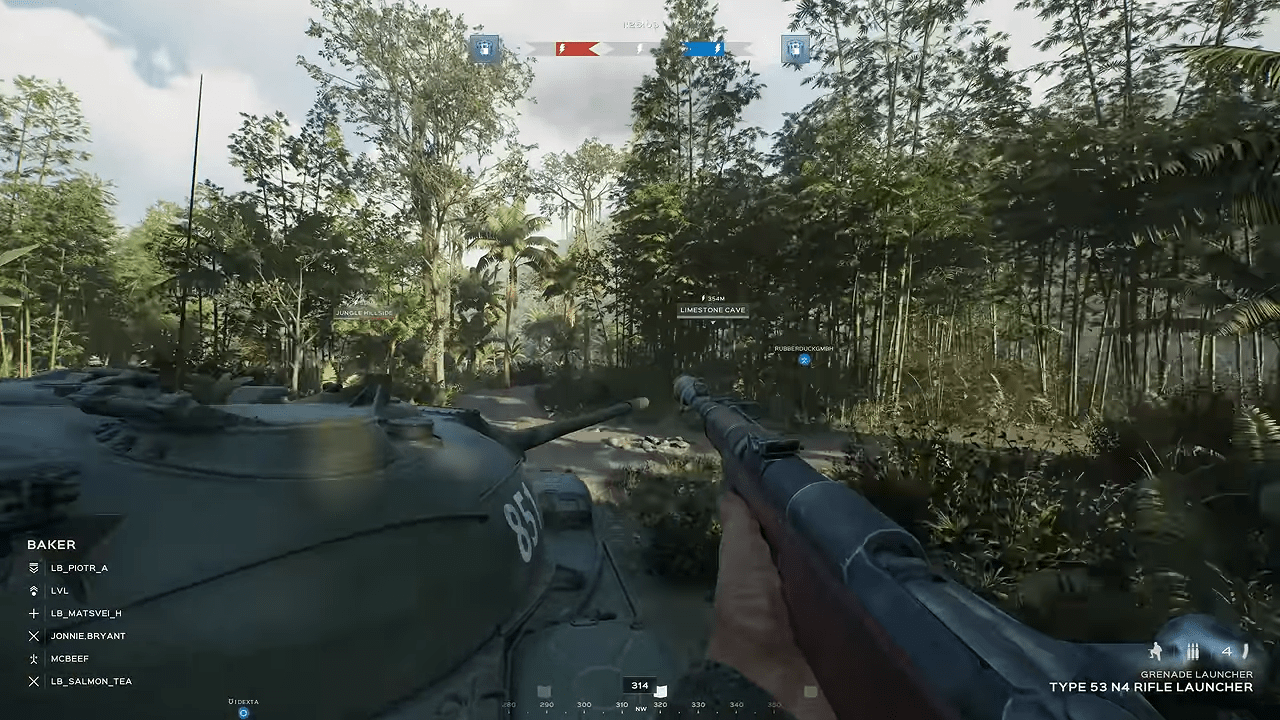
Pro Tip: Utilize the NVA Specialist’s LPO 50 flamethrower to quickly and ruthlessly clear out enemies hiding deep inside thick jungle foliage.
Vehicles and Mobile Spawns
Controlling the map requires effective use of transportation and armored vehicles. Both factions spend Fuel resources to deploy these powerful assets.
United States Vehicles
- US Transport Truck: Costs 100 Fuel and takes one minute and thirty seconds to spawn. This truck transports twelve soldiers quickly to the front.
- US Supply Truck: Costs 100 Fuel and takes one minute and thirty seconds to spawn. It delivers two crates containing 150 supplies each.
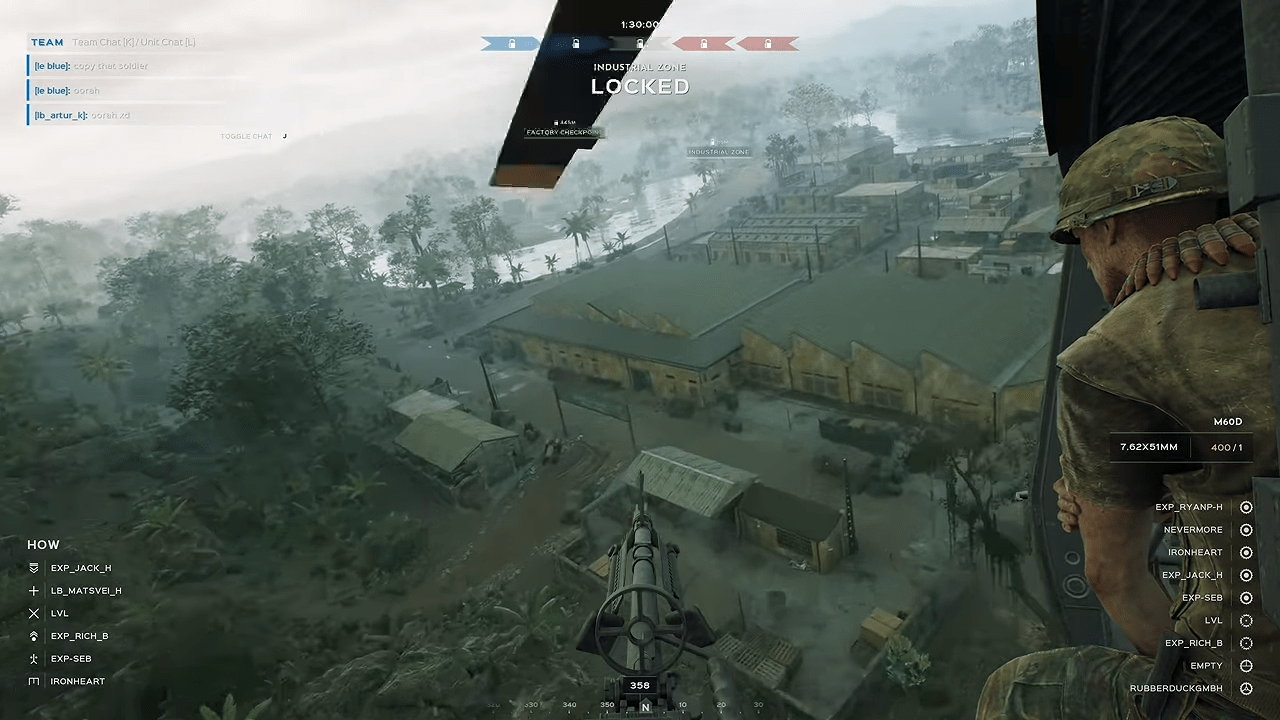
- Transport Helicopter: Costs 75 Fuel and takes thirty seconds to spawn. It functions as a highly mobile spawn point, holds five extra passengers, and features two M60D machine guns holding 400 rounds each.
- Supply Drop Helicopter: Costs 75 Fuel and takes thirty seconds to spawn. It quickly drops two crates containing 50 supplies each.
- M48 Patton: Costs 250 Fuel and takes four minutes to spawn. This heavy tank brings a 90 mm M41 main gun carrying 40 HVAP, 40 HE, and 10 Smoke rounds. It also features a secondary M73 machine gun.
- PBR Boat: Costs 200 Fuel and takes five minutes to spawn. It serves as a mobile spawn point on the water, heavily armed with twin linked dual M2 Brownings on the front and a single M2 Browning on the rear.
North Vietnamese Army Vehicles
- NVA Transport Truck: Costs 100 Fuel and spawns in one minute and thirty seconds, transporting twelve NVA troops.
- NVA Supply Truck: Costs 100 Fuel and spawns in one minute and thirty seconds, dropping two crates of 150 supplies.
- T-54 Tank: Costs 250 Fuel and takes four minutes to spawn. Reaching speeds of 28 kilometers per hour, it fires a 100 mm D 10T main gun holding 40 APHE, 40 HE FRAG, and 10 Smoke rounds. It suppresses infantry with its secondary SGMT machine gun.
- NVA Boat: Costs 200 Fuel and takes five minutes to spawn. This vessel functions as a mobile spawn, carries two crates of 150 supplies, and destroys targets using dual DShK guns on the front and an RPD on the rear.
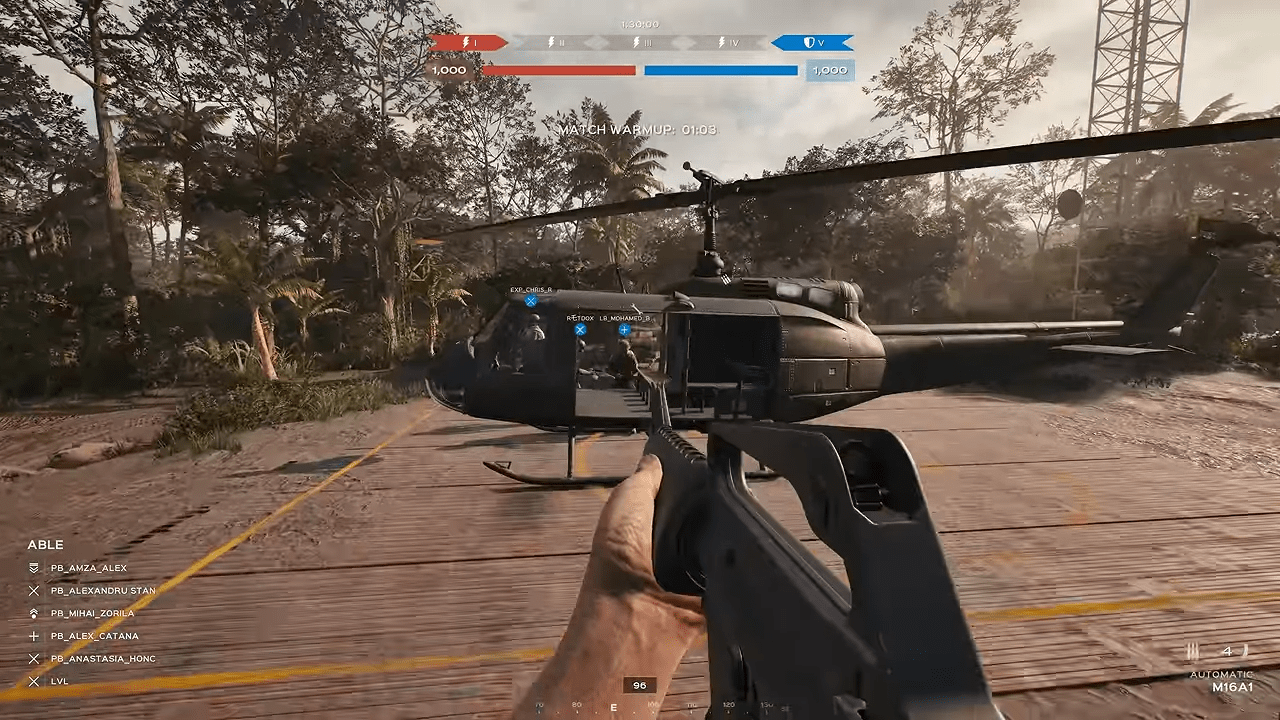
Pro Tip: Protect your transport trucks and helicopters during the opening minutes of a match to guarantee a strong initial infantry push toward the central objectives.
Deployables, Nodes, and Fortifications
Specific roles use a field pad or wrench to place deployables. Players must then use a hammer, and often supplies, to construct the transparent blueprints into physical structures.
Spawning Structures
Garrisons represent the most critical deployables on the battlefield. Commanders and Squad Leaders place them to allow the entire team to spawn. Creating a Garrison requires supplies and safe placement away from enemies or other friendly Garrisons. A team can build a maximum of eight Garrisons. Placing one creates a loud noise and leaves the structure visible to the enemy. If an enemy locates a Garrison, they can destroy it to cripple your team’s reinforcements.
Outposts provide a localized spawn point exclusively for a single unit. Squad Leaders, Spotters, and Observers deploy them to keep their squads together on the frontlines. A unit can only have one active Outpost at a time, and placing a new one triggers a 120 second cooldown.
NVA Exclusive Deployables
The NVA forces counter American helicopters by constructing specialized deployments. Commanders, Squad Leaders, and Spotters can dig Tunnels to establish an underground fast travel network. A team can place up to 15 tunnels. Players interact with a tunnel to quickly travel to other connected tunnels or Garrisons across the map. Travel time depends on the physical distance between the tunnel nodes. Tunnels emit an audible noise, and if an enemy destroys one, it breaks the network connection. Any players traveling through a destroyed tunnel instantly die in the collapse.
To control the skies, the NVA Machine Gunner can deploy the DShKM Anti Aircraft gun. This static emplacement requires one operator and comes preloaded with 300 rounds of ammunition. An NVA team can build up to five total AA guns.
Mortars and Mortar Pits
Gunners place Mortars on flat terrain to provide indirect fire support. Players can rotate the mortar a full 360 degrees, but they must carefully calculate the trajectory to ensure high explosive shells do not impact obstacles before reaching the target. Gunners can also spend supplies to build a large Mortar Pit, which protects the mortar and its operators from incoming fire.
Engineer Nodes and Fortifications
Engineers dictate the resource economy by building nodes. A single team can build up to nine nodes in total, consisting of a maximum of three Fuel, Manpower, or Munitions nodes.
- Munition Nodes: Generate munitions for commander abilities. Walking near these nodes reduces the cooldown for roles that have deployed ammunition boxes or medical supplies.
- Manpower Nodes: Generate manpower for reinforcement abilities. Walking near these nodes reduces the cooldown for Specialists who have deployed supplies.
- Fuel Nodes: Generate fuel to allow the Commander to spawn heavy vehicles.
Engineers also construct crucial support stations. The Vehicle Repair Station automatically fixes friendly land vehicles parked within ten meters, while the Vehicle Ammo Trailer resupplies vehicle ammunition up to five times before expiring. For defensive lines, Engineers build Barbed Wire to slow and injure advancing enemies. They also construct Barricades to block small arms fire. Players can upgrade Barricades twice to increase their durability.
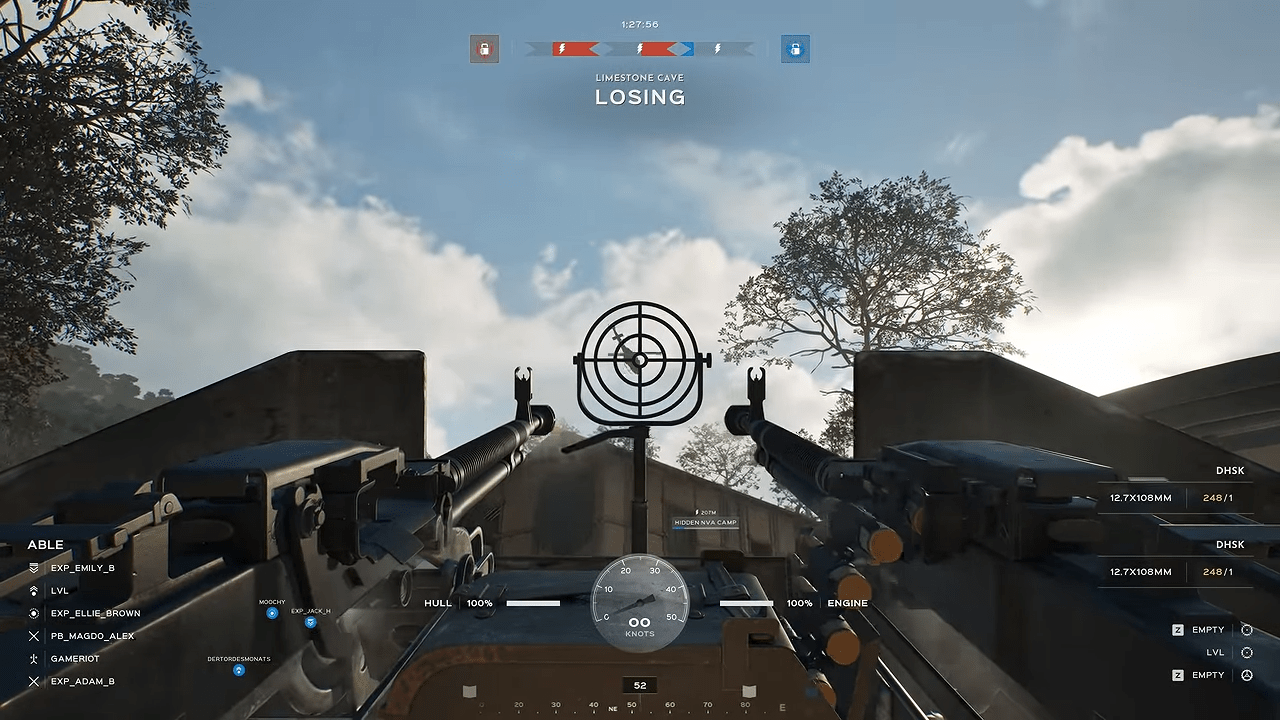
Pro Tip: Hide your NVA tunnel entrances deep within heavy cover to prevent American infantry from easily spotting and destroying your critical fast travel network.
Commander Abilities
Commanders dictate the flow of the battle by spending generated resources on powerful map wide abilities.
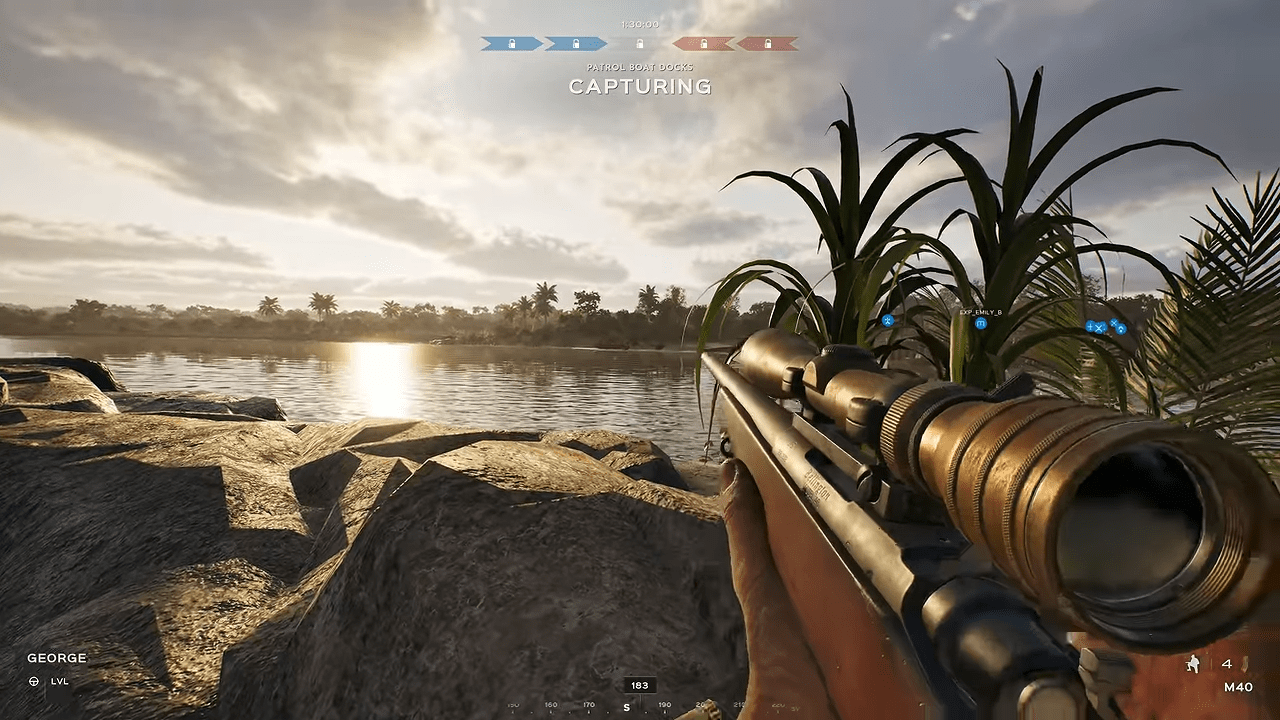
United States Commander Abilities
| Ability Name | Cost | Cooldown | Description |
|---|---|---|---|
| Strafing Run | 150 Munitions | 04:00 | Tears through infantry using a precise aerial strafe. |
| Recon Plane | 150 Munitions | 08:00 | Flies a surveillance plane over a designated target area. |
| Artillery Strike | 200 Munitions | 05:00 | Rains multiple explosive shells to decimate infantry positions. |
| Supply Drop | 150 Munitions | 02:00 | Parachutes a supply crate directly to the battlefield. |
| Precision Strike | 250 Munitions | 20:00 | Drops a concentrated strike to obliterate heavy armor and Garrisons. |
| Napalm Strike | 300 Munitions | 08:20 | Blankets an area in lingering fire to wipe out infantry and light vehicles. |
| Reinforce | 200 Manpower | 05:00 | Doubles the capture power of all Sector Strongpoints in a friendly sector for two minutes. |
| Encouraged | 400 Manpower | 10:00 | Forces all active nodes to generate double resources for five minutes. |
| Dismantle Garrison | 100 Manpower | 05:00 | Instantly removes a friendly Garrison. |
| Rally the Troops | 400 Manpower | 15:00 | Temporarily stops morale loss from redeployments and deaths (Conquest mode only). |
| Resource Conversion | 100 Any | 05:00 | Converts 100 of one resource into 60 of another resource. |
North Vietnamese Army Commander Abilities
| Ability Name | Cost | Cooldown | Description |
|---|---|---|---|
| Bombing Run | 300 Munitions | 10:00 | Calls in a massive bombing run to destroy infantry and light vehicles. |
| Artillery Strike | 200 Munitions | 05:00 | Bombards a target zone with high explosive shells. |
| Recon Plane | 150 Munitions | 08:00 | Provides aerial surveillance over a specific map location. |
| Strafing Run | 150 Munitions | 04:00 | Shreds enemy infantry in a linear attack path. |
| Supply Drop | 50 Munitions | 02:00 | Drops a supply crate via parachute for team engineers and squad leaders. |
| Precision Strike | 250 Munitions | 20:00 | Unleashes a pinpoint strike to destroy heavy vehicles and fortifications. |
| Reinforce | 200 Manpower | 05:00 | Multiplies friendly capture power by two for two minutes in a friendly sector. |
| Encouraged | 400 Manpower | 10:00 | Commands resource nodes to produce double output for five minutes. |
| Dismantle Garrison | 100 Manpower | 05:00 | Removes a poorly placed friendly Garrison. |
| Dismantle Tunnel | 100 Manpower | 05:00 | Collapses a friendly Tunnel immediately. |
| Resource Conversion | 100 Any | 05:00 | Converts 100 of one resource type into 60 of another resource type. |
Pro Tip: Always keep a healthy reserve of munitions available to immediately call in a precision strike on enemy heavy armor when it threatens to break your frontline.
Conclusion
The harsh transition to dense jungle combat means your survival relies entirely on constant communication, clever flanking, and utilizing every unique tool at your disposal. By referencing the strategies provided here, you now possess the exact knowledge to confidently select the right role, construct critical fortifications, and avoid the devastating tactical mistakes that typically eliminate unorganized squads. Always remember to protect your fragile transport vehicles during early objective pushes and keep a close eye on the tree line for hidden NVA tunnel networks. Stick close to your unit, manage your vital team resources carefully, and you will undoubtedly turn the tide of this chaotic conflict.

Leave a Reply