
Last Updated on 13 August, 2026
As you step into the shoes of the Greymane mercenary Kliff to explore the war-torn continent of Pywel in Pearl Abyss’s action-adventure game, surviving the brutal wilderness requires more than just a sharp blade. This comprehensive guide solves the daunting challenge of traversing this massive environment by revealing the exact steps to acquire and raise your very own Wyvern flying mount. We also offer a detailed breakdown of the five most essential Abyss Gear combat modules and the top five unique utility helmets to ensure your loadout is perfectly optimized for any dangerous encounter in Crimson Desert.
Table of Contents
How to Obtain and Raise the Wyvern Mount
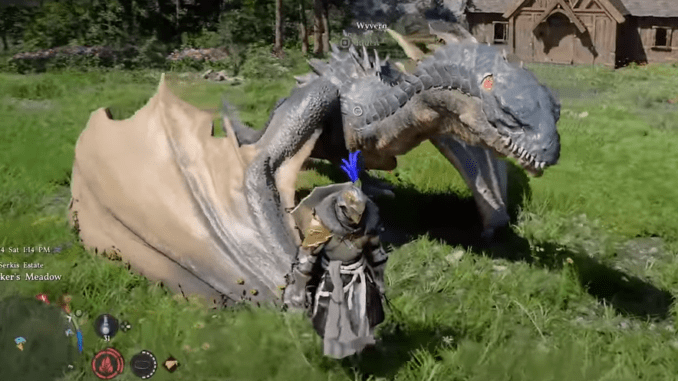
The Wyvern stands out as one of the most magnificent and visually impressive creatures you will encounter in your travels across Crimson Desert. This dragon-like beast begins its life as a tiny, loyal baby companion that follows you on foot. Initially, it remains far too small to carry you, acting only as a curious pet. However, with dedication and proper feeding, you can nurture this small hatchling into a towering beast of the skies.
Once fully matured, the adult Wyvern grants you the ability to soar over massive mountains, bypass extremely dangerous territories on the ground, and view the entire continent of Pywel from a breathtaking aerial perspective. Furthermore, it serves as a devastating battle partner. You can rain down powerful attacks from the saddle, completely overwhelming ground-based enemies who possess no way to counter your aerial assaults.
Part 1: Locating and Hatching the Egg
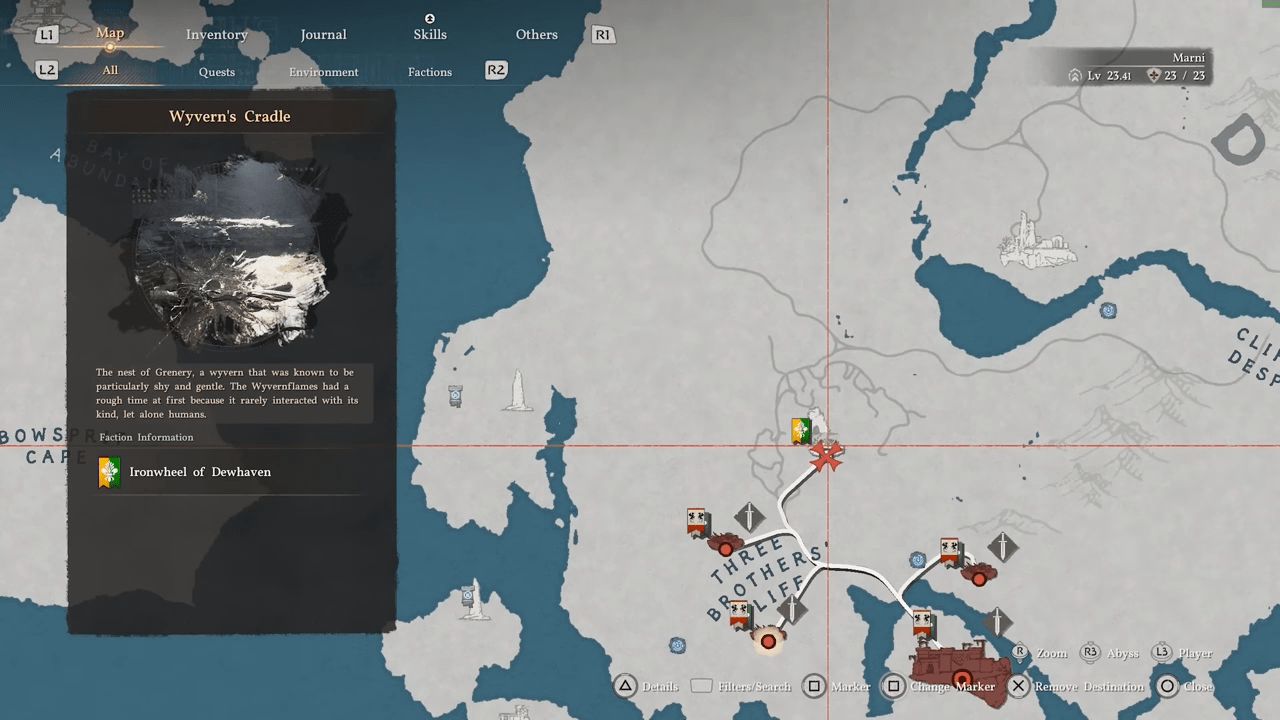
Your first objective requires you to find the unhatched egg.
Step 1: Navigate to the Cradle
Begin your expedition by traveling into the southwestern reaches of the Delesyia region. Your destination is a specific landmark known as Wyvern’s Cradle.
Step 2: Breach the Hidden Cave
Upon arriving at the cradle crater, look for a set of stone stairs. Climb these stairs to enter a distinct cave section supported by large pillars. You must stick closely to the left wall as you move deeper inside. Keep your eyes peeled for a path blocked by bismuth ore containing a glowing golden Abyss orb.
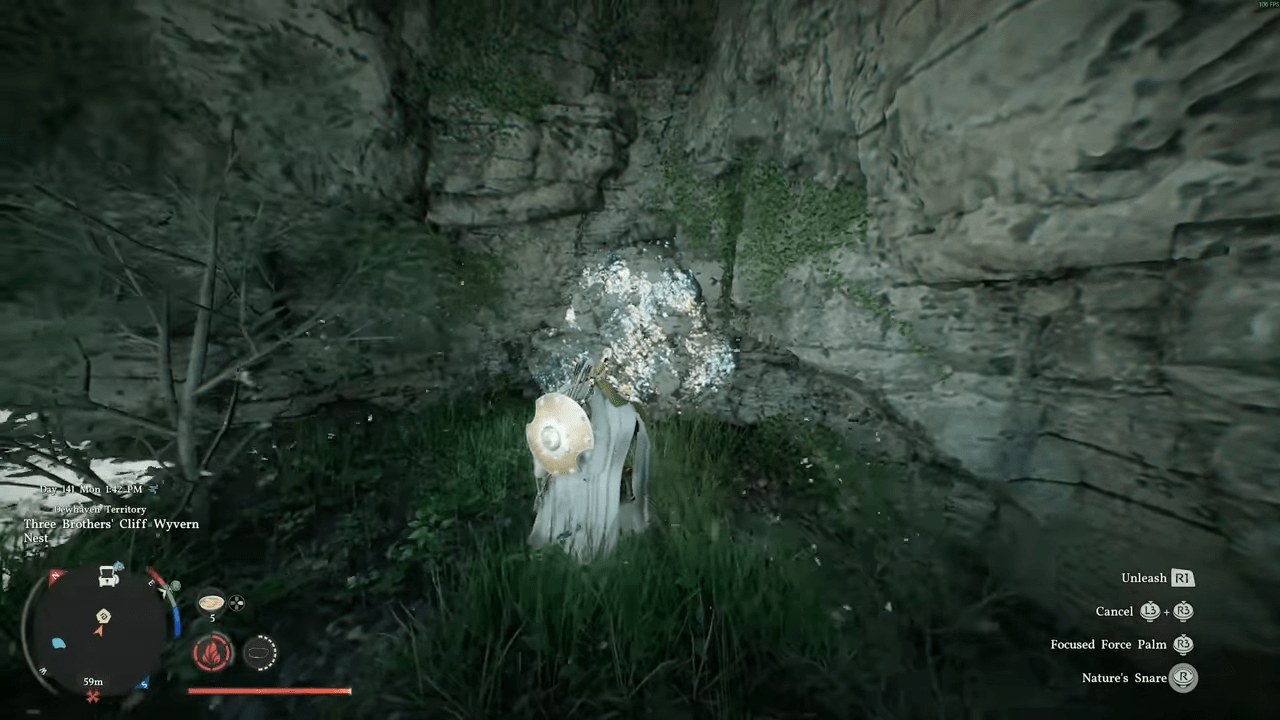
To clear this blockage, you must equip and use the Focused Force Palm ability directly on the orb. You will know you aimed correctly when your screen flashes yellow to indicate a valid target. Proceed into the newly opened treasure room. Look toward the right side of the chamber to claim your prize: the Wyvern Egg. While you are inside this room, make sure to open the nearby chest to acquire the Skyblazer helm piece. You will also notice an NPC named Shai in this room, who serves as the third character connected to the Children of the Woods questline.
Step 3: The Incubation Process
You cannot simply hatch the egg in your inventory. You must manually carry the heavy egg to a dedicated nesting site. The most convenient nest sits just southwest of the cave entrance, and your compass will mark its exact location. While other nests exist scattered across the world map, utilizing this nearby location saves you significant travel time.
Carefully drop the egg directly into the center twig section of the nest. Positioning matters immensely here, so ensure it lands squarely in the middle. You must then wait several minutes in real time. Eventually, the egg will begin to glow brightly and shake violently. Once this animation triggers, interact with the egg and choose the Hatch option.
Congratulations on your new companion. The Baby Wyvern automatically registers within your inventory as a pet. Unlike smaller bird pets that perch on your shoulder, the hatchling hovers closely beside you and automatically loots items from defeated enemies.
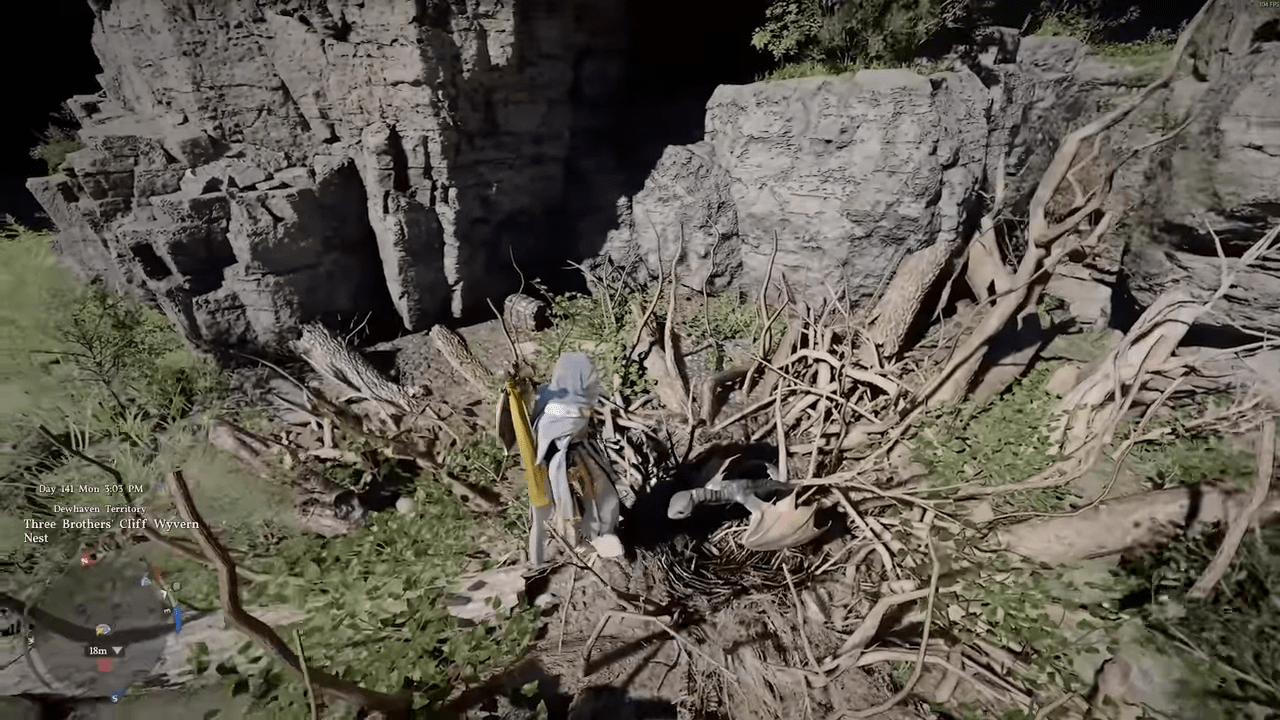
Pro Tip: Place a custom map marker at the nest location before you even leave the cradle cave. This simple action saves you from constantly checking your compass on the return trip and prevents you from getting lost while carrying the heavy item.
Part 2: Raising Your Hatchling into a Mount
Transforming your pet into a rideable beast requires a specific daily feeding routine. Open your inventory and navigate to the Pets tab. Here, you will notice the Level of Growth bar introduced by Pearl Abyss in update 1.10. Your new companion begins at Level 1.
To feed your pet, you need meat. Marbled Meat serves as the most practical option because you can farm it easily through standard hunting and cooking loops. Many players note that Marbled Meat fills the growth progress bar very cleanly, though standard Raw Meat functions perfectly fine as an alternative.
The Feeding Loop:
Summon the baby creature from your Pets tab. Stand completely still and drop your chosen meat onto the ground directly in front of your character. Wait patiently for the creature to descend and consume the food. A distinct growth glow will surround the pet upon a successful feeding. Open your inventory to verify that the Level of Growth bar progressed.
You face a strict limitation of one successful feeding per in-game day. If you attempt to dump additional meat on the ground on the exact same day, the growth level will remain completely static. Do not panic, as this represents the intended game mechanic. To bypass this restriction, simply travel to a nearby inn or sit at a campfire to rest. Resting advances the game clock to the next day.
Repeat this daily feeding loop until the creature achieves Growth Level 3. Approach your companion and select the new Grow prompt. After watching a brief evolutionary animation, you can officially register and summon your massive adult companion from the Special Mounts menu.
Pro Tip: Stockpile a massive amount of Marbled Meat in your storage before you hatch the egg. This preparation allows you to focus entirely on the daily feeding and resting cycle without needing to pause your progress for hunting trips.
Part 3: Flight and Aerial Combat
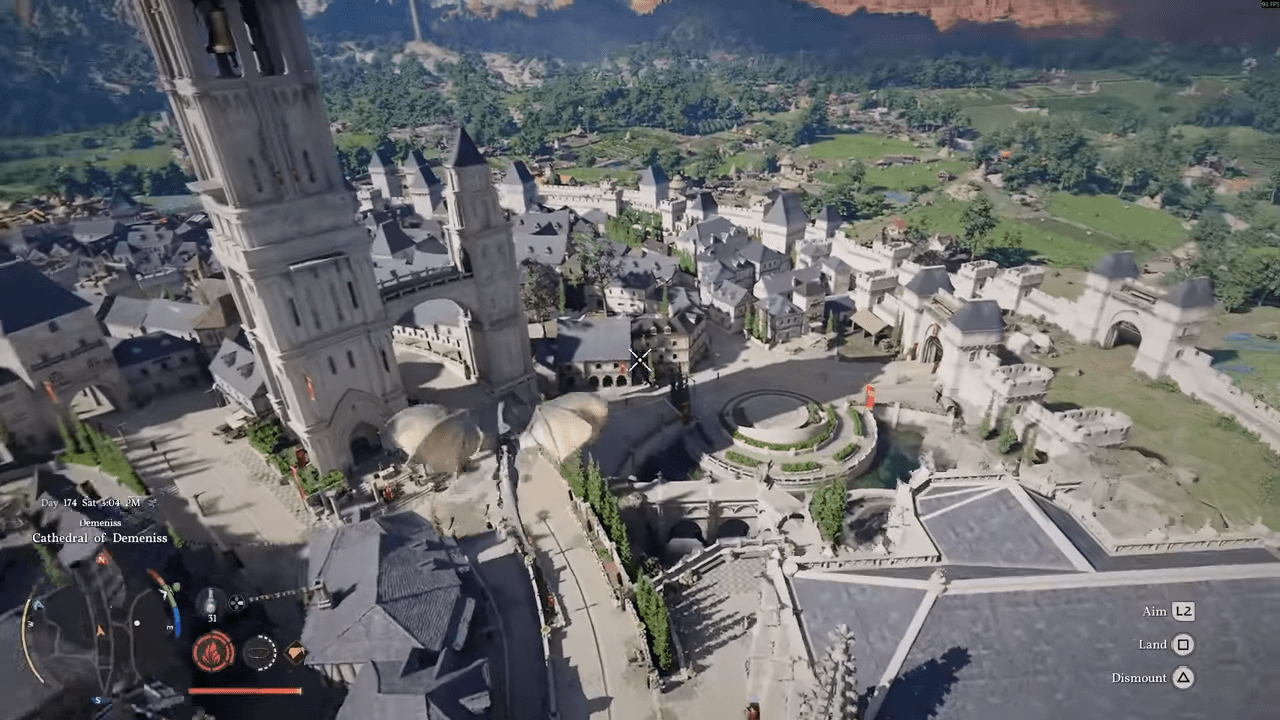
Your fully evolved companion functions similarly to other legendary special mounts in the game. You can command it to sprint rapidly across open terrain, leap over obstacles, and build forward momentum. With enough speed, you can transition smoothly into full flight, making cliff crossings and long-distance travel completely trivial.
More importantly, you retain the ability to attack enemies directly from the saddle. The adult beast physically strikes your foes while you ride, making it the perfect choice for surviving highly dangerous regions that would instantly overwhelm a standard ground mount.
Optional Equipment:
You can further customize your beast with specific gear.
- Wyvern Saddle: You can purchase this item for exactly 43 Silver from the NPC named Randelle. You will find him at the Saddlery located in the Eastern Hills of Delesyia. This equipment provides a bonus of 20 Defense. You do not strictly need the saddle to ride the beast, but the extra defensive stats offer excellent protection.
- Small Wyvern Aviator Hat: If you prefer the adorable appearance of the hatchling, you can buy this cosmetic item from the pet store to retain the baby aesthetic on your pet form.
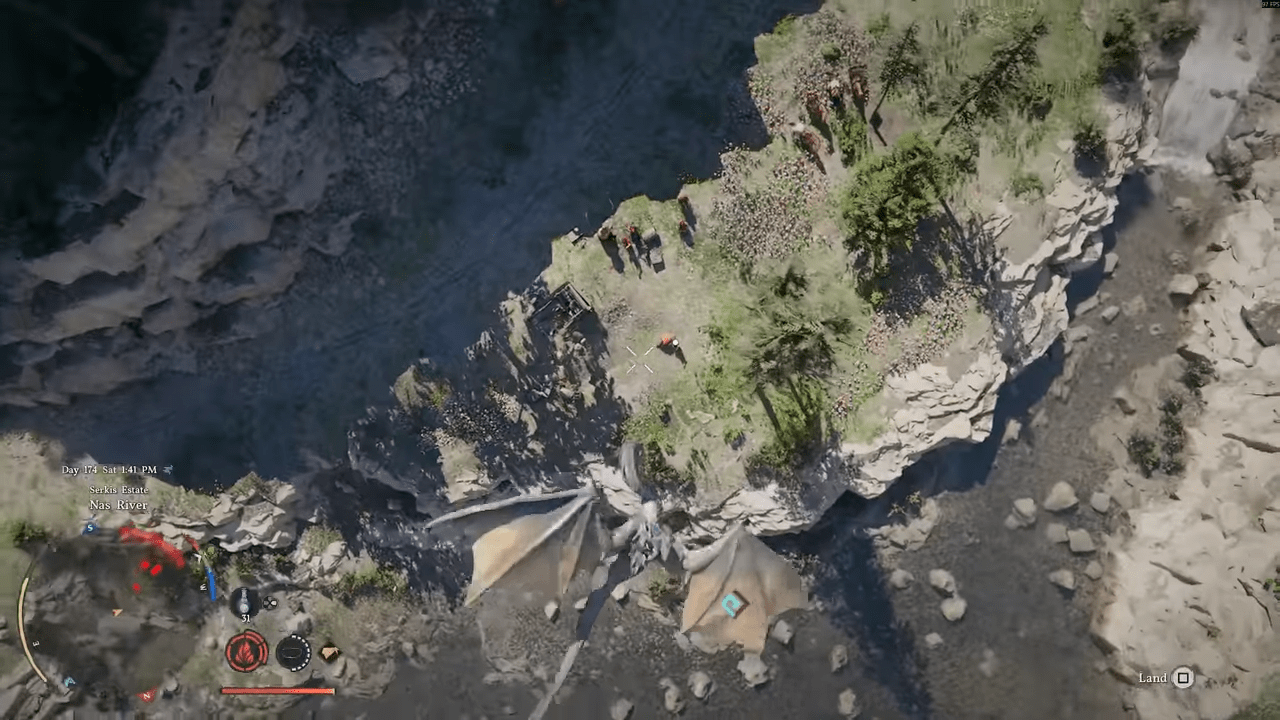
Pro Tip: Always build up maximum running momentum on flat ground before pressing the flight button. This technique grants you the highest possible starting altitude and makes clearing tall obstacles much easier.
Five Essential Abyss Gears You Must Have
Abyss Gears represent one of the most potent character-building systems available in Crimson Desert. Rather than functioning as traditional armor pieces, they operate as socketed combat modules that fundamentally alter your fighting style. Once you unlock the Witch system, these modifications become the absolute core of your combat strategy.
These modules provide massive enhancements, including raw damage boosts for melee and burst attacks, defensive perks that reduce incoming damage and recover stamina, and overall mobility upgrades. Some even trigger devastating special effects conditionally when you land hits or dodge attacks. By collecting these pieces and socketing them into your gear, you can create highly customized builds tailored to aggressive boss fights or defensive mob clearing.
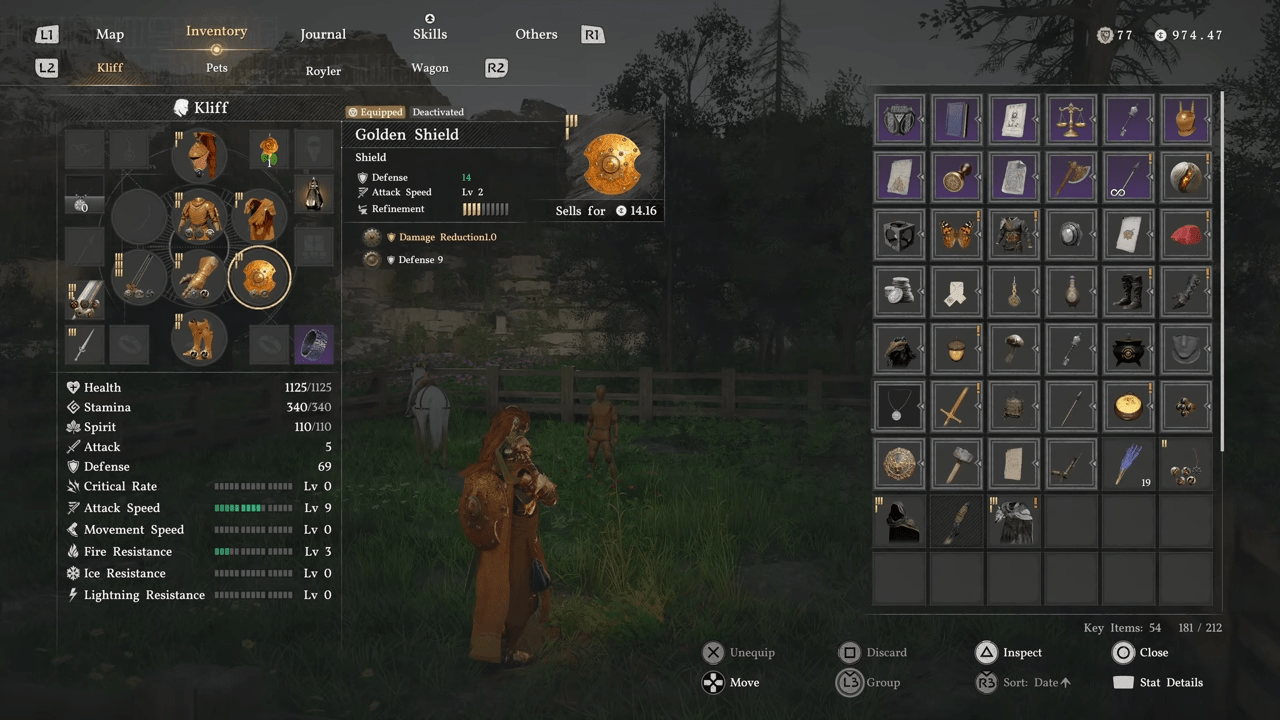
Here are the five unique pieces you should prioritize securing during your early and mid-game progression.
Abyssal Rays
This module draws raw power directly from the Abyss, allowing your character to shoot highly damaging rays of light at your adversaries.
- Equippable On: Melee Weapons
- Required Skill: Keen Senses Level 2
- Resource Cost: None
- Acquisition: You can purchase this gear directly from the Back Alley Shop situated near the eastern gate of the City of Demeniss. Prepare to spend 40.26 Silver to secure it.
Pro Tip: Pair this specific gear piece with a high stamina recovery build. This combination allows you to continuously fire the damaging rays during prolonged boss encounters without running out of energy.
Greysoul Howling
Activating this modification calls forth the formidable phantom of Goyen. This spectral figure unleashes a massive sweeping strike filled with shadow energy to devastate your foes.
- Equippable On: Melee Weapons
- Required Skill: None
- Resource Cost: 10 Spirit
- Acquisition: This gear comes naturally attached to the Fated Shadow weapon. You will find this weapon resting on the Nest of Valor Abyss Island. The game typically locks this area behind late-game story progression. However, you can bypass this restriction at any time by flying directly from the Passage of Malice to the Nest of Valor.
Pro Tip: Save this wide sweeping strike for moments when you find yourself completely surrounded by multiple weak enemies. The shadow energy will clear the immediate area instantly and give you room to breathe.
Wound of Darkness
This gear unleashes three forward-moving blades composed of dark energy. These projectiles deal heavy damage while simultaneously pushing your enemies backward to create breathing room.
- Equippable On: Melee Weapons
- Required Skill: None
- Resource Cost: Spirit
- Acquisition: You acquire this gear attached to the Vessel of Dark Pursuit, which drops as a reward after you successfully defeat the boss known as Antumbra’s Sword. Alternatively, you can buy it from the Back Alley Shop located near the City of Delesyia for 40 Silver.
Pro Tip: Aim the three dark energy blades at a natural choke point, such as a narrow doorway or a tight canyon path. This positioning maximizes your damage output on tightly grouped targets.
Orbs of Lightning
Equipping this module allows you to summon magical orbs that automatically smite nearby enemies with destructive bolts of lightning.
- Equippable On: Armor
- Required Skill: Lightning, Imbue Element Level 1
- Resource Cost: Spirit
- Acquisition: You will receive this piece reliably as a reward for defeating the main story boss in Chapter 7. If you prefer to acquire it earlier, the Back Alley Shop in Pailune sells it for 40 Silver.
Pro Tip: Activate this armor module right before you dive into a heavily populated enemy camp. The passive lightning strikes will automatically soften up your targets as you close the distance.
Groundsurge
This modification empowers your strikes to violently shatter the ground in a large frontal cone, dealing massive area-of-effect damage to anyone caught in the blast zone.
- Equippable On: Melee Weapons
- Required Skill: None
- Resource Cost: 10 Spirit
- Acquisition: Groundsurge arrives already attached to the Melted Ambition weapon. You earn this weapon automatically upon defeating the powerful Myurdin boss during Chapter 7.
Pro Tip: Lure aggressively charging melee enemies into a tight cluster directly in front of you. Once they group up, trigger the shatter effect to hit all of them simultaneously for massive area damage.
Top Five Unique Utility Helmets
While many players focus entirely on raw defensive numbers, the best helmets in Crimson Desert offer game-changing utility and exploration value. We compiled a list of the top five most useful headpieces that will significantly impact your long-term survival and efficiency.
Helm of Knowledge
Equipping this item allows you to effortlessly scan objects and creatures from a great distance. You completely bypass the need to physically interact with dangerous wildlife or easily spooked targets at close range. It proves exceptionally useful for completing Life Challenge tasks, such as observing specific butterflies or rare birds that flee when approached. Furthermore, it instantly unlocks lore and data from recipe books and readable notes without requiring manual examination. Activating the helm gathers knowledge from multiple objects in your general radius simultaneously, making it a spectacular time-saving tool.
- Location: Travel to the Scholastone Institute located in the southwestern sector of the Hernand region. Approach the main building in the north by crossing the bridge to the main entrance. Step into the entrance hall and proceed through the massive gate straight ahead. If you find this gate locked, you must progress your main story through Chapter 4 until the narrative officially grants you access to Scholastone.
Pro Tip: Map the helmet activation button to a quick access slot. This shortcut allows you to instantly scan new environments and gather readable lore the absolute second you enter an unfamiliar room.
Marni Laser Helm
This incredible piece of technology grants your character the ability to fire high-damage laser beams directly from the eyes of the helmet. By holding down your attack triggers, you can pan your camera around to lock onto multiple enemies at the exact same time and blast them simultaneously. You can even use this feature to chop down entire clusters of trees instantly. As an added bonus, firing the lasers grants your character a brief period of total invincibility.
- Location: Prepare for a difficult journey. You must venture into the far eastern region of Delesyia, specifically targeting the southeastern coastline. Look for Marni’s Masterium, a massive fortress situated atop a steep cliff and completely surrounded by hostile flying dragons. We strongly advise you to complete Chapter 5 before attempting this retrieval, ensuring you possess enough health and damage output to survive the surrounding threats.
Pro Tip: Use the brief period of invincibility provided by the laser firing animation to safely dodge heavily telegraphed boss attacks that you cannot normally block.
Helm of Ignition
This highly practical helmet permanently grants you Daze Immunity while worn. It also features a unique active ability called Ignite. Upon activation, the helmet automatically sets fire to nearby flammable objects within a specific radius. You can instantly light bonfires, candles, and torches without ever needing to pull out a flint. The ability requires a brief cooldown period of roughly 20 to 30 seconds between uses. While it lacks flashy combat mechanics, it stands as an absolute necessity for surviving the harsh, freezing temperatures of cold regions.
- Location: Navigate to the Torchlight Beacon in the western portion of Hernand. Search the foot of the beacon to find a small encampment. Check inside the various tents located there, and you will find the helmet resting inside one of them, completely free for the taking.
Pro Tip: Keep this specific helmet easily accessible in your quick inventory when exploring freezing biomes. You can instantly swap to it and light a nearby campfire the moment your character starts suffering from cold damage.
Constellation Helm
This unique piece grants you the mystical Stargaze ability, allowing you to perceive hidden constellations scattered across the night sky and extract their ancient knowledge. While the ability remains active, you must look up at the sky and search for a constellation. Once spotted, carefully aim and hold down the examine button. You must find the perfect physical positioning and camera alignment to succeed. When you hit the exact correct angle, the stars will brighten significantly, flash with a brilliant blue light, and play a distinct auditory chime to mark your success.
- Location: You acquire this item exclusively during a specific quest called Troll Studying Steles. This mission belongs to the larger What the Stars Left Behind questline. You can initiate this questline by visiting the Scholastone Institute situated in the southwestern territory of Hernand.
Pro Tip: Perform all of your stargazing activities from the highest mountain peaks or the tops of tall towers. This elevated positioning prevents trees and village buildings from blocking your line of sight.
Miner’s Lantern Hat
Gathering resources becomes significantly easier with this helmet. The lamp attached to the front emits a specialized wavelength of light that causes valuable ores to shimmer brightly in the environment. This effect helps you detect hard-to-see minerals hidden deep within dark cave systems, vastly speeding up your daily gathering routes. It specifically shines when hunting for Fine Stone nodes, which most players completely overlook in the darkness.
- Location: Make your way to the bustling town of Hernand. You must complete a lengthy chain of favors. Start by finishing the House Robots quest, and immediately follow it up by completing the House Alonso quest. Once you clear those prerequisites, you unlock access to the House Felix faction questline. Progress through this faction’s missions until you reach the grand finale, which tasks you with defeating a massive Stone Giant boss. Slay the boss, turn in the final quest, and the quest giver will reward you with the hat.
Pro Tip: Combine this illuminating hat with accessories that provide movement speed buffs. This setup will drastically reduce the total time it takes to fully clear out massive underground mining routes.
Conclusion
Taking the time to optimize your loadout in Crimson Desert completely redefines your experience in Pywel. Securing the majestic Wyvern mount opens up the map and changes how you approach traversal and combat. Socketing the right Abyss Gears allows you to melt through difficult encounters with customized power, and wearing the correct utility helmet ensures you never waste time during your exploration and gathering sessions. Follow the steps outlined above, upgrade your arsenal, and conquer the skies and the battlefield with absolute confidence.

Leave a Reply