

Last Updated on 29 December, 2025
You begin as a single pixel in a sea of hostile geometry. Nodebuster, the experimental incremental hit from Goblobin, tricks you with its simplicity. You simply hover your cursor to destroy nodes, but every attack strikes back and drains your health. This creates a dangerous dance between greed and survival where you must farm resources faster than the system can delete you. We created this guide to help you navigate the chaos. From managing your recoil damage to optimizing the massive skill tree, we will show you how to evolve from a simple glitch into the ultimate Godvirus.
In this guide, we will break down the core mechanics and provide a roadmap to conquer the prestiges. We have stripped away the confusion and left only the raw data you need to build the ultimate virus-busting machine. Whether you are farming Bits or hunting for the elusive Godvirus Research Lab, this manual holds the keys to your success. You will transform from a simple cursor into a digital god capable of withstanding the toughest prestiges.
Table of Contents
The Core Loop: Surviving the Breach
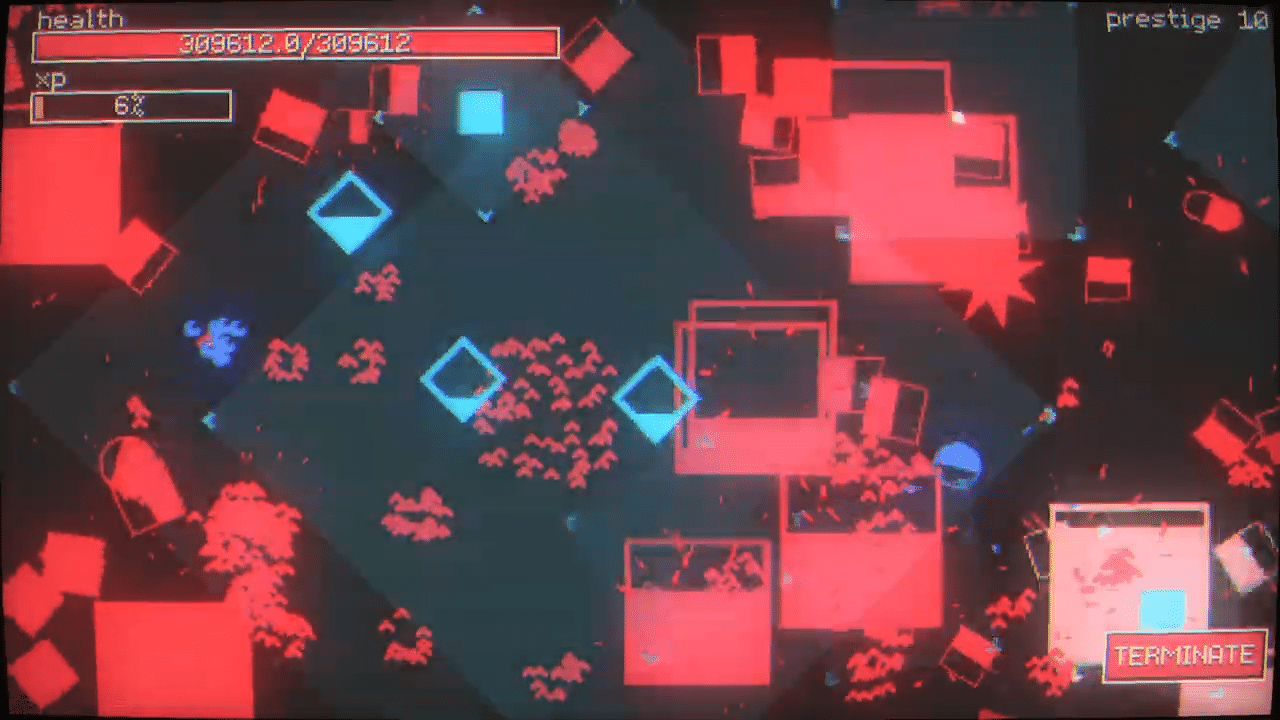
The primary objective in Nodebuster is simple yet brutal. You must survive the Breach long enough to summon a boss and destroy it. You control a cursor on the screen. To damage the enemy virus squares, you simply hover your cursor around them. Your attacks happen automatically on a set time interval. However, the system fights back. When you attack an enemy node, it strikes back and damages you immediately. This creates a delicate balance where you must manage your aggression against your dwindling health bar.
Destruction yields rewards. Destroying a node causes it to drop resources. You must collect these resources quickly by hovering your mouse over them. If you fail to collect them before the round ends, they disappear forever. The round concludes if your health hits zero, if you defeat the boss, or if you choose to terminate the run manually.
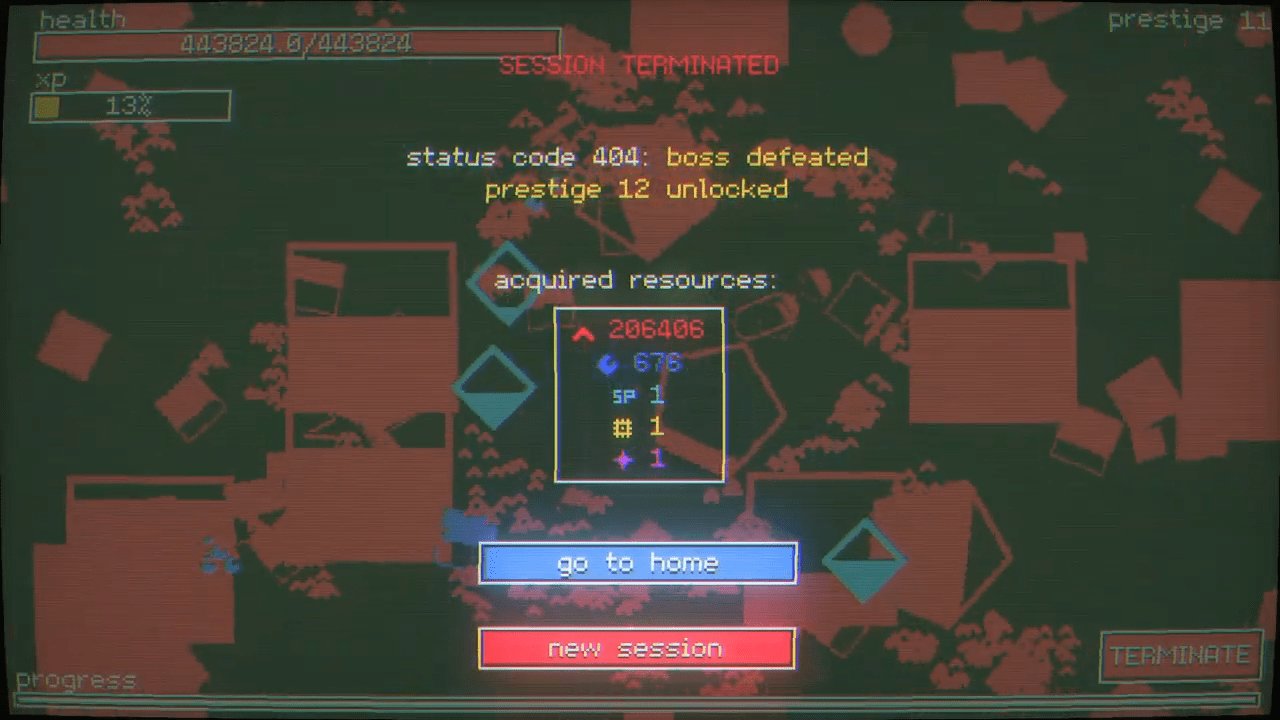
Difficulty ramps up constantly. Enemy health and damage increase over time. This makes killing them harder the longer you stay in a run. Your goal is to defeat the boss, which unlocks higher prestige difficulties. Higher prestige means tougher enemies but also higher rewards. You want to push through these prestiges to increase your loot and unlock additional enemy types. The game challenges you to push your limits, as you strive to climb the difficulty ladder for greater gains.
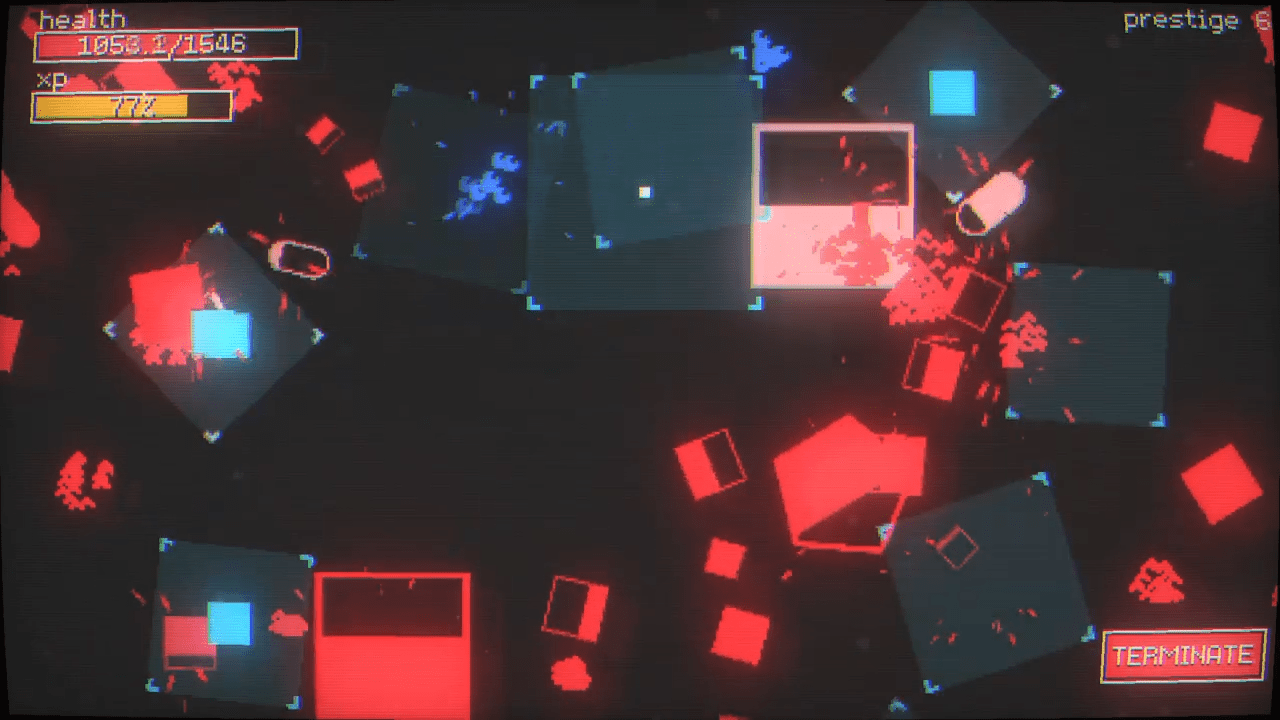
💡Pro Tip: Always keep moving your cursor to gather loot immediately. You need to collect resources by hovering over them before the round ends, otherwise they will vanish and your effort will go to waste.
Strategic Walkthrough
Your journey from a weak program to an unstoppable force follows a specific curve. Follow this detailed roadmap to optimize your progression speed and minimize wasted runs.
Phase 1: The Early Grind
In the beginning, you possess very little power. You need to perform a few quick runs just to gather Bits from the normal red enemies. Take these Bits to the main screen and buy basic upgrades in the tech tree. Do not expect to win immediately. You will likely face defeat by the first Boss multiple times. This is a normal part of the process. Keep doing runs until you gain enough strength to defeat it.
Phase 2: The Prestige Cycle
Once you defeat the boss, you unlock the ability to select a prestige difficulty. Do not jump up immediately. We recommend you complete a couple more runs at prestige 0 to farm more bits and secure more upgrades. Focus heavily on improving your damage and health. You need to reach a point where you can easily eliminate red enemies. Once you achieve that stability, invest as much as possible into spawn rate upgrades. This increases your farming speed significantly.
When you feel ready, try the new prestige difficulty. If you fail to defeat the boss or even reach it, simply dial back to the previous prestige. Perform one or two farming runs there, upgrade your stats, and try again. Rinse and repeat this process to climb the ladder steadily.
Phase 3: The Blue Node Bottleneck
Eventually, you will maximize your basic upgrades and unlock powerful new nodes that grant +2 Armor and +12 Max Health. Prioritize these to last longer. You will also see an option for +20% Attack speed on the right side of the tree. Take this immediately, as it unlocks additional Damage upgrades. All these upgrades will significantly improve your progression and farming speed.
Blue Nodes will serve as your rarest currency until the endgame. You must use them wisely. We suggest the following priority for spending Blue Nodes:
- Damage Upgrades: These increase your farming speed directly.
- Survivability Upgrades: These keep you alive against scaling enemies.
- Auto Pulser Drones: These become useful later on but require investment.
Phase 4: The Netcoin Era
As you continue maxing out upgrades, you will encounter nodes that require Netcoin. You obtain Netcoin by converting Bits in the Crypto Mine. This feature unlocks on the left side of the tech tree after you acquire Attack Size Upgrades. Do not convert all your Bits to Netcoin immediately, as you may still need Bits for other standard upgrades.
Phase 5: The Blood Armor Power Spike
You will eventually reach upgrades that convert a percentage of your health into bonuses for Armor, Health Regen, or Damage. This is the turning point. The game speeds up drastically here. You become significantly stronger and can plow through prestiges easily. Max these out alongside your normal upgrades. After this, aim for additional Auto Pulser Drones and their upgrades to further boost your damage output.
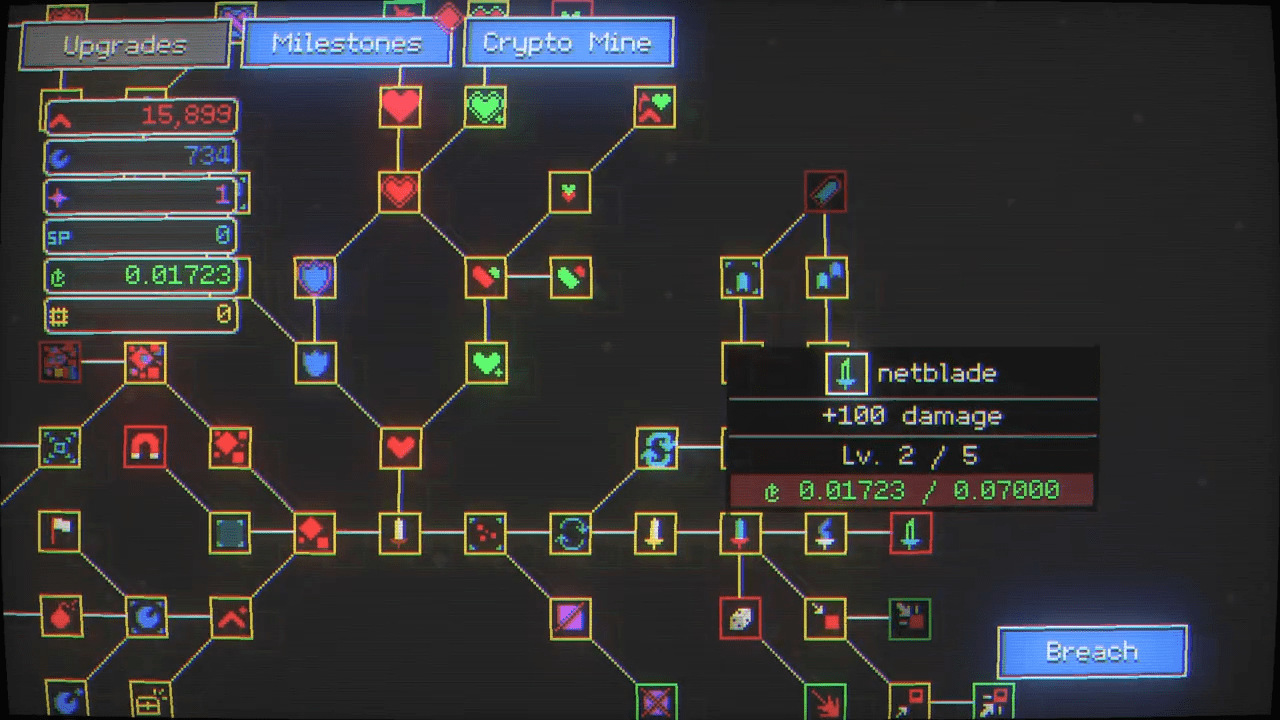
💡Pro Tip: If you find yourself hitting a wall where normal enemies die easily but bosses still destroy you, shift your investment focus specifically into Boss Damage and Boss Armor nodes to bridge the gap.
The Upgrade Economy
Understanding your resources is vital. You start with Bits, but the economy expands as you progress. It is crucial to understand what drops where so you can target your farming runs efficiently.
- Bits: These are dropped by normal red enemies. You use them for basic upgrades and for converting to Netcoin.
- Nodes: These represent the blue currency used for intermediate upgrades. They are rare and valuable.
- Cores: These drop from bosses. You use them for cryptic late-game upgrades deep in the health tree.
- Netcoin: You generate this in the Crypto Mine. It is required for high-tier upgrades.
- SP: This is another currency used within the upgrade tree.
- Processors: These items drop occasionally and serve only one purpose, which is to upgrade speed in the Crypto Mine.
You spend these currencies in the Upgrade Tree. Some nodes require you to invest just one point into a prerequisite node to unlock them. However, others demand that you maximize the current node before moving forward. Nodebuster is pretty flexible with its tech tree and allows you to spread resources without significant penalties to your progression.
Recommended Upgrade Priorities for Fast Growth:
- Survival Foundation: Secure enough Damage, Health, and Armor to survive for approximately 60 seconds.
- Farming Speed: Maximize Spawn Rate.
- Area Control: Increase Attack Size.
- Rare Currency: Boost Blue Spawn Rate.
- Scaling Defense: Invest in upgrades that grant percentage-based Armor and Damage based on the number of enemies in the area.
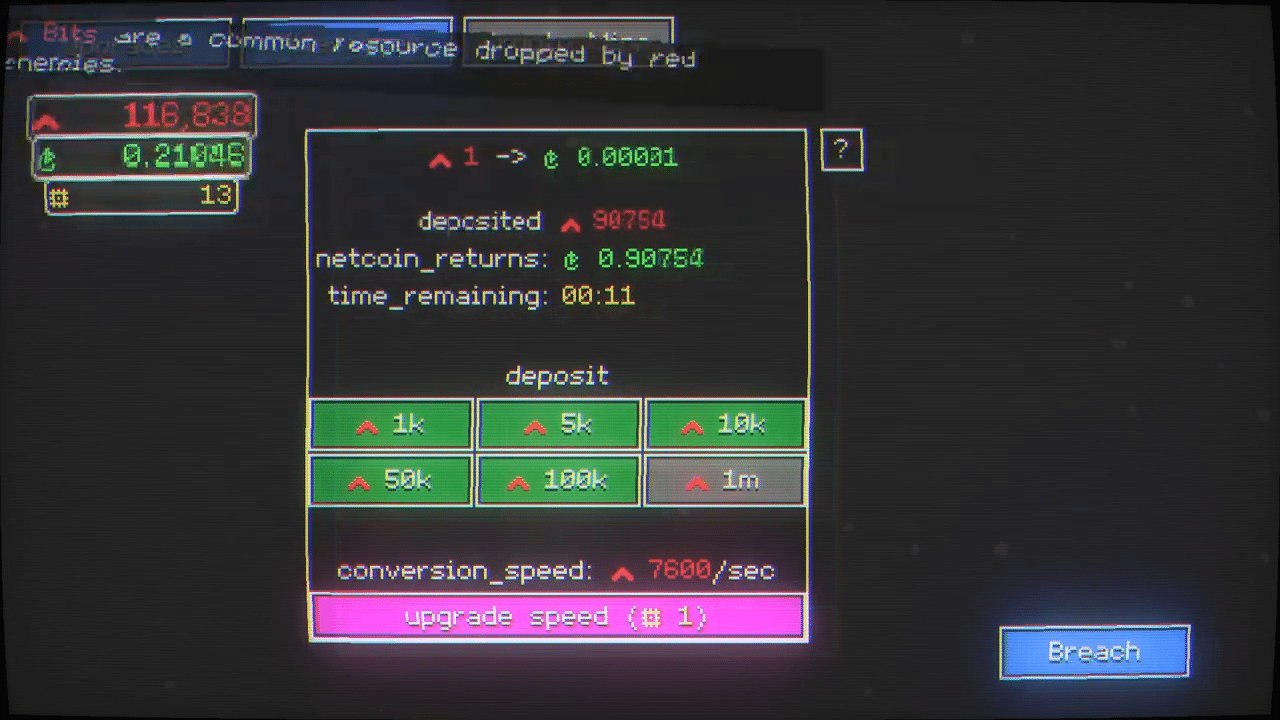
💡Pro Tip: Do not turn all your Bits into Netcoins straight away. You might need them for other essential upgrades, so manage your conversion rates carefully.
Advanced Tactics and Tips
Here are specialized tips to help you navigate the mid-to-late game of Nodebuster. These strategies separate the casual farmers from the prestige masters.
Optimizing Stats
Most basic stats retain their usefulness, but a hierarchy exists. If you can properly kill normal enemies, prioritize Health > Armor > Damage. Survival becomes the limiting factor in deep runs. However, once you finish all Damage upgrades, shift your focus to Critical Chance and Critical Damage. You can actually increase Crit Chance to 100%, which turns all Crit Damage into a guaranteed flat damage increase.
The Pulse Bolt Strategy
Pulse bolts might seem underwhelming at first. They appear pretty useless for a long time during the early game. However, stick with them. Once you unlock their last node, which adds a “bit explosion chance,” they become incredibly powerful. This creates a cascade effect that clears screens rapidly.
The Endgame Grind
As you push through prestiges, you will hit final nodes that have no follow-ups. If you followed the Health upgrade path, you will encounter mysterious, cryptic upgrades that require Cores from bosses. Do not worry about the strange names. Take them and follow the cryptic path all the way to the final unlocks.
For the Godvirus Research Lab, you will need to farm Bits and Netcoins. You have two choices for this grind:
- Grind Prestige 25 multiple times (note that the boss will reset the run).
- Focus on Prestige 24 for longer runs, which allows for more idle farming.
Once you gather the required Netcoins for the lab, you will see what happens next.
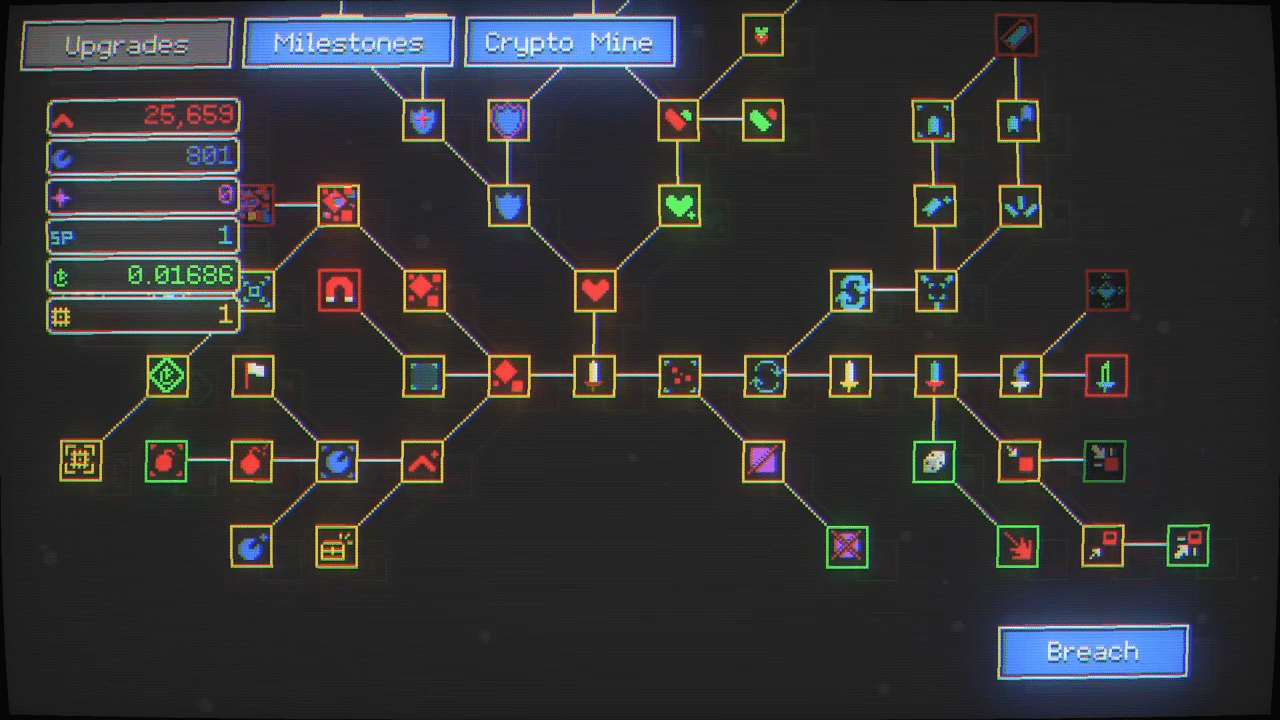
💡Pro Tip: Focus heavily on upgrades that increase your health per kill permanently. These provide immense value over long runs and synergize perfectly with health-scaling abilities.
Complete Skill Tree Database
The skill tree is massive. We have organized every known upgrade below to help you plan your build. Use this data to anticipate your resource needs. Having the skill tree unfold helps foster the feeling of progression, but we have listed it all here for your planning convenience.
Main Attack and Damage
These upgrades form the backbone of your offensive capabilities. Investing here ensures you can clear enemies before they overwhelm you.
- Power: Grants +1 damage. (15 levels)
- Proficiency: Grants +3 damage. (10 levels)
- Potency: Grants +6 damage. (10 levels)
- Nodeblade: A significant boost of +25 damage. (3 levels)
- Netblade: A massive boost of +100 damage. (5 levels)
- Learning: You gain +1% damage every second during the session. (3 levels)
- Bloodblade: You get damage equal to +0.1% of your max health. (1 level)
- Repeating: Increases attack speed by +20%. (1 level)
- Repeat-Repeating: Increases attack speed by another +20%. (1 level)
Conditional Damage Nodes
These upgrades reward specific playstyles and situational awareness.
- Connection Buster: Your attack deals 5% damage per enemy in the area. (5 levels)
- First Strike: Deal +25% damage to undamaged enemies. (6 levels)
- Ambush: Deal +100% damage to undamaged enemies. (4 levels)
- Last Strike: Deal +25% damage to enemies below 50% HP. (6 levels)
- Finishing Blow: Deal +100% damage to enemies below 50% HP. (4 levels)
Attack Size
Larger attacks mean you hit more enemies at once, increasing efficiency.
- Influence: +10% attack size. (10 levels)
- Domain Expansion: +50% attack size. (1 level)
- B.I.G.: +100 attack size. (3 levels)
Criticals and Boss Slaying
Once your base damage is set, use these to scale your power further. Bosses serve as the gatekeepers to new prestiges, so these upgrades are essential.
- Crit Chance: +10% critical hit chance. (10 levels)
- Crit Damage: +50% crit damage. (10 levels)
- Big Crit: +200% crit damage. (8 levels)
- Giant Slayer: +50 damage against bosses. (10 levels)
- Colossus Slayer: +100% damage against bosses. (10 levels)
Secondary Systems
These systems provide passive damage and crowd control. The Auto-Pulsers and Pulse Bolts act as force multipliers when your main cursor cannot be everywhere at once.
Pulse Bolts
- Pulse Bolts: You shoot projectiles outwards on each attack. (1 level)
- Bolt Damage: +25% damage to pulse bolts. (10 levels)
- Bolt Burst: Pulse bolts explode when they expire. (1 level)
- Bolt Count: +1 pulse bolt per attack. (5 levels)
- Bolt Barrage: +2 pulse bolts per attack. (1 level)
- Bolt Lethality: +100% damage to pulse bolts. (3 levels)
- Bit Explosion: All destroyed enemies have a +1% chance to explode into pulse bolts. (6 levels)
Auto-Pulsers
- Auto Pulser: You get a drone that occasionally attacks nearby enemies. (5 levels)
- Pulser Pursuit: +20% auto-pulser movement speed. (5 levels)
- Pulse Thumper: +25% auto-pulser attack size. (6 levels)
- Fast Pulsing: +20% auto-pulser attack speed. (5 levels)
- It’s Pulsing Time: +50% auto-pulser attack speed. (1 level)
Lightning
- Lightning Rod: +5% chance to create chaining lightning when hitting an enemy. (5 levels)
- Thundering: +50% lightning damage. (8 levels)
- Chaining: Lightning chains +1 times. (8 levels)
Survivability Protocols
Health is the primary stat for late-game survival. As enemies scale, your health pool becomes your most valuable asset.
Maximum Health Pool
- Endurance: +4 max health. (10 levels)
- Better Endurance: +8 max health. (8 levels)
- Big Heart: +80 max health. (10 levels)
- Transplant: +300 max health. (10 levels)
- Blood Injection: +4000 max health. (3 levels)
- Indomitable: +50,000 max health. (5 levels)
- Beyond: +100,000 max health. (5 levels)
- Unending Parasite: Gain +1 max health permanently when defeating an enemy. (1 level)
- Parasite Evolution: Increases permanent max health gained to +3 per enemy killed. (1 level)
- Insatiable: Increases permanent max health gained to +8 per enemy killed. (1 level)
Health Regeneration
- Repair Tool: Regenerate +0.1 health/sec. (5 levels)
- Self-Repair: Regenerate +4 health/sec. (1 level)
- Scaling Regeneration: Restore +1% max health/sec. (10 levels)
- Instant Repair: Restore +2% max health/sec. (5 levels)
Conditional Regeneration
- Salvaging: Restore +1 health on enemy kill. (5 levels)
- Skilled Salvager: Restore +8 health on enemy kill. (1 level)
- Sapper: Restore +0.5 health when hitting an enemy. (5 levels)
- Drainer: Restore +10 health when hitting an enemy. (3 levels)
- Extraction: Restore 1% health when hitting an enemy. (2 levels)
- Patcher: Restore 0.5 health when picking up resources. (1 level)
Armor and Defense
Armor mitigates the damage enemies deal when you attack them. Since every attack you make hurts you, high armor is non-negotiable for long runs.
- Firewall: +0.2 armor. (10 levels)
- Antivirus: +0.6 armor. (5 levels)
- Bolster: +2 armor. (10 levels)
- Super Armor: +5 armor. (10 levels)
- Bit Armor: +2 armor. (20 levels)
- Byte Armor: +5 armor. (30 levels)
- Net Armor: +200 armor. (5 levels)
- Blood Armor: Get armor equal to 1% max health. (5 levels)
- Blood Visage: Get armor equal to 5% max health. (1 level)
- Growing: Gain +1% armor every second during the session. (5 levels)
- Swarm Defense System: +2% armor per enemy in the area. (10 levels)
- Focus Armor: +50% armor when attacking 8 enemies or less. (5 levels)
- Boss Guard: +1 armor against bosses. (10 levels)
- Anti-Purple: +25% armor against bosses. (8 levels)
Loot and Spawns
These upgrades accelerate your economy and progression. More spawns mean more loot, and better loot collection means faster upgrades.
- Crowding: +50% spawn rate. (15 levels)
- Swarming: +200% spawn rate. (1 level)
- Infesting: +100% spawn rate. (5 levels)
- Overloading: +400% spawn rate. (5 levels)
- Spawn Exploders: +5% chance to spawn enemies that explode on death. (1 level)
- Exploder Area: +15% exploder explosion size. (5 levels)
- Bit Boost: Red enemies drop +1 Bits. (1 level)
- Node Finder: +1% chance for blue enemies to spawn. (5 levels)
- Node Boost: Blue enemies drop +1 Nodes. (1 level)
- Processor Acquisition: Chance for yellow enemies to spawn. (1 level)
- Endless: Increased yellow enemy spawn rate. (1 level)
- Plundering: +10% chance for double resource drops. (5 levels)
- Magnet: +50% pickup range. (5 levels)
- Auto-Collect: +10% chance to automatically collect enemy drops when dropped. (8 levels)
Tab Unlocks
- Milestones: Unlock the milestones tab. (1 level)
- Crypto Mine: Unlock the Crypto Mine tab. (1 level)
- The Lab: Unlock the laboratory tab. (1 level)
The Cryptic Path
These mysterious upgrades appear deep in the health path. They typically require Cores. The names may seem confusing, but they are linear.
- To Infinity: ??? (1 level)
- Going Nowhere: ??? (1 level)
- Void: ??? (1 level)
- No Return: ??? (1 level)
- Where: ??? (1 level)
- In The Distance: ??? (1 level)
- Something Happens: ??? (1 level)
- Event Horizon: ??? (1 level)
- Singularity: ??? (1 level)
💡Pro Tip: Do not ignore the Blue Nodes just because they are rare. Since they increase your farming speed via Damage upgrades, they pay for themselves over time by allowing you to kill and loot faster.
Conclusion
Nodebuster offers a deep, flexible system where your ability to balance aggression with survivability determines your success. You start as a glitch in the system and evolve into a digital catastrophe for your enemies. By following the upgrade priorities, leveraging the power of Blood Armor, and persisting through the Prestige difficulties, you will conquer the grid.
Remember that the game allows you to spread resources without significant penalties, so do not be afraid to experiment. Max out your damage, hoard your Netcoins, and prepare for the singularity. Good luck in the Breach!

Leave a Reply