
Last Updated on 12 March, 2026
Welcome to the ultimate completionist guide for Horripilant, a dark dungeon crawler that ruthlessly tests your endurance and puzzle solving skills. Many players wander blindly through the shadowy depths and completely miss critical story triggers, but this comprehensive guide solves that problem by revealing every hidden path. We provide exact step by step solutions for all 57 achievements, the complex Mirror Dimension puzzles, and the grueling deathless run to floor 1000. Prepare your camp and gather your materials, because we are going to conquer every terror this game has to offer.
Table of Contents
1. Production and Resource Gathering
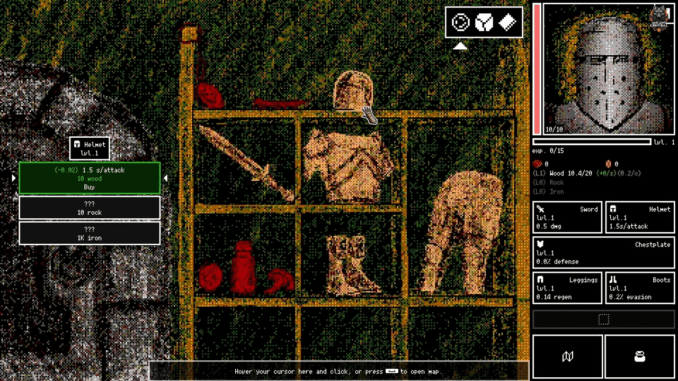
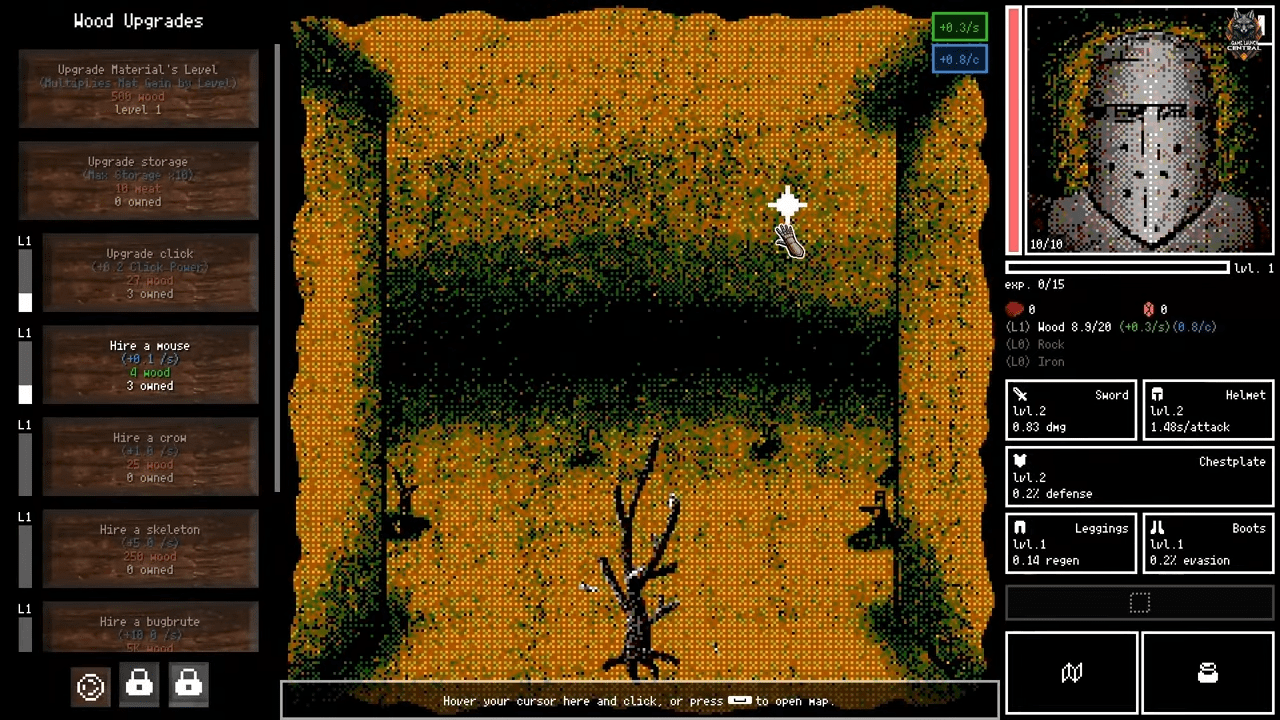
To survive the horrors below, you must master your camp economy. Resource management forms the strict backbone of your progression in Horripilant.
Basic Gathering
You will start with the absolute basics to build your foundation.
- Twig Collector: You accomplish this very easily. Simply gather wood for the first time.
- Rock and Stone: Similar to gathering wood, you only need to gather rock for the first time to secure this milestone.
- Fancy Metal: To complete the basic material trio, you must collect iron for the first time.
Production Upgrades
The game highly rewards you for automating your camp and scaling your resources.
- Production I: You must increase your material production to 10 per second. You achieve this by investing your materials into passive production upgrades instead of click power. This milestone unlocks very quickly once you get your first few generators running.
- Production II: You must increase your material production to 1,000 per second. You will need to rely on mid-game upgrades and skill multipliers to reach this rate.
- Production III: You must increase your material production to a staggering 100,000 per second. This goal requires your absolute strongest upgrades.
Manual Clicking
Sometimes automation falls short, and you need to take matters into your own hands.
- Click I: You must increase your material gained to 10 per click. You need to invest in your click upgrades early to boost your manual resource gain.
- Click II: You must increase your material gained to 250 per click. This requires stacking various click multipliers and skills.
- Click III: You must increase your material gained to 2,500 per click. This also requires heavy dedication to stacking your click multipliers and utilizing your skill tree effectively.
2. Enemies and the Bestiary
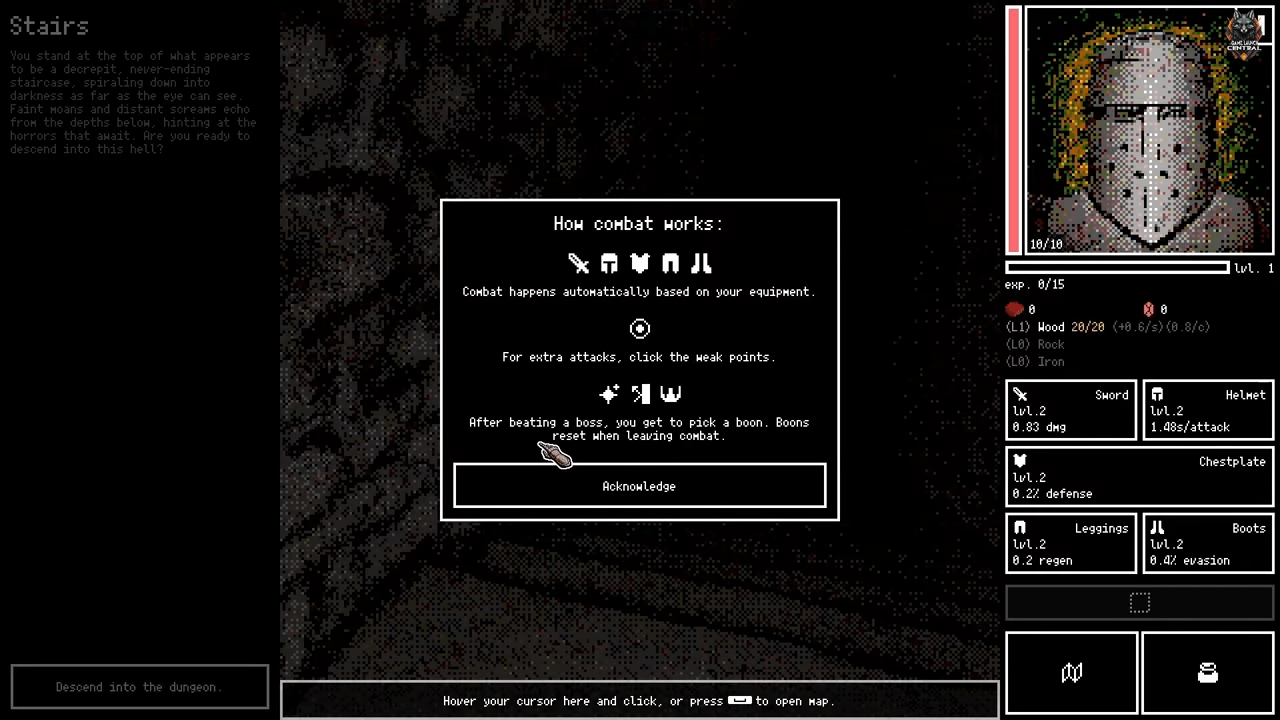
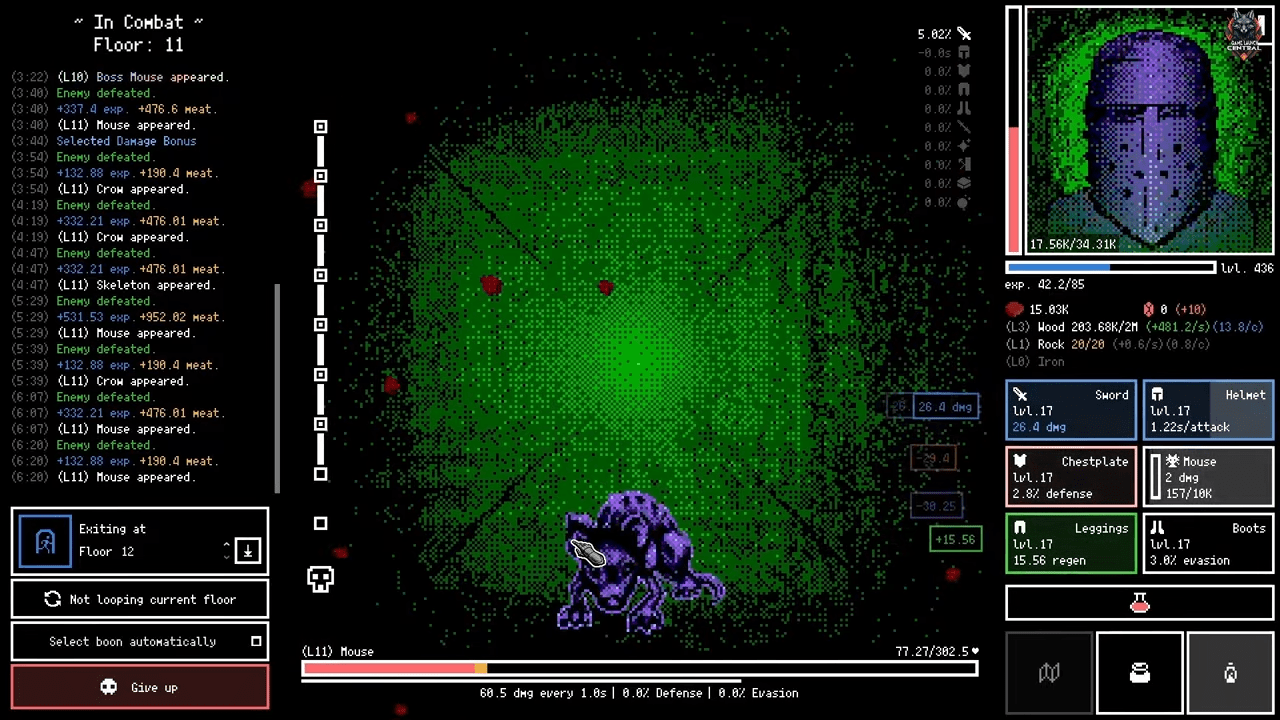
Combat in Horripilant is absolutely relentless. You will spend a massive portion of your playtime slaying the creatures that lurk in the dark dungeon.
First Blood
- Self Defense: You begin your combat journey by unlocking this achievement. You simply need to enter the dungeon and kill an enemy for the very first time.
The Bloodlust Grind
The game actively tracks your total kill count across six brutal and escalating milestones known as the Bloodlust series. You will unlock achievements for hitting very specific numbers.
- Bloodlust I: Kill 100 enemies.
- Bloodlust II: Kill 1,000 enemies.
- Bloodlust III: Kill 25,000 enemies.
- Bloodlust IV: Kill 50,000 enemies.
- Bloodlust V: Kill 75,000 enemies.
- Bloodlust VI: Kill 100,000 enemies. You must prepare yourself for a long grind because hitting this final amount takes a substantial amount of time to complete.
Monster Variety
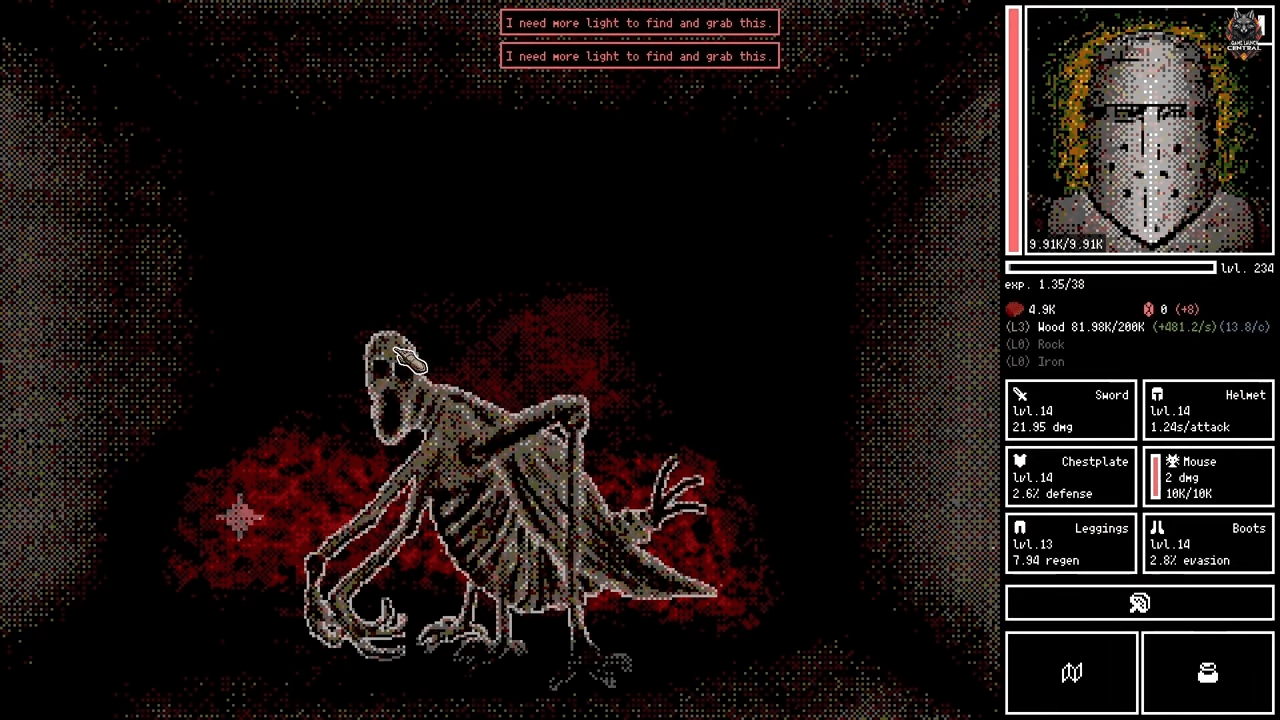
- Full Bestiary: Beyond sheer numbers, you must also focus on variety. Horripilant features exactly 16 unique enemy types hidden throughout the game. To unlock this achievement, you must encounter and kill every single one of these unique enemies at least once.
3. Hemalith Progression
Hemalith serves as a crucial magical currency that drops naturally as you progress deeper into the dungeon. The game tasks you with stockpiling this rare resource through the Blood Power achievement series.
Gathering Blood Power
- Blood Power I: You must obtain a total of 10 Hemalith. Your early dungeon runs will easily provide enough drops to unlock this quickly.
- Blood Power II: You must obtain a total of 100 Hemalith.
- Blood Power III: You must gather a total of 1,000 Hemalith.
- Blood Power IV: The requirements jump significantly for the late game. You must obtain a total of 5,000 Hemalith.
- Blood Power V: You must obtain a total of 10,000 Hemolite. This serves as a major late game milestone. You will likely unlock this massive requirement naturally while you are actively preparing for your final push to floor 1000.
4. Skills, Upgrades, and Rebirth
Your character requires constant improvement to survive the escalating threats found in the dungeon depths.
Upgrading and Failing
- Power in Numbers: You begin your progression path by simply doing an upgrade and leveling it up for the first time.
- Dropped Meat: Failure brings its own unique rewards in this game. You must crawl out of battle and lose meat for the first time. You will achieve this simply by losing a fight inside the dungeon.
- Greater Capacity: You must manage your base logistics. Spend your hard earned resources to increase your storage limit in the camp. The achievement unlocks immediately after you finalize your first upgrade.
Skill Tree Mastery
- Jack of All Trades: You must diversify your abilities. Gain at least one level in every single skill. You achieve this by spreading your points evenly across the entire skill tree.
- Skill Expertise: You must master a specific domain. Focus all your points into one branch and fully upgrade it.
Camp Actions and Prestige
- It is dark in here…: You must interact with your surroundings. Extinguish the campfire for the first time. Inside the camp, spend 100 meat to put out the fire.
- Become Anew: You must master the prestige system. Rebirth for the first time by resetting your progress via reincarnation.
5. Managing Familiars
You do not have to brave the darkness completely alone. Familiars offer companionship, combat utility, and sometimes a grim solution to a puzzle.
Finding and Losing Companions
- Oh, a Friend!: You unlock this naturally as you progress and obtain your first familiar.
- K.I.A: Combat is highly dangerous for your companions. You must let a familiar die during a combat encounter.
- Pet Sitter: You must collect every single familiar available in the game at least once.
Healing and Sacrificing
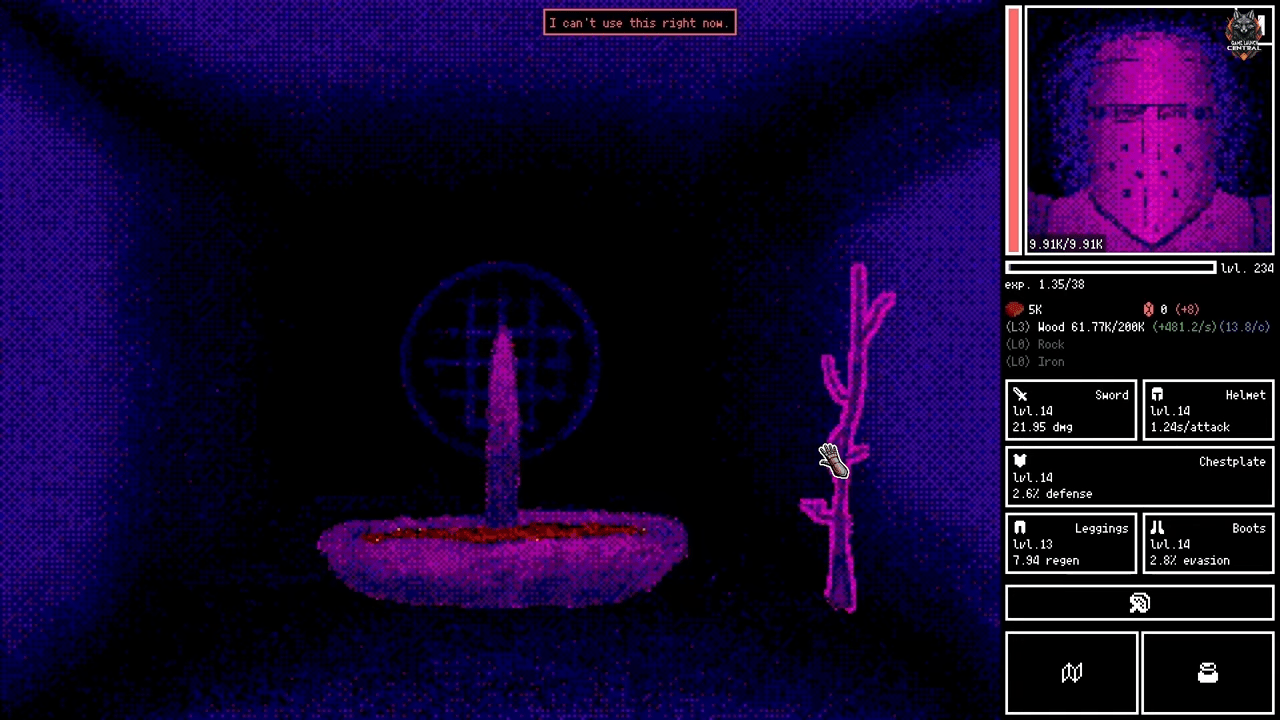
- Caretaker: You must act as a healer. Nurse a familiar back to full health. First, your familiar must take damage in combat but survive the encounter. After the familiar sustains damage, travel to the Mirror World. Enter the room that contains the mirrored altar (which looks like a nest structure resting on the floor). Interact with this altar to restore the familiar to full health.
- Oh… Oh No…: You will also have to make dark choices. You must sacrifice a familiar at the altar in the camp. Go to the Camp, enter the right room, and click the altar while you have a familiar in your inventory.
6. Endgame Challenges
Only the most dedicated players will conquer the deepest floors of Horripilant.
The Ultimate Push
- Now what?: The game tests your ultimate endurance. You must reach floor 1000.
- The Final Passage: This serves as the absolute test of skill. You must clear floors 1 through 1000 in one single run without dying. This immense task requires serious preparation.
Tracking the Runes
- The Final Gate: You must stay highly observant during your descent. The required rune stones drop every 50 floors.
7. Miscellaneous Feats
These specific tasks require exact sequences or interactions with unique characters.
Divine Encounters
- Meet god.: You unlock this by progressing through the dungeon until the encounter triggers automatically during the story.
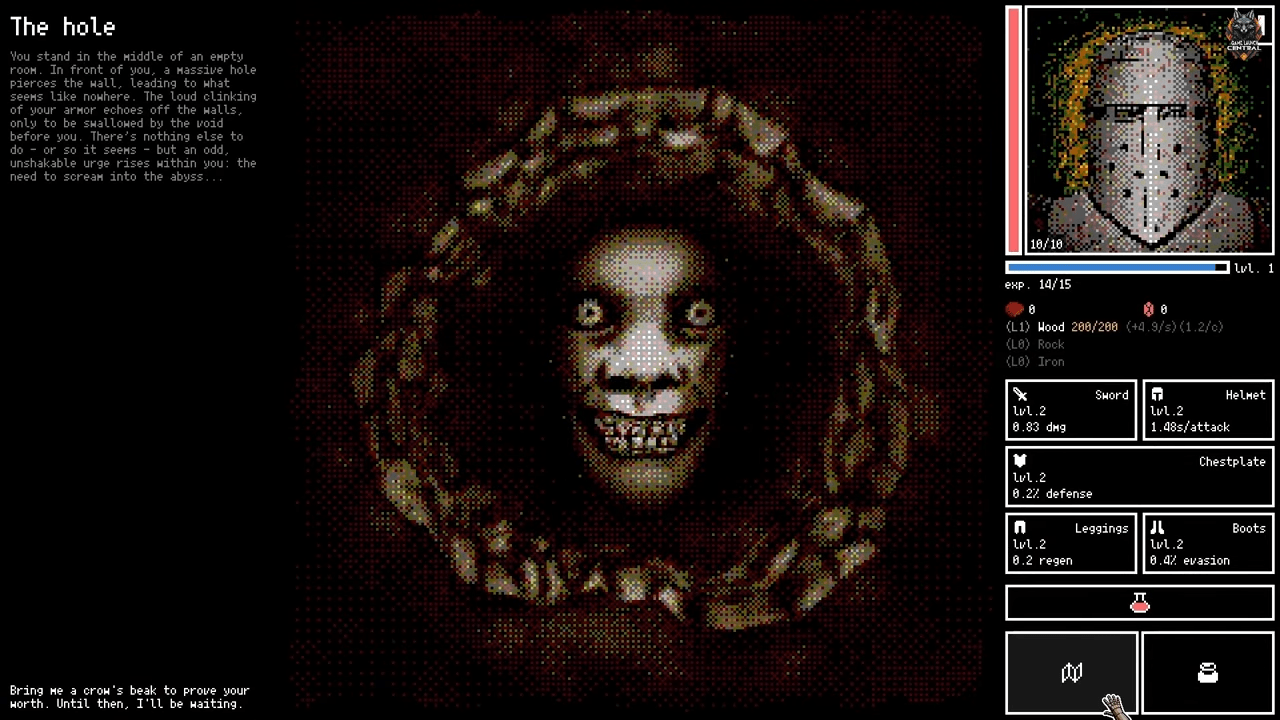
- Nice try.: You can defy this deity. Simply click the Skull Amulet in your inventory while you are standing in the pit.
Merchant Trades
- Blood Thirsty: Trading is vital for your strength. Visit a merchant and exchange your gathered materials for a Hemalith boost. The achievement unlocks as soon as you complete the first exchange.
- Temporary Boost: Visit the Mirror World merchant and exchange Hemalith for temporary strength. The achievement unlocks immediately after the purchase.
The Fresh Save Challenge
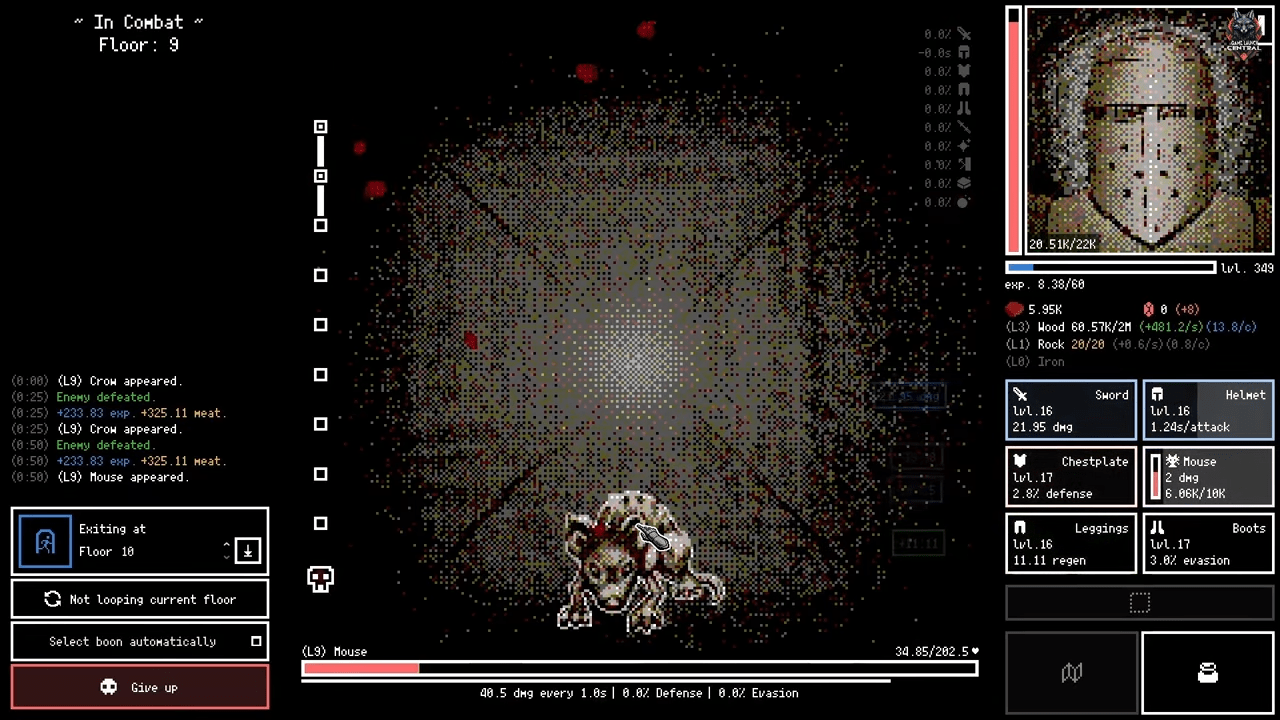
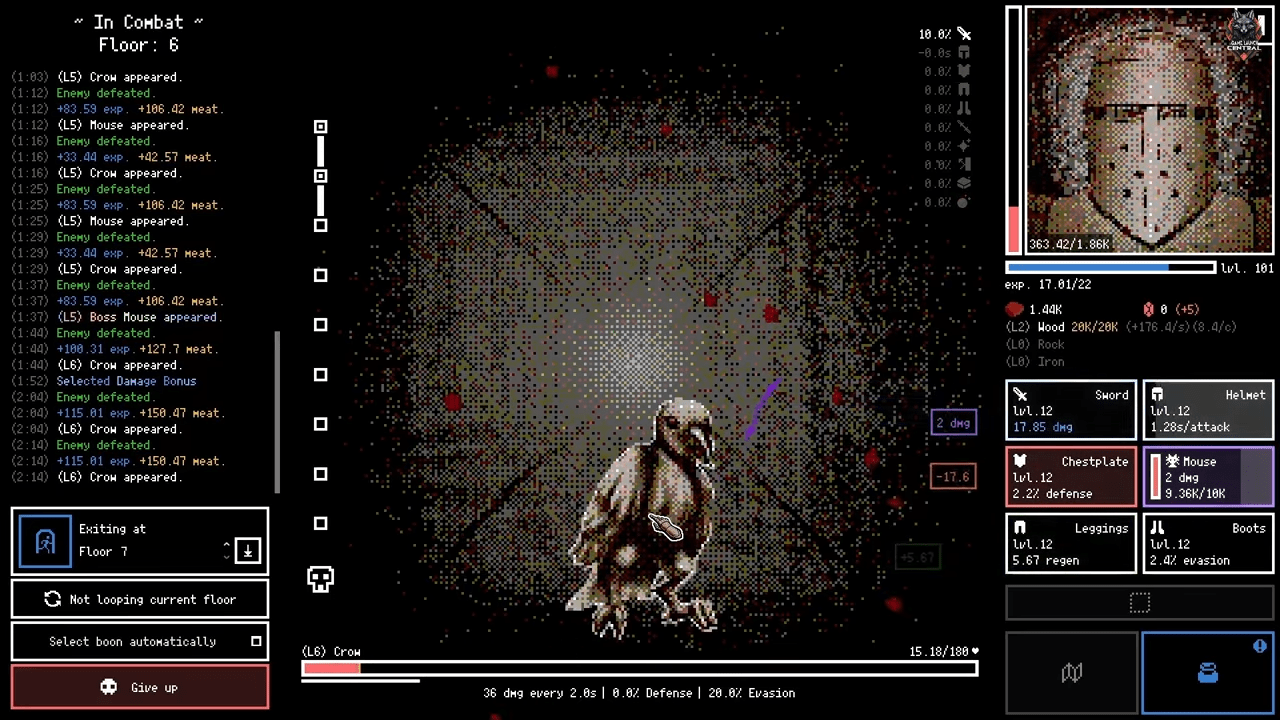
- Naturally Skilled: This achievement requires extreme caution. You must reach floor 10 without dying, prestiging, or abandoning the run on a completely fresh save. Start a new game and keep in mind that abandoning a run counts as a death. Begin by farming floor 1 safely. After each enemy encounter, exit the fight to avoid unnecessary damage. Collect enough Meat to upgrade your Wood Storage and improve your stats and equipment. Level up, upgrade your gear, and increase your health pool. Consider using the Looping Current Floor option where you defeat all enemies on a floor, exit with the same or higher HP, and farm experience and bonuses. Do this carefully until you conquer floor 10.
8. Story Progression and Complex Puzzles
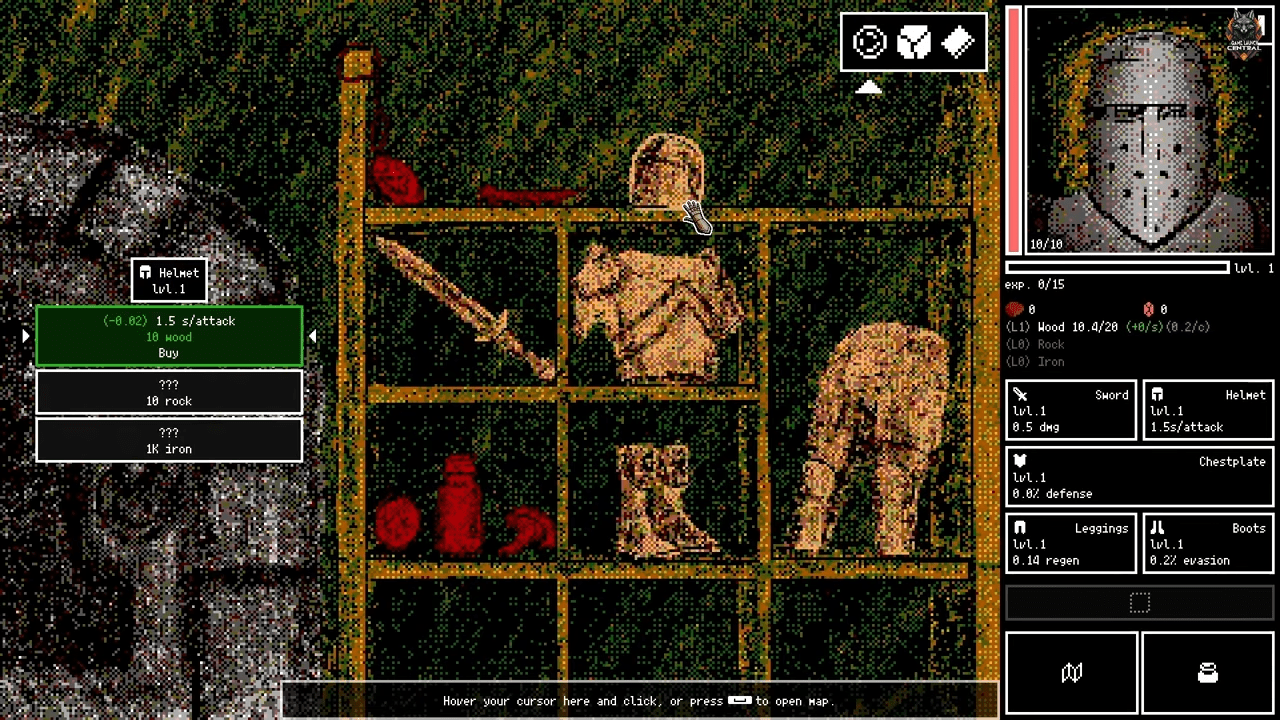
The story in Horripilant often requires specific items dropped from certain dungeon levels. First, you get the key for the backroom by retrieving it from the campfire in the camp. The passage to the backroom sits behind the equipment stall. Next, locate the key to the right room in the camp resting on the barrels in the main camp room.
Keys and the First Crack
- I hear crumbling…: Open the crack in the camp by using the first rune combination. Progress through the dungeon until your journal automatically records the first rune stone combination. Return to the camp where a crack will appear in the wall. Enter the crack and pick up the lantern in the bottom right corner. Use the lantern to highlight the passageways and carefully select 4 paths without encountering monsters.
The Three Doors
- A set of doors.: Complete the first crack sequence and go through it to reach 3 doors. At the Middle Door, input the second rune combination. An NPC will provide a crowbar and dynamite. At the Right Door, unlock it with the third rune combination.
- A Gate Opens…: Approach the middle gate in the camp and input the second runestone combination. The nearby NPC gives you the crowbar and dynamite.
- Another gate…: Go to the right gate in the camp and input the third runestone combination. This gate leads to new puzzles, the bridge, and access to exchange materials.
- Yet Another Gate…: Enter the crack in the camp and input the third rune combination to unlock the left door.
Sewers and Spirits
- Rusted Pipes: Repair the bridge using resources. Next, repair and activate the lever in the sewer. It will drop into the dungeon to unlock further progression.
- No Longer in Limbo: Sacrifice any familiar at the camp altar. Pull the water lever from the Rusted Pipes sequence. Enter the hidden crack inside the sacrifice room (which unlocks after a dynamite explosion). Use the Skull Amulet on the ghost to complete the puzzle.
The Gem Puzzles
- Cold Blooded: Clear the spider web path by dragging the webs away. Open the map whenever the spider approaches to reset its position.
- Slotted In: Insert the green gem into the Mushroom statue. Memorize the blinking light sequence on the table next to the mushroom. Travel across rooms by clicking the map to repeat the sequence.
- Another Plane: Repeat the blinking light sequence again across the rooms.
- No longer blind.: Insert the blue gem and replicate the flashing light sequence.
Mirror Dimension and Final Choice
- A Door Opens and Another Opening…: Extinguish the fire in your camp. Enter the Mirror Dimension. Collect the coin from the meat pile. Drop the coin into the well to open a hidden passage and receive a rope.
- The Angels Sing Again: Use the rope to ring the bell and obtain the saw. Use the saw in the Mirror Dimension to retrieve the crank. Install metal rods on pedestals and collect the torch. Give the torch to the left angel in the camp.
- Made Your Choice: Reach the final cutscene after defeating the boss. Select either of the two ending options presented.
Conclusion
Conquering Horripilant requires a perfect blend of patience, sharp observation, and strategic resource allocation. By following this comprehensive guide, you now possess the exact knowledge needed to farm materials efficiently, solve the intricate Mirror Dimension puzzles, and survive the grueling descent to floor 1000. Keep your lantern bright, protect your familiars when possible, and always double check your rune combinations. Good luck, and may your deathless runs be entirely free of errors.

Leave a Reply