
Last Updated on 9 December, 2025
Victory in Mech Armada demands more than just firepower. It requires the right combination of mobility, durability, and tactical utility. This guide provides a comprehensive breakdown of every part in the game to help you construct the ultimate alien-killing machine. We base these insights on high-level Challenge 12 gameplay where the effectiveness of your build determines your survival. While daily bonuses provide strong advantages, this analysis focuses on the raw utility of the parts themselves. Remember that the game includes a sandbox mode for you to test these combinations, but use this guide as your blueprint to master the mechanics and discover your own broken strategies.
Table of Contents
- Transports: Walkers and Spiders
- Transports: Tracks and Tanks
- Transports: Jets and Wheels
- Transports: Specialized
- Bodies: Offensive
- Bodies: Defensive
- Bodies: Hybrid
- Bodies: Aura
- Weapons: Close Range
- Weapons: Mid Range
- Weapons: Long Range
- Weapons: Area of Effect
- Weapons: Support and Utility
- Conclusion
Transports: Walkers and Spiders

These transports define mobility. They all possess the unique ability to move after they execute actions, including weapons and abilities. You can utilize this for advanced techniques like equipping an Area of Effect weapon and firing it on empty terrain just to trigger the bonus movement. Note that this mechanic only refunds spent movement points. If a walker moves once, it recovers only one point. These units excel at kiting enemies. Choose the Infinite Loop expansion to store movement for the ultimate strategy.
Mini Walker
The Mini Walker offers a cheap entry point with high uses. It provides 2 HP and 2 movement for a low energy cost of 3. Each upgrade refunds spent movement up to 2 per turn. This unit works perfectly for hit and run tactics. If you acquire the diagonal movement expansion, these units provide immense value. They pair exceptionally well with Aura bodies. You can walk near the frontline, apply buffs, and retreat to safety before the turn ends.
Walker
The standard Walker increases survivability with 6 HP while it retains the move after action ability. It serves as a reliable mid-run pick that complements most weapon loadouts. While you should avoid damage generally, the Walker can take an occasional hit without crumbling. It synergizes effectively with close to mid range weapons like the Shotgun or Flamethrower.
Mega Walker
This massive transport starts with a robust 10 HP. It allows for riskier plays and damage mitigation. You can march a Mega Walker up to a priority target, eliminate it, and retreat to avoid swarming enemies. With the right buffs, it can enter deep enemy territory to attract aggression or stall an advance. However, avoid starting with this unit unless you specifically need the health. Other walkers offer more uses and lower costs for the same mobility abilities.
Mini Spider
The Mini Spider moves diagonally naturally. This makes it a fantastic addition to any squad. It fulfills a similar role to walkers but offers superior navigation through impassable terrain. It allows you to sidestep enemies and support other mechs without blocking paths. Be careful in the late game. Some enemies eventually gain diagonal movement, which means the single movement refund might not suffice for escape.
Spider
Similar to the standard Walker, the Spider possesses enough HP to survive hits from weaker foes. Its diagonal movement makes it superior for flanking maneuvers. You can move in, shoot, and retreat one or two spaces. It serves as a solid all-rounder, though you only get two uses per run.

Transports: Tracks and Tanks
These units prioritize durability. They possess high health, and some feature armor. They also gain double movement when they traverse roads. The Track series cannot enter rough terrain, while the Tank series gains access to the powerful Push ability.
Mini Tracks
This is a decent starter unit with the lowest resource cost of all transports. While not the strongest option, the extra health helps with healing expansions or protecting weapon platforms. It shines as a scout or a sacrificial pawn. Use it to secure energy tiles while your main force fights. It pairs well with the Kamikaze body and Big Rocket weapon due to its cost effectiveness.
Tracks
The standard Tracks boast the highest transport health pool in the game at 9 HP. This makes them excellent candidates for tanking roles at a low credit cost. While they lack armor, the Pristine Health expansion works wonders here. The double movement on roads helps set up choke points, but you should not rely on it exclusively. Prioritize the expansion that allows movement onto rough terrain.
Tank
The Tank introduces armor to the equation. It has 5 HP and 1 armor initially. It beats the Tracks in utility thanks to the Push action and the ability to enter rough terrain. The Push ability allows you to shove an enemy or ally one tile and occupy the empty space. You can push enemies to reduce their range or push allies to reposition them. A hidden tech exists here as the Impenetrable Defenses expansion persists if you use Push. The game does not count it as conventional movement.
Mega Tank
If you require a fortress, choose the Mega Tank. It combines high health, armor, and utility. It allows other units to use AoE weapons nearby without fearing friendly fire as much. Armor also reduces damage from Damage Over Time effects like the Scourge. Pair this with high HP or armored bodies to maximize its potential.

Transports: Jets and Wheels

These transports focus on positioning and speed. They lack the safety nets of move after action or heavy armor, so use them with caution.
Mini Jet
The Mini Jet offers air support. It flies over terrain which enables unique positioning for support units. While it has low HP, the ability to occupy tiles inaccessible to others is invaluable. You can use it for air assault or support. The expansion that increases flying unit movement makes this part incredible as it allows for key strikes across the map.
Jet
The standard Jet is bulkier and more expensive. It can survive frontline combat better than its mini counterpart. Retreating over mountains or units gives it significant tactical value. A clever trick involves supporting this transport with mines. You can deploy mines to defend the Jet while it attacks from mountain tiles.
Trike
The Trike dominates as a speedster. It is fast, cheap, and abundant. At level 2, it gains movement when at or below 6 HP. You can trigger this passive if you use bodies that max at 6 HP or if you purposely damage a heavier body. This creates great synergy with Berserk or Echo bodies.
Buggy
The Buggy shares traits with the Trike but offers more health. It can equip heavier bodies and charge the frontline. If you use this for assault, you must invest in the third upgrade. The Maximus body works well here. Its default level activates the Buggy’s passive immediately.

Transports: Specialized
These transports offer unique movement options that require specific planning.

Jetpack
The Jetpack functions as a hybrid between a Walker and a Jet. It uses a jump action to move which effectively allows it to move after acting in a unique way. It excels as a shock trooper. You can position it on turn one and retreat on turn two. A powerful synergy exists with the Echo body. As discovered by the community, Echo doubles non-weapon actions. This allows the Jetpack to jump in, fire, and jump out in a single turn.
Turret
The Turret offers high HP and mobility but loses precise movement. You must move at least two spaces when you jump. This requires careful planning. Once it reaches level 3, it gains diagonal mobility which mitigates its weakness. Turrets work well when they hopscotch together to cover each other.
Teleporter
The Teleporter requires another mech to move effectively until level 3. It can swap places with allies. This unit acts as a bait and switch master. You can teleport in, attack, and swap with a tank. At level 3, it gains move after action utility. There is a hidden tech where you can teleport tread or wheel transports onto rough terrain without penalty.
Roller
The Roller challenges even experienced players. It cannot move and attack on the same turn. To compensate, it boosts weapon range and damage. If you struggle with this, equip a Turbo or Echo body to allow movement after actions. It also serves as a strong mothership for drones.

Bodies: Offensive
These bodies prioritize damage output and aggression.

- Chain Reaction: This body attacks again with the weapon that secures a kill. It works like a durable, delayed Echo. It synergizes with walkers which allows you to move, kill a weak target, and retreat.
- Turbo: A cheap body that grants mobility upgrades. It suits Trikes and Buggies perfectly.
- Bullseye: This body increases weapon damage significantly but only has one slot. It pairs well with multi-hit or AoE weapons like the Raygun or Electroshock.
- Berserk: A personal favorite. It grants massive damage bonuses when health drops below 5. Let it take a hit early, then keep it alive. It melts enemies when paired with Gatling Guns.
- Echo: This body allows you to use your weapon twice per turn. It serves as a fantastic force multiplier for core weapons. It also doubles non-weapon actions like the Jetpack jump.
- Ranger: Increases weapon range and gains slots with upgrades. A simple, effective general use body.
- Kamikaze: Explodes on death. Combine this with the Initiative expansion for emergency kill orders. Best used with cheap parts like Mini Tracks and Machine Guns.
- Missilehead: Comes with a built-in Mini Missile. It provides three effective weapon slots but carries a high cost.

Bodies: Defensive
These bodies survive through health or armor.

- Heavy: Resists debuffs and possesses high health. It needs healing support to function as a tank.
- Impervious: The ultimate fortress. It has armor and resists debuffs but loses movement initially. Use the Push ability or external movement support to position it.
- Defender: Gains armor every time it takes damage. It loves friendly fire from AoE weapons to build stacks. Avoid debuff heavy enemies.
- Reflector: Counters a percentage of damage received. It needs healing and armor buffs to survive long enough for the counter damage to matter.
- Immune: Resists debuffs and DoT effects. A cheaper defensive option that creates a sturdy wall when stacked.
- Dodger: Relies on a percentage chance to dodge. It is unreliable as a main tank but can save you from boss one-shots if luck holds.

Bodies: Hybrid
These bodies rely on weapon synergy rather than stats alone.

- Trooper: High HP and three weapon slots, but only one use. Expensive to field but powerful.
- Gambler: Forces variable damage weapons to hit their maximum. Great for early game Double Double or Minigun builds.
- Maximus: Raises the upgrade level of attached parts. Excellent for saving credits on expensive setups.
- Tenacious: Regenerates health every turn. Self-sufficient and great for tanking or aggressive plays.
- Engineer: Doubles the effect of tiles it stands on. Hidden tech: It doubles energy gained from energy tiles.
- Triple: The cheapest three weapon slot body. Requires a heavy weapon inventory to utilize fully.
- Tuple: A balanced all rounder with no downsides.
- Dual: Low cost, two slots. Good for budget builds.
- Basic: The absolute minimum. Use it for Zap Brannigan tactics where you body block with cheap parts.

Bodies: Aura
Aura bodies buff nearby allies. They usually belong in the backline.

- Mechanic: Provides health regen aura. Good for sustain but cannot overheal.
- Booster: Grants movement speed to neighbors. Vital for positioning strategies.
- Eagle Eye: Grants range bonuses. Two of these stacked can break the difficulty of the game by allowing you to snipe enemies from safety.
- Bodyguard: Grants armor to neighbors. Essential for tank formations.
- Commando: Increases ally damage. Great for escorting Gunner Drones.
- Mischief: Increases damage dealt to enemies next to it. Risky, but amplifies mines, counters, and DoTs.
Weapons: Close Range
Close range weapons are designed for the first mech entering the fight.

- Saw: High damage, range 1. Best used when paired with a Claw to pull enemies to you.
- Shotgun: High damage that drops off with distance. Tech: Damage reduction applies before buffs, which makes damage buffs highly effective here.
- Machine Gun: Free, low damage. Use as filler or for energy farming mechs.
- Shield: Provides temporary armor. Use to stall enemies.
- Energy Shield: Provides armor and counter damage. Great with the Defender body.
- Hammer of Light: Only kills Fog enemies. Keep a stockpile of energy if you bring this.

Weapons: Mid Range
Mid range weapons can be used by any mech as they are balanced in range and damage.

- Mini Missile: Cheap, guaranteed damage. A solid starter weapon.
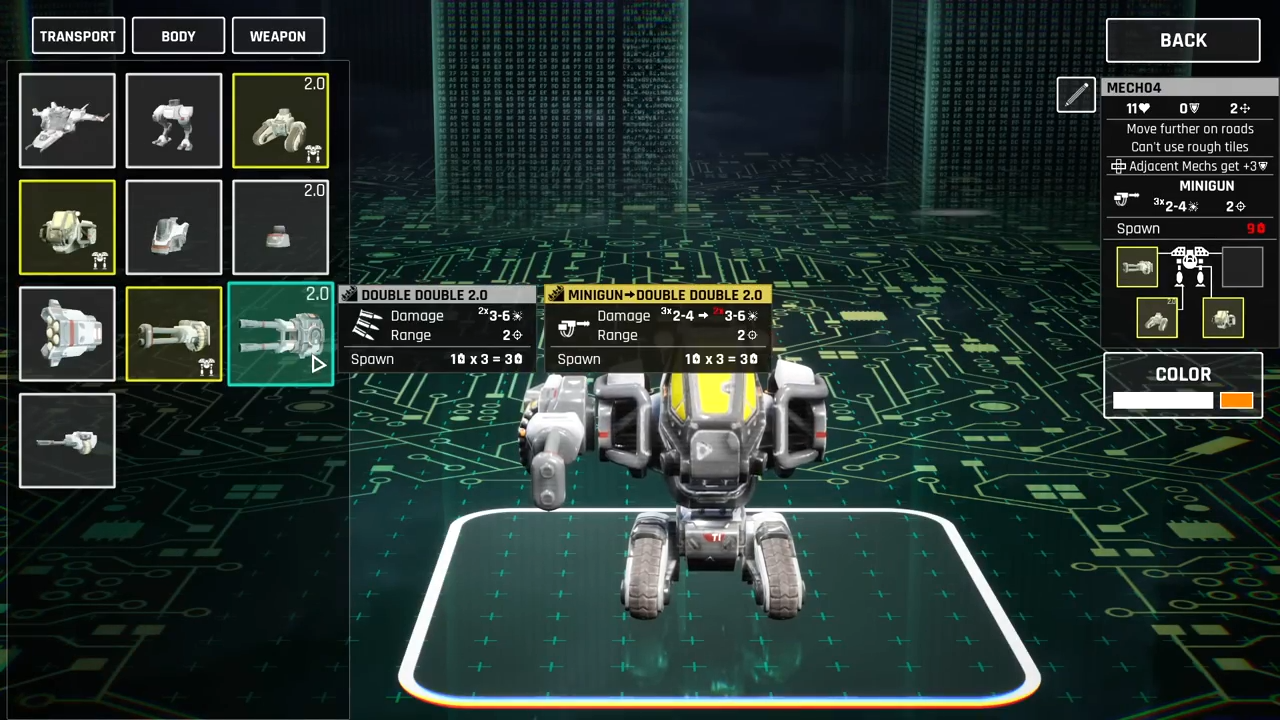
- Double Double: Two hits, variable damage. Falls off against armored foes.
- Minigun: Three hits. Benefits from damage buffs.
- Gatling Gun: Four hits. Shreds enemies when paired with damage buffs but struggles against armor.
- Cannon: Pierces and reduces armor. Vital for debuffing tough targets so other weapons deal more damage.

Weapons: Long Range
Long range weapons hit hard from a distance but often have downsides.
- Sniper: High damage, long range. Synergizes perfectly with Rollers and Eagle Eye bodies.
- Air Strike: Delayed damage. Requires prediction of enemy movement.
- Big Rocket: Consumable, massive damage. Requires reloading by swapping weapons or scrapping the mech. Excellent boss killer.

Weapons: Area of Effect
AoE weapons hit multiple tiles. The mech using them is immune, but friendly fire is possible.

- Missilepod: Hits in a cross. Good balance of cost and damage.
- Mega Missilepod: Hits in a square. Expensive but superior coverage.
- Raygun: Hits a line. Perfect for piercing multiple enemies.
- Flamethrower: Deals damage and applies DoT. Be aware that armor will block damage from each individual stack of fire.
- Electroshock: Chains damage to neighbors. No friendly fire. Damage falloff happens before bonuses, which allows for massive damage spikes with buffs.
- Smoke Grenade: Cripples movement and range. One of the best support weapons in the game.

Weapons: Support and Utility
These weapons alter the battlefield. They displace enemies, provide armor, or boost damage.

Offensive Support
- Mine Launcher: Stops enemy movement and deals damage. Mines count as allies for teleportation and spawning.
- Freezer: Stuns targets. Upgrade immediately to remove cooldown.
- Neutralizer: Lowers enemy damage. Two stacks render most enemies harmless.
- Counter Gun: Applies counter buff. Use on tanks.
- Damage Gun: Buffs ally damage. Essential for multi-hit weapon builds.
- Trap Tile: Deals damage to units ending their turn on it. Tricky to use.
- Damage Tile: Increases damage of units standing on it. Powerful but dangerous if enemies steal it.
- Gunner Drone: Deploys an expendable attack drone. Great for baiting.
Defensive Support
- Heal Gun: Restores HP. Can overheal.
- Armor Gun: Grants armor. Stacks for massive mitigation. We also suggest a powerful strategy: Pair an Echo Body, Armor Gun, and Walker legs to drop 54 armor per round on your team.
- Heal/Armor Tiles: Passive versions of the guns. Require careful placement.
- Repair Drone: Mobile healing unit. Can bait enemies.
- Resonator: Forces enemies to target the user. Great for counter builds.
Utility: The Claw
The Claw grabs units and pulls them. It requires a high skill level to use effectively. You can pull enemies into hazards, rescue allies, or reposition your own units to save movement. It works on everything except bosses.
Conclusion
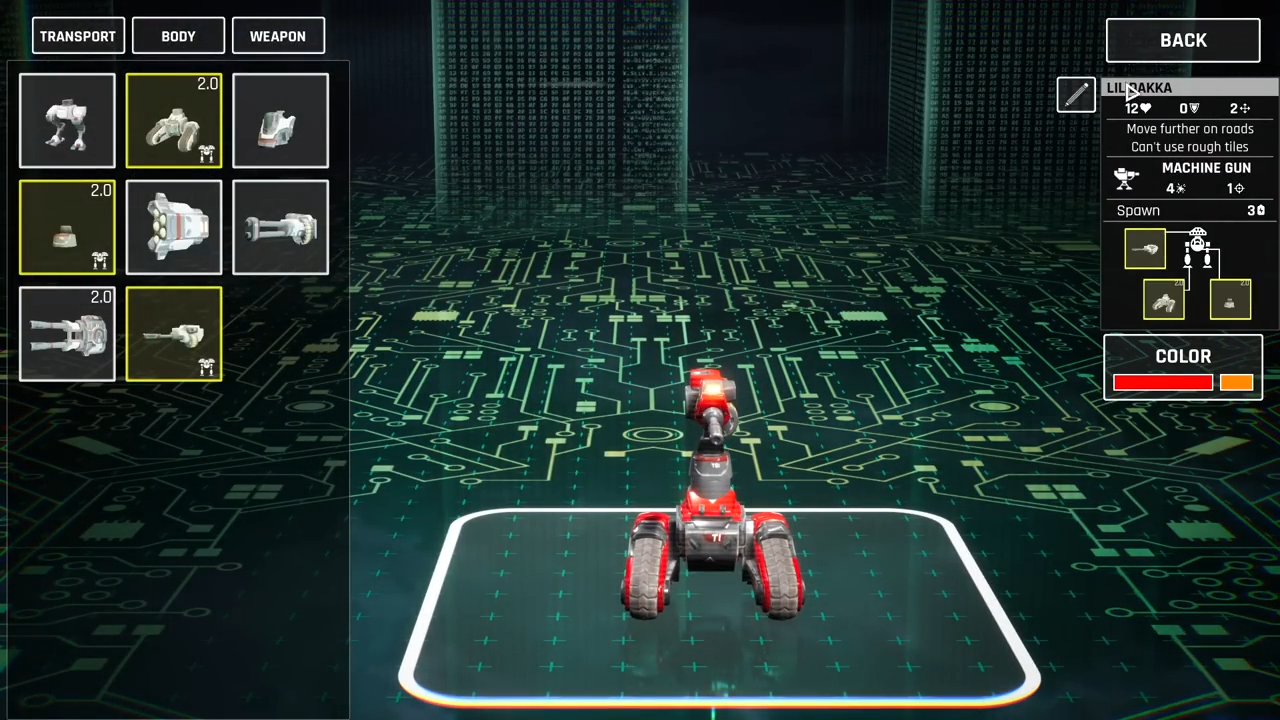
This guide covers every part available in Mech Armada. Hopefully, this breakdown helps you reconsider parts you previously dismissed. Whether you prefer the raw power of a Sniper or the tactical nuance of a Roller, every part has a role to play. Remember to experiment, use the sandbox, and find the strategy that leads you to victory. Good luck, Commander.


Leave a Reply