

Last Updated on 16 December, 2025
You just booted up Berserk B.I.T.S. and realized something immediately. The game tells you almost nothing. You possess a BIT and a desire to conquer the Net, yet the tutorials provide only the barest minimum instructions. Do not worry. We have compiled every scrap of data, every mechanic, and every hidden secret into this compendium to help you survive.
This guide serves as your roadmap from a level 1 rookie to a level 300 god. We will cover everything from the basic care and feeding of your programs to advanced combat tactics and automation. You will learn how to optimize your home board, dominate the Net, and secure every single achievement in the game.
Table of Contents
- Customizing Your Experience
- Meet Your BIT: Stats and Progression
- First Steps: The Gameplay Loop
- Program Management 101
- The Shop: Food, Tools, and Automation
- Conquering the Net: Combat and Exploration
- Advanced Mechanics: Tag Team and Style Change
- Economy: Quests, Gacha, and Recycling
- 100% Achievement Walkthrough
- Conclusion
Customizing Your Experience
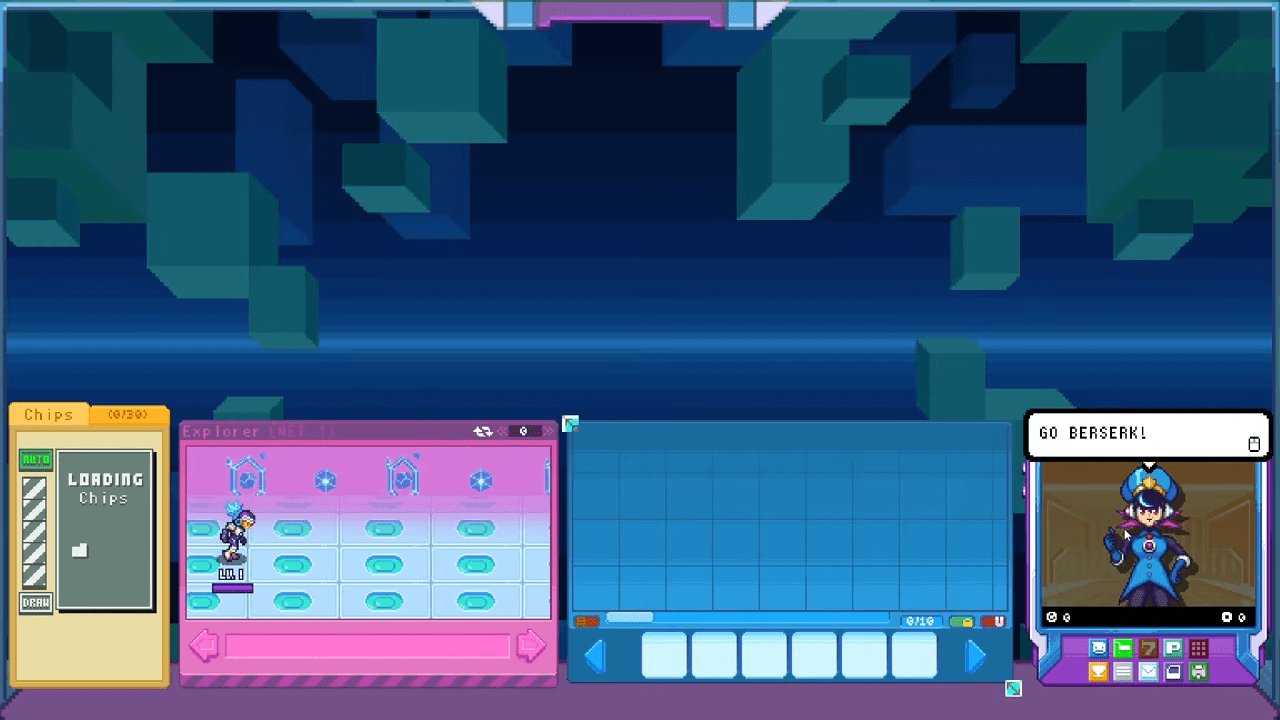
Before you even start your journey, you should know that you can change the look of your protagonist. Berserk B.I.T.S. allows you to import custom characters. While the game does not teach you how to make them, the community has stepped up.
How to Install Custom BITS
Once you download a custom BIT you like, follow these steps to import it into your game:
- Open your Steam Library.
- Right-click on Berserk B.I.T.S. in the list.
- Select “Manage” and then click “Browse Local Files” to open the game directory.
- Locate the folder named “custom” and open it.
- Copy all image files from your downloaded custom BIT folder and paste them here. Replace all files if the system prompts you.
- Check if your download included a
babble.jsonfile. If it did, copy it. Navigate to thedatafolder in the game directory and paste it there. Overwrite the existing file.
That is the entire process. When you start a new save, select the CUSTOM option. You will receive an in-game email with instructions confirming the change.
Meet Your BIT: Stats and Progression
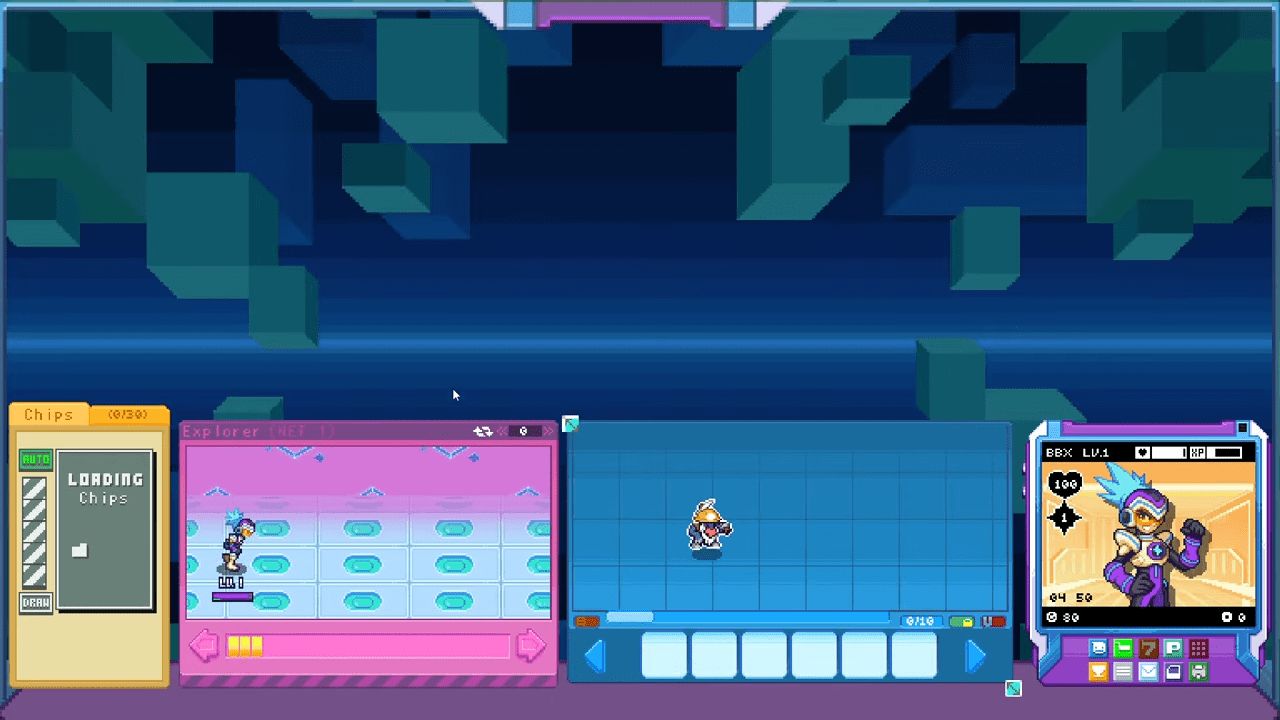
Your BIT acts as your avatar. It journeys through the Net, deletes viruses, and grows in power. You need to understand how your BIT scales to plan your progression effectively.
Understanding the Numbers
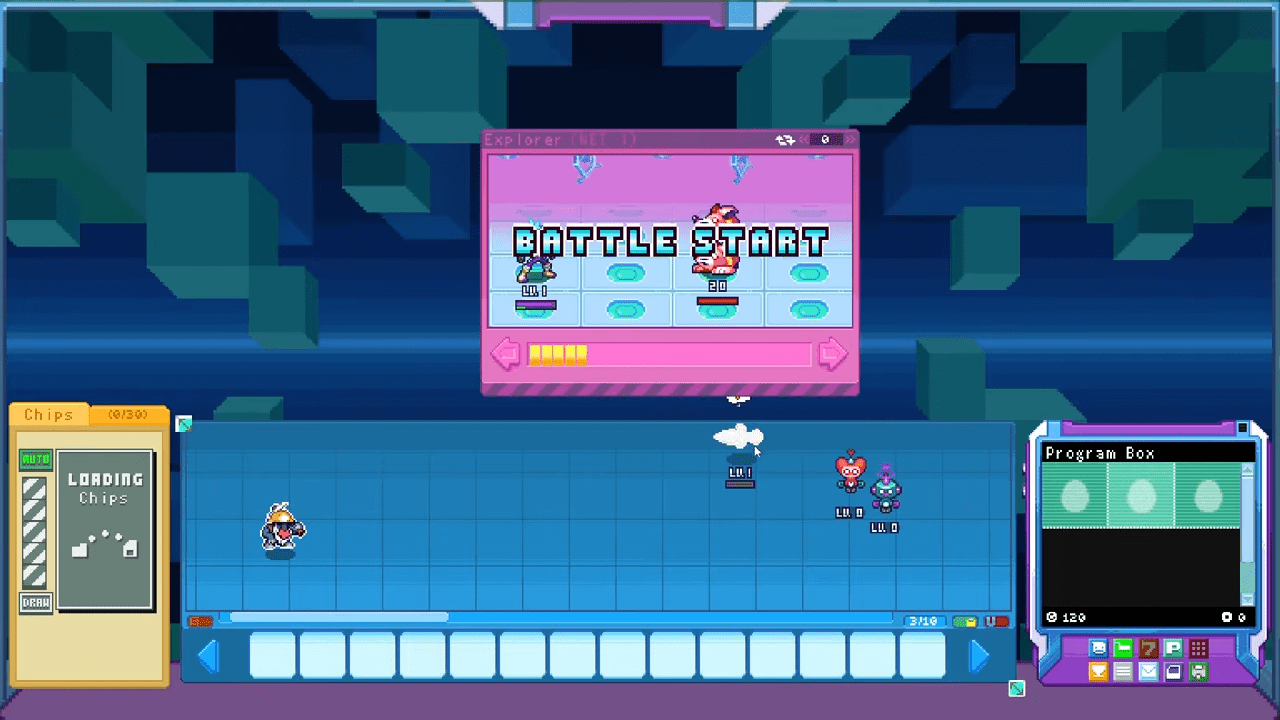
The interface displays two primary icons that you must monitor constantly.
- The Heart: This represents your BIT’s HP.
- The Diamond: This represents your Buster Damage. This determines the strength of your normal auto-attacks.
The Damage Formula
You start at the bottom of the food chain. Your BIT deals exactly 1 damage per Buster Shot. You might feel weak initially, but your power scales in specific intervals. You gain +1 to your Buster Damage at level 12. This increase occurs again at levels 23, 34, 45, 56, 67, 78, and continues following this pattern indefinitely.
First Steps: The Gameplay Loop
Cyber Coni calls you when you load into the game. She explains the basics, but we will go deeper. After her call, she sends you an email titled “Welcome aboard!” containing an attachment. You must click “Download” in the email to receive your starter pack.
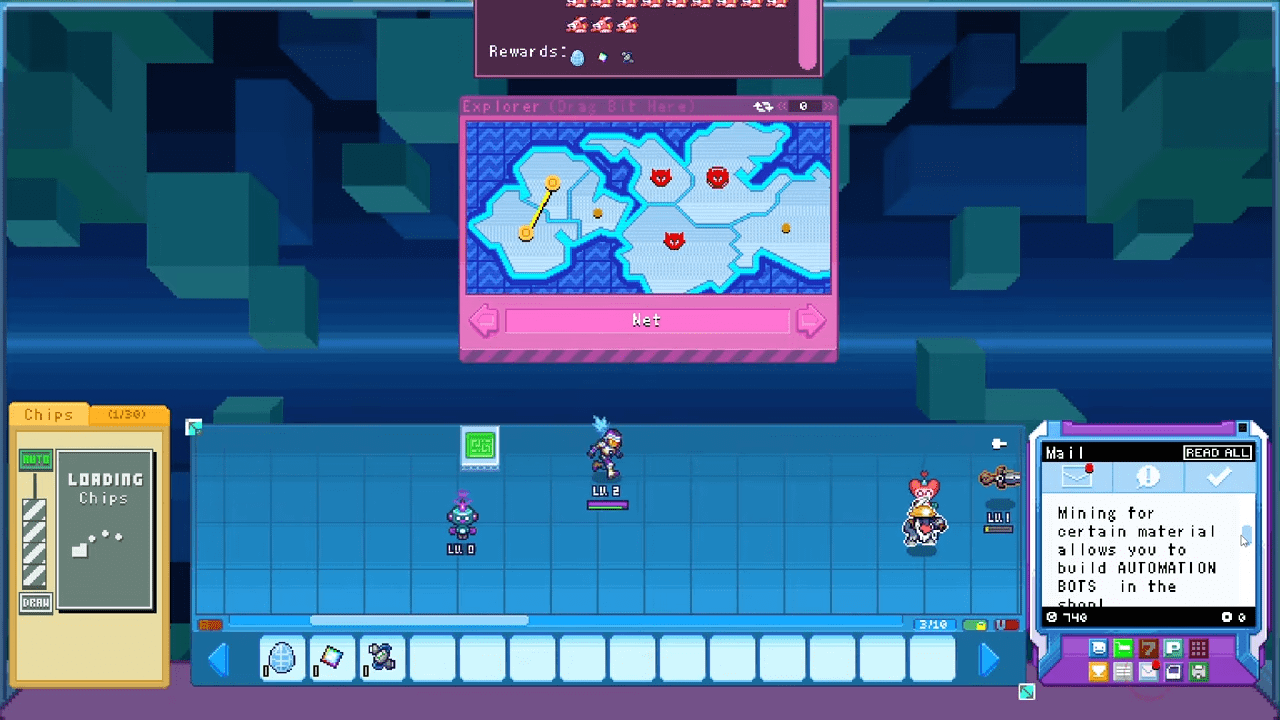
You receive four items:
- A Coin Program Egg
- A Heart Program Egg
- A Used Auto-Shaker
- A Net Egg
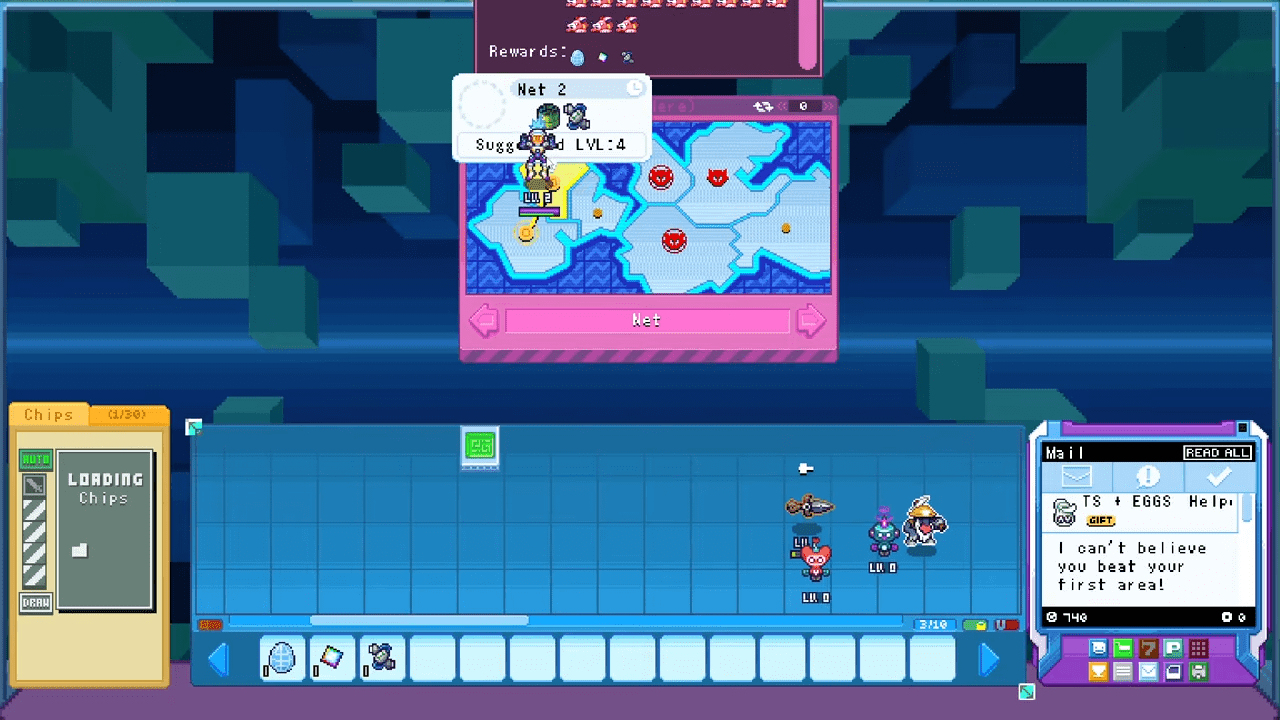
Drop these items onto your Home Board. Wait for the eggs to hatch. Once they do, your resource economy begins.
The Resource Engine
Your Heart Program generates Hearts. You will see a Heart icon appear over its head when it finishes production. You must click and hold the program, then shake it side to side. This action releases the hearts and heals your BIT. This stands as one of the few ways to restore HP early in the game until you acquire healing chips. Note that your BIT also regenerates HP simply by sitting on your Home Page away from the Net.
Your Coin Bot functions similarly. It generates coins periodically. You shake it to release the funds. While this provides early income, you will eventually earn coins much faster by exploring the Net.
The Auto-Shaker
Shaking bots manually becomes tedious very quickly. The Auto-Shaker solves this problem. It automatically shakes your Coin and Heart programs the moment they finish generating resources.
Program Management 101
Programs serve as the lifeblood of your combat capability. They generate Battle Chips. Your BIT uses these chips to execute special attacks, buffs, and heals.
The Generation Process
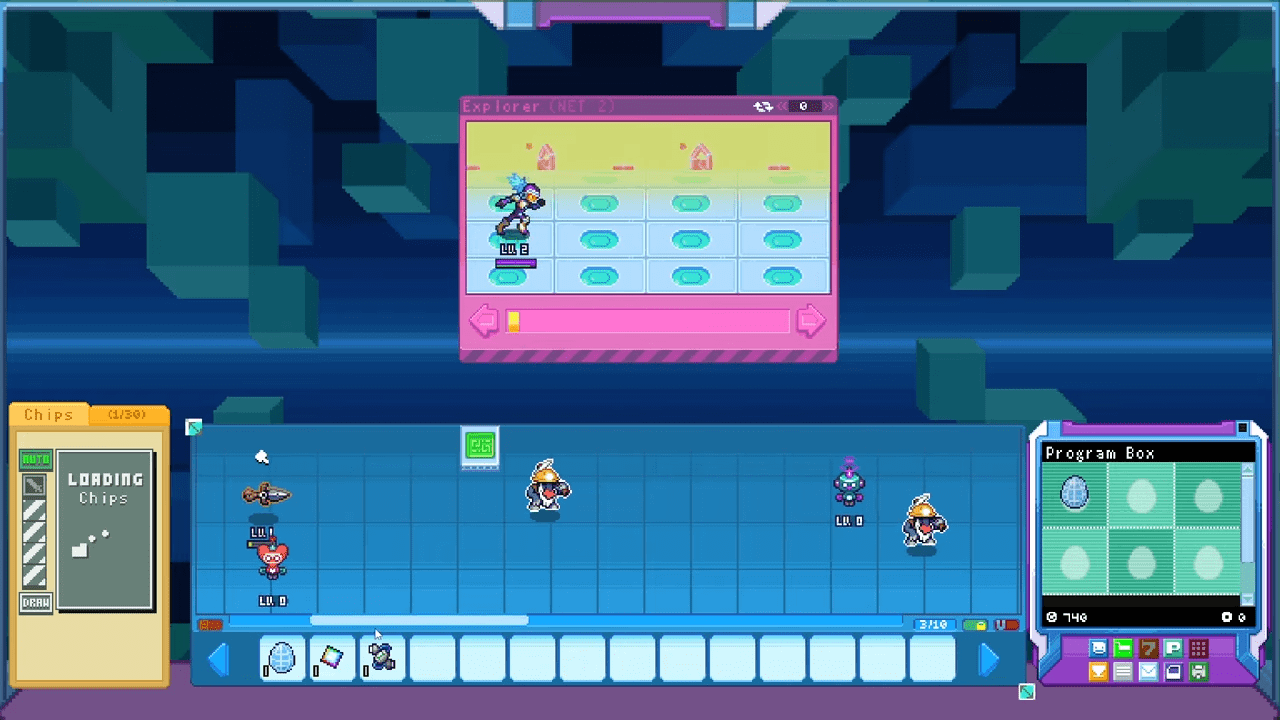
You know a program is working when you see a small Hammer icon over its head. Click on the program to view its status window. The left side displays a percentage bar showing progress toward the next chip. The right side shows the program’s hunger.
When the hunger meter depletes, production stops completely. A food icon replaces the Hammer icon. You must feed the program to resume production.
Feeding and Leveling
Head to the Shop and purchase the specific food the program desires. Drag the food from your item bar onto the program. This satisfies their hunger and grants them Experience Points.
Programs level up as you feed them. The current maximum level is 3. Higher-level programs generate chips faster. You can reach the cap quickly since it takes roughly 7 food items per level. You will notice the Hammer icon gets fancier as the program levels up.
Storage and Limits
Your Home Page has a capacity limit. You start with 10 slots. You can expand this later via the Shop by buying Home Page expansions (up to 2) and bot capacity upgrades.
If you run out of space, use the Program Box. You can drag an unlimited number of programs here. The box expands to fit everything you throw at it. Keep in mind that moving a program into the Box resets its level back to 1.
The Shop: Food, Tools, and Automation
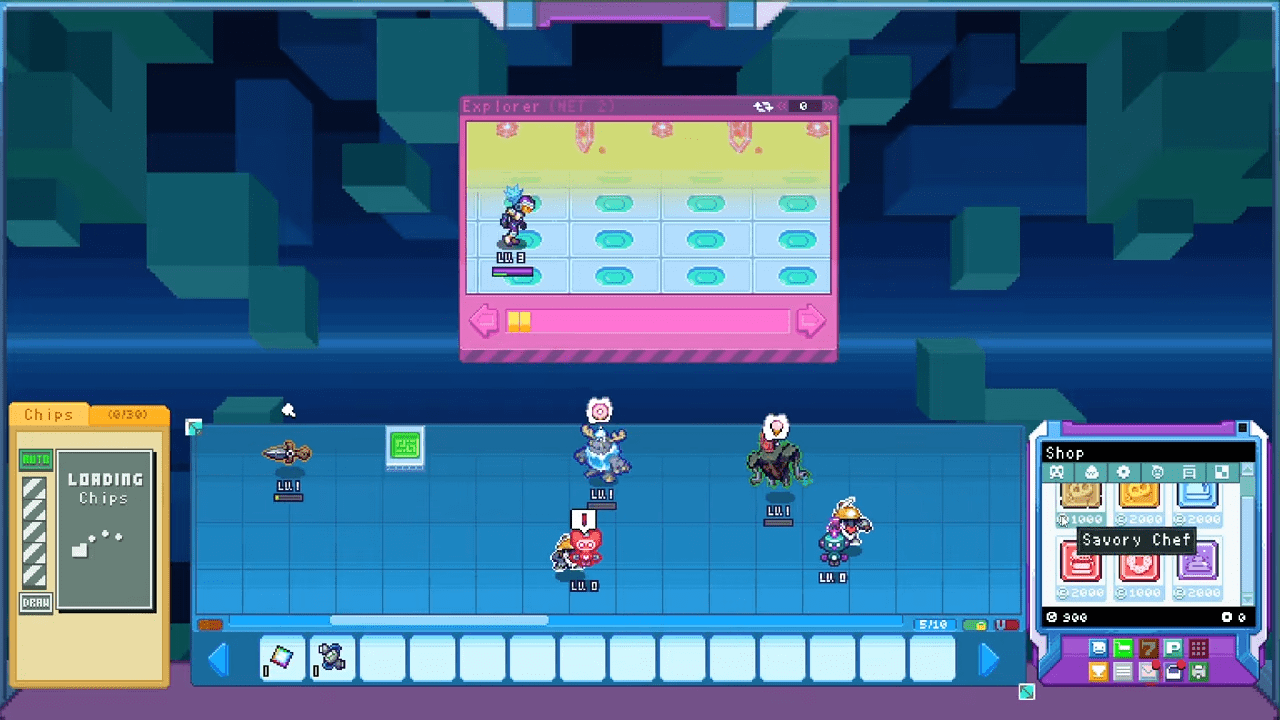
The Shop consumes your hard-earned coins. It contains several tabs that control your progression.
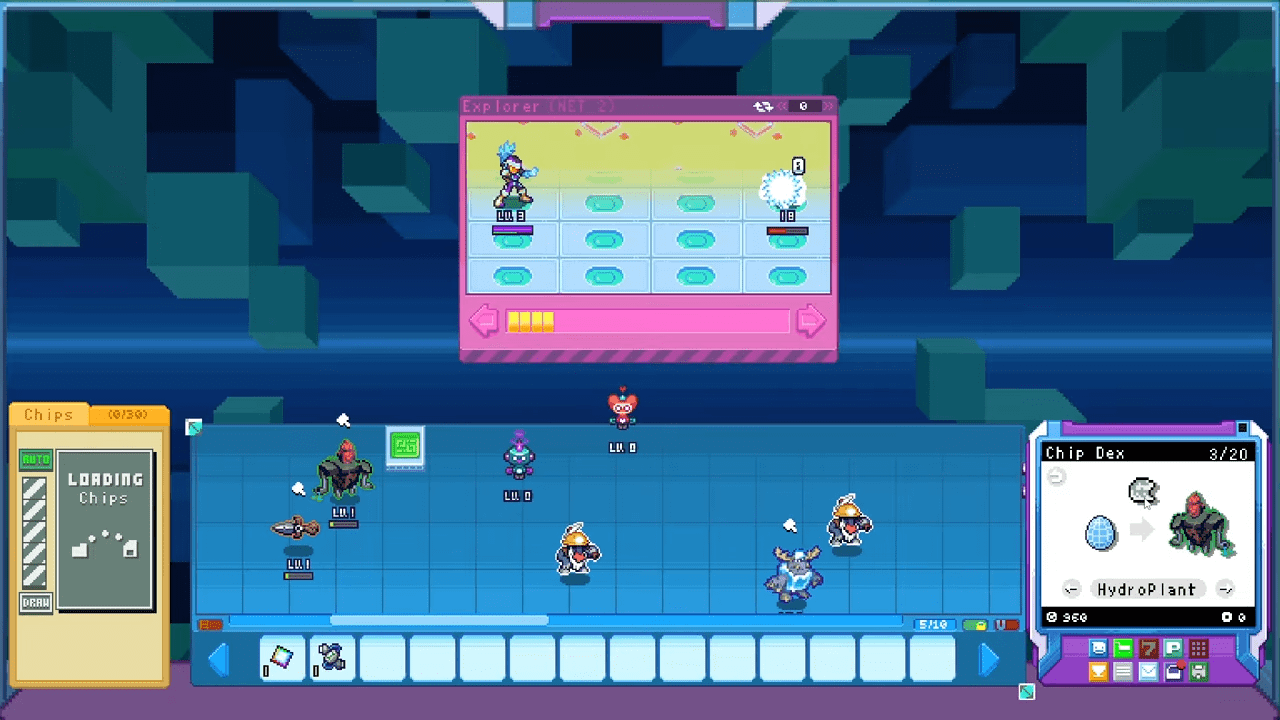
Food Tab
This is where you buy sustenance for your programs. There are seven varieties categorized by taste.
- Sweet: Apple, Cherry, Donut, Ice Cream.
- Savory: Burger, Fries, Onigiri.
Tools Tab
This tab houses essential upgrades. You find Fences to organize your board, Mining Upgrades to boost material finds, and the all-important permanent Coin and Heart programs. You also buy Gacha Tokens here. More options appear as you unlock new Zones.
Automation Tab
Automation keeps the game running while you idle.
- Auto-Shaker: Harvests coins and hearts automatically.
- Feed Bot: Feeds programs automatically if you have food in inventory.
- Chefs: Generate food periodically.
- Poop Scooper: Yes, programs poop. Everything poops. This bot cleans it up.
Toys Tab
Toys provide combat buffs when placed on your board. They cost 5,000 coins each. You can place up to three of each Toy type. They are similar to furniture but provide mechanical bonuses to specific chip types.
Decor and Tiles Tabs
These sections allow you to customize the visual aesthetics of your Home Page. You can buy TVs, couches, tables, and plants in the Decor tab. The Tiles tab lets you change the floor to hardwood, concrete, soil, or water.
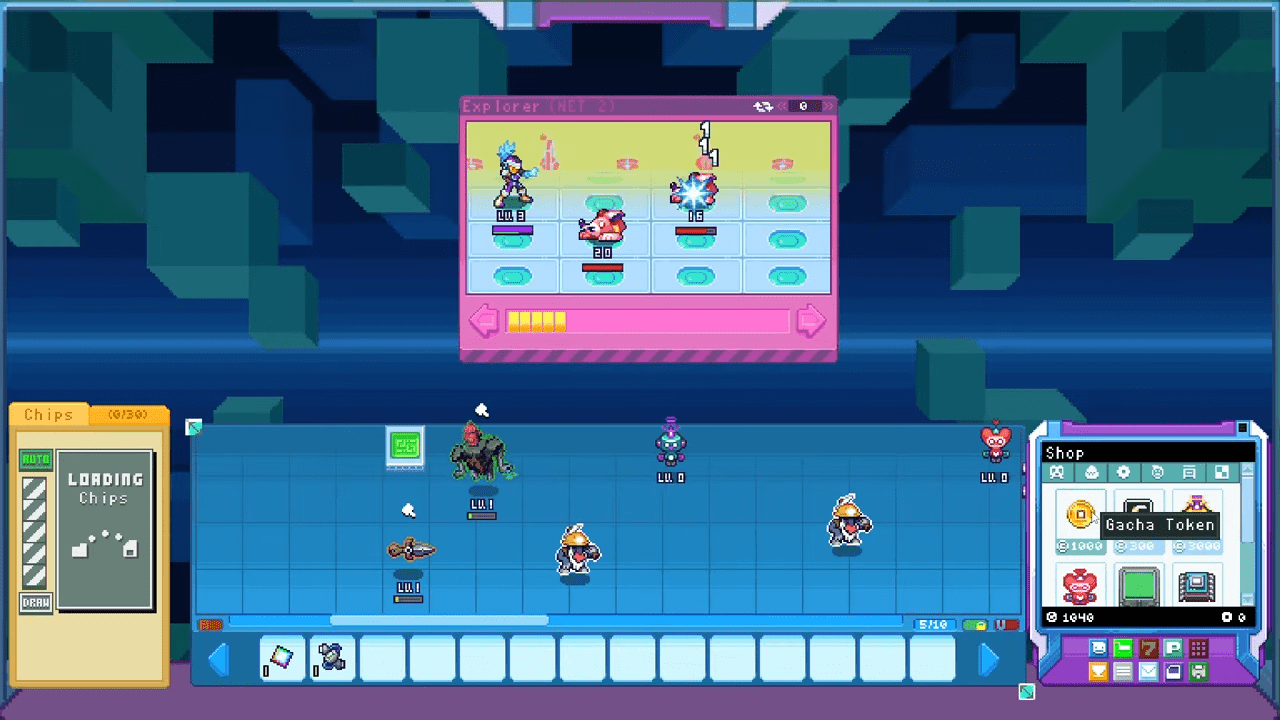
Conquering the Net: Combat and Exploration
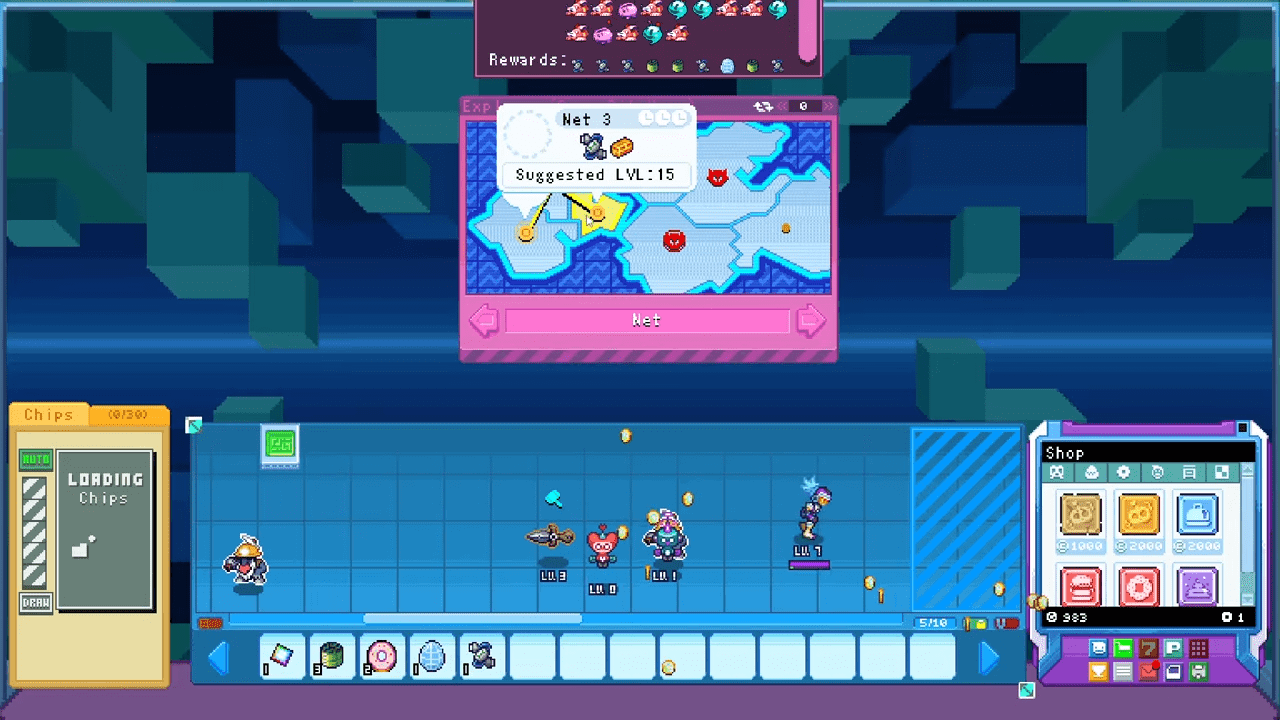
The Net serves as your world map. Each zone divides into sections representing specific missions. You drag your BIT into the Pink Window to deploy them. A window pops up showing available Materials and a Recommended Level.
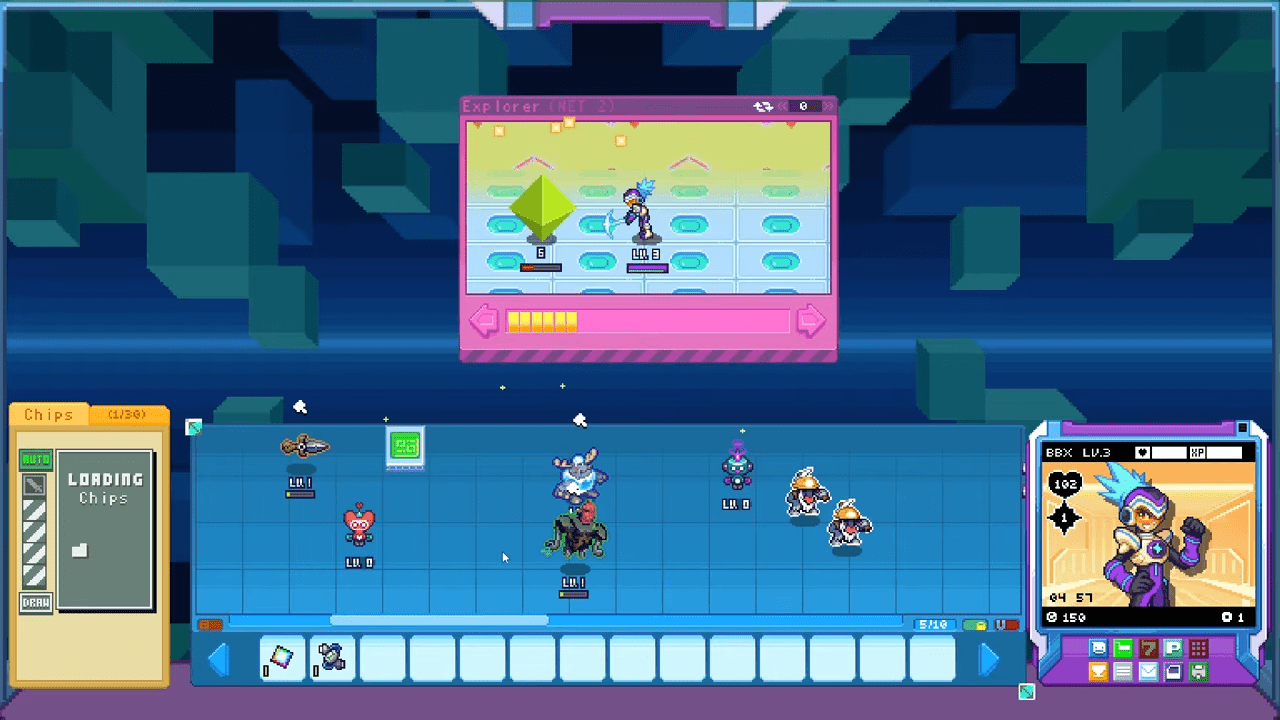
Analyzing Threat Levels
You should generally respect the Recommended Level. However, your setup matters more than your raw level. A well-equipped BIT can clear areas 15 levels higher than recommended. Do not be afraid to push your limits.
The Flow of Battle
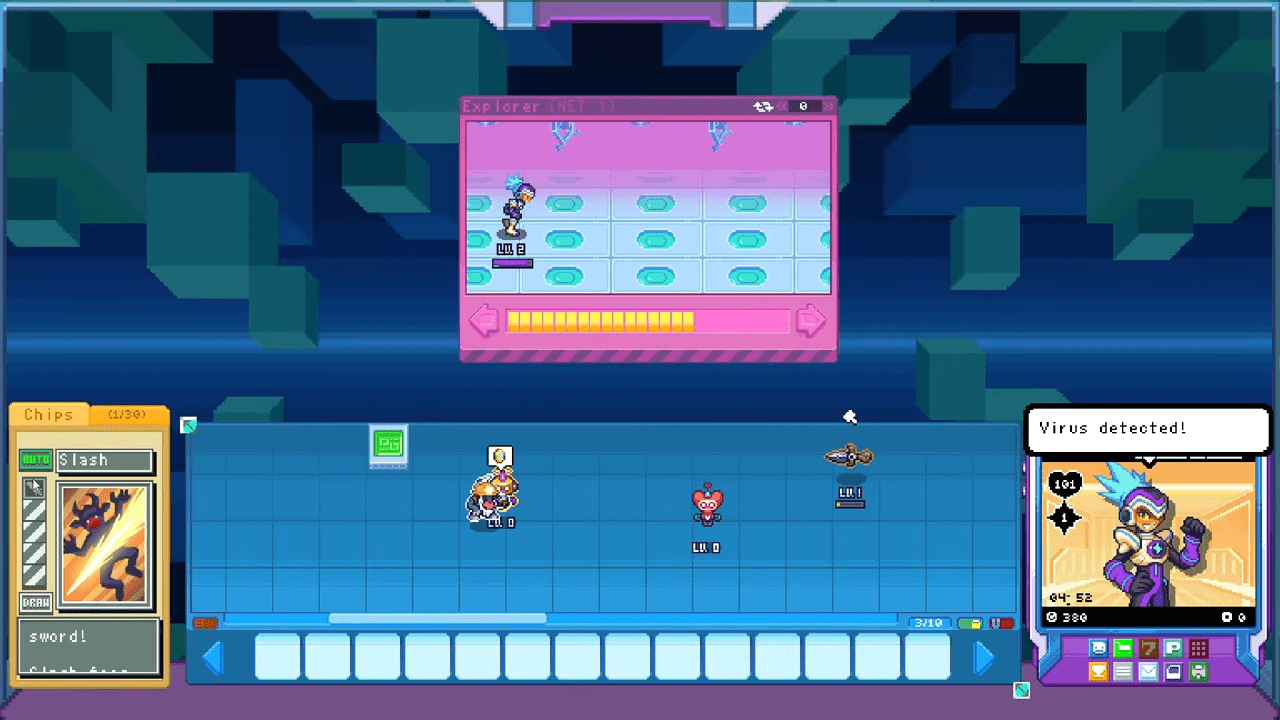
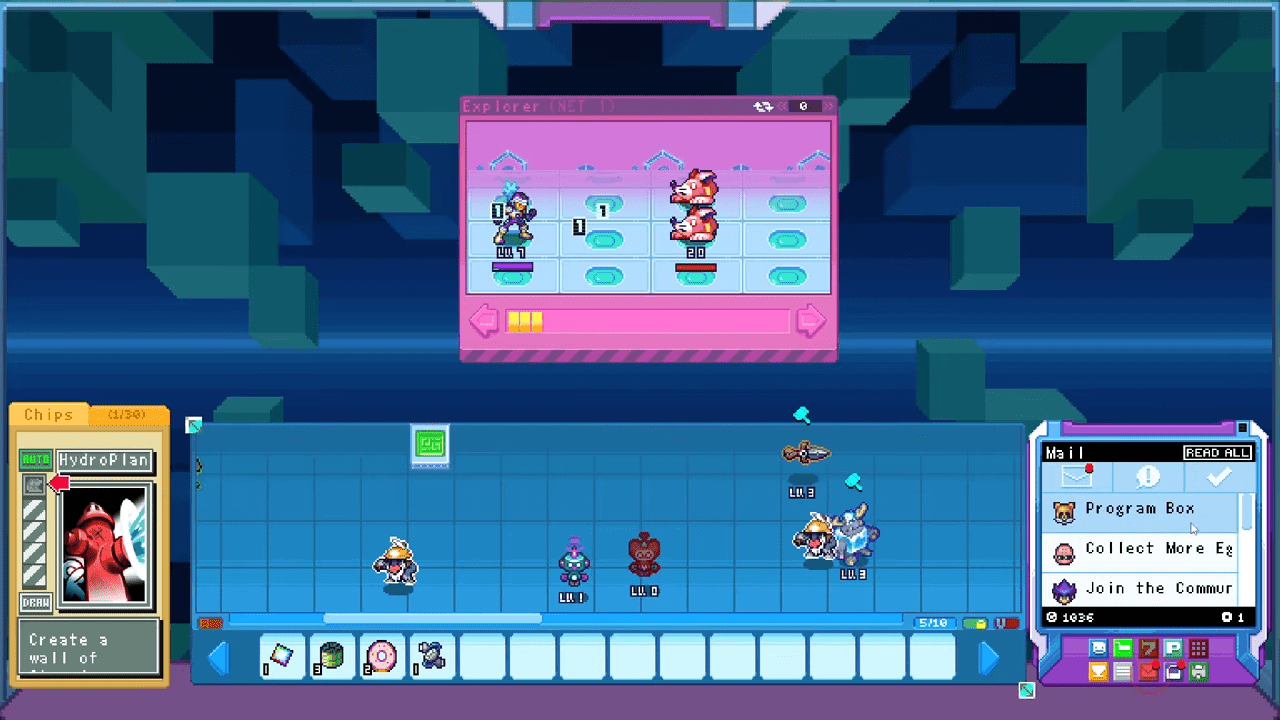
Your BIT traverses the area automatically. A progress bar at the bottom fills up as you move. Eventually, you encounter viruses.
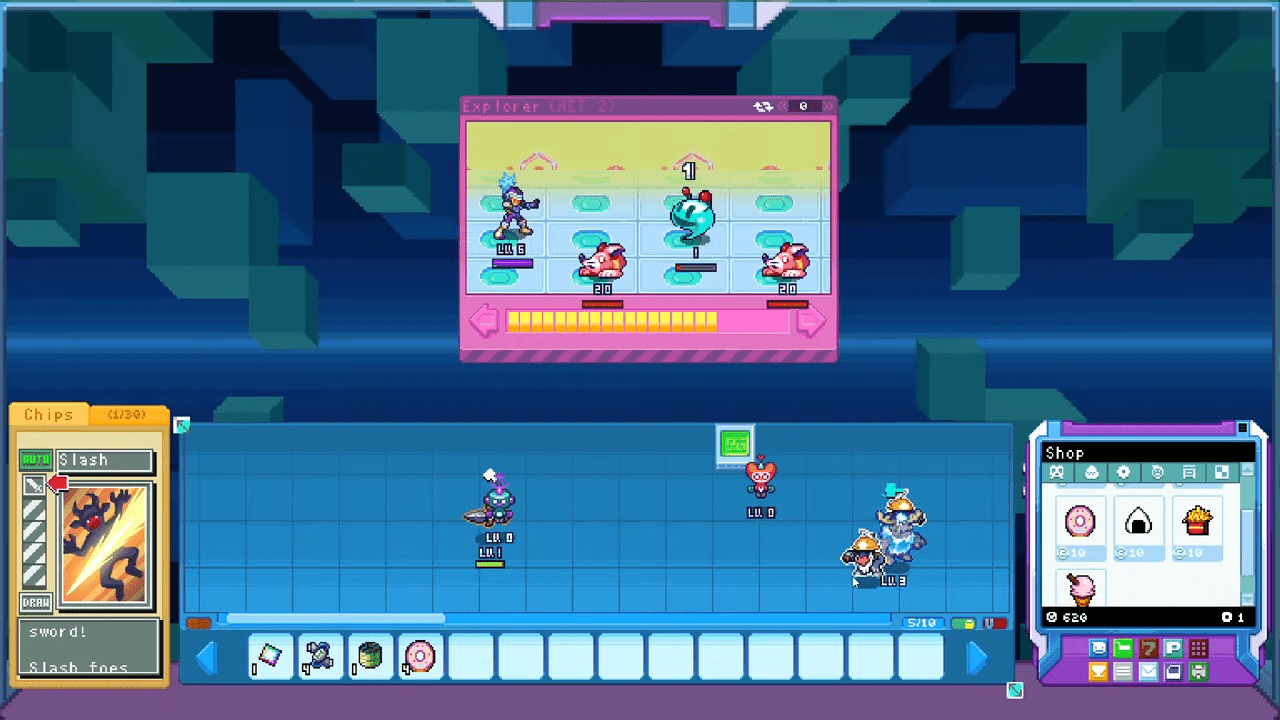
Your BIT performs auto-attacks to chip away at enemy HP. This is where you come in. You play Chips to influence the fight. You can toggle AUTO mode to let the AI decide when to use chips. We recommend turning AUTO off for difficult areas. Manual control allows you to save powerful chips for the right moment.
You can hold a specific number of chips in your hand. If you dislike your current hand, hit the DRAW button. This shuffles your chips back into the Folder and draws a fresh set. You can do this indefinitely at no cost.
The Fork in the Road
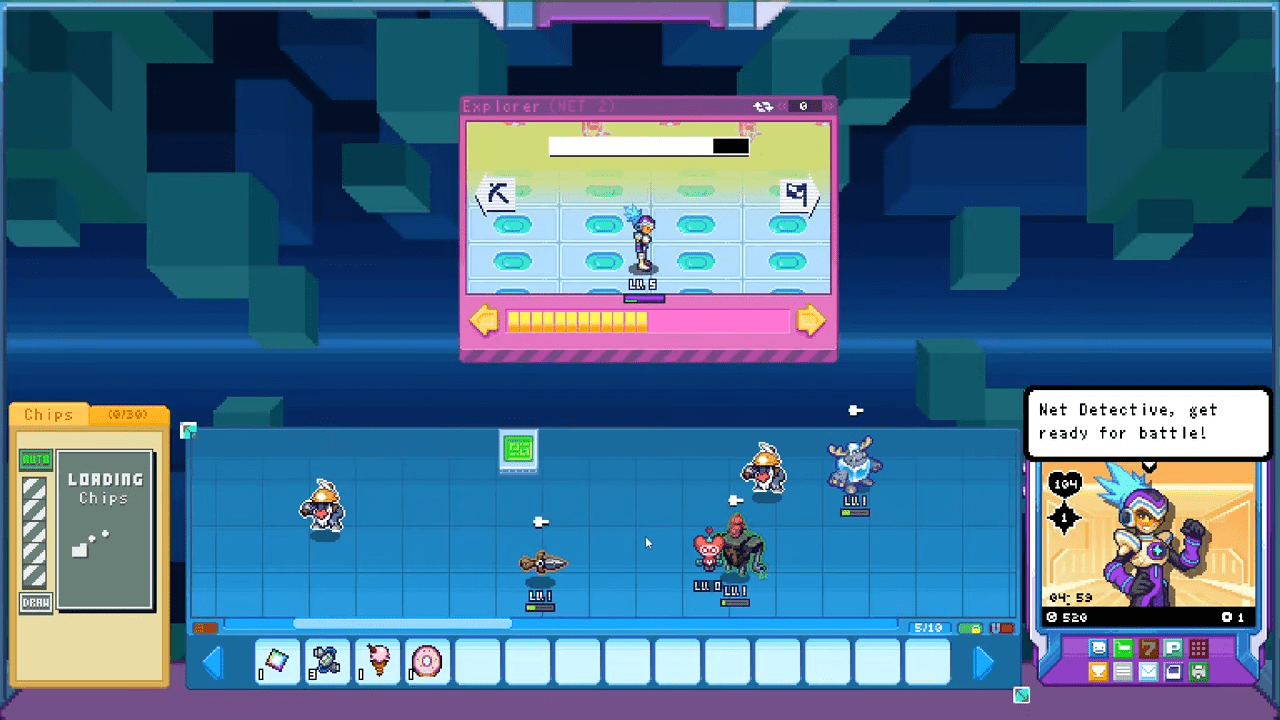
Your BIT will occasionally stop at a branching path.
- Left: A Pickaxe or a Treasure Chest.
- Right: A Flag (continues toward the stage end).
You must click the Chest manually. Chests usually contain Eggs, while Pickaxes yield Materials. Both options provide extra loot that the Flag path ignores.
Post-Mission Summary
After clearing an area, you see a summary screen. It lists coins earned, viruses busted, and items received. You receive another email with an attachment after your first clear. Download it to get another Net Egg and a spare Used Auto-Shaker. Save this shaker until your first one breaks.
Advanced Mechanics: Tag Team and Style Change
Once you master the basics, you unlock powerful tools to enhance your BIT.
Tag Team
Buy the Tag Team tool and place it on your Home Board. This enables a special charge attack. You charge it by spamming Right-Click. While right-clicking, your critical hit rate receives a minor boost.
A gauge appears over your Net window. It fills slowly over time or by 1 blip per 5 clicks. When the gauge nears capacity, a green aura surrounds your BIT. At full charge, your BIT flashes green. Right-click an enemy to unleash a unique ability depending on your character.
- BBX (and Custom BITs): Deals double current buster damage.
- DDX: Grants a massive speed buff.
- NJX: Performs a powerful slash attack.
Style Changer
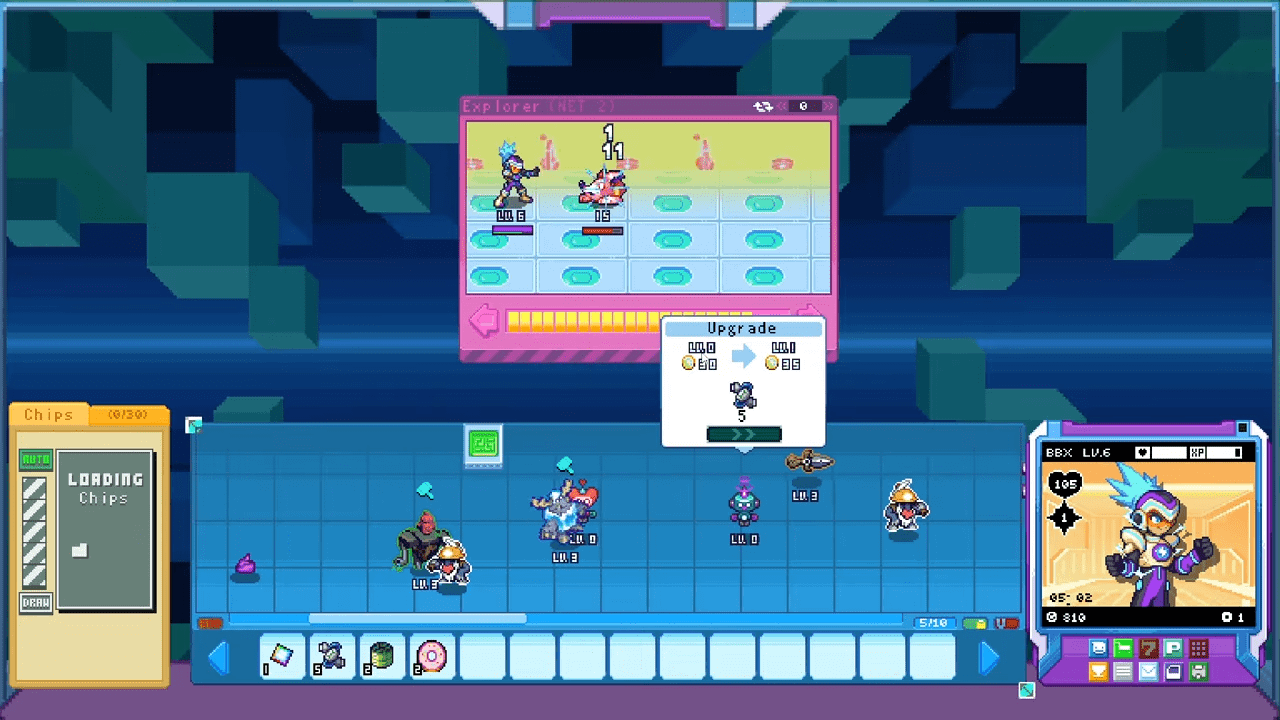
This tool allows you to adopt a new combat Style. Drag your BIT onto the Style Changer to open the menu. You can scroll through available styles using the arrows. Each style requires specific coins and materials to unlock. You can swap between unlocked styles freely whenever your BIT is not on the Net.
Stealth
This upgrade unlocks at the Lava Zone. The Stealth tool periodically grants your BIT invisibility. Attacks pass right through you for the duration. This is essentially free damage mitigation. You should buy this as soon as it becomes available.
Mining Boost
This Automation item generates materials over time. The diamond icon fills up over one hour. Click to break it open and collect materials. You must drag the item to your inventory bar to repair it before placing it down again. You can own up to three of these.
Extra Home Boards
You eventually unlock the ability to manage a second Home Board. This acts as a separate setup where you can have a different set of bots and programs. You access it via a Red tab on the top right.
- Unlock 1: Reach the Lava Zone.
- Unlock 2: Reach the Dark Zone.
Economy: Quests, Gacha, and Recycling
You need coins and materials to survive. Here is how you maximize your income.
Quests and Email Missions
Check your email for Quests. These missions ask you to complete objectives in your current zone. The rewards appear at the bottom of the email.
The Gacha
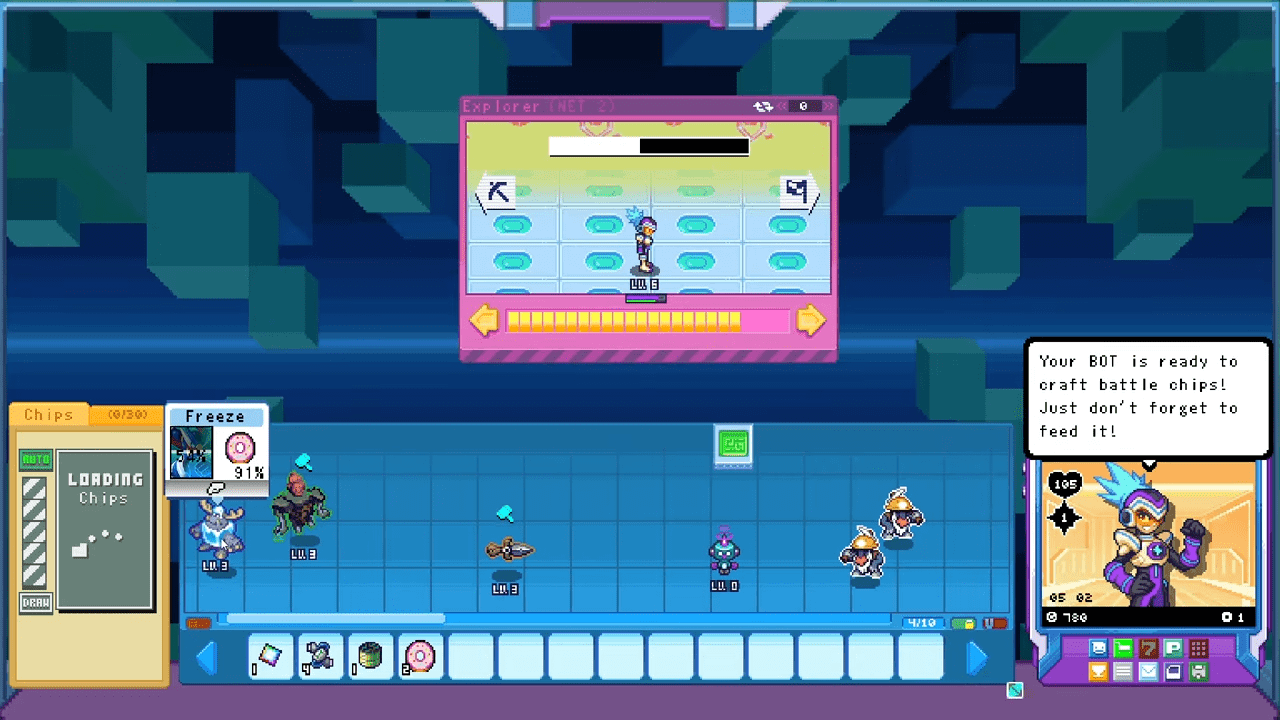
You access the Gacha via the menu. It costs 1 Gacha Token per spin. You can buy one token every real-time hour from the Shop for 1,000 coins. The machine dispenses eggs ranging from Common to Legendary. You can obtain almost any battle chip in the game through Gacha, including those from locked zones.
The Egg Beater
Do not hoard useless programs. Buy the Egg Beater from the Shop. Drag an unwanted program onto it. An imposing figure asks you “SELL?” Click the circle to confirm. You receive 30 coins and 1 to 3 random materials. This is an excellent way to farm materials and clear space.
100% Achievement Walkthrough
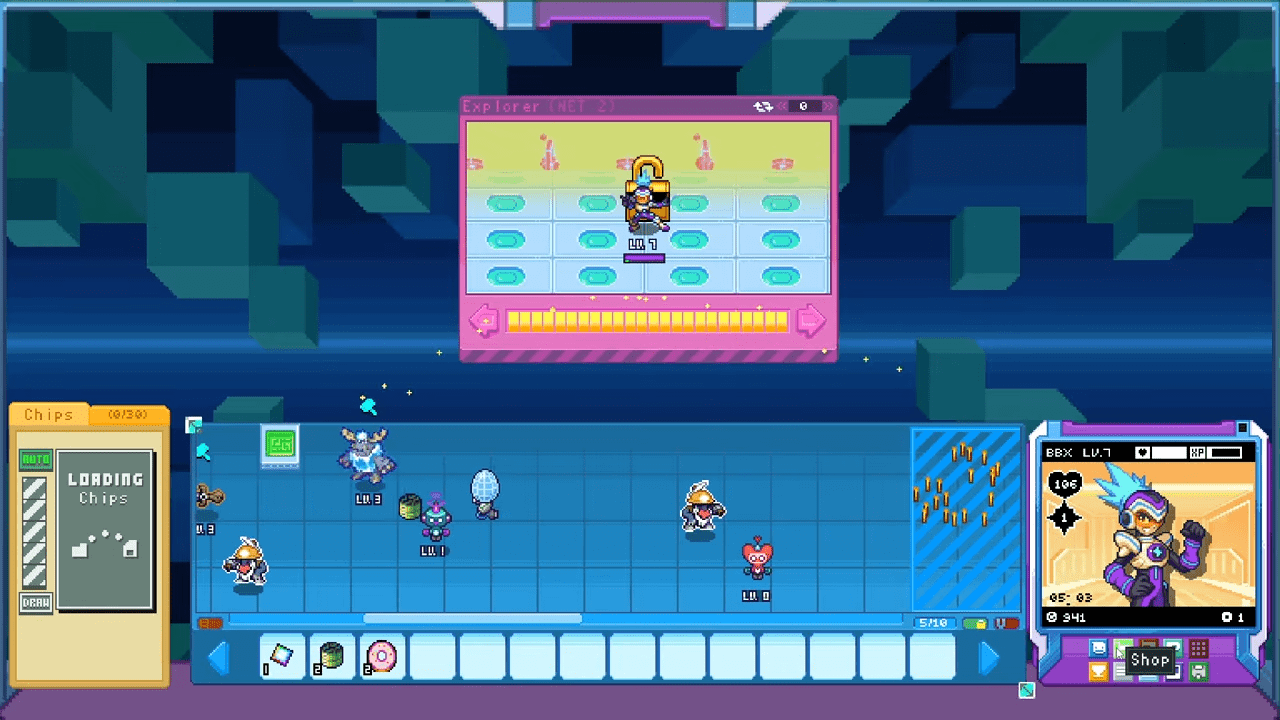
There are 56 achievements in Berserk B.I.T.S. Luckily, 98% of them are progressive. You unlock them simply by playing freely. Below is the complete list of every achievement, accompanied by its specific name and requirement.
Mission Related Achievements
- Finish 5 missions! : Clear 5 missions
- Finish 10 missions! : Clear 10 missions
- Finish 15 missions! : Clear 15 missions
- The Net Detective! : Clear 100 E-mail Missions
- Legendary Net Detective! : Clear 200 E-mail Missions
Level Related Achievements
- Getting stronger! : Reach level 10
- Probably pretty good now! : Reach level 20
- A worthy Net Detective! : Reach level 40
- Pretty Strong! : Reach level 50!
- We’re really getting there! : Reach level 80
- Dang.. it’s over 90 : Reach level 90
- You’ve only gone and done it! : Reach level 100
- Powered up and still fighting! : Reach level 150
- I bet you wish we added PvP : Reach level 200
- LEVEL 250? JEEEZE : Reach level 250
- YOU’RE TOO POWERFUL : Reach level 300!
Battle Related Achievements
- I heart you 400 times : Shake 400 hearts
- Pretty easy right? : Bust 50 viruses
- Still easy right? : Bust 100 viruses
- Haven’t even broke a sweat yet. : Bust 1000 viruses
- I’m known as the virus buster : Bust 5000 viruses
Bot Related Achievements
- Welcome to my cluttered board! : Hatch 300 Eggs!
- Master Crafter ! : Craft 50 Chips
- Don’t stop now! : Make 20 Dex entries!
- We’re like half way there : Make 50 Dex entries
- So so so close! : Make 90 Dex entries
- Unlike Ash, I completed the DEX : Make 101 Dex entries
Shop Related Achievements
- Look at all these coins! : Get 10,000 coins!
- Very wadded : Get 100,000 coins!
- Pretty darn wadded : Get 500,000 coins!
- Absolutely wadded : Get 1,000,000 coins!
- STYLE CHANGE! : Style change for the first time!
- Can’t make up my mind : Style change 5 times!
- Welcome to your new addiction : Try Gacha 10 times!
- Atleast it’s not real money? : Try Gacha 50 times!
- I’m not addicted : Try Gacha 100 times!
- Only 30 food? : Buy 30 food
- Do we have enough space for this? : Buy 1000 Food
- Hey big spender : Buy 10 Decor
- Is this my new hobby? : Buy 500 decor
- Home decorator : Buy 1000 decor
- Tiling the floor is fun : Buy 20 Tiles
- Home Tiling pro : Buy 500 tiles
- No rent on these suckers! : Buy 2 land extensions
- Bots love toys! : Purchase 5 different toys
- So this makes you stronger? : Purchase 10 different toys!
- All the toys, Must have all the toys! : Purchase all toys!
- We’re shmoovin : Purchase 5 Automation tools
- Got em all! : Purchase all Automation tools
Exploration Related Achievements
- Defeat Nexus! : Clear the game!
- Project GX : Secret: Unlocked GX
- Want some ore? : Mine 50 ore!
- Anyone want some ore? : Mine 100 Ore
- Mining is my passion : Mine 300 ore
- Extra-Ore-Dinary! : Mine 500 ore
- So much ore!!! : Mine 1000 ore!
Conclusion
Berserk B.I.T.S. hides a deep layer of strategy beneath its retro aesthetic. The game expects you to experiment, fail, and optimize. By utilizing the Egg Beater effectively, cycling your quests for specific materials, and keeping your programs well-fed, you will transform your BIT into an unstoppable force.
The Net is waiting for you. Go delete some viruses!

Leave a Reply