
Last Updated on 17 December, 2025
If you have found yourself addicted to the rhythmic destruction of planetary bodies in To The Core, you are certainly not alone. We recently dove headfirst into this incremental mining adventure and realized something quite quickly. The resources for mastering this game are scarce. We decided to change that.
We played through the grind, destroyed the cores, and analyzed the mechanics to bring you this comprehensive walkthrough. The objective of the game appears simple on the surface. You pilot a drill ship, mine through planetary layers, and gather resources to upgrade your vessel. It is classic incremental game design at its finest. However, hidden beneath the surface layers of rock and ore lies a system of prestiging, farming, and strategic equipment management that you need to understand to succeed.
Table of Contents
The Essentials: Fuel, Physics, and the Shop
When you first load the game, you receive a brief introduction before the system throws you into the planetary map. The tutorial guides you through the basics. If you want to optimize your start, however, you need to understand exactly what keeps your ship alive.
Understanding Fuel as Health
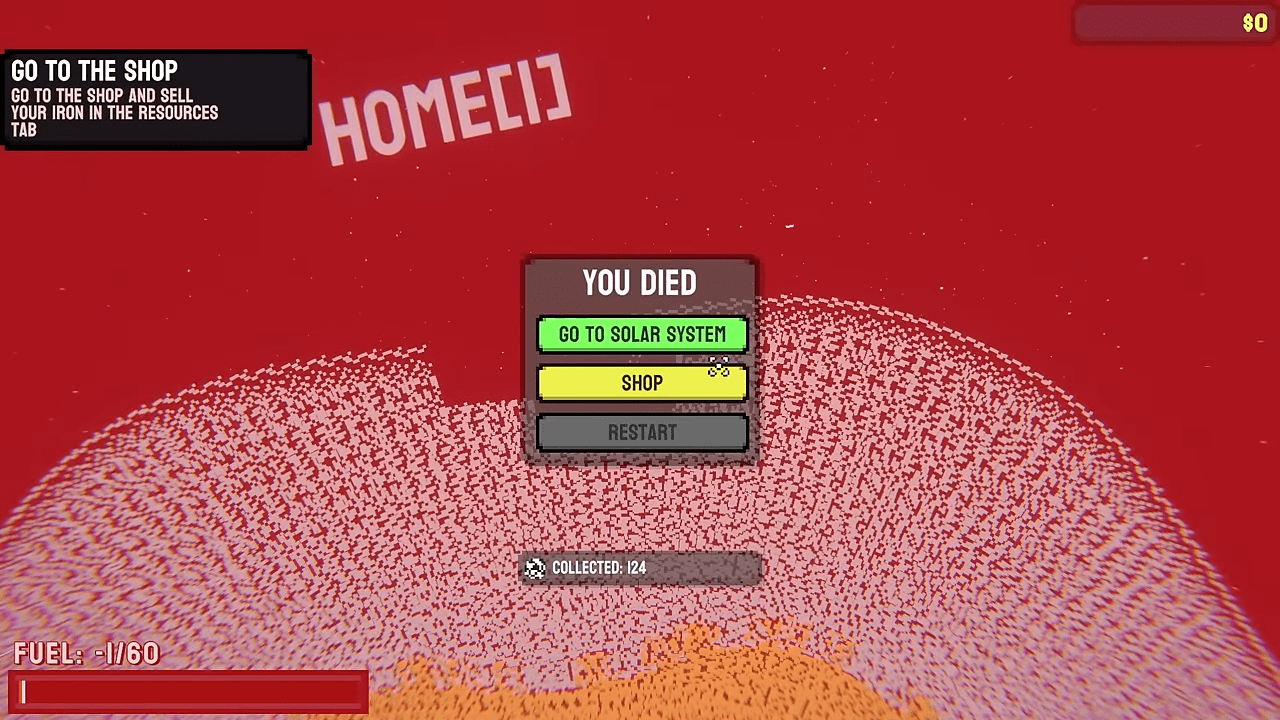
In To The Core, fuel does not just power your engines. It represents your lifeblood. You start with 60 fuel when you visit your first planet, Home. You must treat this bar as your health meter. Two primary factors drain your fuel continuously:
- Existence: You constantly lose fuel just by being on a planet. The rate depends on the specific planet you occupy.
- Impact: Hitting rocks damages your ship. You should think of the rocks as having a thorns effect or damage reflection. The harder the rock, the more fuel you lose upon impact.
The Physics of Mining
Control is limited at the start. You use the mouse to aim your drill. Crucially, only the very tip of your drill breaks blocks. You use the A and D keys to rotate left and right, but gravity does most of the work pulling you down. When you hit a rock, you will experience a significant bounce back. You can use this rebound to navigate back up if necessary. Your early goal is simple. Gather as much Iron as possible. You likely lack the fuel to reach deeper layers yet, so grab the surface materials and head to the shop either via the pause menu or by dying.
The Shop and Resources
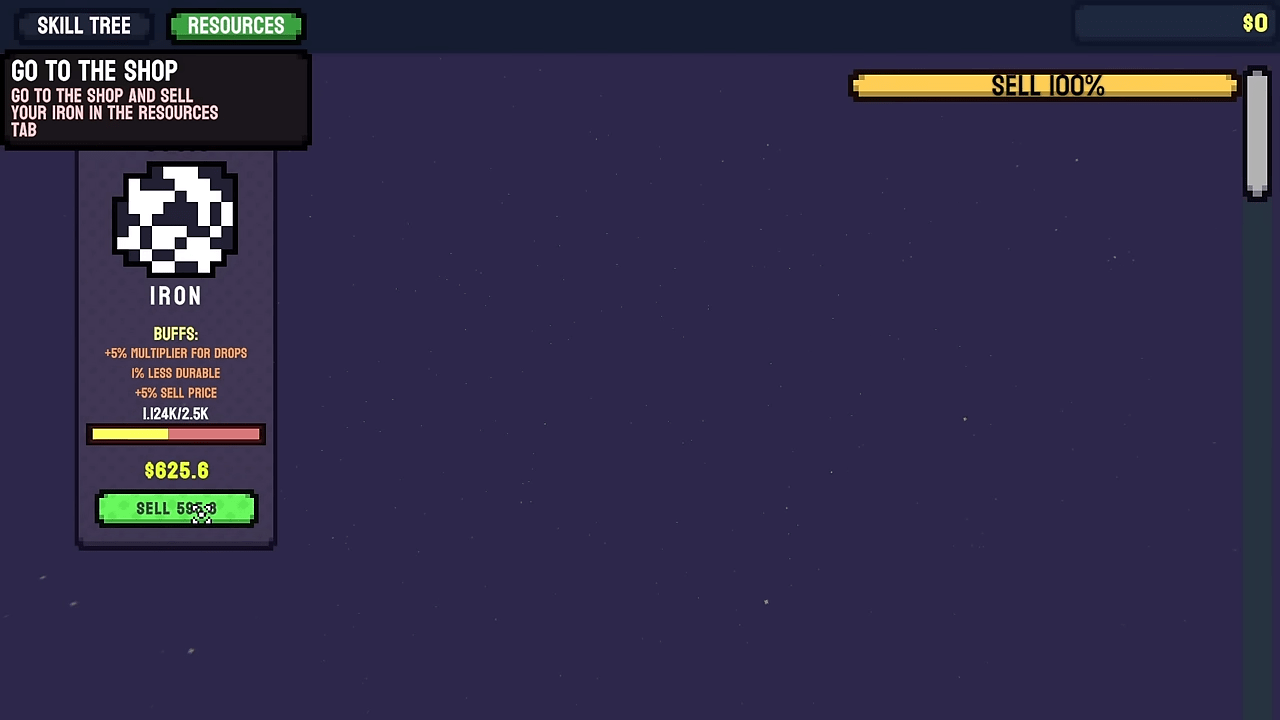
Your first visit to the shop reveals five fundamental upgrades. You purchase these using money and specific materials.
- Drill Damage: This increases damage to rocks and helps you break them faster.
- Silicon Plating: This reduces the damage your ship takes when hitting rocks. This is essential for fuel conservation.
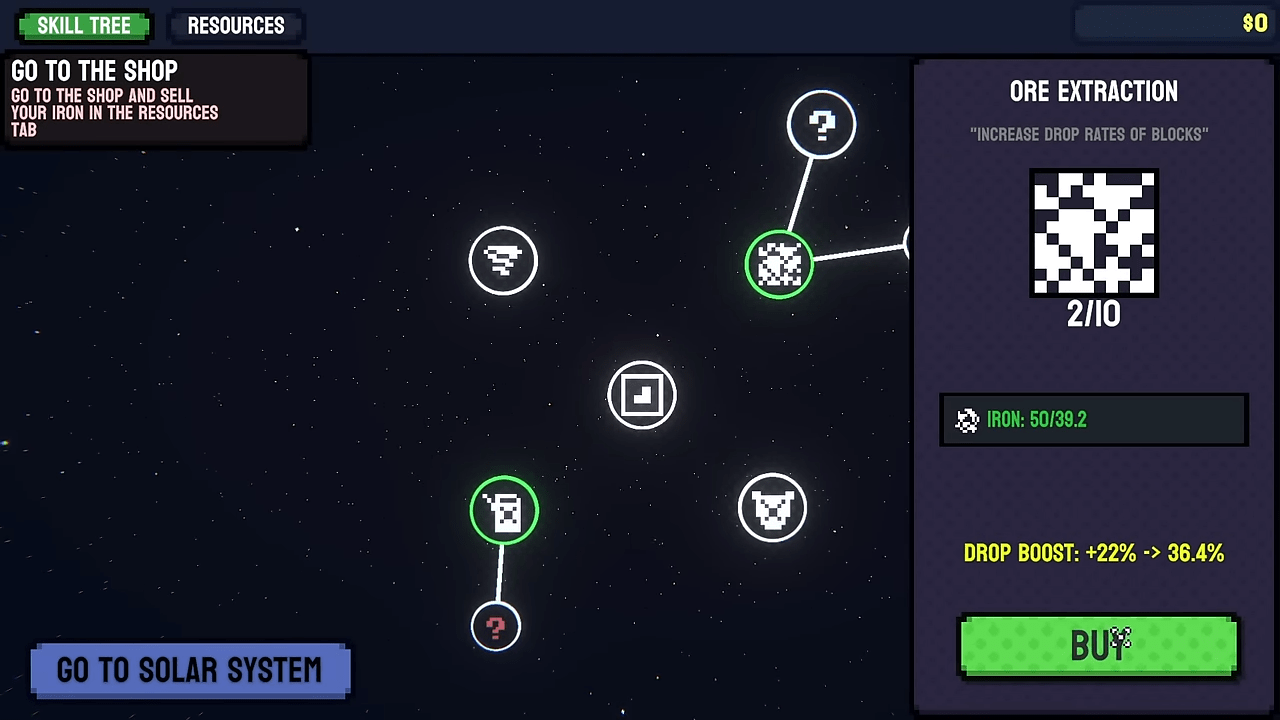
- Ore Extraction: This improves the quantity of materials dropped by rocks.
- Fuel Tank+: This increases your total fuel capacity.
- Vision Upgrade: This is the most critical progression upgrade. It allows you to view more planets on the map, which unlocks new materials required for further upgrades.
You manage your economy in the Resources Menu. Here, you view your gathered materials and sell them for cash. A slider in the top right allows you to choose what percentage of your stack to sell. Furthermore, every material has a level bar. As you gather more of a specific resource, it ranks up and gains buffs that make future collection easier. Once you sell your initial Iron and purchase the Drill Damage upgrade, you officially complete the tutorial loop. You are now ready to carve your own path.
Mastering Movement and Mechanics
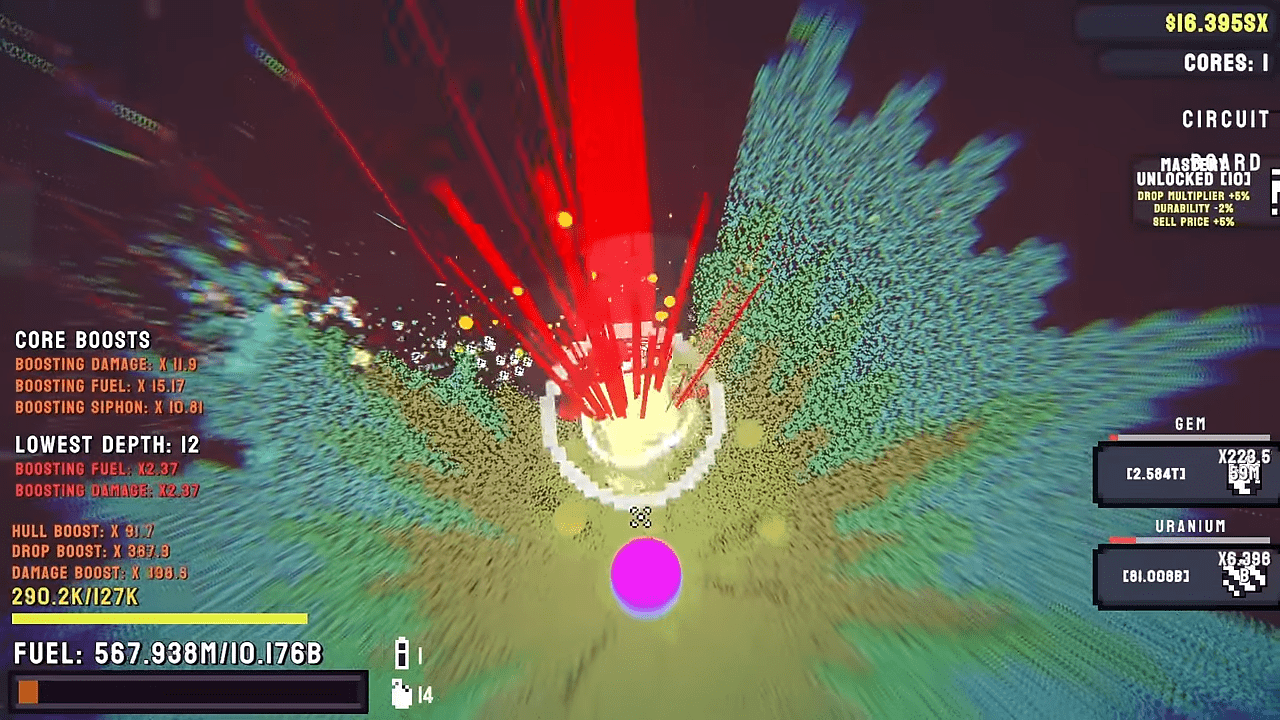
The default movement feels floaty and reliant on gravity. Fortunately, specific upgrades allow you to take full control of your vessel. Prioritizing these changes the feel of the game entirely.
Gravity Lock
You should focus on obtaining the Gravity Lock immediately. This upgrade links to Drill Damage. Gravity Lock allows you to press Shift to counteract the violent rebound effect of mining rocks. It stabilizes your ship and lets you smash through weak rocks with momentum rather than bouncing off them. You will know it is active because your ship turns a darker shade. It is a cheap upgrade that provides immense value.
Thrusters
The Thrusters upgrade requires Aluminium. This makes it slightly more expensive, but it is worth the cost. This upgrade unlocks the W and S keys for vertical movement. You no longer have to rely on gravity to descend or bounce to ascend. You gain free control over your ship’s positioning.
Milestones and Skins
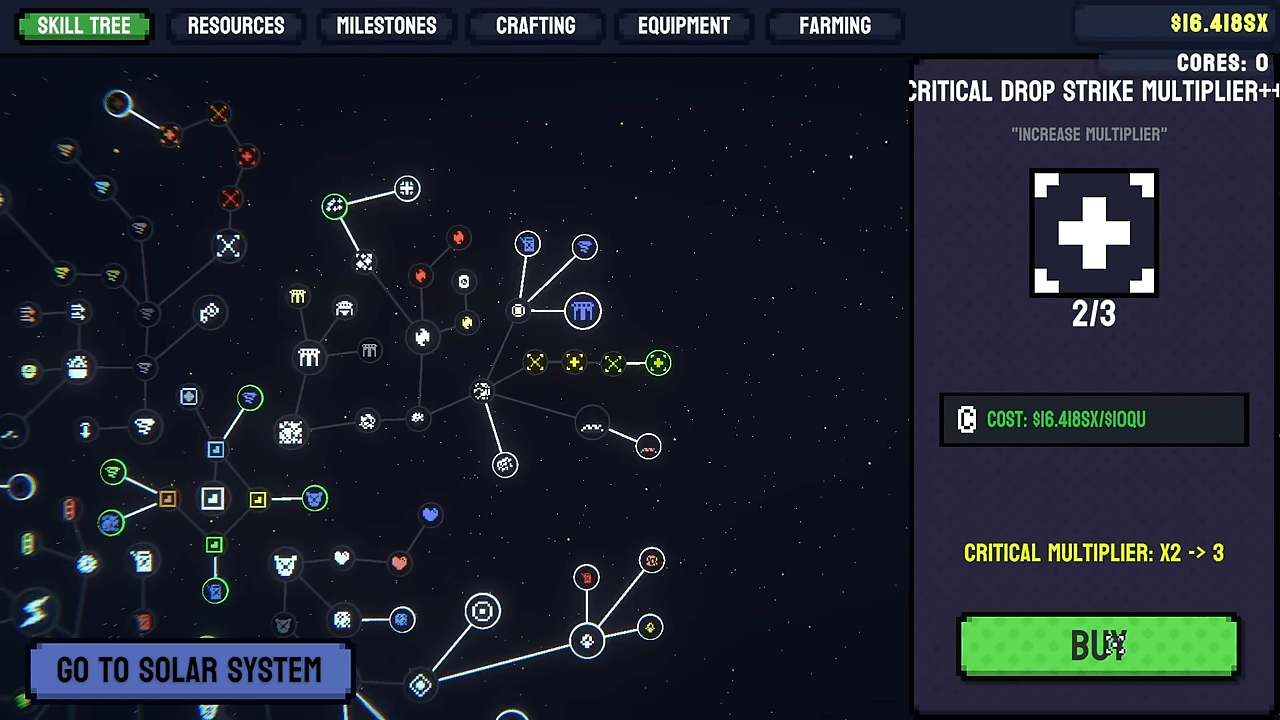
You unlock the Milestones upgrade after Vision 1, though it technically ties to Vision 2 in the tree. It costs $900,000. You might consider saving $1,000,000 to unlock Home’s Moon first to get better materials, but Milestones should be a close second priority.
This upgrade tracks your total blocks broken after the purchase. You receive rewards for hitting targets, including stat boosts, materials, and skins. Jimmy might need 30 million blocks broken to unlock, but rest assured that his skin is the best one. Once you destroy a core, a second milestone tracker appears that rewards you for the number of cores destroyed.
The Core Loop: Destruction and Prestige
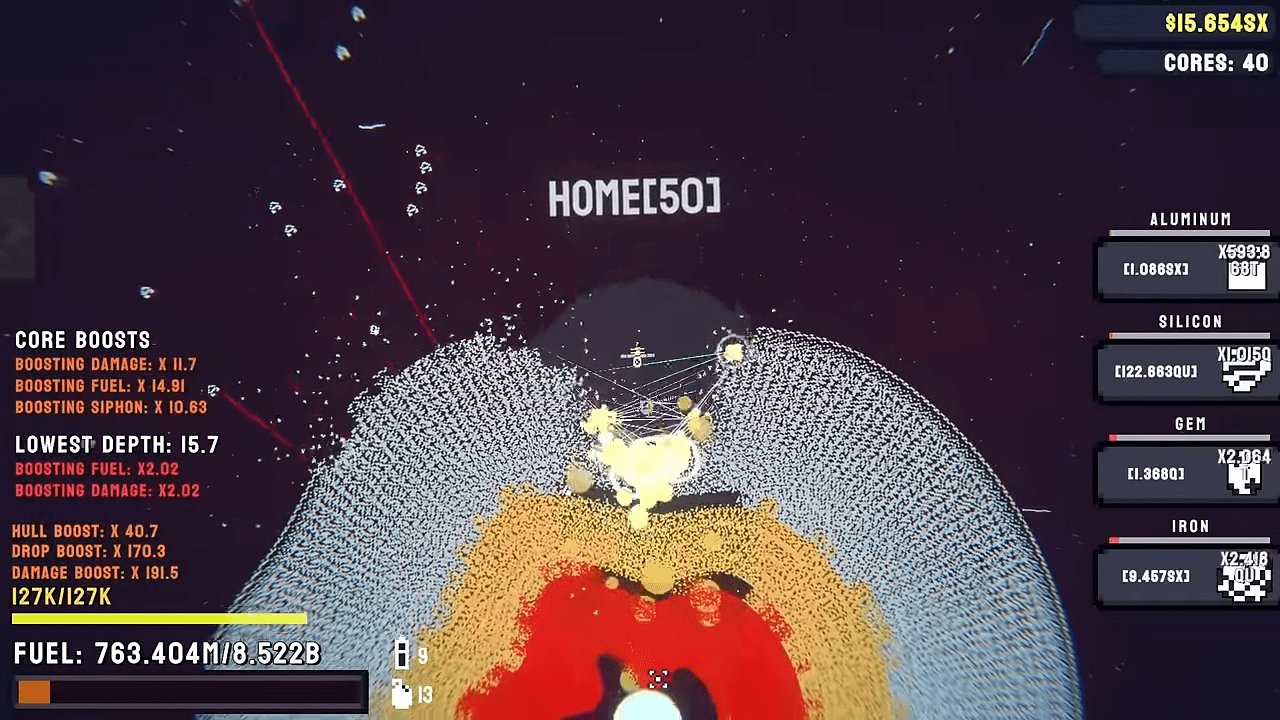
The name of the game is To The Core, so your destination is clear. A white core sits at the center of every planet. These cores possess high health relative to the surrounding strata and can destroy your ship in a single hit if you lack proper shielding and fuel regeneration.
Damaging the Core
When you damage a core, it shrinks. However, the hitbox remains the same size as the original large core. Do not let the visual shrinking fool you into flying too close. You must maintain a safe distance while drilling.
Prestige vs. Restart
Once you destroy the core, the game presents you with two distinct choices:
- Prestige: You continue your current run on the same level.
- Restart: You reset the planet to a fresh state, but it advances to the next level of prestige. A number next to the planet name indicates its prestige level.
If a planet becomes too difficult after you prestige it, do not worry. You can return to the planetary map and select any previously unlocked level of prestige. You can also view the exact multiplier for that difficulty level.
Challenge Buffs
You can opt to activate challenges on completed planets. Beating a planet (destroying the core) with a challenge active grants you a permanent stat buff. These buffs apply regardless of the prestige level you play on in the future. Note that you only complete a challenge once per prestige level. If you beat a challenge on Prestige 3, you get the large buff associated with that level; you cannot go back to Prestige 2 to stack a smaller buff on top of it. Always aim for the highest prestige you can manage for the best buff.
Advanced Systems: Crafting, Equipment, and Farms
As you progress past the initial planets, you unlock systems that automate your power and resource generation.
The Crafting Bench
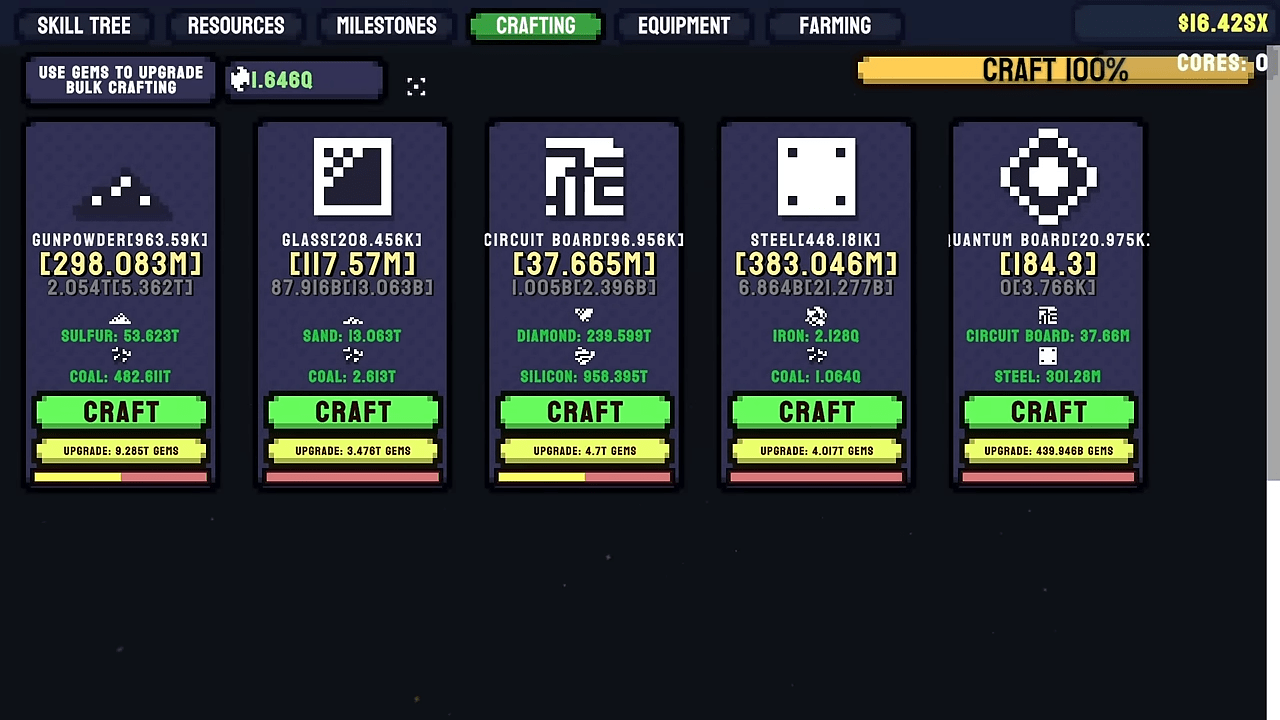
Unlocking items like Gunpowder or Circuit Boards opens the crafting menu. Here, you convert raw materials into products needed for high-tier upgrades. Just like the selling menu, you can set a percentage for how many items to craft at once via a slider. The menu shows you the input materials required and the output quantity.
A progress bar at the bottom shows craft time. You cannot speed up the time itself, but you can spend Gems (a secondary drop from rocks) to increase the amount produced per craft.
Equipment System
Purchasing upgrades like the Lens Enhancer or Siphon Expander unlocks your Equipment loadout. You can equip one item at a time.
- Lens Enhancer: This gives you a laser fired with the Left Mouse Button (LMB) to destroy blocks at range. This costs fuel to use.
- Siphon Expander: This provides passive stat buffs.
Items level up when you collect specific materials associated with them. Once you hit the cap, the level displays as MAX.
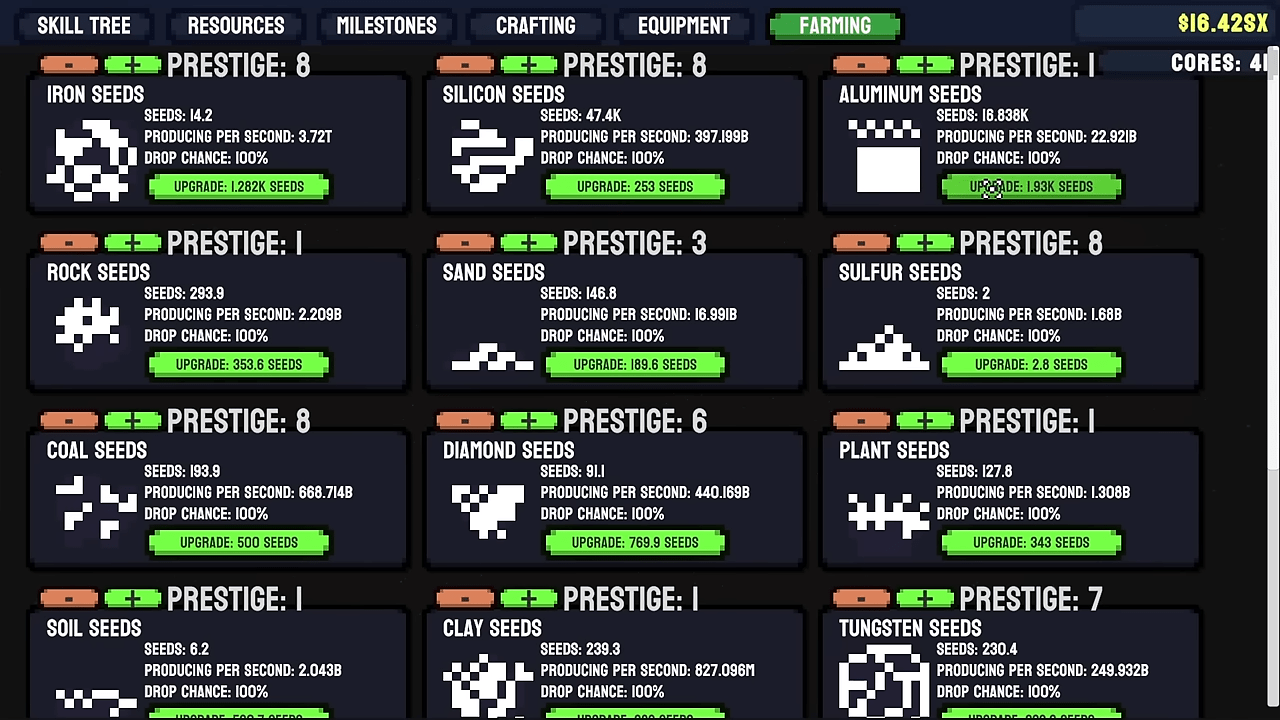
Farming Resources
Farms unlock after Vision 3 because the preceding Ore Infusion upgrade requires Diamonds. This is a late-game feature. Initially, the menu is empty. You must gather seeds by mining specific materials. If you struggle to find seeds, look for the upgrade that increases drop rates.
Once you have seeds, the farm produces 1 unit of that material per second. Upgrading the crop with more seeds does not increase the rate; it only levels the crop. To increase production speed, you must use Cores to prestige the crop. Each prestige level multiplies the output relative to the seed level. This is the ultimate way to farm materials while you are busy elsewhere.
The Infinity Box
This is the final piece of equipment and arguably the most powerful tool in your arsenal. Initially, it grants a 3x multiplier to ALL damage. You level it up using Singularity from the Blackhole. At its maximum level of 500, the buff becomes a massive 500x damage multiplier.
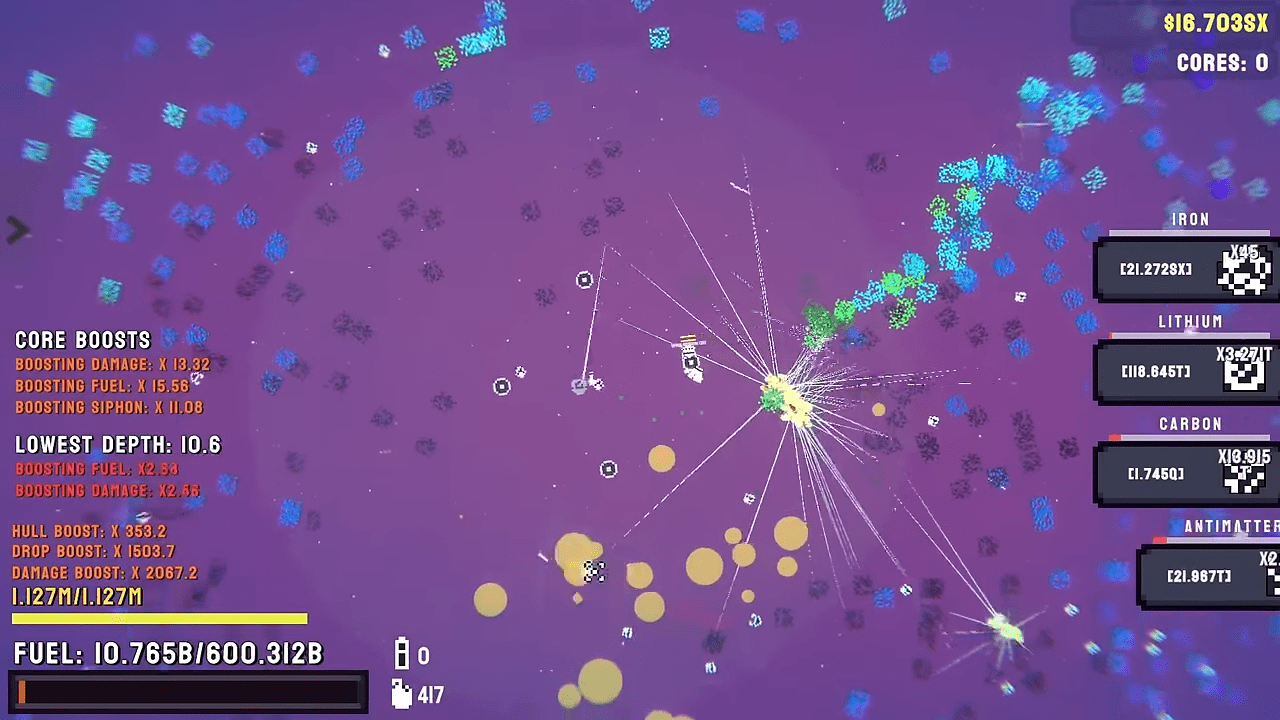
Planetary Dossier: A Traveler’s Guide
Every planet generates randomly based on three rules: Size, Roughness, and Composition.
- Size: Determines total rock count.
- Roughness: Determines how spherical or jagged the shape is.
- Composition: Determines the layers of materials and their ratios.
Here is the complete database of celestial bodies you will encounter.
Home System
Planet: Home
“Strange Hmmm”
This is unlocked when starting. It feels a little wrong to be destroying a planet literally called Home, but we must progress. It has a size of 20 and a roughness of 10. The fuel drain is 1 per second. Its composition is 20 Iron, 10 Silicon, and 5 Aluminium.
Planet: Home’s Moon
“More strange hmmm”
This costs $1,000,000 and requires Vision Tier 1. It is smaller with a size of 10 and a roughness of 8. The fuel drain is 5 per second. Its composition is 10 Rock, 8 Coal, and 4 Sulfur.
The Icy Expanse
Planet: Glacies
“Applies frostbite which causes you to take more damage and slow you the more frost you have”
Costing $80,000,000 and requiring Vision Tier 2, this planet introduces hazards. A meter shows at the top of the screen indicating how much frostbite you have. This is the same frostbite used in one of Home’s challenges. It has a size of 30, roughness of 6, and drains 12 fuel per second. Composition: 30 Ice, 15 Sand, 5 Rock.
Planet: Endura
“Moon of Glacies”
This costs $500,000,000 and requires Vision Tier 2. It has a high fuel drain of 50 per second. Composition: 15 Sand, 12 Coal, 5 Cobalt.
Life and Riches
Planet: Vita
“Life finds a way, enemies spawn on this planet”
This planet costs $2,000,000,000 and requires Vision Tier 2. Enemies periodically spawn around this planet. You must destroy them to gain Organic Matter. Composition: 25 Plant, 22 Soil, 5 Clay.
Planet: Cupid
“Where greed meets infinity”
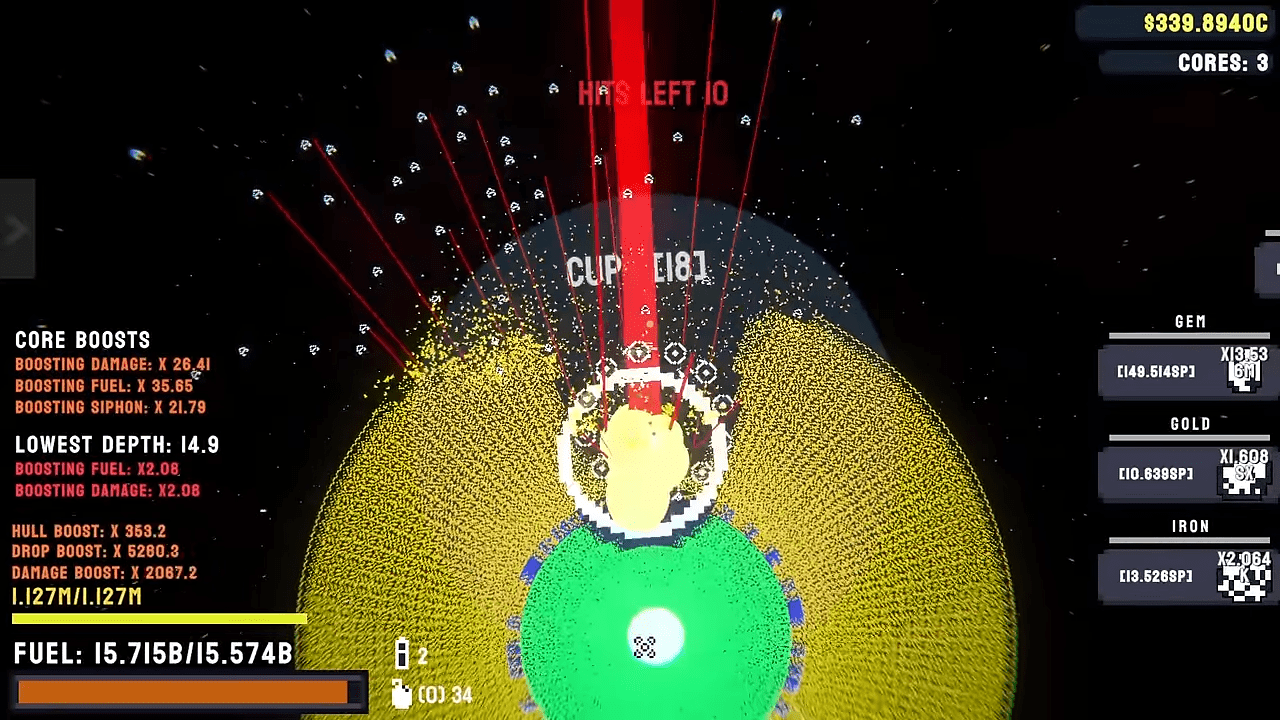
Unlocked at Vision Tier 5 for $1,000,000,000,000,000,000. It has 0 roughness, making it a perfect sphere. The gems that can be harvested from this planet can also drop seeds, allowing you to farm them. Composition: 25 Gold, 10 Cobalt, 10 Gem.
Hazardous Zones
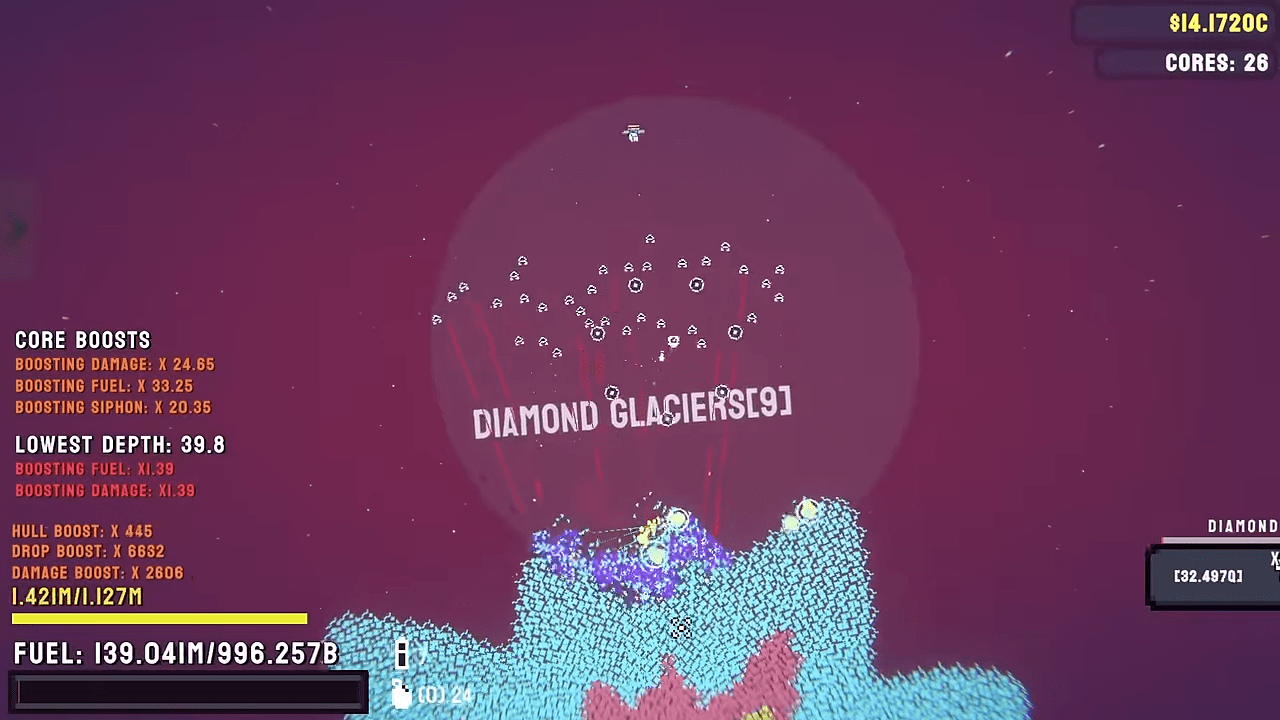
Planet: Diamond Glaciers
“Diamond wasteland”
Unlocked at Vision Tier 3 for $2,000,000,000,000. It has a size of 20 and roughness of 14. Composition: 20 Diamond, 10 Diamond, 5 Diamond.
Planet: Mortem
“Radiation effect applied on this planet, will remove fuel every second”
Costing $700,000,000,000,000 and requiring Vision Tier 3, this planet is deadly. While the base fuel per second is 20, the radiation effect considerably raises the actual amount drained. The core of the planet is solidly encased in rocks, making accessing it a little more difficult than most. The planet also has a trippy visual effect. Composition: 20 Uranium, 10 Uranium, 5 Uranium.
Planet: Letum
“Meteors fall from the sky”
Unlocked at Vision Tier 4 for $10,000,000,000,000,000. Meteors spawn on this planet and can be mined for the Meteor material. Composition: 30 Tungsten, 20 Lead, 10 Mercury.
The Stellar Endgame
Planet: The Sun
“The Sun”
While you can theoretically get to The Sun at the beginning of the game, the cost of $150,000,000,000,000,000 makes it very time-consuming. The fuel per second changes depending on what level of vision you have unlocked. Composition: 30 Hydrogen, 20 Nitrogen, 10 Neon.
Planet: Supernova
“Supernova”
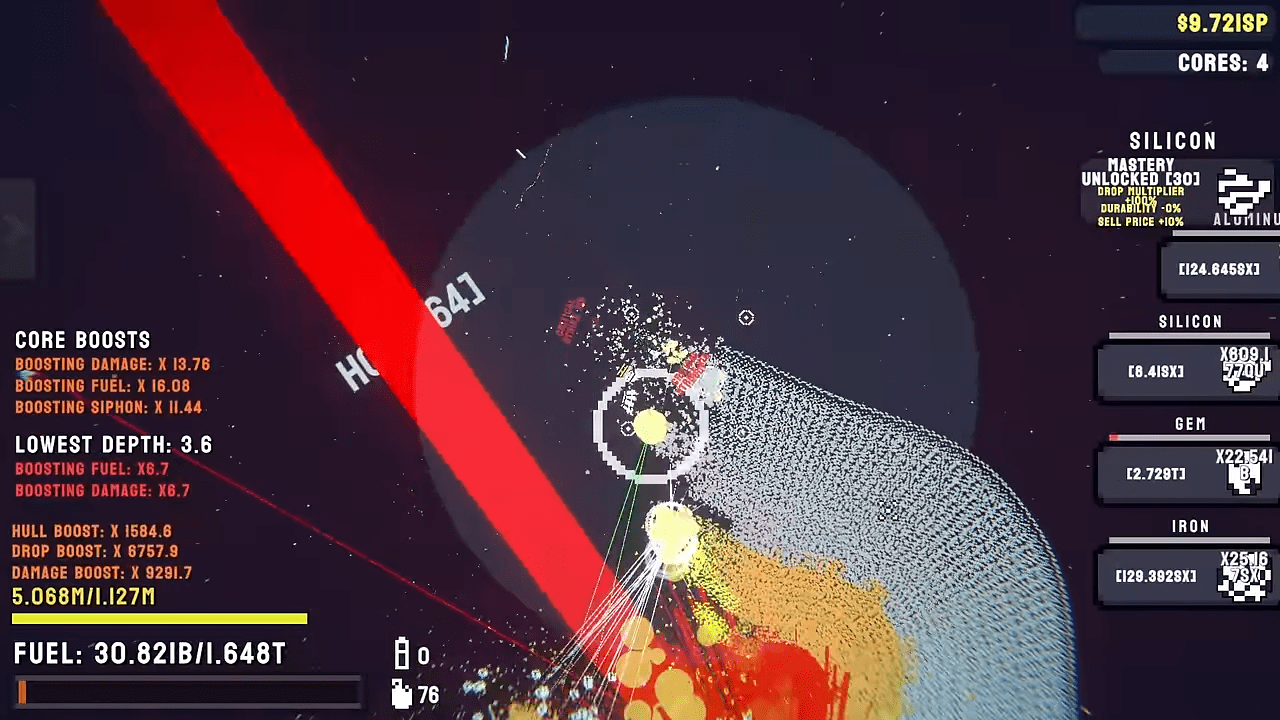
To unlock the Supernova, you must first beat The Sun. You can then select it from a new dropdown on The Sun. The Supernova is a spiraling cloud of rocks, making it quite difficult to reach the core and antimatter layers. Composition: 40 Carbon, 25 Lithium, 10 Antimatter.
Planet: Blackhole
“Blackhole”
Much like the Supernova, the Blackhole is unlocked by first beating the Supernova. It is then added to The Sun’s extra menu. The Blackhole spins very fast, and the Singularity rocks are very tough. This makes it by far the hardest planet to beat. Composition: 30 Singularity, 27 Singularity, 20 Singularity.
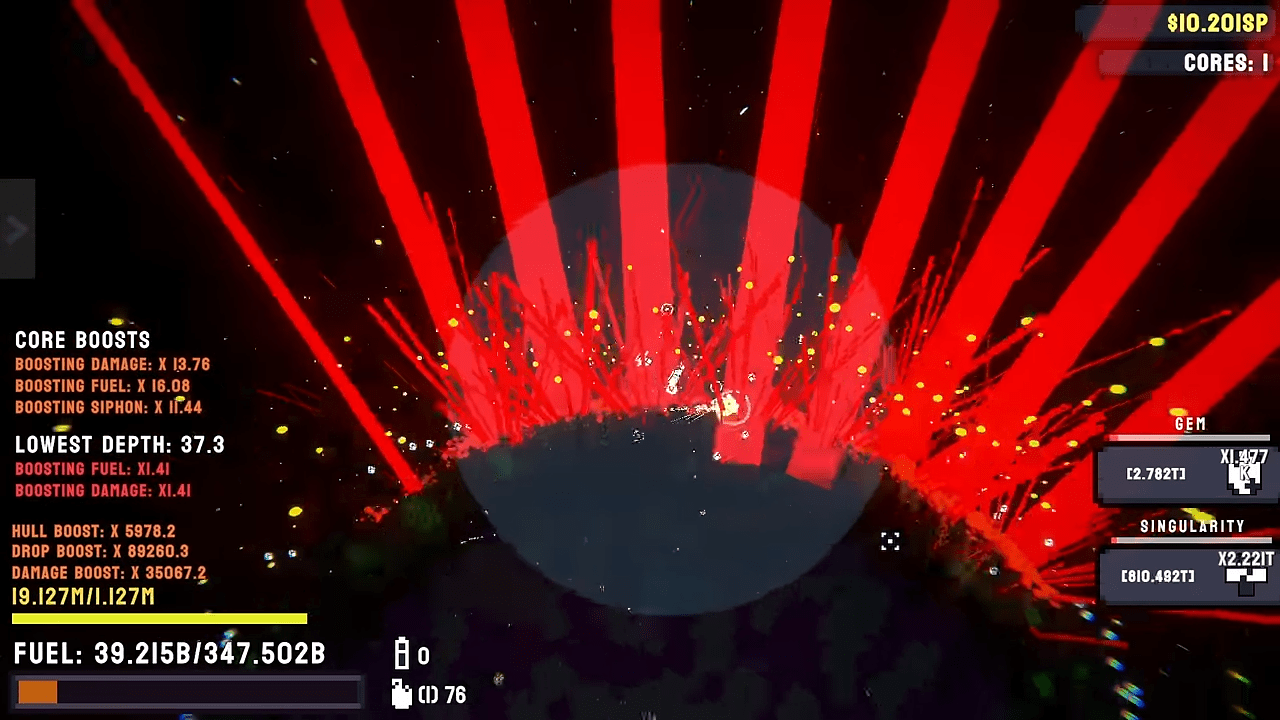
The Achievement Hunter’s Handbook
Most achievements in do not need an explanation on how to obtain them. You will obtain achievements like Vision 1/2/3/4/5 unlocked simply by buying upgrades in the shop. Similarly, the Get 1 x-illion coins achievements will come naturally as you progress, since you need more than a quadrillion coins to finish the game. However, we have outlined the best methods for the more specific achievements below.
The Grindy Achievements
The 500 Cores Grind
This sounds daunting, but you can speedrun it.
- Equip the Infinity Box for maximum damage.
- Select Home’s Moon. It is small and has weak blocks.
- Destroy the core, prestige, and repeat.
- Each cycle takes about five seconds. If the prestige level gets too high and slows you down, switch to Endura or Home briefly.
The Break 10 Million Blocks Grind
This is the longest grind in the game. Do not try to do this manually unless you have infinite patience.
- Select Mortem: It has the highest block count numerically but weak blocks.
- Use an Autoclicker: Set it to roughly 15 seconds. You may need to adjust this if lag occurs.
- Settings: Rebind your restart key if your autoclicker has hotkey limits.
- Process: Let the game run. The autoclicker should restart the level for you repeatedly.
The End Achievement
You must destroy the core of the Blackhole. This appears after you beat the Sun and the Supernova. The spinning blocks make a straight path impossible, so you must carefully spiral your way in.
Conclusion
To The Core offers a satisfying loop of destruction and progression. From the first piece of Iron you mine on Home to the singularity-dense layers of the Blackhole, the journey is paved with upgrades, fuel management, and a lot of broken rocks.
Whether you are here to maximize your farm efficiency or just want to see a planet explode, we hope this guide helps you drill straight to the center of the galaxy.

Leave a Reply