
Last Updated on 5 January, 2026
This guide serves as your definitive manual for two of the most critical, yet often criminally overlooked, aspects of your journey in FlyKnight. We will explore the meditative and rewarding art of fishing, alongside the treasure-hunting thrill of ring collecting. Whether you need to regenerate mana on the fly during a boss fight or prevent your allies from accidentally stabbing you in the back, we have the specific knowledge you seek. We have compiled every scrap of data, every hidden location, and even the whispered secrets from the community to ensure you never miss a catch or a hidden chest.
Prepare your inventory and sharpen your wits. Let us begin.
Table of Contents
The Art of Angling: Getting Your Rod
Before you can even think about hauling in a legendary catch or cooking up a storm, you need the right tool for the job. Securing a fishing rod is your absolute first priority in this quest line.
The Standard Method
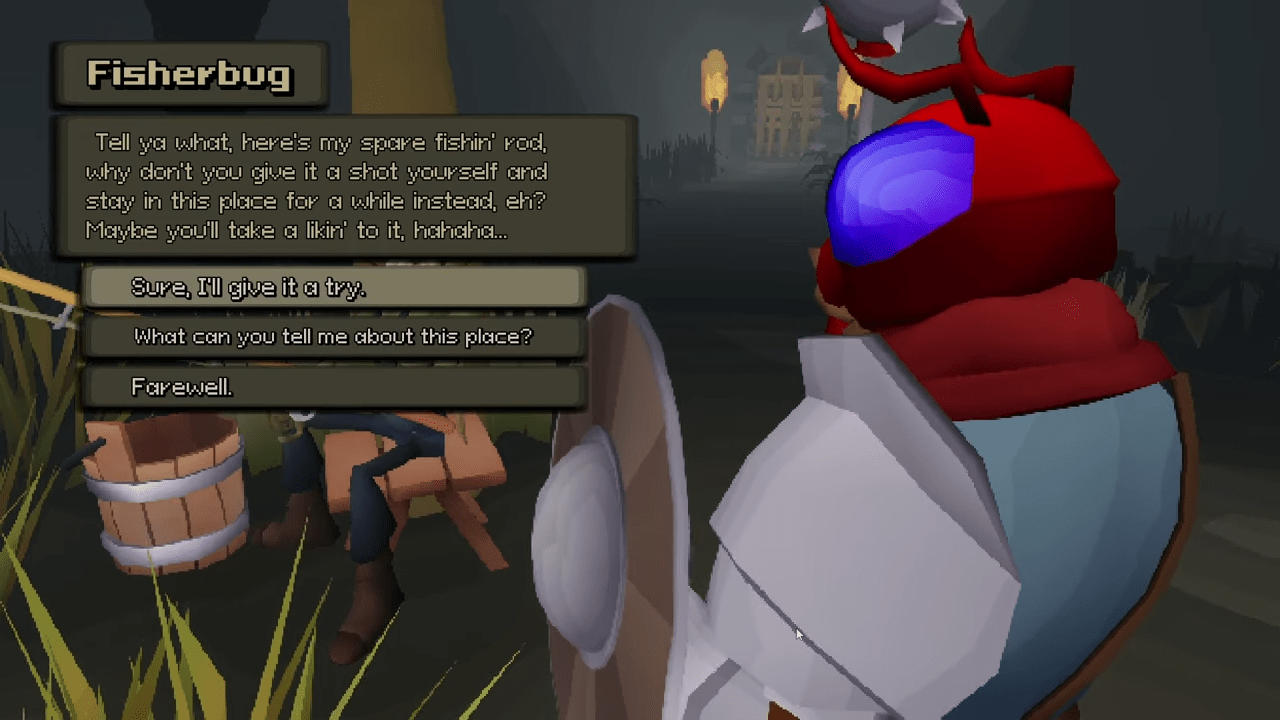
You will find the primary and intended opportunity to grab your gear at the very tail end of the game’s tutorial sequence. You must arrive at the specific location known as the Peaceful Lake Campfire. Once you are there, scan the area for an NPC named “Fisherbug”. Engage him in conversation immediately. He will kindly offer you a spare fishing rod. Accept his generosity without hesitation, pick it up, and equip the item to your character.
Critical Warning: You must complete this interaction BEFORE you enter the Caves. Once you cross the threshold into the caves, the path to the Peaceful Lake closes forever. If you enter the caves without the rod, you lock yourself out of this specific interaction for the remainder of that playthrough.
The “Missed It” Workarounds
Did you rush into the caves and miss Fisherbug? Do not panic and delete your character just yet. While early reports suggested you needed a fresh restart, the community has uncovered two vital secrets to save your run.
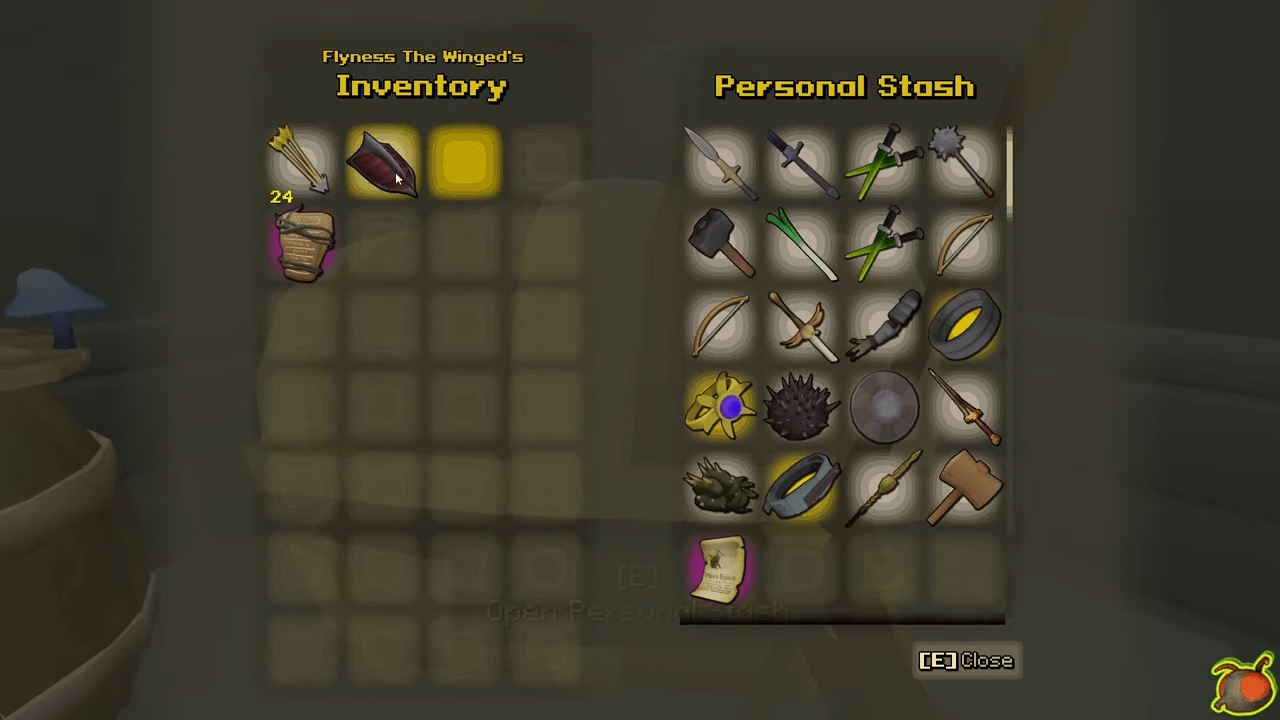
- The Stash Solution: Check the bottom of your Personal Storage. The developers likely foresaw this issue and placed a spare fishing rod there for forgetful knights.
- The Dev Room Trick: If all else fails, you can access the developer room to fix your mistake.
Fishing Mechanics 101
Fishing in FlyKnight balances refreshing simplicity with satisfying depth. Here is exactly how you master the water and keep your stamina intact.
The Basics
Equip your rod and press [5] to wield it at any time. You are now ready to cast your line.
- Casting: Hold the Left Mouse Button. Orange arrows will appear on the water surface. These arrows indicate your aim and where the bobber will land. Release the button to cast your bobber.
- Reeling: You have two distinct options once the line is out.
- Slow Reel: Hold the Right Mouse Button to pull the line in gradually.
- Fast Reel: Click the Left Mouse Button to toss your bobber into the air. While the bobber is airborne, hold the Right Mouse Button. You will reel the line in much faster this way.
Hooking the Catch
Observe the water carefully. You will see small arrows hovering above the fish. The arrow color corresponds to the specific fish type.
- Attract Attention: Cast your line near a fish. If the fish ignores you, reel the bobber in slightly or recast closer to the target.
- The Nibble: The fish will approach and nibble the bobber. Do not strike yet.
- The Bite: Wait for the fish to bite down fully. You will hear a distinct sound cue and see a visual splash.
- The Struggle: Start reeling immediately. If you hesitate, the fish escapes. Watch your stamina bar closely. If you run out of stamina while reeling, the fish will drag you forward. This becomes dangerous if you stand too close to the water’s edge.
The Fish Barrel & Storage Secrets
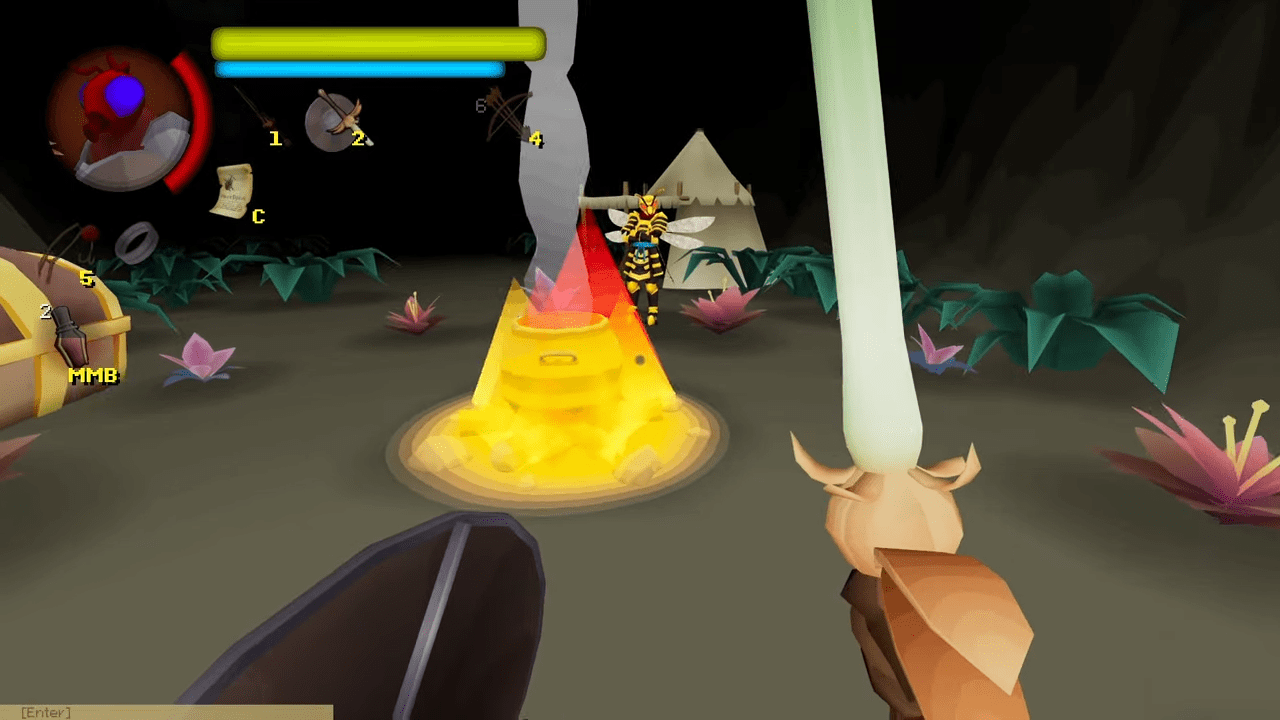
Inventory management is key to survival. You only have 5 dedicated slots in your main inventory for fish. Once you fill these slots, you cannot carry more on your person.
However, the game provides a solution called The Fish Barrel.
Think of this as your tackle box or cold storage. It holds up to 21 consumable fish. If you catch a fish while your personal inventory is full, the game automatically sends the fresh catch to your Fish Barrel, provided you have space there. This acts similarly to your Personal Stash Chest but is strictly for your aquatic prizes.
Troubleshooting the Infinite Nibble:
Many players report an issue where fish constantly nibble the line but never actually bite down. This is not a bug in the fish AI. It is an inventory management feature designed to prevent waste.
The Grand Fish Compendium
Here is the complete dossier on all 11 aquatic species found in FlyKnight. We have categorized them by their utility so you know exactly what to hunt.
Defensive and Curative Fish
- Raimollo
- Effect: Heals poison and boosts poison resistance.
- Base Duration: 140
- Habitat: Peaceful Lake, Deeper Ruins Pond.
- Musanana
- Effect: Grants slow health regeneration.
- Base Duration: 250
- Habitat: Peaceful Lake, Swamp Ruins Pond, Tower of Anticipation Pond.
- Clementaire
- Effect: Instantly regenerates a small amount of health.
- Base Potency: 20
- Habitat: Tower of Anticipation Pond.
- Pinyenna
- Effect: Grants physical resistance.
- Base Duration: 150
- Habitat: Swamp Ruins Pond, Tower of Anticipation Pond.
- Repoyés
- Effect: Prevents pushes and knockbacks.
- Base Duration: 120
- Habitat: Deeper Ruins Pond, Tower of Anticipation Pond.
Offensive and Utility Fish
- Melonuna
- Effect: Grants extra stamina regeneration.
- Base Duration: 60
- Habitat: Peaceful Lake, Swamp Ruins Pond, Tower of Anticipation Pond.
- Pastenallús
- Effect: Increases attack speed.
- Base Duration: 50
- Habitat: Swamp Ruins Pond, Tower of Anticipation Pond, Ruined City Pond.
- Llimamoll
- Effect: Grants stronger kicks.
- Base Duration: 240
- Habitat: Tower of Anticipation Pond.
- Note: Look for the green marker above its head to identify it.
- Llunagina
- Effect: Instantly regenerates mana.
- Base Potency: 30
- Habitat: Tower of Anticipation Pond, Ruined City River (before the gate).
- Condigubba
- Effect: Slowly regenerates mana.
- Base Duration: 200
- Habitat: Tower of Anticipation Pond.
The Weaponized Fish
Espasota
This is the odd one out. The Espasota is not a snack. It is a full-fledged weapon.
- Type: Slash Weapon
- Power: 17
- Attack Speed: 1.3 aps
- Stamina Use: 15
- Range: 200 (Attacks Upward)
- Weight: 6
- Habitat: Ruined City River (past the gate).
The Ring Collector’s Handbook
Rings in FlyKnight define your build. They offer powerful boons, often at a calculated cost. Below is the chronological guide to finding every ring in the game to ensure you are fully equipped for the challenges ahead.
1. Plain Trinket
Effect: None.
Location: You obtain this automatically upon creating a new character.
2. Quarrel Preventer
Effect: Prevents you from taking damage from allies.
Location: Start at the Cave Entrance Campfire. Take the rightmost path to a gate. Inside, navigate the platforming section across the pillars. You will encounter an Archer and then an ant enemy. Defeat or bypass them to find the ring just beyond the ant.
3. Ring of Leaves
Effect: Increases pushback from kicks.
Location: This is a drop from the Barnacle plant enemy. Hunt for one in the same room that houses the first Samurai and the Sunlit Hoops.
4. Sunlit Hoops
Effect: Regenerates mana upon defeating enemies.
Location: Go to the Cave Ruins Campfire. Head down and to the right. Look for a gateway guarded by two carnivorous plants. Pass through it to find a room with a Samurai guarding a chest. Defeat him to claim the Hoops and the Sunflower set.
5. Ring of Bricks
Effect: Prevents pushback from kicks (Anti-knockback).
Location: Begin at the Cave Gardens Campfire. Move forward through the first gate. Immediately turn and enter the gate on your right. Inside, turn right again. You will find a chest containing this ring and the Mallet.
6. Ring of the Batrachians
Effect: Increases attack power while airborne.
Location: Travel to the Deeper Ruins Campfire. Push past the archer and the beetle warrior until you see a Danger sign. Enter the room past the sign. Two boxing enemies guard a chest here. Inside lies the ring and the Druid’s Rage.
7. Ring of Lavender
Effect: Regenerates mana, but weakens spells.
Location: From the Deeper Ruins Campfire, head to the left of the Dragonfly Knight. Descend the spiral stairs. At the bottom, check the boxes to find a chest containing this ring.
8. Fossilized Tail
Effect: Increases movement speed when on low life.
Location: Go past the Dragonfly Knight at the Deeper Ruins Campfire. Immediately head left after the door to find a set of stairs. Follow the path down to find the Wind Push spell. Continue down the path and execute a jump to reach the chest.
9. Vine of the Bramblemancer
Effect: Reduces spell cost, but spells consume health instead of mana.
Location: In the Swamp, look for a tower radiating a bright pink aura at the base and top. A Samurai guards the interior. Defeat him to access the chest containing this ring and the Lance of Thorns.
10. Gecko’s Tail Vertebrae
Effect: Grants a sidestep ability (Directional Input + Sprint).
Location: Start at the Swamp Ruins Campfire. Climb the stairs to find the Wasp NPC. To the left, jump up a wall. Climb onto another wall near the large tree. Traverse left until you see an opening on your right. The chest inside holds this game-changing mobility ring.
11. Sign of the Sniper
Effect: Increases projectile damage based on travel distance.
Location: Locate the Ruined Fortress after the Swamp Ruins Campfire. Take the elevator down. Search the area with boxes to find the chest.
12. Leech
Effect: Restores health when you destroy a body part.
Location: In the Ruined Fortress, take the elevator down and then climb up the fortress structure. Reach the floor occupied by an archer. Defeat the archer to loot the chest containing the Leech ring and the Katar.
13. Ring of the Red Thistle
Effect: Spells are stronger but consume more mana.
Location: Go to the Swamp Ruins Campfire. Head past the Ruined Fortress into the area teeming with zombies. Search for a chest in this undead zone to find the ring and the Weaver’s Trap spell.
14. Displacer Mushroom
Effect: Grants a chance to prevent spending ammunition.
Location: In the Ruined City, lower the drawbridge. Proceed past the archer. Look for a chest situated behind a fence on your left. Move forward until you find a path on your left that loops back to reach it.
Conclusion
There you have it. You now possess the knowledge to fill your barrel with rare fish and adorn your fingers with powerful rings. FlyKnight rewards those who explore every nook and cranny, and with this guide, you can ensure no stone remains unturned. Whether you are building a high-mana mage with the Ring of Lavender or a kick-boxing tank with the Llimamoll fish, these items will pave your road to victory.
Cast your lines far and strike your enemies true. Good luck out there!

Leave a Reply