
Last Updated on 25 December, 2025
Don’t make the mistake of viewing Chillquarium as a cozy pixel-art screensaver. This game operates as a ruthless capitalism simulator disguised as a relaxing fish tank. It combines the collection addiction of Pokémon with the exponential growth of Cookie Clicker, all without a single microtransaction in sight.
Consider this guide your ultimate cheat sheet to aquatic domination. I will walk you through every step of the journey, from your first ten dollars to your first billion. Whether you need the exact drop rates for a Mythic, the optimal AFK feeding strategy, or a direct method to edit your save file for instant 100% completion, you have found the right place. Prepare to turn your peaceful aquarium into a profit-generating empire!
Table of Contents
- 1. Understanding the Basics: Rarity and Economy
- 2. The Shop and Tank Mechanics
- 3. Pack 1: Freshwater Friends
- 4. Pack 2: Rivers and Ponds
- 5. Pack 3: Reef Fellas
- 6. Pack 4: Marine Dwellers
- 7. Pack 5: Giants
- 8. Advanced Collecting: Gold, Rainbow, and Painted Variants
- 9. The Hustler’s Strategy: Maximizing Profit
- 10. The Completionist Hack: Save File Editing
- 11. Conclusion
Understanding the Basics: Rarity and Economy
Your journey begins with understanding the value of your livestock. Chillquarium operates on a system similar to loot boxes found in other titles. You buy a pack, and the game rolls the dice on what you receive. This essentially marks the start of your gambling addiction.
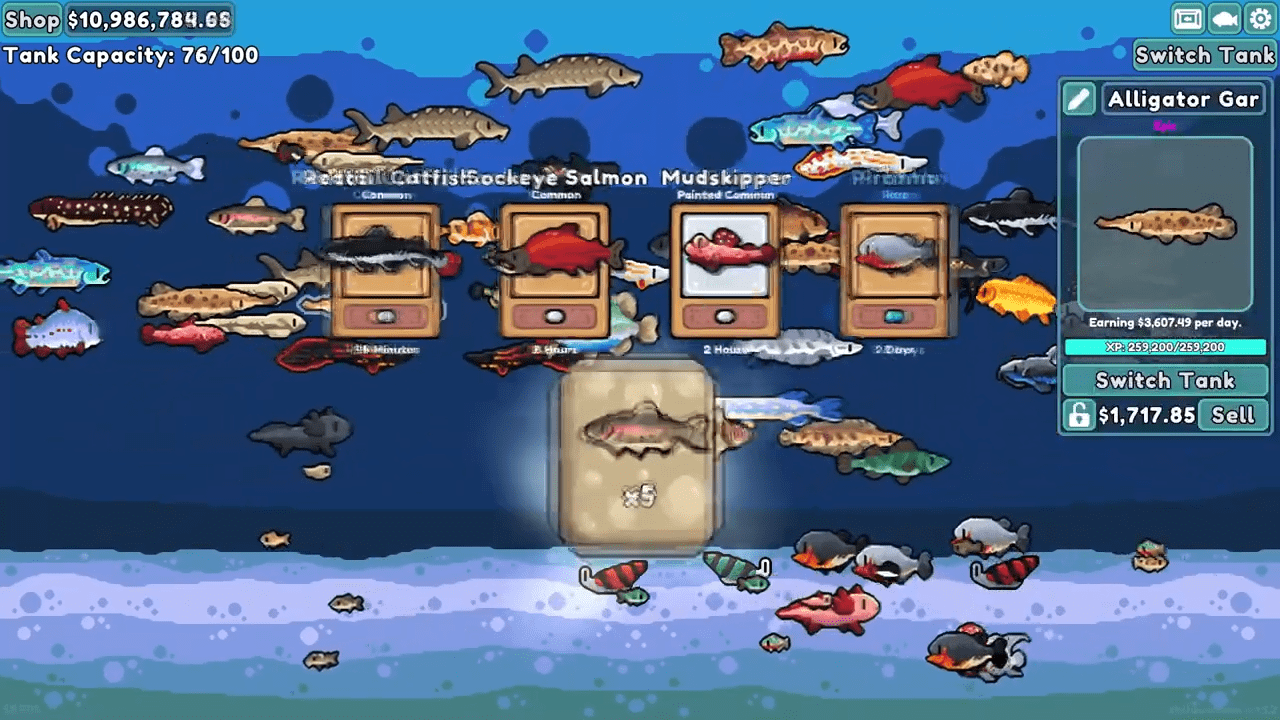
The game categorizes fish into five distinct rarity tiers. While the game does not display exact percentages during gameplay, we estimate the drop rates based on community data. You have a 50% chance to pull a Common fish and a 35% chance to find a Rare one. Epic fish appear roughly 14% of the time, while Legendary fish drop only 1% of the time.
The developers added Mythic fish in patch 1.1. These elusive creatures appear ten times less frequently than Legendaries, sitting at an estimated 0.1% drop rate. Unfortunately, the game still requires you to find these Mythic fish to complete the standard achievements.
Reading the Fish Card
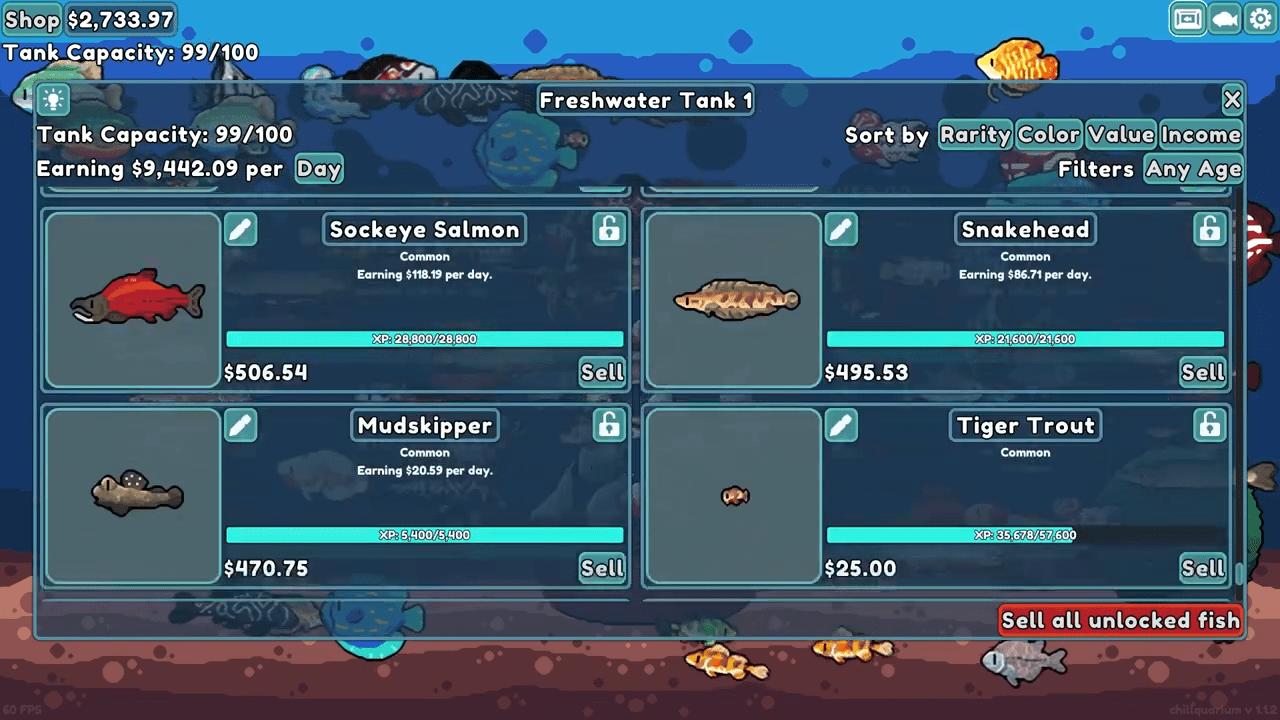
Every fish displays a card containing vital statistics. You should pay attention to three specific elements:
- The Lock Button: This prevents you from accidentally selling valuable specimens.
- Income Per Day: This number indicates the passive revenue the fish generates.
- Sell Price: This number tells you the immediate cash value of the fish.
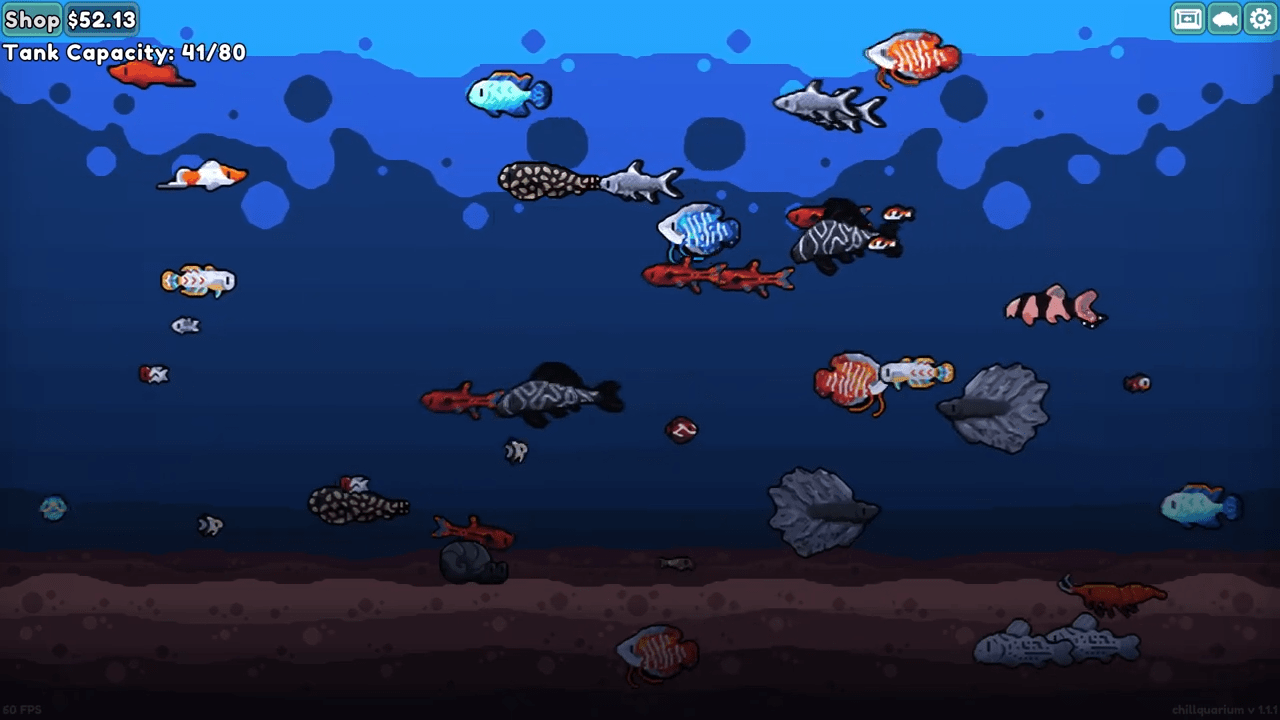
You can also rename your fish to add personal flair. For a deeper analysis of your aquarium’s economy, you can click the icon in the top right of your screen. This menu sorts your livestock by rarity, color, income, or value. It also breaks down your income per second, minute, hour, and day.
The Shop and Tank Mechanics
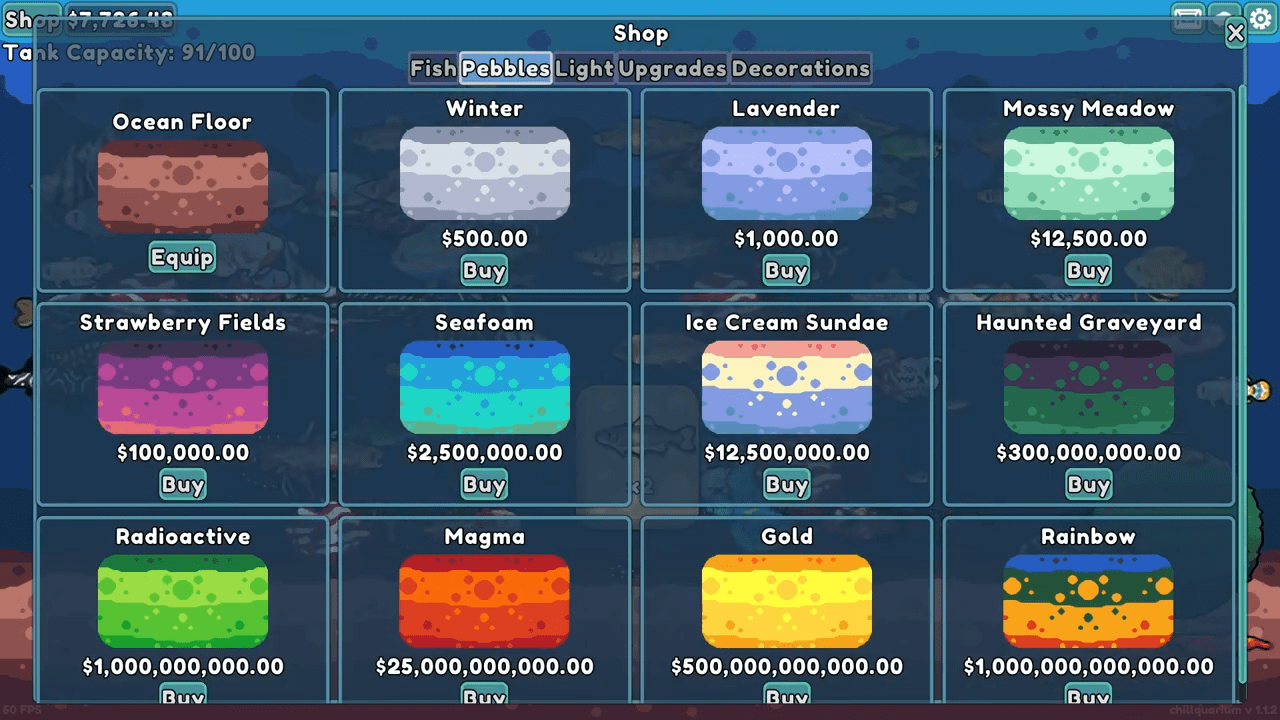
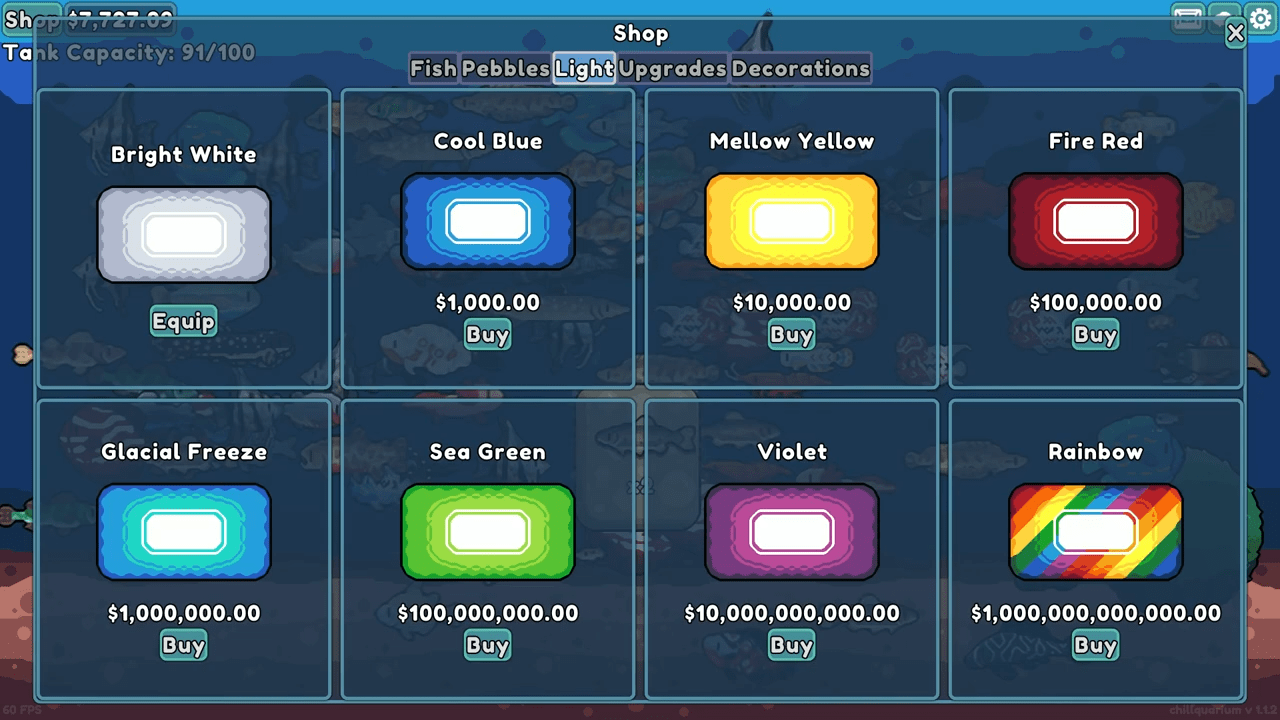
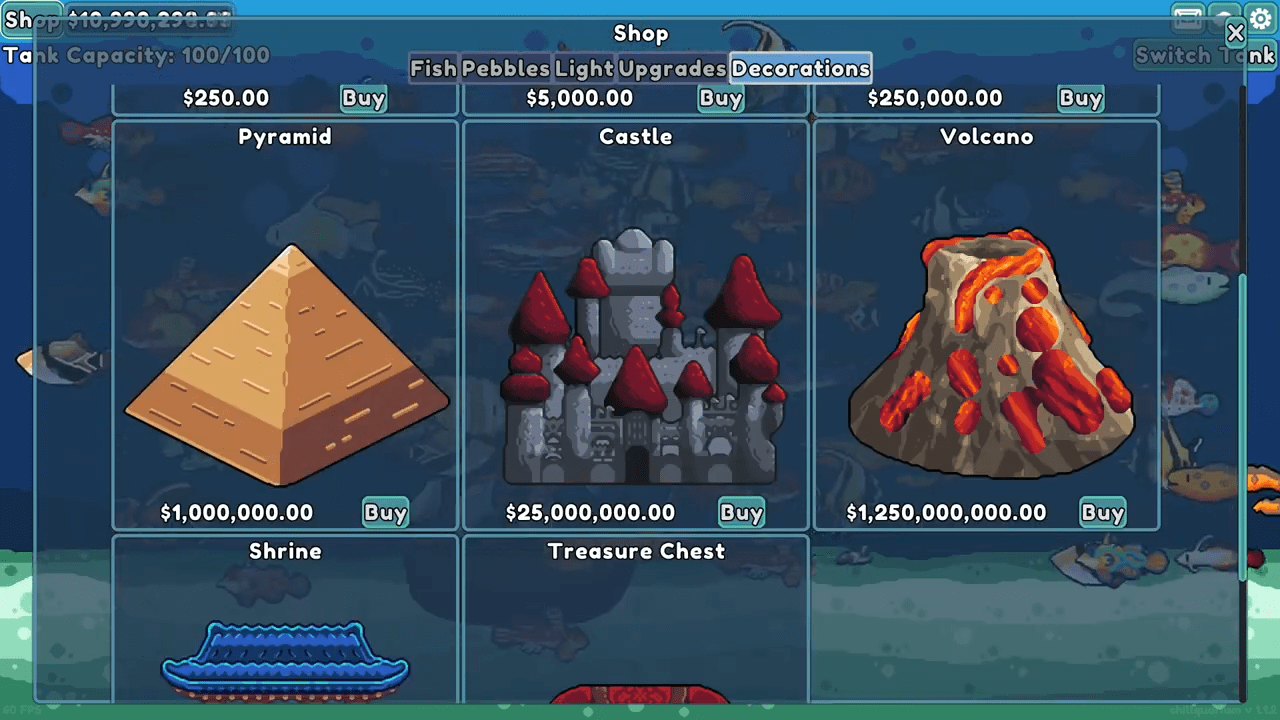
You access the Shop by pressing the Tab key on your keyboard or clicking the Shop button at the top right of the screen. If you have not interacted with the Shop menu yet, we assume you simply forgot it exists. The menu contains three main tabs: Decor, Fish, and Upgrades. We will ignore the Decor tab, as lights, pebbles, and decorations provide no financial benefit.
Feeding and Upgrades
The Upgrades tab holds the key to growth. Here, you purchase fish food and tanks. Investing in fish food upgrades gradually increases the experience points (XP) your fish gain per pellet.
You feed fish by holding or right-clicking your mouse. However, savvy players use a trick to automate this process. Follow these steps for infinite auto-feeding:
- Hold down your right mouse button.
- Press the Windows key to open your OS menu.
- Drag your mouse cursor to the taskbar.
- Left-click on the taskbar.
This locks the game into a feeding state. You can alt-tab back into the game, and the feeding continues automatically. To stop the process, simply right-click anywhere on the tank.
Tank Management
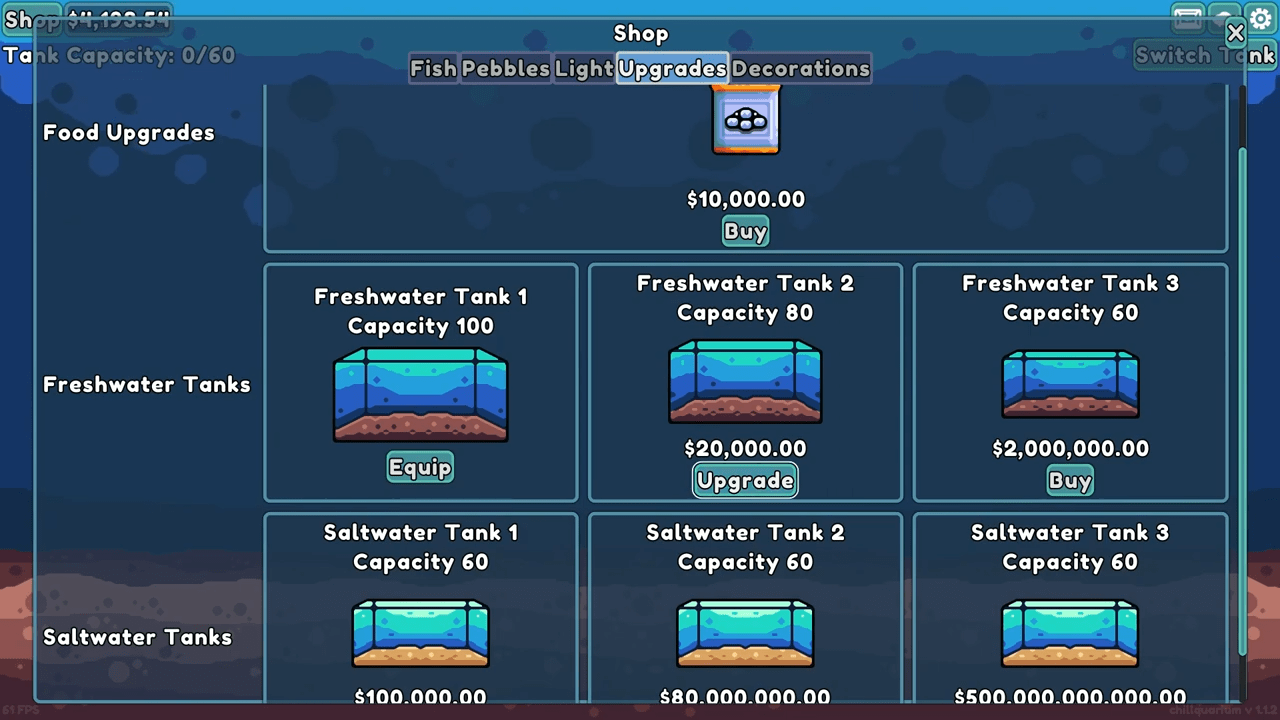
You need space to grow your empire. Purchasing and upgrading tanks costs anywhere from $100 to $1,000,000,000,000 (one billion). You must prioritize this because more space equals more fish, and more fish equals more money.
Pack 1: Freshwater Friends
This constitutes the entry-level pack and introduces you to the gambling mechanics of the game. Each pack costs a modest $10.00.
While you cannot control the random number generation (RNG), you should know which fish yield the best returns. The game features a hidden logic regarding value. Some fish possess an income larger than their sell value, while others have a sell value larger than their income.
Common Fish
- Goldfish
- Neon Tetra
- Blue Grass Guppy
- Clown Loach
- Corydoras
- Swordtail
- Wagtail Platy
- Acara
- Bala Shark
- Betta
- Dwarf Gourami
- Chili Rasbora (A standout favorite in this tier)
Rare Fish
- Ramshorn Snail
- Hillstream Loach
- Peacock Gudgeon
- Pleco
- Cherry Shrimp
- Angelfish (Excellent stats)
- Flowerhorn Cichlid (Excellent stats)
Epic Fish
- Discus (High performance)
- Oscar
- Elephant Fish
- Glassfish (High performance)
Legendary Fish
- Koi
- Whiptail Catfish (High performance)
Mythic Fish
- Polka-Dot Stingray
You do not need to separate these fish. As far as we know, none of them exhibit carnivorous behavior, so your tank inhabitants remain safe.
Pack 2: Rivers and Ponds
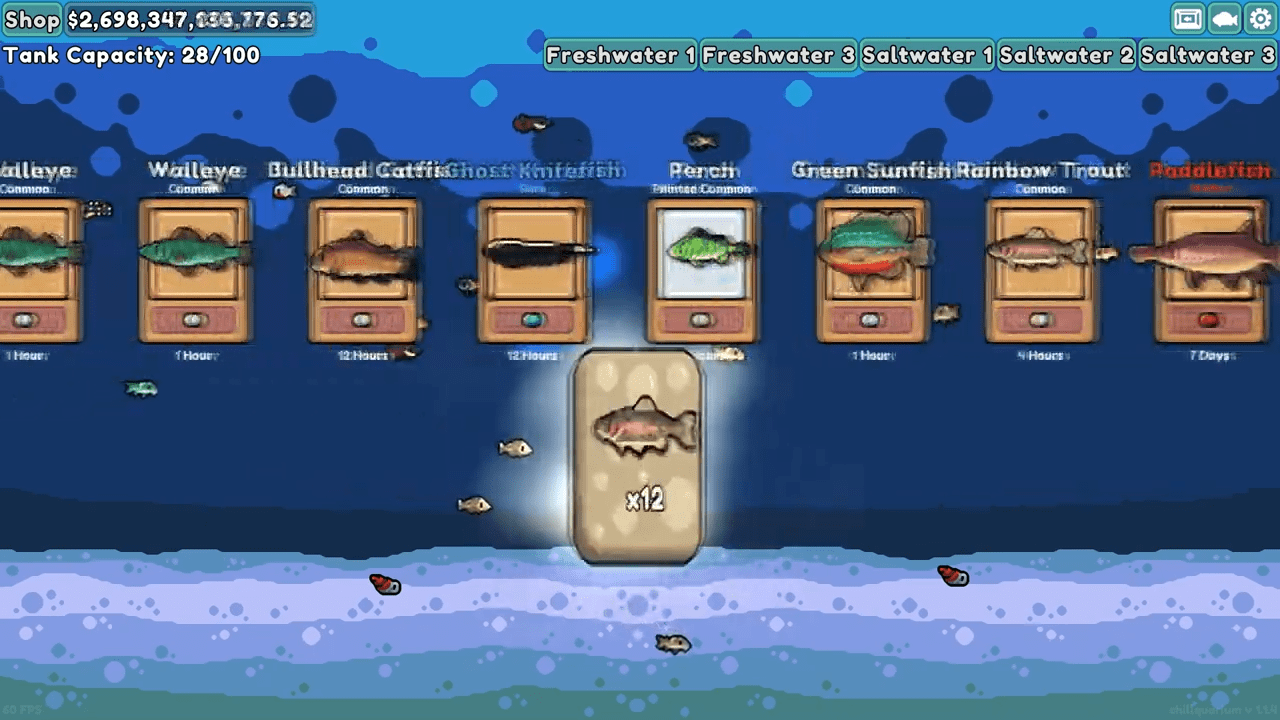
Despite the name Rivers and Ponds, you do not need a specialized river or pond environment for these creatures. Your standard Freshwater tank hosts them perfectly fine. The price jumps significantly here, with each pack costing $1,000.
This pack allows you to expand your roster without needing new housing infrastructure immediately.
Common Fish
- Carp (A solid choice)
- Redtail Catfish
- Walleye
- Green Sunfish
- Mudskipper
- Northern Pike
- Perch
- Rainbow Trout
- Snakehead
- Sockeye Salmon
- Bullhead Catfish
- Tiger Trout (A solid choice)
Rare Fish
- Axolotl
- Tequila Splitfin
- Ghost Knifefish
- Fire Eel
- Assassin Snail (High value)
- Ornate Bichir (High value)
- Piranha (High value)
Epic Fish
- African Butterfly Fish
- Amazon Leaffish
- Alligator Gar (Top tier)
- Sturgeon (Top tier)
Legendary Fish
- Arowana
- Arapaima (Top tier)
Mythic Fish
- Paddlefish (The best of the pack)
Many of these fish, such as the Piranha and Assassin Snail, possess a sell value that exceeds their daily income. This makes them excellent candidates for quick flipping if you need immediate cash.
Pack 3: Reef Fellas
Now we enter the big leagues. These fish require a Saltwater Tank. You cannot place them in your previous Freshwater tank. You must purchase the Saltwater Tank upgrade found in the Upgrade tab for $300,000 before buying these packs. The pack itself costs $200,000.
This section introduces you to Saltwater fish, which function identically to freshwater fish but live in a different biome.
Common Fish
- Clownfish
- Exquisite Fairy Wrasse
- Copperband Butterflyfish
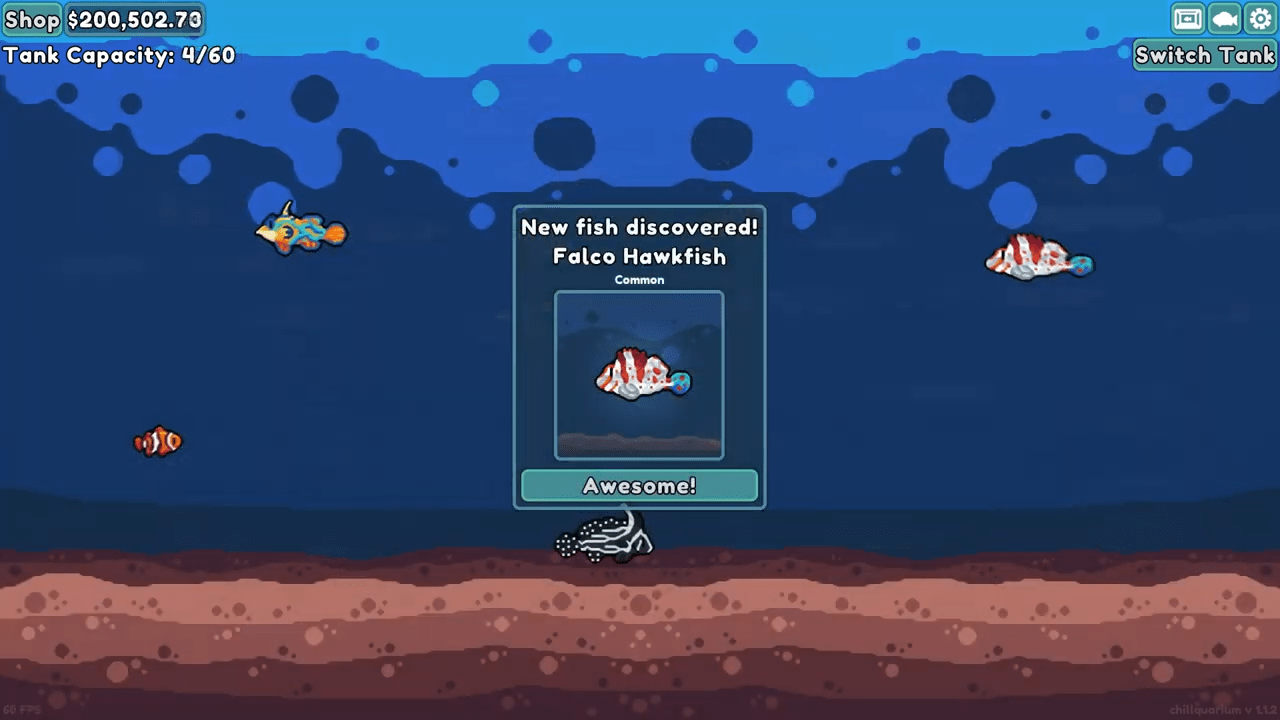
- Falco Hawkfish
- Blue Tang
- Moorish Idol
- Neopercularis Hogfish
- Pufferfish (Great earner)
- Ruby Red Dragonet
- Spotted Ribbonfish
- Triggerfish
- Flame Angelfish (Great earner)
Rare Fish
- Banggai Cardinalfish
- Mandarinfish
- Firefish Goby
- Lyretail Anthias (High value)
- Royal Gramma
- Moray Eel
- Achilles Tang (High value)
Epic Fish
- Black Tang
- Cowfish
- Banded Coral Shrimp
- Sea Slug (Top performer)
Legendary Fish
- Lionfish
- Frogfish (Top performer)
Mythic Fish
- Masked Angelfish (The prize of the reef)
The Masked Angelfish stands out as a best fish in this category. You should prioritize keeping it.
Pack 4: Marine Dwellers
This pack serves as a bridge to the end game. It helps you manage the massive sums of money required for the final tier. The cost is $50,000,000 (fifty million).
While the community desperately wants crabs added to the game, this pack focuses on other marine life. It adds no new gameplay mechanics but offers standard fish that help with money management.
Common Fish
- Bluefin Trevally
- Seahorse
- Flounder
- Longfin Batfish
- Nassau Grouper
- Pacific Lookdown (Best in class)
- Bluespine Unicornfish
- Garibaldi
- Hogfish
- Surge Wrasse
- Rock Greenling (Best in class)
- Sea Bass (Best in class)
Rare Fish
- Viperfish
- Chinese Trumpetfish
- Lumpfish
- Ghost Pipefish (High earner)
- Red Snapper
- Scaly Foot Snail (High earner)
- Lancetfish (High earner)
Epic Fish
- Gulper Eel
- Mantis Shrimp (Top pick)
- Scorpionfish
- Barred Knifejaw
Legendary Fish
- Leafy Seadragon
- Blobfish (Top pick)
Mythic Fish
- Saw Shark (The ultimate prize)
The Saw Shark represents the pinnacle of this pack. Acquiring one serves as a major milestone.
Pack 5: Giants
This is the end goal. These packs cost a staggering $15,000,000,000 (fifteen billion). Collectors and tycoons prize these fish for the sheer amount of money they give.
Common Fish
- Swordfish
- Atlantic Tarpon
- Barracuda
- California Sheephead
- Halibut
- Yellowfin Tuna
- Wahoo
- Giant Trevally
- Mahi Mahi
- Lingcod
- Goliath Grouper
- Mola Mola
Rare Fish
- Humphead Parrotfish
- Blue Marlin
- Giant Pacific Octopus
- Wolf Eel
- Manta Ray
- Oarfish
- Moonfish
Epic Fish
- Great White Shark
- Hammerhead Shark
- Basking Shark
- Whale Shark (Superior choice)
Legendary Fish
- Coelacanth (Legendary status)
- Giant Squid (Legendary status)
Mythic Fish
- Colossal Squid (The absolute pinnacle)
The Colossal Squid, Giant Squid, and Coelacanth serve as the best fish here. You should lock them immediately upon acquisition.
Advanced Collecting: Gold, Rainbow, and Painted Variants
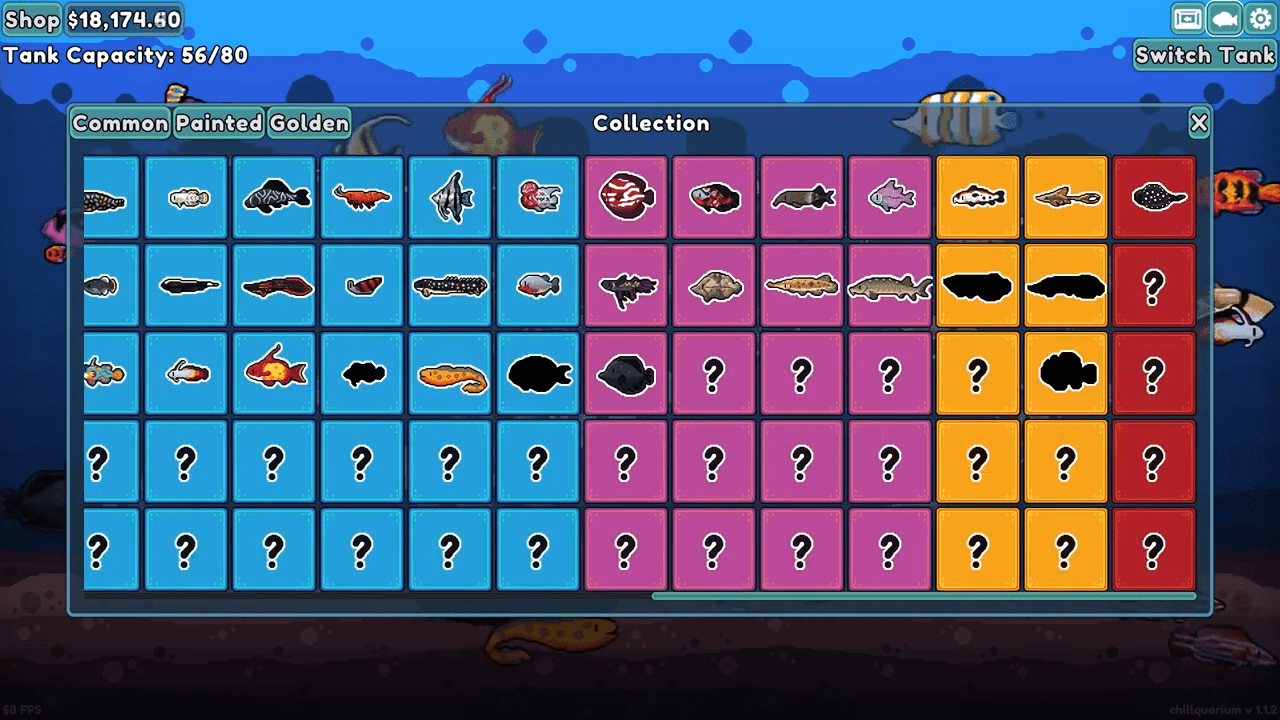
Veteran players know that the standard fish are just the beginning. Chillquarium features a variant system similar to shiny Pokémon.
Painted Fish
These serve as the most common variant, appearing roughly 1 in 8 times. They feature monochromatic or hue-shifted colors. A Painted fish generates double the income and sells for double the value of a standard fish. As of version 1.1, some fish possess multiple painted color options, all with equal spawn rates.
Gold Fish
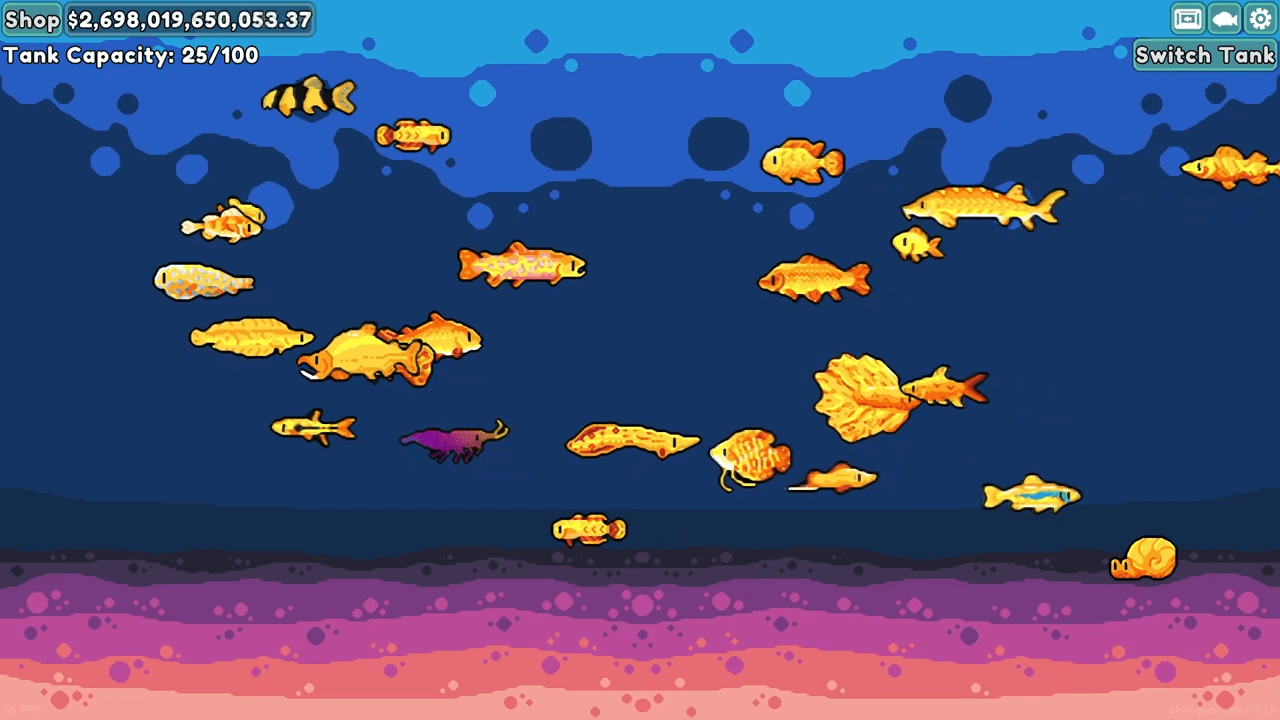
These bright yellow variants appear approximately 1 in 512 times. They are essential for serious money-making, as they yield 10 times the income and value of normal fish. The game includes a pity system for these. If you encounter double odds (1024 pulls) without a Gold fish, the game guarantees one.
Rarely, you might open a Golden Pack. This unique event guarantees four Gold fish instantly.
Rainbow Fish
These are the holy grail of Chillquarium. With a spawn chance of 1 in 8,192, they feature a color-spectrum changing effect on both the sprite and the name text. They multiply a fish’s income and value by 25 times. The pity timer for a Rainbow fish kicks in at 16,384 pulls.
The Hustler’s Strategy: Maximizing Profit
If you want to optimize your aquarium, follow these rules.
Tank Organization
We recommend a three-tank setup for maximum efficiency:
- The Sorting Tank: Keep your first tank mostly empty. Use this space to open packs and sort new arrivals.
- The Bank: Fill your second tank exclusively with high-income fish. Never put high sell-value fish here; prioritize passive income.
- The Vault: Use your third tank for your collection. Store your Gold, Rainbow, and sentimental favorites here. Always lock these fish immediately.
When to Sell
Do not hesitate to sell baby fish. While they yield no money, selling them clears space for you to reroll for better variants. This strategy helps you find Gold or Rainbow variants faster than waiting for useless common fish to mature.
However, avoid selling fully grown Legendary or Mythic fish unless you desperately need quick cash to open a new pack type.
The Completionist Hack: Save File Editing
Disclaimer: This method involves editing game files. Proceed at your own risk.
Getting 100% achievements legitimately requires immense grinding and luck. If you prefer a shortcut, you can edit your save file to unlock the fish collection.
Locating the File
Find your save file at this path (replace %YOURPCNAMEHERE% with your actual username):
C:\Users\%YOURPCNAMEHERE%\AppData\Roaming\Godot\app_userdata\Chillquarium\V7
Open the file named globals.save using a text editor like Notepad or Notepad++.
The Code Replacement
You must replace the specific line of code that tracks your fish collection. The line usually starts with {"Goldfish":[-1,0]... and ends with "path":"/root/PlayerStats"}.
Replace that entire line with the following block of code. This block includes the updates from version 1.3:
{"Acara":[-1,0,1,2,3],"Achilles Tang":[-1,0,1,2,3],"African Butterflyfish":[-1,0,1,2,3],"African Cichlid":[-1,0,1,2,3],"Alligator Gar":[-1,0,1,2,3],"Amazon Leaffish":[-1,0,1,2,3],"Angelfish":[-1,0,1,2,3],"Arapaima":[-1,0,1,2,3],"Arowana":[-1,0,1,2,3],"Assassin Snail":[-1,0,1,2,3],"Atlantic Tarpon":[-1,0,1,2,3],"Australian Lungfish":[-1,0,1,2,3],"Axolotl":[-1,0,1,2,3],"Bala Shark":[-1,0,1,2,3],"Banded Coral Shrimp":[-1,0,1,2,3],"Banggai Cardinalfish":[-1,0,1,2,3],"Barracuda":[-1,0,1,2,3],"Barred Knifejaw":[-1,0,1,2,3],"Basking Shark":[-1,0,1,2,3],"Betta":[-1,0,1,2,3],"Black Tang":[-1,0,1,2,3],"Blobfish":[-1,0,1,2,3],"Blue Grass Guppy":[-1,0,1,2,3],"Blue Marlin":[-1,0,1,2,3],"Blue Tang":[-1,0,1,2,3],"Bluefin Trevally":[-1,3],"Bluespine Unicornfish":[-1,0,1,2,3],"Bullhead Catfish":[-1,0,1,2,3],"California Sheephead":[-1,0,1,2,3],"Carp":[-1,3],"Celestial Pearl Danio":[-1,0,1,2,3],"Cherry Shrimp":[-1,0,1,2,3],"Chili Rasbora":[-1,0,1,2,3],"Chinese Trumpetfish":[-1,0,1,2,3],"Clown Loach":[-1,0,1,2,3],"Clownfish":[-1,3],"Coelacanth":[-1,0,1,2,3],"Colossal Squid":[-1,0,1,2,3],"Copperband Butterflyfish":[-1,0,1,2,3],"Corydoras":[-1,0,1,2,3],"Cowfish":[-1,0,1,2,3],"Devils Hole Pupfish":[-1,0,1,2,3],"Discus":[-1,0,1,2,3],"Dwarf Cichlid":[-1,0,1,2,3],"Dwarf Gourami":[-1,0,1,2,3],"Elephant Fish":[-1,0,1,2,3],"Exquisite Fairy Wrasse":[-1,0,1,2,3],"Falco Hawkfish":[-1,0,1,2,3],"Fire Eel":[-1,0,1,2,3],"Firefish Goby":[-1,0,1,2,3],"Flame Angelfish":[-1,0,1,2,3],"Flounder":[-1,0,1,2,3],"Flowerhorn Cichlid":[-1,0,1,2,3],"Frogfish":[-1,0,1,2,3],"Garibaldi":[-1,0,1,2,3],"Ghost Knifefish":[-1,0,1,2,3],"Ghost Pipefish":[-1,0,1,2,3],"Giant Barb":[-1,0,1,2,3],"Giant Pacific Octopus":[-1,0,1,2,3],"Giant Squid":[-1,0,1,2,3],"Giant Trevally":[-1,0,1,2,3],"Glassfish":[-1,0,1,2,3],"Goldfish":[-1,3],"Goliath Grouper":[-1,0,1,2,3],"Great White Shark":[-1,0,1,2,3],"Green Sunfish":[-1,0,1,2,3],"Gulper Eel":[-1,0,1,2,3],"Halfbeak":[-1,0,1,2,3],"Halibut":[-1,0,1,2,3],"Hammerhead Shark":[-1,0,1,2,3],"Hatchetfish":[-1,0,1,2,3],"Hillstream Loach":[-1,0,1,2,3],"Hogfish":[-1,0,1,2,3],"Horse Face Loach":[-1,0,1,2,3],"Humphead Parrotfish":[-1,0,1,2,3],"Kijimuna Goby":[-1,0,1,2,3],"Killifish":[-1,3],"King Salmon":[-1,0,1,2,3],"Koi":[-1,0,1,2,3],"Kuhli Loach":[-1,0,1,2,3],"Lancetfish":[-1,0,1,2,3],"Leafy Seadragon":[-1,0,1,2,3],"Lingcod":[-1,0,1,2,3],"Lionfish":[-1,0,1,2,3],"Longfin Batfish":[-1,0,1,2,3],"Lumpfish":[-1,0,1,2,3],"Lyretail Anthias":[-1,0,1,2,3],"Mahi Mahi":[-1,0,1,2,3],"Mandarinfish":[-1,0,1,2,3],"Manta Ray":[-1,0,1,2,3],"Mantis Shrimp":[-1,0,1,2,3],"Masked Angelfish":[-1,0,1,2,3],"Mola Mola":[-1,0,1,2,3],"Moonfish":[-1,0,1,2,3],"Moorish Idol":[-1,0,1,2,3],"Moray Eel":[-1,0,1,2,3],"Mudskipper":[-1,0,1,2,3],"Nassau Grouper":[-1,0,1,2,3],"Neon Tetra":[-1,0,1,2,3],"Neopercularis Hogfish":[-1,0,1,2,3],"Ninja Woodcat":[-1,0,1,2,3],"Northern Pike":[-1,0,1,2,3],"Oarfish":[-1,0,1,2,3],"Ornate Bichir":[-1,0,1,2,3],"Oscar":[-1,0,1,2,3],"Otocinclus Catfish":[-1,0,1,2,3],"Pacific Lookdown":[-1,0,1,2,3],"Paddlefish":[-1,0,1,2,3],"Panda Garras":[-1,0,1,2,3],"Payara":[-1,0,1,2,3],"Pea Puffer":[-1,0,1,2,3],"Peacock Bass":[-1,0,1,2,3],"Peacock Gudgeon":[-1,0,1,2,3],"Perch":[-1,0,1,2,3],"Pictus Catfish":[-1,0,1,2,3],"Piranha":[-1,0,1,2,3],"Pleco":[-1,0,1,2,3],"Polka Dot Stingray":[-1,0,1,2,3],"Pufferfish":[-1,0,1,2,3],"Rainbow Trout":[-1,0,1,2,3],"Rainbowfish":[-1,0,1,2,3],"Ramshorn Snail":[-1,0,1,2,3],"Ranchu Goldfish":[-1,0,1,2,3],"Red Snapper":[-1,0,1,2,3],"Redtail Catfish":[-1,0,1,2,3],"Rock Greenling":[-1,0,1,2,3],"Royal Gramma":[-1,0,1,2,3],"Ruby Red Dragonet":[-1,0,1,2,3],"Rummy Nose Tetra":[-1,0,1,2,3],"Saw Shark":[-1,0,1,2,3],"Scaly Foot Snail":[-1,0,1,2,3],"Scorpionfish":[-1,0,1,2,3],"Sea Bass":[-1,0,1,2,3],"Sea Slug":[-1,0,1,2,3],"Seahorse":[-1,0,1,2,3],"Snakehead":[-1,0,1,2,3],"Sockeye Salmon":[-1,0,1,2,3],"Spotted Ribbonfish":[-1,0,1,2,3],"Sturgeon":[-1,0,1,2,3],"Surge Wrasse":[-1,0,1,2,3],"Swordfish":[-1,3],"Swordtail":[-1,0,1,2,3],"Tequila Splitfin":[-1,0,1,2,3],"Threadfin Rainbowfish":[-1,0,1,2,3],"Tiger Shovelnose Catfish":[-1,0,1,2,3],"Tiger Trout":[-1,0,1,2,3],"Triggerfish":[-1,0,1,2,3],"Upside Down Catfish":[-1,0,1,2,3],"Viperfish":[-1,0,1,2,3],"Wagtail Platy":[-1,0,1,2,3],"Wahoo":[-1,0,1,2,3],"Walleye":[-1,0,1,2,3],"Whale Shark":[-1,0,1,2,3],"Whiptail Catfish":[-1,0,1,2,3],"Wolf Eel":[-1,0,1,2,3],"Yellowfin Tuna":[-1,0,1,2,3],"Bluelined Dottyback":[-1,0,1,2,3],"Blue Chromis":[-1,0,1,2,3],"Barred Hamlet":[-1,0,1,2,3],"Flame Hawkfish":[-1,0,1,2,3],"V Tail Grouper":[-1,0,1,2,3],"Rainbow Goby":[-1,0,1,2,3],"Yellow Stripe Clingfish":[-1,0,1,2,3],"Indian Ocean Sweetlips":[-1,0,1,2,3],"Golden Stripe Soapfish":[-1,0,1,2,3],"Harlequin Bass":[-1,0,1,2,3],"Saddle Grouper":[-1,0,1,2,3],"Horseshoe Filefish":[-1,0,1,2,3],"Redlined Tilefish":[-1,0,1,2,3],"Azure Damsel":[-1,0,1,2,3],"Harlequin Tuskfish":[-1,0,1,2,3],"Blue Assessor":[-1,0,1,2,3],"Sailfin Blenny":[-1,0,1,2,3],"Goatfish":[-1,0,1,2,3],"Domino Damselfish":[-1,0,1,2,3],"Flasher Wrasse":[-1,0,1,2,3],"Orange Spotted Filefish":[-1,0,1,2,3],"Emperor Angelfish":[-1,0,1,2,3],"Emperor Snapper":[-1,0,1,2,3],"Royal Angelfish":[-1,0,1,2,3],"Sailfin Snapper":[-1,0,1,2,3],"French Angelfish":[-1,0,1,2,3],"filename":"res://Autoloads/Player_Stats.tscn","food_level":[-1,0,1],"parent":"/root","path":"/root/PlayerStats"}Once you save the file and restart the game, you will possess almost every fish in the collection, including Painted, Gold, and Rainbow variants. You only need to obtain the normal, Painted, and Gold variants of the most common fish in each pack (like the Bluefin Trevally or Carp) to trigger the final achievements.
Conclusion
Chillquarium offers a satisfying loop of collection and capitalism. Whether you choose to grind your way to a billion-dollar tank or edit your way to a full collection, the satisfaction of seeing those Rainbow fish swim across your screen remains unmatched. Good luck, and may your RNG be ever in your favor.

Leave a Reply