
Last Updated on 6 January, 2026
Many architects arrive at Blue Prince with the wrong toolkit. They bring a mindset of efficiency and speed, trying to beat the house. But Mt. Holly demands something else. It demands that you stop, look up at the ceiling, and ask why the lampshade is that specific shade of red. This guide is your compass. We have distilled hours of chaotic notes, scattered clues, and hard-learned lessons into a single dossier to help you navigate the labyrinth.
Table of Contents
- 1. The Blue Prince Mindset
- 2. Essential Tools and Tips
- 3. Codes, Safes, and Passwords
- 4. The Workshop: Contraptions and Recipes
- 5. Major Puzzle Solutions
- 6. The Red Letters Guide
- 7. Room-Specific Secrets (1-46)
- 8. Permanent Additions and The Outdoors
- 9. Reaching Room 46 and the Sanctum
- 10. Conclusion
1. The Blue Prince Mindset
You must fundamentally alter your approach before you place your first room. Newcomers often struggle because they misunderstand what the game asks of them. Even after eight hours of play, many still treat the experience as a layout optimization simulator. While drafting efficient floor plans is a useful skill, it is merely a tool. It is not the goal.
Sometimes, the wrong room choice is the strategic play. A chaotic layout that yields a crucial clue offers more value than a perfectly symmetrical hallway that tells you nothing. Your primary driver must be curiosity rather than completion. This freedom allows you to stop trying to game the system, but it demands strict attention to detail in return.
Slow down. Immerse yourself in every room you draft. Most spaces contain at least two layers of information. You have the obvious gameplay mechanics, but beneath that sits a layer of puzzles and a layer of lore. If you rush from door to door, you miss the actual game. Furthermore, avoid acting on assumptions. Verify every theory before you commit to a strategy. Many players waste hours operating on a hunch that the game eventually disproves.
2. Essential Tools and Tips
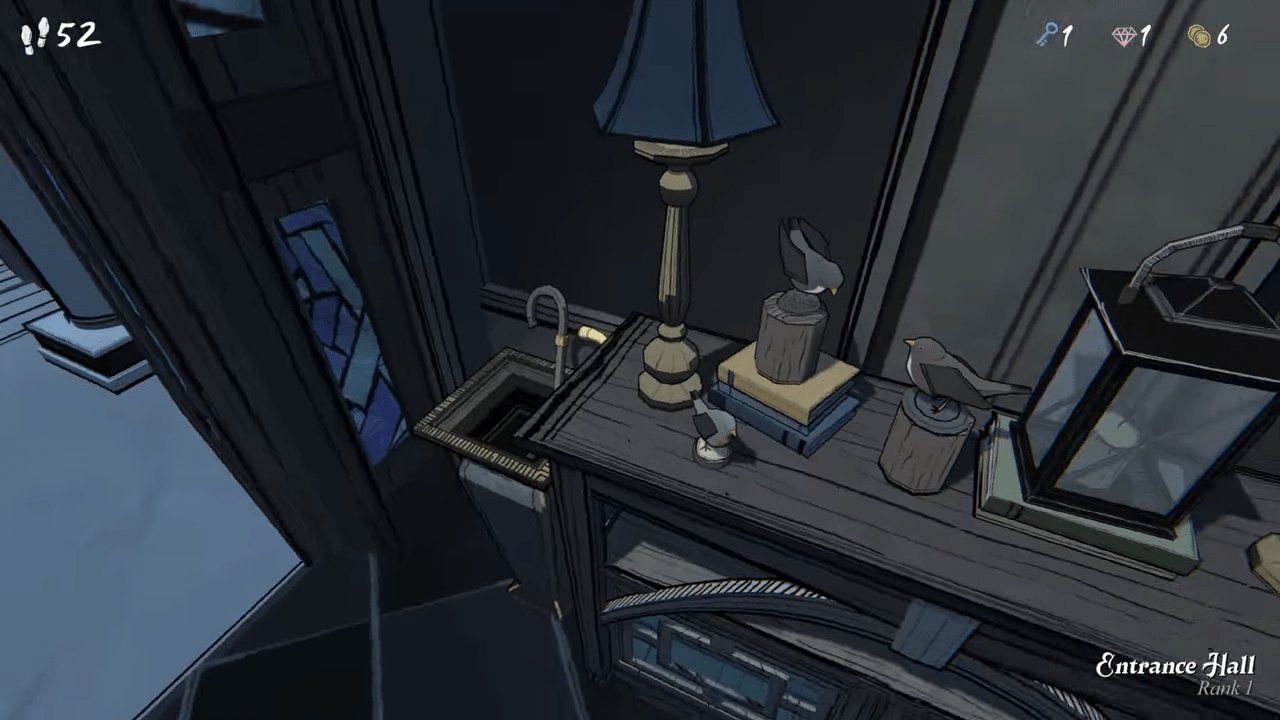
The game hints early on that you should take notes, but it leaves you to determine what matters. In puzzle terms, you must learn to separate the signal from the noise. Initially, everything looks like a clue. You should treat it that way. It is better to record a useless detail about a lampshade than to miss the key that unlocks the entire mystery.
We recommend a specific setup for your investigation: a Doc open alongside a screenshot tool. This allows you to capture complex visual data instantly. Copy the image and paste it directly into your document. Resize it to be small to save space; you can always enlarge it later without losing clarity.
Beyond simple observation, maintain a goals list. The estate is distracting. You will think of a plan, see a new room, and immediately forget what you intended to do. Write down specific commands for yourself, such as “Check the desk bust the next time I draft the Office.”
3. Codes, Safes, and Passwords
You will find the estate locked down tight. From digital terminals to antique safes, you need the right combinations. A good rule of thumb for physical safes is to look for dates. Here is the data you need to bypass security.
Safe Combinations
- Boudoir: 1225. A photo on the mirror hints at Christmas.
- Study: Try 1208 or 128.
- Office: 0303. Check under the bust on the desk.
- Drawing Room: 0415. Look behind the painting.
Key Locks
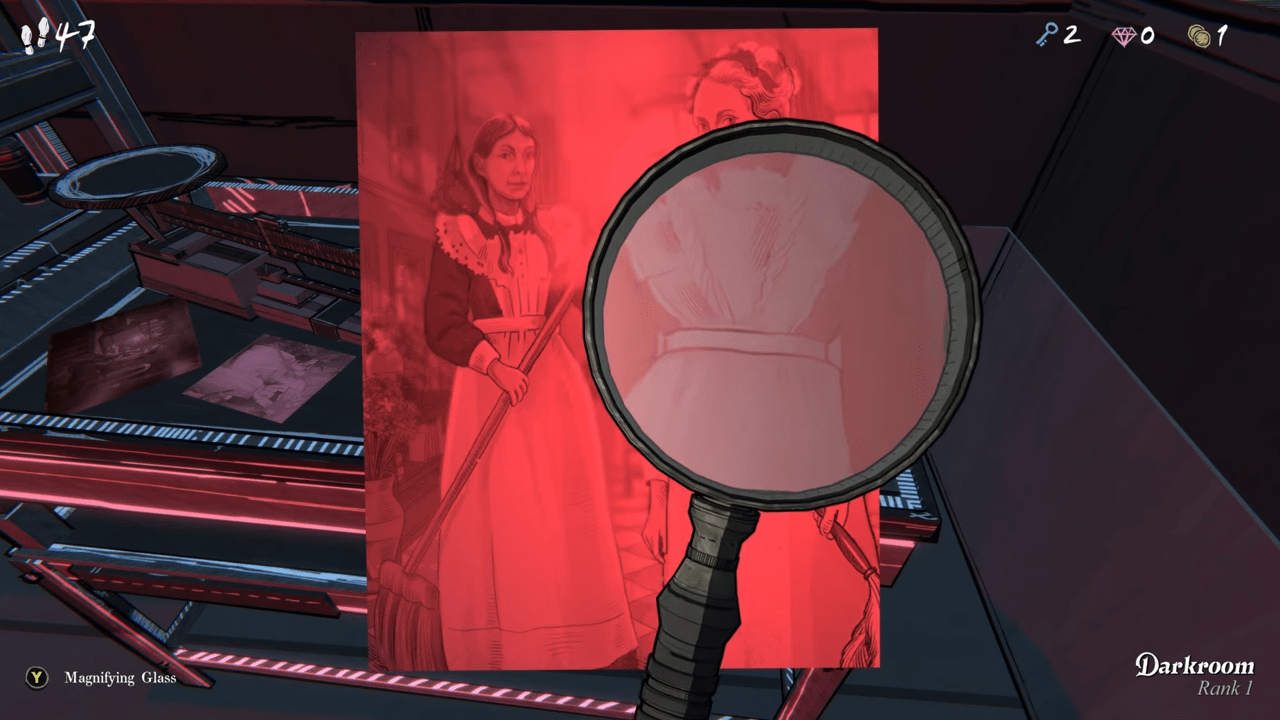
- Apple Orchard Padlock: 1128. You can find this sequence on a photo in the Dark Room.
- Red Door (Tunnels): MAY8. Access this via the side tunnel en route to the Inner Sanctum, but only after you route power to the red box.
Terminal Access
You must authenticate every time you access a computer. Use the network password Swansong. For admin privileges, you need specific keys:
- BabbA: reveals the status of other keys.
- ThomK: grants full access.
- MoorR: grants full access.
- LeeB: a secret key that also grants full access.
- RevaD: currently deactivated.
4. The Workshop: Contraptions and Recipes
Drafting the Workshop (Room 35) turns your scavenged junk into essential gear. There are eight unique contraptions available. Constructing all of them rewards you with an achievement, but their utility is the real prize.
The Assembly List
- Electromagnetic Magnet: Combine a Compass and a Battery Pack.
- Lucky Purse: Combine a Coin Purse and a Lucky Rabbit’s Foot.
- Pick Sound Amplifier: Combine a Lock Pick and a Metal Detector.
- Burning Glass: Combine a Magnifying Glass and a Metal Detector.
- Detector Shovel: Combine a Shovel and a Metal Detector.
- Dowsing Rods: Combine a Shovel and a Compass.
- Jack Hammer: Combine a Shovel, Battery Pack, and Broken Lever.
- Power Hammer: Combine a Sledgehammer, Battery Pack, and Broken Lever.
Why You Need These
Do not ignore these tools. The Burning Glass is the only way to light specific candles or melt the ice blocking your path in the Freezer. The Jack Hammer upgrades your digging potential and allows you to unearth a hidden key in the Patio. If you encounter a breakable wall, only the Power Hammer will get you through.
5. Major Puzzle Solutions
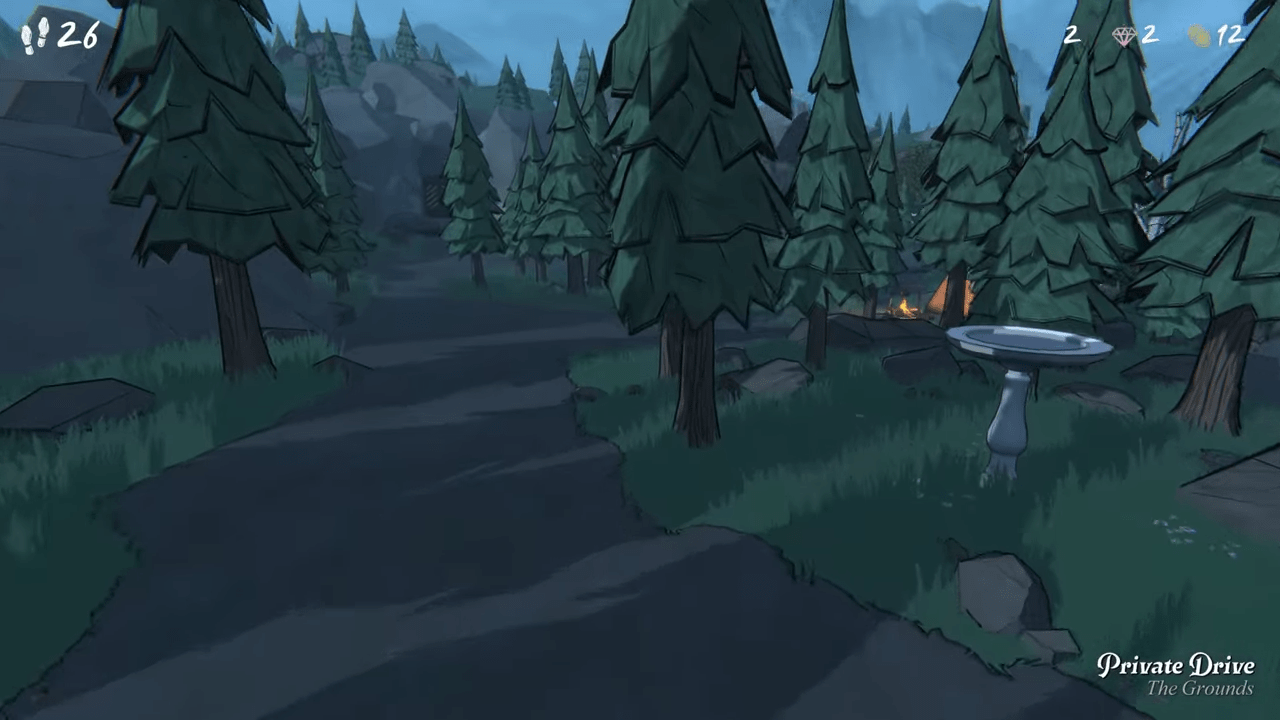
Mt. Holly tests your logic as much as your spatial awareness. Here are the solutions to the most perplexing riddles in the house.
The Two Paintings Logic
The Study provides the initial clue for this estate-wide hunt. In nearly every room, you will see two photos that differ by only one letter. That missing letter corresponds to a map location. You must perform subtraction on the words:
- Chief minus Chef yields I.
- Flight minus Light yields F.
- Wheat minus Heat yields W.
- Stage minus Stag yields E.
Apply this logic to pairs like “Boat/Bat” (O) or “Spine/Pine” (S). Filling the map with these letters reveals a message that unlocks chests containing gems and the Room 8 Key.
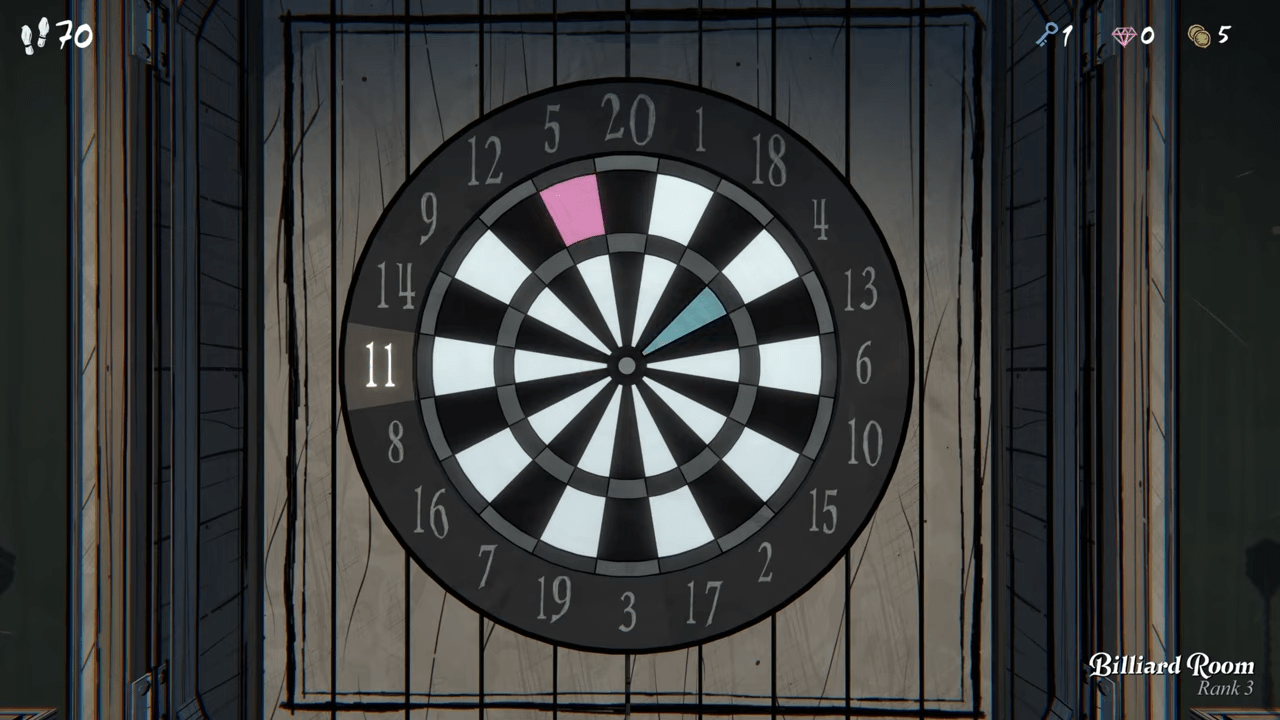
The Billiards Calculation
Herbert designed this room as a math test, not a game of darts. You must follow the colored arrows to reach the center number:
- Blue: Add the numbers.
- Yellow: Subtract the numbers.
- Pink: Multiply the numbers.
- Purple: Divide the numbers.
- Center Square: Square the result.
The puzzle evolves, adding more colors and steps as you progress. If you fail the equation, the board resets, allowing you to try again immediately.
The Chess Strategy
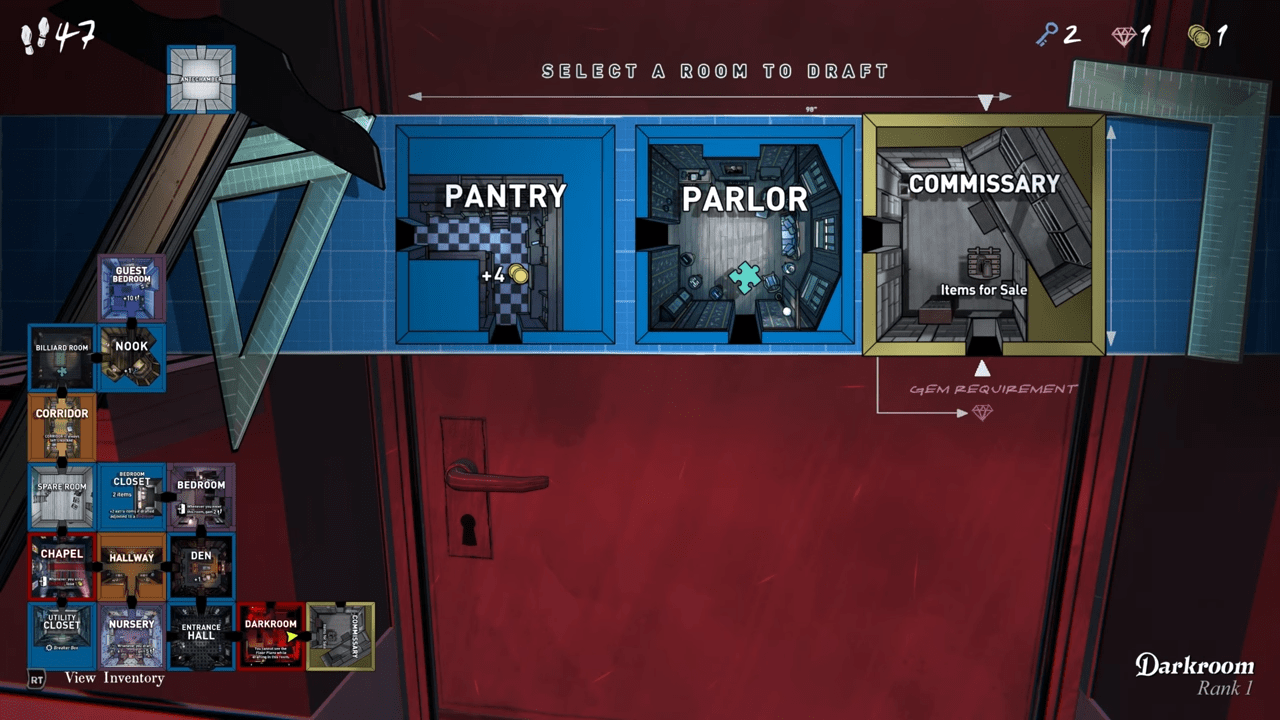
Deep in the tunnels (accessible via the Blue Flames elevator), you will find a chess board. You must place chess pieces found throughout the mansion onto their matching rooms on this board. Completing this grants powerful permanent buffs.
- Pawn: Found in rooms like the Bedroom, Den, Dining Room, Parlor, Drawing Room, Nursery, Guest Room, and others.
- Rook: Found in the Clock Tower, Vault, Conservatory, or Nook.
- Knight: Found in the Observatory or Security.
- Bishop: Found in the Attic, Chapel, or Bookshop.
- Queen: Found in Her Ladyship’s Chamber or the Study.
- King: Found in the Office or Throne Room.
6. The Red Letters Guide
Scattered through the estate are the Red Letters, documents that flesh out the tragic history of the house. While eight reportedly exist, seven are accessible to dedicated explorers.
- Behind the Red Door: Route power from the Boiler Room to the red box, then spin the gears.
- Study: Crack the large safe near the door.
- Missing Letter: Rumor places this in the Apple Orchard shed, perhaps stolen by the gardener.
- Boudoir: Check the safe behind the room divider (Code: 1225).
- Drafting Room: Look inside the room diorama. Use the magnifying glass to enter 0811.
- Drawing Room: Manipulate the left candle holder on the fireplace to reveal a safe behind a painting (Code: 0415).
- Bunker: This requires a specific time-lock strategy (see below).
- Office: Press the dial inside the right desk drawer to reveal a safe under the bust (Code: 0303).
Cracking the Bunker (Letter #7)
This is the most time-sensitive puzzle in the game. You must draft the Bunker outer room, which contains a terminal and a time-locked safe.
- Input the Date: Calculate the current in-game date (Nov 7th plus the number of days in your current run).
- Input the Time: Set the unlock time for at least one hour ahead of the current in-game clock. It must be on the hour.
- Wait it Out: You must wait in real-time for the in-game clock to catch up.
7. Room-Specific Secrets (1-46)
Every room holds a secret. Here are critical details you might miss:
- Foundation (1): This room anchors itself permanently. Place it high (row 6+) to stay close to the Antechamber.
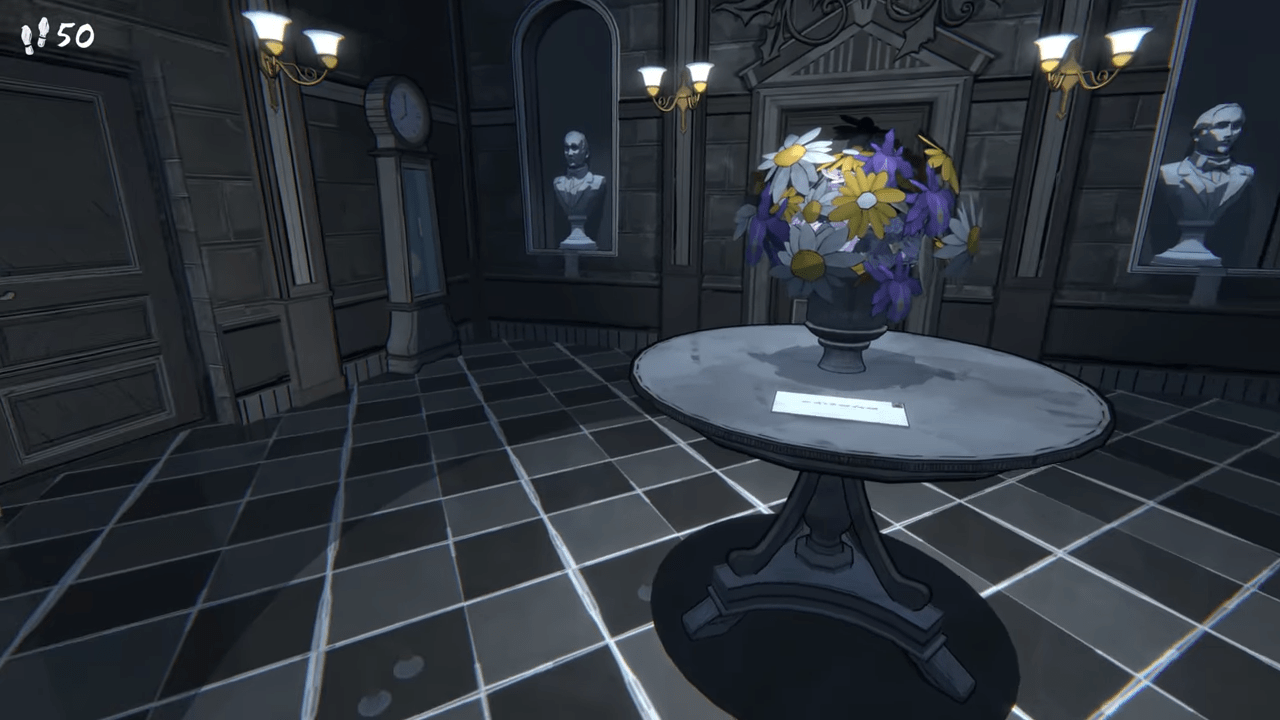
- Entrance Hall (2): Search the vase near the exit door to find a hidden Microchip.
- Gallery (7): Solve the painting title puzzle (Think, Ponder, Realize, Ruminate) to acquire the Room 8 Key.
- Room 8 (8): You need the key from the Gallery and a locked door on the 8th rank to access this.
- Garage (14): Power this room via the Breaker Box to open the West Gate shortcut. Don’t forget to check the car trunk for an upgrade disk (requires car keys).
- Vault (23): Key 370 is the prize here, but you won’t find it until you reach Room 46. It unlocks a Sanctum Key.
- Library (27): Always check out a book to verify the current in-game date via the tag.
- Pool (29): Drafting the Pool adds the Boiler Room and Pump Room cards to your deck. Drain the water to find loose change.
- Drafting Studio (30): Prioritize this room. It injects unique rooms like the Dovecote, Kennel, and Vestibule into your draft pool.
- Boiler Room (32): The heart of the house’s power. You need this to activate the Laboratory and the Red Door.
- Observatory (42): Manipulate the telescope wheels to point the lens left and high. This reveals the Planetarium blueprint.
- The Closed Exhibit: Pull off a heist for the Red Paper Crown. You need an adjacent room with a window. Disable the tripwire, drop the barrier, reset the alarm, and sprint. You have ten seconds.
8. Permanent Additions and The Outdoors
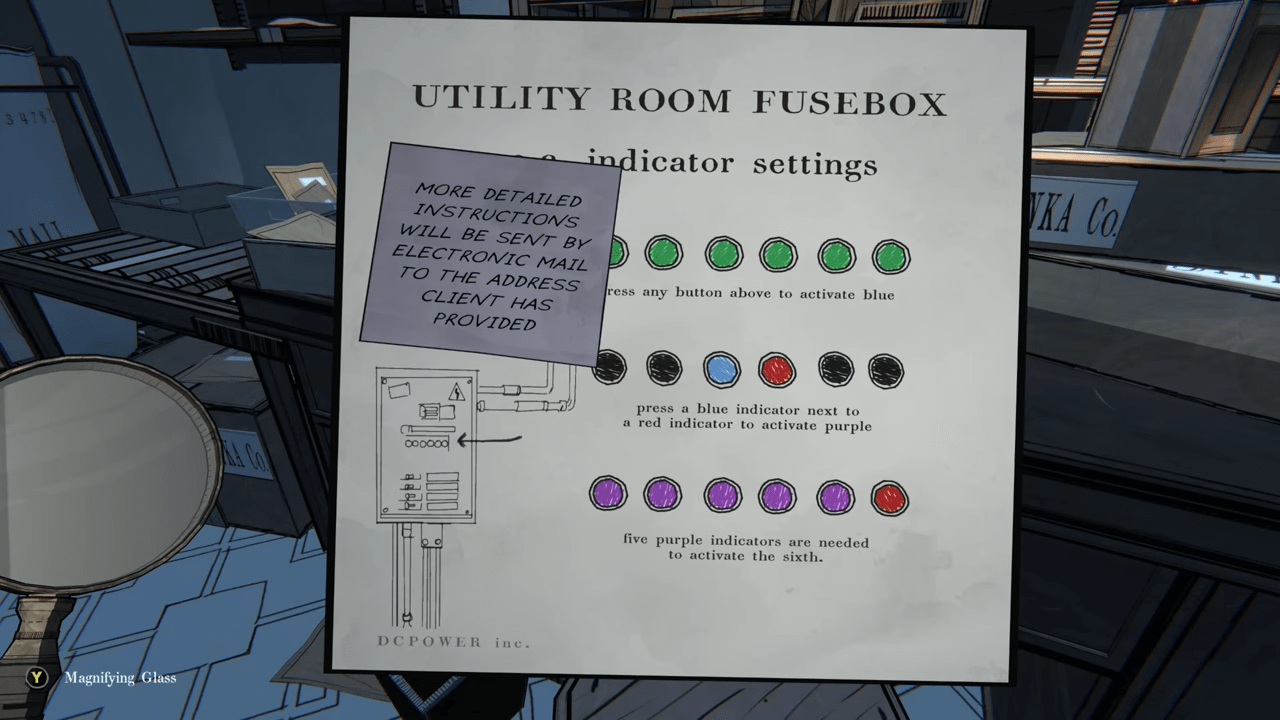
You can expand the game map permanently by unlocking the grounds outside the mansion.
Apple Orchard
Crack the padlock with code 1128. This area grants a permanent +20 step bonus daily. Be sure to turn the pipe on the fence to ignite a Blue Flame.
West Gate and Outer Rooms
Once you power the Garage, you can access the West Gate path. The shed here allows you to draft Outer Rooms just like interior ones.
- Hovel: Contains a Blue Flame pipe near the hearth.
- Schoolhouse: Finds a Blue Flame pipe on the stove.
- Root Cellar: Spawns root dig spots throughout the entire estate.
- Tomb: Houses a stained glass puzzle and the key to Her Ladyship’s Diary.
Gemstone Cavern
Solve the VAC puzzle on the Breaker Box to open this mine. It provides two free gems every day and contains another Blue Flame pipe.
Blackbridge Grotto
This requires advanced power routing. Use the Boiler Room to power the Laboratory, then press lever 9 followed by lever 3 on the green machine.
9. Reaching Room 46 and the Sanctum
The Antechamber looms as your primary target.
The Antechamber Levers
Three massive doors guard the Antechamber. You must trigger three specific levers across the map to open them:
- Great Hall: Opens the right side door. (Hidden behind a locked door).
- Greenhouse: Opens the bottom door. (Requires the Broken Lever).
- Secret Garden: Opens the left side door. (Accessible after the spinner puzzle).
The Path to the Inner Sanctum
Inside the Antechamber awaits the Basement Key. Take this to the Foundation and descend via the elevator. You will face a navigation challenge requiring you to block paths with mine carts and rotate gear podiums to link tunnels. This path terminates at the Inner Sanctum.
Sanctum Keys
To fully unlock the Sanctum, you need eight specific keys for eight doors:
- Room 46: Revisit Room 46; the key sits on the desk.
- Vault: Loot safety deposit box 370.
- Clock Tower: At 1:30 in-game, climb the hidden stairs. Set the eight clocks to the specific times found on the notes (5:00, 5:08, 5:57, etc.).
- Reservoir: Drain the water completely. Find the key in a black chest behind the large rock.
- Throne Room: Grab it from the side table.
- Safehouse: Drain the reservoir to level 6 and take the boat from the stair side.
- Music Room: Draft this room late in your run (last 10 spots) to make the key appear.
- Mechanism: Hidden behind a door of eight (or four).
10. Conclusion
Blue Prince rewards patience and punishes haste. It asks you to peer beyond the surface textures and understand the logic of Herbert’s world. Whether you are hunting for the final Red Letter or simply staring at a wall trying to decipher a pattern, keep your notes detailed and your mind open.
This dossier covers the known path, but the estate is vast and shifting. There is always one more secret tucked away in the corner of a draft. Good luck, architect. You have a lot of work to do.

Leave a Reply