

Last Updated on 21 January, 2026
Are you a lone scientist trapped in the GATE Cascade Facility, struggling to keep your coffee warm while interdimensional entities try to eat your face? Perhaps you are the designated carry of your survival group, tired of watching your teammates fumble with basic tasks while you do all the heavy lifting. Surviving this underground nightmare demands efficiency, ruthless optimization, and a willingness to bend the laws of physics (and ethics) to your will.
This guide is your classified dossier for total skill domination. We have compiled the ultimate list of low-cost, high-reward strategies to max out your stats without wasting precious resources or resorting to cheats. Whether you are a solo player needing every advantage or a perfectionist who wants to hit level 15 Strength before leaving the office, these methods will turn you into the ultimate apex predator of science.
Table of Contents
- Pre-Grind Recommendations
- Nutritional Buffs and Brain Power
- Movement Mastery: Sprinting
- The Art of Strength
- Throwing Without Injury
- Sneaking for the Lazy
- Combat Basics: Blunt and Sharp Melee
- Ranged Mastery: Reloading and Accuracy
- Fortitude and the Chopinator
- Efficient Crafting and Cooking
- Construction Fundamentals
- First Aid: A Warning
- Agriculture and Fishing
- Conclusion
Pre-Grind Recommendations
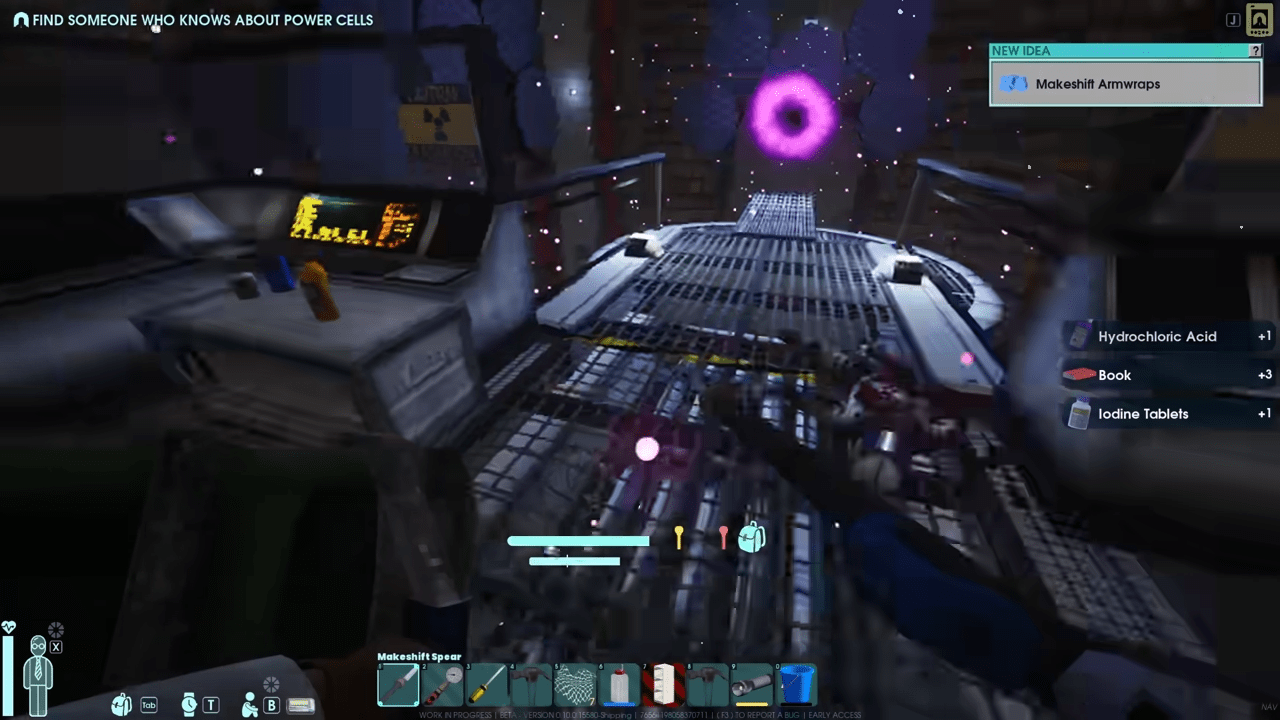
Before you launch into the facility, we strongly suggest you adjust your sandbox settings to optimize your gains. While you do not strictly require these settings to succeed, they make the skill-leveling process marginally less painful. If you are in a multiplayer world, you may not have control over this. However, if you are the host or playing a solo world, follow these instructions to save your own sanity.
Recommended World Settings
- Set Durability Loss on Respawn to 0%: This is a convenience setting. You will likely die during your experiments. This prevents you from wasting resources on repairing hotbar items.
- Turn on Simple Loot Respawning: You need resources for grinding. This setting ensures you have enough materials. It is always a smart idea for multiplayer servers. For single-player runs, it helps those who lack the patience to wait for portal world resets.
- Set Skill Gain Multiplier to Max (3x): This instruction is self-explanatory. You want to reduce the grind. This setting makes the process significantly less time-consuming and reduces the effort required to hit those high levels.
- Set Respawn Penalties to Keep All Items: Similar to the durability setting, this saves you from tedious runbacks to retrieve your gear.
These settings allow you to focus purely on the science of leveling without the headache of resource loss.
Nutritional Buffs and Brain Power
You can optimize your experience gain through genetics and diet. Do not overlook these advantages as they stack up significantly over time.
The Wrinkly Brainmeat Trait
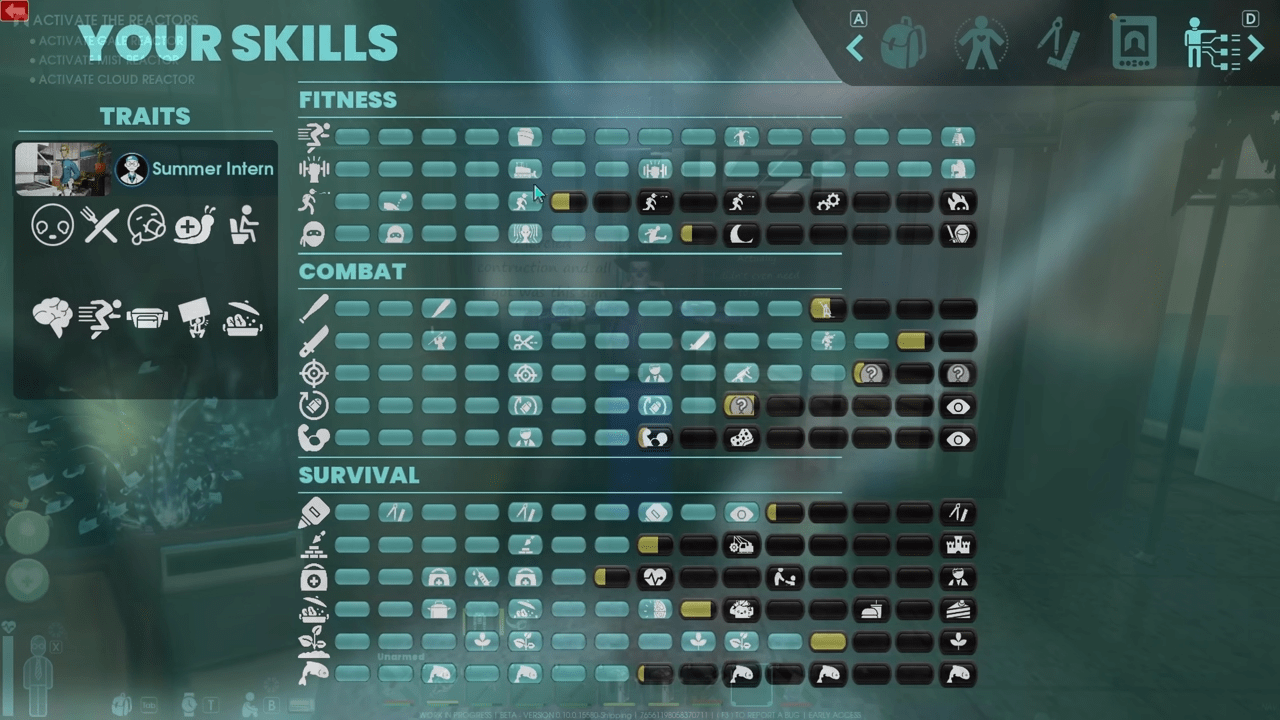
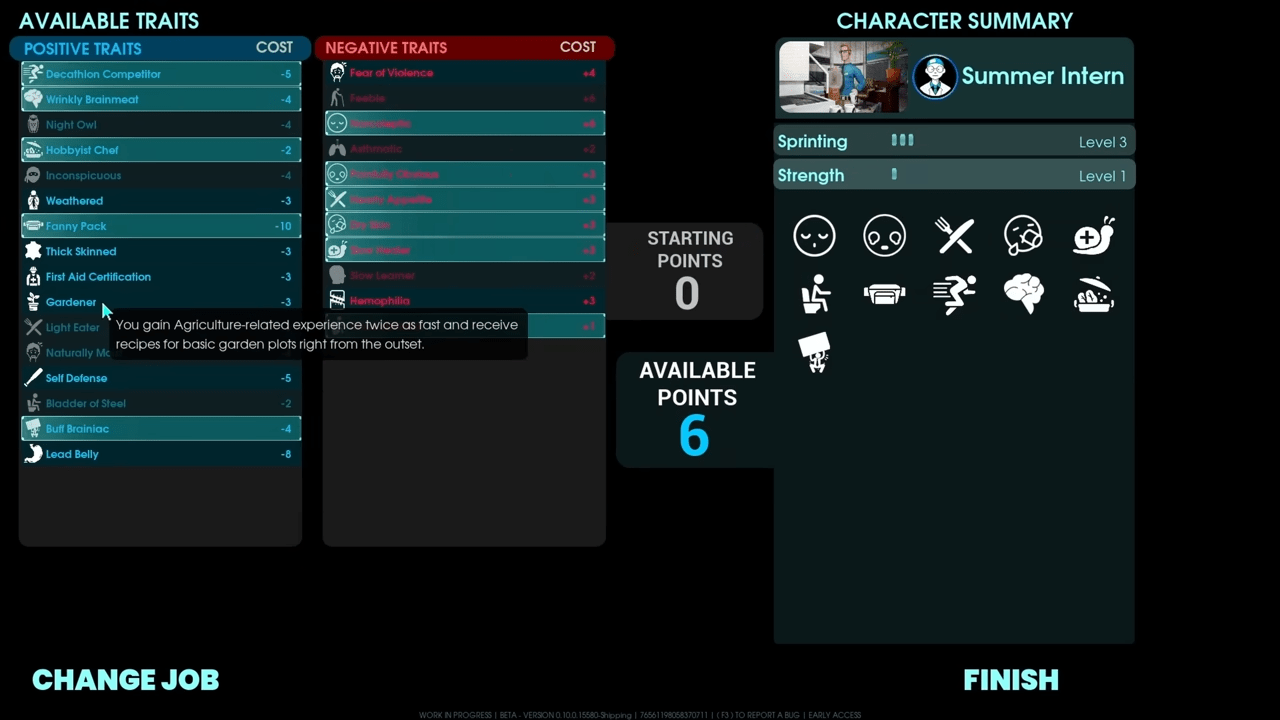
During character creation, you should select the trait known as Wrinkly Brainmeat. This specific trait increases all Experience (EXP) and skill gains by a massive 20%. This is the first step to making the grind less tedious.
The Dietary Supplement: Human Brains
If you have progressed far enough to hit Manufacturing West, you gain a new opportunity. You can chop up Order soldiers to obtain a Human Skull. Take this skull to a Repair and Salvage Bench and recycle it. The result is a Human Brain.
You should eat these brains.
When you consume a Human Brain, you gain the Brain Drain perk. This increases all EXP gain by an additional 15%. Use this for skills you really want to level quickly.
Movement Mastery: Sprinting
Sprinting is likely the easiest skill to level. You simply need to sprint everywhere you go. Even if you possess the Asthmatic and Dry Skin traits, you can max this skill out with relative ease.
The Turning Method
You might think running in a straight line is efficient, but our testing suggests otherwise. Running in circles or navigating a path that requires many turns seems to level the skill faster than long straight lines. This may be a placebo effect, but it feels faster.
Why Not Use the Exercise Bike?
You can build an Exercise Bike. It is a nice piece of equipment. However, it requires crafting resources to build. It also limits your training time because it applies the Lactic Acid (Legs) debuff. Simply running around the facility costs nothing and has no cooldowns. Since this guide focuses on cheap methods, your own two feet are the superior tool.
The Art of Strength
You can level Strength and Sprinting simultaneously. The traditional method is simple. Load your inventory with heavy items until your weight overencumbrance indicator turns yellow or pink. Once weighted down, run around until you hit Strength Level 5.
The Vending Machine Method
Once you reach Strength Level 5, you unlock the ability to shake Vending Machines. This is where the real profit begins.
- Head to the Cafeteria.
- Locate two Vending Machines that sit right next to each other. These specific machines seem to dispense products consistently.
- Shake one machine.
- The Animation Cancel: As the shaking animation plays, try to move your character. This cancels the animation and allows you to swap quickly to the second machine.
- Repeat this process rapidly.
This method levels Strength fast. It also provides a significant amount of loot. You can feast like a king on the snacks you dislodge. Make Sugary Slop soup, feed your coworkers, or do whatever you wish with the bounty. This is far more rewarding than hauling three televisions around the office all day.
Throwing Without Injury
We must issue a health warning for this section. Training the Throwing skill is brutal on the human wrist due to the sheer volume of clicking required.
The Net Method
- Craft Throw Nets using Cloth Scrap. You do not need a massive amount.
- Find a secluded corner. We recommend the same location used for the Sneaking guide (detailed below).
- Throw the nets directly at your feet.
- Pick them up.
- Repeat.
Once you hit Level 5, you automatically pick up thrown items, which helps slightly. However, this skill remains tedious regardless of your method.
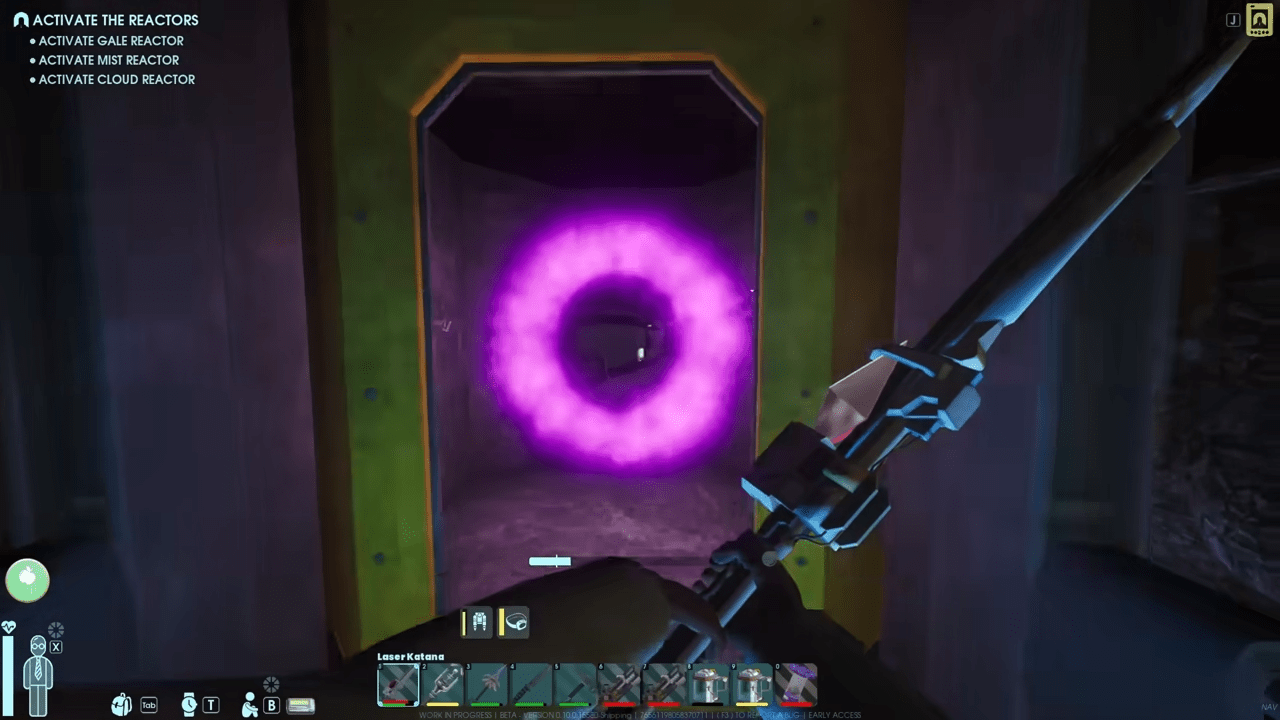
Sneaking for the Lazy
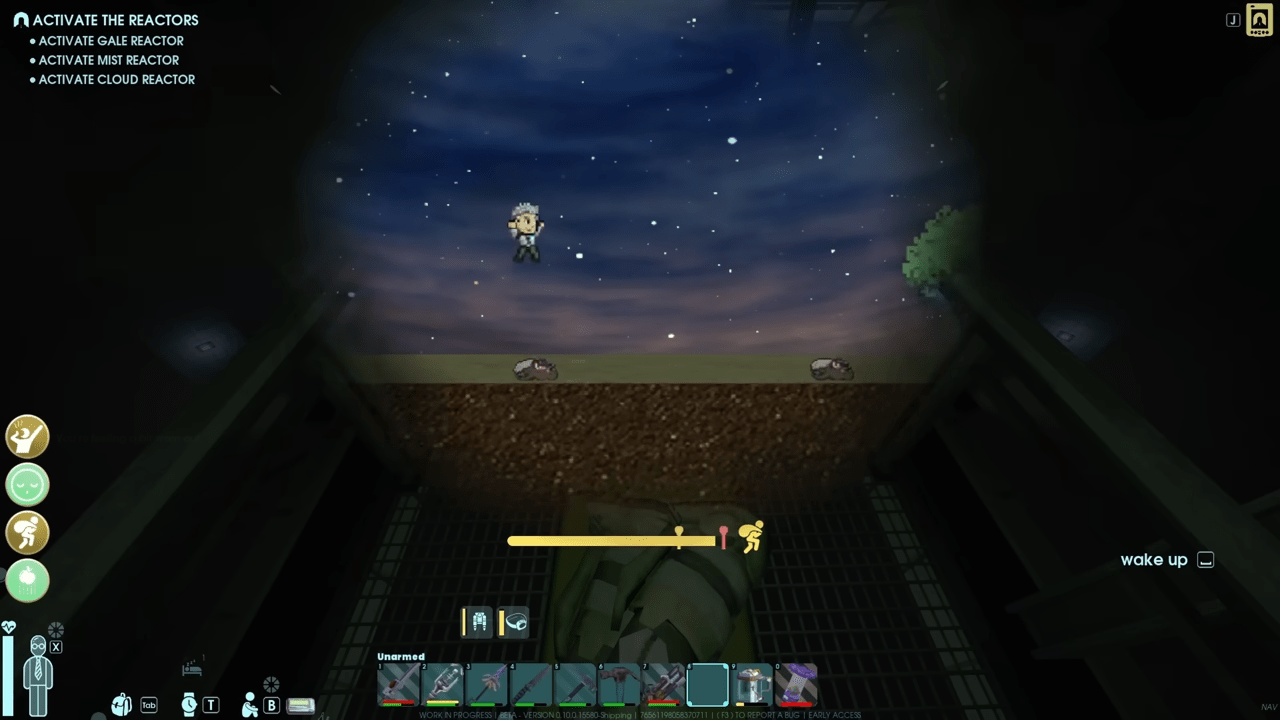
Sneaking is thankfully easy to level. The most efficient way to do this involves multitasking. You can level Sneaking while simultaneously working on Reloading or Throwing.
The Carbuncle Strategy
You need a stationary enemy. A Carbuncle works best for this, though Composers and Symphonists are also viable options. Carbuncles are simply the least hassle.
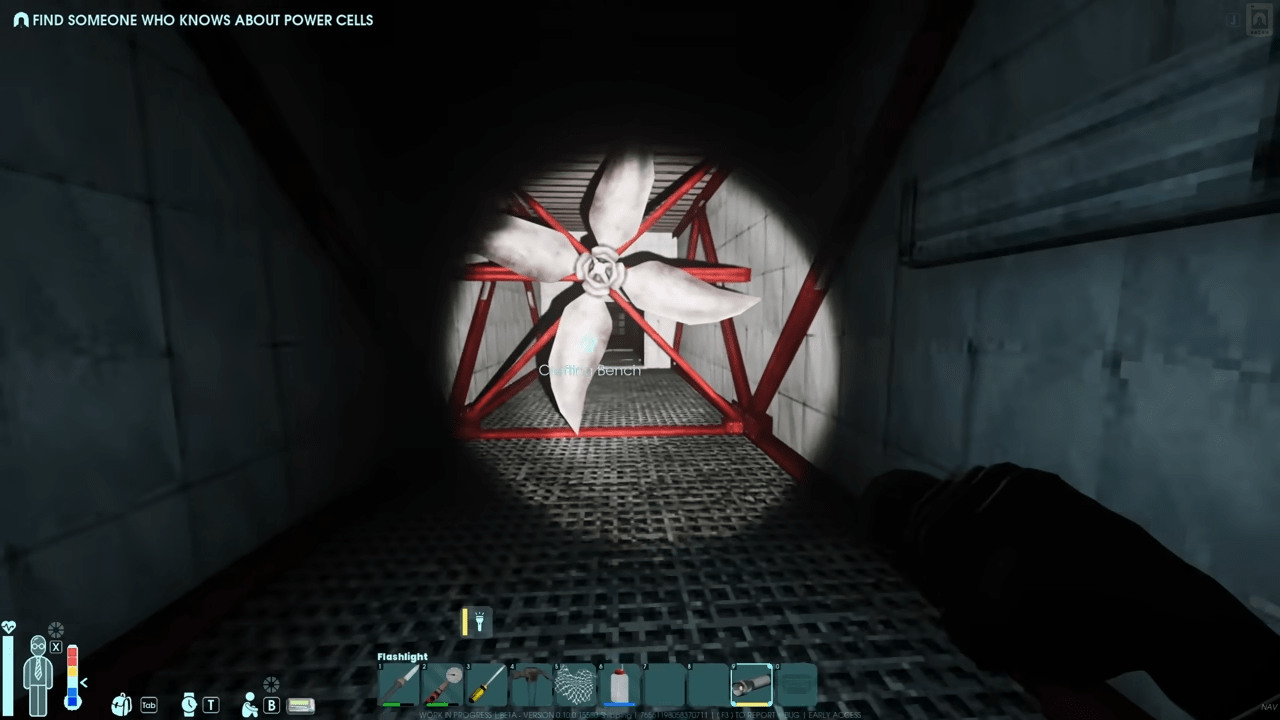
- Go to the back vent rooms of the Cafeteria.
- Locate the first Carbuncle you encounter. No other enemies or hazards spawn here, making it a safe zone.
- Crouch.
- Park yourself directly on top of the creature.
- Stay there.
You can go AFK (Away From Keyboard) or work on other skills while you sit there. The only limits you face are your hunger, thirst, and tiredness meters.
Combat Basics: Blunt and Sharp Melee
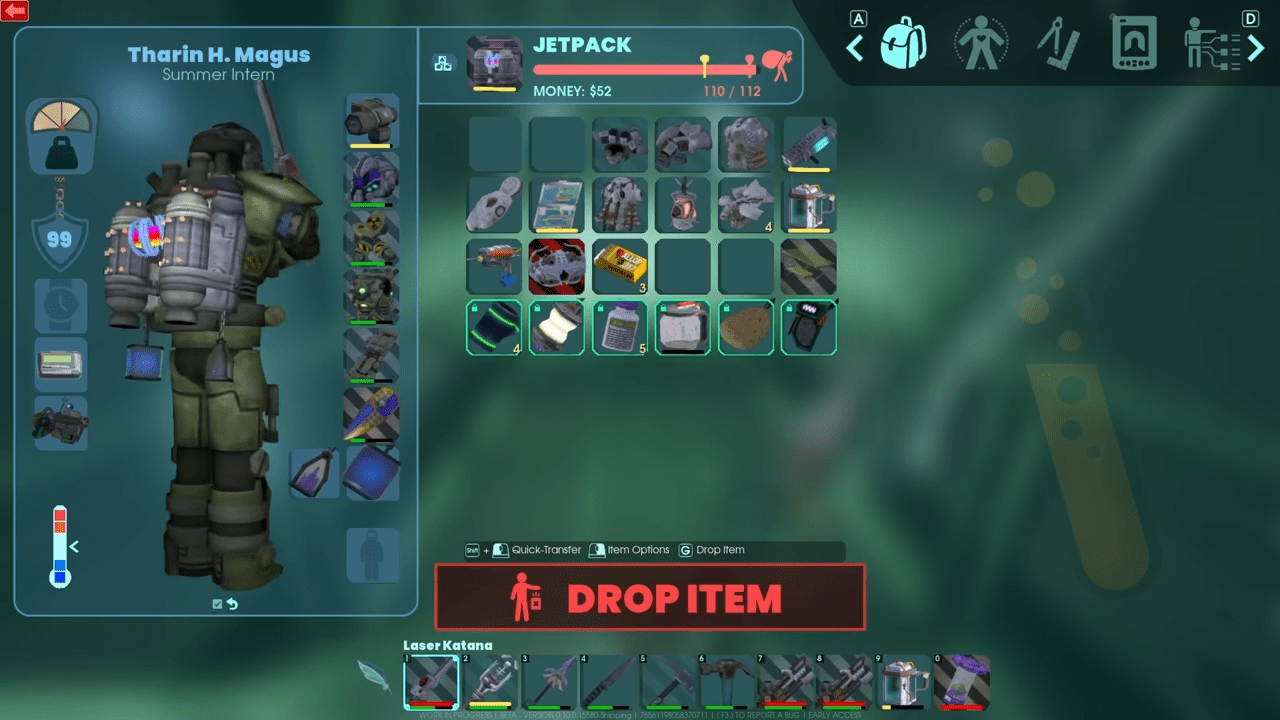
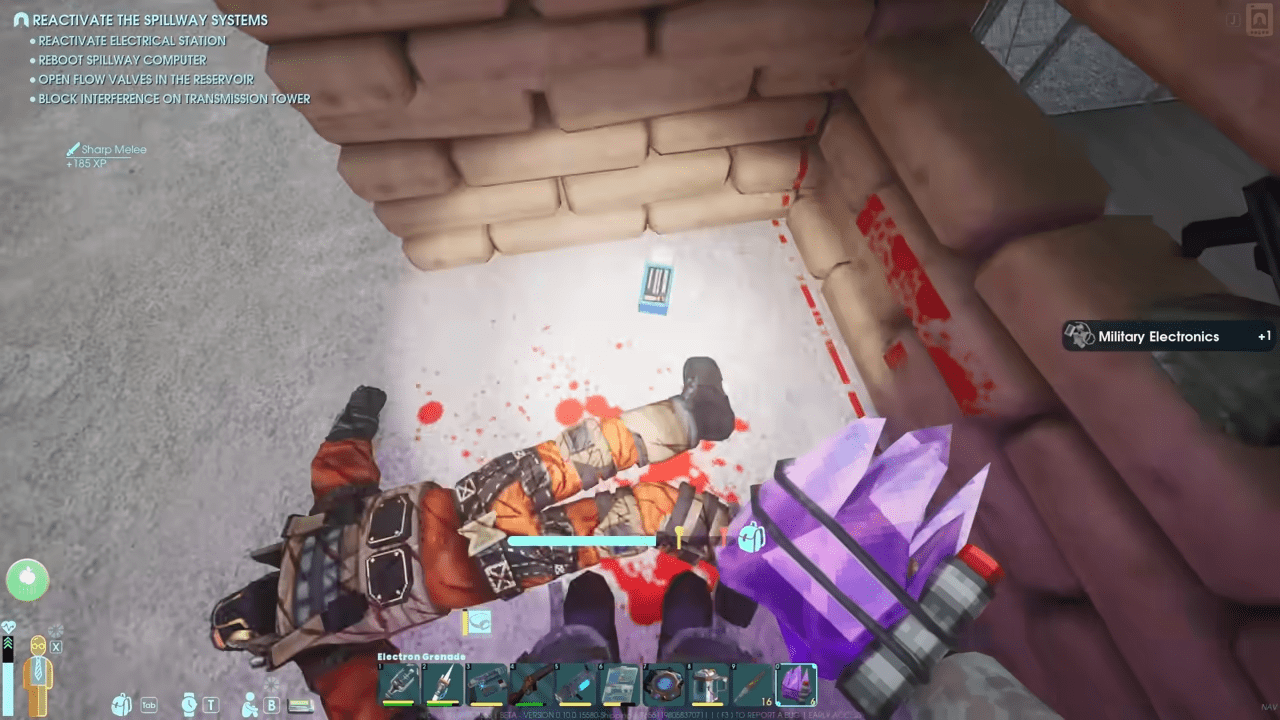
Leveling melee skills requires you to use the weapons. You must break crates and attack enemies. This is where the Simple Loot Respawn setting becomes vital. It allows you to break items like computer monitors during the lull between enemy and crate respawns to keep the EXP flowing.
The Weapon Classification Warning
Do not make common mistakes regarding weapon types.
Blunt Melee: This is straightforward. Use hammers and clubs. You will likely level this first because many early-game enemies are weak to Blunt damage, and non-heavy blunt weapons are plentiful.
Sharp Melee: Be careful here. Most heavy weapons you find that are not hammers count as Heavy Sharp Melee.
- The Crowbar: Despite logic suggesting otherwise, the game classifies the Crowbar as Sharp damage.
- The Peccary Club: This makes sense due to the spikes, but other items are less intuitive.
Just use the weapons on everything you see.
Ranged Mastery: Reloading and Accuracy
We are swapping the standard order here. While the in-game list places Accuracy first, you should level Reloading before Accuracy. Leveling Reloading makes leveling Accuracy significantly less painful.
Reloading
Reloading speed is critical. When the Order, Security Bots, or a Symphonist chase you, a low Reloading skill feels agonizingly slow.
The Mechanics:
Reloading EXP relies on how empty your clip is. Reloading weapons with a single ammo slot (like Crossbows or the Scrapshot) levels the skill faster than weapons like the Security Pistol or Net Gun.
The Hotswap Trick:
- Craft a Makeshift Crossbow: You can find the recipe on an email terminal under the map on Office Sector Level 2.
- Craft Ammo: Make some Makeshift Bolts and Acid Bolts.
- Sourcing Materials: You can find Exor Quills by killing Exors, but processing Portal Fish at a Chef’s Counter is easier. You can fish for Portal Fish in the gym pool on Office Sector Level 2 after visiting the Far Garden.
- The Action: Hold your reloading key with the crossbow equipped.
- The Swap: Select the alternate ammo type to load it in. Switch back and forth between the Makeshift Bolt and the Acid Bolt.
Your Reloading level will rise very quickly. Best of all, this costs you zero ammo because you never actually fire the bolts.
Accuracy
Accuracy reduces weapon sway. You will notice the difference immediately when you stop missing crucial shots. Like melee, you level this by shooting enemies. We recommend the crossbow over guns because the ammo and repair materials are plentiful.
Bonus: The Symphonist Strategy
You can take down a Symphonist early to gain massive EXP.
- Clear Flathill for the first time. The fog weather will eventually bring Symphonists (1100 Health) into the facility.
- Go to the alley between the arcade and the store where you first met Marion. You access this by climbing through the open back of a box truck.
- Locate the Symphonist near the Anti-Fungal Gelatin drop-off point.
- The Trap: Aggro the enemy. Sprint and jump into the back of a nearby pickup truck. Ensure the tailgate is down first.
- The Kill: The Symphonist struggles to jump and hit you. Unload shots into it safely.
It takes about 70 to 80 Makeshift Bolts to kill it. Because the enemy is so tanky, you rack up a massive amount of Accuracy and Reloading EXP. You also get drops to make the Maestro armor set.
Fortitude and the Chopinator
Fortitude increases your health pool. Unfortunately, the only way to raise this stat is by taking damage. You could let enemies hit you, or touch electrical wires, but we have a more efficient method.
The Chopinator Method
- Build a Chopinator. Place this very close to a respawn point (bed or check-in).
- Strip Down: Remove all armor. Store any items that have durability if you did not turn off durability loss.
- Power On: Ensure the machine is running.
- Step In: Walk directly into the blades.
The damage accumulates Fortitude EXP rapidly. Occasionally, you will receive the Bleed status. You can cure this with Bandages to level your First Aid simultaneously. Just ensure you step out before you die.
Efficient Crafting and Cooking
Crafting naturally levels as you play. However, do not waste resources making thousands of bandages to trade with Marion. There is a better way that synergizes with your combat training.
The Bio Scrap Loop
Crafting gains EXP through Salvage and Repair operations.
- Kill enemies (which levels your weapon skills).
- Carve them up for harvest.
- Take the meat and parts.
- Scrap It: Unless you need to level Cooking immediately, take the meat to a Repair and Salvage Station.
- Recycle the meat into Bio Scrap.
This process levels Crafting significantly faster than bandage weaving. It is highly efficient in the long run.
Cooking
Cooking is another skill that happens naturally. While many recommend making soups, we found that frying raw meat is faster for pure leveling. Soup requires pots and clean water. Frying only requires a heat source.
Furthermore, you can break down fried meat into Bio Scrap for Crafting EXP, whereas you cannot break down soup.
Soup Buffs for Grinding
If you do choose to make soup, focus on recipes that increase skill EXP gains:
- Bland Pea Soup: Increases Sprinting and Sneaking EXP by 10%.
- Meaty Stew: Increases Blunt and Sharp Melee EXP by 10%.
- Veggie Stew: Increases Agriculture EXP by 10%.
- Sustenance Soup: Increases Reloading and Accuracy EXP by 10%.
- Balanced Stew: Increases Crafting and Construction EXP by 10%.
Construction Fundamentals
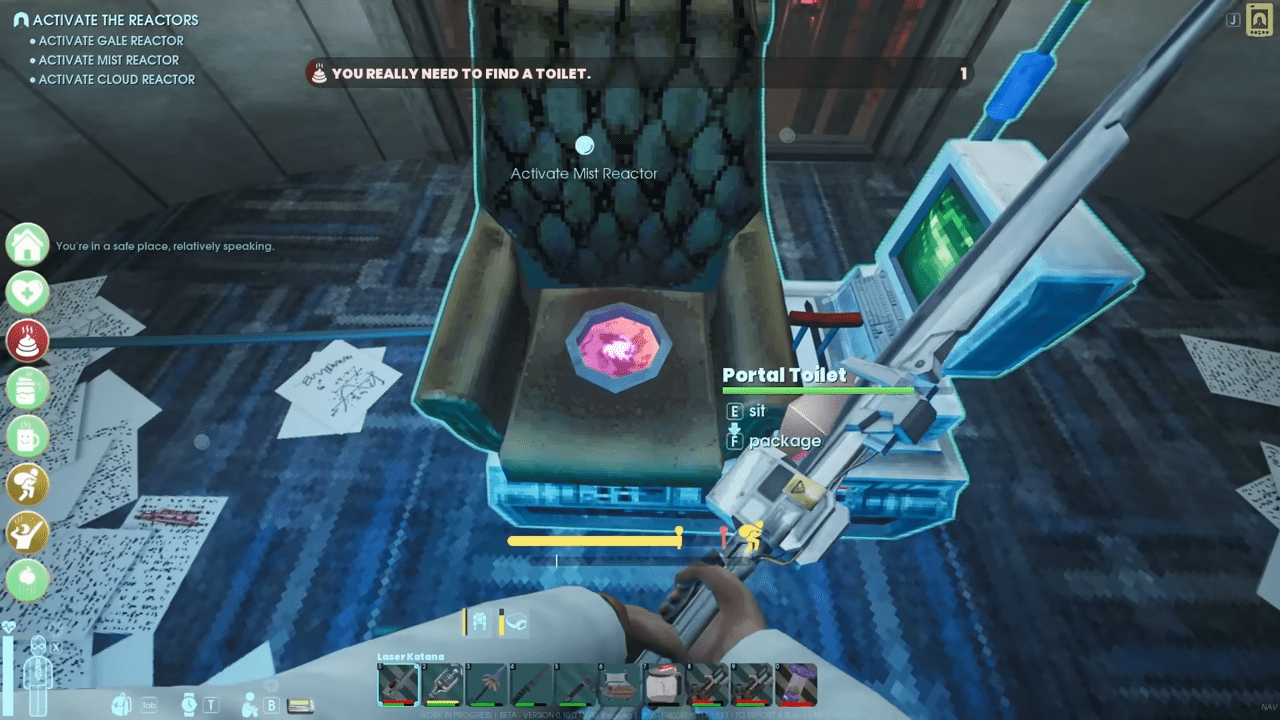
Construction levels up by packaging items and placing furniture or structures. It dictates how likely items are to break when you package them. You need this skill before you attempt to move heavy furniture like file cabinets.
The Tidying Method
You do not need a complex strategy here. Simply rearrange and straighten your base.
- Package an item.
- Place it back down.
- Repeat.
Since the game lacks grid snapping, items often end up crooked. Tidying up your base (or a friend’s base) is a valid leveling strategy.
First Aid: A Warning
First Aid improves recovery from healing items, but its main utility is healing teammates. The popular splint method (breaking your legs and fixing them) is too expensive, requiring boards, duct tape, and bandages.
The Solo Method (If You Must)
If you insist on leveling this solo, use the Chopinator method mentioned in the Fortitude section.
- Walk into the Chopinator.
- Wait for the Bleeding debuff.
- Heal with a bandage.
The Multiplayer Method (L4D2 Style)
Using healing items on teammates provides more rewards than using them on yourself.
- You and a friend both grab bandages.
- Take turns walking into the Chopinator to get the Bleed status.
- Heal each other immediately.
- Rinse and repeat.
Agriculture and Fishing
Agriculture
This skill revolves around waiting. You need clean water and time. The only way to actively grind this without waiting for crops to grow is to forage.
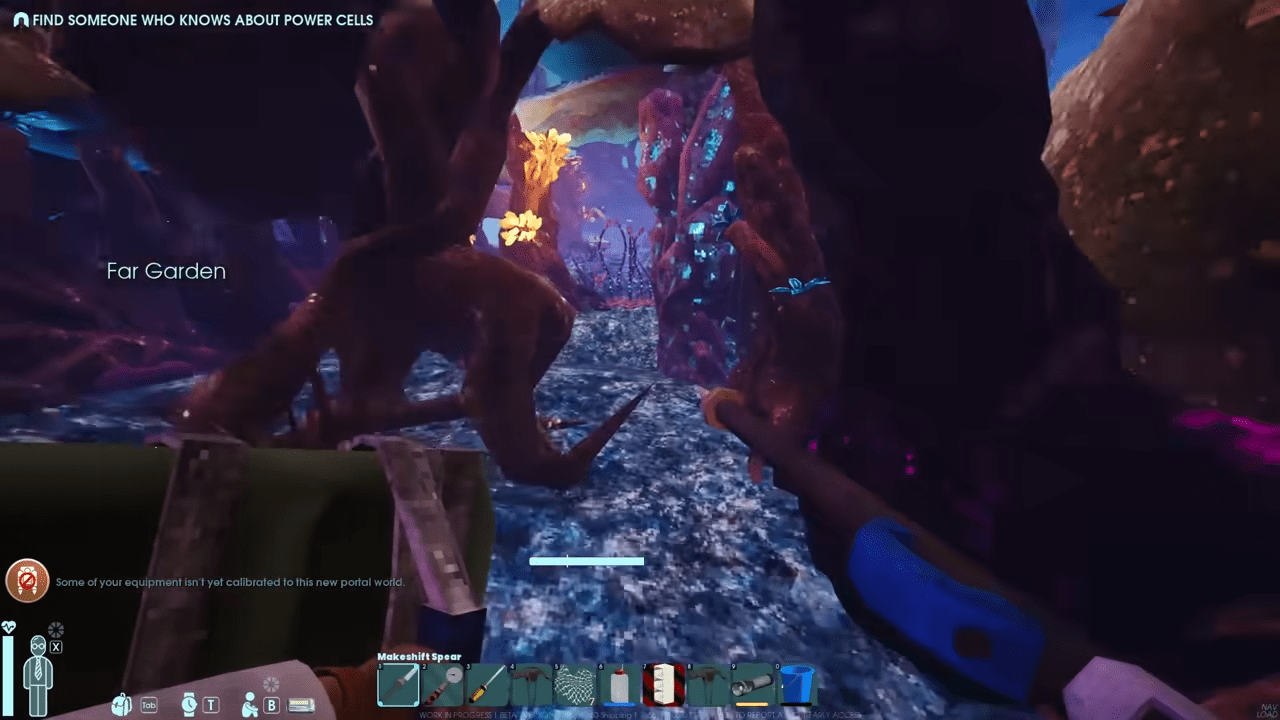
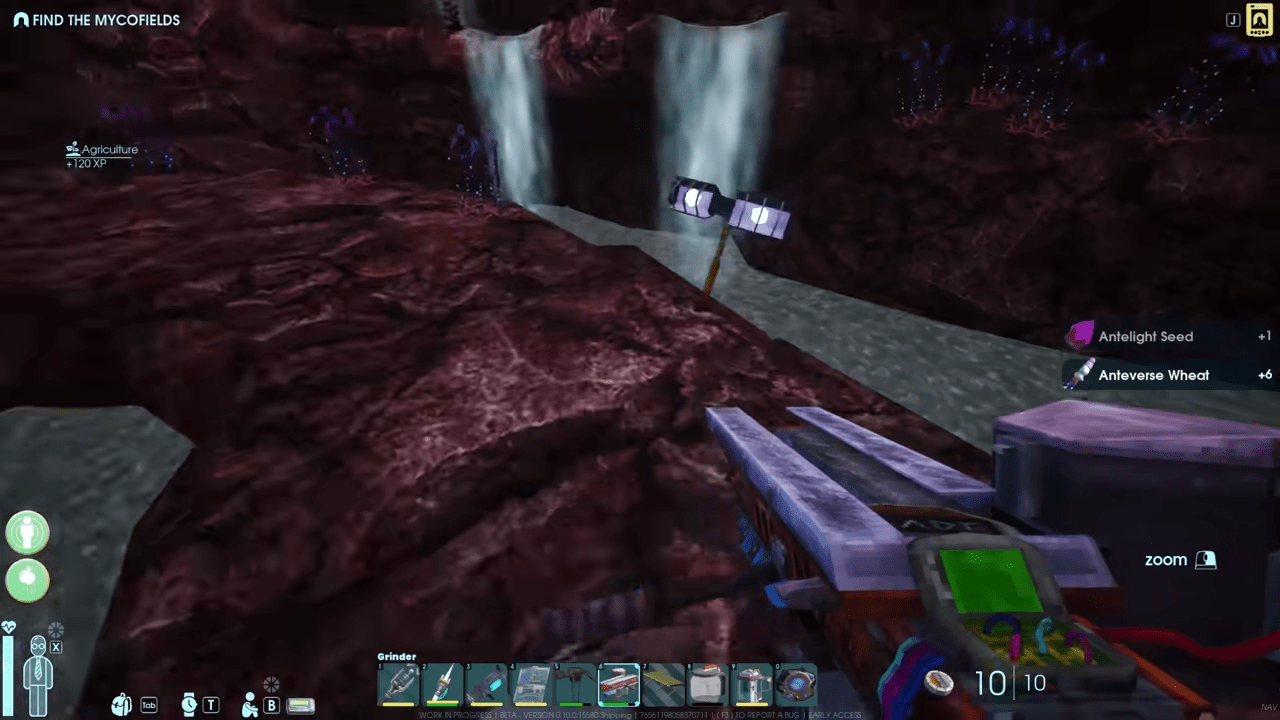
- The Foraging Trick: Picking any crop plant gives Agriculture EXP. Run to the Far Garden (Anteverse 2) and pick every piece of Anteverse Wheat you see. This nets a respectable amount of experience.
Fishing
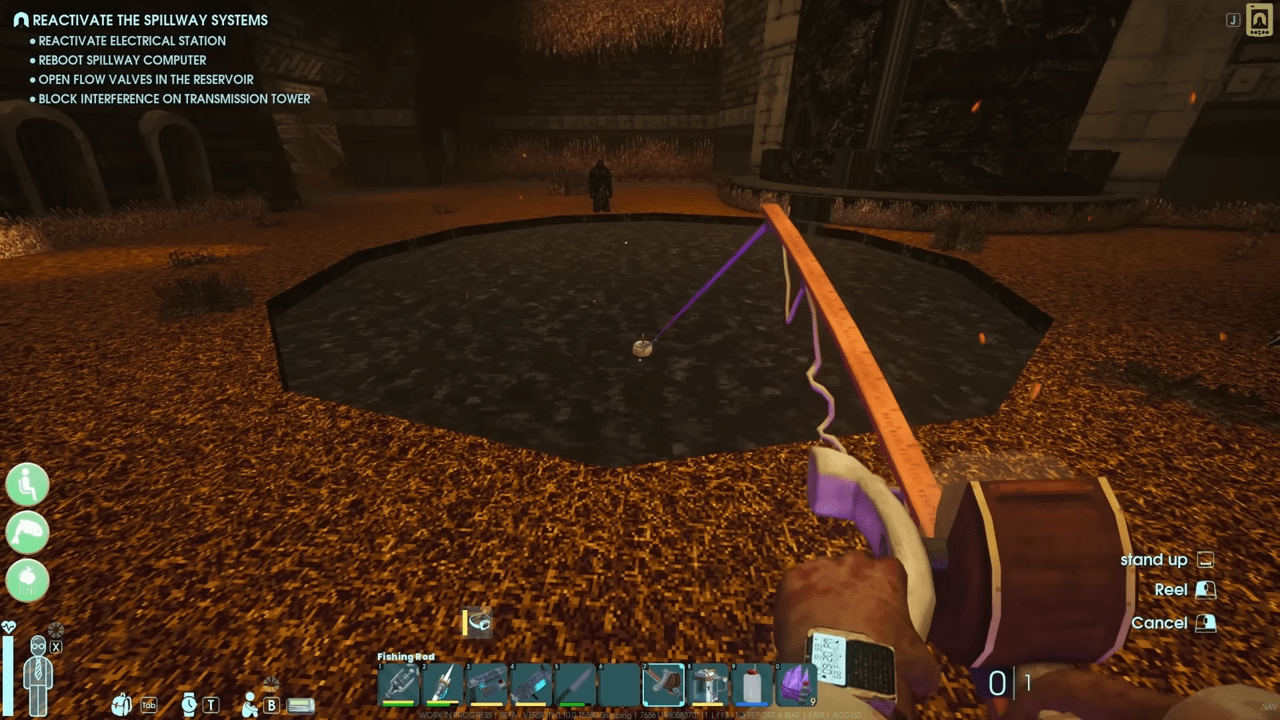
Fishing is a peaceful break from the chaos. It levels by doing.
- The Mechanic: When a fish bites, hold the mouse button to reel. You must move your directional keys in the opposite direction of the fish’s pull. If the fish pulls forward, press back. If it goes left, you press right.
- Gear Progression: Level 5 allows you to make a Tacklebox (allows fishing while sitting). Level 10 unlocks the Fishing Hat (boosts EXP) and Mud Waders (lets you fish up only junk).
Conclusion
You now possess the forbidden knowledge required to transform from a stranded researcher into an unstoppable force of scientific nature. By mastering these resource-efficient training methods, you can confidently face the deepest sectors of the facility without fear of the unknown horrors lurking ahead. Take these strategies to heart as you venture forth to reclaim your workplace and prove that knowledge truly is the ultimate weapon. The only thing left for you to do is grab your gear and show those entities exactly what a max-level PhD can do.

Leave a Reply