

Last Updated on 15 January, 2026
Dinkum might look like a relaxing island getaway, but beneath its charming Aussie exterior lies a complex survival game that often punishes the unprepared. Many players find themselves overwhelmed by aggressive wildlife, struggling to make enough Dinks for basic upgrades, or frustrated by the slow pace of manual farming. This comprehensive guide solves those problems by revealing the hidden industrial mechanics and combat exploits that the tutorial never explains. Get ready to master everything from infinite trophy glitches to shark-proof fishing layouts in the ultimate manual for conquering the Outback.
Table of Contents
- Advanced Farming and Orchard Management
- Ranching Secrets and Animal Interactions
- The Art of Trapping and Hunting
- Mastering the Waters: Fishing and Billabongs
- Trophy Hunting: Fish Ponds and Terrariums
- Dominate the Bug Contest
- Industrial Engineering and Base Decoration
- Mining Like a Pro
- Combat Strategies and Alpha Cheese
- Achievements and Hidden Easter Eggs
- Technical Guide: Renaming and Save Editing
- Conclusion
Advanced Farming and Orchard Management
Agriculture is the backbone of your economy, but it comes with pests. Are you tired of Roos eating your hard work? Perhaps you cannot unlock the scarecrow because you cannot successfully harvest a pumpkin, or maybe Rayne charges too much for one in her shop. We have solutions to protect your harvest.
The Fence Fortress
You must fence your crops. This is non-negotiable for early game safety. When you completely fence an area, animals stop spawning inside that zone. While birds can now fly over fences, ground animals cannot touch your prize vegetables. Fencing seems to stop animals from spawning inside a fenced area entirely.
Warning: Do not rely on trees. Birds can fly through a wall of regular trees and even giant trees. They will not stop the aerial assault.
Optimal Planting Patterns
Space efficiency is key for watermelons and pumpkins. These crops can spawn up to four vines from the main plant in a cross or plus pattern. However, the third and fourth vines are relatively rare. You must balance space versus the probability of a third or fourth vine. We recommend a planting pattern that balances spacing while utilizing both types of sprinklers to reduce resource costs.
Flower Hacks and Orchards
You can use your failures to create beauty. Place a flower bed over bones to spawn a desert rose. Alternatively, place a flower bed over a dead crop. You will receive various flowers and plants depending on which crop died and how long it has been decomposing.
Regarding orchards, fruit trees do not require spacing to grow. You can pack them as tightly as you wish since there are no extra space requirements. However, you may wish to consider creating several orchards. Keep one dense, but maintain a second one where you leave one or two tiles around each tree to facilitate mushroom growth during Autumn.
Once you obtain the Tree Pincher from the hot hot hot mine and the Har-Vac from Franklyn, reorganize your map. Use the pincher to move trees into mini orchards. Instead of running between lone trees, you can harvest half a dozen in one pass with the Har-Vac.
Ranching Secrets and Animal Interactions
Your farm animals are more than just profit sources. They have personality and hidden mechanics that can make your ranching life significantly easier.
The Coolest Animal
Name a farm animal “James” and when they grow up, they will rock a pair of sunglasses. This is not just a cosmetic choice; it is also a hidden achievement.
Mass Petting
The guitar, found in the first level of the mines and the Island Reef, is a powerful tool. It can pet farm animals in large groups at the same time. It also causes them to follow you similar to the whistles, but it effects all farm animal types at the same time.
The Photo Zoo
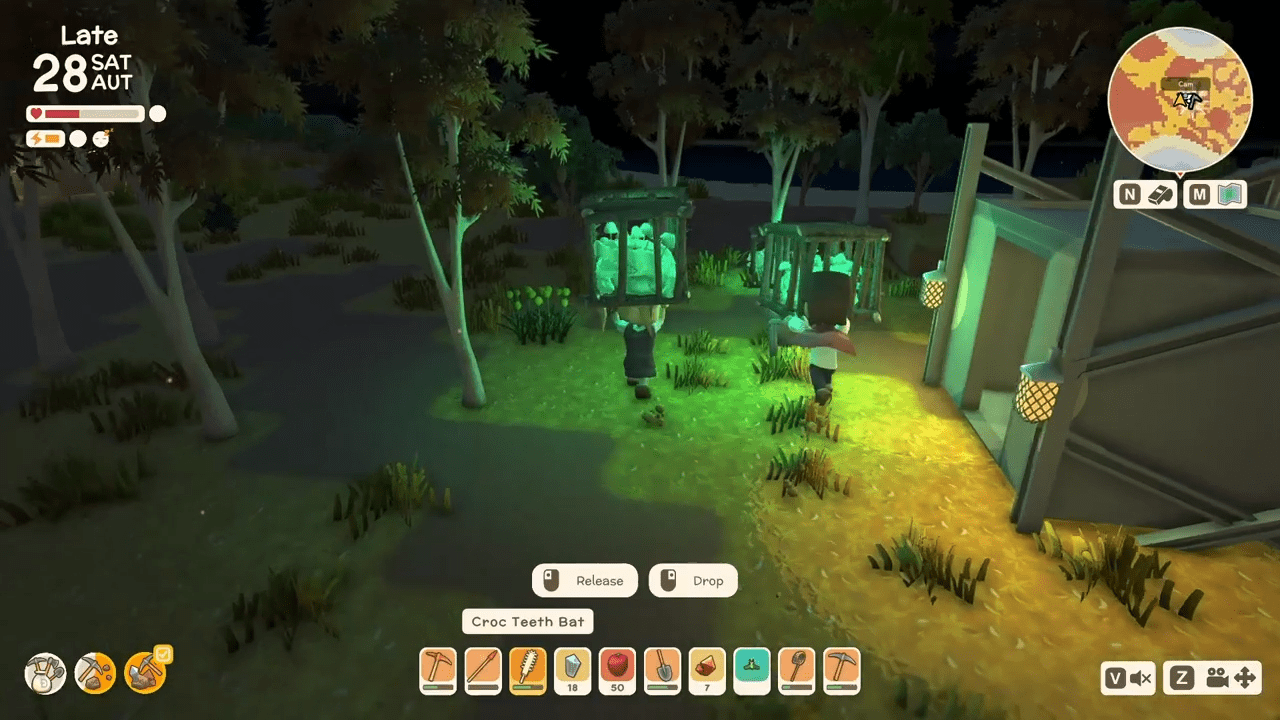
NPCs often request photos of specific animals or multiple animals in one shot. Instead of hunting them down every time, build a Photo Zoo. Trap various animals and keep them in a designated area. This creates a fancy display for your town and allows you to snap requested photos instantly.
The Art of Trapping and Hunting
Trapping generates massive wealth, but the wildlife in Dinkum gets spicy and hostile very fast. Trapping is quite lucrative in that the more dangerous creatures like Wary Mu, Bush Devils, Crocs, and flame slimes can bring in big dinks.
The New Trapping Meta
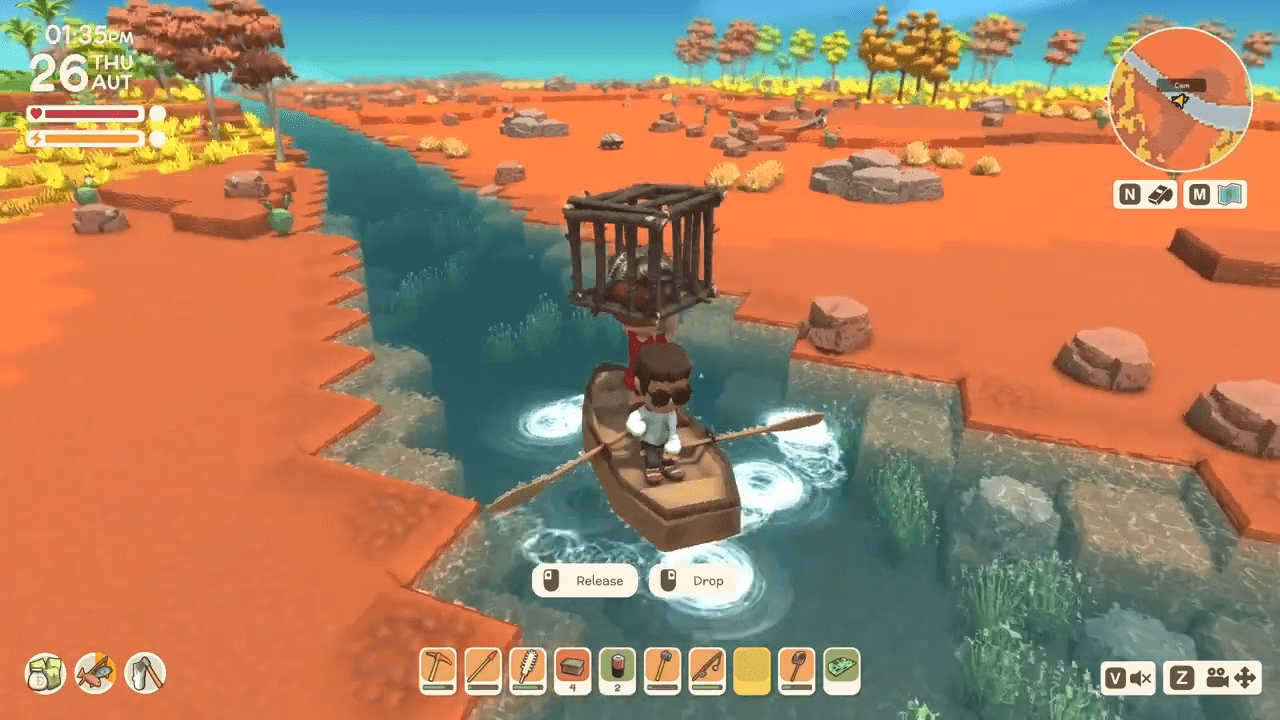
Following the Animal Tracks update, traps no longer auto deliver themselves when they are setup touching the collection point. You must adapt. You can either try to lure one animal at a time to a trap and deliver them away from the nest, or you can setup in their nest but fence off part of the collection point.
You may also want to place a 2×2 table touching the trap as a safe place from the dangerous animals. Animals now can step on to the collection point, rendering it no longer a safe space.
Restoring Nature
If you destroy a Bush Devil or Dingo nest, it is usually gone forever. However, you can fix this. The Rock Wand, a loot item from the Undergrove, creates two tier rocks. Use this wand on the former nesting area to restore the original spawns.
Be extra careful with Wary Mu nests. While destroyed nests are usually lost, a new mechanic allows them to potentially respawn on Saturdays during Winter, though this is entirely up to the game’s random logic.
The Bulletin Board Goldmine
The bulletin board request for trapping will accept as many animals as you can send during the time frame. So if you can send 10 blooming frillies from the Undergrove when blooming frillies are requested, you can earn over half a million dink. Same for every other animal as the bulletin board request for animal trapping is double their normal price.
Mastering the Waters: Fishing and Billabongs
Fish and sharks will have their struggle portion disrupted by obstacles such as rocks. We can harness the wisdom of native peoples and recreate their fishponds to help us tackle the biggest of fish.
Building a Fishing Kill Zone
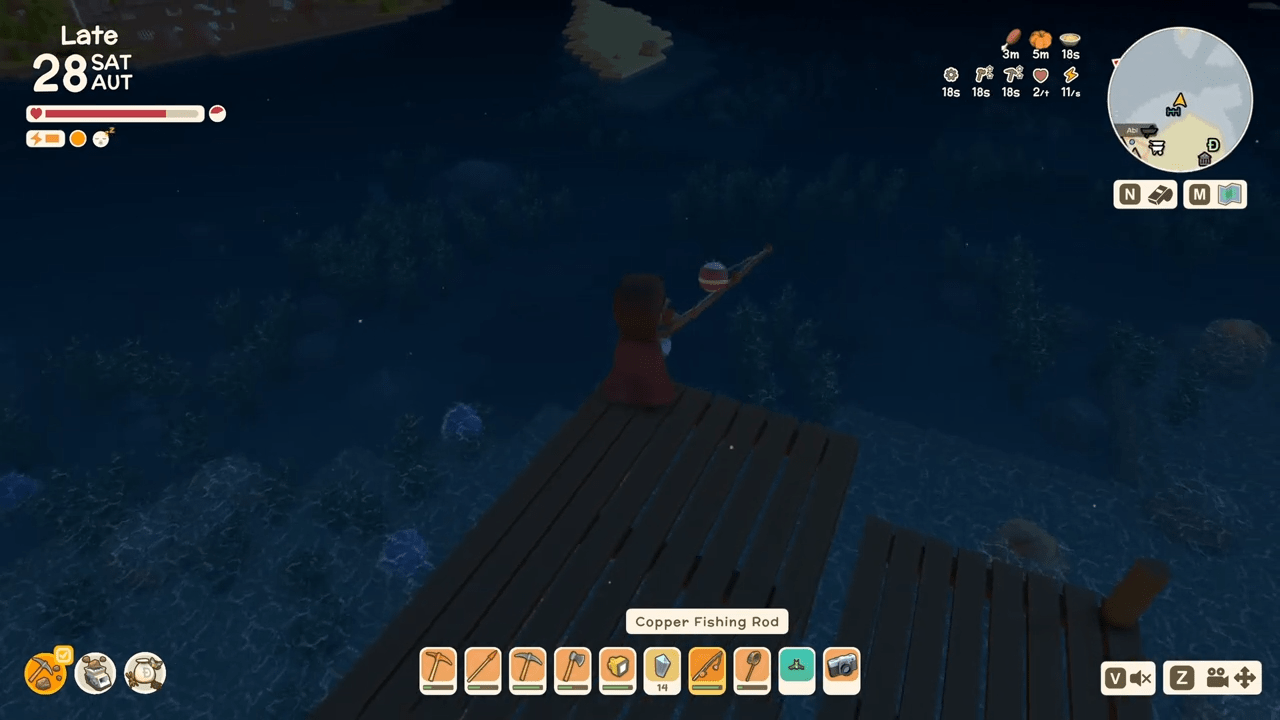
Use the dirt printer or the rock wand to create fish ponds in high traffic areas and then place lily pads for fishing platforms that fish can still swim under. When you hook a fish, the various walls will disrupt their struggle making it easy to catch them. This is also a very easy way to get the battle fish weapon.
The Battle Fish Mechanics
There is a 1 in 75 chance that when reeled in, a shark will drop a battle fish. However, you must be extremely careful once you obtain it. Switch players need to be aware that the battle fish will drop with 1 HP. DO NOT USE IT. Repair it first. This should be fixed when Switch gets the Night Market update.
Creating Billabongs
Is your map short of billabongs? While you cannot create new ones, the game will occasionally make dry billabongs. These are areas designated a billabong, but there is no water. Look for clusters of blackwood trees on your map but with no water nearby. Then look at the map and they might be designated billabong. These can be dug out and connected to a water source to create a billabong that will spawn fish, including several of the rare fish that primarily spawn in billabongs.
Trophy Hunting: Fish Ponds and Terrariums
Each fish pond and each terrarium require a competition trophy to craft. As Max and Julia only visit twice a year, this may put a damper on your dreams of extensive ponds and bug houses. But wait, there is a solution involving friends.
The Multiplayer Trophy Heist
If you can get five friends to compete and everyone ties, six trophies can be awarded to you and your friends as Max and Julia will award multiple gold, silver and bronze trophies. Assuming your friends give you their trophies, you can achieve 12 trophies every in game year per contest.
The Save Backup Method
If you are willing to utilize the manual save back up, you can get even more without having to go through the whole year.
- Backup your save file for the day of the contest.
- Load up multiplayer, have your friends join, compete, and win the awards.
- Have your friend give you their award.
- Everyone sleeps to save.
- Quit multiplayer, take the backed up save file, copy it into your AppData LocalLow folder and overwrite the save you want to load.
- Load multiplayer again. You will have another contest day just like that.
Pond Efficiency
Common fish like barcoo grunters generate more roe than rare fish such as tuna. 5 grunters can regularly generate 15 roe a day where 5 tuna may give you two roe a day. Fish ponds will generate a new fish if there are less than five fish and 15 roe left overnight.
You can use this to your advantage:
- Use common fish to get to 15 roe quickly.
- Fish out all common fish.
- Drop in one rare fish (like a Lungfish worth 50,000 dink).
- The next day, you will have two rare fish.
- Immediately fish out the rare fish and place the five common fish back in.
- Repeat the cycle to mass produce rare fish while keeping roe production high.
Dominate the Bug Contest
Are you tired of losing to the NPCs? Well, today is the day you stop losing and start being the winner you know you are.
Strategy for Success
First, grab your gear. Winning the bug contest will require specific tools. Get the competition bug net from Julia as it has a wider net area. Second, get some speed boosting food such a jams or preferably coffee. You will need the bug book from the museum as well.
If you have the silver watch, now is the time to bring it out and double the length of the day and thus double the length of your catching period. The telecaller is also helpful in that you can place a temporary teleport signal next to the visitor tent, letting you fill your inventory with bugs, teleport back, log your score, sell the bugs to Julia and then teleport out into the wilderness quickly.
Target Selection
Empty your inventory of everything else before the contest starts of everything but some energy food and a glider and the items mentioned above. Once you are out hunting, you want to run around with the bug book open, looking for high value bugs. I personally skip all bugs that are less than 1,000 dink except for the Largidae and I definitely skip all bugs worth 2 points or less.
Alternate Methods
If running around is not really your thing, there is a trick. You can stockpile bee hives and break them during the contest to hopefully catch queen bees which are worth quite a large number of points. Be sure to fence in the beehives before you break them as fences stop insects from leaving the fenced area.
Industrial Engineering and Base Decoration
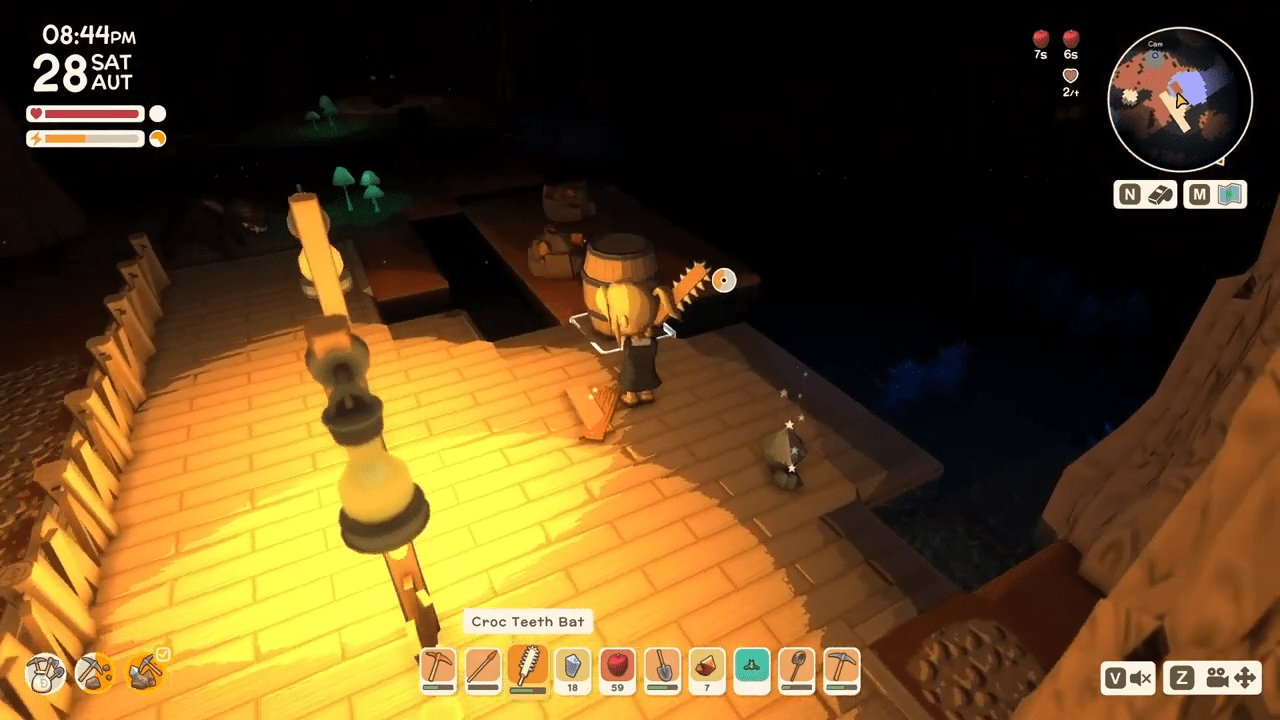
The new autoplacer will automatically load equipment with ingredients and raw materials that the attached equipment can process. Automation is here and it is amazing.
The Efficient Layout
It is always faster to load equipment from the top than from the side. You can run while loading where side loading often misses equipment. To facilitate this, you can either place your processing equipment one tile down, or add stairs up to the equipment.
We recommend a layout where both the input box and the processed food and materials are accessible from the same row. Maintain two regular furnaces and two regular sawmills as the more advanced versions cannot process spinifex or saw tin bars into sheets. A windmill at the center can speed up production for most of the equipment.
Pergola Engineering
Pergolas can be used as extra wide bridges that also let wildlife such as fish, sharks and crocs to swim underneath them. You can walk and drive over the top, but NPCs will not use the pergola as a bridge. They can also be used to quickly craft piers after preparing the ocean floor. This is absolutely faster then dirt printing a pier. Be aware that the ocean floor under each pergola leg has to be the same height.
Note that if you build a standard bridge instead of a pergola, the bridge must be on the same height level for both sides and cannot exceed 15 tiles in length.
Dirt Physics and Terraforming
The game only lets you dig down five tiles, after that, any dirt you dig from that pit will be infinite. Need to get rid of dirt? Make a tower 15 tall and then pile dirt on that tile, everything above 15 tiles tall disappears. Alternatively, place a cooked banana down, then place the soil you want to disappear on it and it will magically disappear.
If you want to terraform beach sand into dirt without manually placing dirt tiles, use the tractor to plow the beach sand. Wait for the plow lines to disappear, and the sand will convert into dirt.
Buried Secrets
Burying fertilizer acts as a powerful mutagen. If you bury fertilizer, it impacts plants in a 5×5 radius. This will turn ferns into the large Undergrove ferns and certain trees into Giant Trees. These giant variants produce significantly more wood and leave a stump that can be used as furniture.
Mining Like a Pro
The underground is dangerous, but profitable. Here is how to navigate the depths efficiently.
Dealing with the “X”
If you see an X in the mine and are wondering how you can dig it up since you cannot use a shovel, a bomb will do it. However, you are unlikely to unearth any tech that is worth more than the bomb. You will likely need that bomb to blow through mine walls quickly. I have blown up many Xs in the mines and it was never worth the bomb.
Tools of the Trade
Basic and copper pickaxes are tedious at mining. Hammers, even the basic hammer is faster at breaking up rocks and ore. Plus hammers do decent damage with a chance to stun enemies, so they can double as self defense weapons when mining.
Hammers do have a slow animation. You can skip this by immediately switching to another toolbar item after the hit and then back to the hammer to hit it again. This will rapidly speed up how fast you can use your hammer.
Environment Management
Do not dig up rough soil, that textured soil that ore nodes spawn on. If you accidentally do, do not put the shovel of soil back. That will destroy the rough soil and you will never have ore down there again. You will need to dirt print into that hole.
Combat Strategies and Alpha Cheese
Alpha enemies are the toughest baddies of the game. However, there are some cheeky ways to dealing with them.
The “Farquaad” Strategy
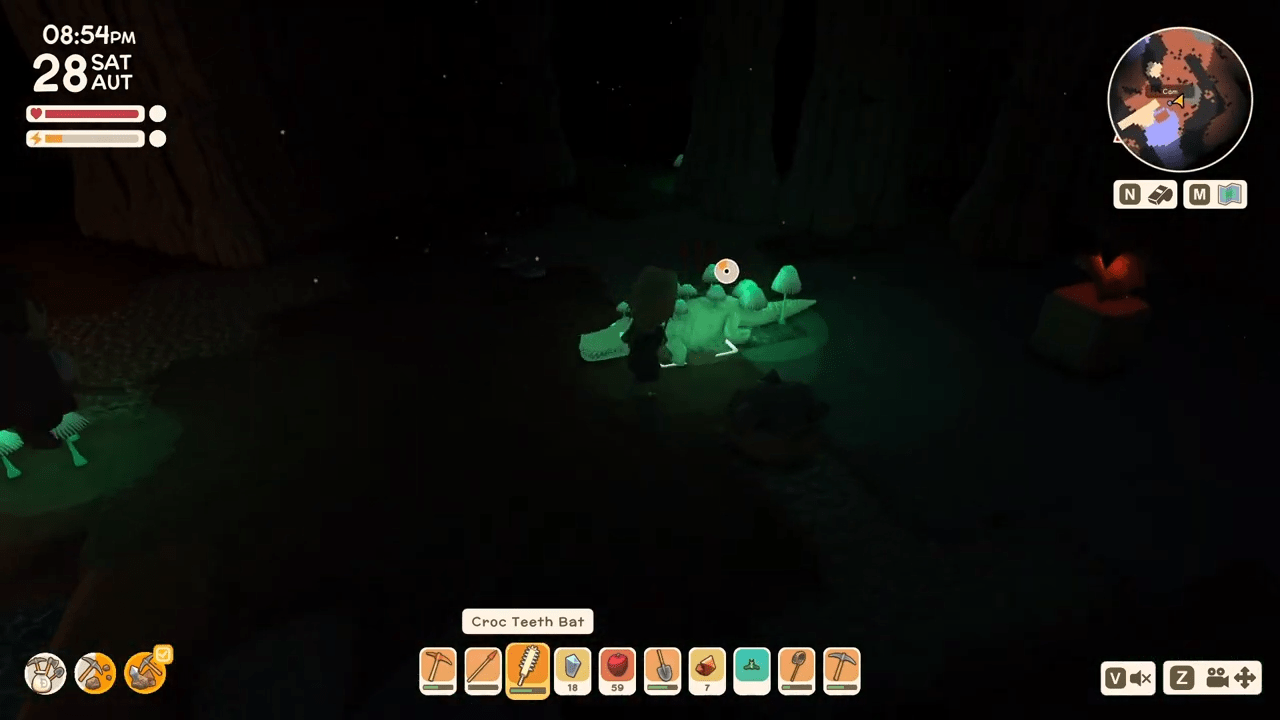
Alphas will fight each other if they accidently damage each other. This is easy to do as they will chase you and their area of attacks will trigger an alpha on alpha fight. Even naturally hostile animals will attack alphas on their own. Use this to your advantage by having them fight for you. Lead the alpha into a cluster of crocs or bush devils. However, avoid using wary mu this way as the fighting may destroy their nests.
The Fish Tank Shield
Fish can be your friend in combat. Bring two of the medium fish and place down their tanks. Then bait a hostile animal you are trying to hunt. Jump on the first fish tank and then proceed to spear the hostile from relatively safety. Stacking the fish tanks gives you another level to retreat should the enemy have an area of effect attack. You can also use fish tanks as shields to block fireballs.
Achievements and Hidden Easter Eggs
Some achievements in Dinkum are notoriously difficult. Here is how to crack them:
Buffed Up
This achievement requires you to have more than ten separate buffs active at the same time. I found that caviar, mighty spread, pastie, coffee, and pavlova will give you eleven buffs not counting the normal health and stamina buffs. If you want to be an overachiever, you can also eat all of these in the first ten minutes of the game and get poisoned by an Undergrove frilly or jelly fish, then sit down for three additional buffs.
Succulent Meals
This achievement requires you to eat all 31 current cooking table food items in one day not during late hours. What people have been accidentally doing is only cooking one of each, not realizing that bread and damper get used in other food items. So you will have to cook at least three bread and three damper. You can also use the toilet or the Dunny to clear all of the food items you have eaten so you can then eat more.
Easter Eggs
The boombox from Jimmy now takes cassettes that can be found in the game. But there is an Easter egg in that it will take a non-cassette to play a special type of music. Look for an item that might fit the boombox.
Also, the Night Merchant will only show up on the 19th of every month starting in year 2 if you have upgraded your tent to a house. Be sure to have at least the first level of the house ready before the 19th.
Technical Guide: Renaming and Save Editing
Regret the name you chose for your character or island? Good news is that you can change it! This guide will show you how to safely edit your save file using a free web based tool.
The Process
- Find Your Save: Open Dinkum, click the version number on the main menu, and select “Open Save File Directory.” Open the “Dinkum” folder and find your slot (e.g., Slot0). Look for
Player.es3. - Backup: Always backup before editing! Copy
Player.es3to your desktop. - Edit: Go to the Dinkum Save Editor website. Drag and drop your file. Change your Player Name or World Name as desired and click save.
- Replace: Download the encrypted
.es3file. Navigate back to your save slot folder and replace the existing file with the new one. - Load: Click “Load Game” on the main menu. You should see your new name!
Conclusion
Survival in Dinkum rewards creativity and a willingness to bend the rules just as much as it rewards hard work. By implementing these industrial layouts and taking advantage of the hidden mechanics we covered, you can stop grinding for pennies and start building the island paradise of your dreams. Remember to back up your save files before attempting the riskier tricks and never trust a bird near your prize pumpkins. Now get out there and turn that wild bushland into a thriving empire.

Leave a Reply