

Last Updated on 16 October, 2026
Enshrouded combines survival, exploration, combat, and freeform construction in the fallen kingdom of Embervale. With the game reaching version 1.0 on October 15, 2026, new players have a vast world to explore, dangerous Shroud-covered regions to conquer, and a deep skill tree to shape around their preferred fighting style.
Your early decisions affect how efficiently you explore, how much time you spend gathering resources, and how well you handle increasingly dangerous enemies. You can build around melee weapons, archery, or magic, but a wand-focused Battlemage offers a particularly flexible option: fast magical attacks, crowd control, and a shield in the off-hand.
This guide covers the fundamentals of exploration, skill points, equipment, Flame Altars, and base building before walking through a wand-focused Battlemage setup. You’ll learn where to find useful early wands, which skills to prioritize, how to manage wand durability, and how to combine projectile effects for stronger damage.
Table of Contents
- Starting Out in Embervale
- Explore for Experience and Resources
- Skill Points, Builds, and Respecs
- Gear, Runes, and Upgrades
- Flame Altars, the Shroud, and Your Base
- How Wand Combat Works
- Best Skills for a Wand Battlemage
- Recommended Battlemage Skill Path
- How to Prevent Wand Breakage
- Best Early-Game Wands
- Best Starting Gear for a Battlemage
- Multishot, Overcharge, and Projectile Synergies
Starting Out in Embervale
Enshrouded gives you considerable freedom to develop your character. You are not locked into one combat class, and your skill choices can evolve as you discover new weapons, equipment, and ways to fight.
The three broad combat styles are Archer, Mage, and Melee. Each has its own strengths, but you can combine skills from different branches instead of committing to a single archetype. A wand-focused Battlemage, for example, can deal magical damage while retaining the defensive benefits of a shield.
Early progression is easier when you treat exploration, character development, and base building as interconnected systems. Exploring provides XP and equipment, resources support crafting, and upgrading your Flame Altar opens more possibilities for your base and future journeys.
Explore for XP and Resources
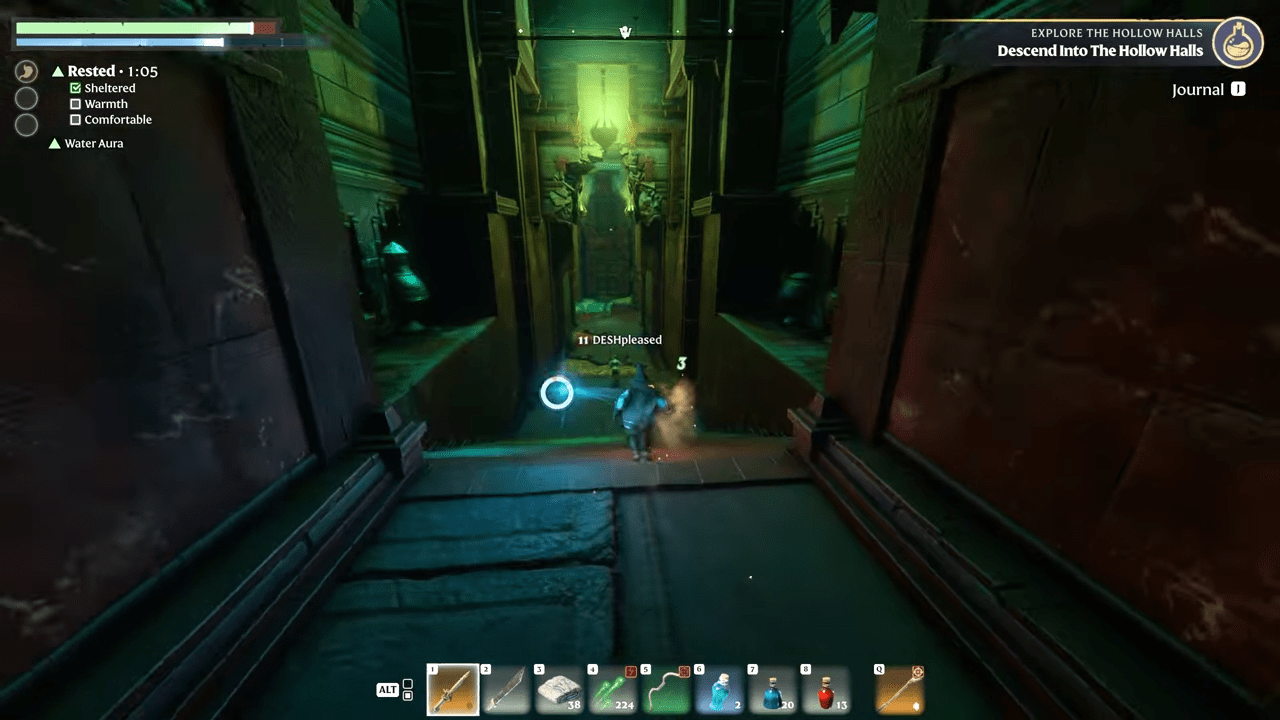
Do not rush from one main objective to the next without investigating the world around you. Points of interest and lore notes are scattered across Embervale, with many locations marked by a red aura. Exploring them can reveal information about the world and unlock small side quests on your map.
Fight enemies and revisit valuable locations
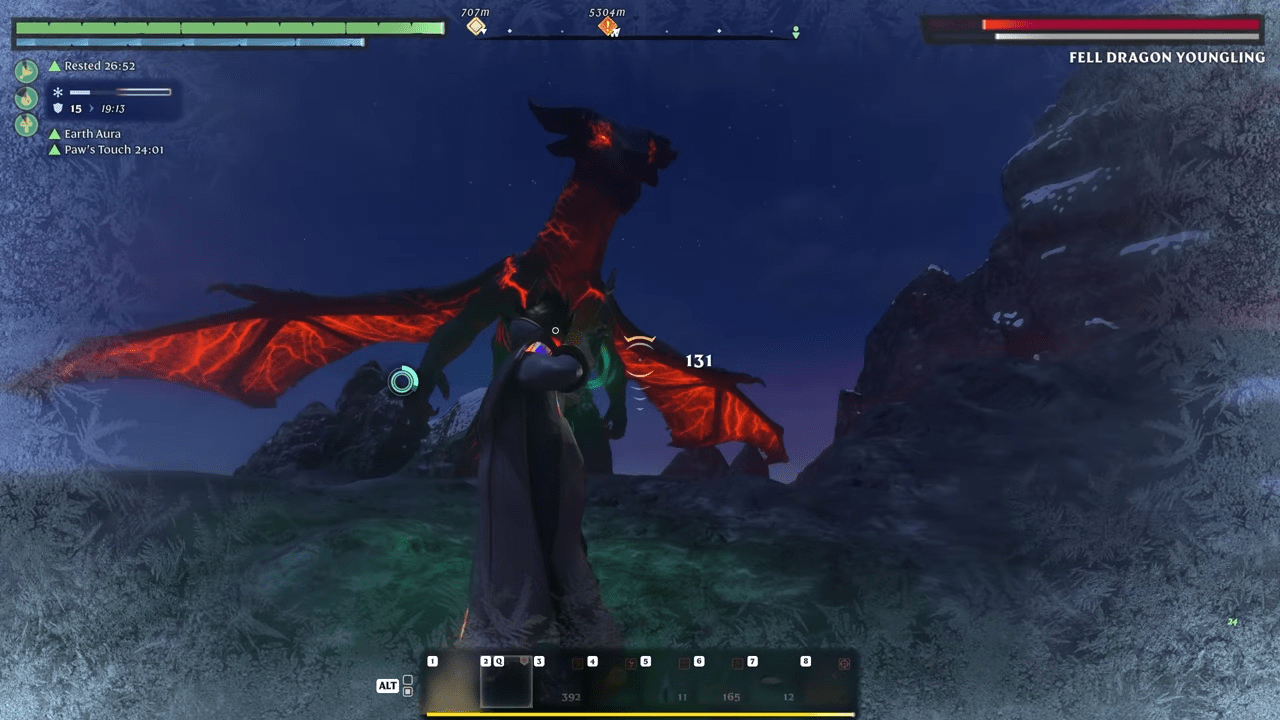
Defeating enemies awards XP based partly on their difficulty. Mini-bosses are useful because they respawn and yield more XP than ordinary enemies. Mark their locations on your map so you can return for another fight.
Discovering new areas and mining ore also grant XP. Exploration therefore helps you advance while collecting resources for weapons, equipment, and construction.
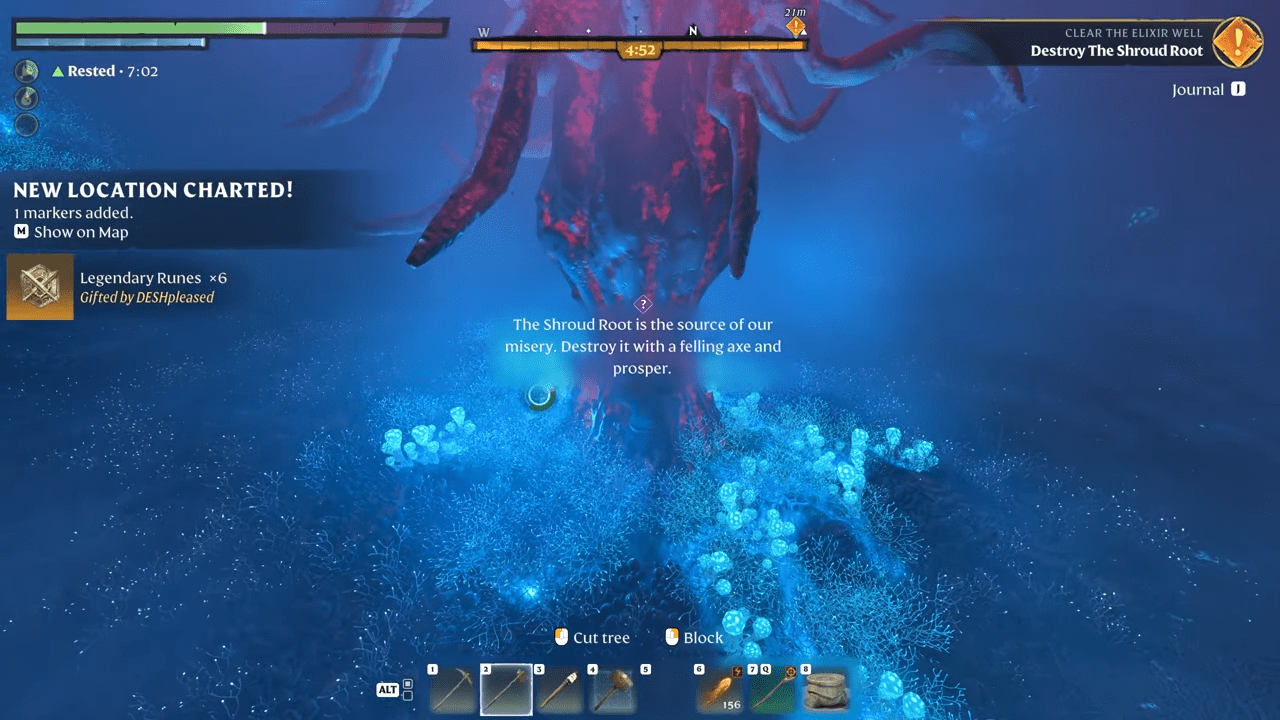
Destroy Shroud Roots for additional skill points
Shroud Roots offer another way to develop your character. These roots appear as purple markers on the map and can provide skill points when destroyed. They are often guarded by multiple enemies, so be prepared for a fight before approaching them.
Destroyed roots regenerate over time, but previously allocated points cannot be earned repeatedly by exploiting the same root. There are plenty of roots scattered throughout the world, so explore new areas rather than relying on a single location.
Mini-bosses are worth revisiting for XP, while Shroud Roots help expand your skill-point budget. Combining both activities gives you a reason to return to useful locations and investigate new territory.
Skill Points, Builds, and Respecs
The skill tree allows you to specialize in damage, mobility, defense, or a mixture of these approaches. Character levels provide skill points, and destroying Shroud Roots supplies additional points to invest in the tree. Each skill has a point requirement, so plan your progression instead of spending points without a clear direction.
Character progression in this setup reaches level 25, with additional skill points available through Shroud Roots. One early investment stands out regardless of your preferred combat style: Double Jump. It improves movement during exploration and gives you another option for avoiding attacks in combat.
You are not locked into one class
You can reset your skills by spending Runes. Find them in crates, collect drops from enemies, or salvage unwanted equipment to obtain them. This gives you room to experiment with different builds rather than treating your first skill choices as permanent.
Still, make each respec count. Investing in a coherent set of complementary skills will be more useful than scattering points across unrelated branches. Once you understand which weapons and combat abilities suit you, you can concentrate on the skills that support that playstyle.
Gear, Runes, and Upgrades
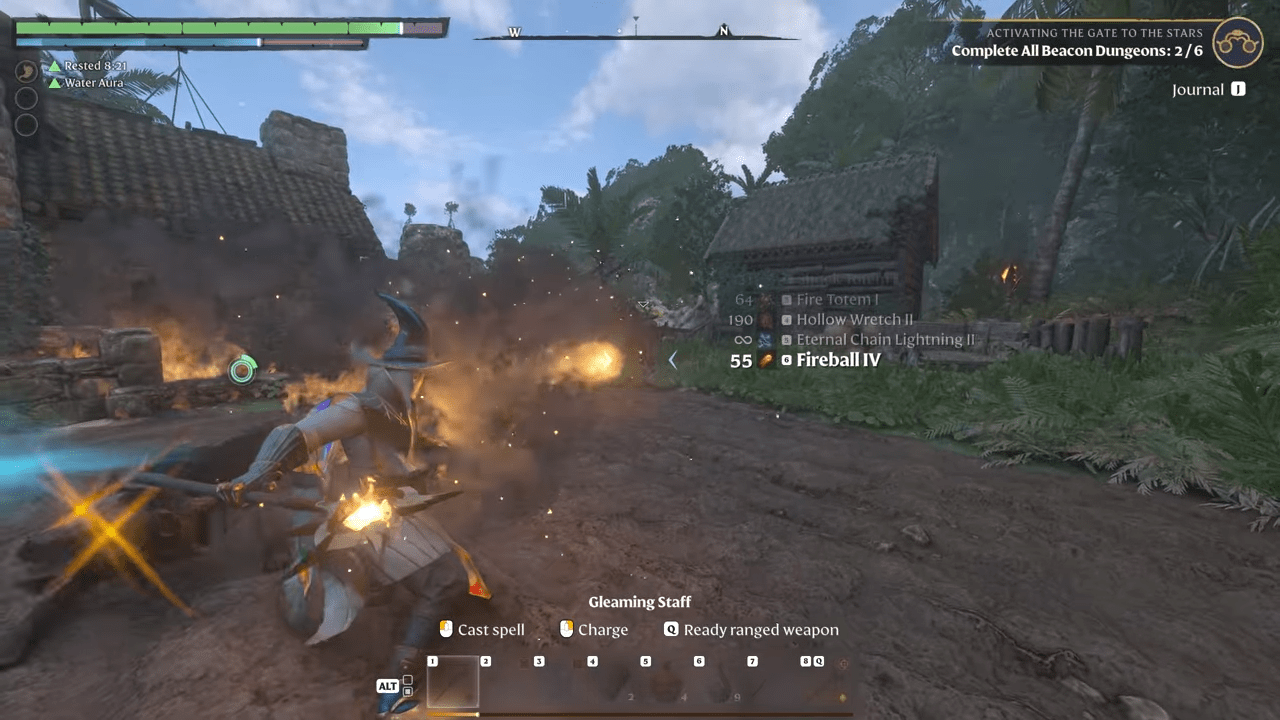
Equipment makes a major difference when exploring dangerous areas. Choose weapons that deal appropriate damage against your enemies, and pay attention to the traits on individual items rather than assuming every weapon serves the same purpose.
Weapons have levels that indicate their power. These levels are separate from your character’s level, so a weapon’s displayed level should not be mistaken for a requirement tied to your own progression.
Weapons also come in different rarities, which affect their upgrade potential through Runes. Read each weapon’s description before deciding whether to keep it or salvage it.
NPCs at your base help you develop equipment associated with different combat styles. However, crafted gear is not always the strongest option available. You can find more powerful equipment by exploring the world and opening chests, so compare your loot against what you can craft before spending resources on an upgrade.
Flame Altars, the Shroud, and Your Base
The Flame Altar is the center of your base and one of the most important structures for progression. Upgrading it unlocks additional craftable equipment and expands the space available for building. It also functions as a fast-travel point, and you can construct multiple altars to make moving around the world more convenient.
Understand Shroud exposure
The Shroud is a dangerous, toxic region containing enemies and resources you cannot find everywhere else. Time spent inside these areas is limited, making preparation essential before an extended expedition.
Upgrading your Flame Altar increases the time you can remain in the Shroud before its poison affects you. If an area is covered by red Shroud, your current Flame Altar level is insufficient for exploring it safely. Upgrade the altar before attempting to push farther into those zones.
Build for convenience before defense
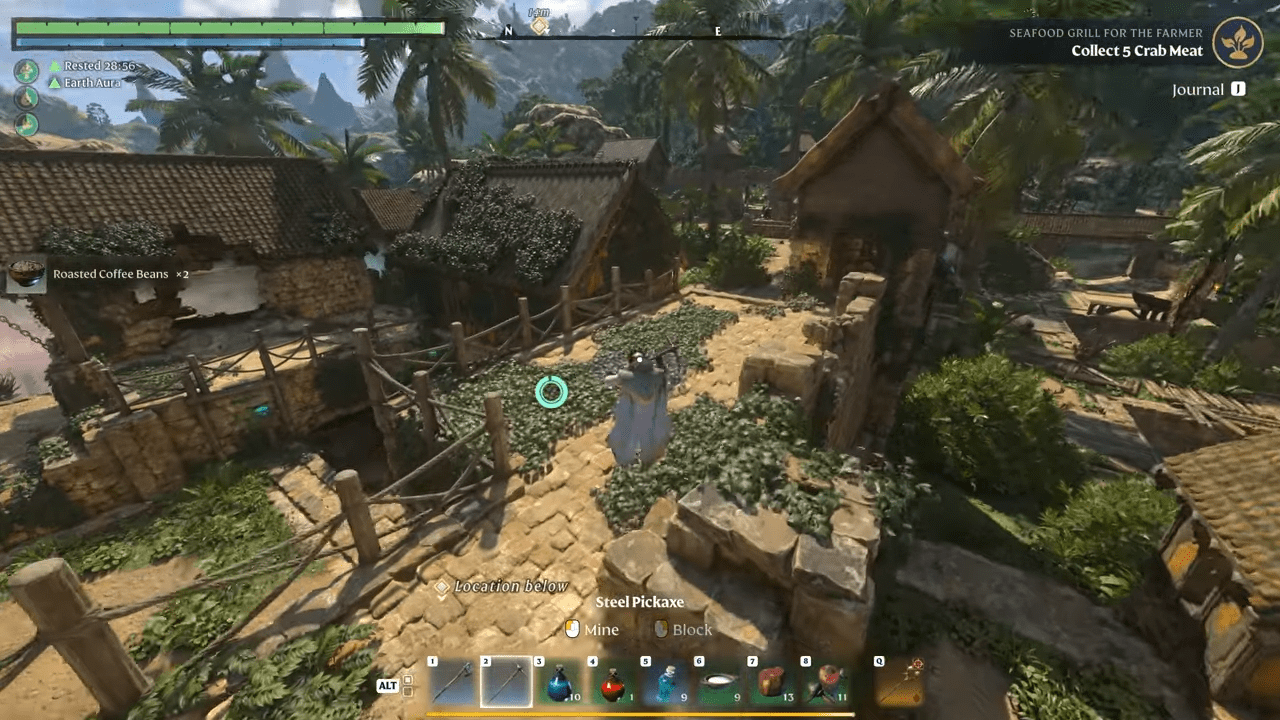
The construction system takes practice, but it becomes easier as you learn how its pieces and materials fit together. Your base is primarily a hub for gathering resources, crafting equipment, and organizing future expeditions.
You do not need to prioritize elaborate defensive walls at the beginning. There are no enemy waves aimed at destroying your base in this setup, so you can focus on creating a practical workspace and expanding it as your needs grow.
How Wand Combat Works
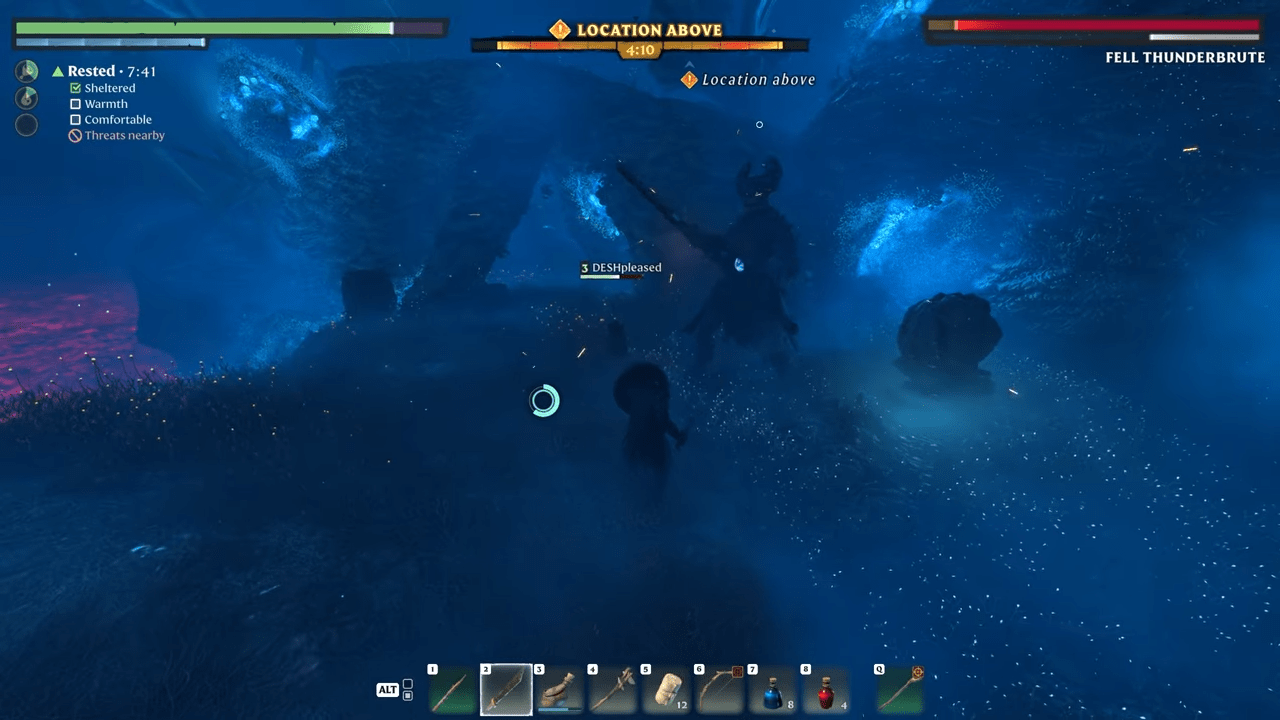
Wands are a strong option for players who prefer magical attacks without constantly spending mana on their basic wand strikes. Because a wand is a one-handed weapon, you can also equip a shield in your off-hand for additional defense and shield-related benefits.
The wand moveset includes standard projectiles, a piercing heavy attack, a crowd-control Focus Attack, and two additional attacks unlocked through the skill tree. Learning when to use each move makes the difference between simply firing at enemies and controlling a fight.
Standard Attack
The standard attack fires a small projectile at an enemy. It is affected by Multishot, Ethereal Duplication, and Arcane Proliferation. These effects can increase the number of projectiles, making standard attacks effective against individual targets and helping trigger additional combat effects.
Heavy Attack
Introduced in version 1.0, the Heavy Attack launches a piercing projectile with a small damage radius. Hold the attack button to perform it.
Unlike the standard attack, the Heavy Attack is not affected by Multishot, Ethereal Duplication, or Arcane Proliferation. If your build revolves around generating additional projectiles, keep that distinction in mind when choosing which attack to use.
Focus Attack
The Focus Attack becomes available after you learn the Battlemage perk Wand Specialization. Once the Focus Bar below your action bar is full, press R on your keyboard to unleash it.
The attack summons an orb that pulls nearby enemies toward its center and prevents them from attacking. The pull effect does not work on bosses, so use it to control groups of ordinary enemies rather than expecting it to interrupt a boss fight.
To fill the Focus Bar, land hits with normal and Special Attacks. The attacks must deal damage. Additional projectiles generated by Arcane Proliferation, Multishot, and Ethereal Duplication accelerate Focus buildup.
Passive effects do not contribute to this buildup. Secondary damage from Chain Hit and Mass Destruction, along with gem effects and poison or burn damage, does not generate Focus.
Wand Evasion Attack
Unlock the Wand Evasion Attack node in the skill tree to use this move. Attack after a dodge or Blink to launch a wide, magic-infused disc that pierces multiple enemies in a straight line.
This is a useful crowd-control attack when enemies line up or cluster in front of you. Instead of focusing on a single target, use your movement to position yourself so the disc can pass through several enemies.
Aerial Wand Attack
The Aerial Wand Attack is another skill-tree unlock. Hold the attack button while airborne during a jump to release a concentrated blast that damages and knocks back enemies across a wide area.
This attack is designed for crowd control and replaces the standard aerial Heavy Attack. Jump before holding your attack button to use it.
Best Skills for a Wand Battlemage
A strong wand build combines projectile damage with mobility, Focus generation, and effects that can hit multiple enemies. Start by unlocking the core Battlemage abilities, then add Wizard skills and enough survivability to handle tougher encounters.
Combat perks
- Wand Specialization: Unlocks the wand’s Focus Attack.
- Wand Evasion Attack: Adds a piercing disc attack after a dodge or Blink.
- Aerial Wand Attack: Adds an aerial blast that damages and knocks back groups of enemies.
Mobility and utility
- Double Jump: Improves exploration and combat mobility.
- Arcane Proliferation: Gives your wand a chance to fire twice as many projectiles, helping build Focus faster and trigger additional effects.
- Eternal Spark: Gives your projectiles a chance to restore one point of durability per hit. Certain equipment can improve this effect.
- Blink: Extends your dodge distance, making it a useful escape tool against enemy attacks, including boss attacks.
- Life Essence (Healer Tree): Increases HP by up to 9 per point in Intelligence. Equipment can boost this skill.
Damage perks
- Sting: Provides a significant damage boost to wand attacks.
- Intelligence: Increases magic damage by 5% per attribute point.
- Mage Apprentice: Increases magic damage and can be boosted by equipment.
- Wizard (Wizard Tree): Increases Magical Critical Strike Chance and can be boosted by equipment.
- Chain Hit (Wizard Tree): Allows normal wand attacks to strike additional targets. Equipment can boost this skill.
- Mass Destruction (Wizard Tree): Triggers alongside Chain Hit to create explosive area damage. Equipment can boost it.
- Wand/Elemental Mastery (Battlemage/Wizard Tree): Increases wand damage and can be boosted by equipment.
Because the build depends on repeated projectile hits, Arcane Proliferation, Chain Hit, and Mass Destruction work toward different parts of the same goal: faster Focus generation and stronger damage across groups of enemies. Intelligence, Sting, and wand damage bonuses support the underlying damage output.
Recommended Battlemage Skill Path
Follow this order to establish the core wand setup before branching into additional damage or defensive skills.
- Unlock Double Jump. This is useful for both exploration and combat, regardless of your final build.
- Focus on Battlemage skills. Prioritize the core Battlemage abilities and skip Exalted for now.
- Move into the Wizard Tree. Take Wizard, Chain Hit, and Mass Destruction to build Magical Critical Strike Chance and area-damage potential.
- Pick up two Endurance nodes. Take them from the Survivor and Beastmaster trees.
- Invest in Constitution and Earth Aura. Take Constitution nodes and Earth Aura from the Guardian tree, starting from your Life Burst node.
- Improve Intelligence and other damage perks. Once the core abilities and survivability are in place, strengthen your magical damage.
- Add optional utility skills when needed. Blink and Life Essence are useful choices if you want additional mobility or health.
As you approach levels 20–25, aim to have the core wand abilities, Wizard synergies, and essential survivability nodes in place. Adjust the optional utility skills to your needs rather than delaying the main damage combination to collect every possible perk.
How to Prevent Wand Breakage
Wands consume durability each time they produce a projectile. Every projectile costs one point of durability, so wands can break faster than other weapons, particularly when you have effects that produce multiple projectiles.
Use Anvils during exploration
Anvils restore weapon durability to its maximum. You can find them inside ruined structures, villages, and around safe checkpoints. Mark their locations on your map so you can return to them during later expeditions.
Unlock Eternal Spark
Eternal Spark gives projectiles a chance to restore one durability point per hit. Equipment such as Spectral Ward or Wizard Pants can improve the effect further.
Equipment perks do not have any effect until you invest at least one point in the relevant skill tree. Once that requirement is met, equipment can add a skill level on top of your existing investment, even pushing a skill beyond its normal cap.
Craft Repair Kits and carry spare wands
After reaching the third biome, you can unlock the ability to craft portable Repair Kits. Carry them for long exploration trips when an anvil may be unavailable.
It is also useful to carry multiple wands. Rotating between them spreads durability consumption across your weapons and lets you switch damage types to exploit enemy weaknesses.
Best Early-Game Wands
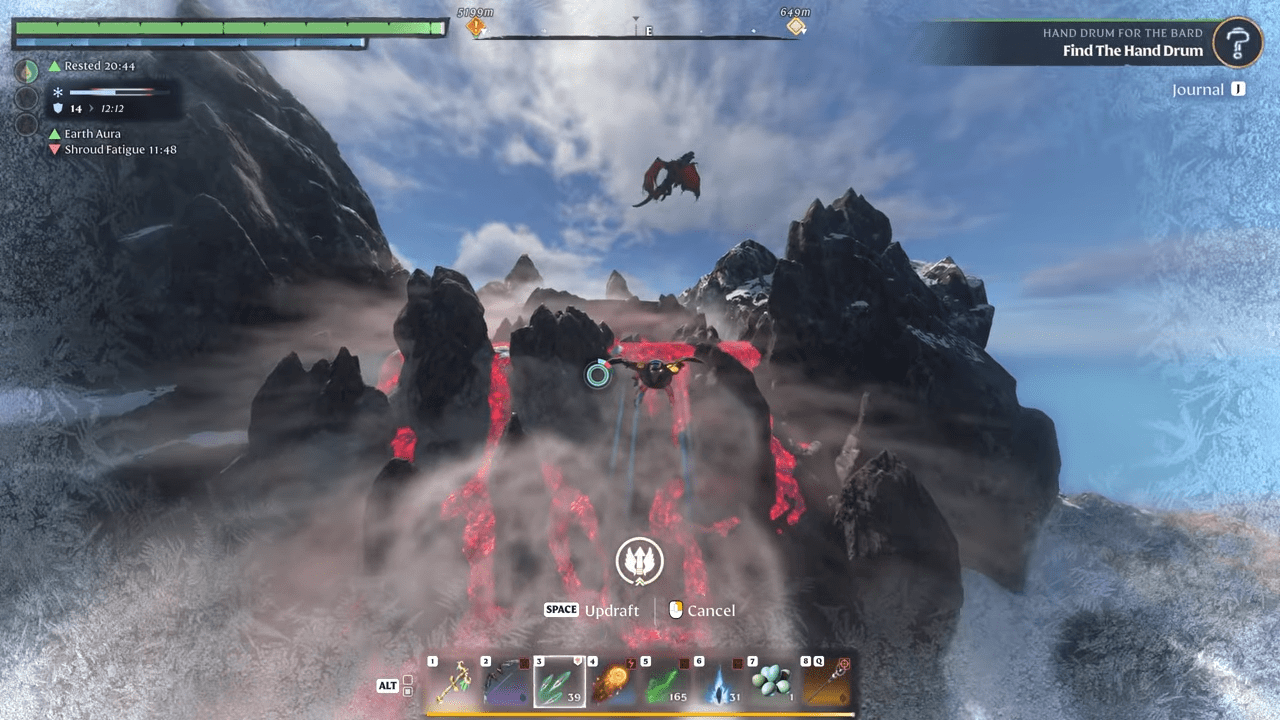
Three early wands stand out for different reasons: Voidcaller offers strong Shroud damage, Luminous Wand specializes in Fire damage against certain enemies, and Reaper’s Wand provides a versatile option for dealing with groups.
| Wand | Where to get it | Damage type and traits | Best use |
|---|---|---|---|
| Voidcaller | Shroud Lair chests | Shroud damage; Overcharge (30%), Multishot, Ethereal Duplication | Excellent against non-Fell creatures. |
| Reaper’s Wand | Complete the “Fox Chase” side quest, then craft it at the Alchemist | Shock damage; Multishot, Precise (increased Critical Strike Chance) | The most versatile choice overall, especially against multiple enemies after unlocking Chain Hit and Mass Destruction. |
| Luminous Wand | Golden chests in Revelwood or a drop from the Fell Critter Queen | Fire damage; Multishot | Effective against Fell enemies, Hollows, and other creatures with fur. |
Choose a wand based on the enemies and traits you need to counter. Voidcaller’s combination of Overcharge, Multishot, and Ethereal Duplication supports projectile-heavy attacks. Luminous Wand gives you a dedicated Fire option, while Reaper’s Wand becomes especially effective against groups once Chain Hit and Mass Destruction are active.

Best Starting Gear for a Battlemage
Your equipment should complement wand damage while providing enough armor, health, stamina, and durability support to survive longer encounters. You do not need to find a specific item for every slot immediately; several pieces can be chosen according to the stats available.
| Slot | Recommended equipment | Location or source | Useful traits |
|---|---|---|---|
| Head | Alchemist/Mage Hat | Crafted at the Alchemist or found in random Springlands chests | Magical Critical Strike Chance |
| Chest | Any suitable high-armor piece | Choose from the equipment available to you | Prioritize armor, with Health or Stamina bonuses where possible. |
| Gloves | Wizard Gloves | Random chests in Revelwood | Wand Damage |
| Pants | Any high-armor piece, or Wizard Pants | Wizard Pants appear in random chests in Revelwood | Prioritize armor, Health, or Stamina. Wizard Pants also provide Mana Regeneration and Eternal Spark, which can restore durability. |
| Boots | Wanderer’s Boots or Alchemist/Mage Boots | Wanderer’s Boots: complete “One Last Journey” and loot the skeleton beside the Ancient Obelisk. Mage Boots: craft them at the Alchemist or find them in Springlands chests. | Wanderer’s Boots provide Sprint Speed and Stamina. Mage Boots provide Mana Regeneration. |
| Shield | Wards | Craft at the Alchemist or find them in Springlands/Revelwood chests | Mana Regeneration and Eternal Spark; Legendary rarity can provide Wand Damage. |
| Ring | Ring of Mana or Ring of Endless Life | Random chests in Springlands/Revelwood | Ring of Mana supports spellcasting; Ring of Endless Life supports survivability. |
Choose rings for damage or survival
Ring of Mana is the spellcasting option. Its traits include Mana Regeneration, Wizard for Magical Critical Strike Chance, and Spellslinger for Staff Damage.
Ring of Endless Life is the defensive alternative, providing Health and Health Leech. Choose between them according to whether you need to strengthen your spellcasting setup or improve survivability.
For most slots, keep the best combination of armor and useful bonuses you find. Wizard Gloves, Wizard Pants, and a suitable wand-focused shield are valuable because they complement the build’s damage and durability needs.
Multishot, Overcharge, and Projectile Synergies
Wand descriptions can include special properties that change how their damage works. Read these traits before salvaging an unwanted wand, if it has combinations that suit your build better than your current weapon.
Understand Overcharge
Overcharge gives a wand a damage range instead of a single damage value. For example, a wand with 20 damage and 10% Overcharge can deal between 20 and 22 damage per hit. Other factors may affect the exact calculation, but this illustrates how the property works.
Combine Multishot and Ethereal Duplication
Multishot and Ethereal Duplication appear in wand descriptions. Some weapons have neither property, while others can have both. Additional projectiles can produce several benefits at once:
- Faster Focus generation: More direct projectile hits fill the Focus Bar faster, allowing more frequent Focus Attacks.
- More opportunities for critical hits: Each critical strike can trigger Chain Hit and Mass Destruction, increasing area-damage potential.
- More on-hit effects: Each projectile counts as a separate strike, allowing effects such as Health Leech, the Gem of Corruption, and the Gem of Currents to trigger multiple times with fewer attacks.
Arcane Proliferation has an important limitation: it duplicates the projectile created by Multishot, but it does not duplicate the projectile created by Ethereal Duplication.
When the three effects interact, a wand can fire up to five projectiles at once. This combination supports faster Focus generation, more critical-hit opportunities, and more chances to activate on-hit effects. It also makes durability management more important, because every projectile consumes one durability point.
Final Advice
Build your character around a clear goal, but leave room to adapt. Explore thoroughly to earn XP and find equipment, destroy Shroud Roots for additional skill points, and upgrade your Flame Altar to improve your base and expand your ability to explore dangerous regions.
If you prefer magical combat, the wand Battlemage offers a flexible mix of rapid projectiles, mobility, crowd control, and shield-based defense. Double Jump gives you useful movement from the start; Wand Specialization unlocks the Focus Attack; and Chain Hit, Mass Destruction, and additional projectile effects turn ordinary wand strikes into a stronger tool against groups.
Keep spare wands, mark anvils, and choose equipment that supports your damage and durability. With a coherent skill path and a little preparation, you can spend less time recovering from mistakes and more time exploring Embervale.

Leave a Reply