
Last Updated on 16 October, 2026
Gears of War: E-Day takes Marcus Fenix and Dominic Santiago back to the first Locust invasion, fourteen years before the original game. Released on October 6, 2026, the prequel brings the series’ cover-based combat to a new technical foundation built with Unreal Engine 5. The game’s brutal battles, detailed environments, and large-scale destruction make performance and visual clarity especially relevant on PC.
If you’re dealing with blurry textures, inconsistent frame rates, or AI squadmates that waste ammunition, a few changes can make the experience more manageable. You can adjust the graphics settings to balance image quality and performance, try a launch option for texture streaming problems, and use a campaign trick to equip your AI companions with different weapons before heading into combat.
This guide covers the practical changes to try first, how to apply them on Steam or through the Xbox app, and which weapon choices work best for the campaign’s AI teammates. Results can vary between PC configurations, so test changes individually rather than applying every tweak at once.
Table of Contents
- Fix Blurry Textures and Texture Pop-In
- Add -NoDirectStorage on Steam
- Apply the Texture Fix Through the Xbox App
- Update Drivers and Check Your Storage
- Best Graphics Settings for Higher FPS
- Windows and Hardware Tweaks
- Equip Different Weapons on AI Teammates
- Best Weapons for the Campaign AI
- Final Recommendations
Fix Blurry Textures and Texture Pop-In
If surfaces look like unfinished clay or textures take too long to load, start with the -NoDirectStorage launch option. This workaround has helped some players experiencing texture problems, although it is not a guaranteed fix for every PC. Check your driver version and storage setup as well if the problem persists.
The game has separate procedures for Steam and the Xbox app. Use the one that matches your installation, and make sure you apply the command as shown.
Add -NoDirectStorage on Steam
Steam users can enter the launch option through the game’s Properties menu. You do not need to create a shortcut or modify the game’s executable.
- Open Steam and go to your Library.
- Right-click Gears of War: E-Day and select Properties.
- Open the General tab.
- Find the Launch Options field.
- Enter
-NoDirectStorage. - Close the Properties window and launch the game through Steam.
Start the game and check whether the textures load more consistently. If there is no improvement, move on to the driver and storage checks below.
-NoDirectStorage exactly as written. If the texture issue remains, test another troubleshooting step before changing several settings at once.Apply the Texture Fix Through the Xbox App
The Xbox app requires a different approach because the workaround uses a desktop shortcut to gamelaunchhelper.exe. Do not use the main game executable for this method.
1. Find the installation folder
- Open the Xbox app.
- Right-click Gears of War: E-Day in your library and select Manage.
- Open the Files tab.
- Click Browse… to open the installation directory.
2. Create a desktop shortcut
- Find
gamelaunchhelper.exein the game folder. - Right-click it and select Show more options, then Create shortcut.
- If Windows asks whether the shortcut should be placed on the desktop, confirm.
3. Add the command-line parameter
- Go to your desktop and find the new
gamelaunchhelper.exe - Shortcut. - Right-click it and select Properties.
- In the Target field, move the cursor to the end of the existing text, after the closing quotation mark.
- Add one space and then enter
-NoDirectStorage. - Click Apply, then OK.
The Target field should follow this pattern:
"C:\...\Gears of War E-Day...\gamelaunchhelper.exe" -NoDirectStorageKeep the command outside the quotation marks. The quotes should continue to surround the executable’s path, with a space before the command.
4. Launch through the shortcut
Start the game using the new desktop shortcut. Do not launch it with the Play button in the Xbox app while using this workaround, although the app itself can remain open in the background.
gamelaunchhelper.exe and the command sitting outside the quotes. Check both details if the game fails to start.Update Drivers and Check Your Storage
If -NoDirectStorage does not help, check the hardware and software responsible for loading the game’s textures. An outdated graphics driver or a slow installation drive can contribute to the problem.
Update your graphics drivers
Install current drivers intended for your graphics card. NVIDIA driver version 617.14 is a supported version. If you use NVIDIA hardware, check your installed version before troubleshooting further.
For AMD or NVIDIA cards, keep the driver matched to your hardware and check for updates. If you are already using a current, compatible driver, move on to the remaining checks.
Install the game on an SSD
Running the game from a mechanical hard drive can slow texture loading. Move the installation to an SSD if possible, with an NVMe M.2 SSD the preferred option in this performance checklist.
A faster drive can improve loading times and may help textures appear correctly. If you are experiencing texture pop-in while the game is installed on an HDD, storage is worth checking before making more drastic changes.
Best Graphics Settings for Higher FPS
Once texture loading is under control, tune the graphics settings to find a balance between image quality and frame rate. The aim is not to set everything to Low. Some settings can remain high without a major performance penalty, while others are more expensive or add visual effects you may not need.
First, enable the Performance Overlay under Settings > Interface > HUD. This gives you a frame-rate reading while you test changes.
Then open Settings > Graphics from the main menu or while playing. Use the following recommendations as a starting point, and adjust them based on your CPU, GPU, and desired frame rate.
| Setting | Starting recommendation | Why |
|---|---|---|
| Resolution | Try 1920 × 1080 instead of 2560 × 1440 | Lowering the rendering resolution can improve frame rate. |
| VSync | Off for lower input lag; On for smoother output | The trade-off is responsiveness versus smoother presentation. |
| NVIDIA Reflex Low Latency | Try Ultra, then compare with Off | Ultra can reduce input lag, but may affect frame-rate consistency. |
| Upscaling | Native if performance is good; otherwise try Quality, Balanced, Performance, then Ultra Performance | Lower-quality modes prioritize performance more heavily. |
| Dynamic upscaling | Test as an alternative | Some systems may perform better with a dynamic option. |
| Maximum FPS | Cap at a stable target rather than chasing peak FPS | A lower, consistent cap can provide more headroom. |
| Effects, Textures, Geometry | High or Ultra, depending on hardware | These settings can preserve visual quality at a relatively modest cost on suitable systems. |
| Post Processing, Motion Blur, Depth of Field | Lowest or off where available | These effects may carry an additional performance cost. |
| Global Illumination, Reflections, Raytracing Geometry | Low | Reduce the cost of these rendering effects. |
| RTX Mega Geometry | Off | The setting requires a supported GPU with at least 12 GB of VRAM. |
| Hair Strands | Off | A performance-oriented starting point. |
| Detail Objects | Off for performance; On in forest areas | Turning this off removes surrounding bushes in forest settings, which can make them look wrong. |
| Volumetric Fog | Low | A lower setting favors performance. |
| Ray Traced Shadows | Low | Reduces the cost of ray-traced shadows. |
| Subsurface Scattering | Off | This effect simulates light passing through skin, producing red or pink light around areas such as the nose, ears, and fingers. |
| Variable Rate Shading | Test On and Off | It may improve frame rate, but results can vary. |
| Chromatic Aberration | Off | Removes the added color-fringing effect. |
| Film Grain | Off | Removes the added grain effect. |
| Animation Quality, Destruction, Cosmetics, Gore Quality | Personal preference; consider keeping Animation and Gore Quality higher | These settings are more about your preferred presentation, with Destruction and Cosmetics candidates for Low. |
Choose a resolution and upscaling mode
If you play at 2560 × 1440 and your frame rate is too low, try 1920 × 1080 or a 75% resolution scale. This can make a substantial difference on some PCs, though the improvement will depend on your hardware.
If native rendering performs well, keep it. Otherwise, start with the Quality upscaling preset and move through Balanced, Performance, and Ultra Performance only as needed. Quality is the more conservative starting point for preserving the image, while Dynamic is another option to test.
Balance latency and frame-rate stability
VSync and NVIDIA Reflex involve different trade-offs. Turning VSync off can reduce input lag, while enabling it can make frame delivery look smoother at the cost of extra input lag. NVIDIA Reflex Low Latency can be set to Ultra to reduce latency, particularly for mouse movement, but it may affect frame-rate fluidity. Compare the results and see what works best for you.
A stable frame-rate cap is more useful than a high number that fluctuates constantly. One approach is to cap roughly 20–40 FPS below the rate your PC can sustain. For example, if the system holds 120 FPS consistently, try a 90 FPS cap; if it holds 85 FPS, try 60 FPS.
We recommend aiming above the monitor’s refresh rate where the hardware allows it, 70+ FPS for a 60 Hz display and 110 FPS for an 85 Hz display. Treat those figures as targets rather than requirements, especially if maintaining them causes unstable performance.
Windows and Hardware Tweaks
If the game still struggles after adjusting its in-game settings, check the Windows configuration and your PC’s hardware setup. Make one change at a time so you can tell which adjustment helps.
Use the dedicated GPU
In Windows 11, open Graphics settings, add Gears of War: E-Day, and assign it to High Performance so Windows uses your dedicated GPU.
Also check that your display cable connects to the graphics card’s display output rather than the motherboard’s display port. If you have a dedicated graphics card, we suggest checking whether the system is using integrated graphics instead.
Check Low Core Mode
Open Settings > System in the game. If you have a decent PC, try turning Low Core Mode off and compare performance.
Check BIOS settings
Look in your motherboard’s BIOS for 4G Decoding and Resizable BAR (ReBAR). These as settings are worth checking because they affect how the system accesses graphics memory.
Keep your motherboard BIOS updated as well, particularly if you use a motherboard with a 13th- or 14th-generation Intel CPU. BIOS updates vary by motherboard, so use the correct update for your hardware.
Test Windows gaming options
Several Windows settings are worth comparing:
- Optimizations for Windowed Games: Try turning this On and Off.
- Hardware-accelerated GPU scheduling: The starting recommendation is to leave it On, though the effect can vary between applications.
- Game Mode: Test both On and Off to see which behaves better on your system.
In the game, Variable Rate Shading is another setting to test both ways. It is intended to improve frame rate, but the results are not guaranteed across different configurations.
Equip Different Weapons on AI Teammates
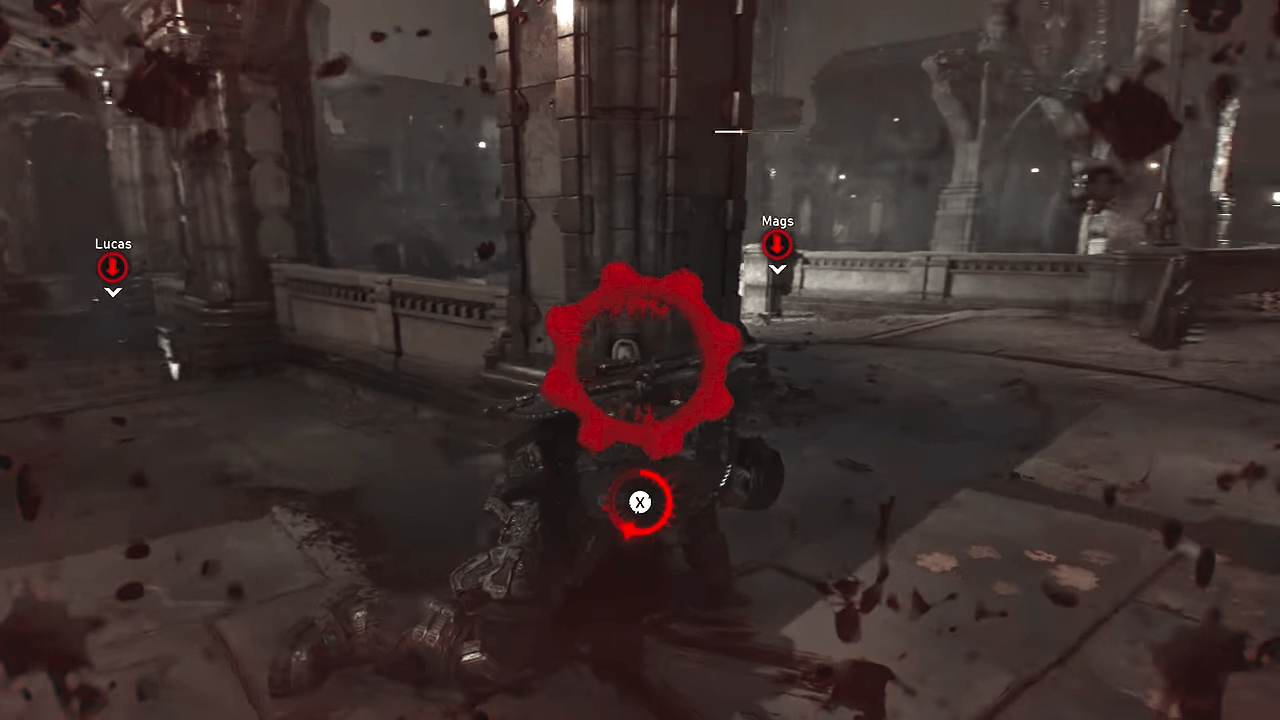
The campaign has a way to change the weapons, attachments, and perks used by AI teammates in Bravo squad. The process involves equipping a companion at a Supply Cache, returning to the main menu, and continuing the campaign before choosing your own character. Repeat it for each of the three AI companions you want to outfit.
Step-by-step companion loadout trick
- Load into the game as a character you do not plan to play. For example, select Mags if you intend to play as Marcus.
- Visit a Supply Cache.
- Equip that character with the weapons, attachments, and perks you want the AI teammate to use. One example is a Retro Lancer built for accuracy with a Gut Puncher.
- Exit the Supply Cache.
- Optionally reload the checkpoint. The checkpoint should show a recent save, around five seconds earlier in the example.
- Quit to the Main Menu.
- Select Continue, not Load Game.
- Repeat the process for each of your three AI companions. Equip one, return to the menu, and continue before moving on to the next.
- Continue and choose your main character. Once the companions are set up, pick the character you actually want to control.
The trick is useful in open-world acts, where the companions can use the equipment you gave them. It is not permanent: turret sections and the starts of new acts can reset their weapons to the standard Prototype Lancer and standard Gnasher and remove their attachments.
Best Weapons for the Campaign AI
Equipping better weapons is only half the job. The AI’s accuracy and firing behavior make some weapons more useful than others. In practice, favor automatic weapons that let your teammates maintain consistent fire.
Favor automatic fire
Lancers and Hammerbursts are useful choices because the AI can keep firing rather than relying on carefully timed shots. Full-auto weapons fit the squad’s behavior better than precision rifles.
Longshot and Markza shots have not consistently landed, so avoid relying on them to provide accurate long-range fire.
Avoid shotguns and Gut Punchers
Do not give AI teammates shotguns as a default choice. They may fire the Immulsion shotgun at long distances and miss, wasting shots.
The Gut Puncher has a similar problem with hit accuracy. The AI may fire it repeatedly without landing enough hits to make it worthwhile. Keep it for your own use.
If you want to experiment with shotgun range later, you should wait for the ranged upgrade or try Slug shells for Dominic’s Gnasher for long-range burn hits.
Use Full Metal Jacket instead of Incendiary
The AI does not reliably perform perfect reloads, or at least does not land enough hits for Incendiary ammunition to trigger its fire effect consistently. For companion weapons, stick with Full Metal Jacket.
The priority is consistent damage. Automatic weapons such as Lancers and Hammerbursts are a sensible starting point, while shotguns, the Gut Puncher, Longshot, and Markza are less dependable in the AI’s hands.
Final Recommendations
Start with the texture workaround if the game looks blurry or surfaces load too late. Try -NoDirectStorage using the correct steps for Steam or the Xbox app, check your drivers and storage, then adjust resolution, upscaling, and expensive graphics settings. Use the Performance Overlay to compare results as you make changes.
For the campaign, the AI weapon trick can give Bravo squad more suitable equipment, especially in open-world acts. Prioritize automatic weapons, use Full Metal Jacket, and remember that later acts or turret sections may reset the companions’ loadouts.
There is no single setting combination that guarantees the same result on every PC. Start with the changes that address your particular problem, test one at a time, and keep the settings that produce stable performance without sacrificing more visual quality than you’re willing to lose.

Leave a Reply